Sunroof Conversion - Power to Manual
on the W123 Chassis
by Bruce Kennedy
4/13/07
I have recently converted two power sunroofs to manual (both on a w123) this pictorial shows you how.
For whats its worth I beleive this will also work on a w126 as I have compared them side by side and everything seems to be identical. The w123 and w126 sunroofs are interchangeable.
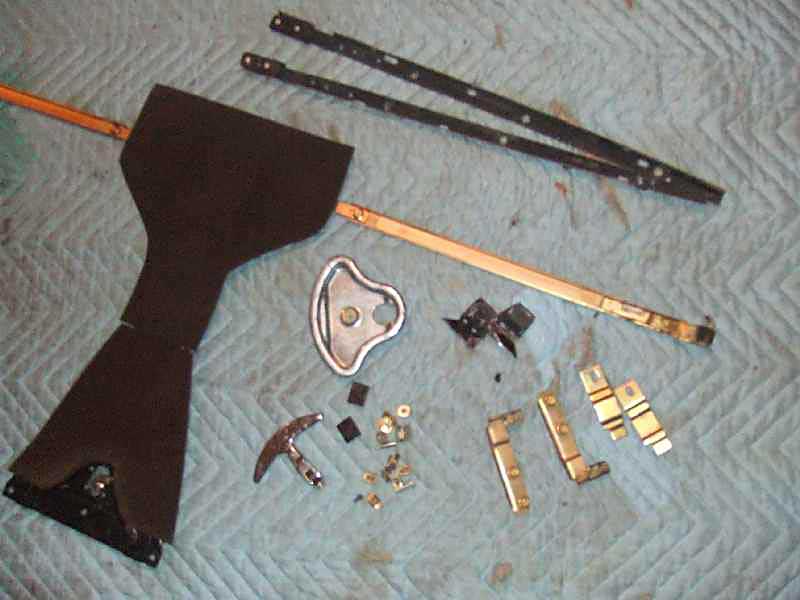
The first step in this process is to aquire the manual sunroof components which are different from the power sunroof components. All of these parts with the exception of two are easily unbolted/unscrewed from the donor car.
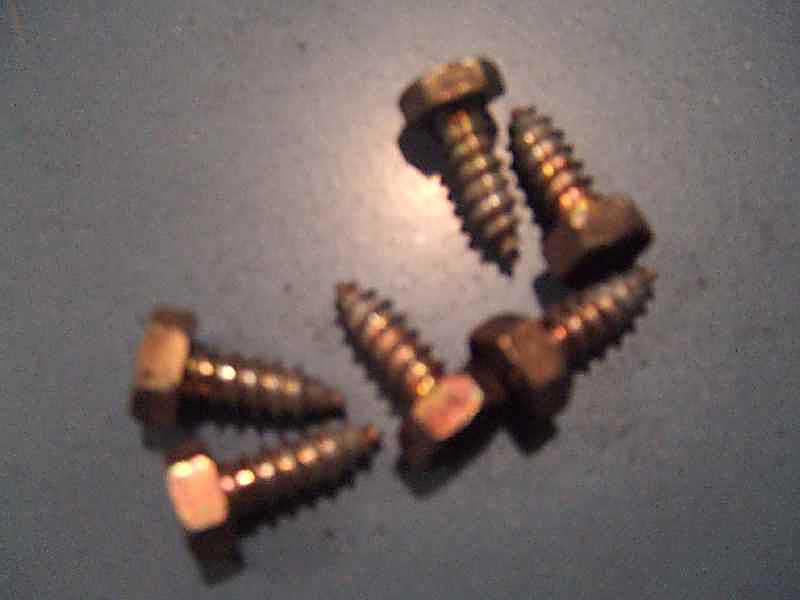
Picture 1 - shows the parts you need from the donor car. (with the exception of a 6 screws I forgot to include in the picture)
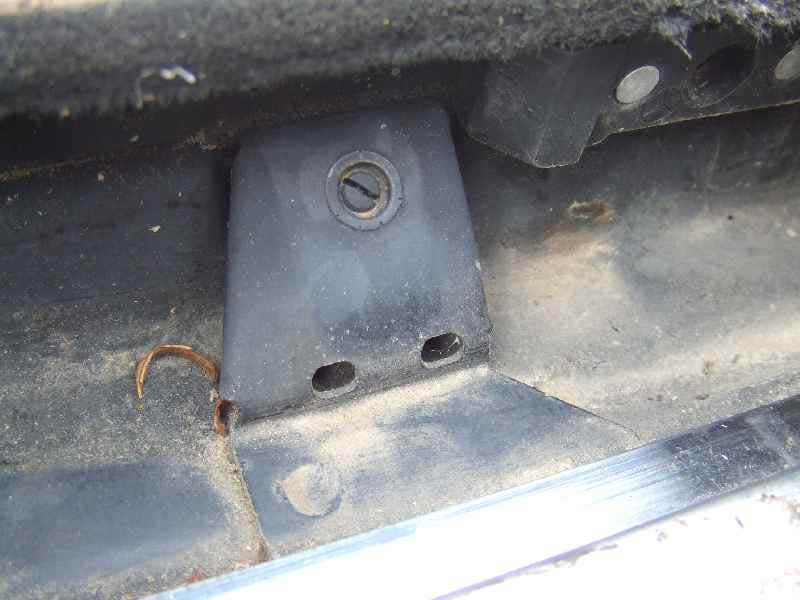
Picture 2 - this part is spot-welded onto the car and must be cut from the donor car, since I do not know what this part is called we will call it a ramp for clarification purposes. I have a cordless rotozip with a metal cutting blade that I used at the salvage yard to do this. You will also notice that there is a spot weld. You can either drill the spot weld or if you dont have a drill with you a cold chisel will suffice.
Picture 3 - using the roto-zip tool to cut the ramp free. You want to get as close as possible with your cutter to the stainless piece that is goes under. (This will make more sense once you see the car and what you have to remove)
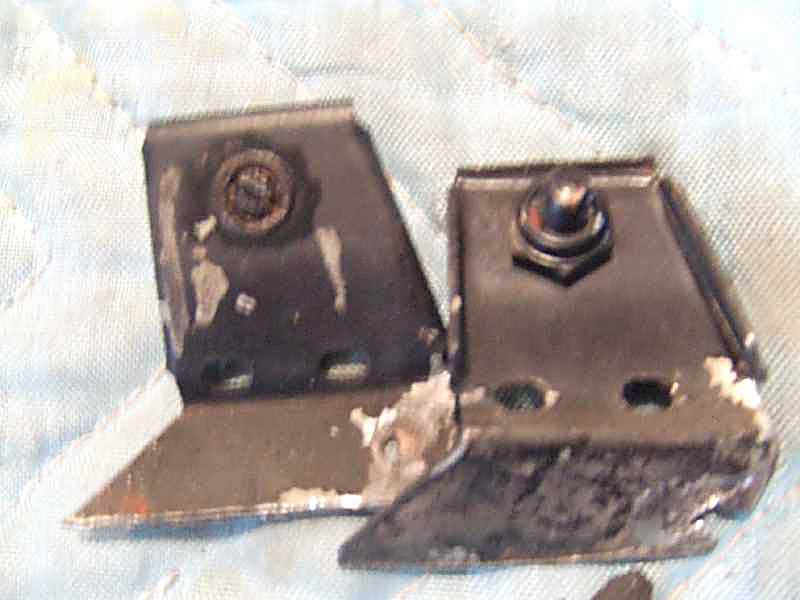
Picture 4 - Shows the ramps after they have been removed.
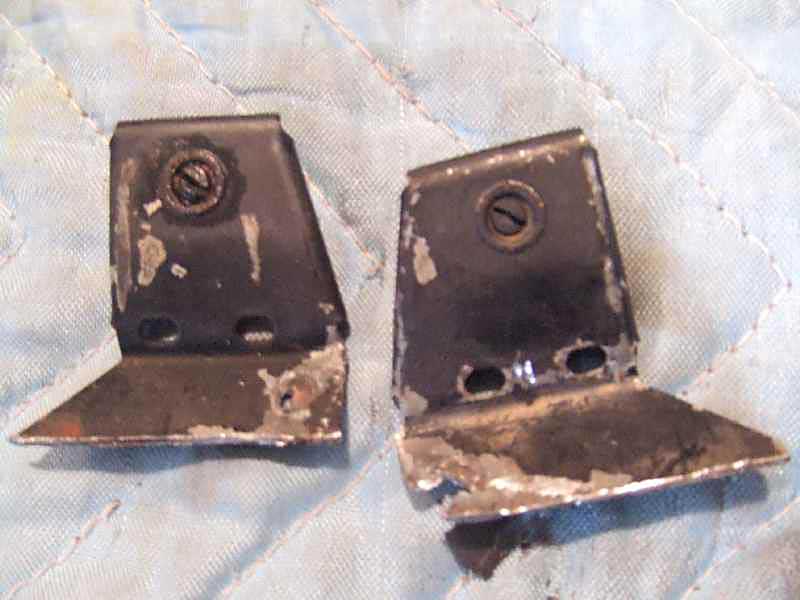
Picture 5 - Another view showing the backside of the ramps. As you can see, they have an adjustment screw on them that will be important to adjusting your sunroof properly.
The salvage yard wanted more money for the entire sunroof so I removed only the pieces I needed at the yard. You want to remove everything from the sunroof except the front guides which are the same on both sunroofs.
Picture 6 - This shows some of the clips you need to remove. Your original power sunroof has the holes but does not have the clips.

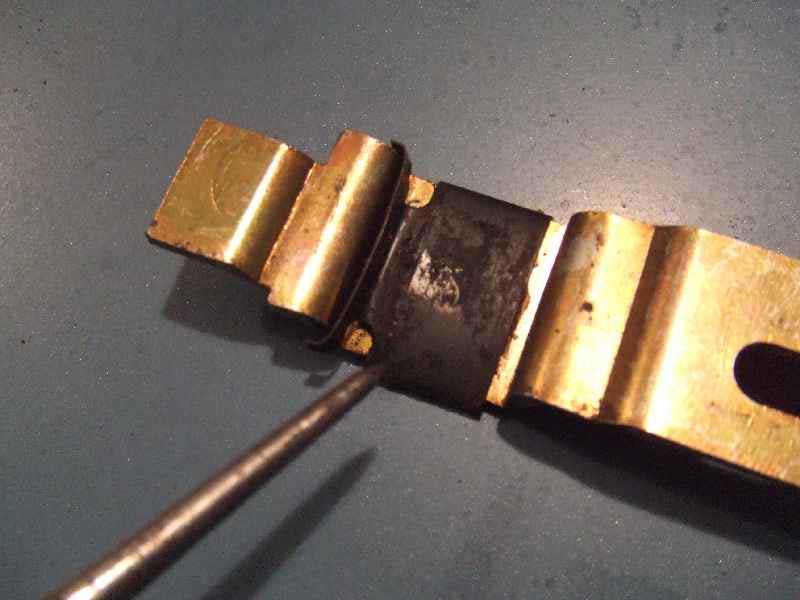
Picture 7 - I removed these clips by inserting an awl in the hole and prying them off.
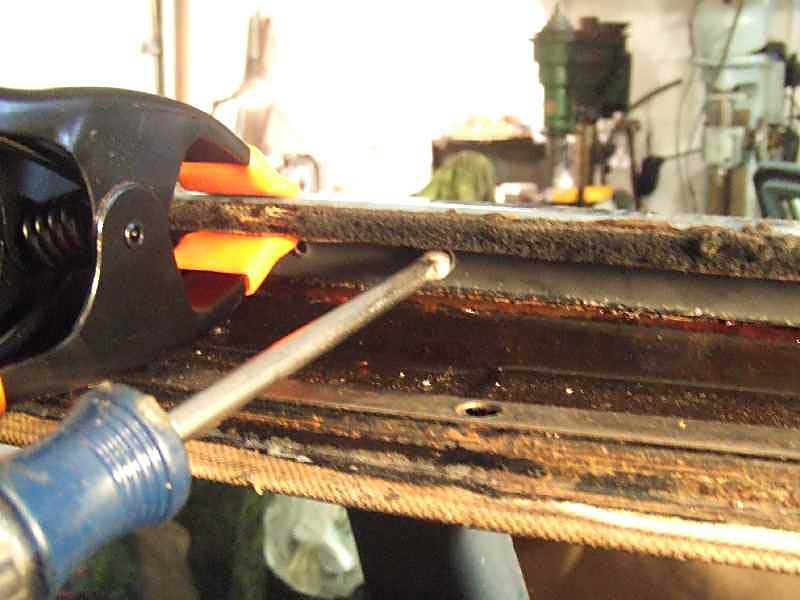
Picture 8 - Next you need to pry off these plastic square pieces.
Picture 9 - I removed these, but then did not need them because my power sunroof already had them.
Picture 10 - These are the 6 screws I forgot to include in the picture showing the parts you need to remove.
Now that you have all the parts for the conversion, you need to remove your power sunroof. This has been covered in other threads on the forum and is pretty straightforward. You will also need to remove the cable and motor assembly. Dont forget to remove the rails which hold the felt in place on the sides of the opening, as these are different on the manual sunroof. If there is any rust in your sunroof area this would be a good time to take care of it.
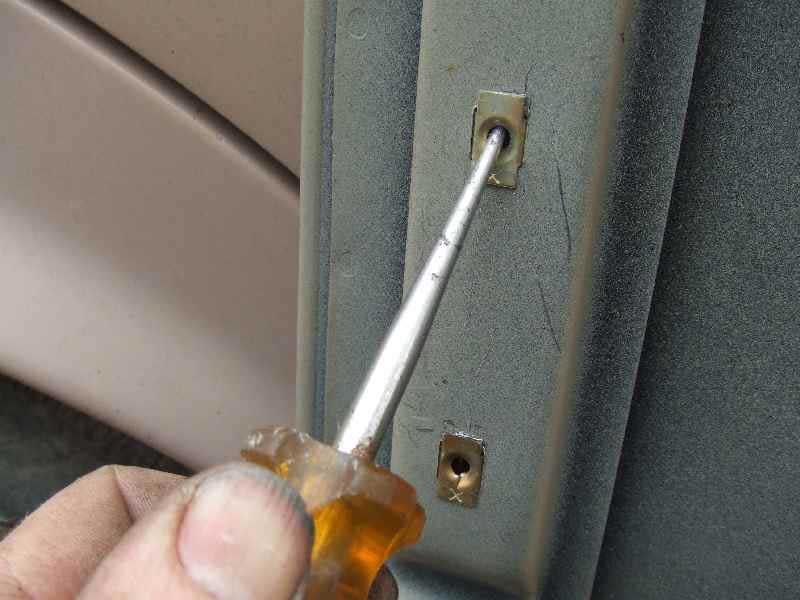
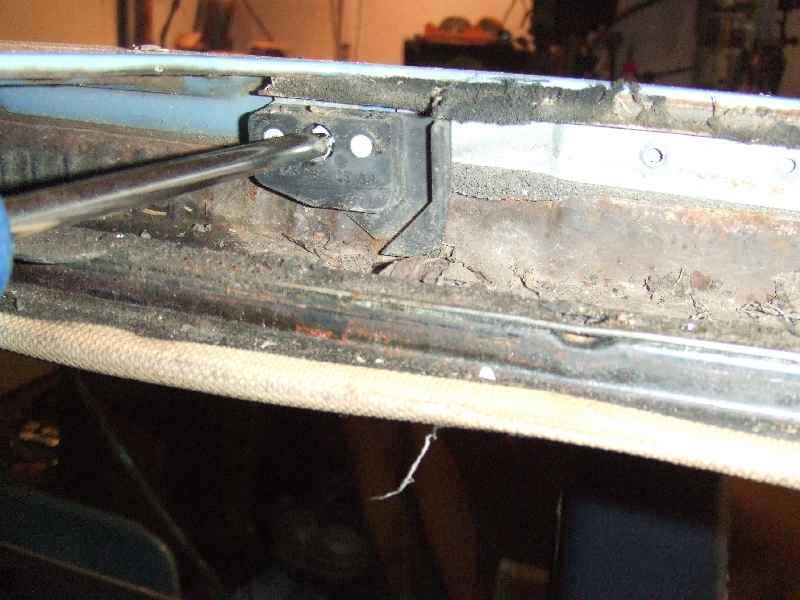
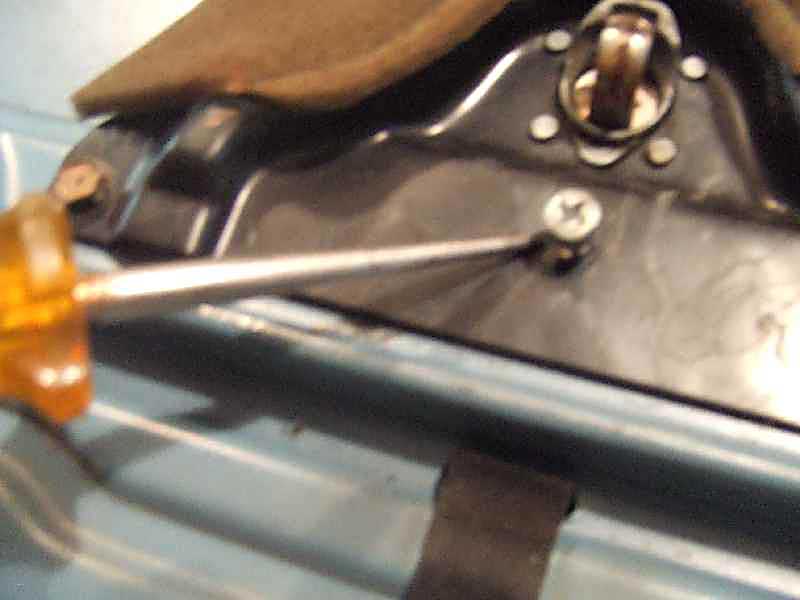
Picture 11 - Shows me removing one of the screws that holds the rail on that also holds the felt strip in place.
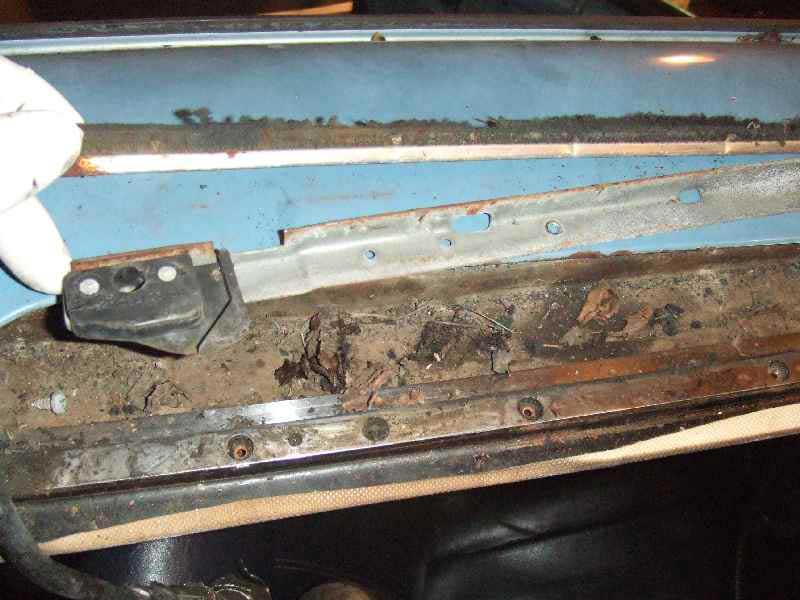
Picture 12 - Shows the rail removed. Note the felt strip behind it. It's going to hurt if you want to replace these ($25 each)
Picture 13 - This shows the power sunroof removed from the vehicle.

You want to remove everything from your original sunroof with the exception of the front guides. Next you want to install the parts from the manual sunroof.
Picture 14 - Shows one of the little clips I removed with an awl, the tabs are a little bent and I straightened them using two pairs of pliers. They pop into place with a tap from a hammer.

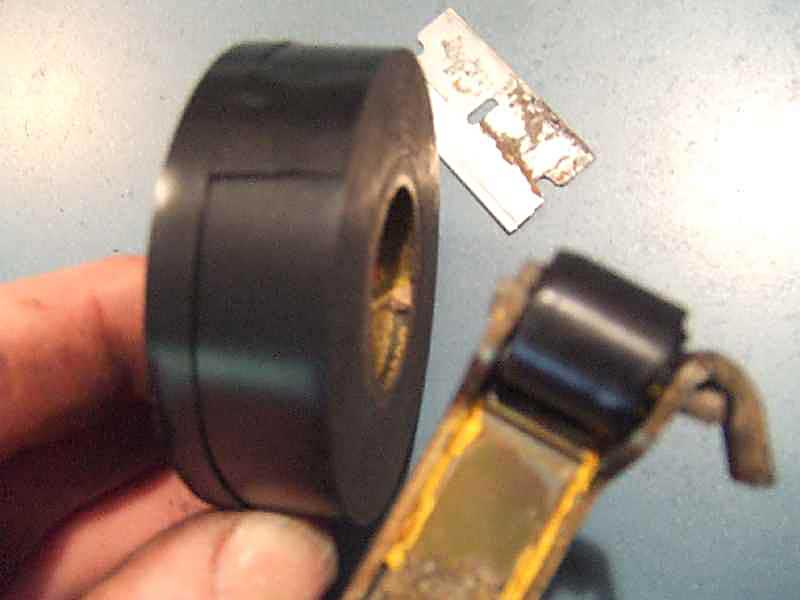
Picture 15 - This picture shows one of the wheels one the manual sunroof mechanism. This wheel was missing the rubber so I improvised by making a replacement rubber wheel from electrical tape.(so far it's working great)
Now that you have your sunroof panel converted to manual, it is time to install those "ramps" that you cut off the donor car. I chose to rivet them into place but if you were careful I suppose you could weld them in place.
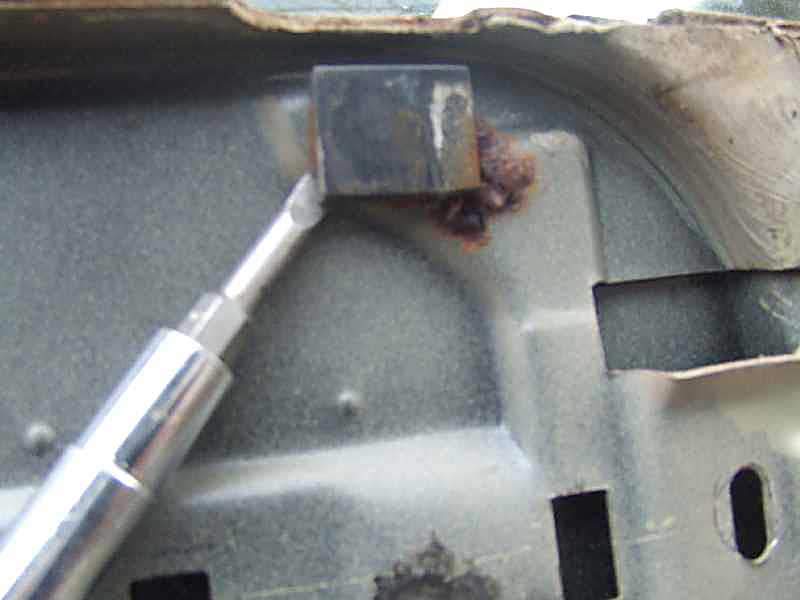
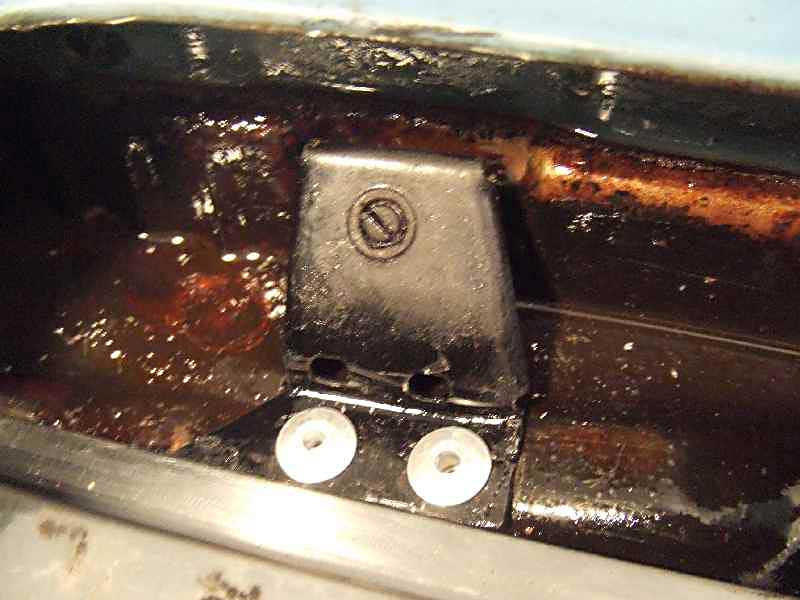
Picture 16 - These raised areas are what the "ramps" set screw rest on so you want to center the ramp here.
I pre-drilled the "ramps" and positioned them to mark where on the car to drill. You also want to either pull the headliner down a little in this area or have a stop on your drill bit so that you do not go through the headliner.
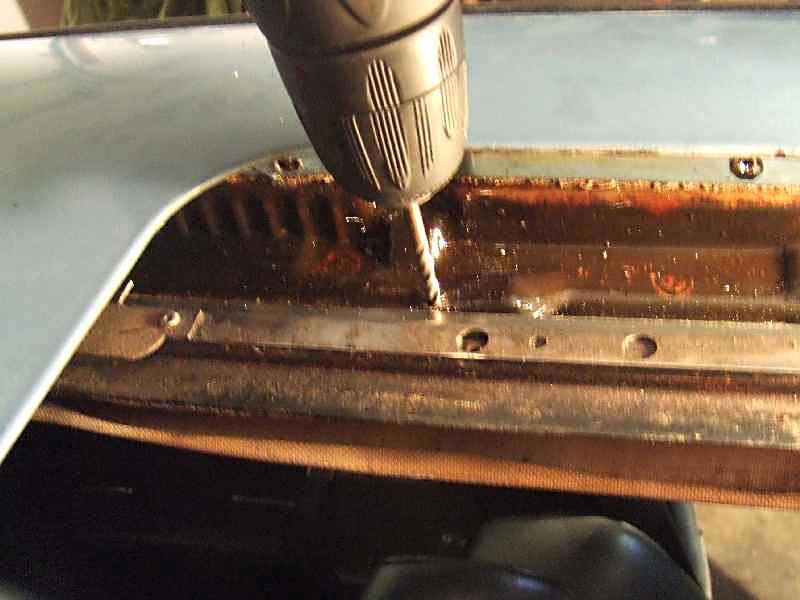
Picture 17 - shows me drilling the holes. I drilled 3/16" holes and used 3/16" aluminum pop rivets.
Picture 18 - Pop riveting the "ramps" in place. It's a good idea to put a little sealer of some sort under the ramps before riveting them into place.

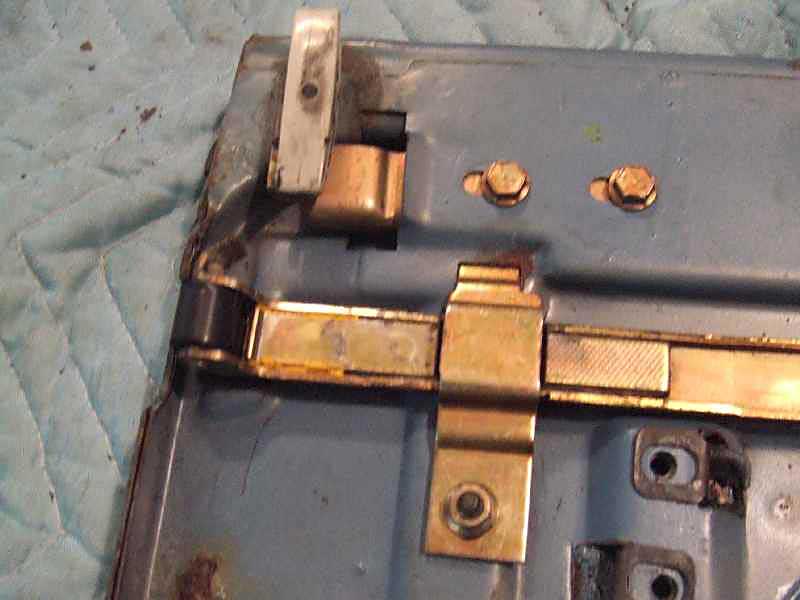
Picture 19 - This shows the ramp riveted in place.
Picture 20 - Installing the side rails that came from the donor car.
Everything I have done up to this point is reversable. The next step is the point of no return.
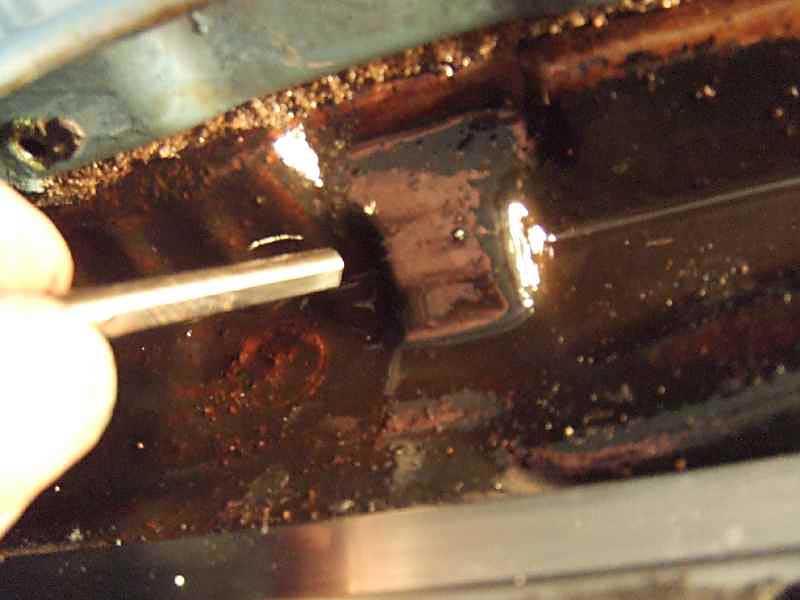
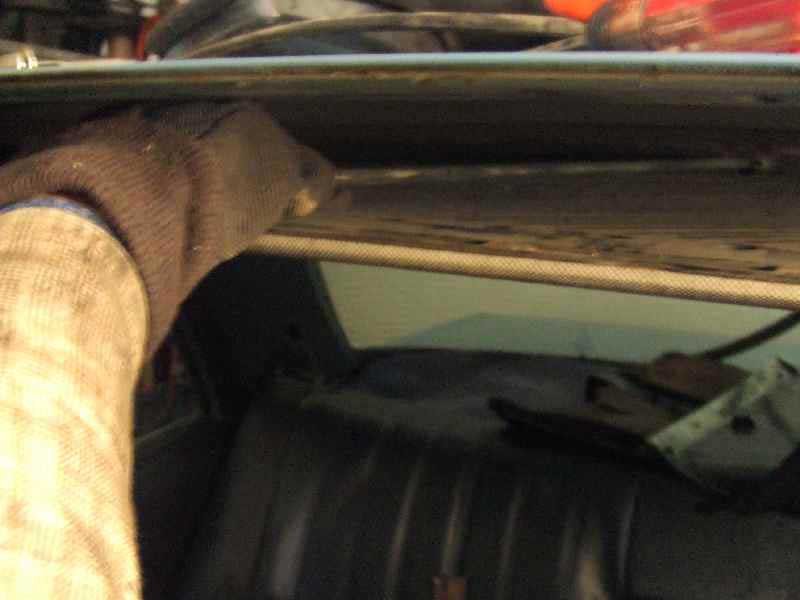
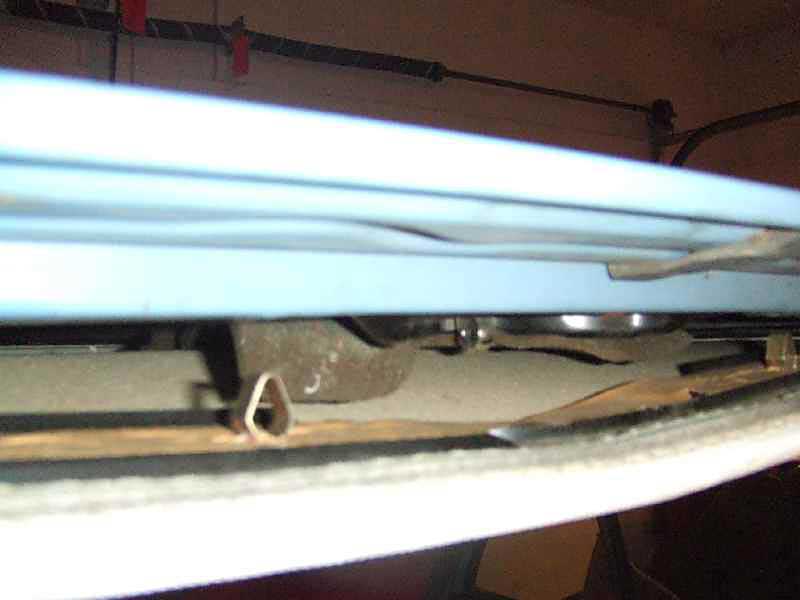
Picture 21 - This is the tube which houses the power sunroof cable. This tube must be removed. The easiest way is to bend it back and forth until it breaks.

Picture 22 - Bending the tube. You want to wear gloves and a long sleeve shirt for this procedure. Just reach in as far as you can and start bending it back and forth.
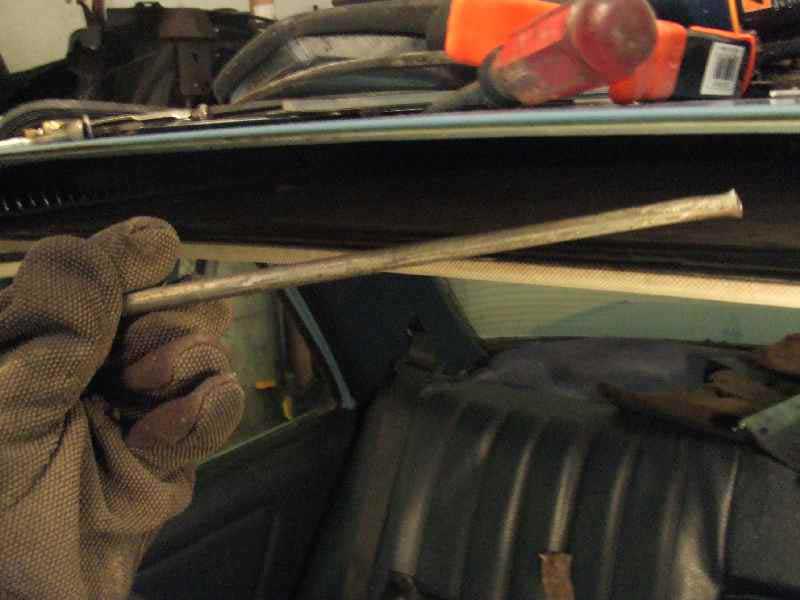
Picture 23 - Shows the broken off tube.
Picture 24 - Shows where the tube breaks off back in the car. Like I said, this is the point of no return.
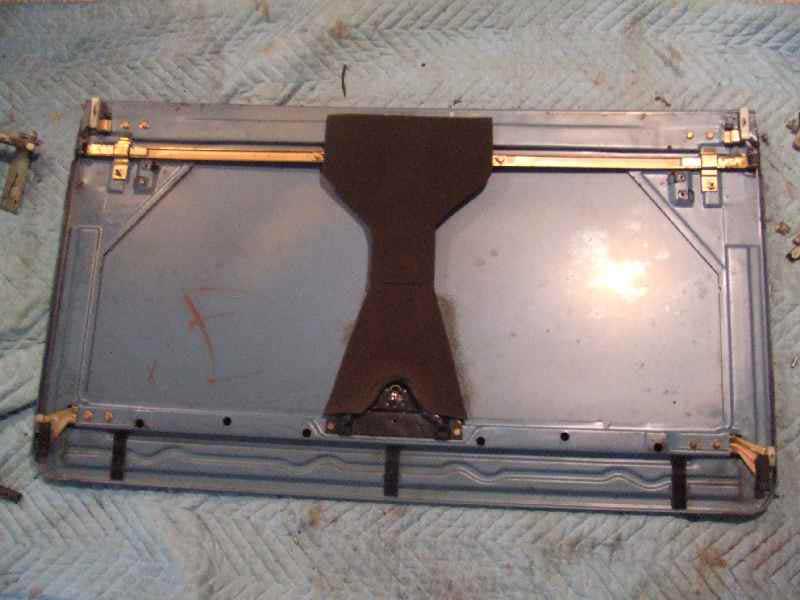
Picture 25 - Shows the sunroof after it has been converted to manual.
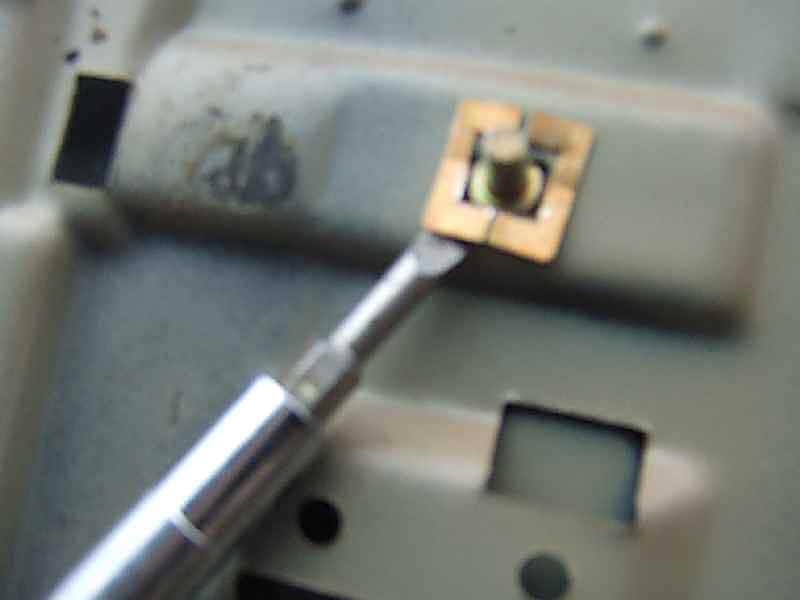
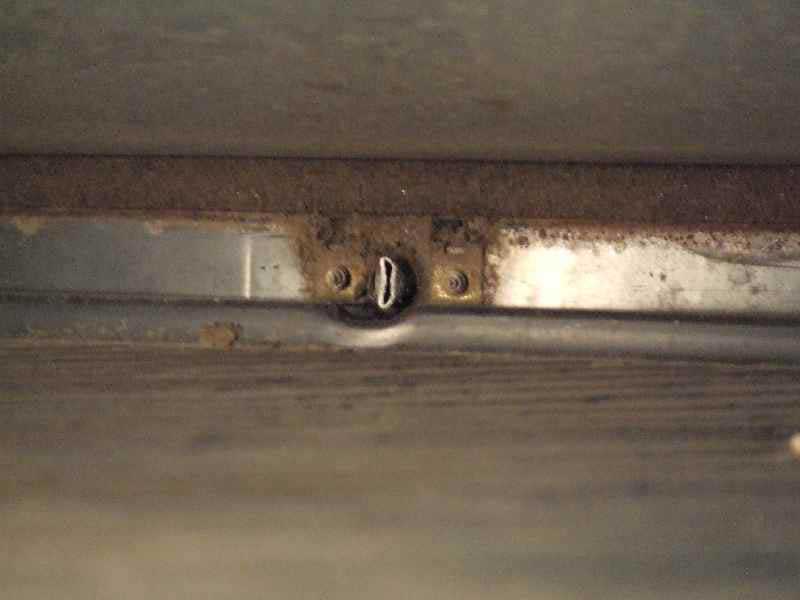
Picture 26 - Before you install it, make sure that this screw, that holds the handle surround, will screw in. The tab it screws into could be misaligned.
Picture 27 - Hope you didn't forget to put this black springy thingy in its proper home.
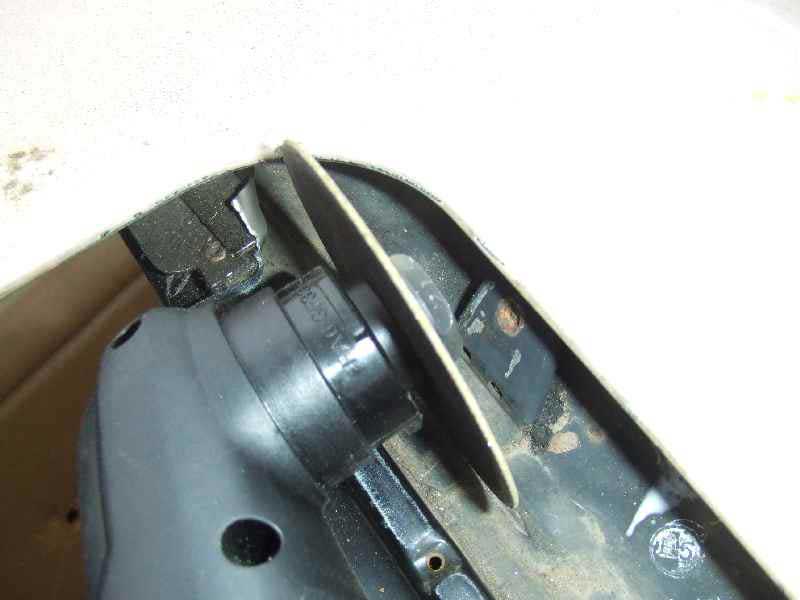
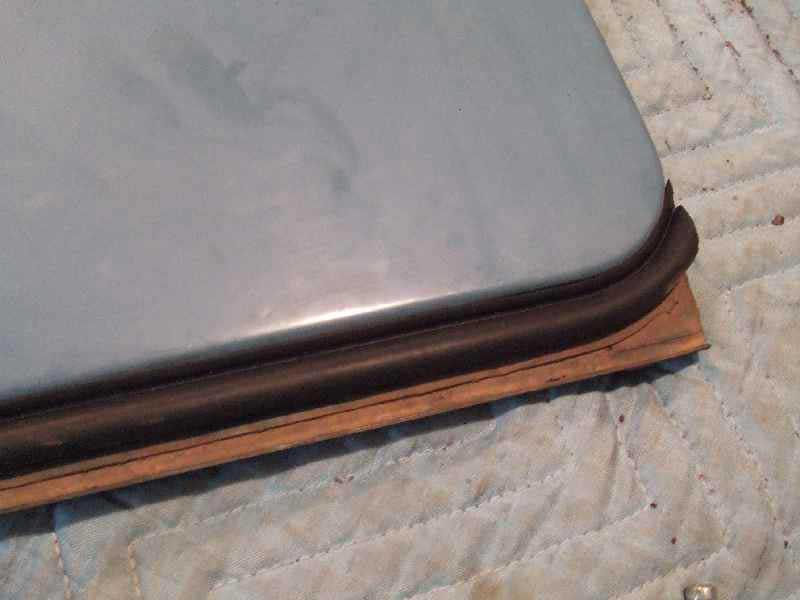
Picture 28 - This is a closeup of one corner of the sunroof. The nylon slide you see in this picture came off the power sunroof and seems to be working fine.
Picture 29 - This is a good time to put a new rear seal in, and as seals go this is a pretty easy one to install. ($15)
The next step is to carefully set the converted sunroof back in place. Push it back as far as it will go and install the stainless guides. This is a reversal of the removal process. Now slide in the headliner and pop it back into place.
Picture 30 - Shows installing the headliner.
Picture 31 - shows me pushing up with finger to find the handle stub to which the handle mounts.

Picture 32 - Shows a hole cut around the handle stub.

Picture 33 - Shows what you need to cut from the headliner to get the handle surround to mount.
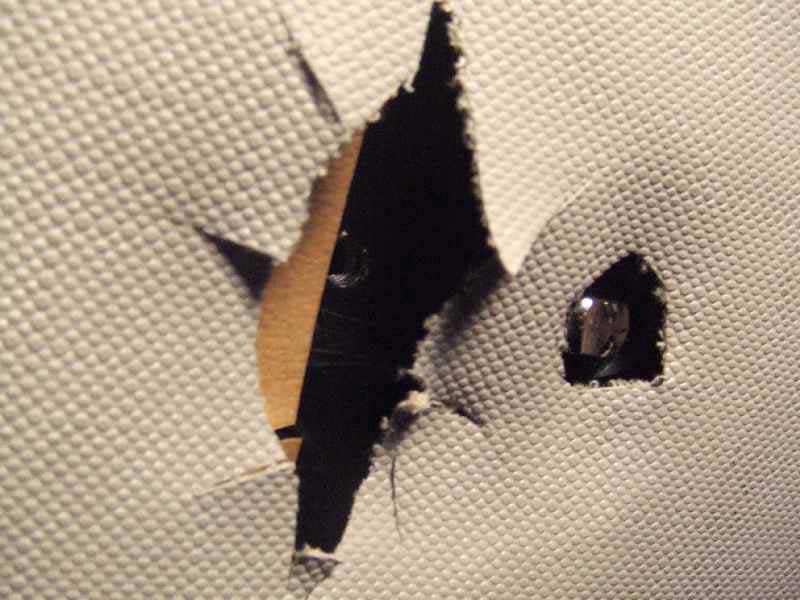
Note: Cut as little of the headliner as you possibly can.
Picture 34 - This shows the handle mechanism and the small parts that are easily lost (experience speaking here)

I would love to show you a finish interior shot but the pin that holds the handle on magically disappeared somewhere down inside the console. The part is on order from a MB dealer and will take 7-10 days because it is coming from Germany. What a PITA.
Discuss this DIY here.
-Bruce Kennedy
CategoryDiy