Revision [578]
This is an old revision of W126RearBrakes made by WebMaster on 2008-03-23 14:06:42.
Replacing the Rear Brake Pads & Rotors
on the 1985 300SD (W126)
by vwbuge
3/20/08
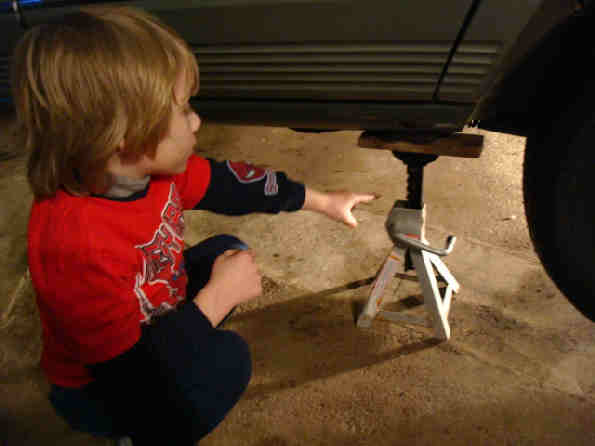
1 Use a proper jack to jack up the vehicle.
2 Use proper jack stands.
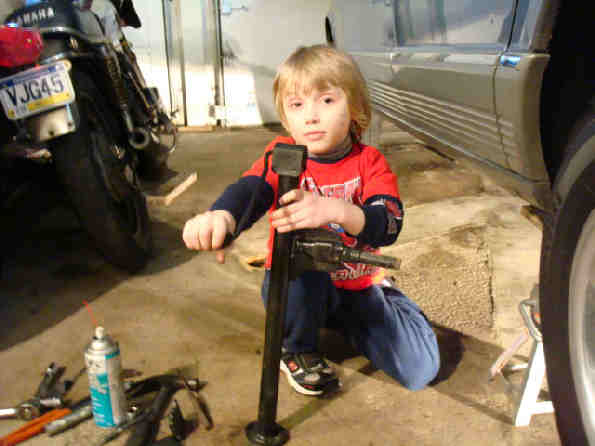
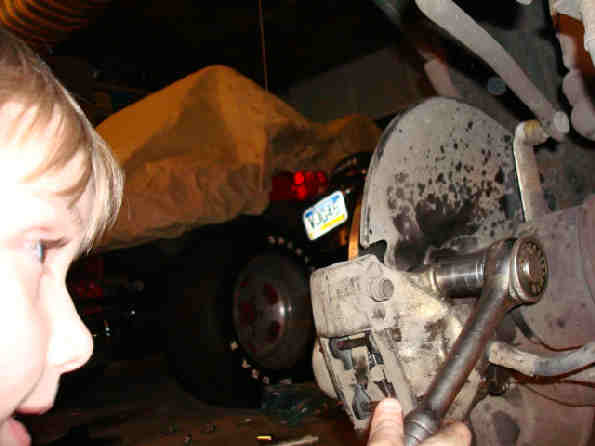
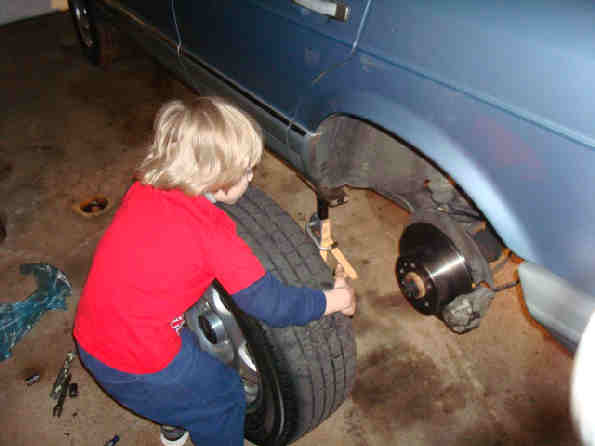
3 Remove lug nuts. (bet your not as quick as my son)

After the wheel is removed.
4 Remove two caliper bolts.
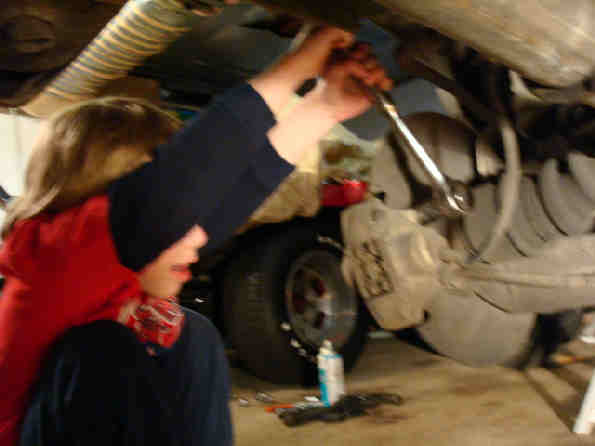
5 Remove caliper.
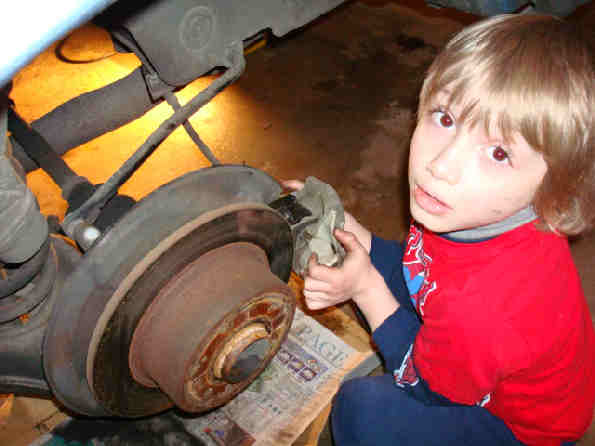
6 Remove rotor.
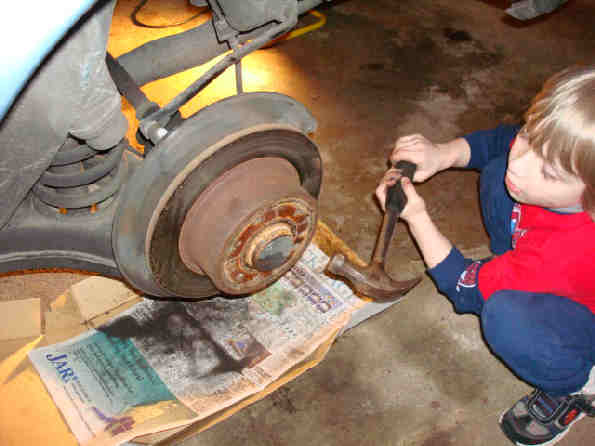
Note: It may be required to bang on the rotor a little to make it loose. If you plan on reusing the rotor be careful not to hit the shiny part.
(Swing away Orazio)
Now that the rotor is loose.
7 Take off the rotor.
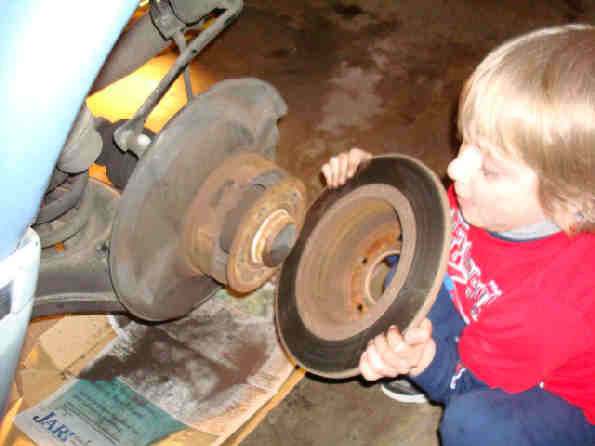
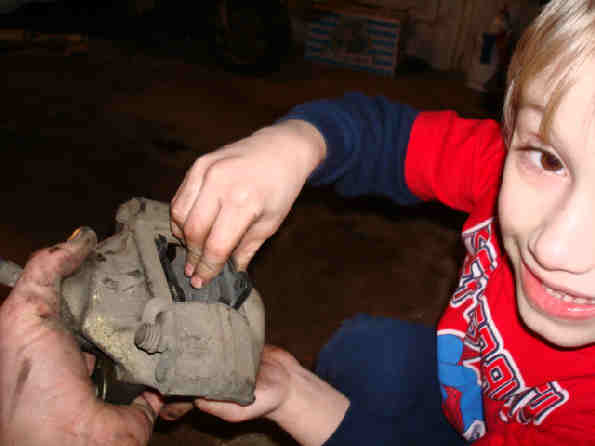
While your there spray everything with some brake clean. Those smaller shoes inside the rear caliper are your parking brake shoes. Adjust while you are there if necessary.
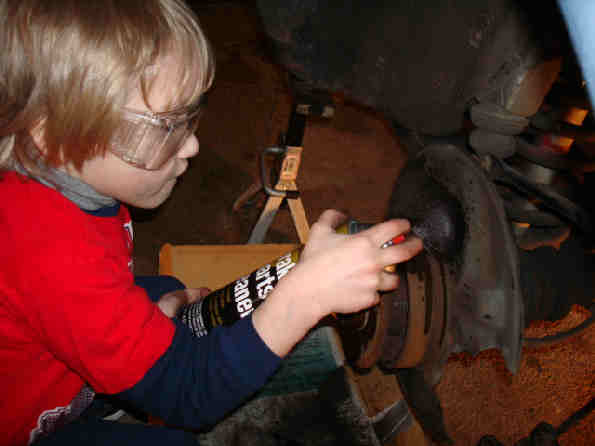
8 Spray brakes clean.
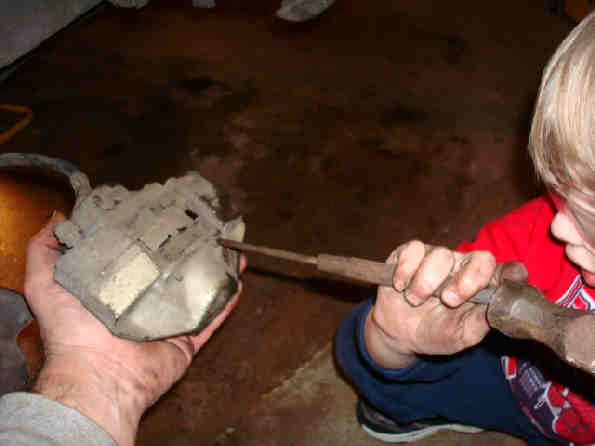
Now grab the caliper and tap out the retaining pins.
9 Tapping out the pins.
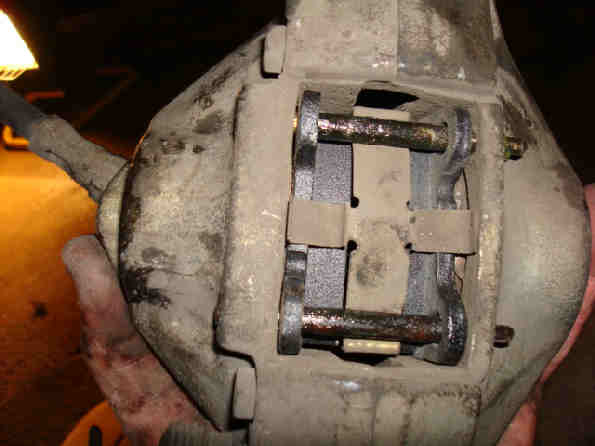
10 grab the pins on the other side and pull them out.
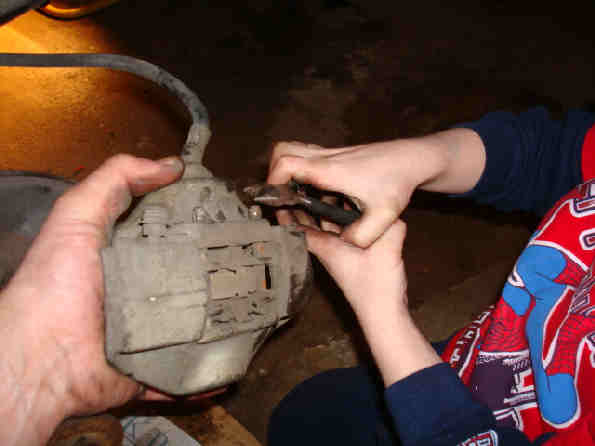
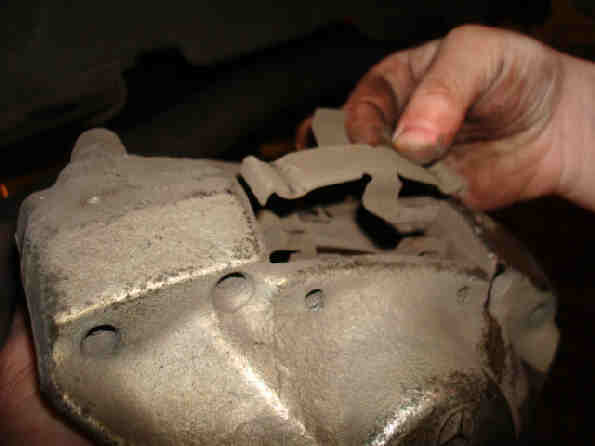
When pulling the pins be sure to take note of the retainer clip position.
11 retainer clip position.
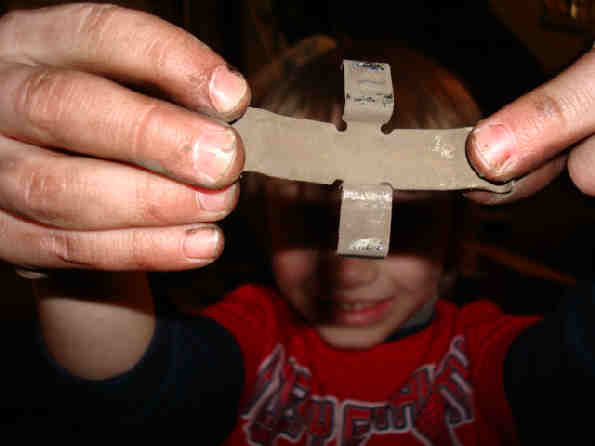
12 Be sure not to lose the clip.
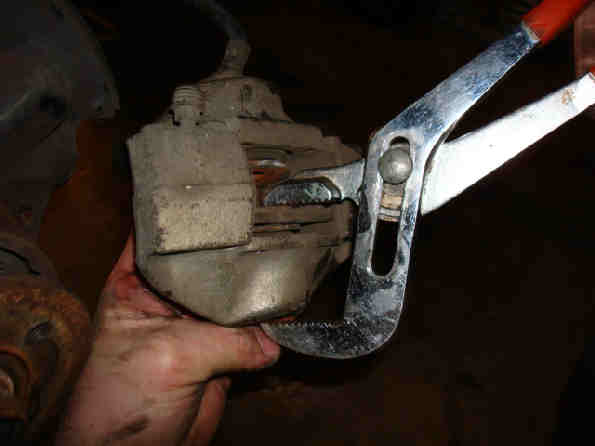
Now grab the caliper and an old pad. Put one of the old pads back in and use it to even out the pressure put on the piston. Grab a pair of channel locks and squeeze the piston back in. You may have to do the either piston as you hold the other from coming out. Alternate between the two, you'll get it. It was easy enough that my son actually did it himself.
13 Squeeze the pistons back in.
After the pistons are the ENTIRE way in slide new pads in place.
14 Slide new pads in place.
Now grab your new pins and retainer clip. LIGHTLY grease the pins to slide back in.
15 LIGHTLY grease the pins.

16 This is how it should look.
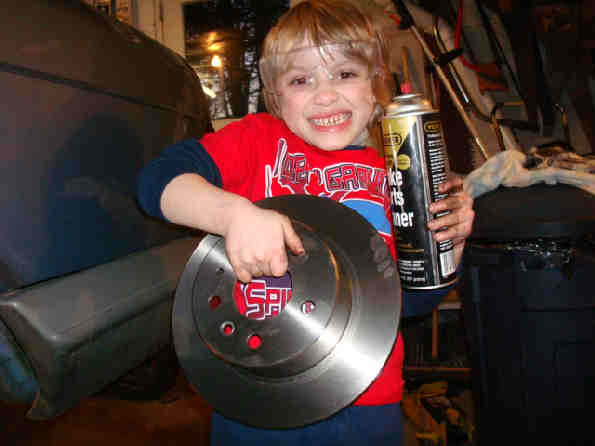
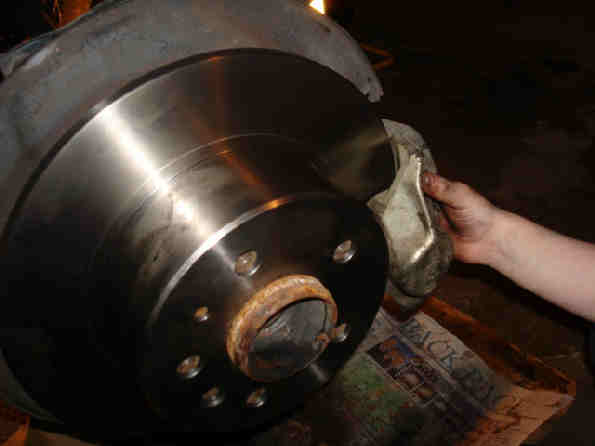
Time to put the new rotor into place. Don't forget to spray the backside clean.
(Those look heavy)
17 New rotor and ready for spray.
18 When you put the rotor on be sure to hit the alignment pin with the proper hole in the rotor.

19 Time to slide the caliper into place.
20 Align the two bolts on the backside and tighten down.
21 Put the wheel back on.
Don't forget to spray everything down with brake clean to get the film off of your new rotor.
After you wheel is back on you can tighten the lug nuts as tight as you can get them with a wrench. Put the car back on the ground and tighten them again.
22 Time to wash up.

23 I DIDN'T EVEN GET DIRTY !!!!!

Discuss this DIY here.
-vwbuge
CategoryDiy