I have a writeup on removing the dash but I think I missed a few steps. Review the replacement steps as well to get a better sense of how things come apart. Someone mentioned that a dash with passenger side airbag is considerably different. I can't argue with that. I can't give you advice about that situation either.
A lot of things are fastened independently of other things so a strict sequence is not possible. I'll describe what I did in sections for my convenience.
To put this writeup in context, I replaced the original dash with growing cracks for a later model dash with absolutely no cracks. Jeremy and I wondered if the installation process might stress a dash and thus cause cracks. From what I saw, there's no risk of that. The dash bracing is stiff enough that you can't bend or flex the dash in a way that would induce cracks even if it were sundried... unless you really set out to cause cracks.
1) Set the dash where it goes. I don't have any panoramic views of this but it obviously only goes on one way. Make sure the ears at the forward corners clear the A-pillars. When removing the old dash, I left the steering wheel in place and pulled the passenger corner aft. The ear took a bit of persuading to clear the A-pillar. It wasn't an issue putting the new dash in place.
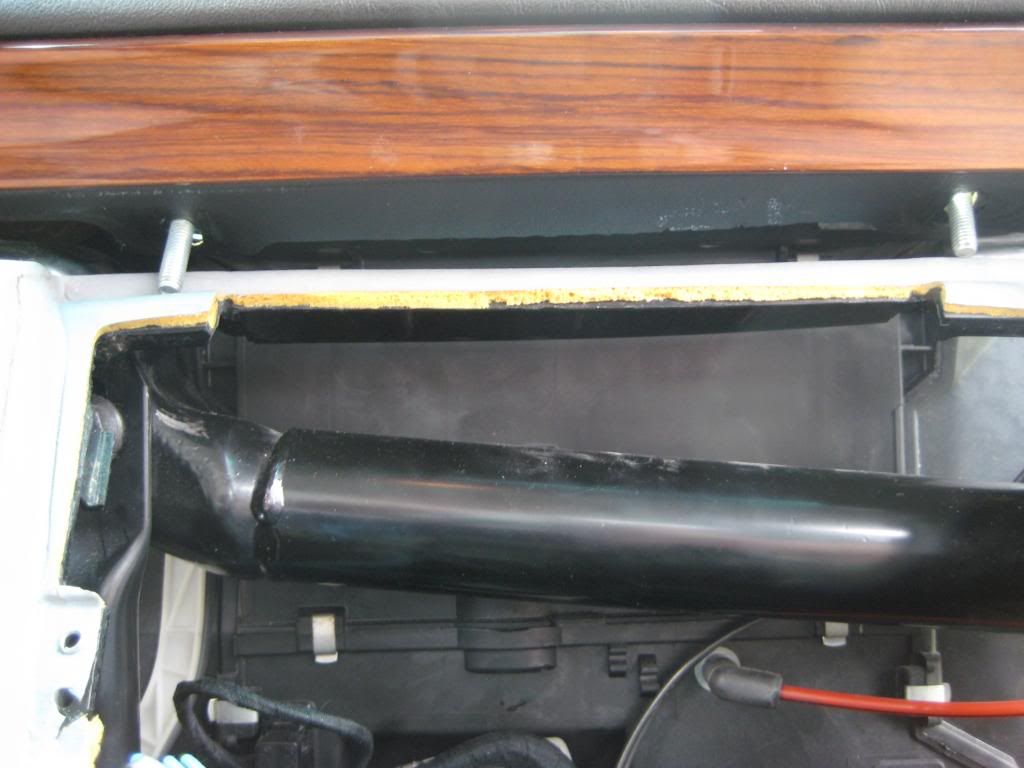
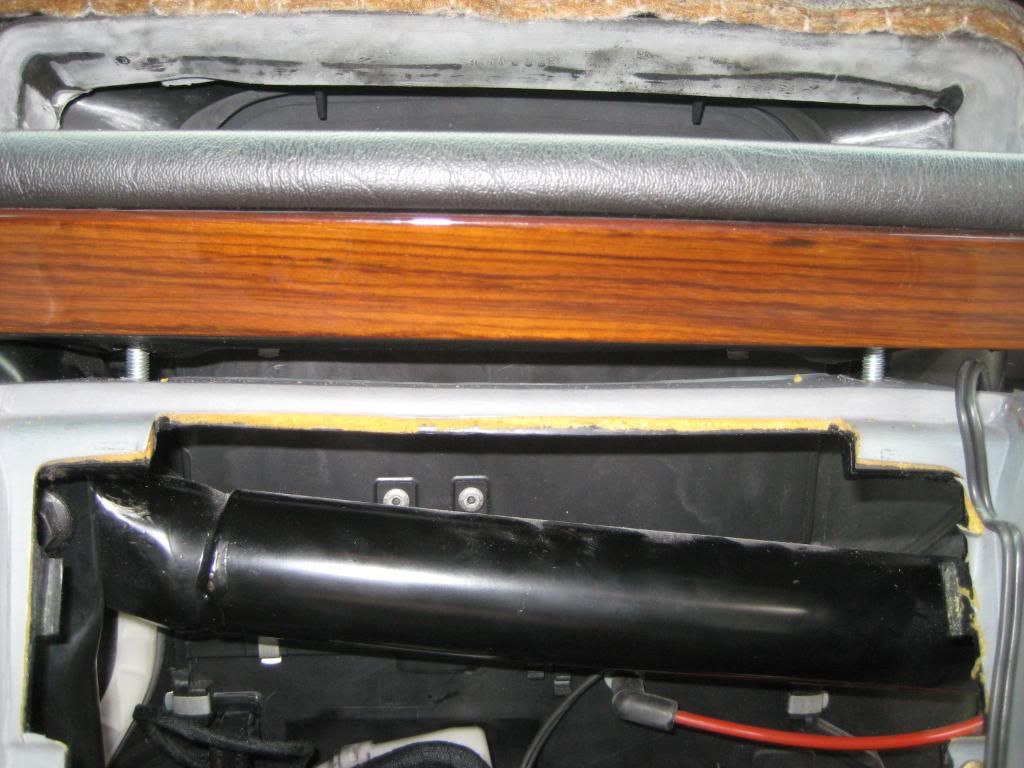
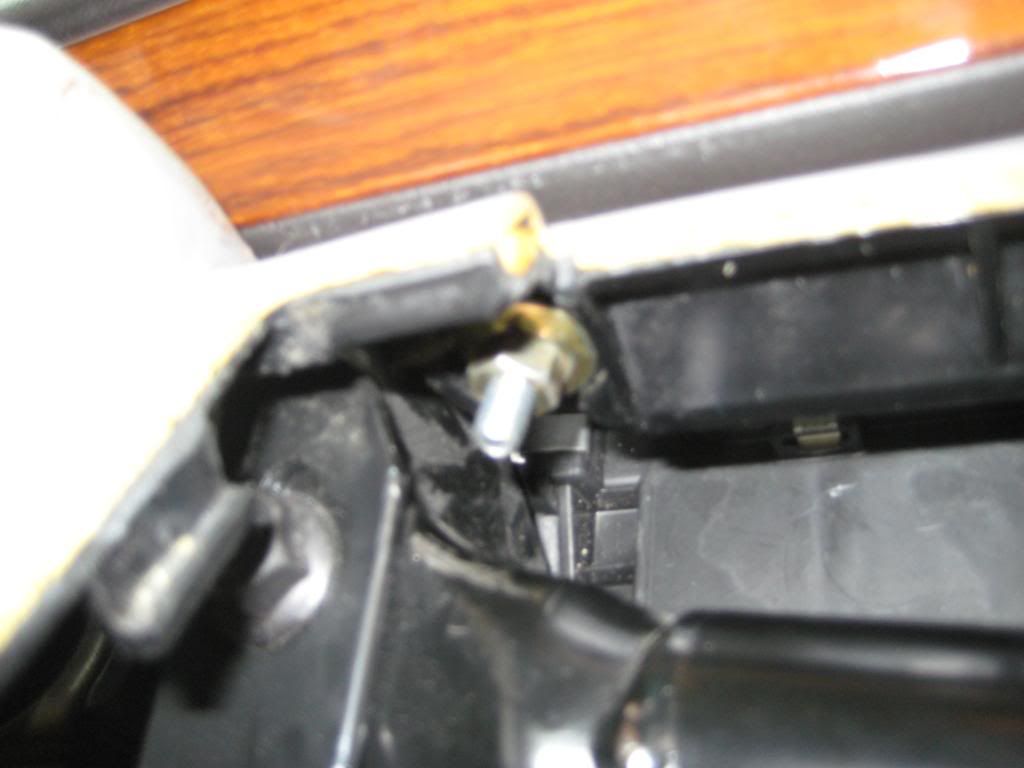
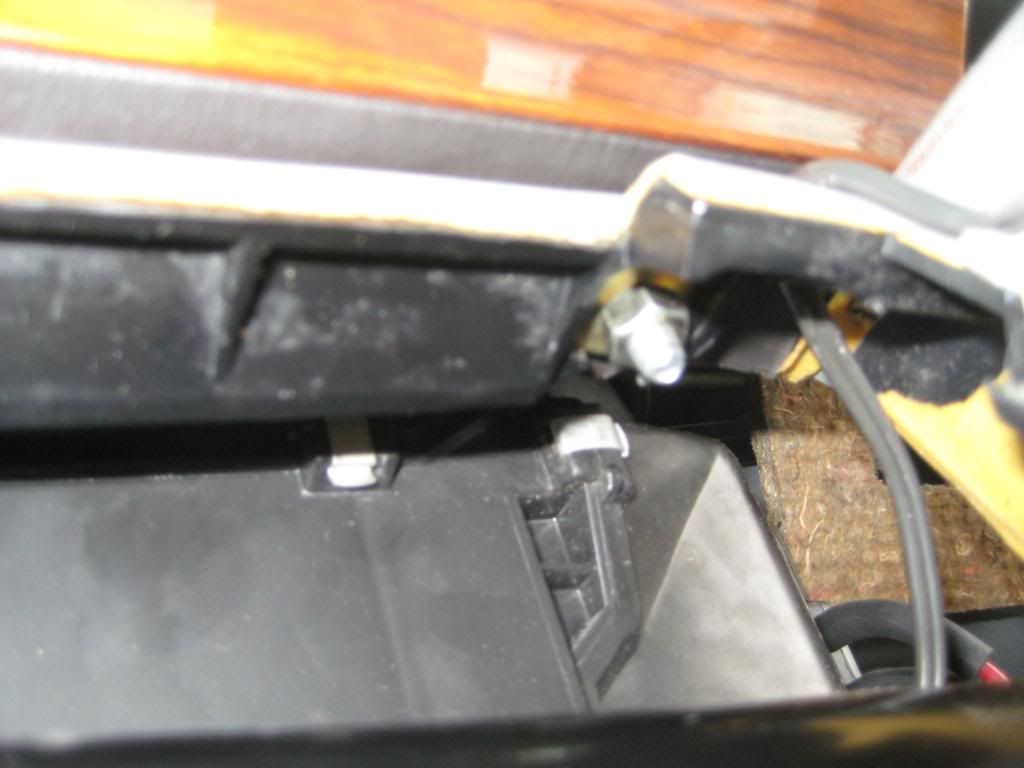
With the dash basically square with the windshield, guide the defroster ducting into place as you push downward on the dash. There's a duct to align on either side of the ACC airbox. Besides the defroster ducts, use the screw holes in the speaker cutouts and the center vent cavity to guide the dash into place.
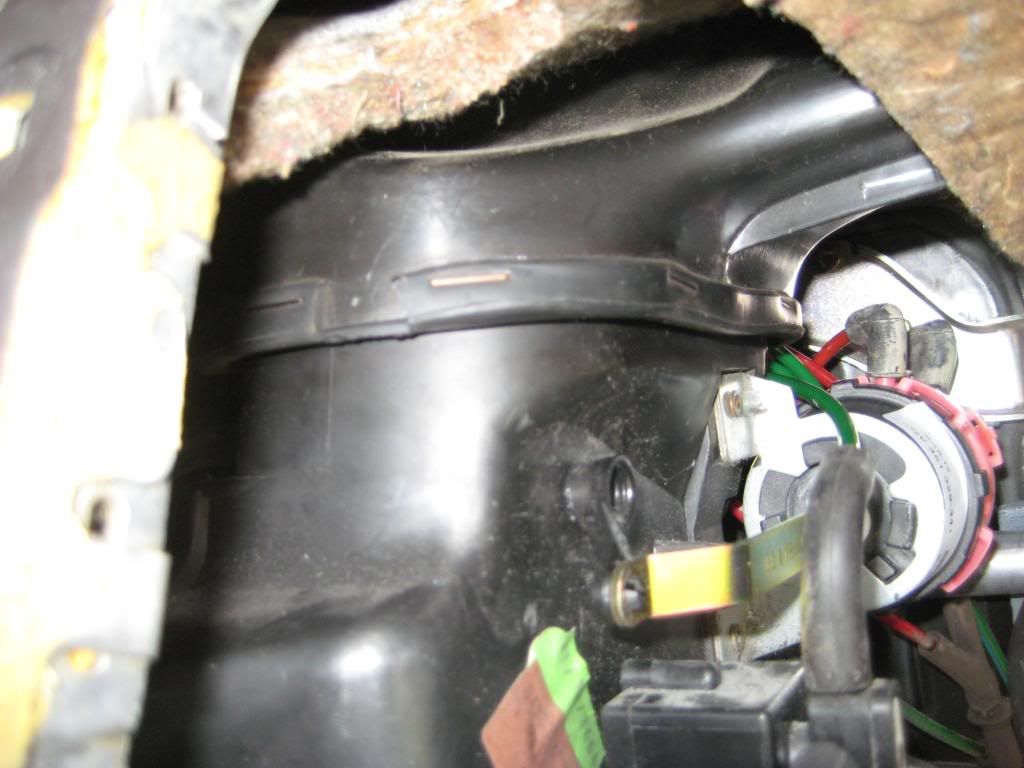
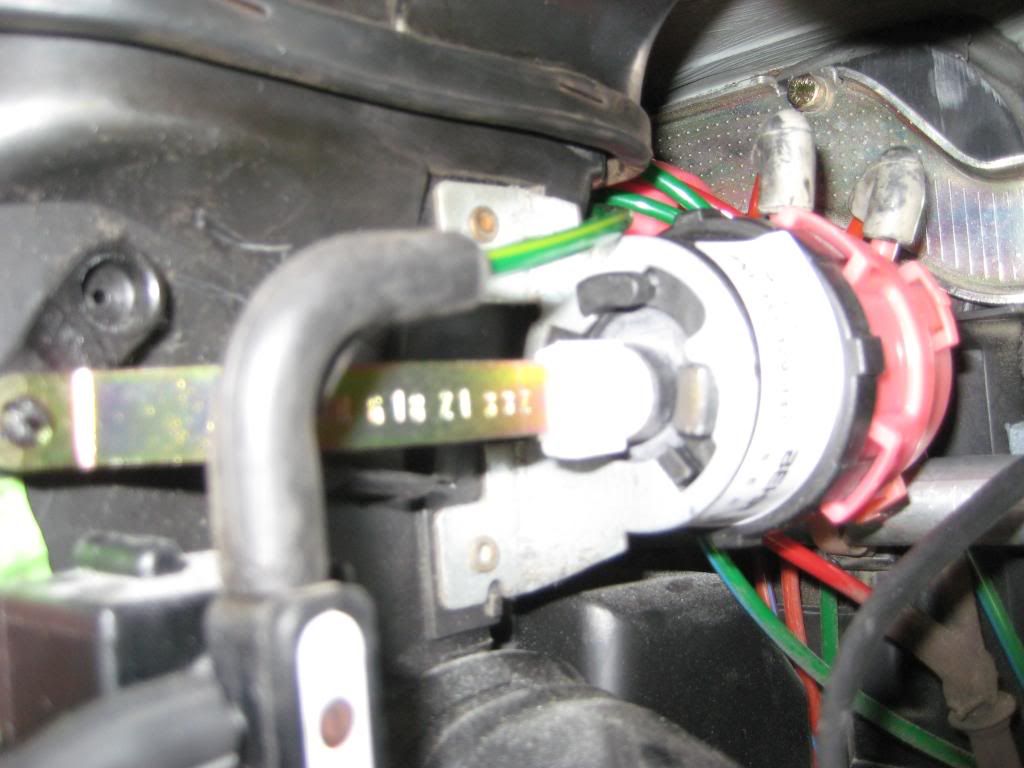
The first picture shows the driver side duct connected. The second picture shows the passenger side duct connected. The junction is right at the top of the picture -
2) This step is tricky. Align the holes at the lower center of the dash with the slots in the upper ledge of the center console. Allow at least a half inch vertical gap between the bottom center of the dash and the top of the center console. Drop the carriage bolts into the dash holes from the center vent cavity. Slide the clips over the bolts. Not a lot of room to do this so you have to be more creative than elegant. The alternative is to put the bolts in place with the dash higher. I tried this but there wasn't enough clearance below the center vent duct to allow the bolts to clear the the console ledge.
The first picture shows how I couldn't get the clipped bolts over the console ledge. The second picture shows plan B with a vertical gap. The third picture shows the driver side bolt in place through the slot in the console ledge. The fourth picture shows the passenger side bolt in place -
3) Trickiness continues. The first picture shows the passenger side carriage bolt in place. The second picture shows the clip sliding into place. I don't remember if the bottom tangs of the clip go between the dash bracket and upholstery or below the upholstery. Below the upholstery is easier but the clip seemed deformed so I slid the bottom tangs between metal and upholstery. The third picture shows the clip in place. The far end of the clip has a tab that hangs on to the carriage bolt -

4) The nuts that go with the carriage bolts have captive washers. The nuts take a 10mm wrench. Here are the nuts in place -
Lots more to do but I found that to be the most difficult part.
5) Put the 2 screws, 1 in each speaker cutout. The screws take an 8mm socket -
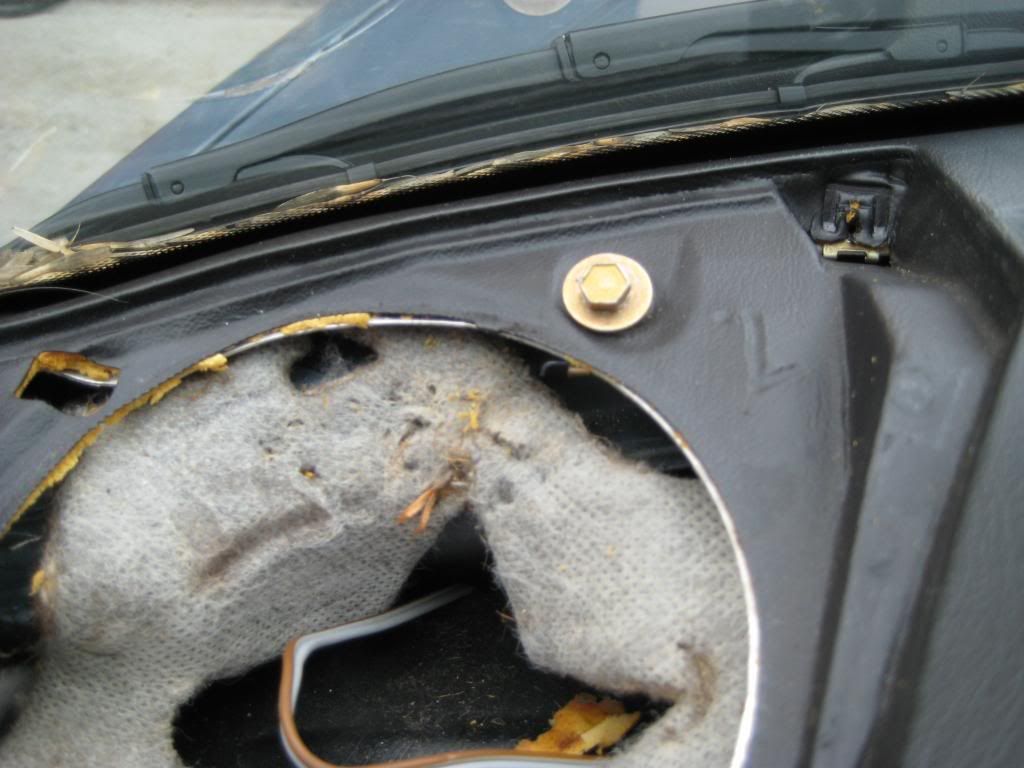
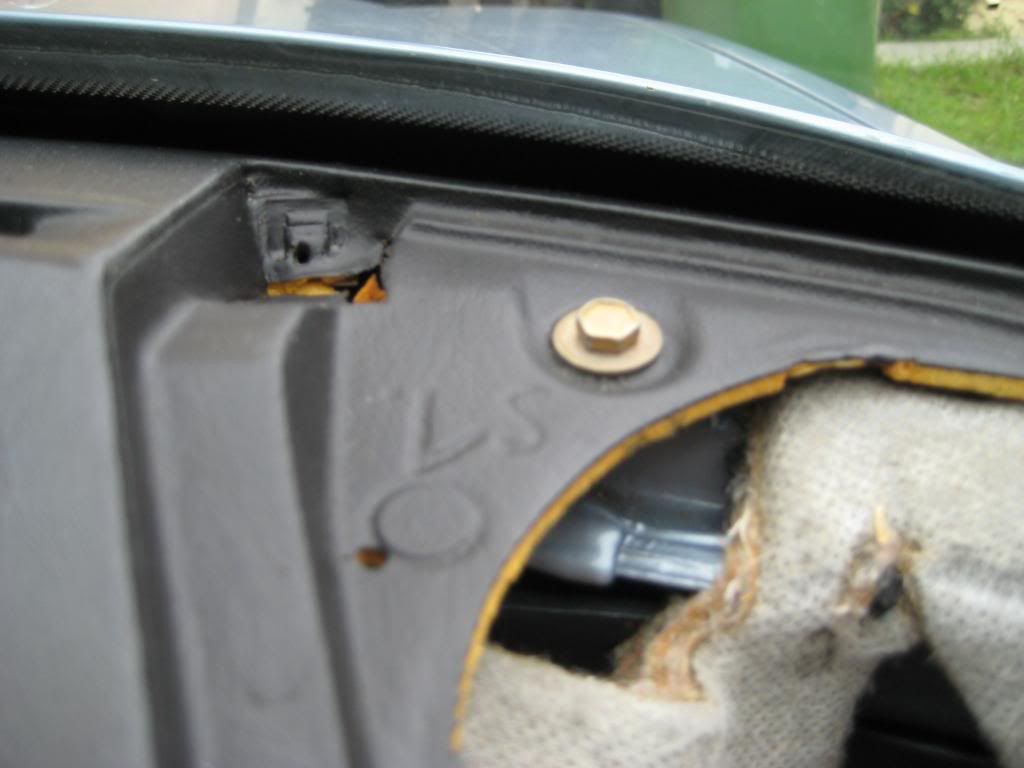
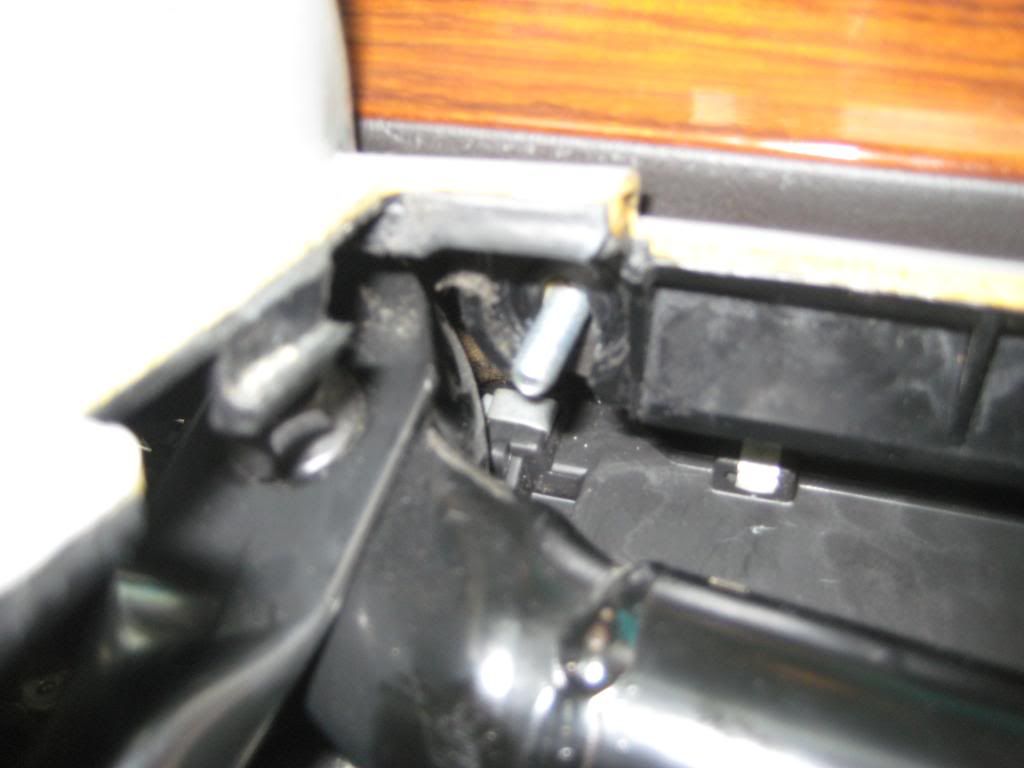
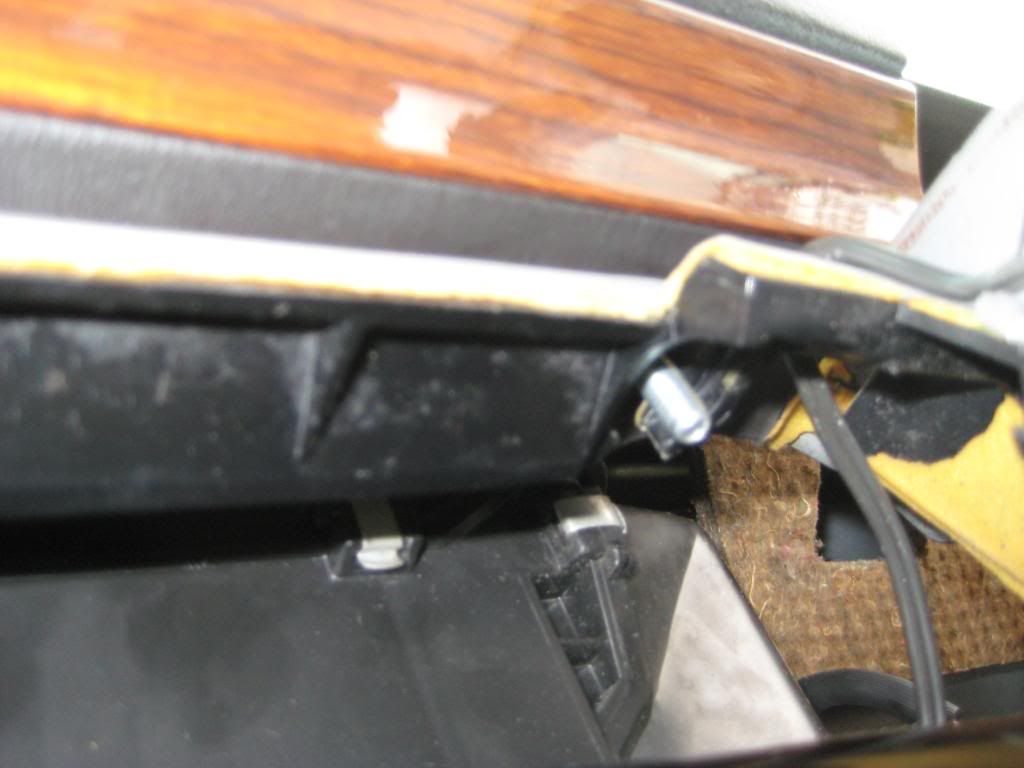
6) The last structural attachment is below the driver A-pillar. You should have a gold colored J-shaped clip. Hook the bracket in the square hole then pivot it so the hook is towards the forward end of the car. Insert the Philips head screw through the dash, bracket and into the nut clip at the far end -
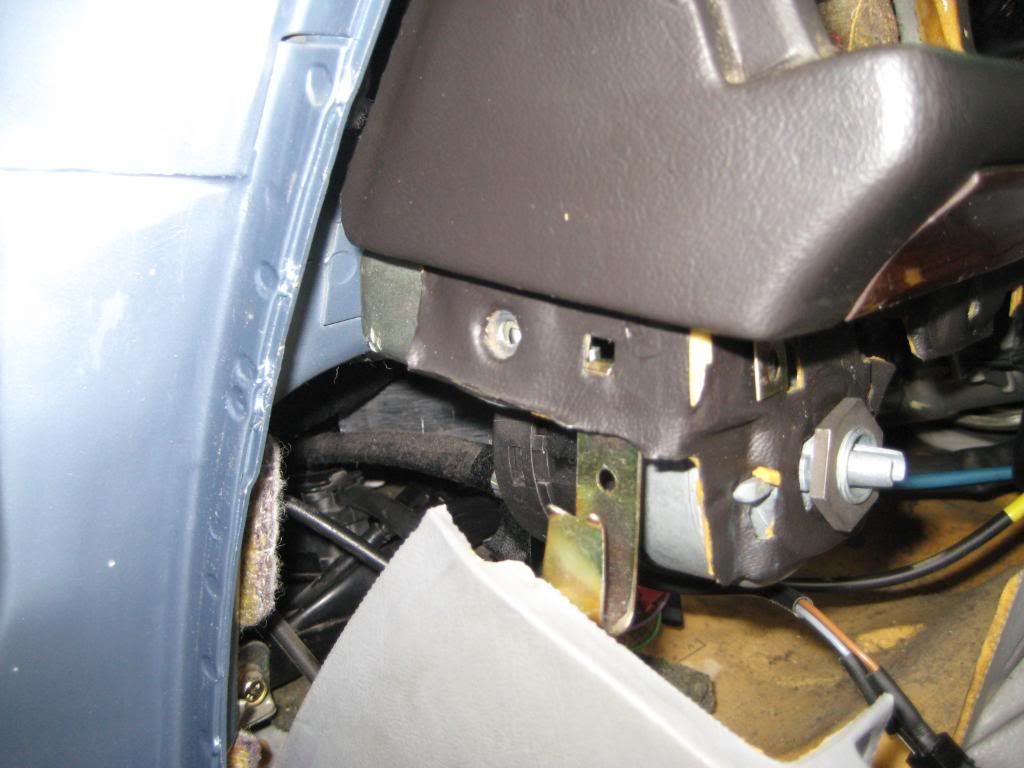
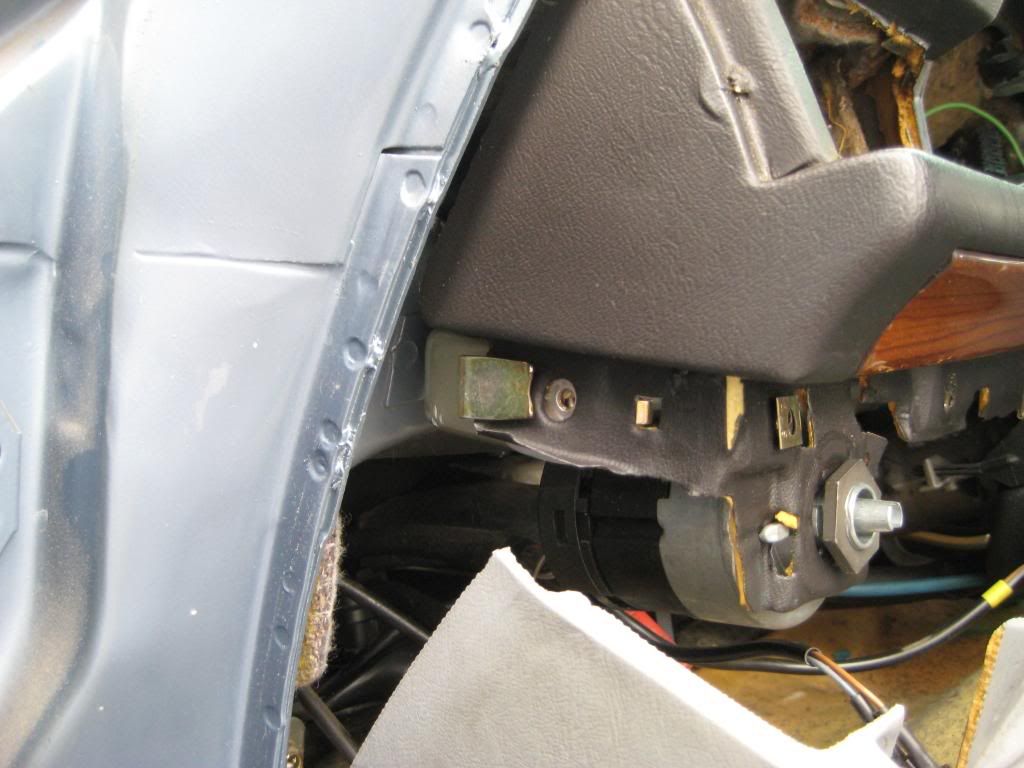
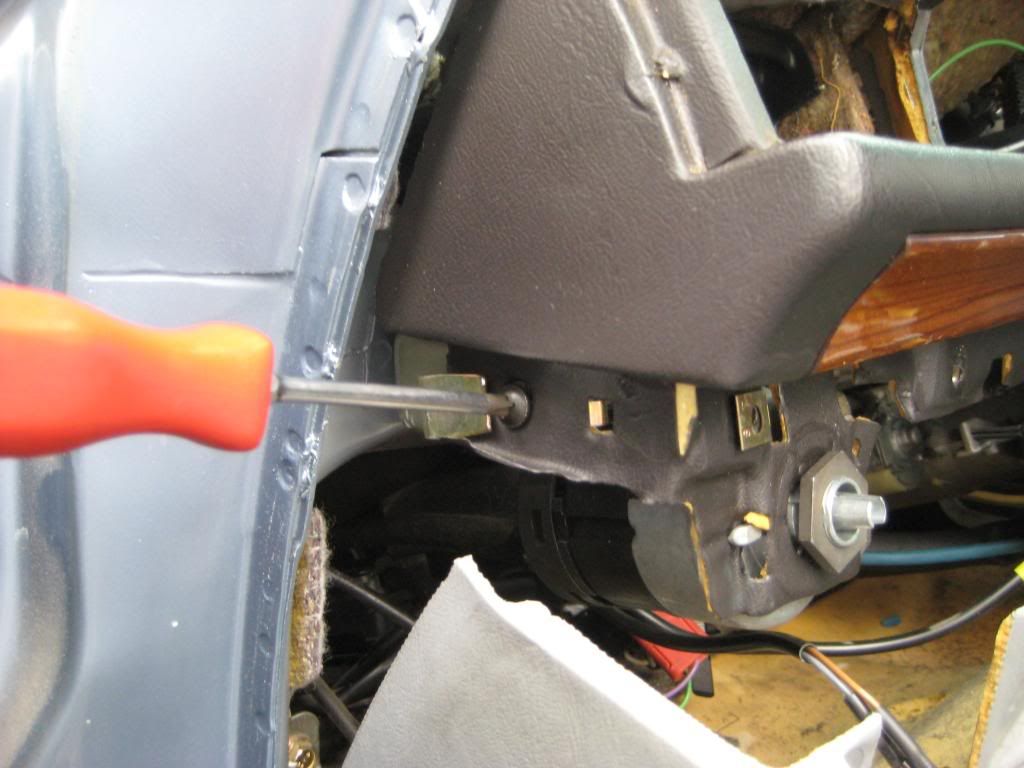
For reference, the bracket between the headlight switch and driver side vent duct is what the screw attaches to. Make sure there's a nut clip on the bracket aligned with the hole.
There is no corresponding bracket on the passenger side. The J-shaped clip should still be on the dash.
7) This step isn't structural but if you don't connect the speakers now, you might never get to it. The speakers don't have to come off the dash. I removed the speakers because the new dash had mismatched speakers, one was a factory looking 2-way, so I installed my original matched speakers. You might be strong enough to pry off the the speakers with your fingers. Otherwise gentle prying will lift an edge and you can work your way around to release the speaker. The speaker electrical connectors are unique. Fish out the harness connector then mate the connector ends. The backside of the speaker has 2 spring clips and a tab. I set the tab towards the windshield edge of the cutout then pressed the speaker into its hole -
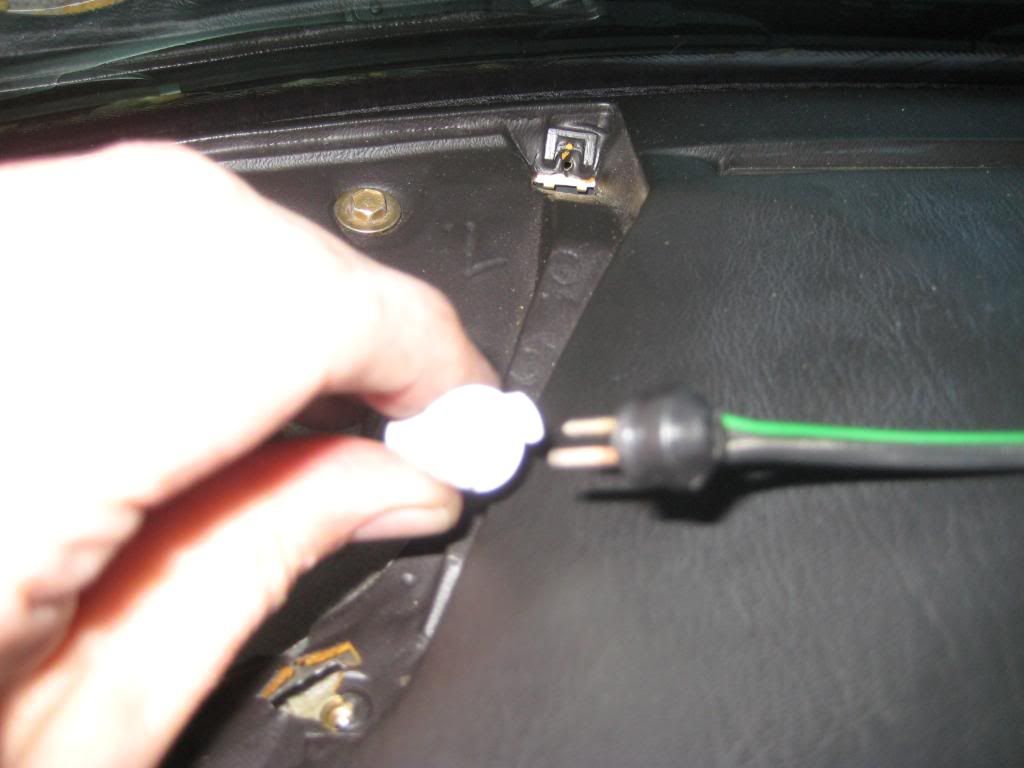
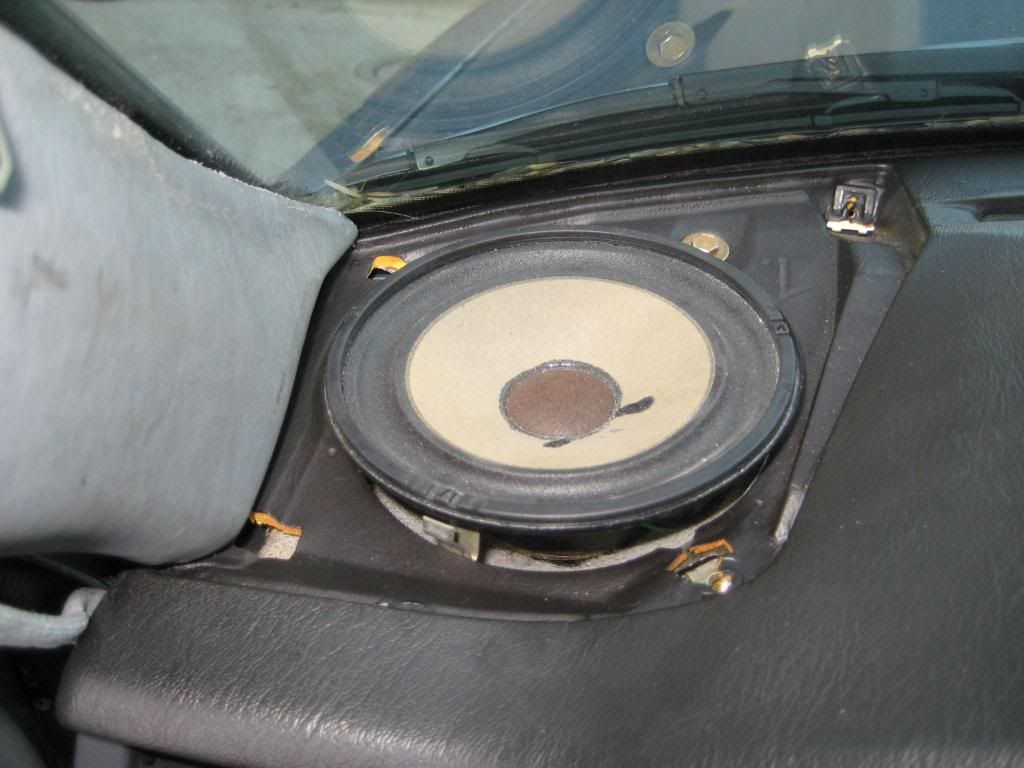
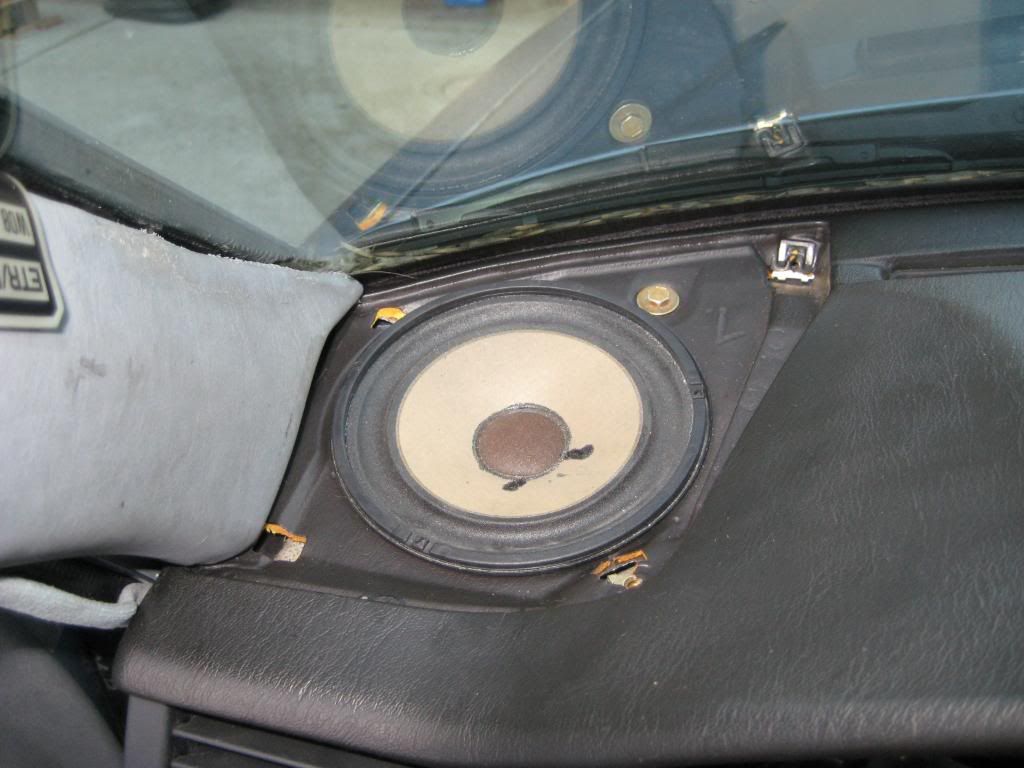
If you don't remove the speakers, fish out both ends of the connectors through the gauge cluster and glove box cavities and mate the connectors.
I'll end this chapter here.
Sixto
87 300D