I just finished my 300TE passenger airbag retrofit project! It was as simple as playing with Lego’s, only I had to move a whole lot of them around and it took a little more time than I expected it would. Still, it was just as fun.
I did the project “by the book.” That is, without splicing wires or modifying parts. Every replacement piece installed to do the job came from various donors with the passenger airbag as original equipment. The retrofit was actually an option that a dealer could add, so I figured, why not me?
I also took loads of pictures and will put them into a pictorial sooner or later with detailed instructions so anyone with enough of a desire can do so as well. In the mean time here are some samples:
To start with, no airbag as I recently bought the car:
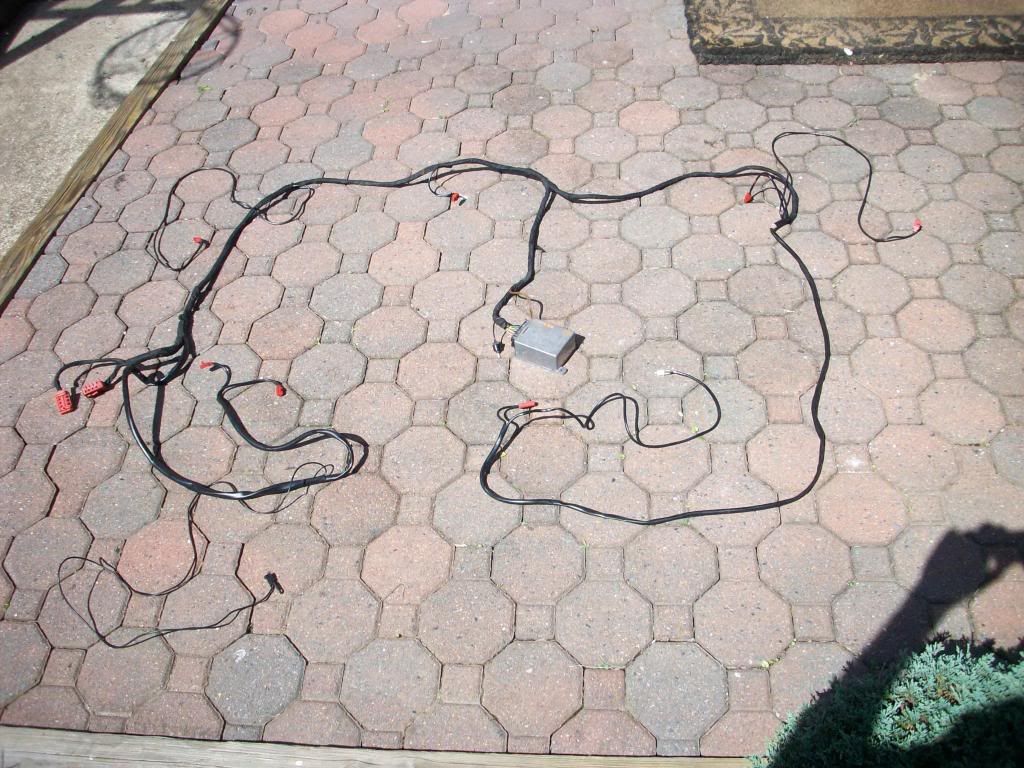
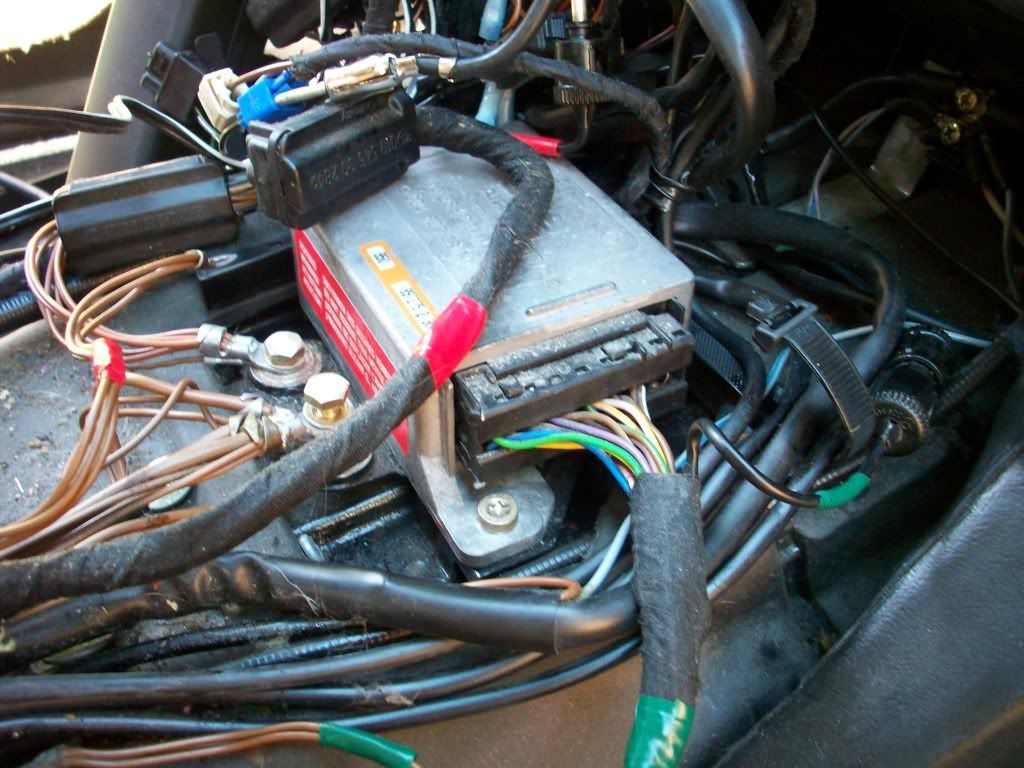
Here is the donor harness and control module. Removing it for the donor car was a pain. There are connectors at the front seatbelts, front seats, each airbag, the underhood test port, the control module, the test plug, and at the instrument cluster SRS warning light. I did not want any splices, so getting it out meant no cuts. Just the same, I went over every last mm of wire checking for kinks, scraps, corrosion, etc. . .
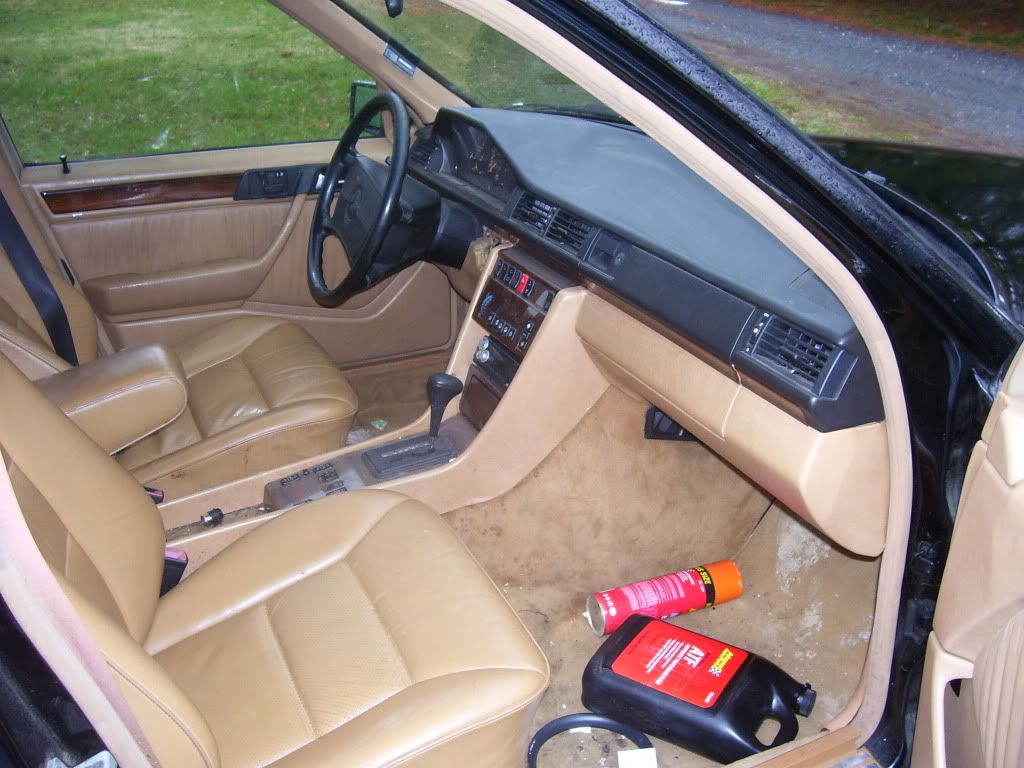
To properly lay the harness you need to access the under carpet cable trays, which means removing the front seats. This picture was taken from the driver’s seat area looking towards the center console.
I went ahead and removed the carpet all the way so I coulds scrub the hell out of it.
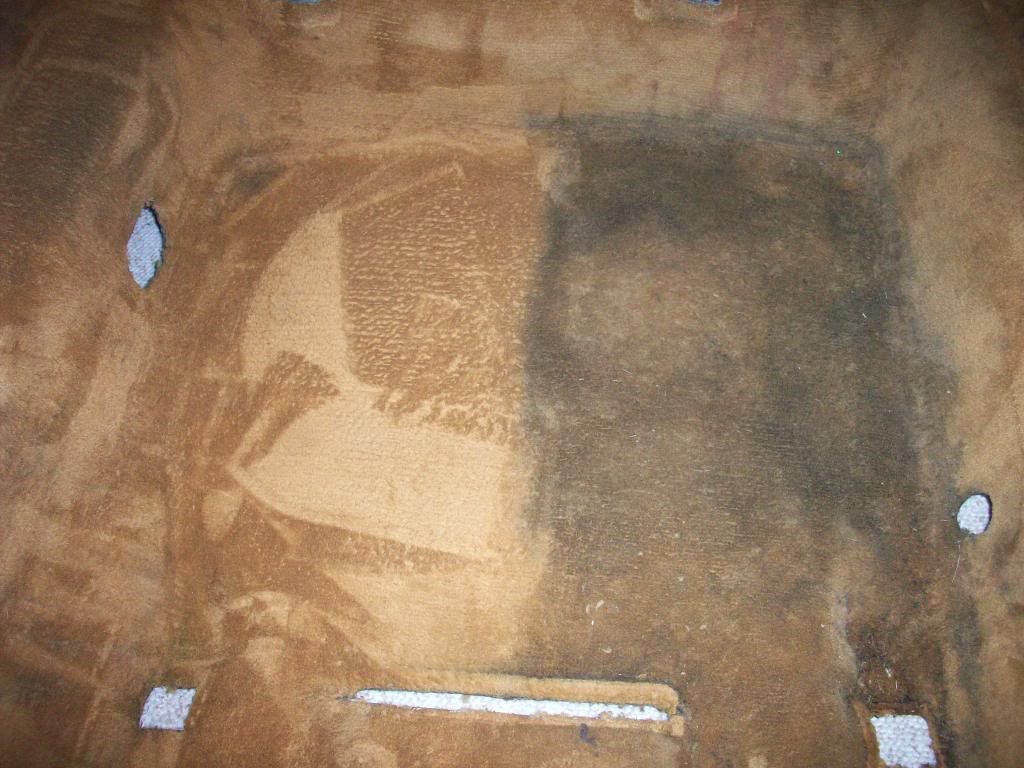
I used up a lot of elbow grease but the result was well worth it.

I found about $3.00 in change.

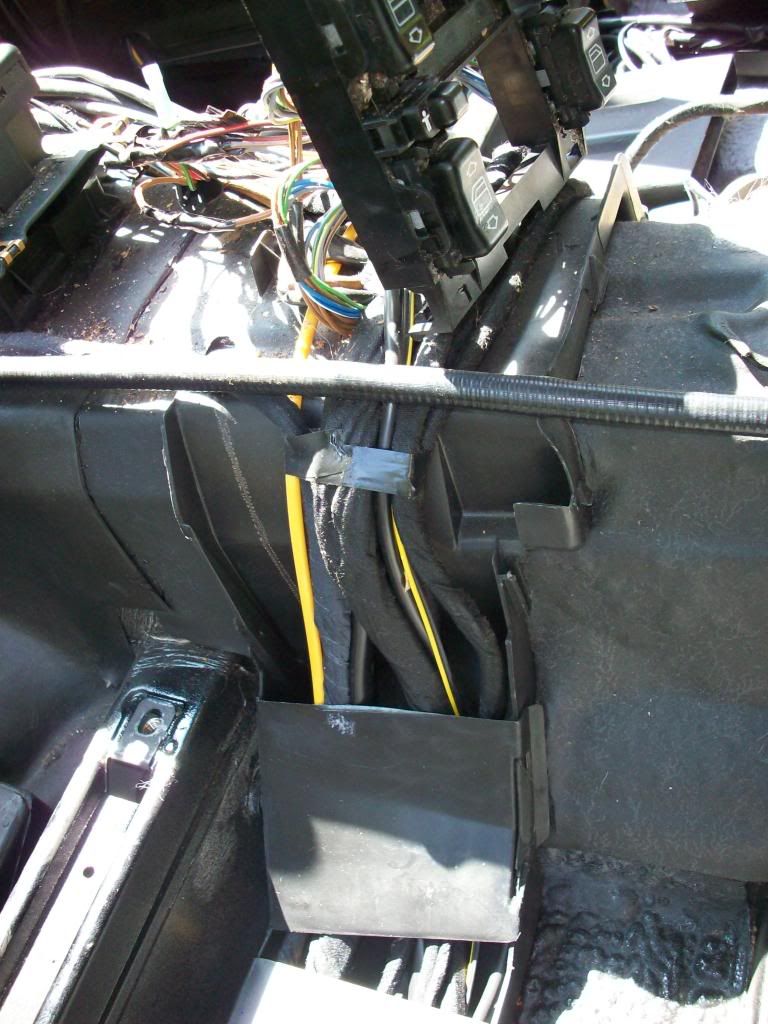
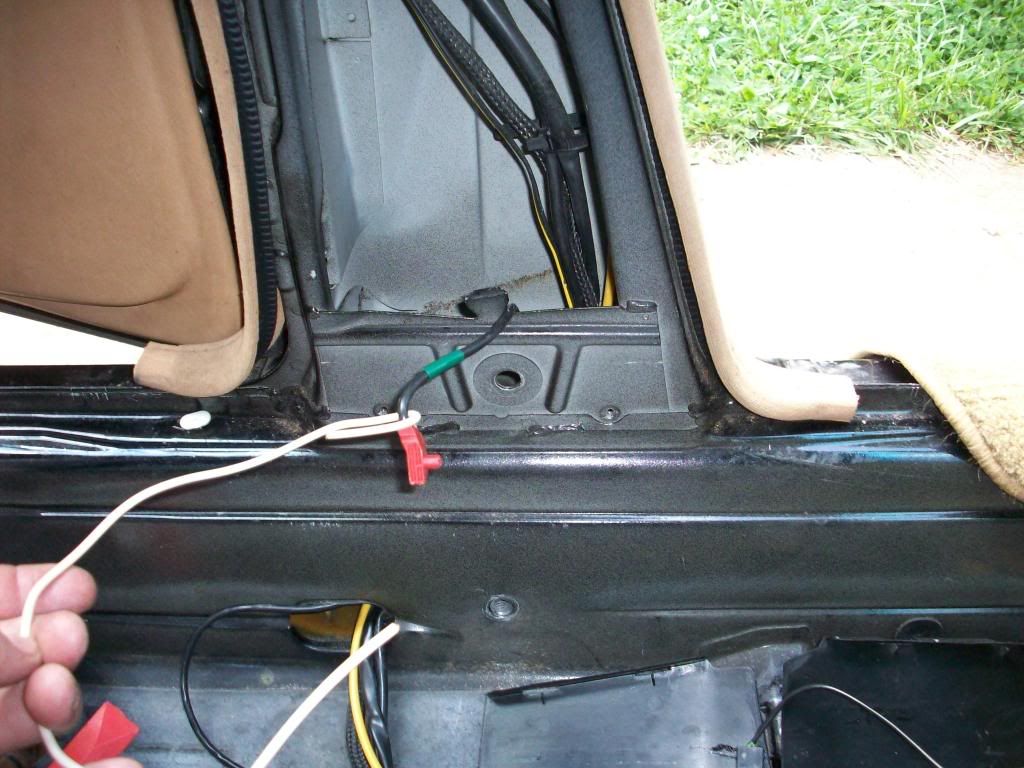
Here is getting the driver’s seatbelt connector through the cable runs. Note the green tape on the cable; I put red tape on all the old connectors and green on the new before I started the switch-over. I did not want to waste anytime running the same connector twice.
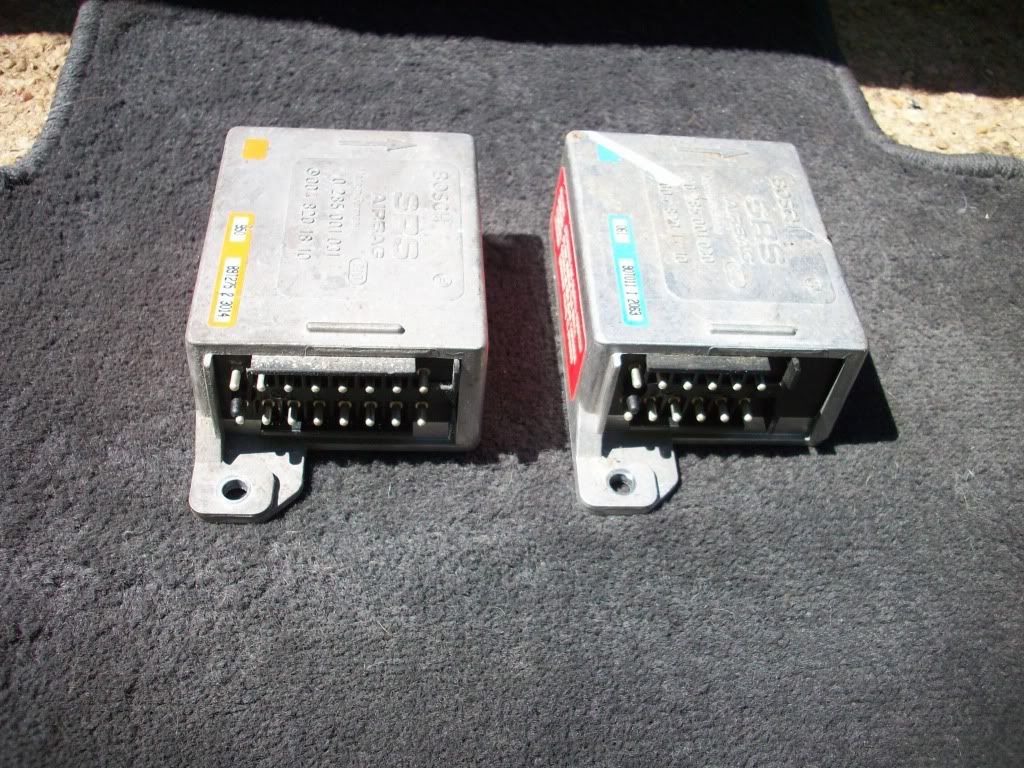
Here is the old (right) and replacement (left) control modules. Note the number of pins is different.
Here is where the control module is buried away. Note again the red and green tape.
One of the more difficult things to do was to replace the underdash support bracket that runs from the passenger door at the “A” pillar over to the ignition switch.
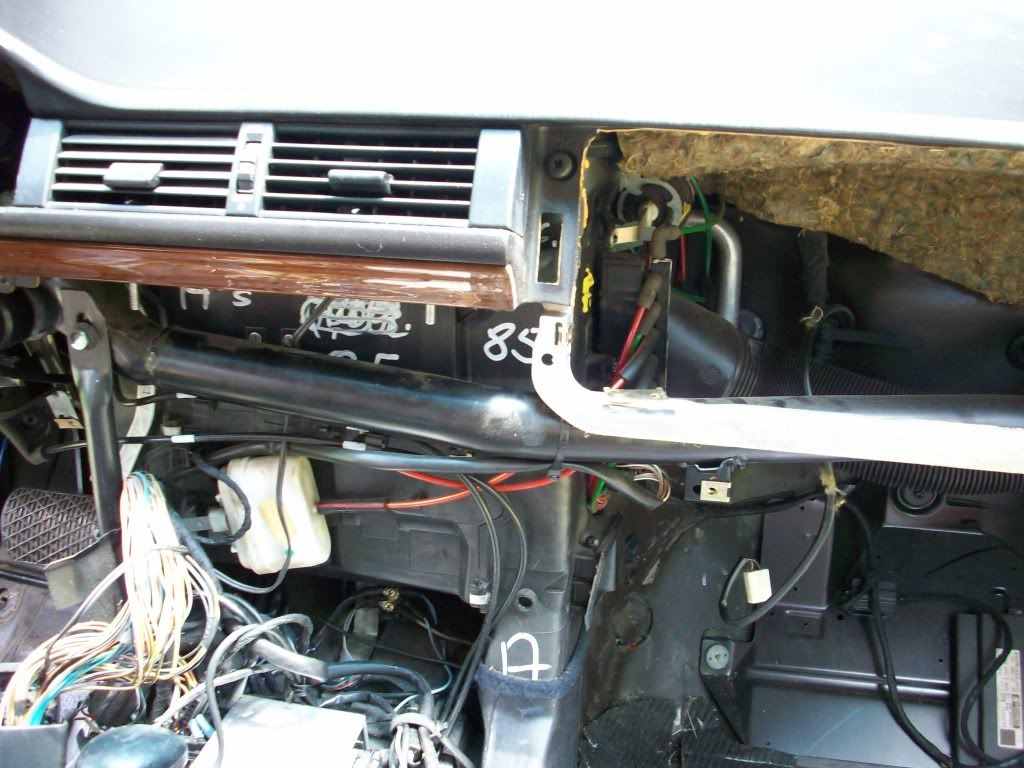
Getting to the four nuts by the ignition switch required lifting the front of the dash about an inch.

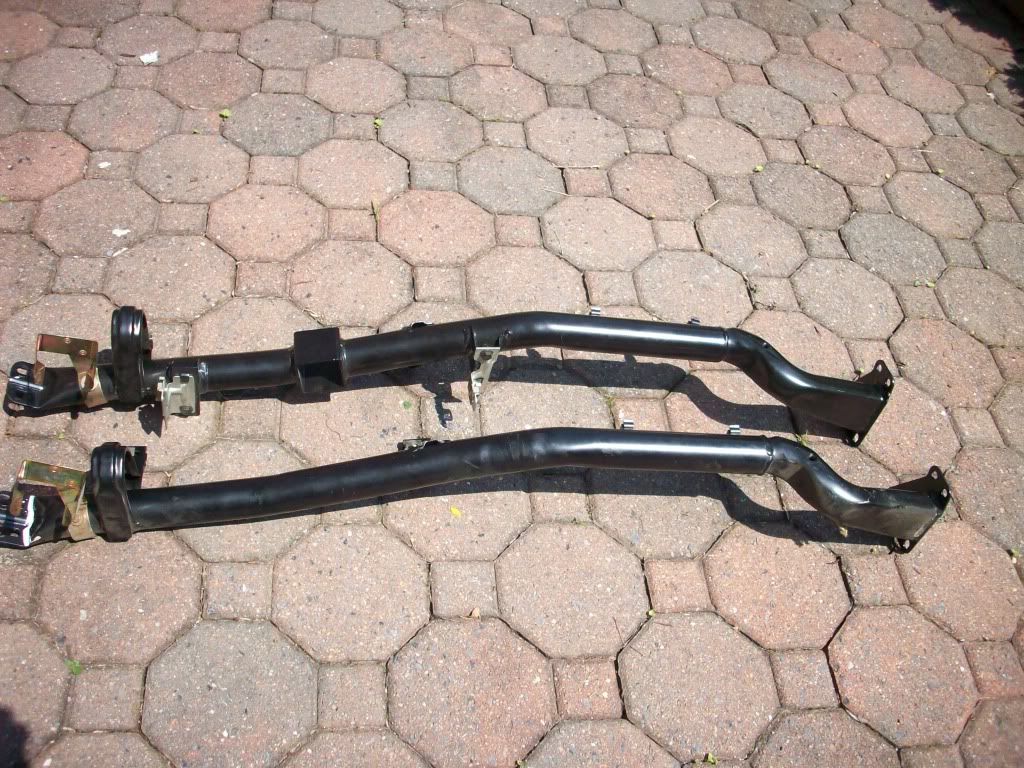
Here are the two bars side by side. The donor is on the top.
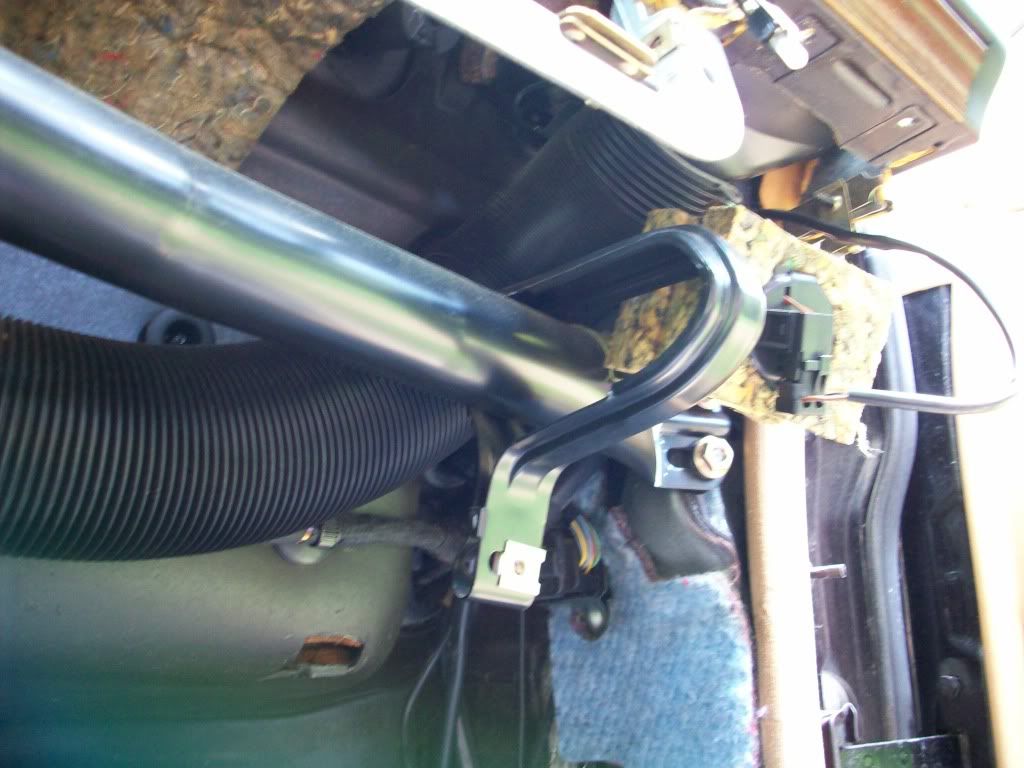
Here is the new airbag support hardware with rests on the under dash support bracket.
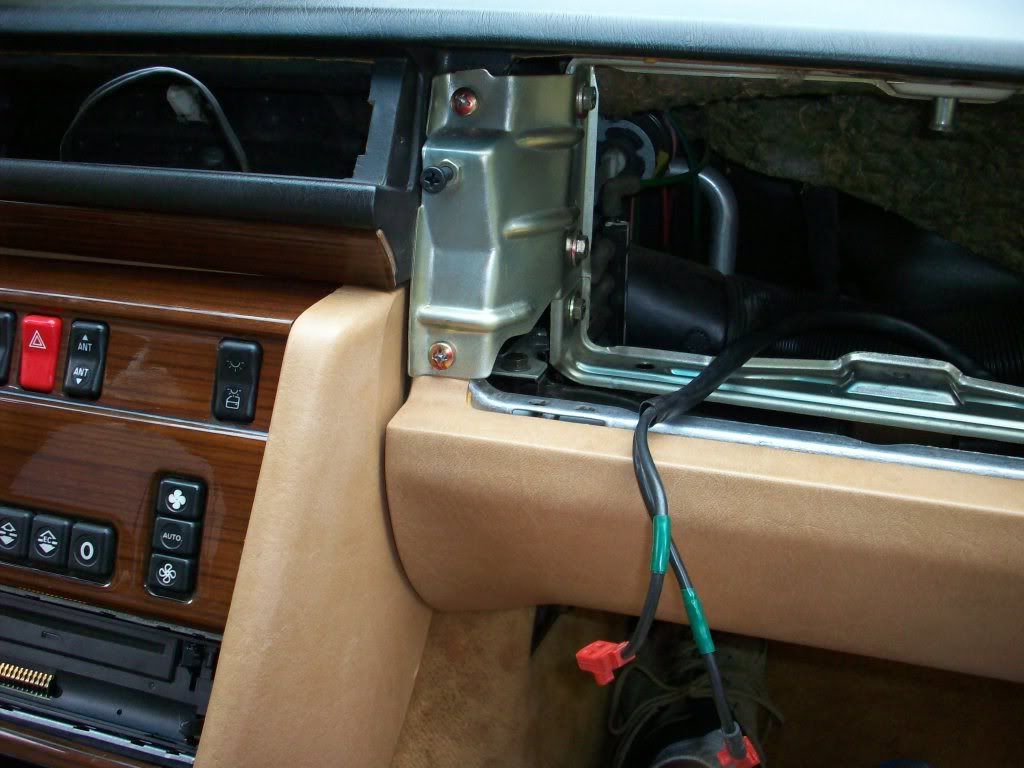
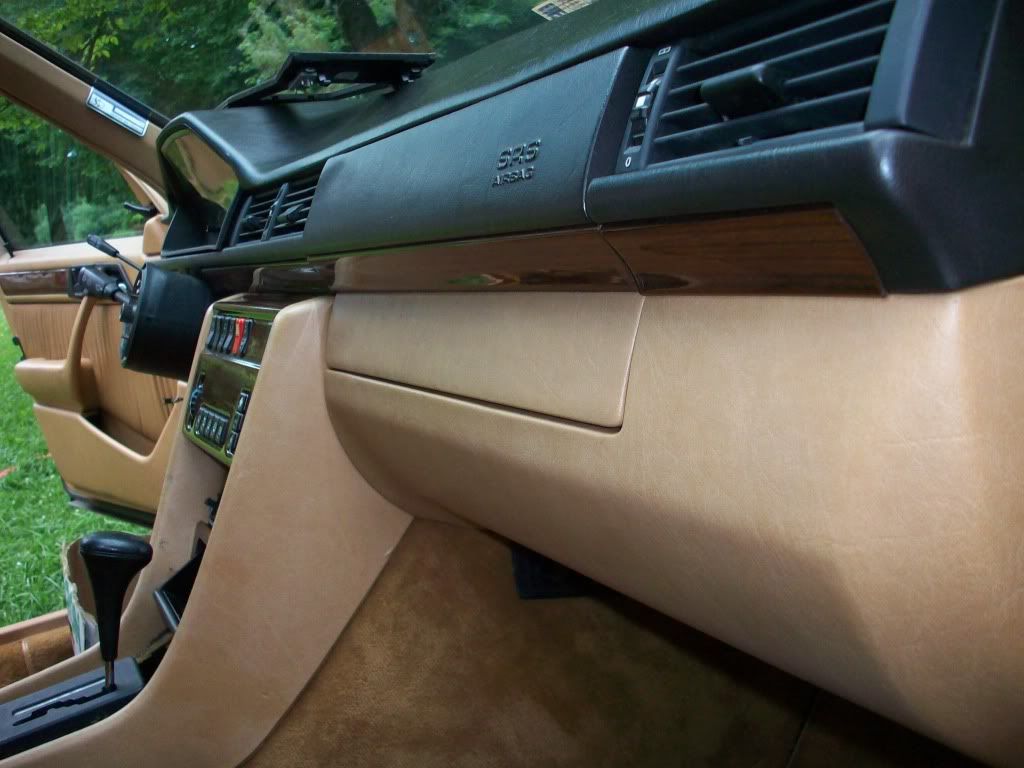
Here is the finished product!
How I can’t wait to test it - okay, not really. The test SRS warning light works okay though.