I use heavy plastic/rubber, and other materials between my work bench and these parts, to protect from impact damage of precision machined surfaces..
Everything must be kept clean, and the pump gears/sump thoroughly lubricated (drowned in ATF) before re-assembly.
You should plan to use up several quarts of ATF, cleaning, lubricating, and random minor spills.
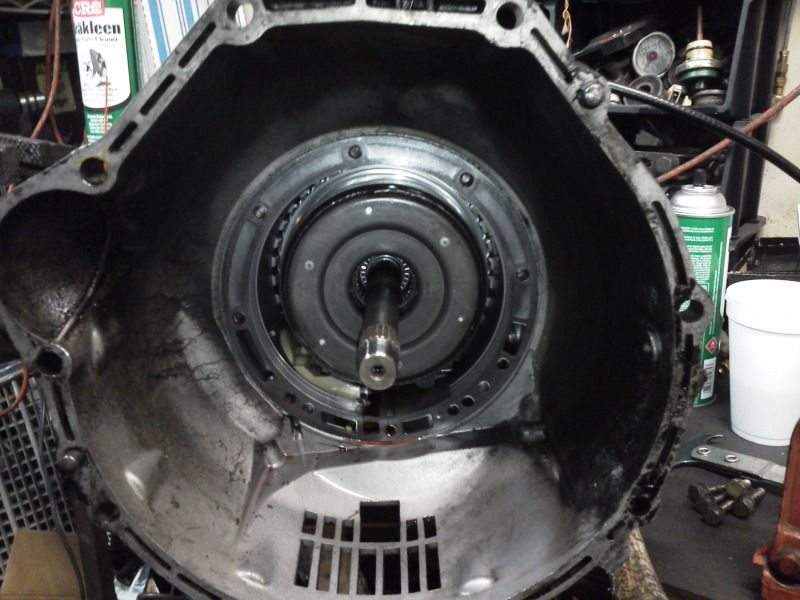
#1. Remove the torque converter.
#2. Remove the 13 MM pump face bolts.
#3. There are two threaded blind holes in the face plate, screw two of the 13 MM pump face bolts in the holes and use them as handles to pull the pump assembly out.
.
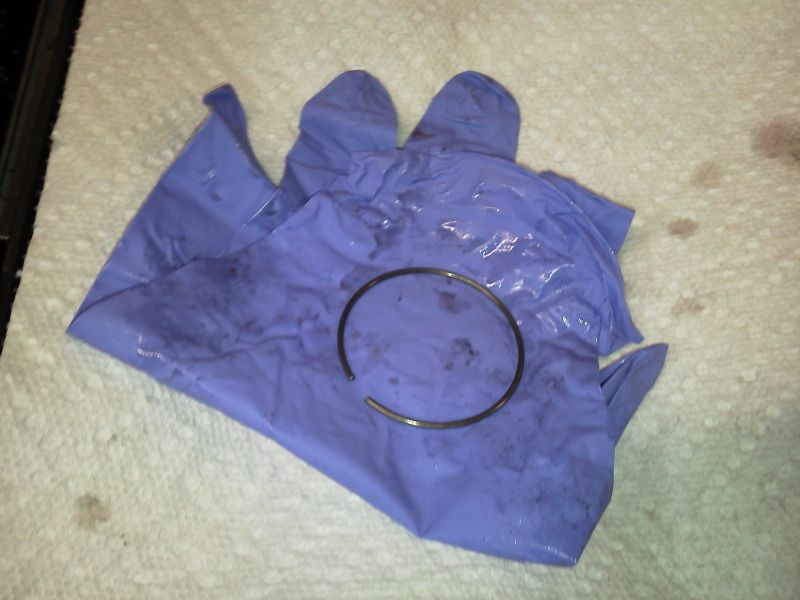
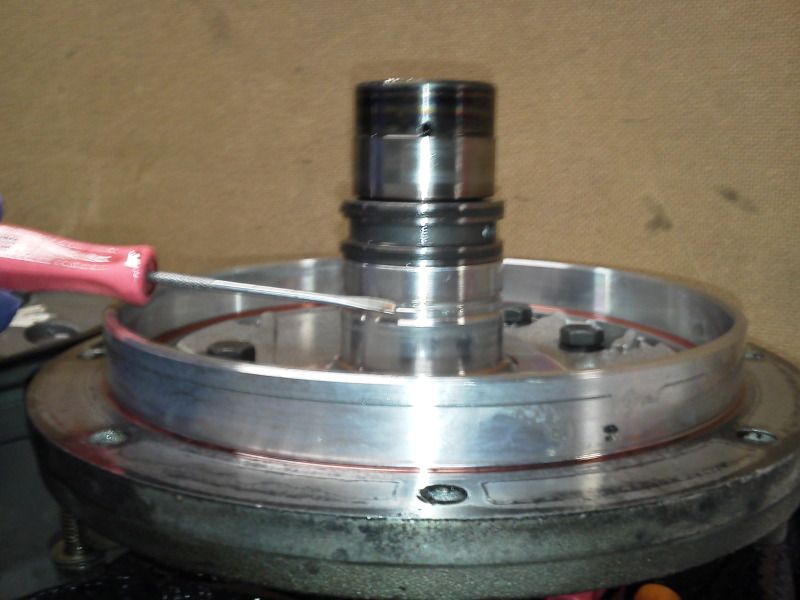
#4. Remove the Teflon rings from the shaft to prevent damage.
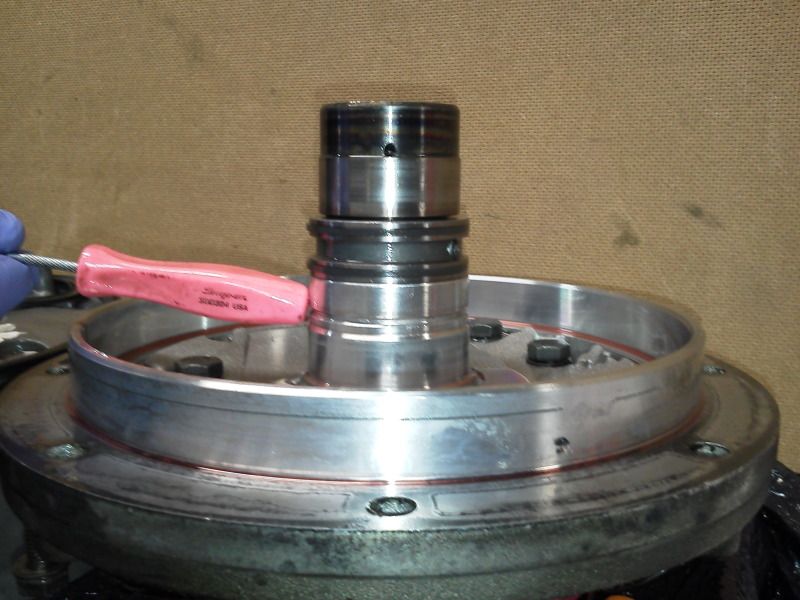
#5. This may require a helper to push down on the spring plate, exposing the snap ring you must remove.
.
#6. This is the snap ring you must remove.
.
#7. These two pictures show the snap ring seating groove.
.
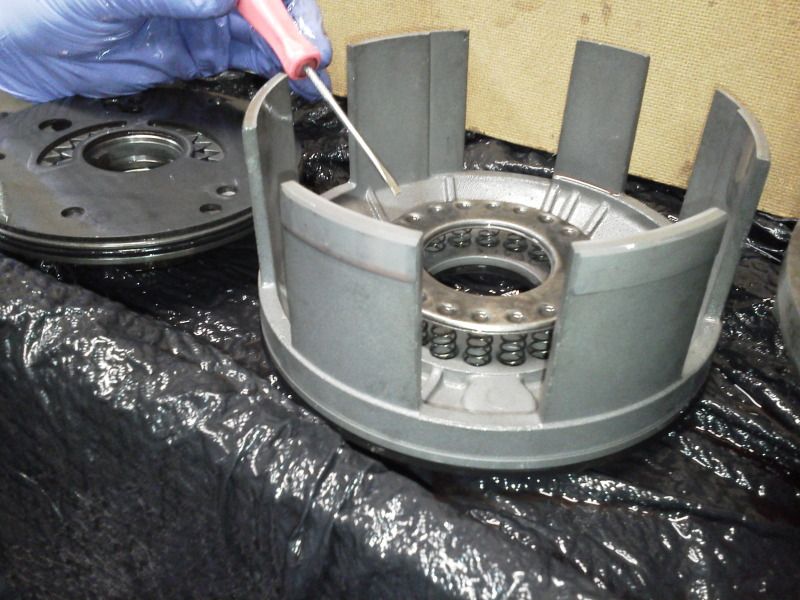
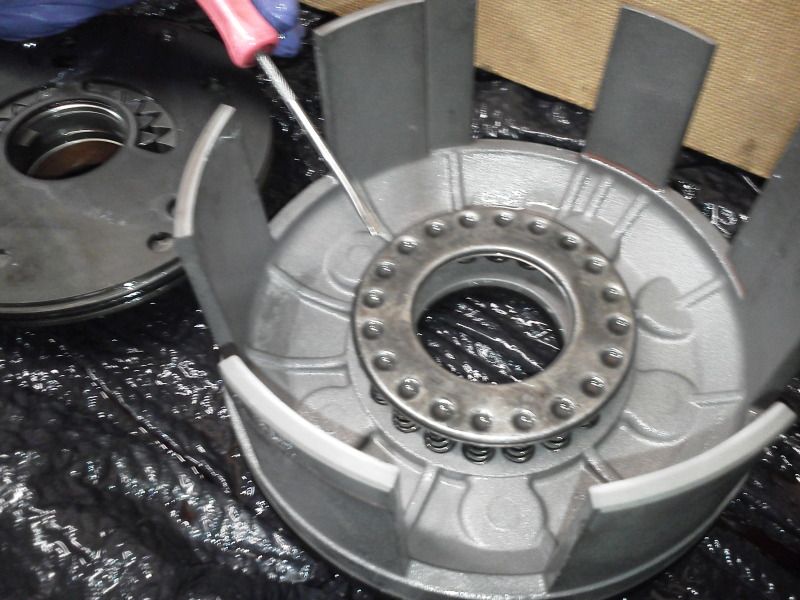
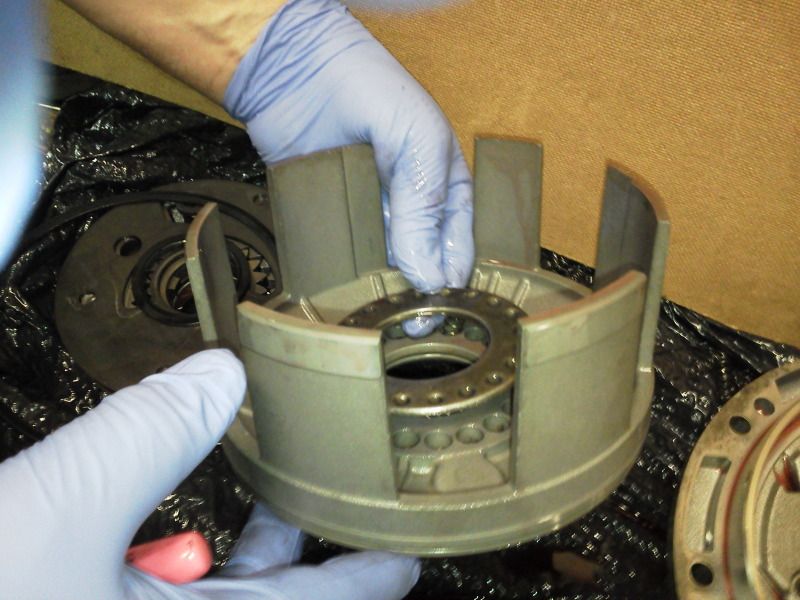
#8. You must remove (piston LB3) the large aluminum piston/basket.
.
#9. You must remove the 13 MM inner pump face bolts.
#10. I use three of them in a triangle pattern (screwed in three turns), to carefully drive out the outer pump face.
#11. Put the end of a hammer handle on the bolt head and thump the top (hard) with your hand, go to the next bolt repeating as needed until it comes loose.
#12. Remove the three bolts, while holding the pump/face plate.
#13. Lower the pump/face plate, and lift off the body.
#14. Take special note of the hole pointed out in this picture.
.
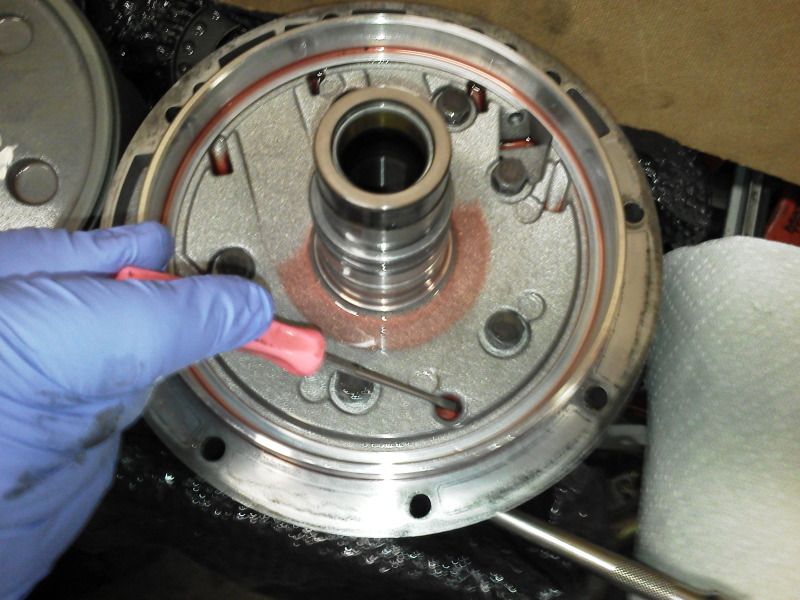
#15. This picture shows the (piston LB3) Alignment Pin that MUST go into the hole during re-assembly.
.
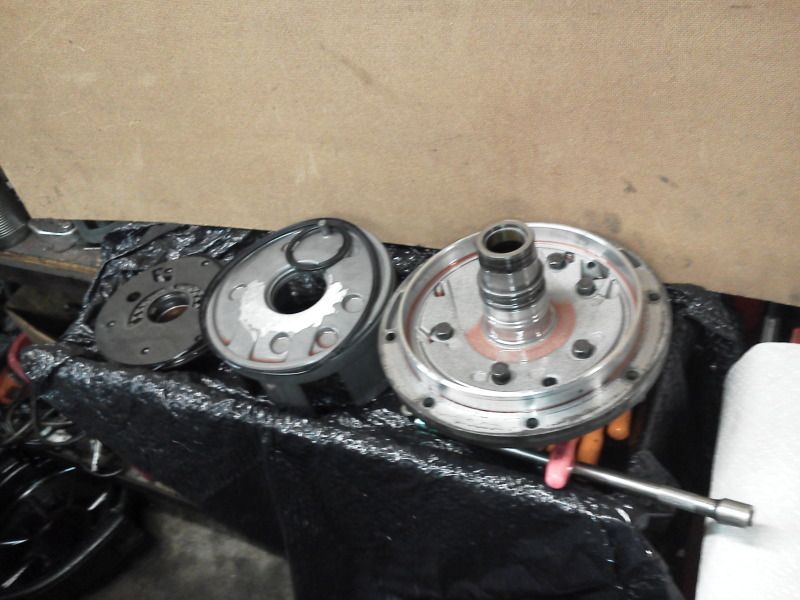
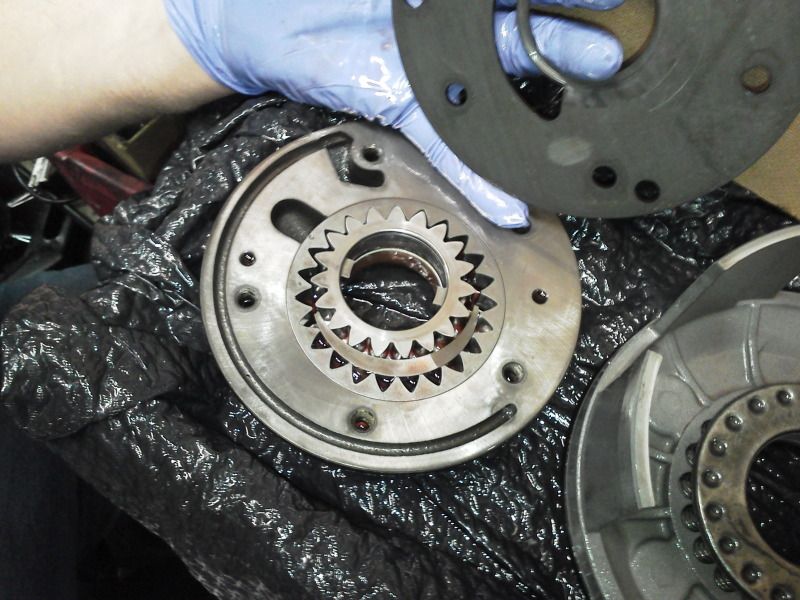
#16. This picture shows From Left to Right:
*(LEFT) The pump/face plate with gears and spacer/surface plate. Do NOT remove the gears.
*(CENTER) The (piston LB3) large aluminum piston/basket.
*(RIGHT) The pump main channel body.
.
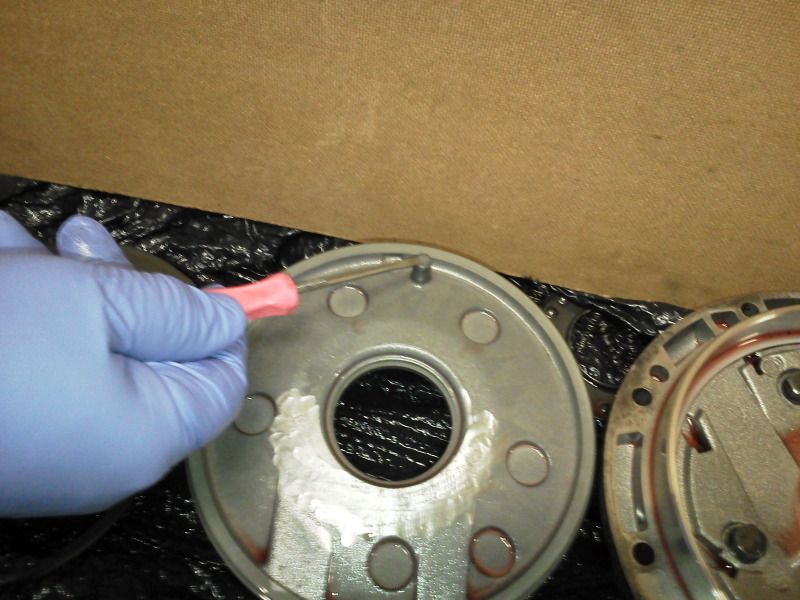
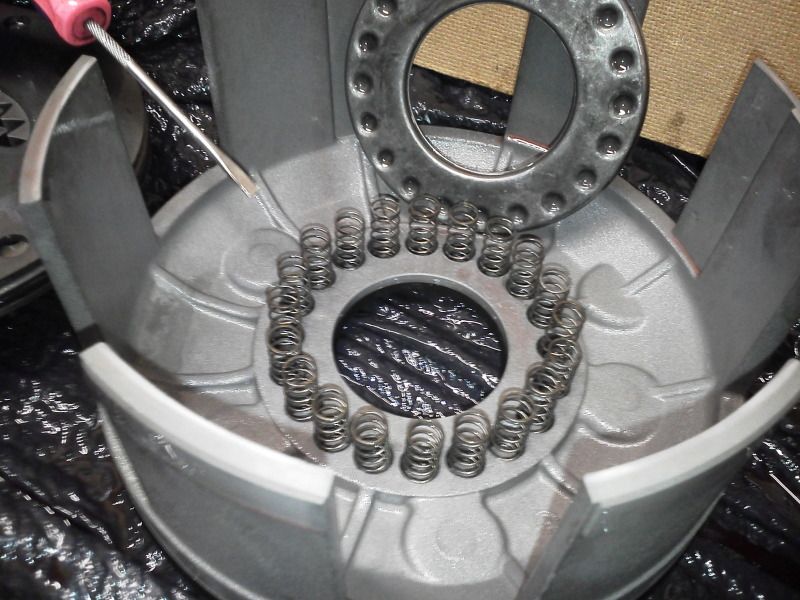
#17. The springs should be removed during service, because they WILL fall out and get lost..
.
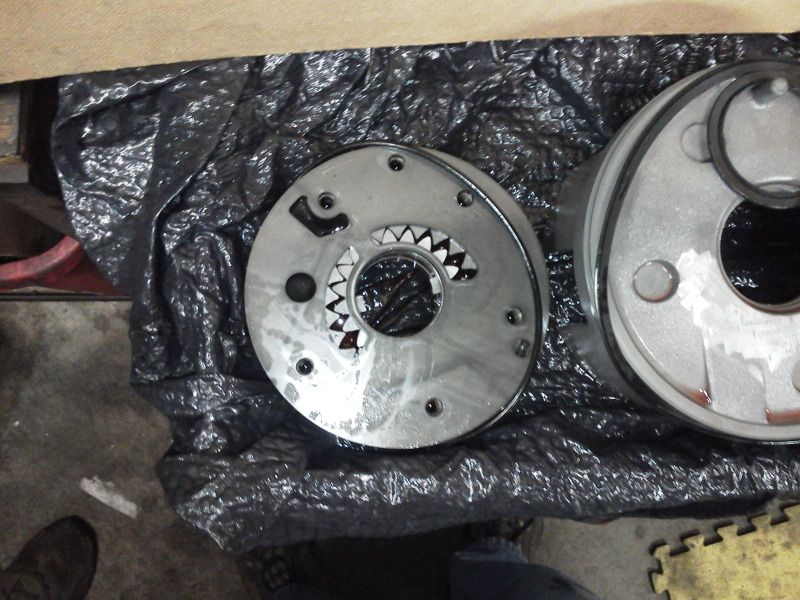
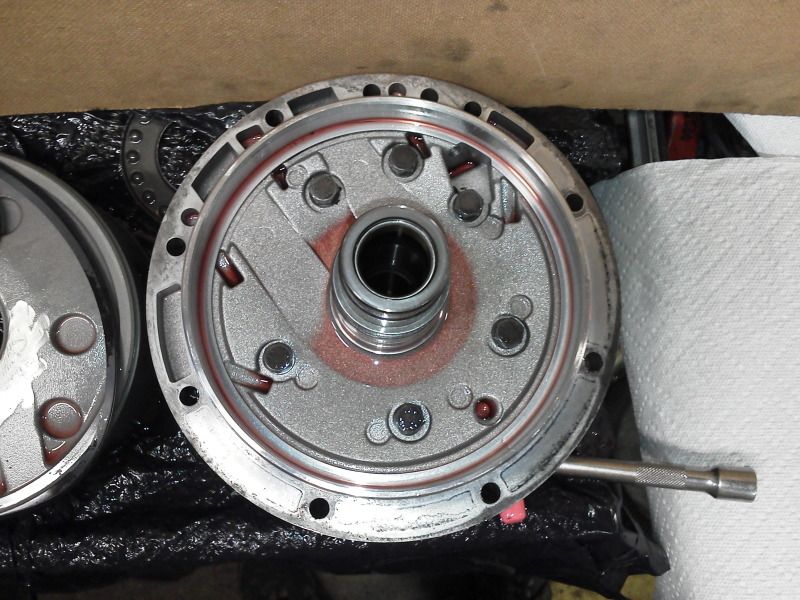
#18. This picture shows the pump/face plate with gears and spacer/surface plate.
* Do NOT remove the gears.
.
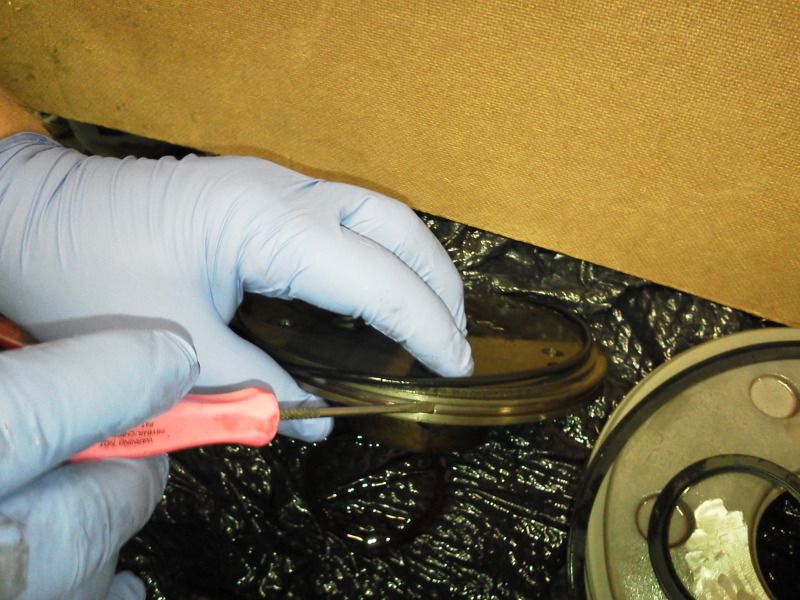
#19. Replace the O-ring on outer edge of the pump/face plate.
* Do NOT remove the gears.
.
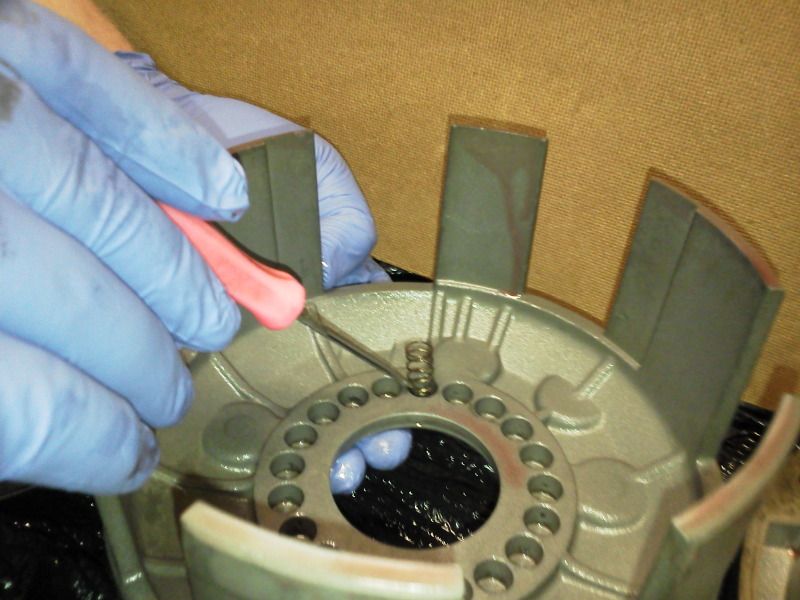
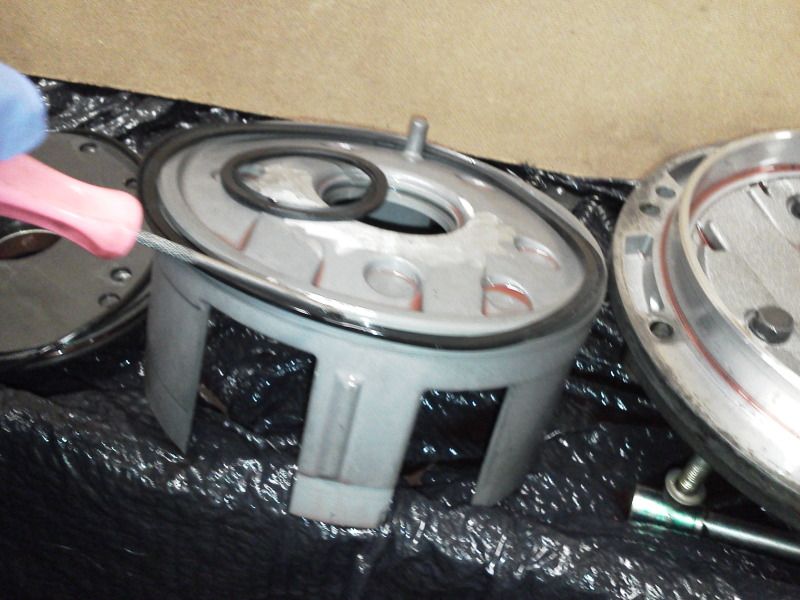
#20. Replace both angle seals (center and outer edge) (piston LB3) the large aluminum piston/basket.
#21. WARNING: Both angle seals must have the lip toward the front of the transmission..
To re-seat the pump seal rings, I made two special tools:
#A1. was for the small inner rubber pump cover seal, I used 4 mil plastic wrapped around the shaft, and ten inches tall for a good grip.
here is another possible option
PeachPartsWiki: Replacing Front Crankshaft Seal with "Special Tool"
#A2. Was for the large inner rubber pump cover seal, I used 4 mil plastic around 1/3 of the perimeter.
.

 #22. STOP; this is NOT ready for assembly.
#23. Everything must be thoroughly lubricated (drowned in ATF) at every step, before re-assembly.

.