After seeing many of the boost pressure gauge installation pics here on the forum I thought you guys might like to see this.
EDIT: Updated for larger picture, sorry I posted the thumbnail link the first time around.
My Procedure:
Removed the clock hardware below the tach. Bored a hole into the back of the housing to accept the gauge's fitting for the line and to create a firm mounting (beware if you do this yourself, remove the three outer screws to release the tachometer first, as metal shavings will be attracted to the magnetic raceway of the tachometer). Tee'd into the ALDA-turbo connection to tap the boost reading.
Removed the gauge face for the tach/clock portion (be sure to pry with an upward motion so as to not bend the needle's shaft on the tach). Scanned this into the computer. I took an aftermarket boost gauge and took it apart. Scanned in the face into the computer. Used photoshop (actually GIMP) to bring the aftermarket gauge markings onto the area where I wanted it. Rotated and oriented the marking where I wanted them. Cloned the numbers from the tach to the boost area so the font on the numbers would match the OE. Used the closest match of font I could find and marked it simply 'psi' in keeping with the style of the original cluster.
Drilled two small holes in the metal gauge face where the new gauge had screw holes. Enameled the screws in black to match other screws in the cluster. Applied spray adhesive to face and applied new facing. I chose to flip the gauge face and use the white side to apply, so as to do minimal damage to the OE in case I ever wanted to remove the boost gauge.
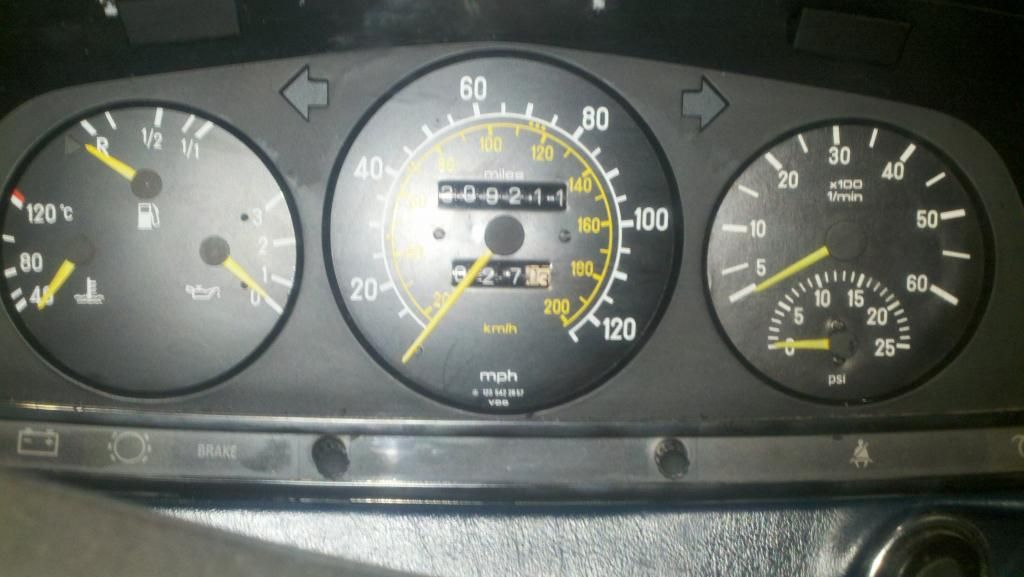
Turned out a bit messy as I got into a hurry putting the new face on (has some uneven/raised/bubbly spots) and I got my greasy fingerprints all over the inside of the cluster (should've cleaned it up with rubbing alcohol). But overall, I'm pleased with it. The flash was on the camera in this picture -- the texture/color difference from the original is hardly noticeable in person. It really looks original under all but the most intense white lights.
Hope this gives you folks some ideas for your own installations.