My 240D's rear seat backrest was in poor shape so I decided to try and rebuild it. I had no idea how to proceed so I figured I'd just tear into it and see what happened. I took a few pic's along the way and I figured I'd post them here for anyone who may want to try doing something similar. The best option would be to find replacement pads but while I found a few sources online for seat pads (the part you sit on) I couldn't find any for the backrest. So I decided to try and make do with what I could. The previous owner had already attempted to beef up the backrest with a couple of pieces of cardboard and some foam. This is that I saw when I got the seat out and vacumed out most of the horsehair pine needles and dust.
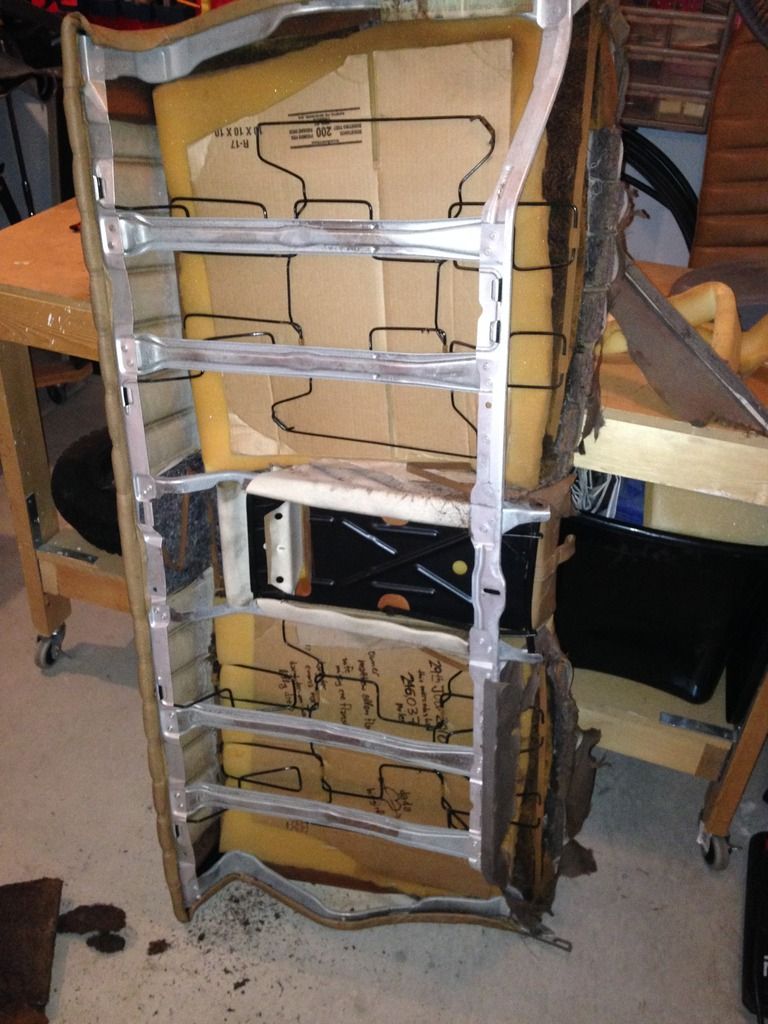
He had placed a couple of pieces of cardboard on the springs and a thin layer of foam between that and the remains of the horsehair pads.
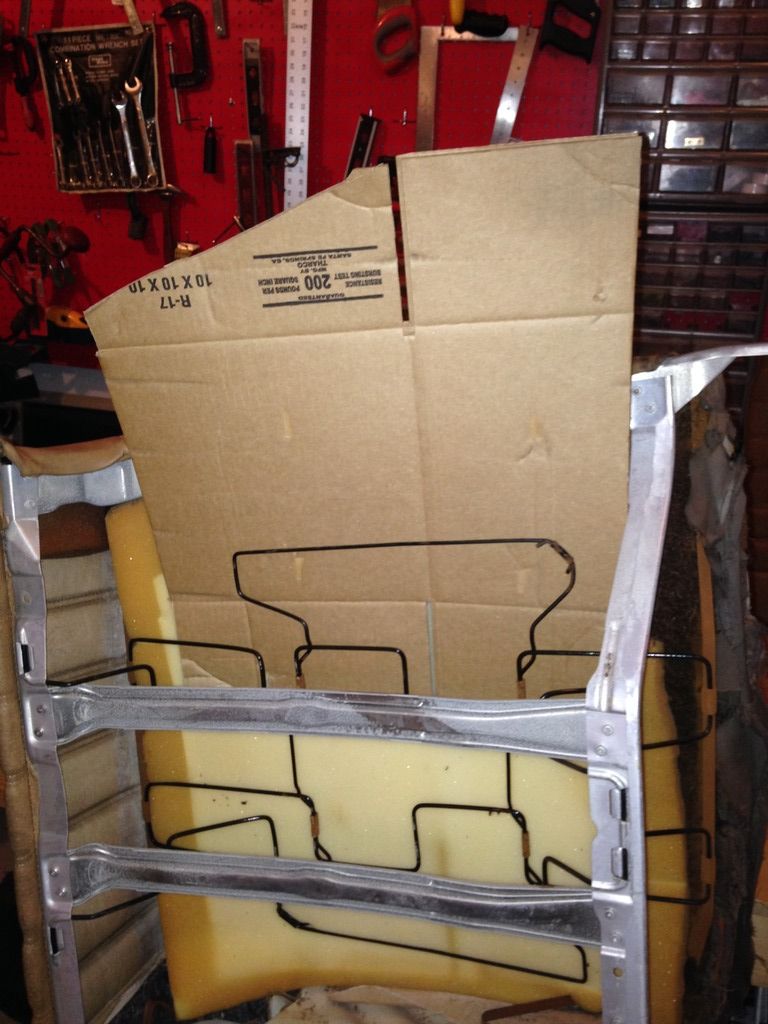
I should have removed the mb-tex itself but as I had no real clue what I was doing I went at it backwards and pulled the cardboard and foam that the PO had put in there out.
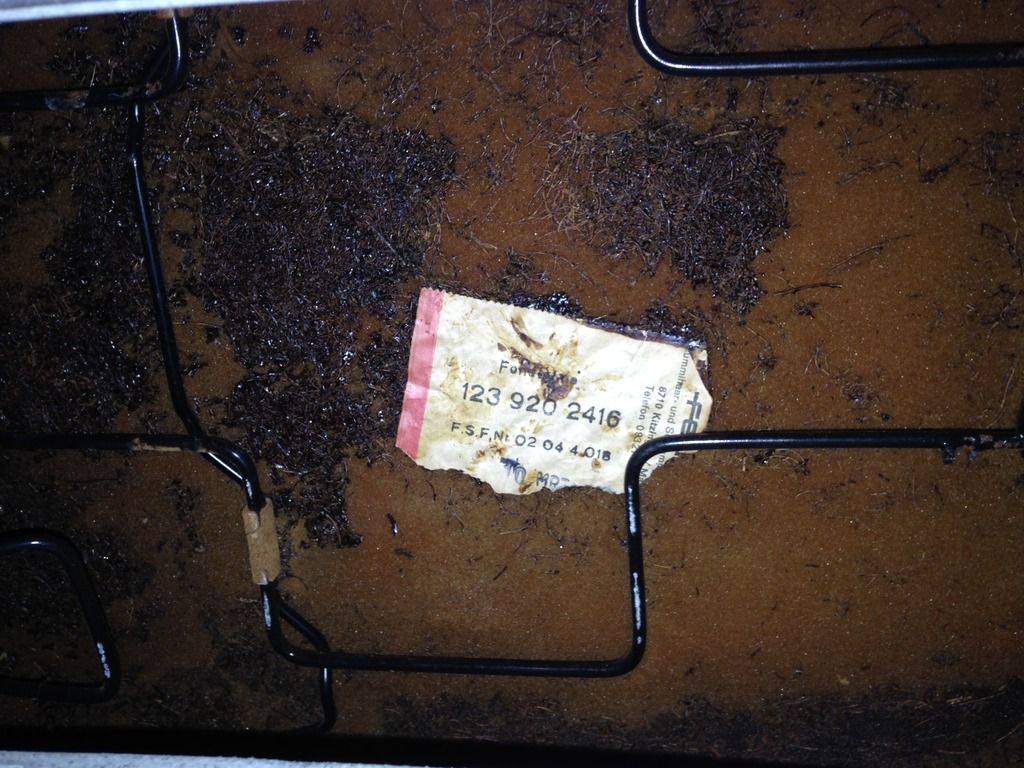
There I find what I assume is the original horsehair pad, or what remains of it and the lable. Looks like Febi with the part number.
This is the pad on the drivers side showing the top shoulder area. It would prove a useful reference later when I had to re-assemble it all.
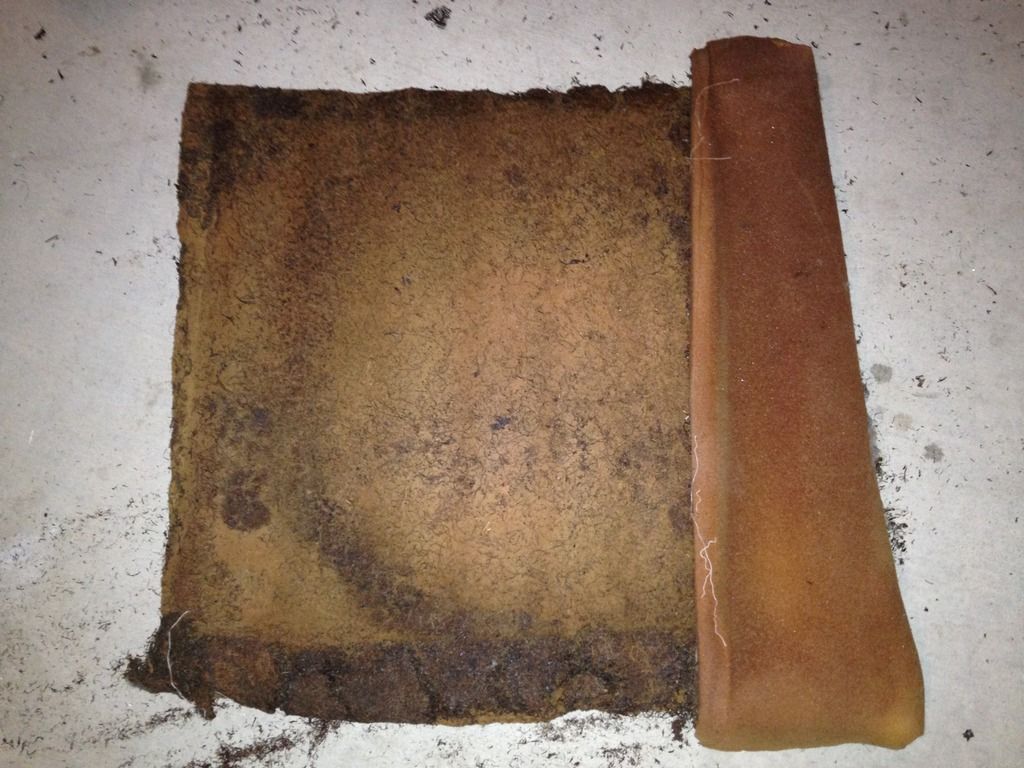
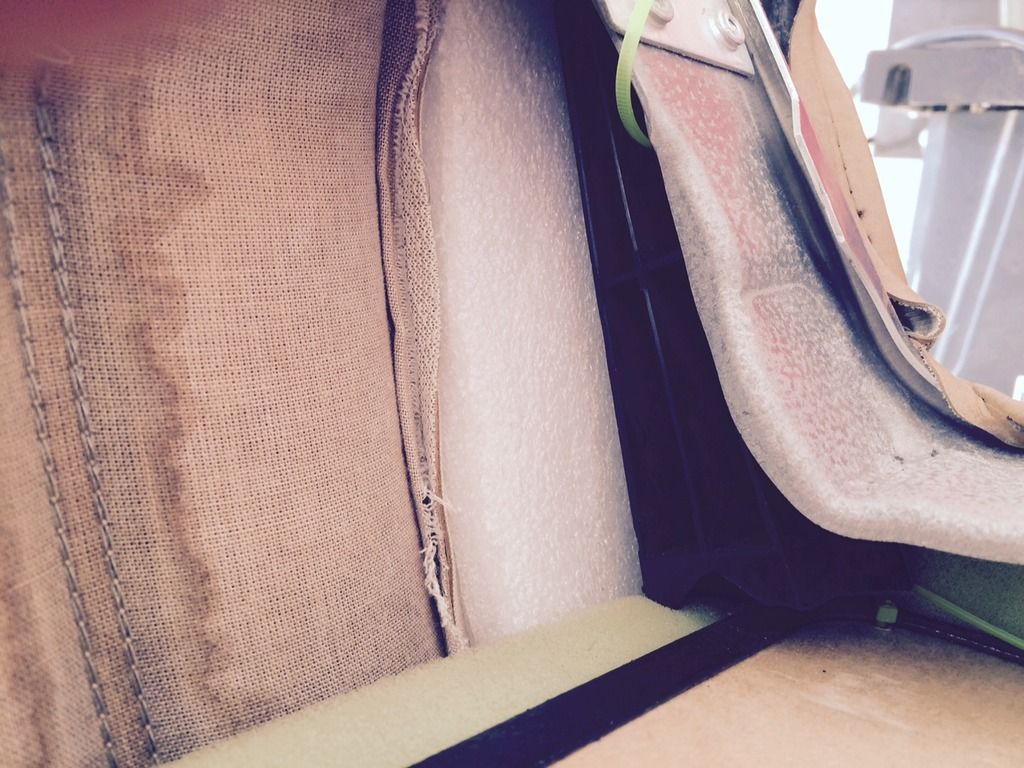
The remains of the drivers side pad. The extra piece of foam on the side wraps around the outside of the spring box and gives the edge of the seat it's shape. Most of the horsehair had vanished but from the little that remained I guessed it's thickness at about 1,5 to maybe 2 inches. I decided to to use this pad as a template to cut out new pads from upholstery foam.
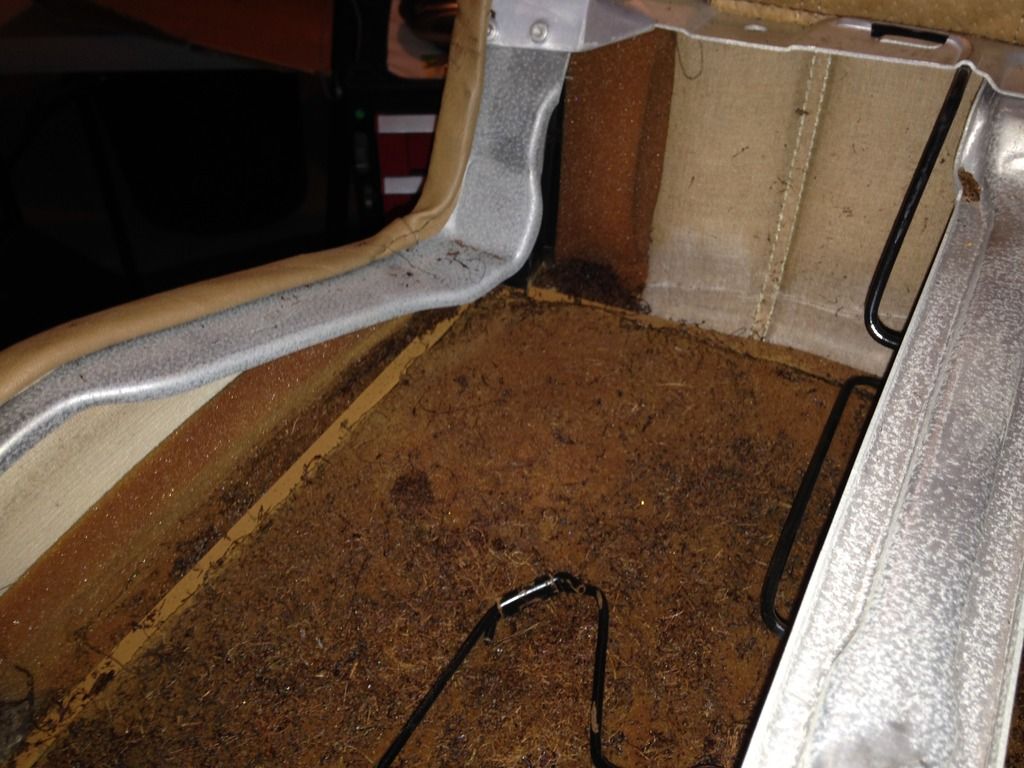
This is the top middle of the backrest above the center armrest. There is a single piece of horsehair in there under the batting. I would use a piece of foam to replace that later as well.
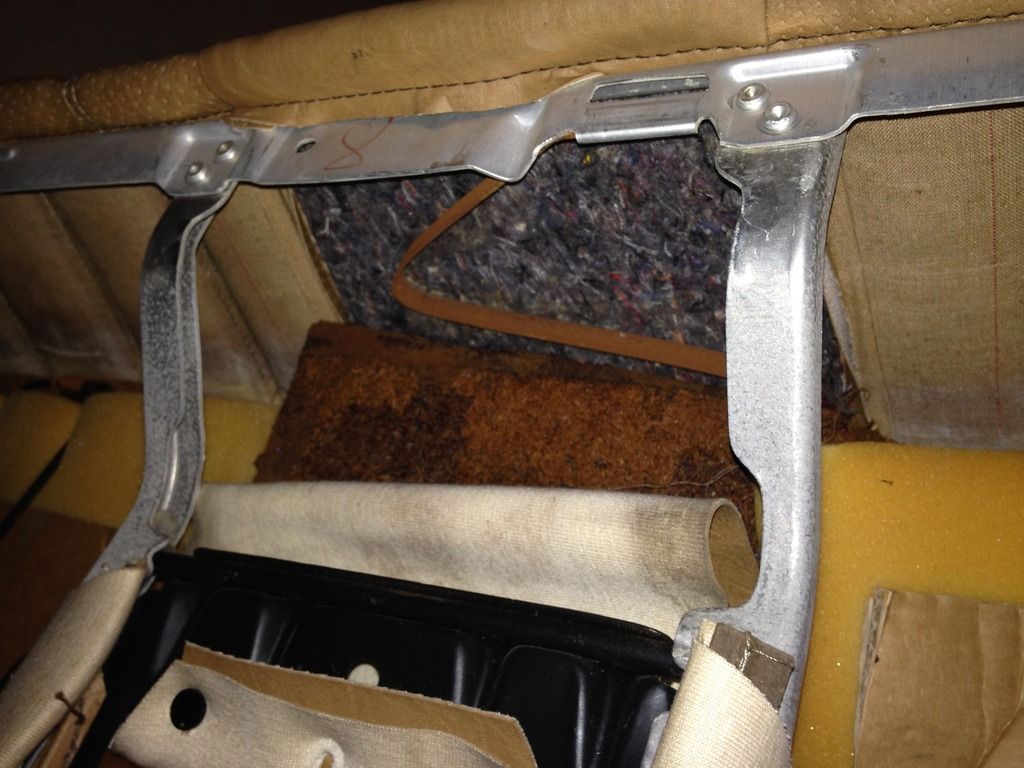
Closeup of the driver side shoulder. The black plastic piece gives a solid form to the corner which would otherwise collapse. The foam is the remains of the lip over the horsehair pad which separated when I removed it.
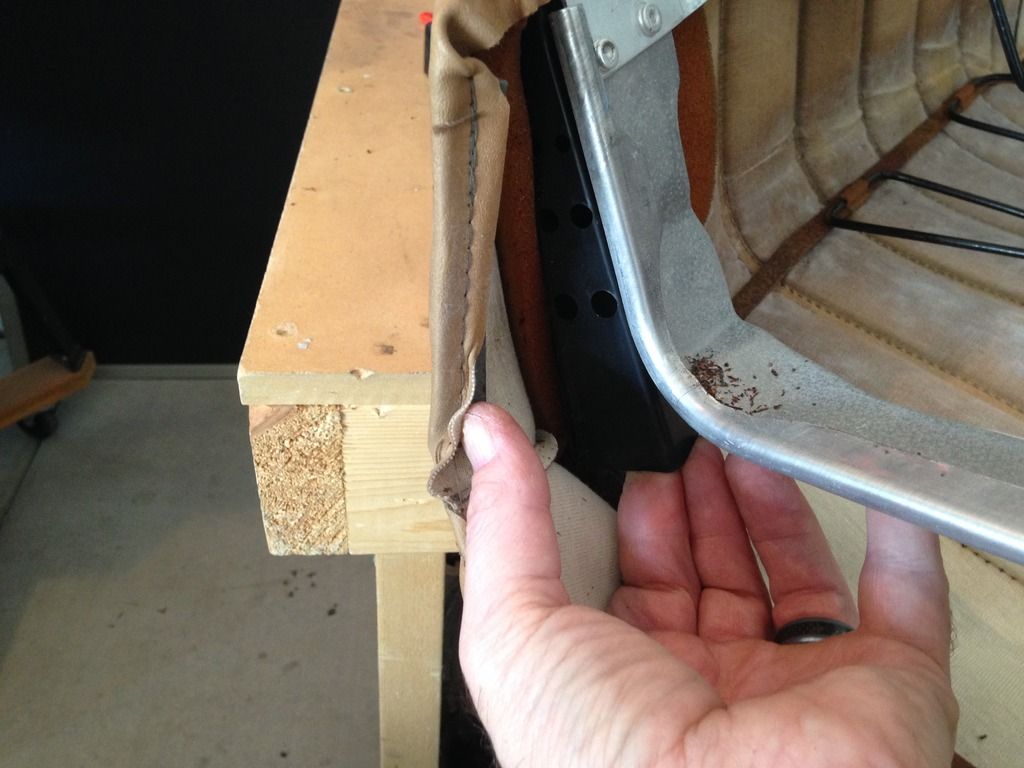
The material at the bottom of the backrest was badly deteriorated. I was able to use the pic to get an idea of the size and shape of the replacement when I got around to installing it.
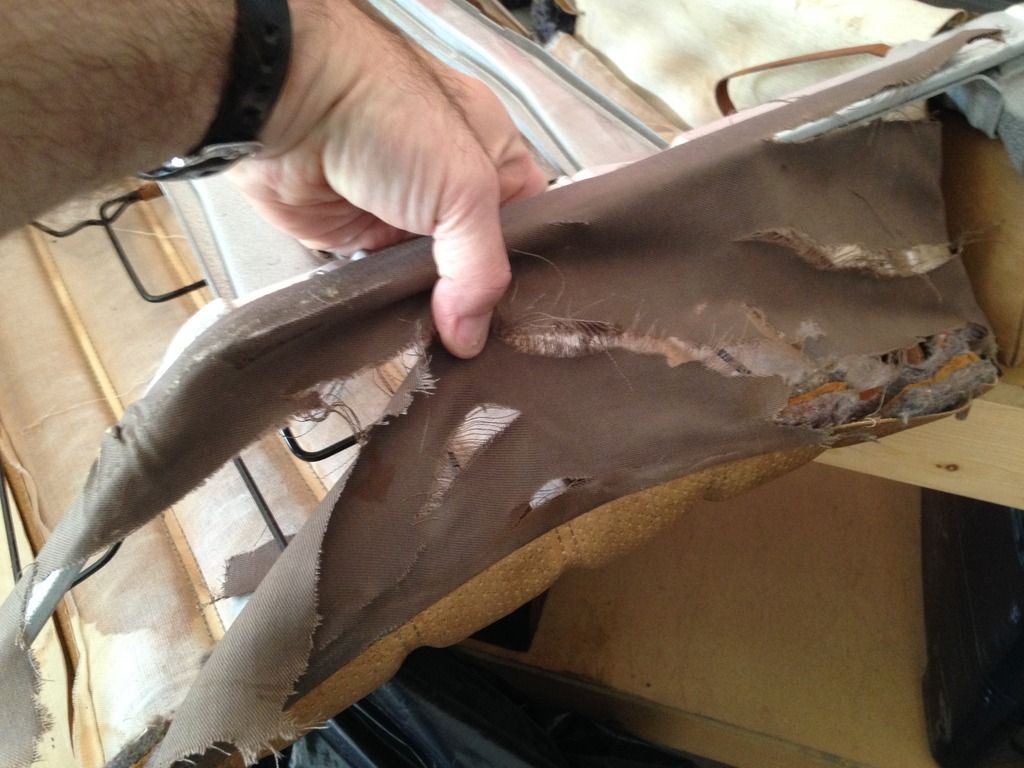
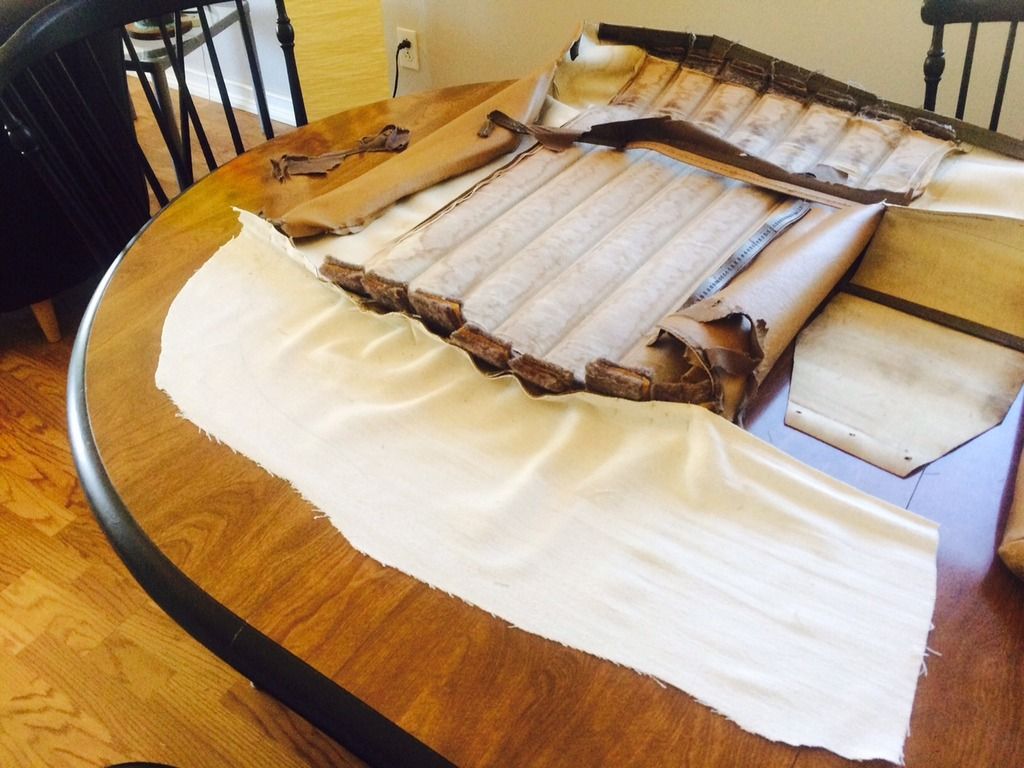
Fortunately the MB-Tex itself was not damaged nor too dirty. It cleaned up quite well.
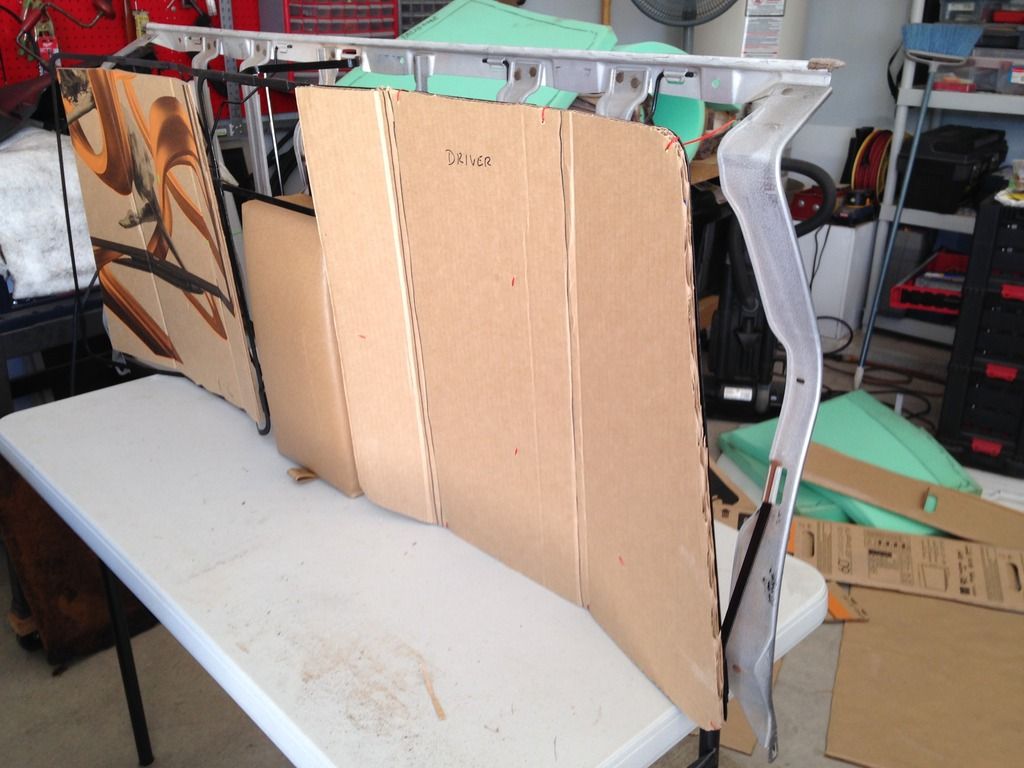
I decided to use new cardboard to provide a firm backing for the foam pads. Initially I cut the cardboard forms out slightly smaller than the outside edge of the spring. Then I zip tied it to the springs. Problem was that when you leaned on it it simply pushed right back towards the interior of the frame. I figured as the foam pads would not have the strength of the original pads I had to provide more rigidity. So I then cut out a large cardboard backing which was slightly larger than the outer edge of the springs. I creased this piece down it's length in two places to shape it to the bucket, zip tied it to the springs including the outer edge of the spring frame and cut it to size. In this pic you can see the driver side is the larger "plan B" backing while the other one is the smaller original one.
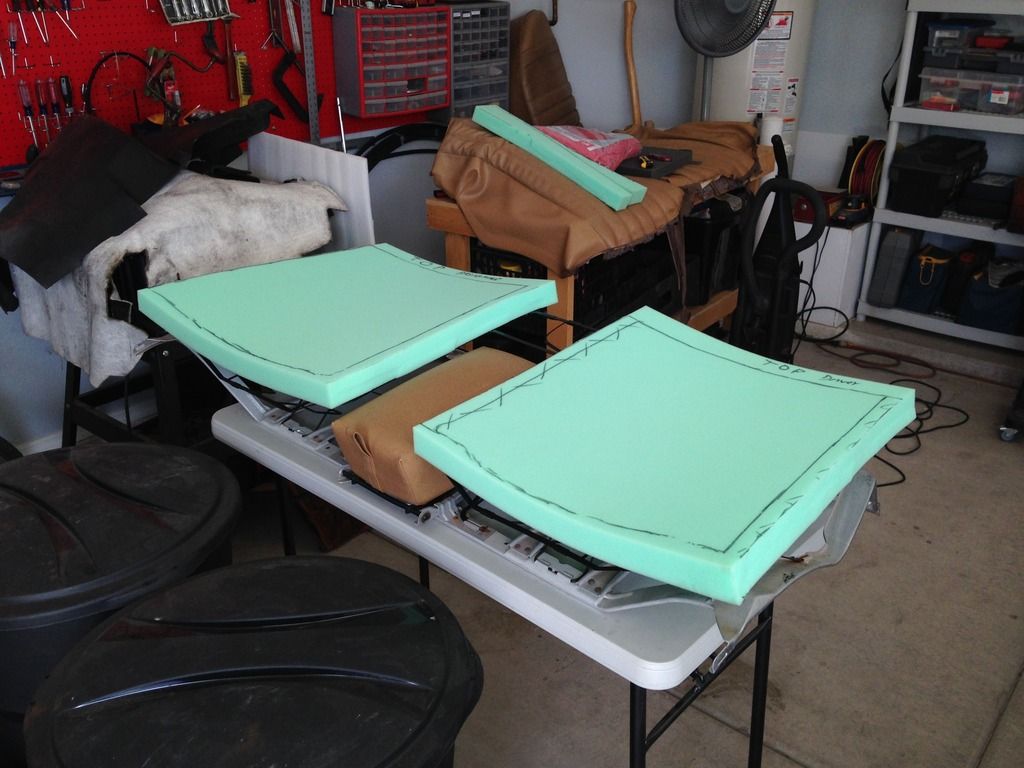
With the two cardboard backings cut to the correct size and zip tied to the springs I placed the two foam pads I'd cut out slightly over sized compared to the remains of the original pad. These were glued to the cardboard using 3M foam adhesive in an aeorosol can.
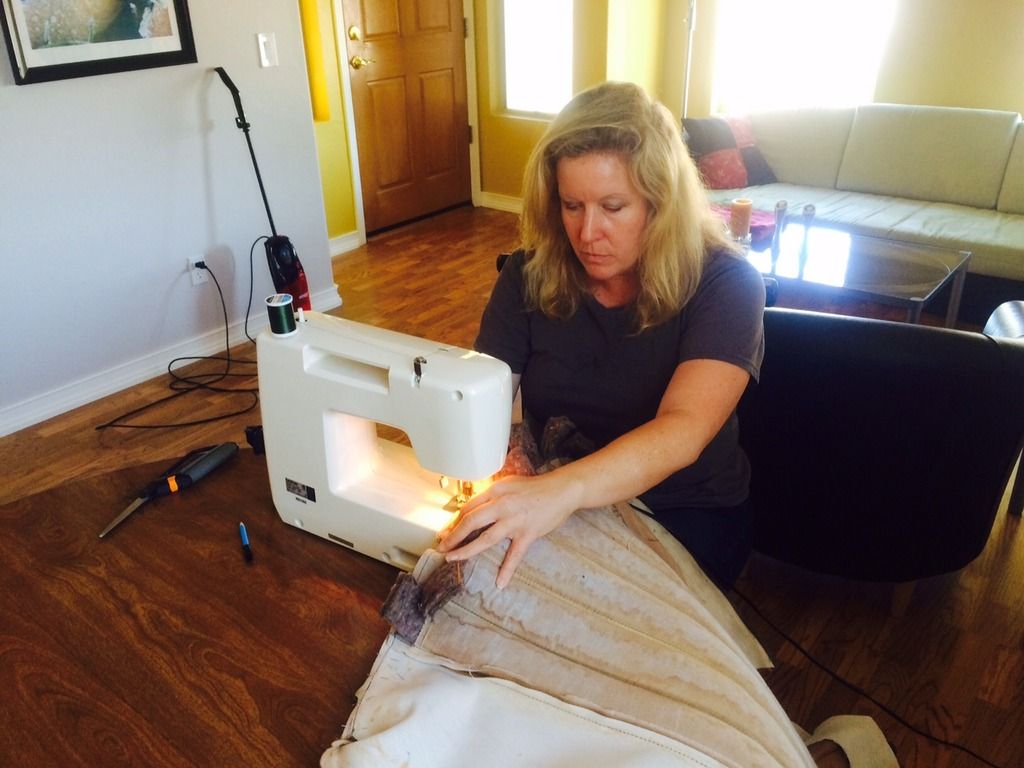
At this point it's useful to have a wife...
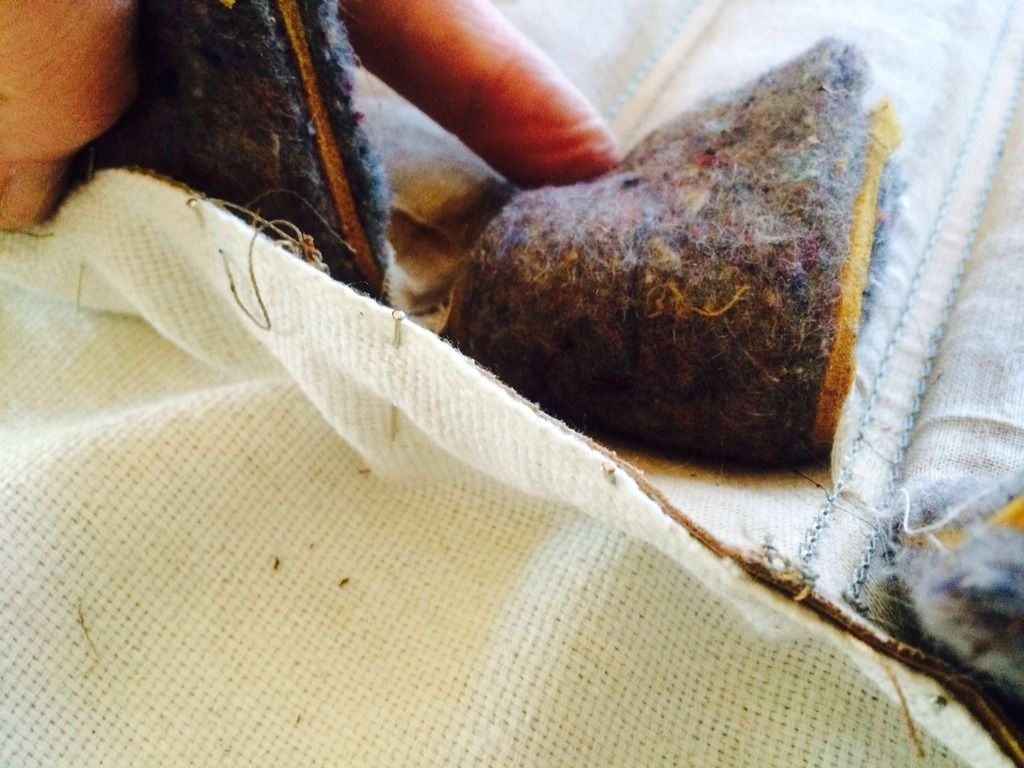
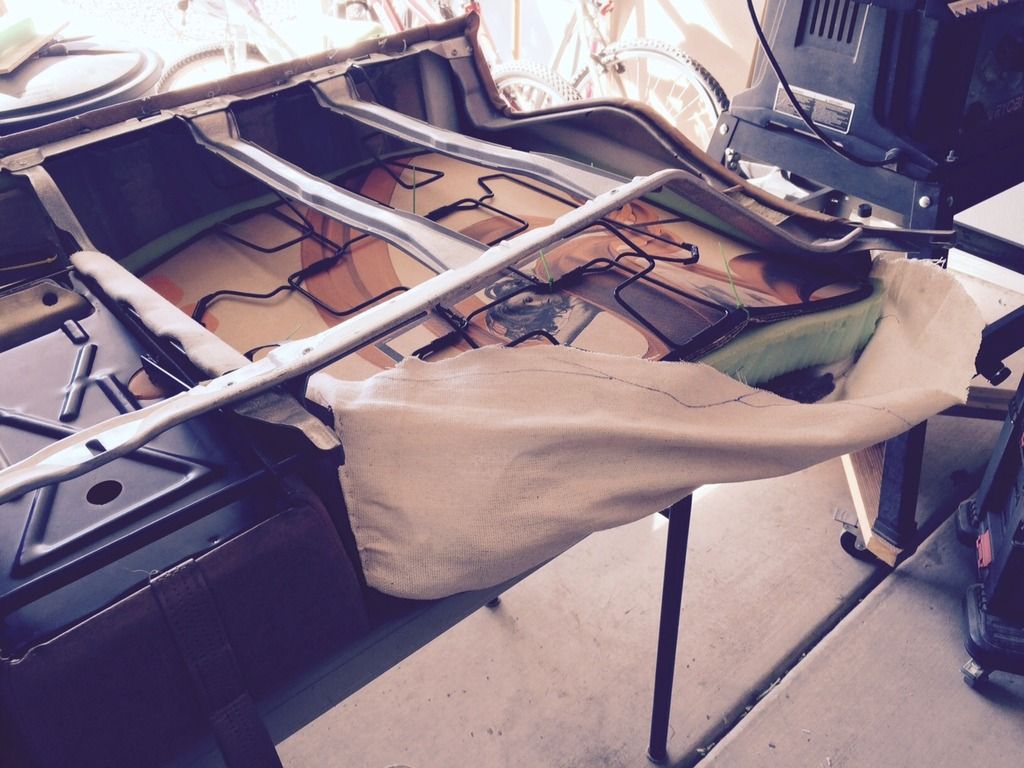
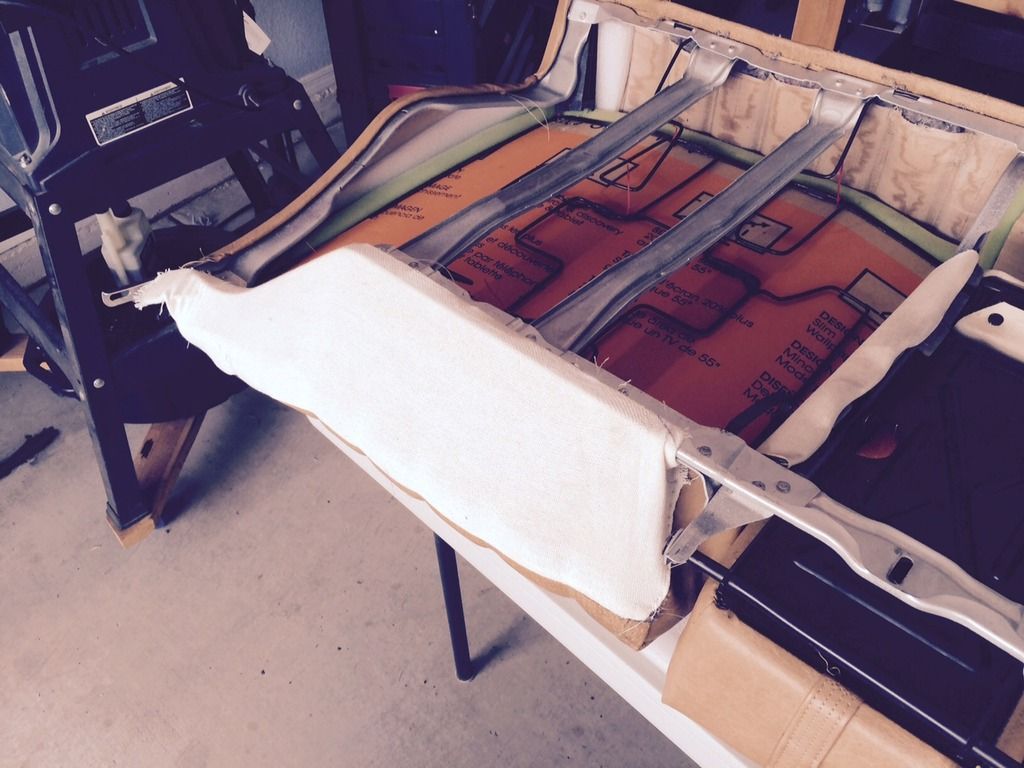
I had some canvas left over from a hammock that we had which disintegrated. I cut out a couple of over sized pieces and my wife pinned them to the bottom seam of the MB-Tex where the original material had been.
Here is the piece sewn onto the driver side. It wasn't possible to go round the corners with the machine. I did that later by hand when attaching the cardboard strips that go along the bottom of the material.
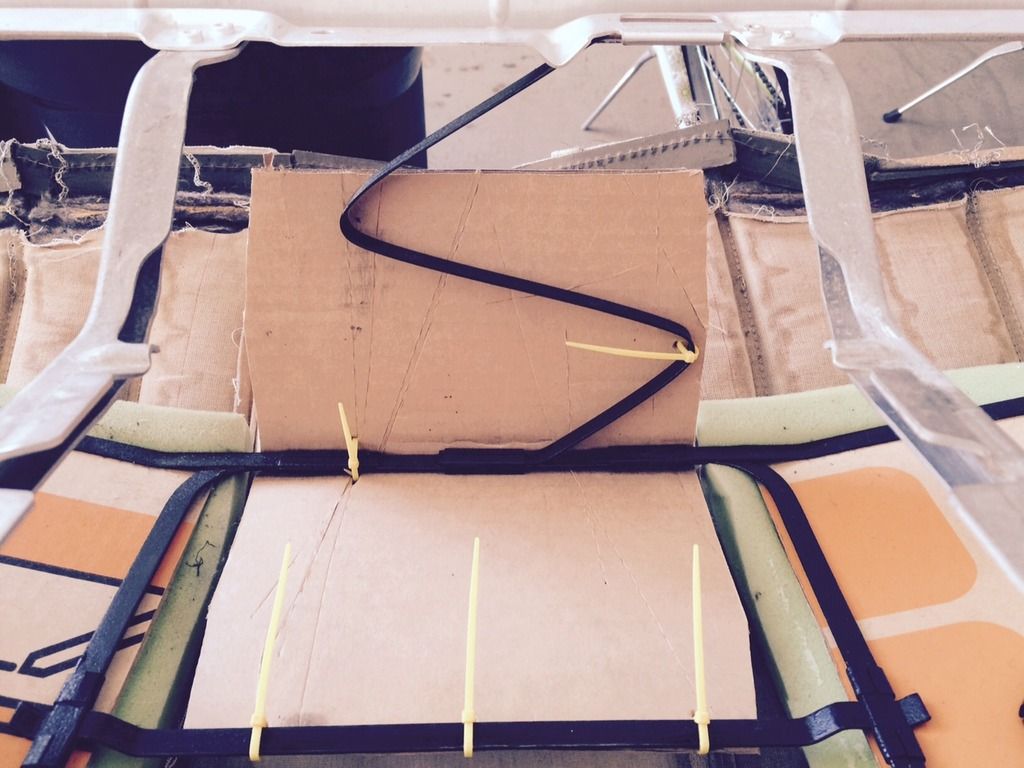
I cut out a piece of cardboard and zip tied it to the springs above the armrest. It does not extend all the way to the rear of the frame and it's not zip tied in it's upper half as the "s-bend" in that spring is what flexes as you lean back in the seat. The cardboard is sufficient to provide a base for the foam and batting that goes above it.

Forms cut out of packing material which mirror close as I could the original lips that form the outer edge of the pads. They work better than foam for the purpose as I inserted them after the cover was back on and it slides between the tex and foam better than foam itself will.
Getting there. The seat covers are back on and the edging is pushed in place at the far edge. I found it necessary to have three people involced in compressing the springs while to pulled the cardboard edging in the text back into the trough that it fits into. Also had to attache it by the armrest first.
Closeup of the shoulder where the plastic form fits. The white is the lip of the edging which I slid up in position between the foam and the tex. Took a bit of effort but was fine in the end.
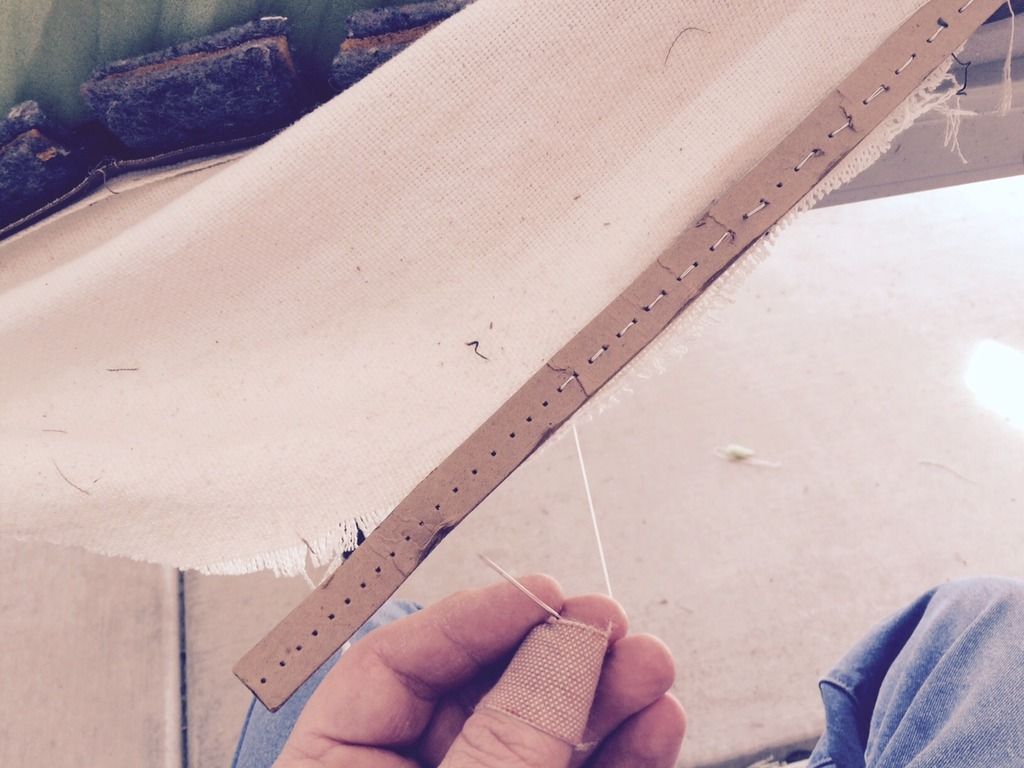
I then cut the fabric my wife had sewn on to shape and hand sewed the cardboard strips in place.
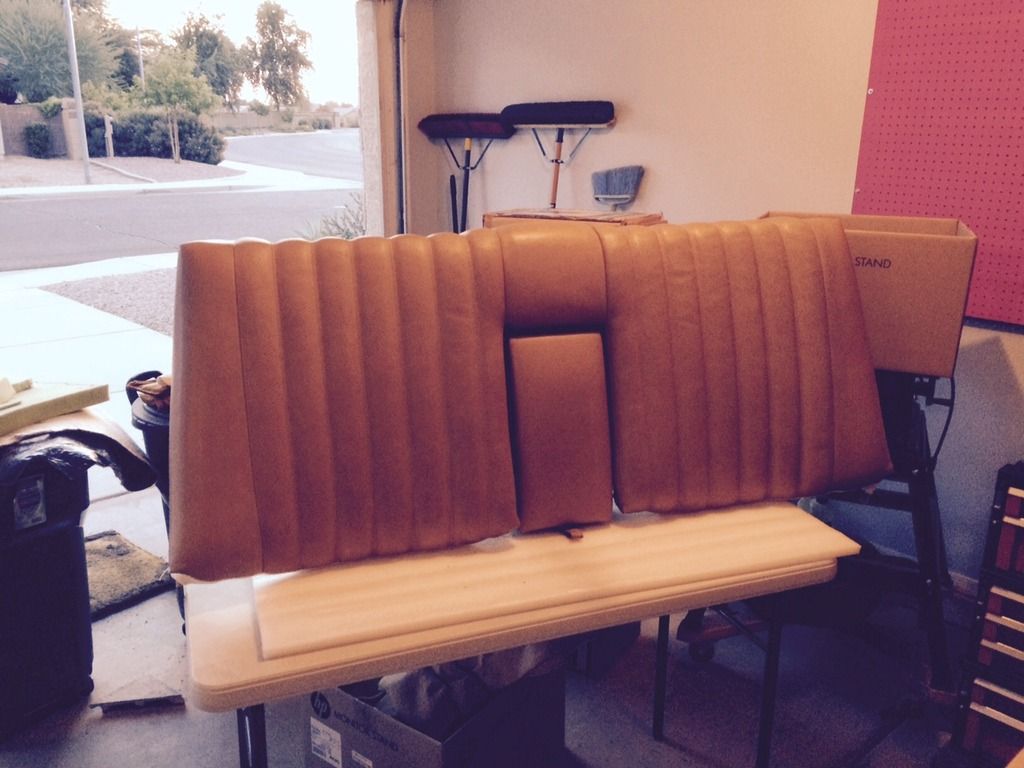
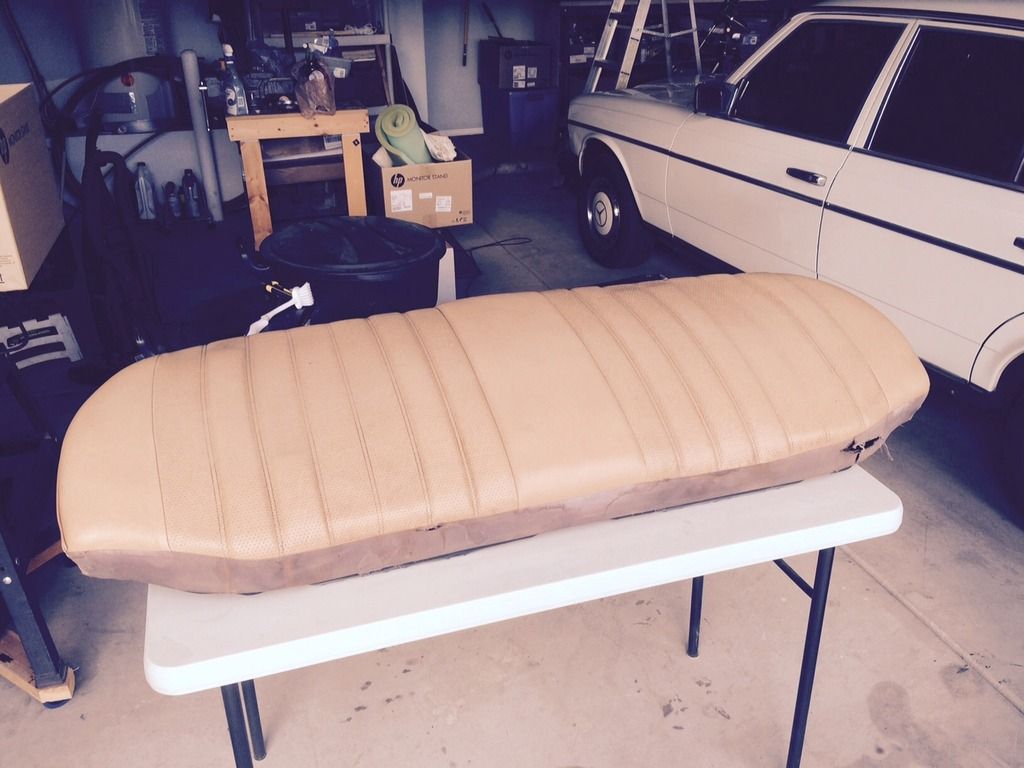
Driver side buttoned up and ready to install.
It's no concourse restoration but I think it'll work.
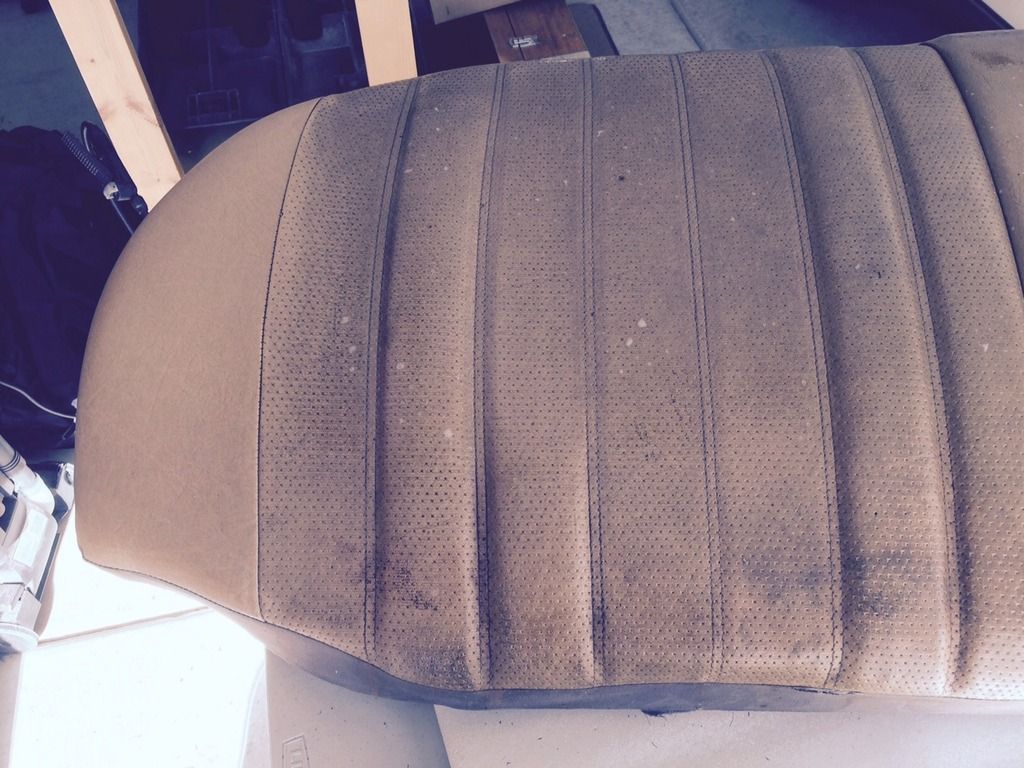
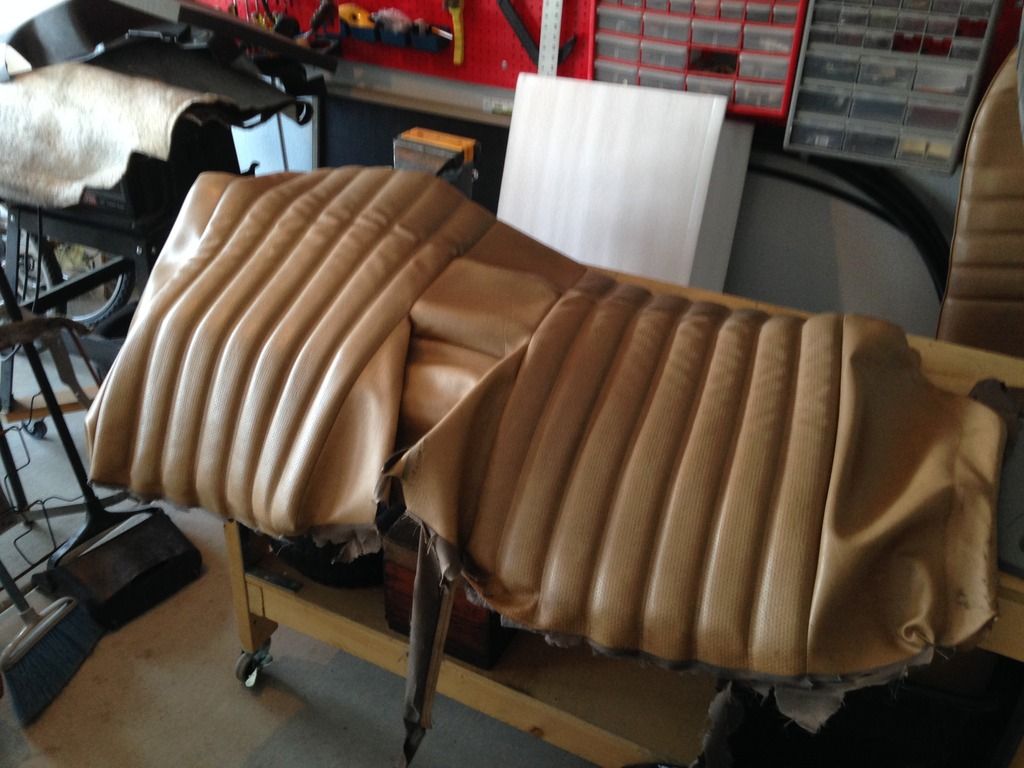
The original seat had also been worked on previously. It has a replacement pad which is in good shape. Unfortunately when they worked on it they pulled the batting out of half the pleats and for some reason didn't put it back. The strips are inside the box frame. Also it was utterly filthy.
I didn't have time to fix the pleats but I was able to clean it up quite well using a degreaser, rinsing with water and letting it dry in the sunshine and breeze.
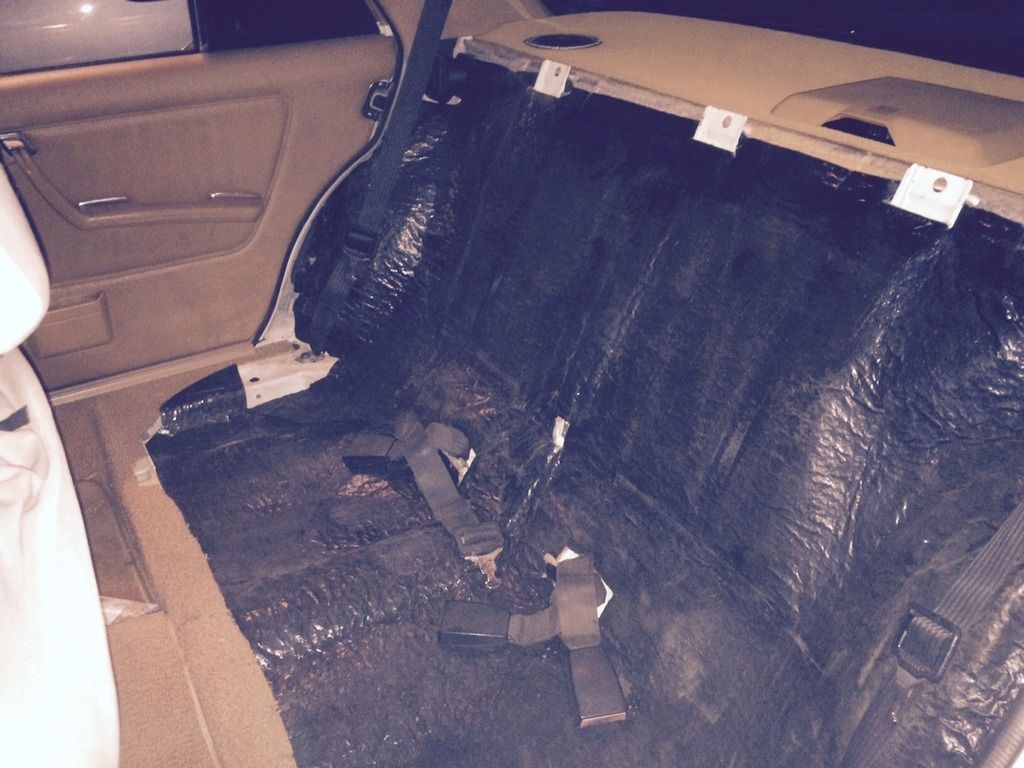
Backing material in place for the first time in six months...
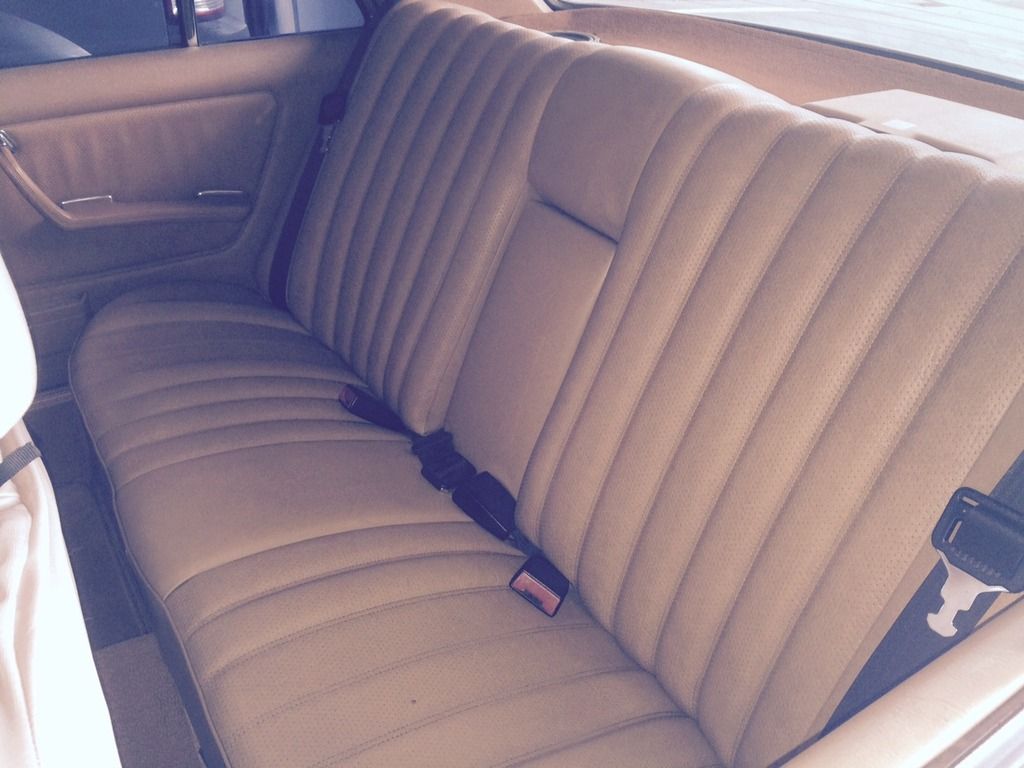
Done!
- Peter.