Here are some photos from repairing the shock tower. Bear in mind I am a beginner welder, and this was a pretty challenging area to tackle, so this isn't really pretty. I recently discovered there are social media accounts that find people's welding efforts to repost and mock them, so I've become a little hesitant to share my less-than-perfect work. Constructive tips are always welcome though. Overall I am pretty proud of this.
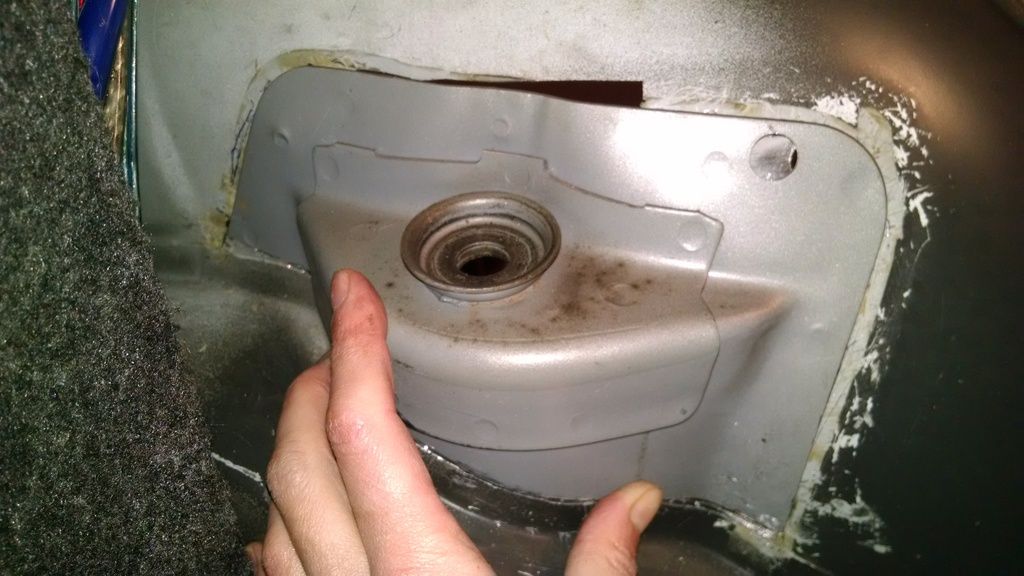
I cut the patch out of a parts car, drilling out the spot welds at the top and cutting carefully across the panel so it would line up with the hole. I had to do a lot of trimming and grinding on it to get it to fit. I used a level to make sure it sat at the same angle as the original tower.
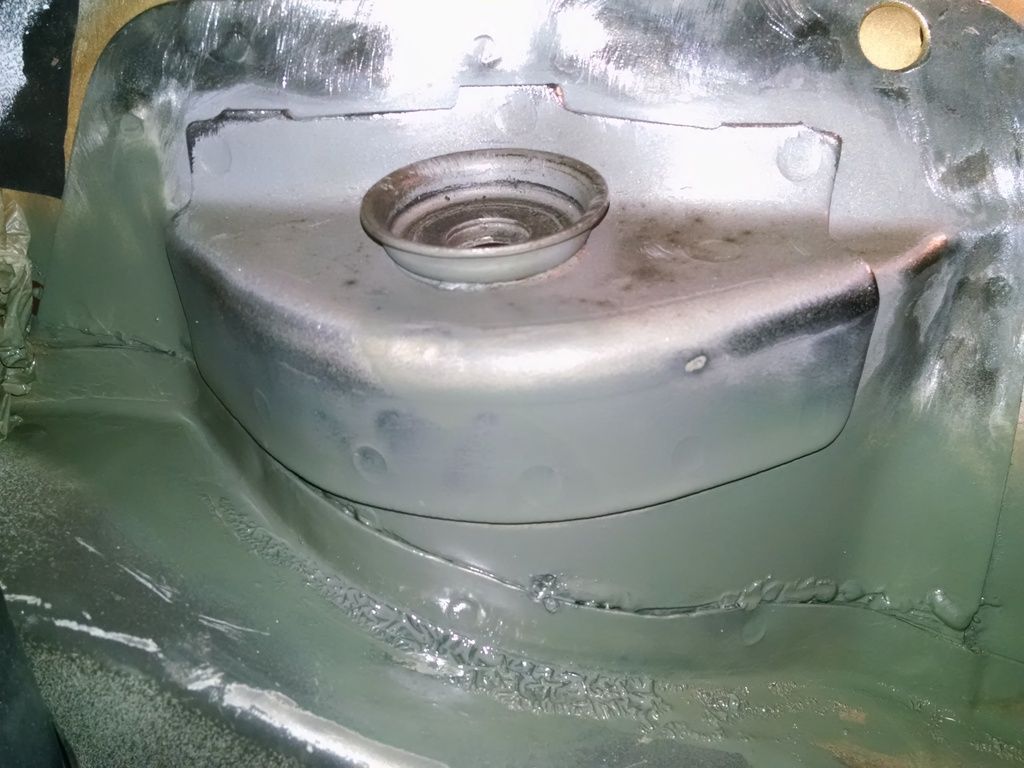
I then cleaned more undercoating, as well as the paint off the inside, then put weld-through primer, and tacked it in place. I tried to run short beads, since this was 14-gauge and it was thick enough to do so. I ran into two problems: the paint and wax that was behind the frame inside, and inaccessible, burned. I didn't want a fire, or just to cause much heat damage to that area I couldn't get to to refinish. I also actually burned through a couple times, which I was able to fix but was not ideal. It was hard to get a copper backing on it because of the location and I think the heat buildup was just too much. If I turned down the heat, I didn't get very good penetration at other end of the bead. So, I did it in very short beads, moving back and forth. I also, having the worst lighting known to mankind, completely missed the seam a couple times, had to grind it and go over. You can see the spot that happened. Next time I will invest in better lighting for my work. The challenge here was it was hard to duplicate the conditions to practice. I practiced on scraps but when I moved to the actual piece it was totally different. Hopefully my experience will help me the next time. It does seems to have solid penetration and is very straight. And it hasn't blown off into the trunk yet, so that's promising.

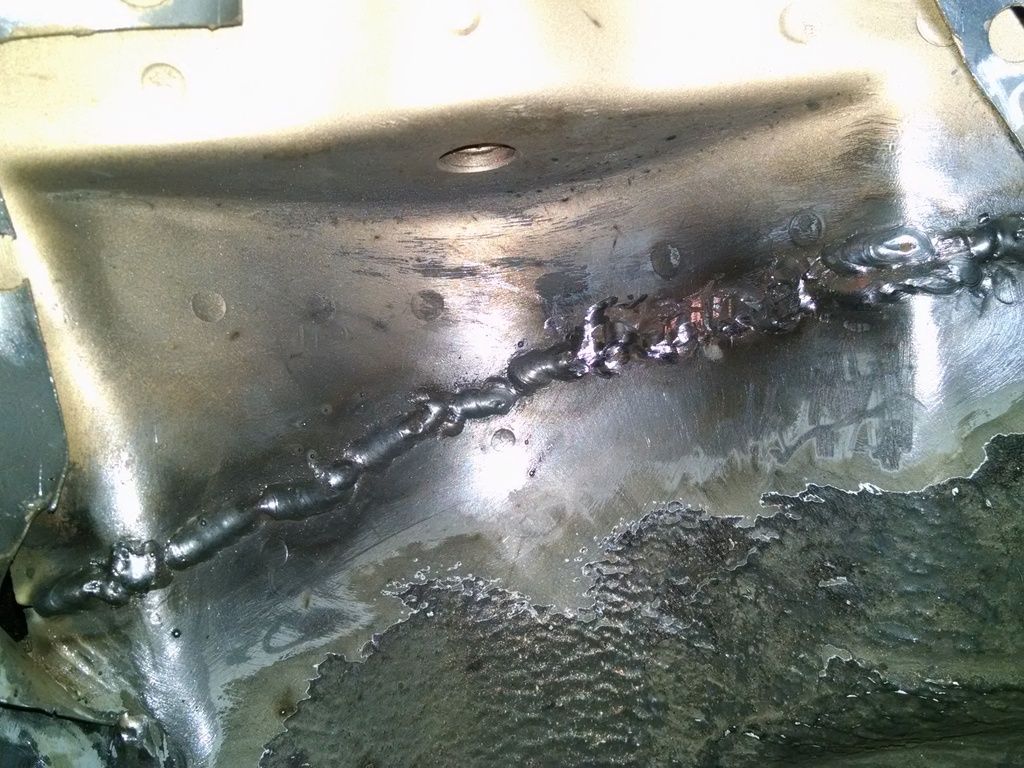
(the ground down bit was just because that was an area I missed a bit, and burned through once, so I ground it to check for holes)
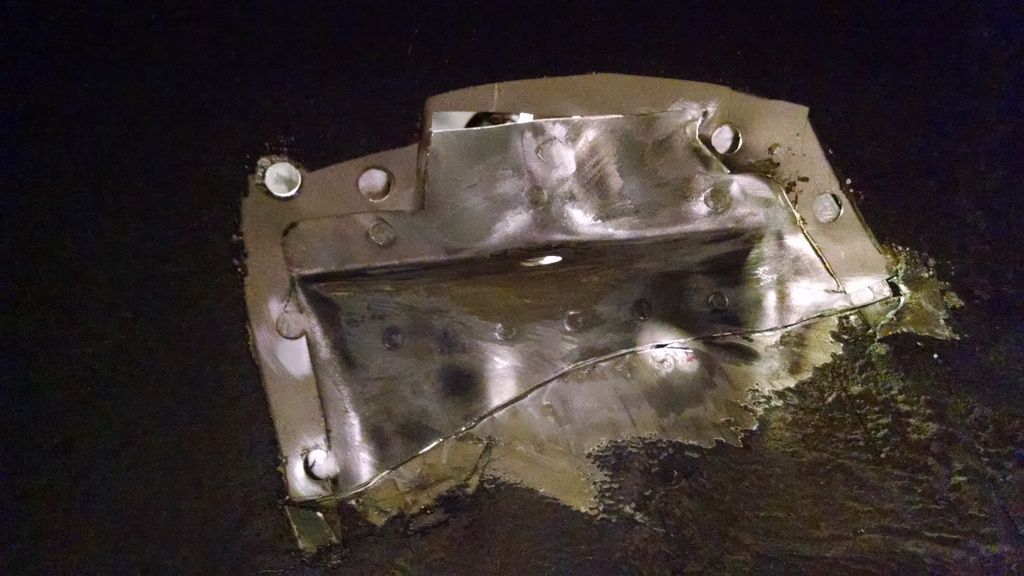
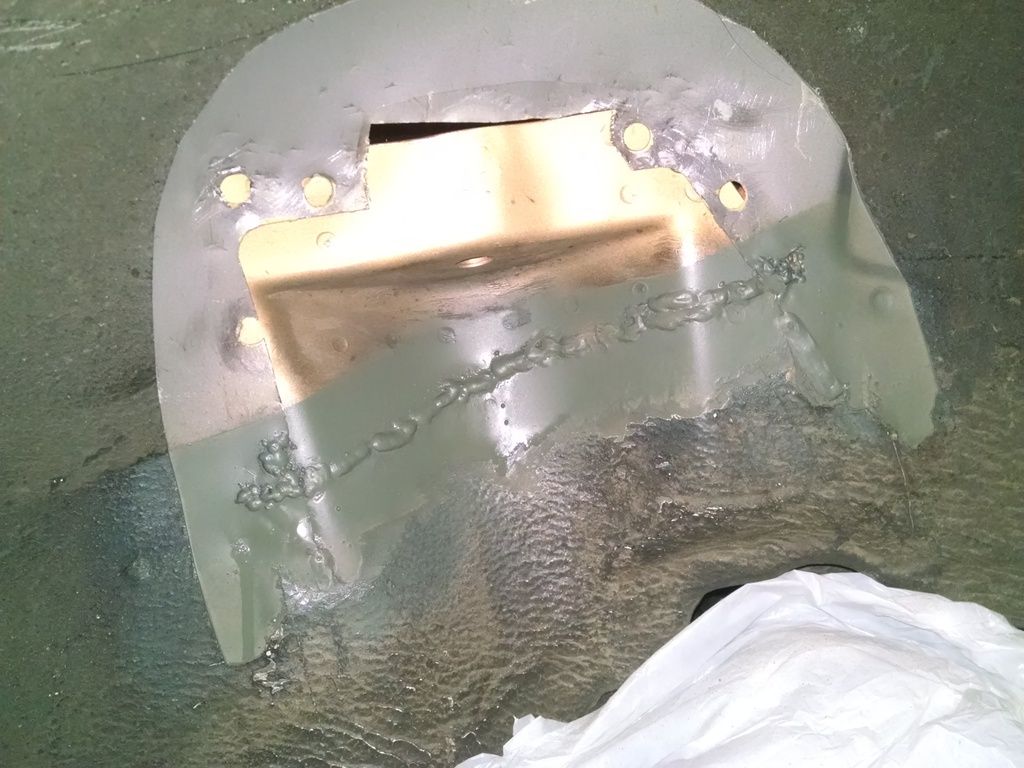
Inside, with primer applied
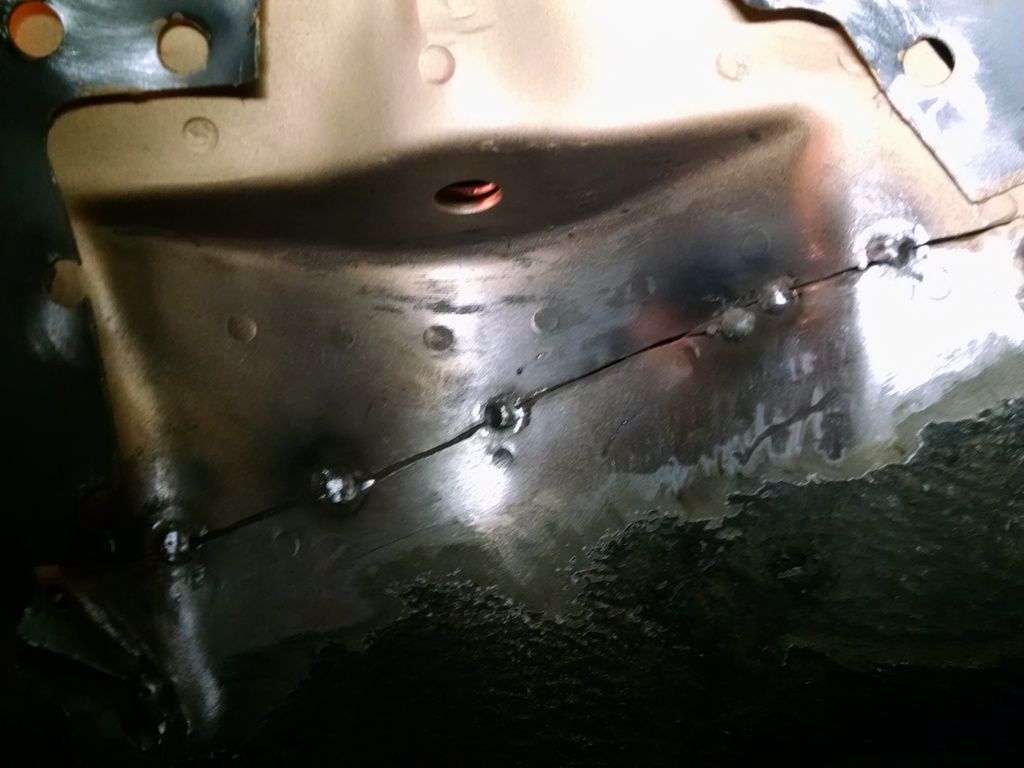
Primered, plug welds await. The gold is weld-through primer.
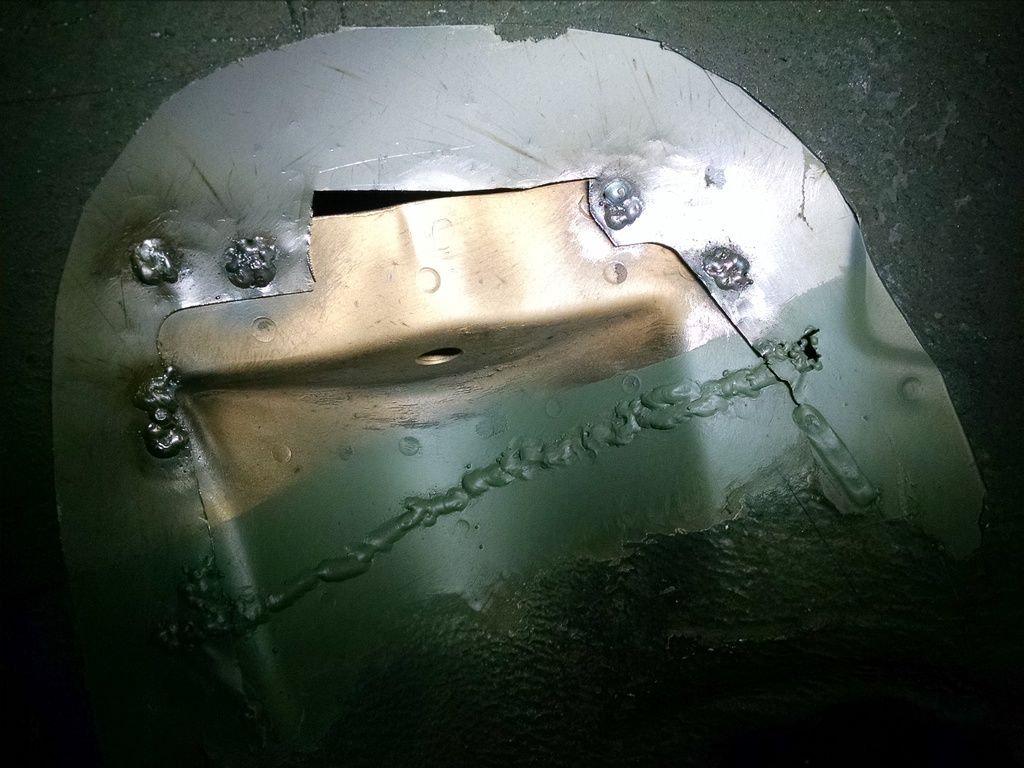
Plug welds ... the outer metal is 20 gauge, the inside 14 ... so that was hard. And they were big holes ... I kind of just laid a few tacks in each one. You can see I burned a hole in the 20 gauge on the right. I later sanded the primer back off and fixed it. Ugly but functional.
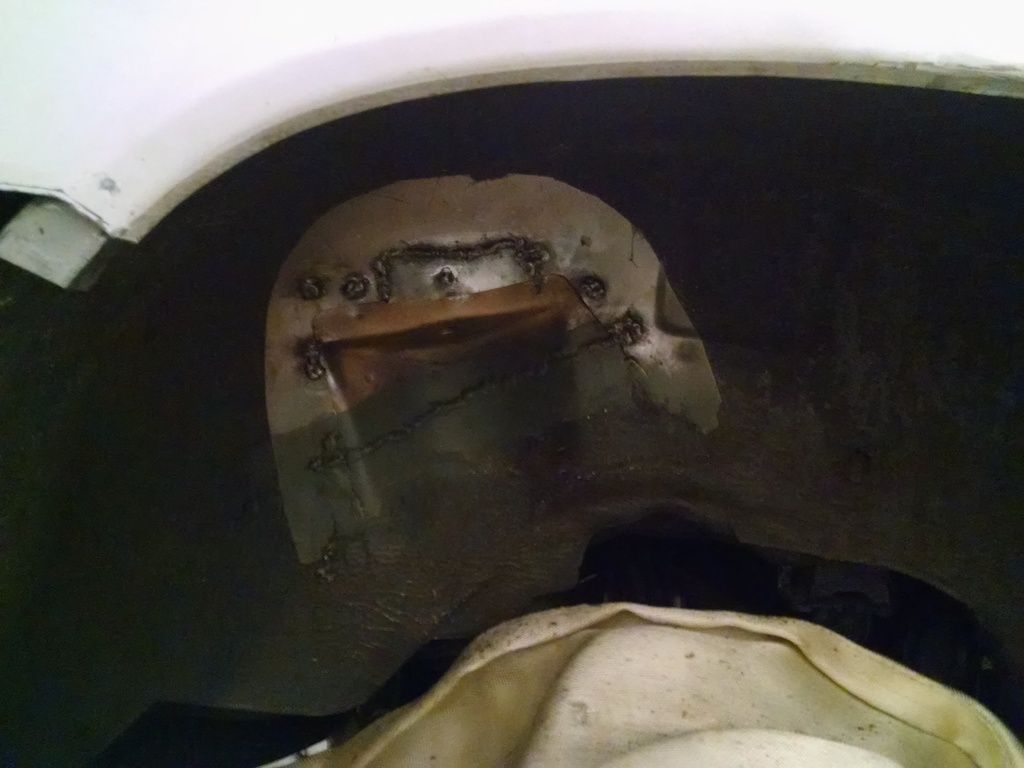
I made a little patch for the part of the 20 gauge at the top that had rusted out, and welded it in, completing the shock tower.
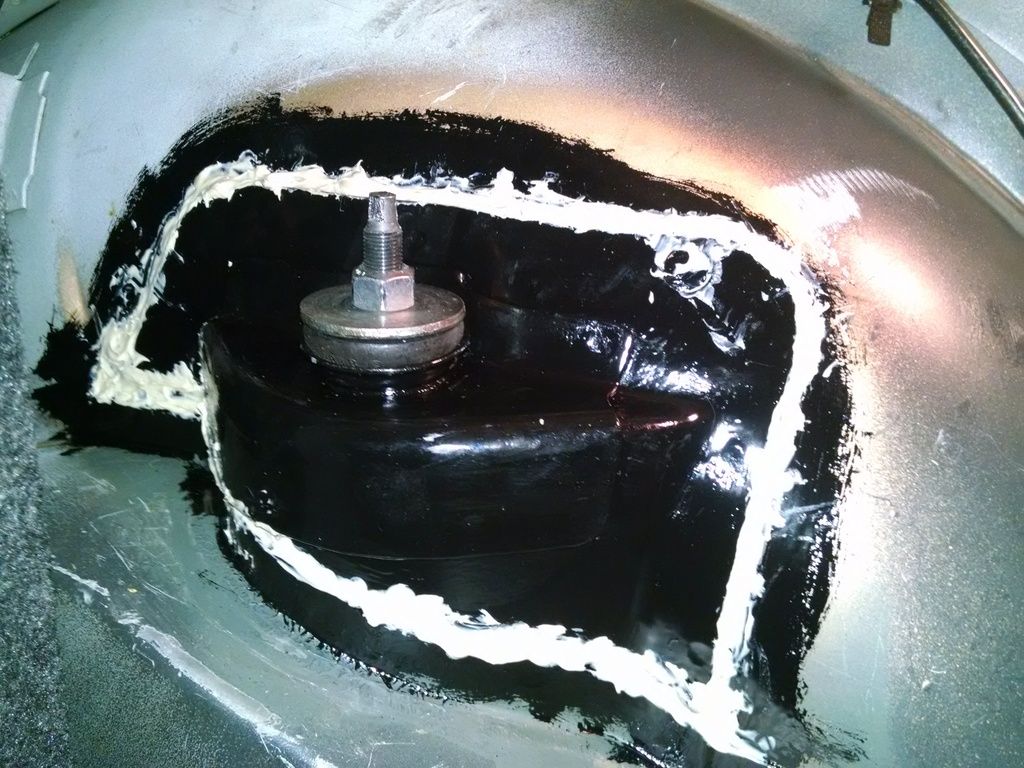
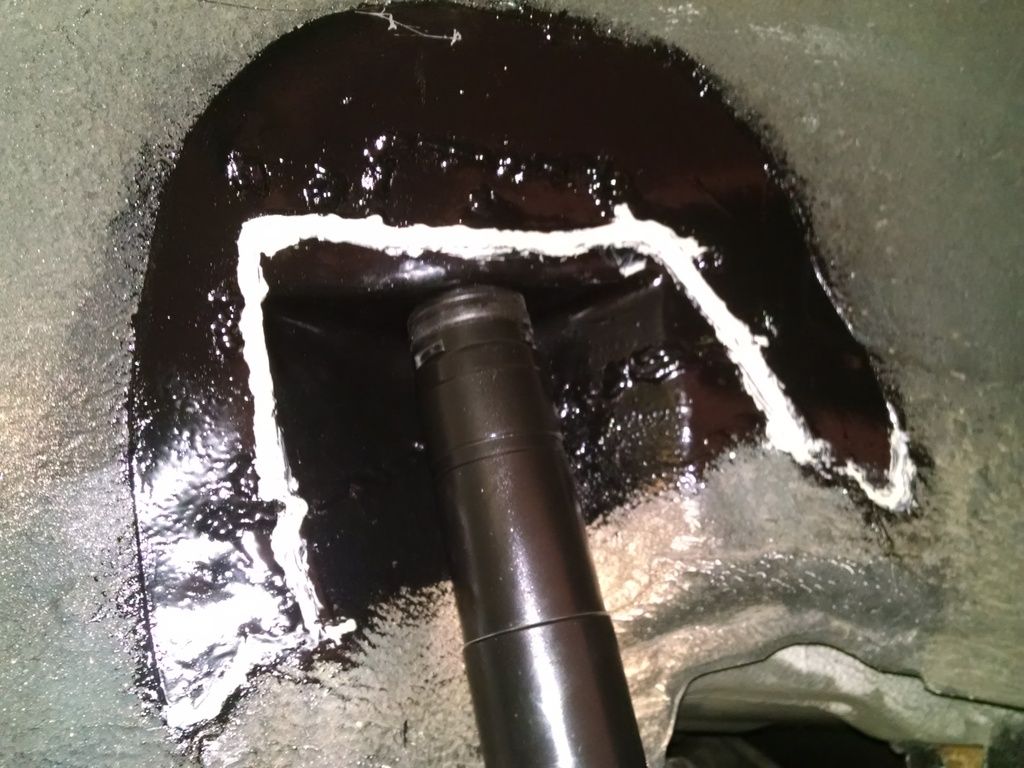
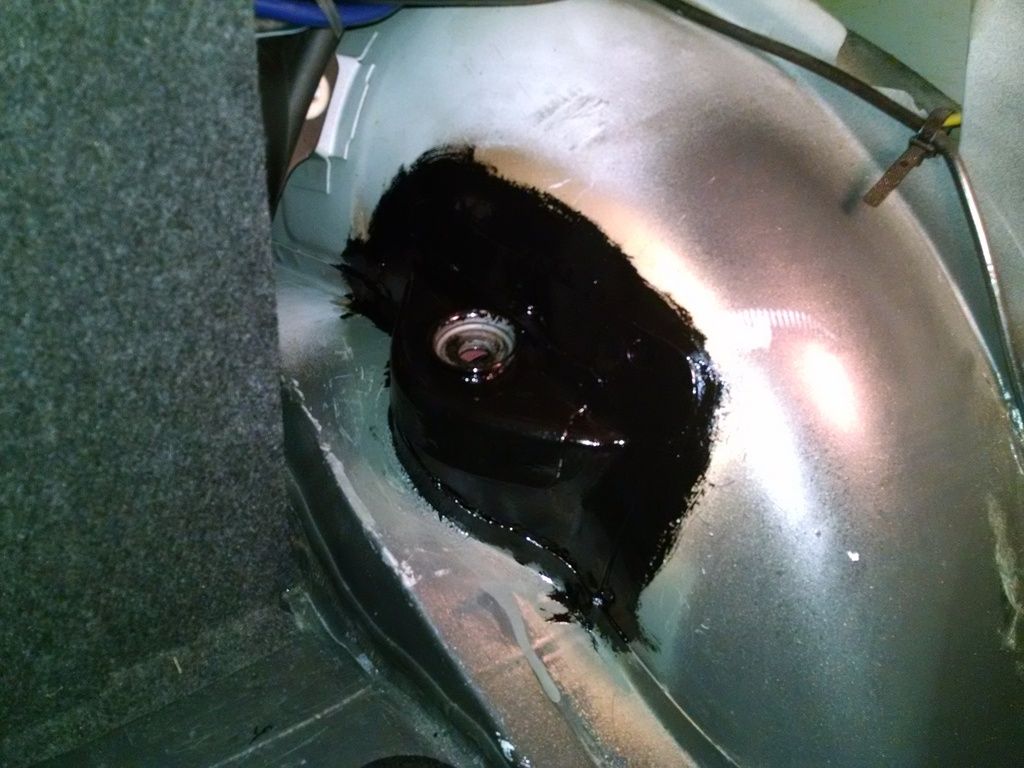
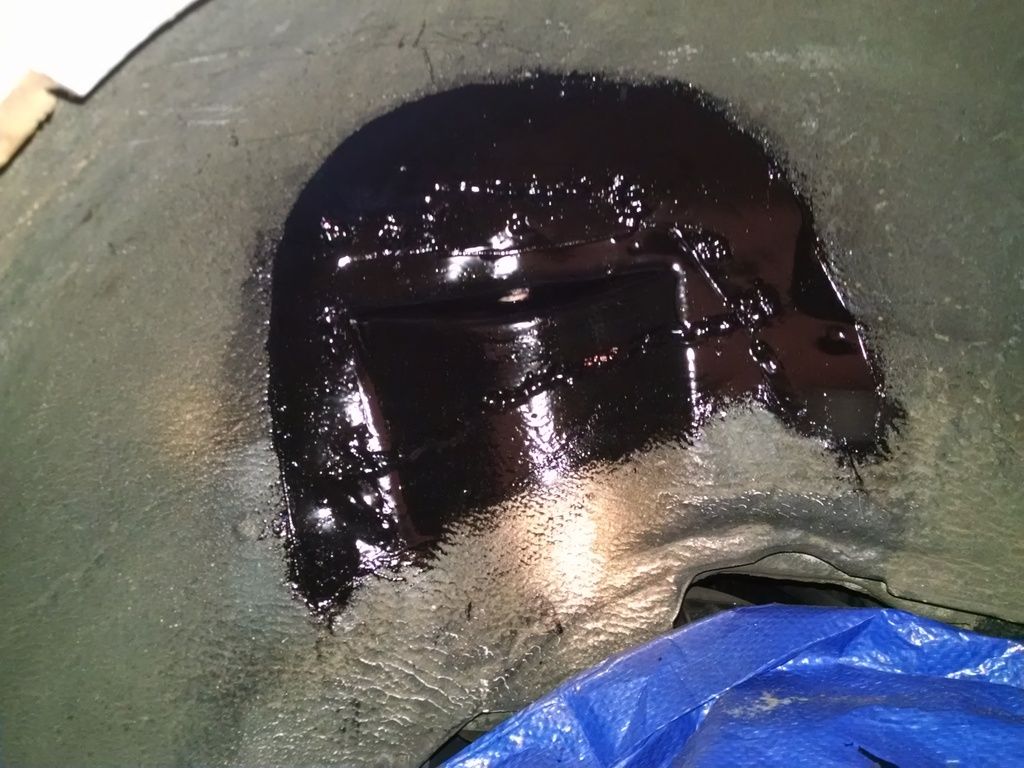
Then added POR 15 and then seam sealer. Lots of seam sealer.
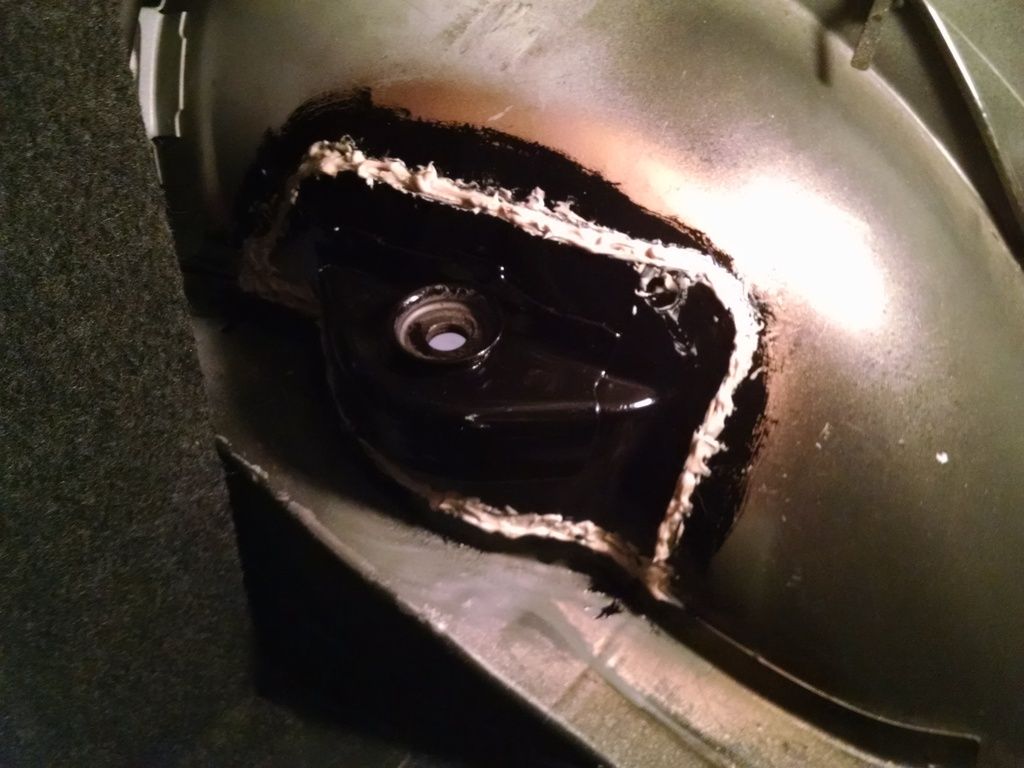
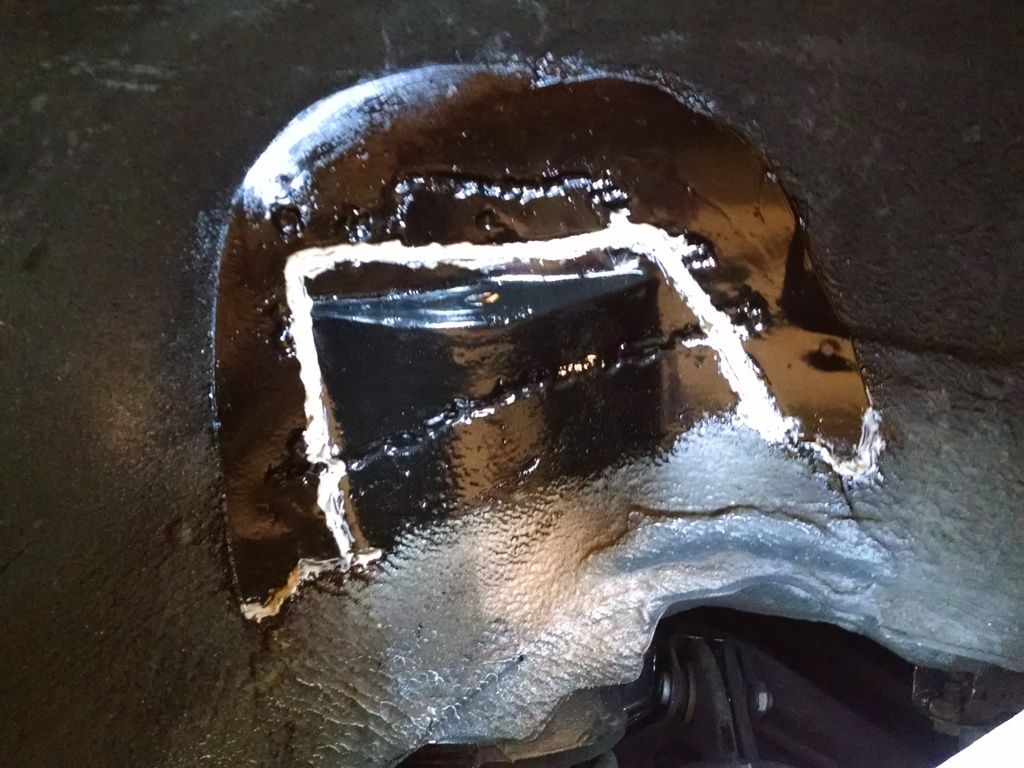
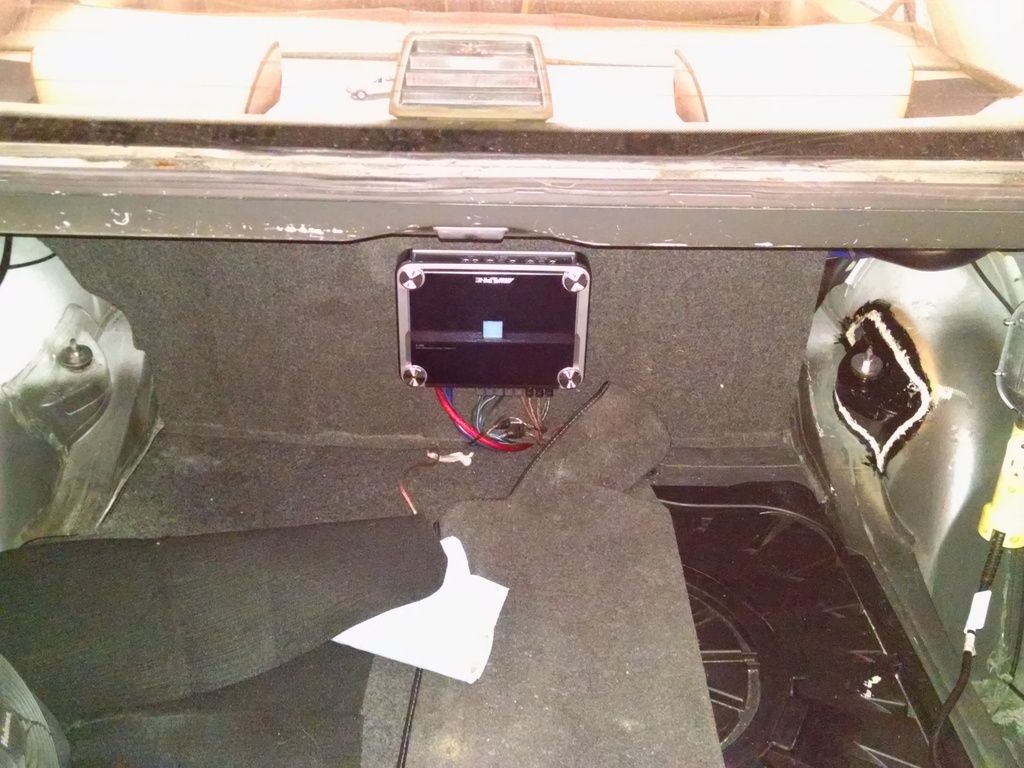
Back in place. I will add undercoat later on the outside, but want to be able to keep on eye on the weld for a while and see if it develops cracks or other failures.