

|
|
|
|
|
|
#1
 01-19-2014, 02:30 PM
|
||||
|
||||
|
W211 B-Pillar trim removal/replace DIY W/Pictures
I could not find any info here so I figure I may be of help to others having the same problem.
My car came with a nasty rip on the fabric that covers the plastic B-pillar trim. Purchasing the part from the local Mercedes Benz dealer turned out to be the best and cheaper solution as opposed to the local upholstery shop. The job was fairly easy, it took me about 30 minutes in windy 20 degree weather. It is very important that you read thru the post and PDF instructions thoroughly before starting. Take your time, brittle plastic pieces are involved and may brake if you pry or pull in the wrong direction, so don't rush and be careful when handeling all trim pieces and metal clips. Tools needed: -Small screw driver flat (about 3/16" paddle) unless you choose to buy the installation wedge. See part numbers at the bottom of the attached PDF -45 torx socket and ratchet set with 4" extension. -Large flat screwdriver -Small metal pick. -OPTIONAL six pack of your favorite beer (weather permiting)  PART # 211-690-79-26-7F77 NOTE: part # may vary based on interior color. 372403d1303998697-how-remove-b-pillar-interior-trim-remove_install-trim-b-pillar.pdf 1. Move the seat all the way forward and carefully remove the plastic cover to expose the seatbelt bolt on the base of the seat as pictured. Use the torx to remove the bolt. 2. Remove the door seal from both sides from both sides of the B-Pillar and about a 1/4 from top and bottom by pulling towards the opposite side of the edge. If it gets stubborn, carefully pry it from the inside edge so you can get a grip on it and then pull. 3. Remove both the front and rear inner door sills (2 clips per piece) Ther front sill has 2 plastic tabs that tuck under the carpet in the front. BE VERY CAREFUL NOT TO SNAP THEM OFF! 4. Once you have pulled the door seal, you will see the yellow metal clips. Use the wedge if you have it or the small screw driver to pry-open the clip and pull the trim free from the clip. There are (4) four clips per side. Pull the seatbelt trhu. 5. If you are replacing with a new panel, you will need to remove the seatbelt height adjusting piece which runs between two plastic channels. Simple bend the B- Pillar trim edges outwards and slide the seatbelt adjusting piece out. To place it in the new trim panel simply follow procedure backwards. 6. Place the 2 top clips (black) on the panel and make sure the remaining 6 yellow clips are in place on the B-pillar. Put the seatbelt thru the B-Pillar trim panel. It may sound silly but it has happen to me before... SAVE YOURSELF SOME AGGRAVATION AND MAKE SURE THE SEATBELT IS THRU BEFORE YOU SNAP THE TRIM IN PLACE Insert the top two black clips one at the time on the B-Pillar and then from top to bottom clip each one until the bottom ones are secured. 7. Put the inner sills back in place. REMEMBER THE FRONT SILL FRONT TABS. They tuck under the carpet, be careful not to brake them. 8. Place the door seal back in the channels, do the curves first. 9. Enjoy your new trim  Pictures below for guidance. 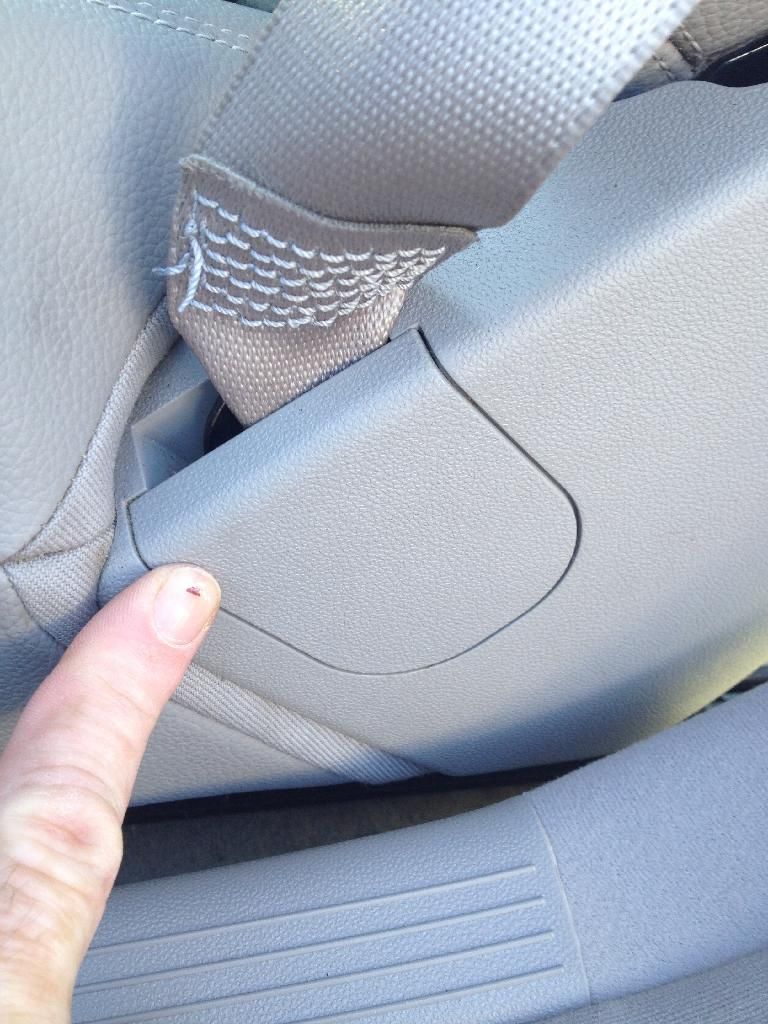 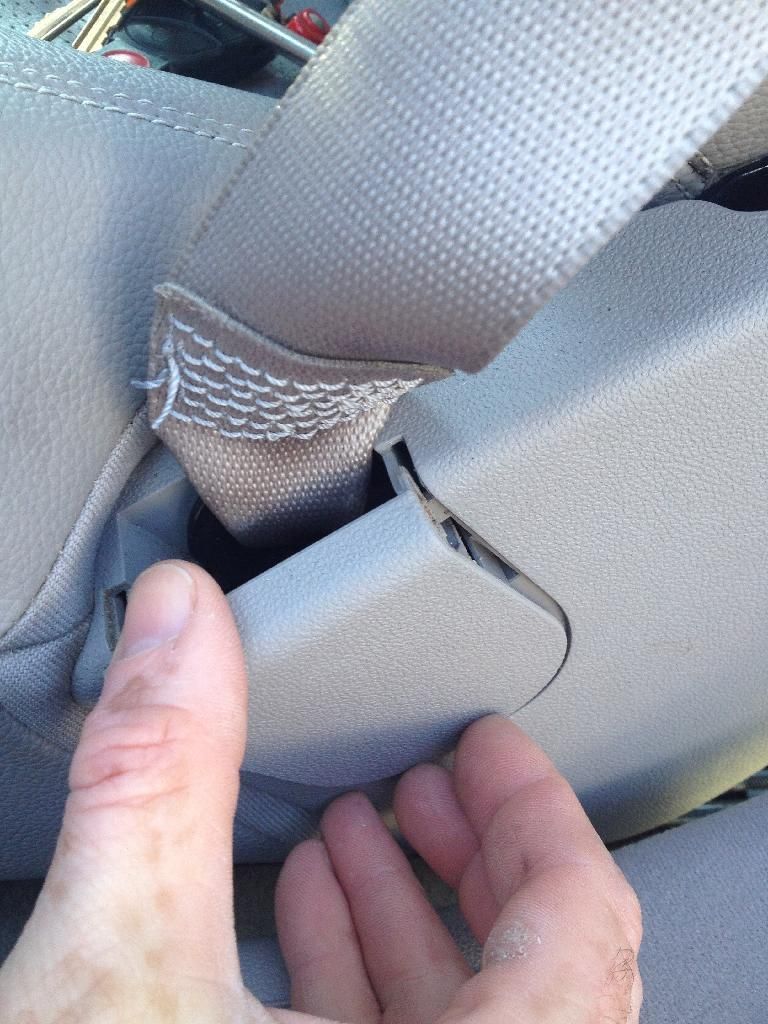 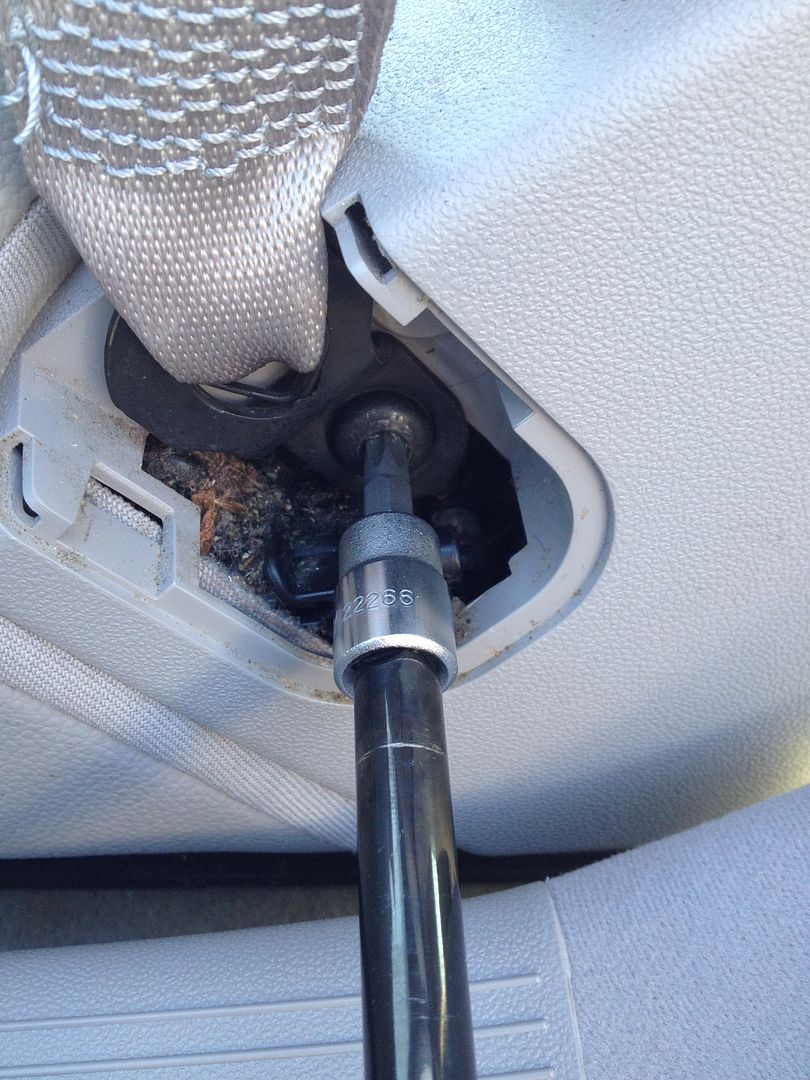 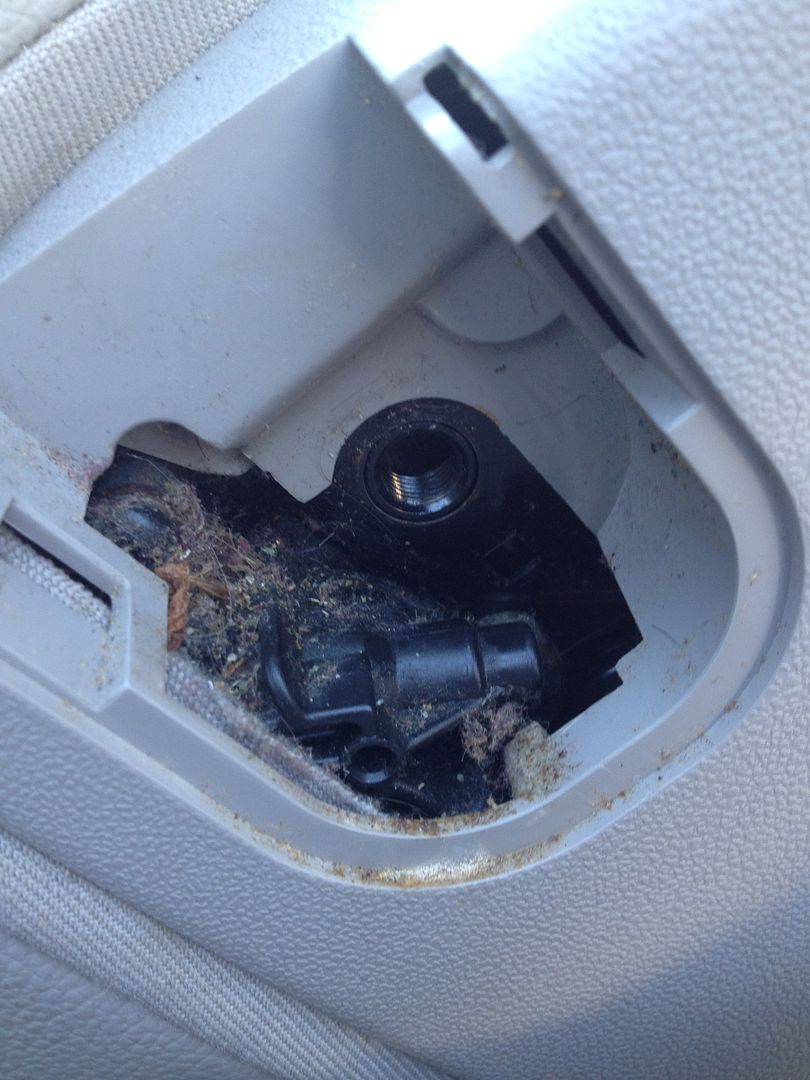  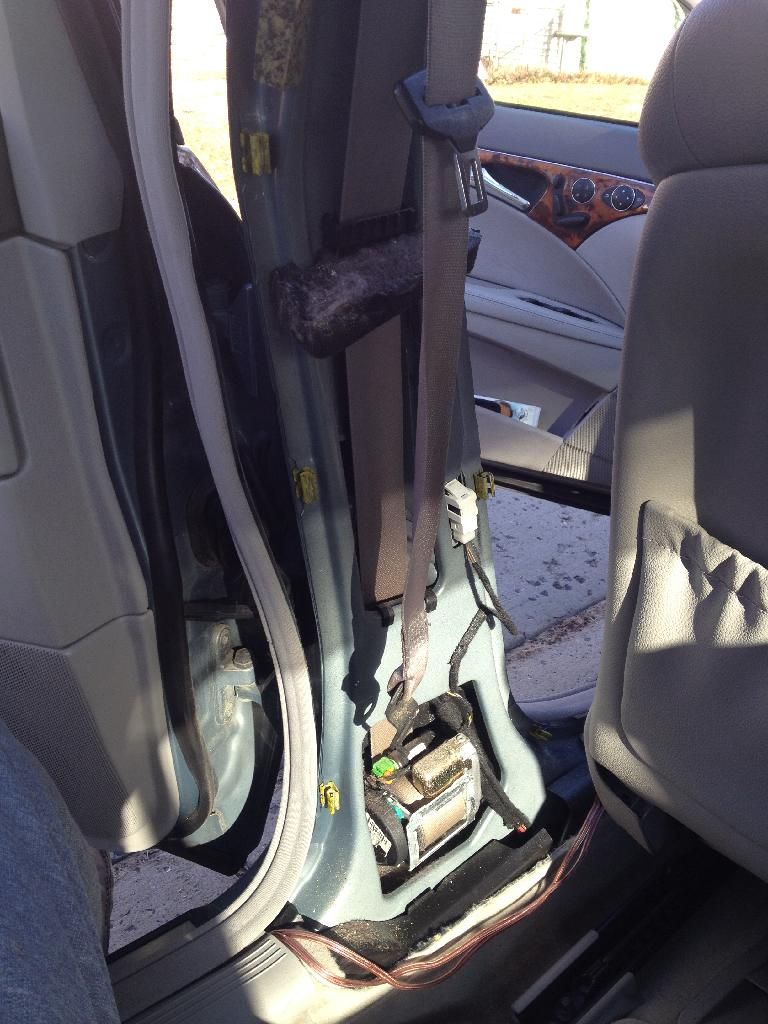 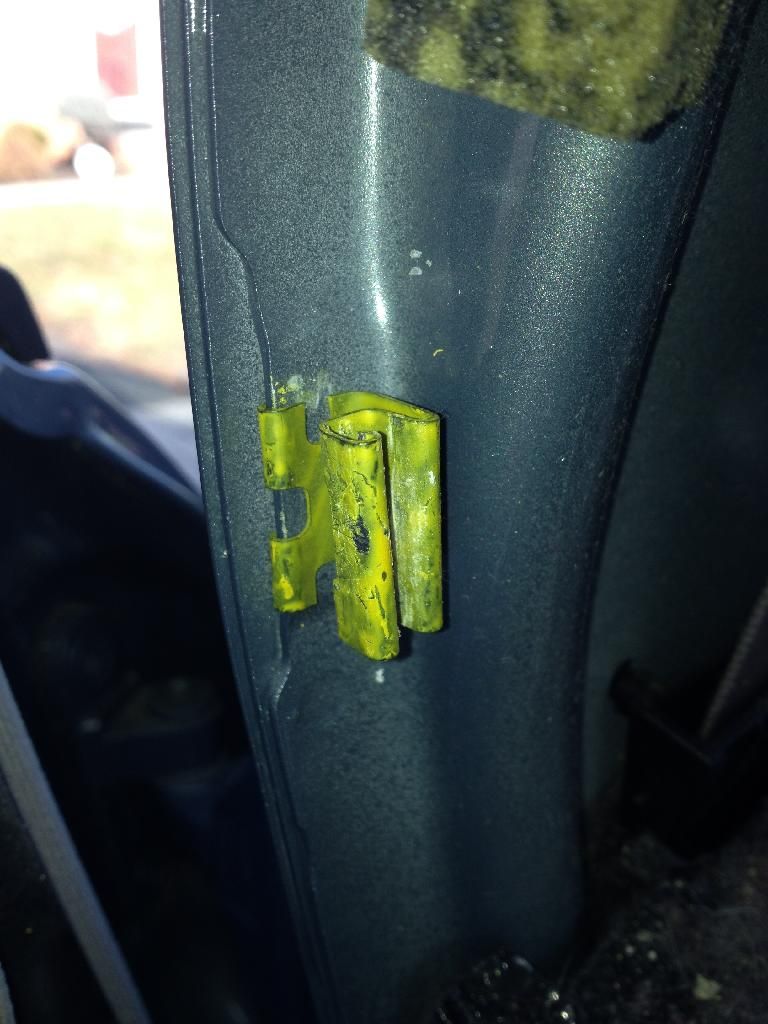 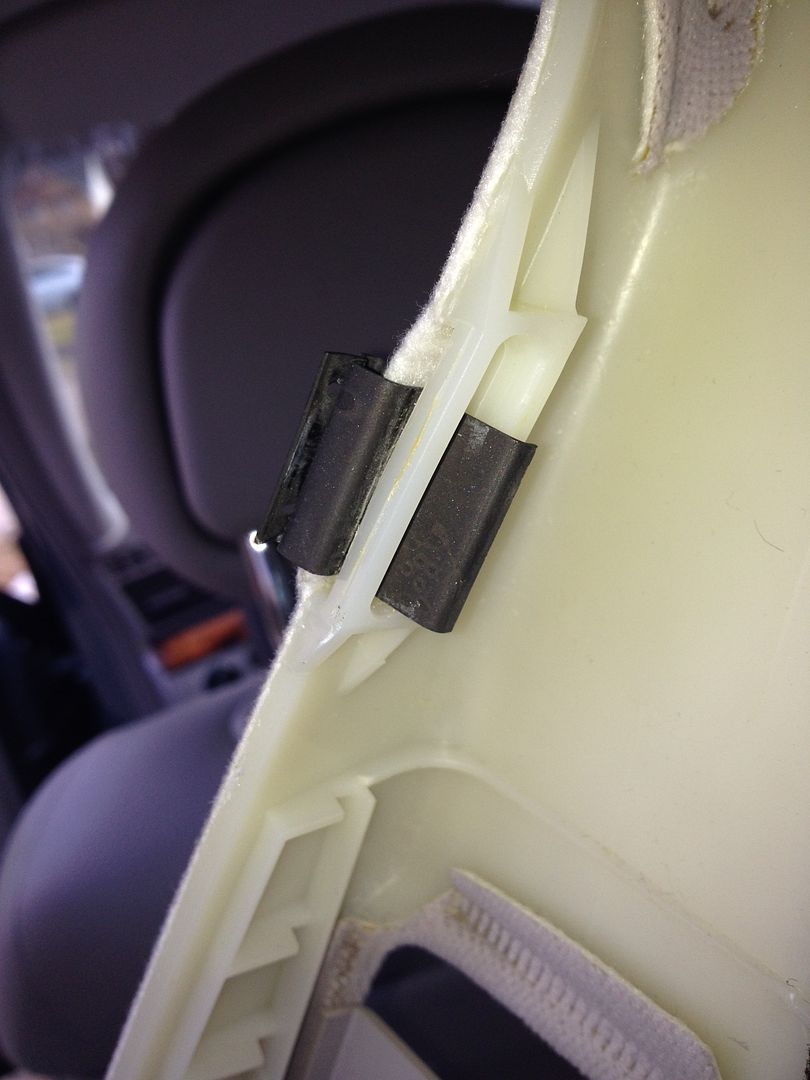 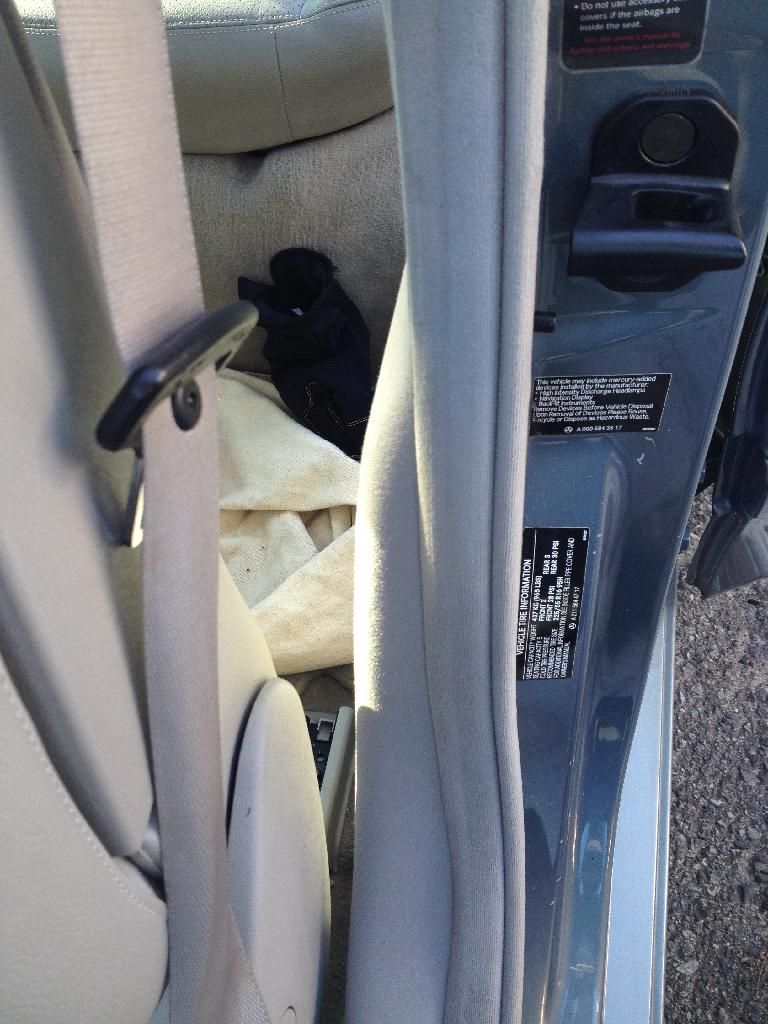 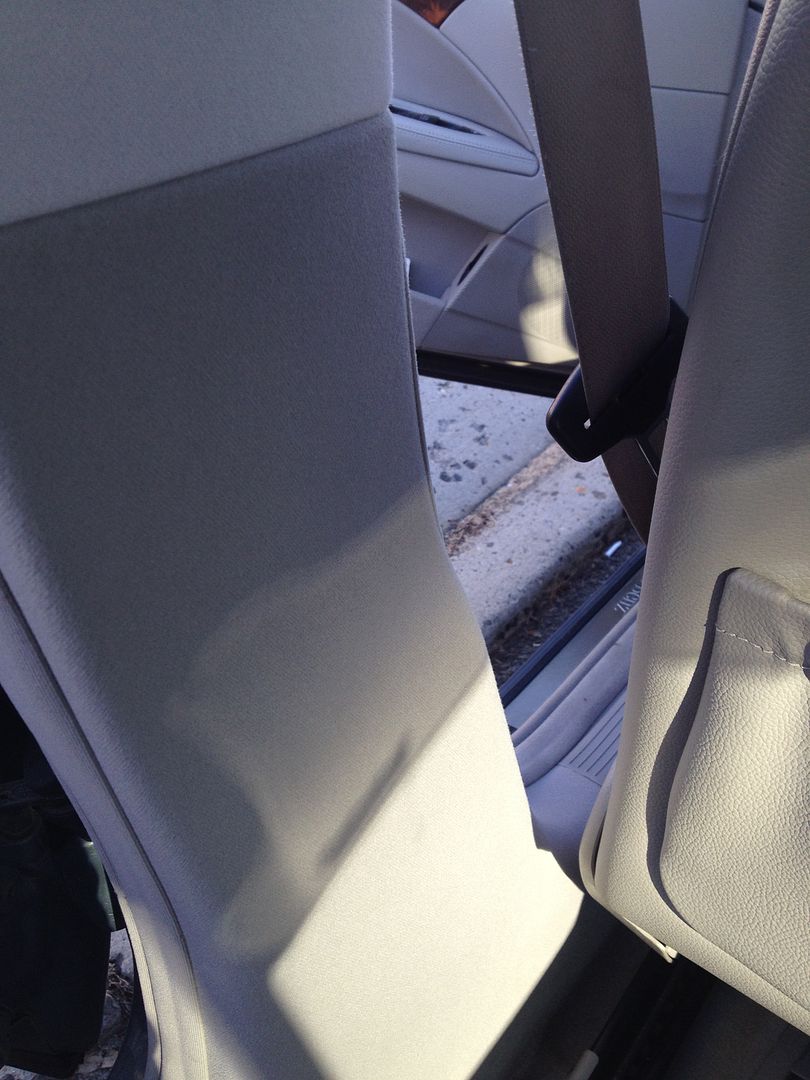 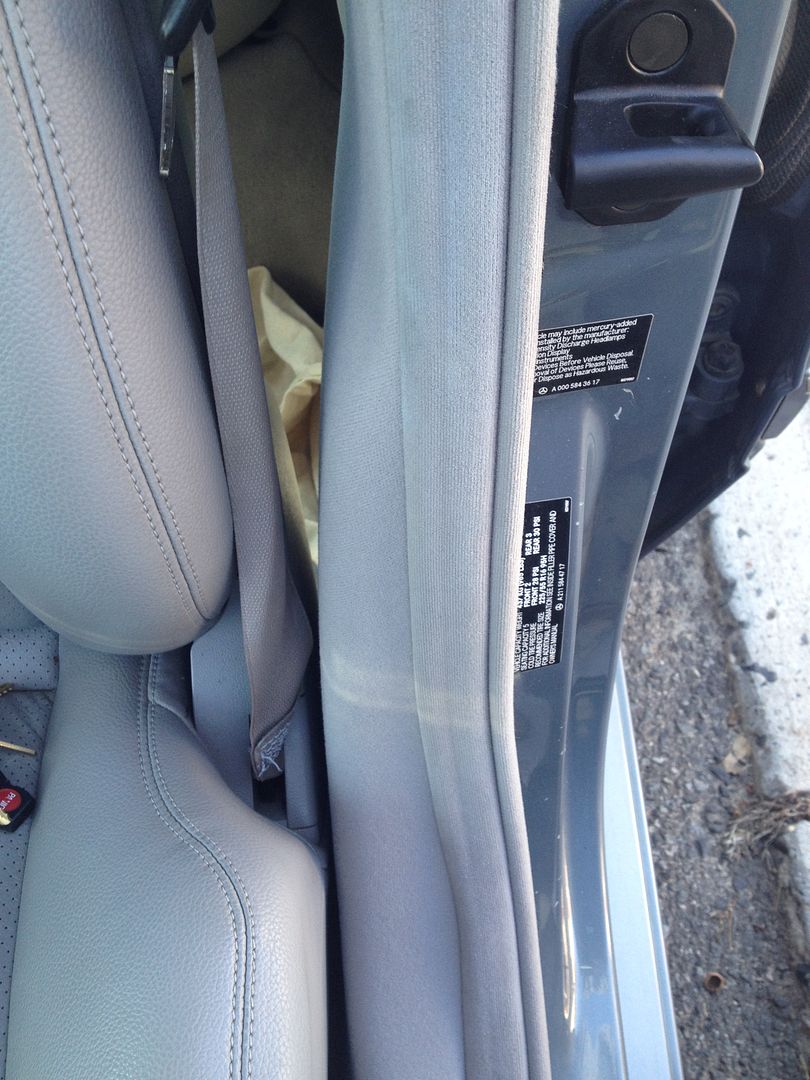 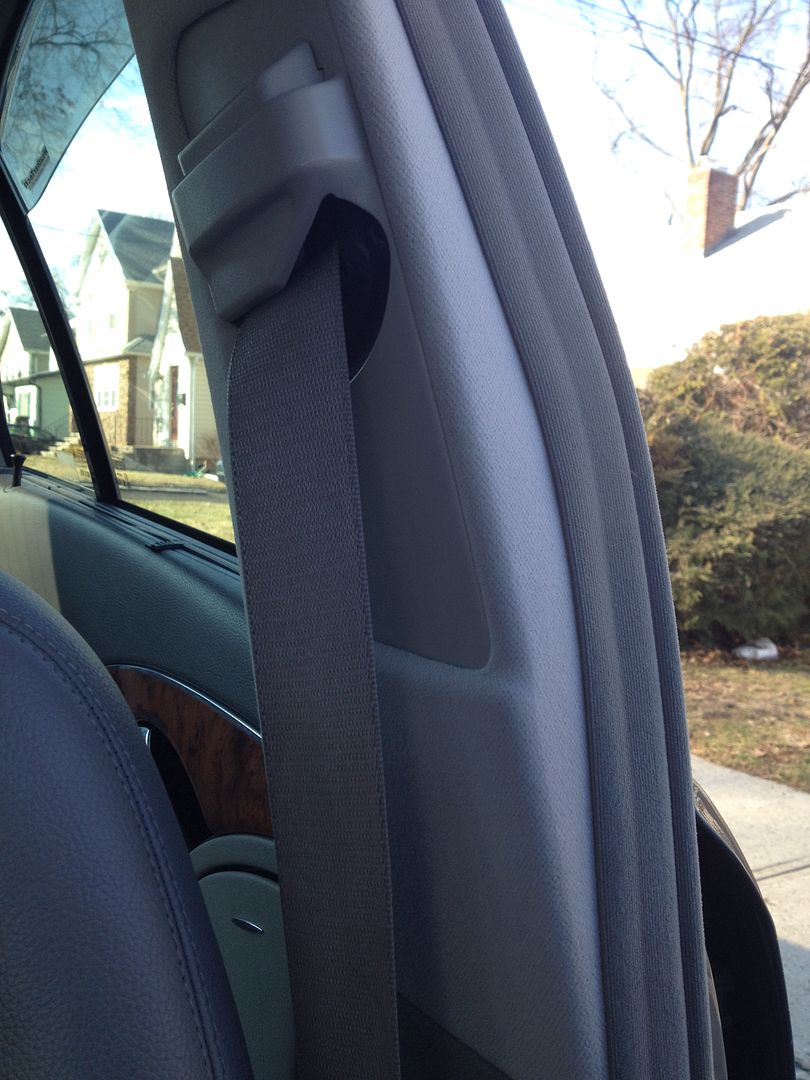 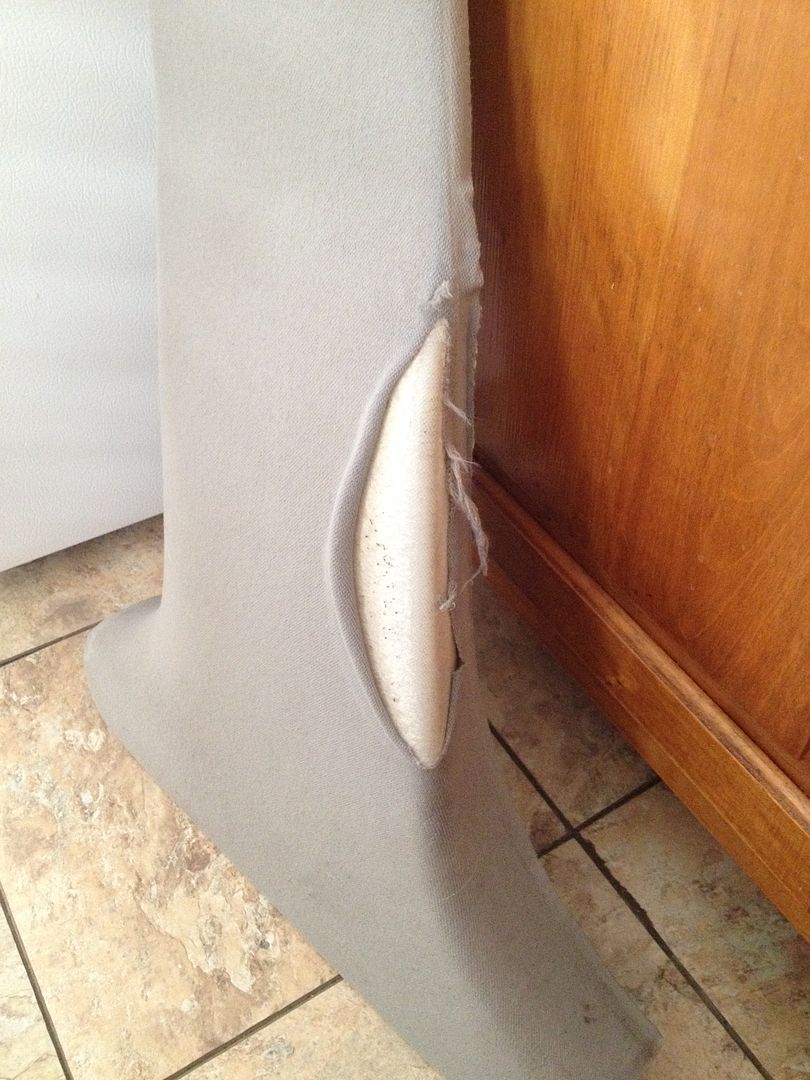 [URL=http://s966.photobucket.com/albums/ae148/jarce1/MY%20MERCEDES/?action=view¤t=C04642CF-EE10-4CC0-AB9F-664168500A0E_zpszcfwugqt.jpg]
__________________
W211 B-PILLAR TRIM PANEL REPLACEMENT My Continental Tire Experience By Land: 2005 E320 CDI (Unnamed as of yet) 2011 Toyota Tundra DC limited 4x4 "Big Red" 1965 euro import VW Beetle "Mojo" By Sea: 22' Grady White Seafarer "SeaSun Pass" Last edited by 65aircooled; 01-19-2014 at 03:05 PM. Reason: Edited to add pictures 
|
 |
| Bookmarks |
|
|


 Linear Mode


