

|
|
|
|
|
|
#1
 12-30-2013, 12:40 AM
|
||||
|
||||
|
Monovalve DIY replacement (visual/photo documentary)
Well, I went ahead and bit the bullet and got the MB-issued monovalve/"lifting magnet" - it has a 1 year warranty from date of purchase. So I went ahead and installed it as soon as I got home! After all it cost me a pretty penny.
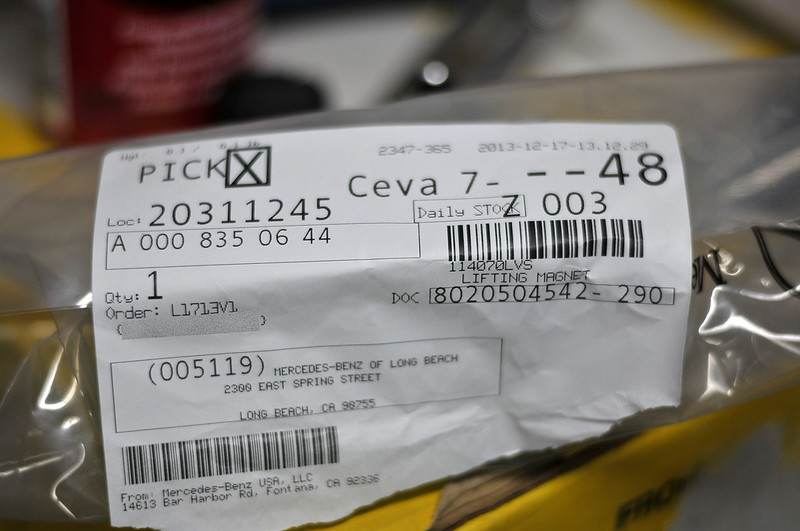 Before we proceed, if you remove the monovalve with a COLD engine, you will not lose any coolant. If you do the same with a warm engine, then you'll some coolant. Be prepared for any spills if you do so. Removed the old unit and saw that it was torn, conclusive proof why I have little to no heat when I am at speed (noticeable around 60mph and above). Below that, the heat increases as I drive slower. This is a typical torn monovalve issue from what I've read. 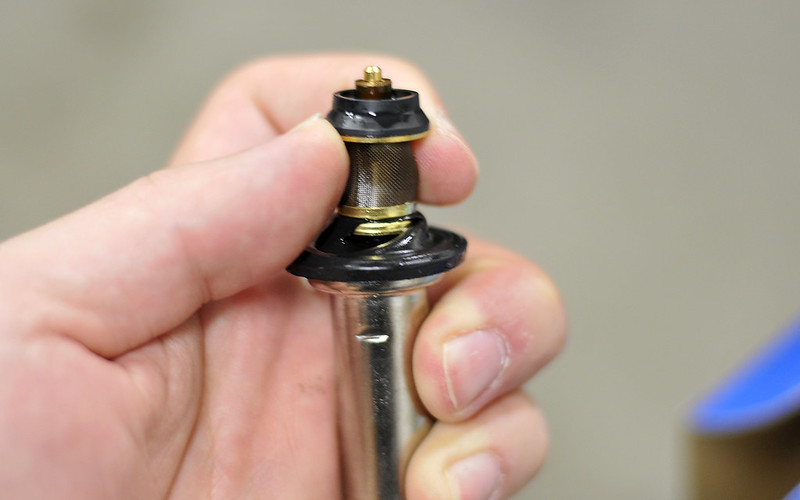 Upon inspection of the replacement unit, the rubber diaphragm had identical markings as the one sourced from MB. My old unit was a Bosch aftermarket, currently stated to be NLA from Bosch separately. The cheaper replacement is an MTA unit, which seems to have slight variations in the design, but overall is similar in shape. The diaphragm of the MTA does not have any markings at all. Also, the "top" end of the monovalve that sticks out the square cover when installed properly, is tapered on the aftermarket unit. The Bosch or MB unit is squared off (flat). This is one way to tell if you get a blank box, which one you got. "MB 30-28" is what I read here: 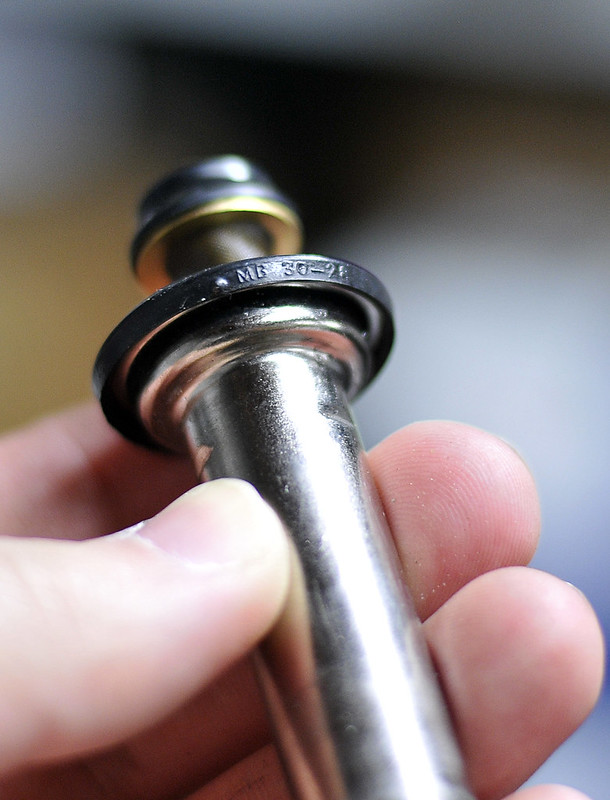 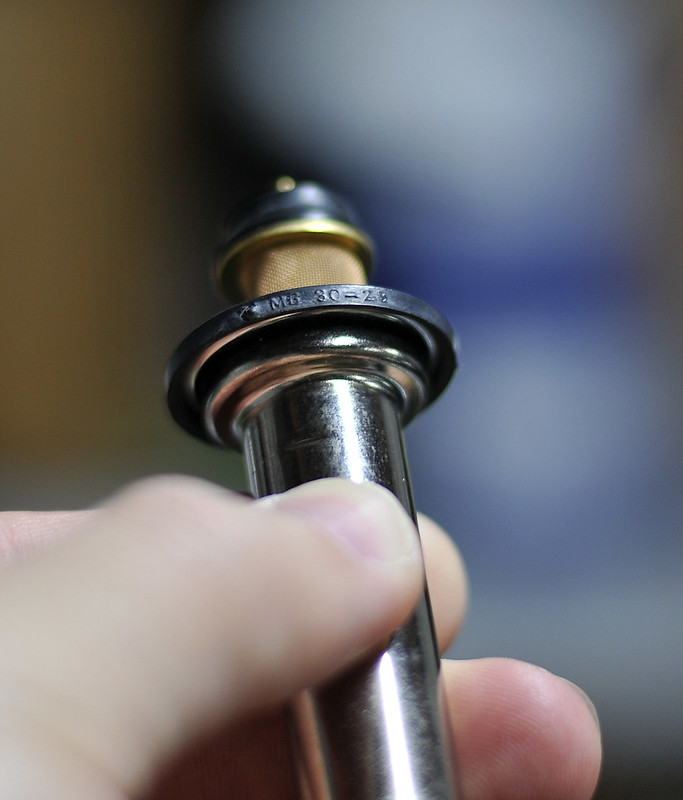 "CFW A47" is what I read here: 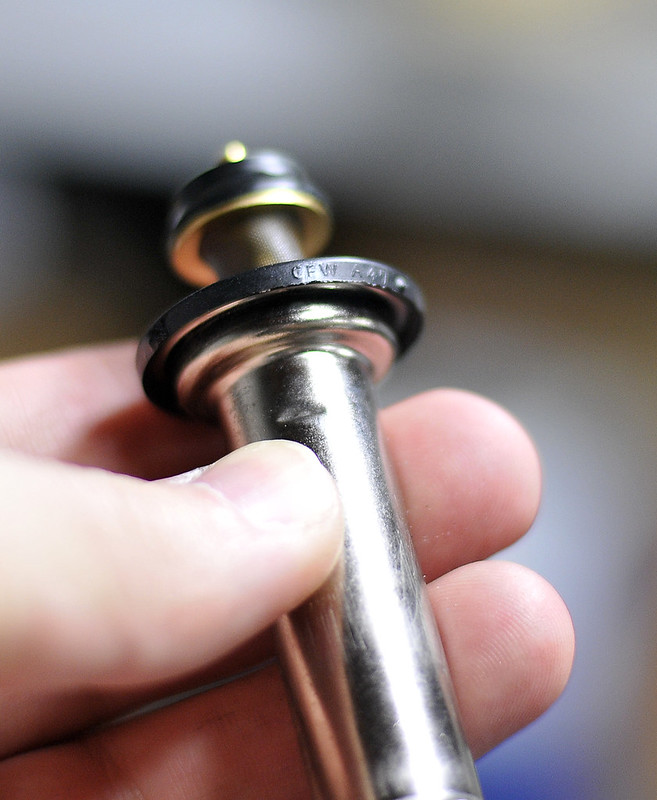  When installing make sure that the wavy washer that comes with the kit is sandwiched between the thin flat washer and the large thick washer. 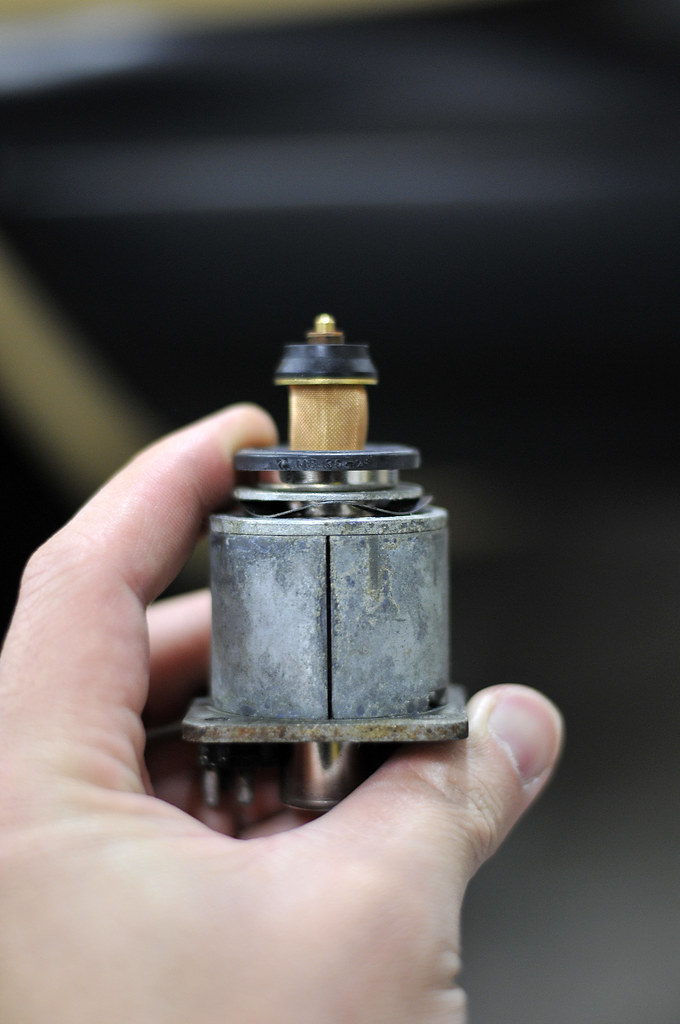 Also make sure the grooves in the electro-magnet covering (cylinder/drum) fit on the correct slats. 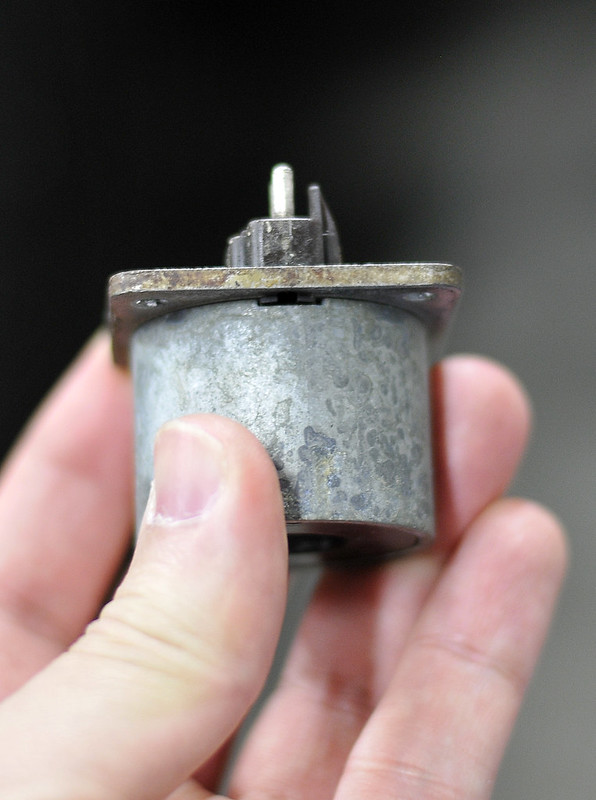 Care must be taken when handling the electro-magnet so as not to cut the thin copper wiring between the coil passing through the square housing cover, towards the plug: 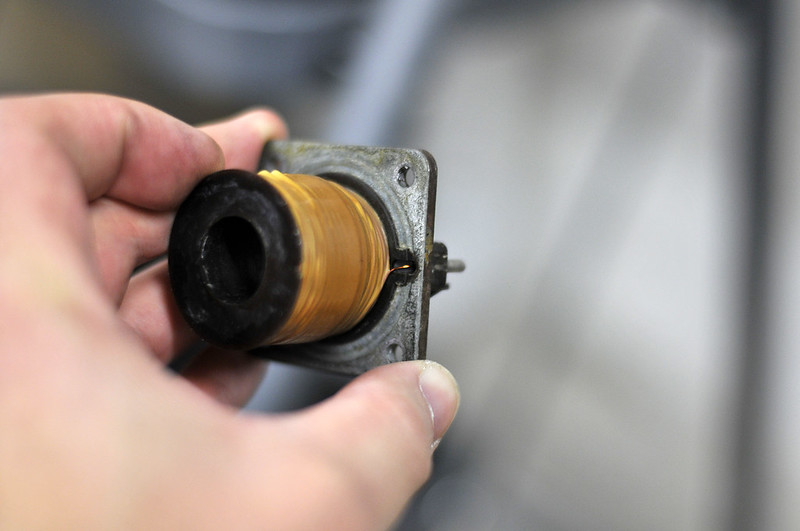 A few additional shots of the pieces: 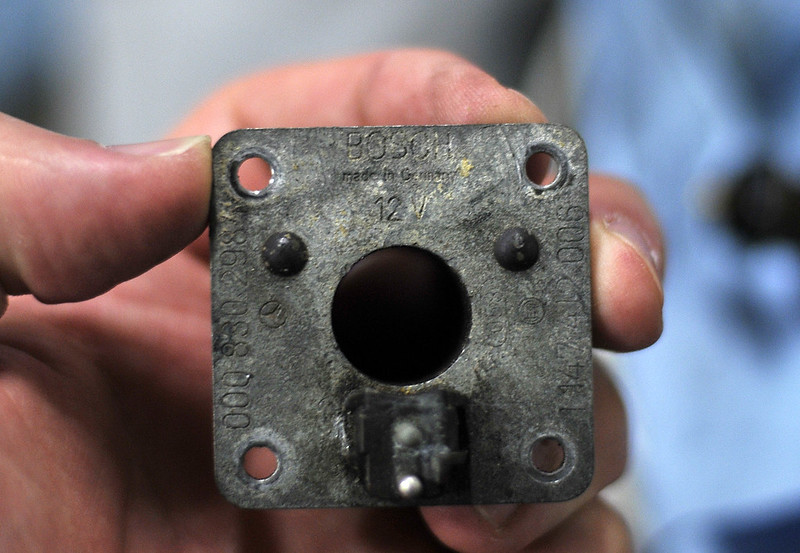 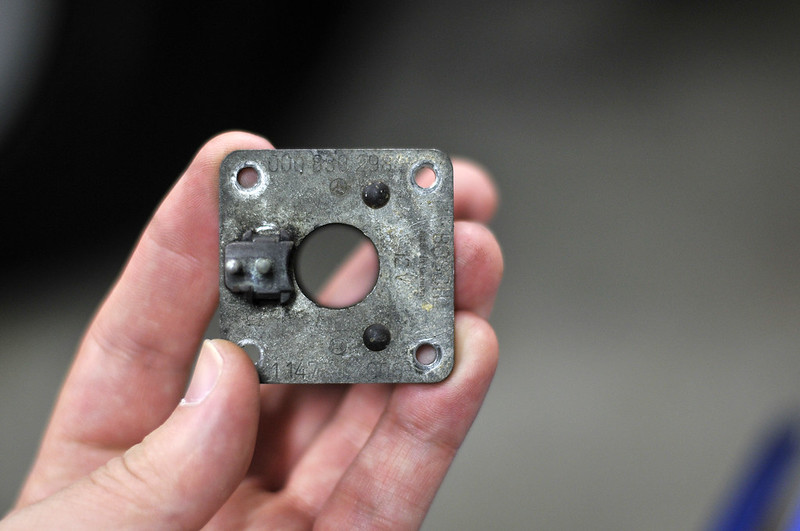 If you manage to find a rubber diaphragm suitable for a replacement, this C-clip can be removed and the diaphragm can be replaced separately. 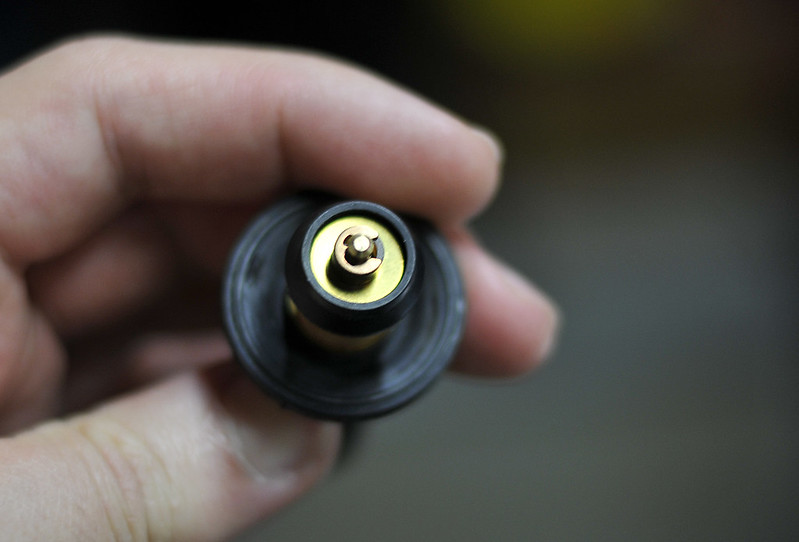 But you need to figure out a way to fasten the lip of the diaphragm edge to the monovalve itself, the original rubber diaphragm has a lip that grabs the metal ring. 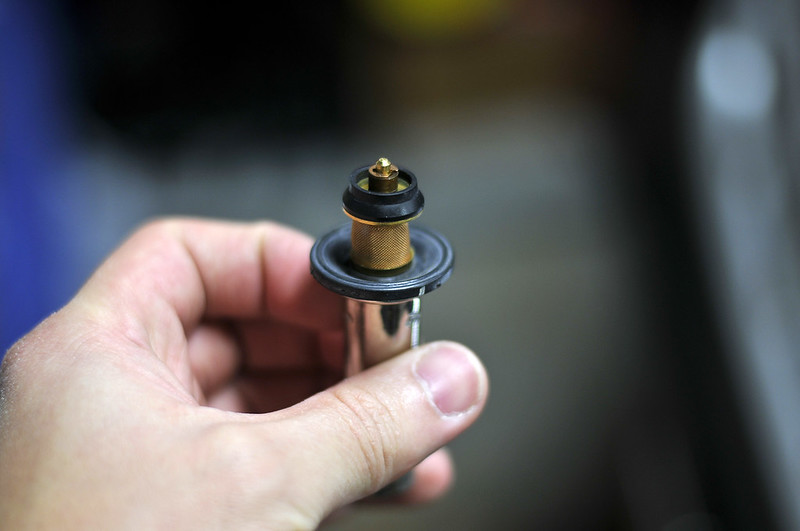 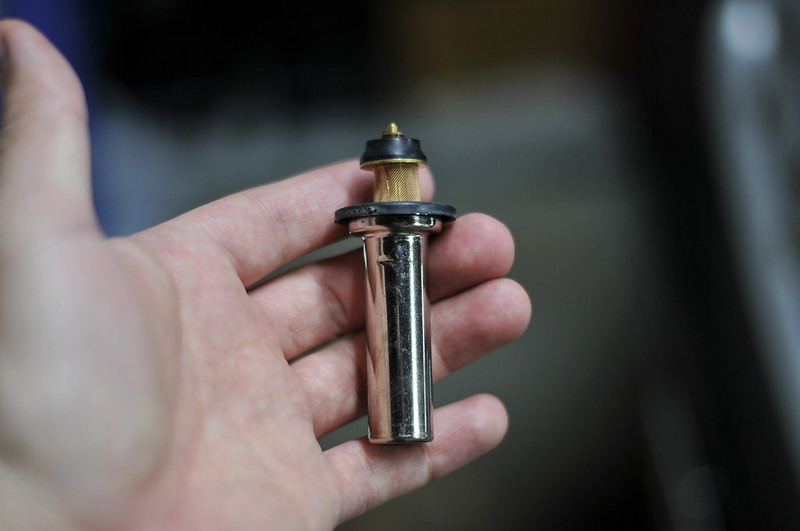 Installation is opposite of removal. While I was at it I also replaced the female plug on the wiring harness with a good used replacement I had saved years ago. The old one was dry and brittle. Cleaned the contacts too and ever so slightly tightened the connections to make sure there'd be no loss of contact between the pins.
__________________
http://farm8.staticflickr.com/7271/7...144c3fc1dc.jpg 
|
 |
| Bookmarks |
|
|


 Linear Mode


