

|
|
|
|
|
|
#46
 09-07-2016, 11:39 AM
|
|||
|
|||
|
Quote:
__________________
1980 240d , chain elongation, cam marks reference: http://www.peachparts.com/shopforum/diesel-discussion/10414-help-i-need-check-stretch.html http://www.peachparts.com/shopforum/diesel-discussion/305365-9-degrees-chain-stretch.html evap fin cleaning: http://www.peachparts.com/shopforum/diesel-discussion/156207-photo-step-step-post-showing-w123-evaporator-removal-1983-240d-1982-300td.html?highlight=evaporator A/C thread http://www.peachparts.com/shopforum/diesel-discussion/297462-c-recommendations-mb-vehicles.html 
|
|
#47
09-07-2016, 12:09 PM
|
|||
|
|||
|
Funola,
Sure - I'll get some pictures for you, though it will have to be of the Seimen's housing instead of the Behr one, since I had to use the heater housing for the one that's going into my car. I'll get some fresh pictures, I didn't think to grab any with all the vacuum pods in place and I think those will help explain how it all works. The two housings are practically identical, the only real difference is the exact dimensions of the evaporator enclosure. LMG, are you perhaps asking me rather than Funola? His system is already assembled and working, mine's still in progress. I'm hoping to have mine back together within the next couple of weeks, assuming I can get a second set of hands to mount the evaporator housing and dash soon. I still have a woodworking project that I need to finish as well. Here's what's left Rebuild evaporator housing/heater housing. I had to pull that apart last night to add a bit of weatherstrip that I forgot. I left most of it intact, only separating the areas that were absolutely essential. Install evaporator housing (need help with that bit) Rewire/plumb housing and everything that I removed to make room. Vacuum test all of the vacuum pods. I already rebuilt all of these, but it's worth taking the time to test it again. Install dash, center console, controls, steering wheel, instruments, etc. Test everything as it goes in. Install compressor belt, set tension, tighten compressor into final position. Tension power steering pump belt, tighten in final position. Install hard lines to compressor and a few small mounting brackets that were part of the Sanden kit I chose. Run new hoses - most of which I have either new or rebuilt. I also need to crimp the suction line from the evaporator to the line that runs across the front of the engine. I want to have everything in place before I measure the length for the new barrier hose, since I only have one shot at making it fit correctly. Install new heater hoses. All of those are in my parts collection, and I've refurbished the steel heater hose lines. Replace the condenser with another PF. Since I ran the system with an R4 which failed, I still have pag 150 in the condenser, but my new Sanden calls for pag 100. Since I cant flush it, and I don't know how much oil is in there, I decided to fork out a bit more cash for another one to be safe. Oil change (since I need to pull the oil cooler to swap the condenser, I might as well do that now) Install battery tray, battery, air cleaner - removed to make room to work and because the lines to the evaporator are held in place here. Double check wiring of aux fan - I upgraded to an oversize aux fan, not 100% sure I got the polarity correct. Can't check that until I have the battery back in Pressure test/purge with nitrogen, vacuum, fill system. I'm going to be running r134a in my system. Since I have the vastly improved condenser and auxiliary fan, as well as a 99% new system, I am hoping it will perform comparably to r12. There's probably a few small things I left out, but that's the major parts.
__________________
'85 300D - federal spec, built in late 84. 85 300D Complete AC System Rebuild Last edited by Demothen; 09-07-2016 at 02:01 PM.
|
|
#48
09-07-2016, 01:26 PM
|
|||
|
|||
|
Quote:
It is nice to have all the pictures for future reference .... and his questions are good..
__________________
1980 240d , chain elongation, cam marks reference: http://www.peachparts.com/shopforum/showthread.php?threadid=10414 http://www.peachparts.com/shopforum/diesel-discussion/305365-9-degrees-chain-stretch.html evap fin cleaning: http://www.peachparts.com/shopforum/diesel-discussion/156207-photo-step-step-post-showing-w123-evaporator-removal-1983-240d-1982-300td.html?highlight=evaporator A/C thread http://www.peachparts.com/shopforum/diesel-discussion/297462-c-recommendations-mb-vehicles.html
|
|
#49
09-19-2016, 04:46 PM
|
|||
|
|||
|
I got a ton of pictures a couple weekends ago of the evaporator housing after rebuild. Naturally I keep forgetting to transfer them from my camera... Will try to do that shortly.
Over the last two weekends I've finally been able to start reconstruction. I got the new evaporator housing installed. It fits fine even though it's not the same one the car shipped with. I've also run all new hoses throughout the AC system. I still need to make a few more connections, and try to figure out how I'm going to get the high pressure line from the compressor across the engine bay without risking any interference problems. (The kit wants it run along the bottom of the fan shroud, but does not indicate the use of any extra mounting clamps - not sure how well that will work). I did make the new suction side line from TXV using my original TXV fitting with a brazed-on beadlock fitting and a all-new fitting for the other end. I'm a little nervous that it will hold, but the crimping tool seemed to work quite well. Installing the firewall grommet was a pain, I ended up installing it over the suction hose out of the car before crimping on both ends, then after it was installed I ran some heat shrink over it to be safe. I swapped out the condenser again with a new 16x24 PF condenser. I'm hesitant to recommend going with this large of a condenser. I think a 16x22 would be the best fit. My car has an aftermarket radiator, and I suspect it may be either slightly thicker or at least the bottom tank is slightly thicker. This was causing a clearance issue with the condenser. Both could be installed, but once you clamped the radiator in place it was trying to flex the condenser. Because the 16x24 condenser is quite a bit wider than stock, it needs to sit behind the driver's side headlight bucket support. I had to remove a small piece of sheetmetal from that support, as well as use a soft mallet to push the support forward by about 1/8". I also had to clearance the sheetmetal supports near the bottom corners of the condenser as well. None of this is visible once the car's together, but I would have preferred not to have to deal with it. I did add a bit of foam tape between the tank of the radiator and the lower mounting hardware of the condenser, just to help keep them from rubbing together. I also managed to cause a power steering hose leak, my hoses were original to the car and apparently I bumped one enough to make it start leaking. I won't get new hoses until later this week. Up next: New TXV, torque everything, reinstall the dash and console electronics, new receiver/drier with oil, air cleaner reinstall, vacuum/flush/fill and hope the system works. One or two more solid days work should get it finished.
__________________
'85 300D - federal spec, built in late 84. 85 300D Complete AC System Rebuild
|
|
#50
09-20-2016, 11:00 AM
|
|||
|
|||
|
Here's a few pictures of the Seimens evaporator housing out of the car.
  
__________________
'85 300D - federal spec, built in late 84. 85 300D Complete AC System Rebuild Last edited by Demothen; 09-20-2016 at 12:11 PM.
|
|
#52
09-22-2016, 11:55 AM
|
||||
|
||||
|
That box is looking good!
.
__________________
1983 123.133 California - GreaseCar Veg System 
|
|
#53
09-22-2016, 12:00 PM
|
|||
|
|||
|
Quote:
Though I was in a bit of a rush, so didn't get pictures of it in place. Really hoping to get the car back on the road this weekend.
__________________
'85 300D - federal spec, built in late 84. 85 300D Complete AC System Rebuild
|
|
#54
09-28-2016, 10:05 AM
|
|||
|
|||
|
Car's 99% ready to drive. Just need to get it off the jack stands, add fluids, and hook up the battery.
...Oh wait. This happened... 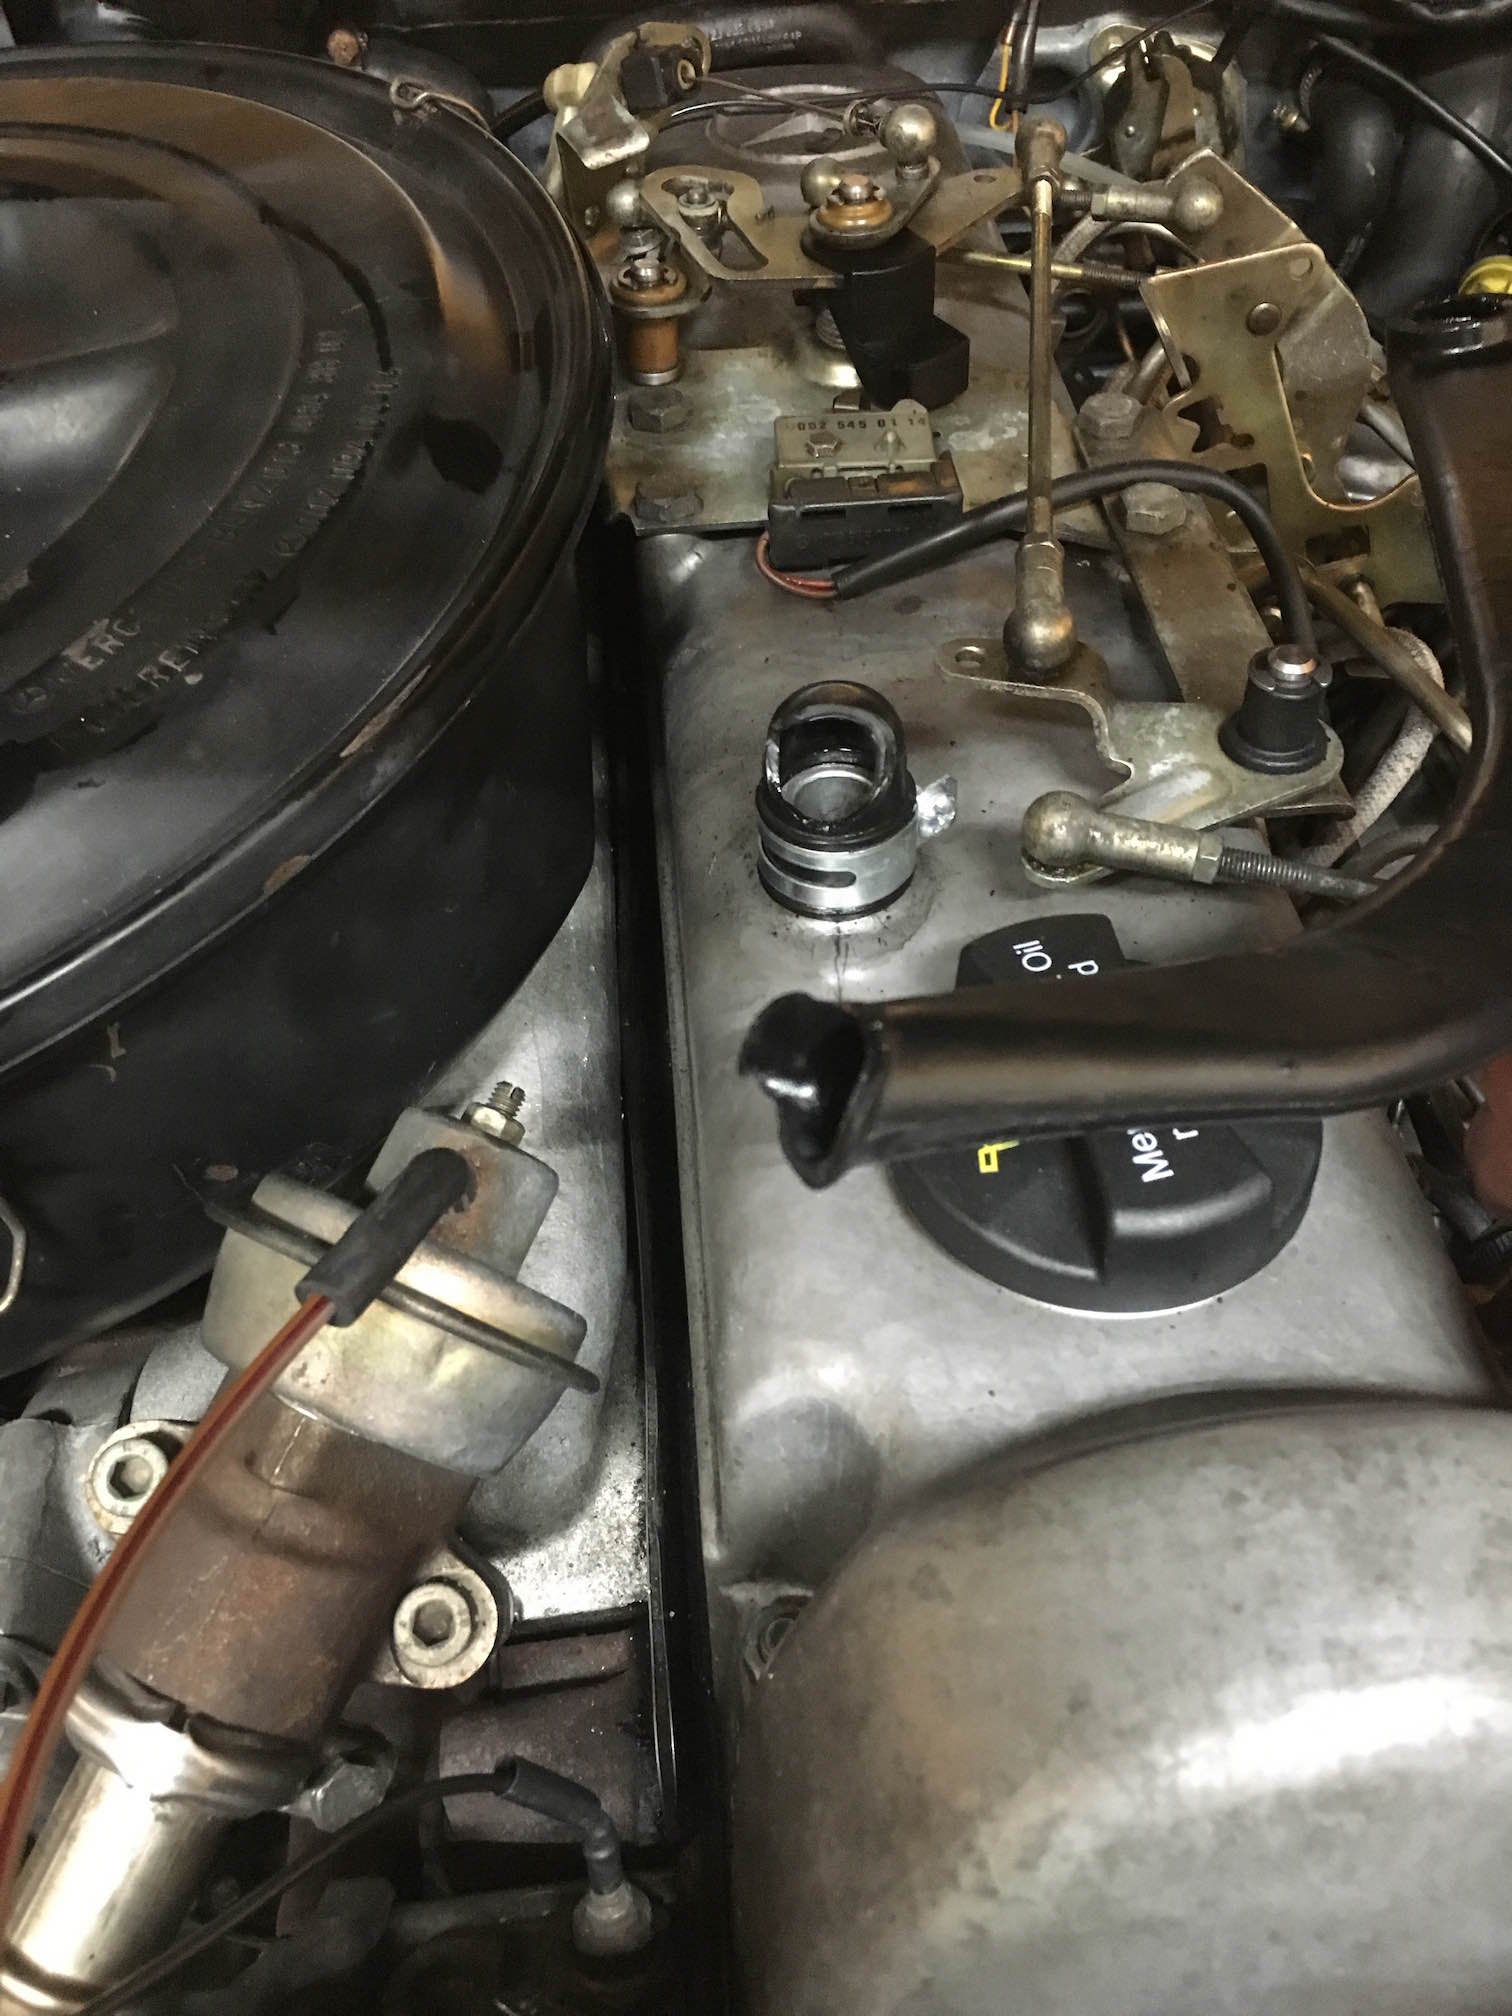 So I'll be waiting until I get a new one of those, or I might try some heater hose as a temporary solution.
__________________
'85 300D - federal spec, built in late 84. 85 300D Complete AC System Rebuild
|
|
#55
10-05-2016, 04:21 PM
|
|||
|
|||
|
Got the call from the shop that was doing the charge today, it's producing 38 degree air today after the charge. Unfortunately today's only in the low 70's and overcast, so the real test will be a warm day - but hopefully it maintains something close to those temperatures on warmer days since I've improved the cooling capacity of the system with a PF condenser and oversize fan.
__________________
'85 300D - federal spec, built in late 84. 85 300D Complete AC System Rebuild
|
|
#56
01-10-2019, 12:44 PM
|
|||
|
|||
|
This is an ancient thread, but I wanted to add one thing that I've done since I "completed" the rebuild. The monovalve has always been a problem spot on my car, I've replaced the housing and the core several times but never gotten it to work properly. I even ran a light bulb parallel to it to make sure it was cycling properly (fyi, it looks like a bang-bang circuit to me, either full on or full off, cycling every few seconds to minutes based on temperature requested).
I sourced a monovalve replacement kit online, essentially it's a vacuum switchover valve (electronic input controls a vacuum valve), a vacuum controlled monovalve (I think it's a part from a w124), an elbow to replace the aux water pump, and vacuum and water plumbing parts. This completely replaces the monovalve (which has extremely weak action) and the aux water pump (widely deemed unnecessary in moderate climates) with new elements. Installation took a couple of hours, with help from a friend, and since it's been installed, the heater has been working reliably, and not producing hot air except on demand. The new system is more complex, but seems to be more reliable, and can be swapped out for original parts without any permanent damage to the car.
__________________
'85 300D - federal spec, built in late 84. 85 300D Complete AC System Rebuild
|
 |
| Bookmarks |
|
|


")


 Linear Mode


