

|
|
|
|
|
|
#61
 08-30-2011, 10:24 PM
|
|||
|
|||
|
While I'm very pro turbo, of course, I do see one big pro in the N/A column. It's actually more fun to take a lower powered car and wring the f*%# out of it than modulate a higher powered one. Case in point, I have a 1000CC streetbike. The most fun I've had on two wheels lately was repairng a 25cc moped and giving that thing absolute hell riding it back to the guys house.
__________________
 90 300TE 4-M Turbo 103, T3/T04E 50 trim T04B cover .60 AR Stage 3 turbine .63 AR A2W I/C, 40 LB/HR MS2E, 60-2 Direct Coil Control 3" Exh, AEM W/B O2 Underdrive Alt. and P/S Pulleys, Vented Rear Discs, .034 Booster. 3.07 diffs 1st Gear Start 90 300CE 104.980 Milled & ported head, 10.3:1 compression 197° intake cam w/20° advancer Tuned CIS ECU 4° ignition advance PCS TCM2000, built 722.6 600W networked suction fan Sportline sway bars V8 rear subframe, Quaife ATB 3.06 diff 
|
|
#62
09-06-2011, 04:46 AM
|
|||
|
|||
|
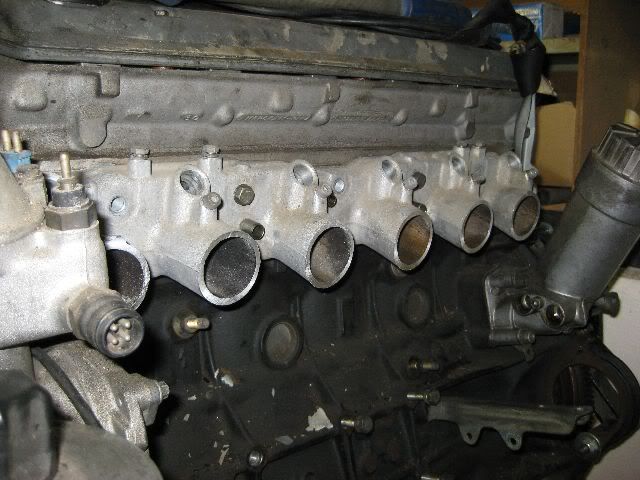
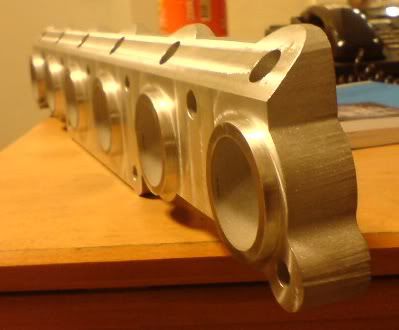
On an impulse this afternoon, I decided to chop up my M104 manifold. This was of course predicated by another impulse - because all of my turbo stuff is actually sold and I kind of, surprise surprise, bought two sets of Suzuki Hayabusa (motorbike) throttle bodies.
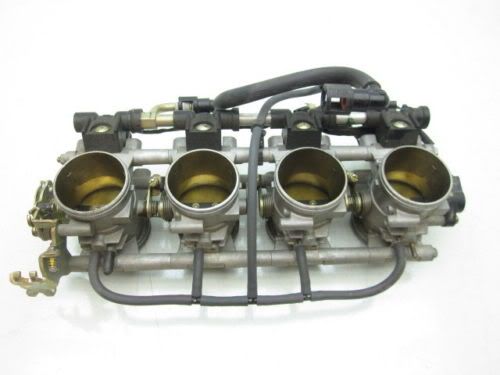  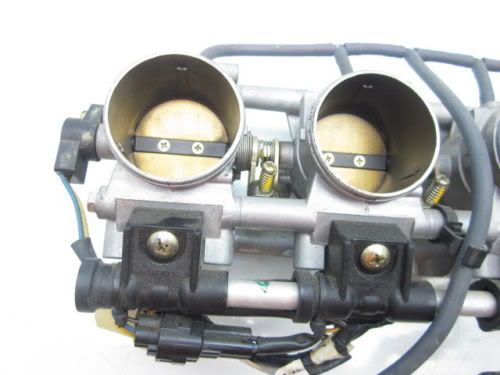 These work well because you can separate them and space them out as needed. And they're a pretty decent size. In order to get the throttles in a straight line, you need to cut quite close to the head as the outer runners curve inwards and downwards at a slight angle, whilst the middle runners curve down at a steeper angle. You have to run the front cylinder runner inwards to clear the thermostat housing anyway. It's not ideal though, there will still be some variation in the runner length, but I might be able to sort this out with different length velocity stacks if it is a particular issue. Setup ready for milling. This will be the first time I've actually used my mill/drill for this purpose!  There's just enough travel in the table to cut the whole length without moving the manifold. And also fortunately, they can be milled parallel to the flange mounting surface. Makes it a whole lot easier. 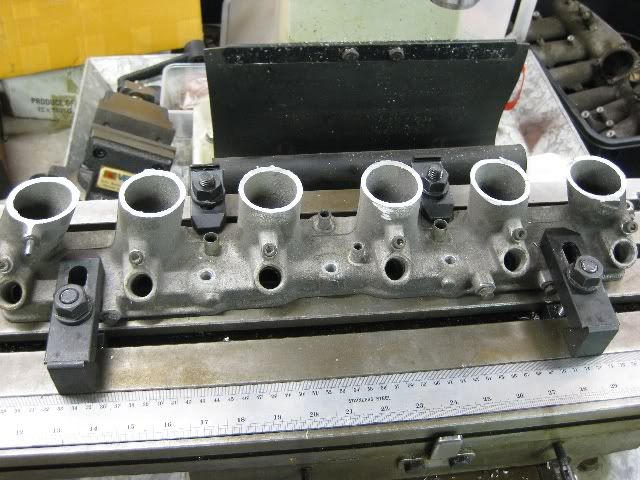 I cut these on the floor with a aluminium cutting disc in my 9" angle grinder. I was kind of pleased with how reasonably close they are! 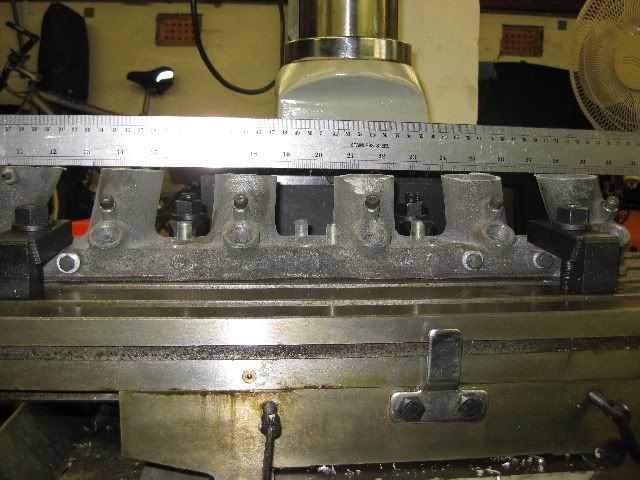 Why did I do this? Well, up until now, almost everything I've done is pretty easy to undo. Buying and selling stuff has been too easy. It's a bit harder to come back from a cut up inlet manifold. So, in effect, I've actually made forward labour progress! I'm actually a couple of hours closer to the car being back on the road!
|
|
#63
09-15-2011, 10:12 PM
|
|||
|
|||
|
I have finished milling my manifold so that all of the runners are level at least.
 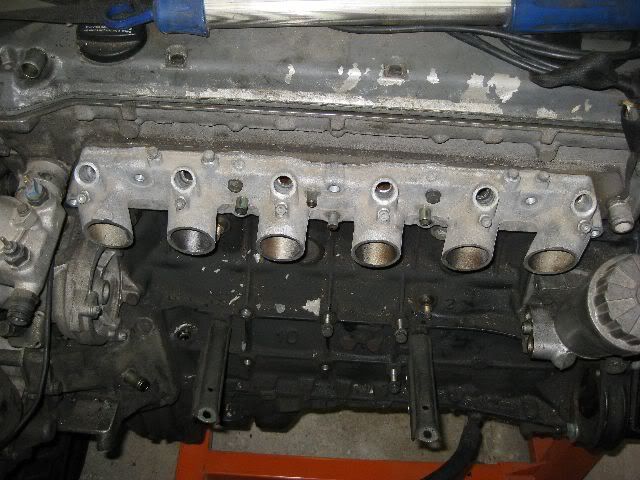 Here are some photos to illustrate some of the potential problems so far: Not much clearance between the runner and the water pump 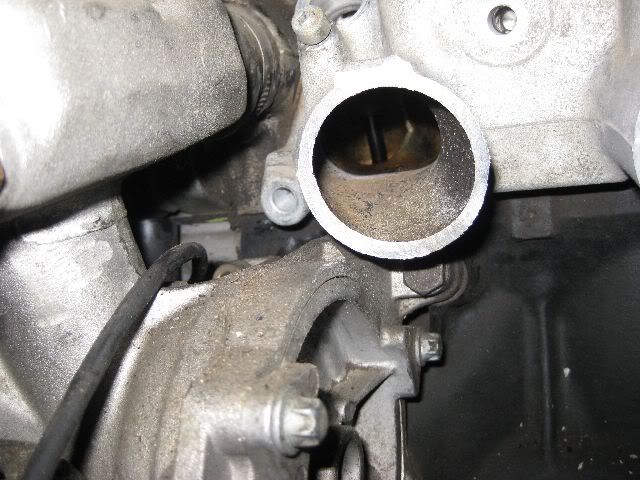 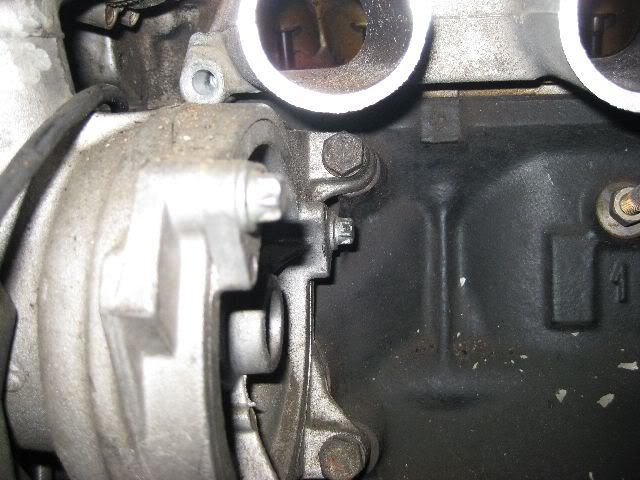 If I go too much shorter on the runner, I'll have interference problems with the thermostat housing 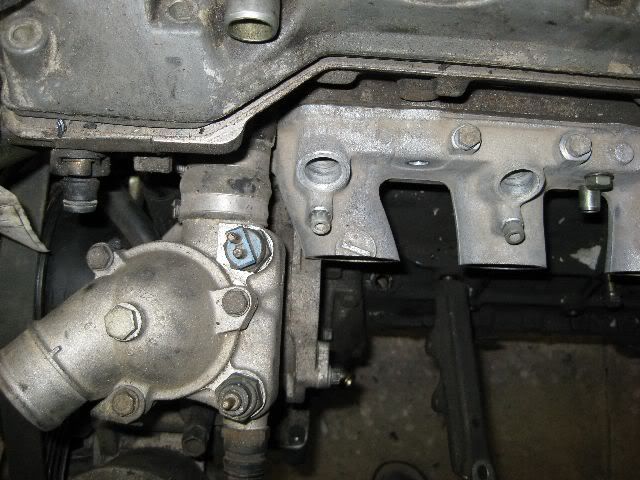 Obviously, the oil filter arrangement is going to need attention.  I'm not overly fussed on the results so far to be honest. I've got some ideas on making a new intake flange/manifold setup. My first set of throttle bodies also turned up at the office today. I might have a small chance of doing some mock up over the weekend........ 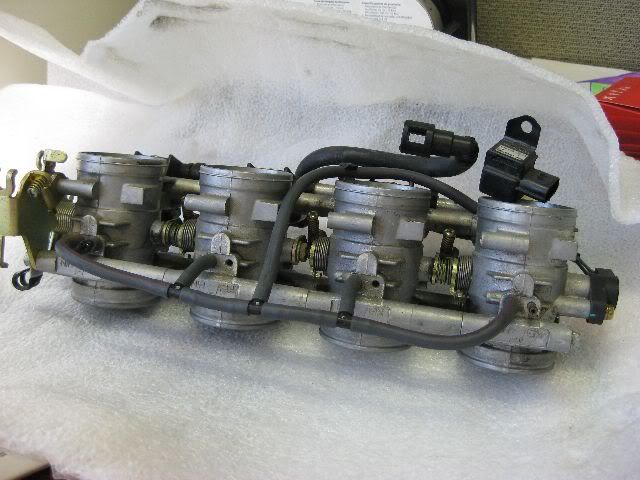 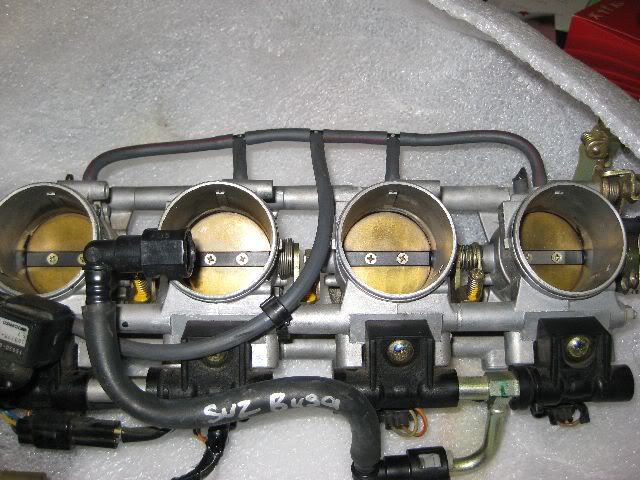 I also bought yet another ECU to drive the EFI setup. Brand new this time so no trying to sort out others wiring loom messes. The ECU itself is tiny! This is the basic Haltech unit, but for an NA setup, nothing fancy is really needed unless you are really going for a hardcore build. 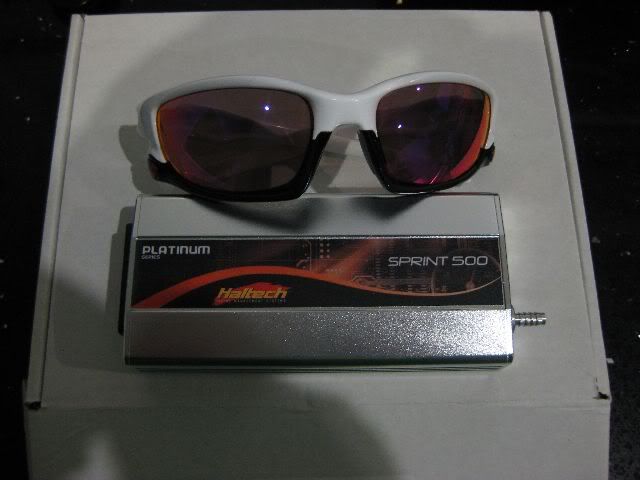 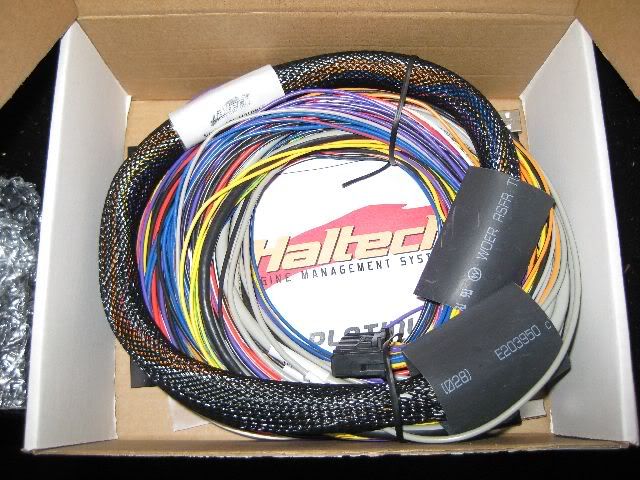
|
|
#64
09-20-2011, 06:58 PM
|
|||
|
|||
|
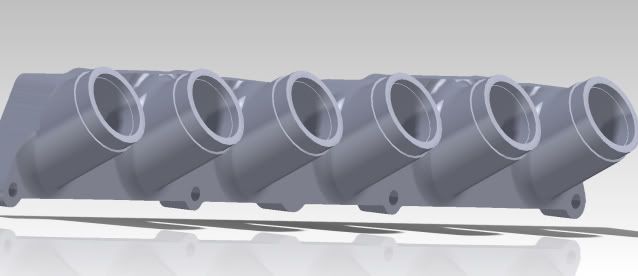
I got a bit of time to hold the throttles up against the engine in various positions. It was sufficient for me to realise that I'm not happy with the options presented by the cut down standard manifold at all. Maybe with some decent mods it might work, but then I'd have daggy welded on bits to clean up etc etc. So instead, I'm getting in touch with a guy who works with a good mate of mine who just happens to have a $125k CNC mill in his shed at home and I'm going to spend my evenings for the next two weeks while I'm in America trying to get some better skills happening in Solidworks so I can start putting together manifold model ideas.........taking inspiration from this flange from Roman but with a number of significant mods:
|
|
#66
09-30-2011, 12:42 AM
|
|||
|
|||
|
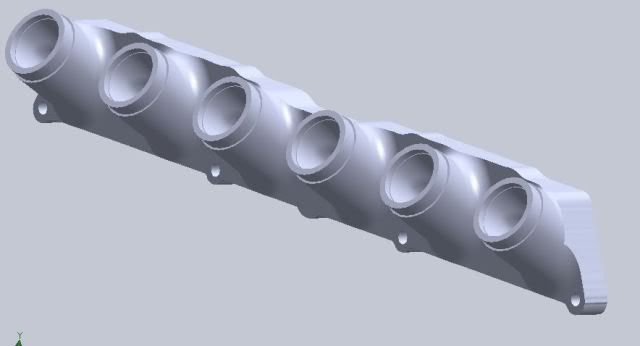
I think this will be just as cool, just not as fast.......
Before I left, I spent some more time mucking around with positioning of the first throttle body near the water pump and thermostat housing. It looked like I'd need at least a 45 degree inclination of the throttles to the head to get the first one to fit. 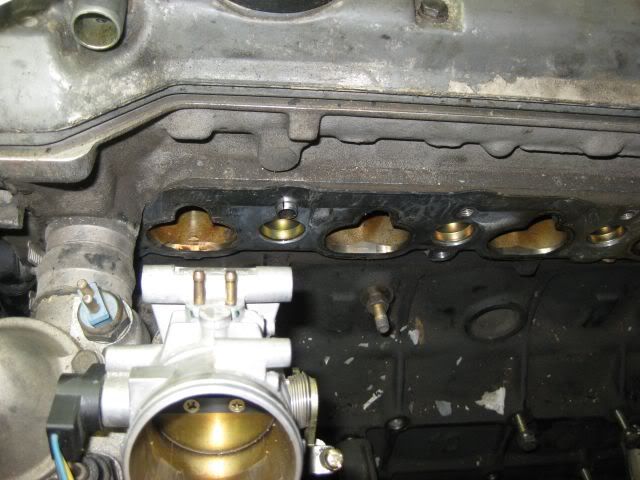  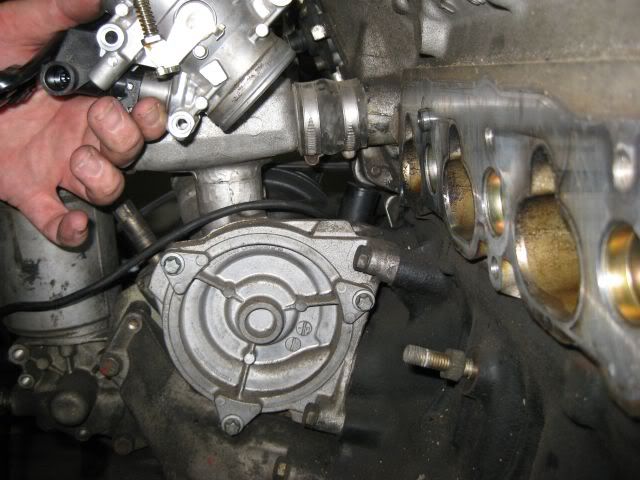  I can't put them too far away from the head because I have a bit of a space constraint at the rear with a false firewall. I wasn't overly happy with that either though. Still **** all clearance around the thermostat housing and sensors. And the 45 degree angle concerned me a bit fro a flow perspective. I even looked at some off the wall positions 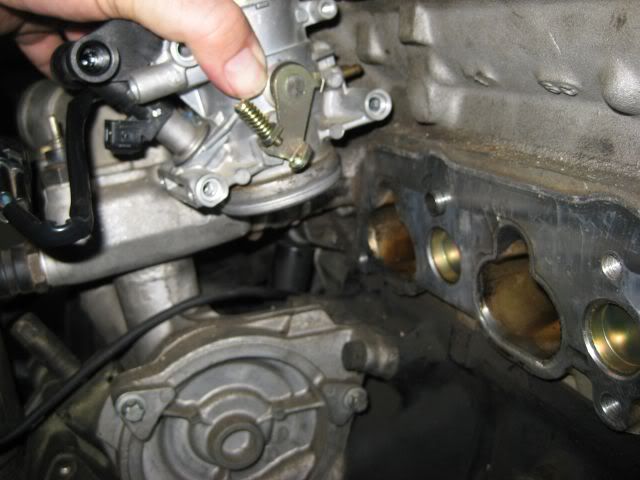  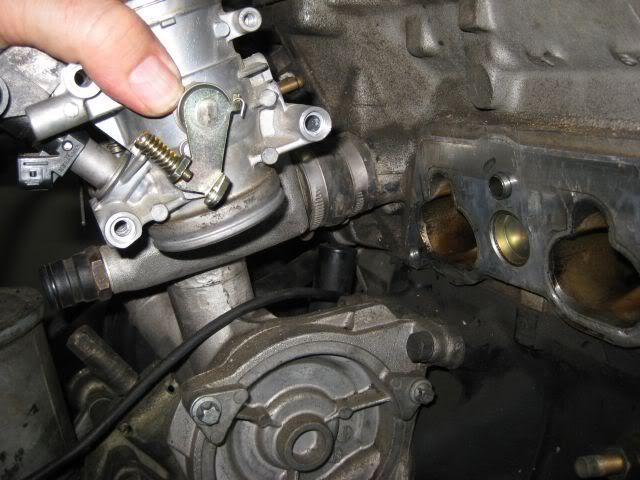  So I rolled up my sleeves and hooked in to ripping the water pump off to see what sort of space I really had and what opportunities I might have for utilising an electric water pump. It fellt like I had to pull apart half of the front of the engine to get access to all of the fasteners on the damn pump! 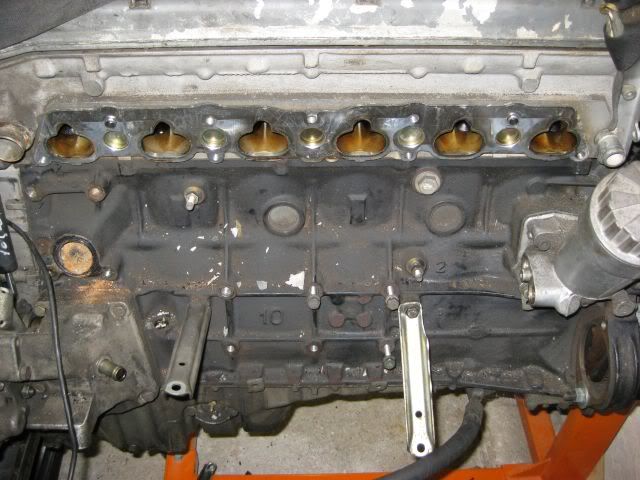 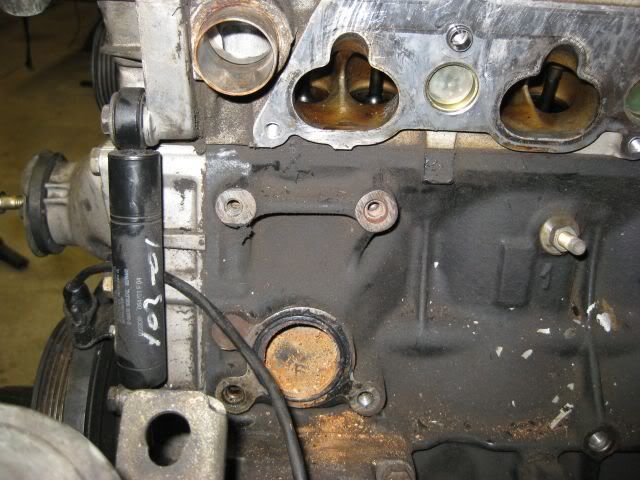 Once I saw what i had to work with, it didn't take much to make up my mind! One of these is currently on its way to my hotel!  So I think this will simplify the manifold I need to get made quite a bit. All the runners can come straight off (which means only one tool path has to be created, it can just be replicated another five times). I was going to buy some stuff off US ebay while I was here and get it shipped to my hotel, but Paypal won't let you put an address in a country different to the one you opened your account with and a lot of sellers will only ship to the Paypal supplied address! But then I discovered that Amazon sells car parts and even cheaper than some of the bits I'd found on Ebay - and way cheaper than Summit. So I also scored myself the individual components of this kit: 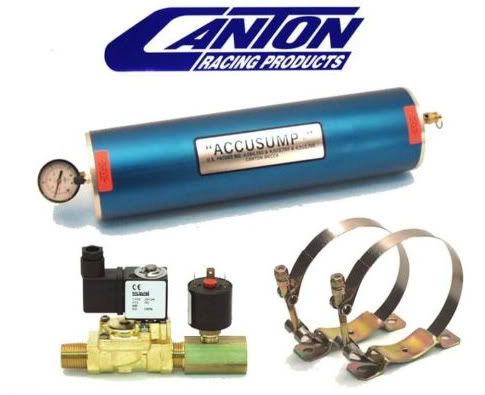 I've also ordered the rubber coupling and the short straight ram tube option for the throttle bodies from a Suzuki dealer in Denver to pick up one day next week! 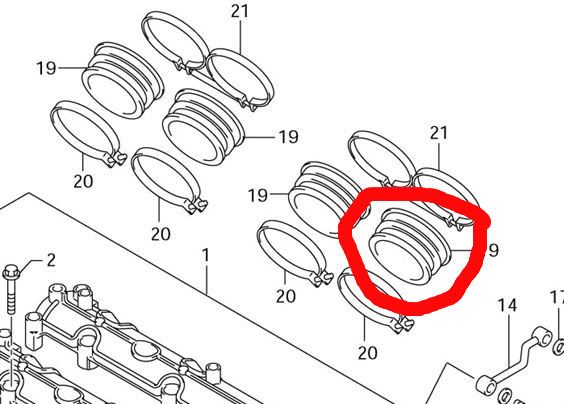  My suitcase is gonna look interesting under x-ray on my way home..........
|
|
#68
11-06-2011, 07:40 PM
|
||||
|
||||
|
Cool. Are you going individual throttle bodies with a plenum for the turbos? Relocate the oil filter housing like I did. With turbos or not, instead my supercharger you can easily relocate it toward the front under the intake. If you still want the oil cooler run it through a radiator and put a temp sensor on and switch the pump on via a relay. I am remaking mine again to fit my headers. I currently have flex lines and that was super easy. I will be making stainless lines to better withstand the heat and for size.
Also do not forget the injector angle. Getting the right angle to hit the base of the valves is very important. Or are you going to use the ones at the throttle body. Getting that to idle is going to be hard.
|
|
#69
11-06-2011, 07:43 PM
|
||||
|
||||
|
By the way. The electric water pump is a no brainer. I put a fan pulse module on mine to slow it down. Otherwise the engine will never warm up. No thermostat. If you are driving hard or it is warm outside this is not a problem though.
|
|
#70
11-06-2011, 08:38 PM
|
|||
|
|||
|
No turbos now, that's why I've gone back to ITB's. Once the manifold is made, I'll get the guy to make me a adapter to mount where the oil filter when to take some lines off for remote filter, thermostat and cooler.
Planning to use the injectors in the throttle bodies. So long as I can get it to idle when it is warm, that'll be the main thing. Not overly concerned about cold idle as the car just won't be used that often. Probably going to run a Davies Craig EWP Controller
|
|
#71
11-06-2011, 09:40 PM
|
||||
|
||||
|
Cool project... subscribed!
__________________
#dieselFLEET --------------- '97 E300 '99 E300
|
|
#72
11-07-2011, 11:48 AM
|
|||
|
|||
|
Clayton, why not just use an M103 spin on filter adapter? Then you can use an oil relocation kit from something common down there and wont have to worry about all the valving and passage controls in the oil filter housing?
If you cant get one, I have 3, I'm sure I can send you one...
__________________
1993 190E 2.6 Sportline
|
|
#73
11-07-2011, 07:17 PM
|
||||
|
||||
|
MAG58, that is a good idea. I thought of that for mine but I had to move the whole thing.
I think that would work perfect for this project though.
|
|
#74
11-07-2011, 08:37 PM
|
|||
|
|||
|
Quote:
 I also already have the remote take off to suit as well. I also already have the remote take off to suit as well.CNC fever might have taken over a little......I'll get the manifold done and check for clearance.
|
|
#75
11-24-2011, 12:11 AM
|
|||
|
|||
|
So, I've had a chance to make a tiny bit of progress.
When I embarked on this project, I really wanted to make a good job of it. Lots of new bits and lots of well refinished old bits. But with the passing of time and lack of progress, I've come to the conclusion that if I want to drive this any time soon, I need to reign in my expectations somewhat especially in the appearance stakes. Clean and reassembled is going to have be good enough. It's a track car, not a show car! So I've set myself a goal of being able to get the car back on the ground by christmas. So that means brakes and suspension need to be done. I bought some poly bushes for the front lower control arms and while they appear to be well made, I wanted to minimise the potential for squeaking. Normally the rubber bush in this application twists with vertical wheel movement, but poly doesn't twist so something in the assembly is going to have to turn. The original supplied bush looks like this and has a metal sleeve up the middle.  You can see it has some slots on the outside to hold grease, but I wanted to get some grease between the bush and the internal sleeve as well. First thing I did was drill some holes through the bush on every second groove. I also ground a bit off the middle of the bush so there was a bit of a gap between them. I'm planning a grease nipple. 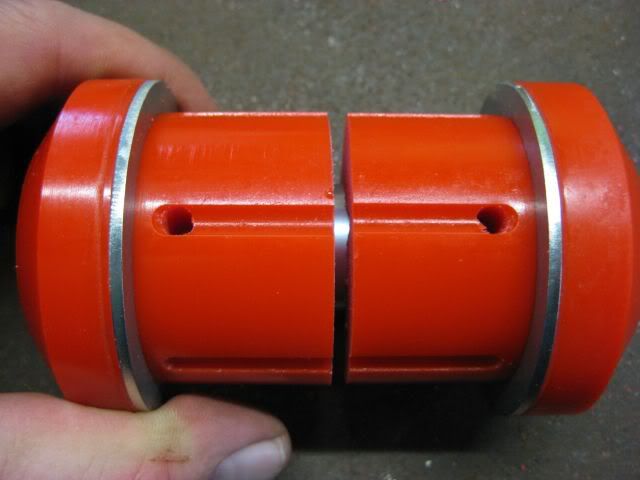 Then I fired up the trusty dremel and cut some internal grooves from the holes out to the middle of the bush. 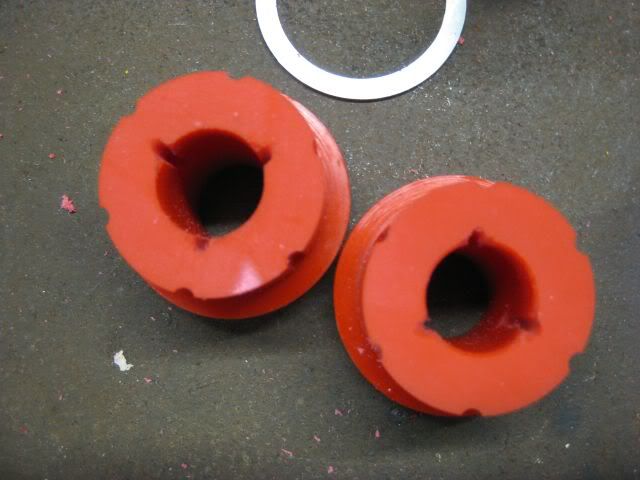 The, just to be sure the grease could get good access, I chamfered the bushes a bit as well. 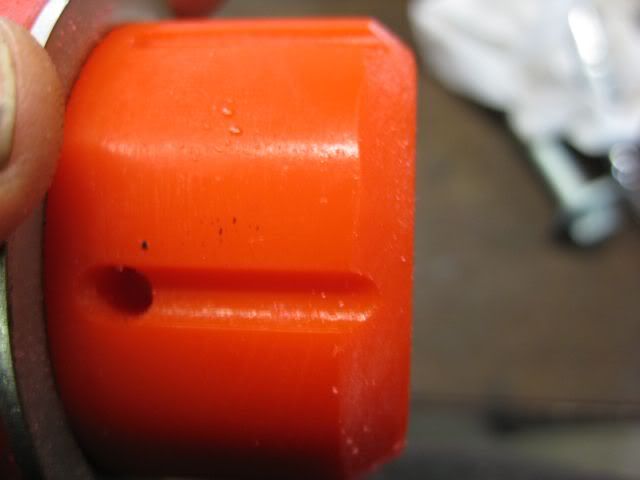 Hopefully that is going to allow the grease access to the places it needs to be without excessively weakening the bush. Speaking of grease, I did quite a bit of looking around and this stuff comes highly recommended: 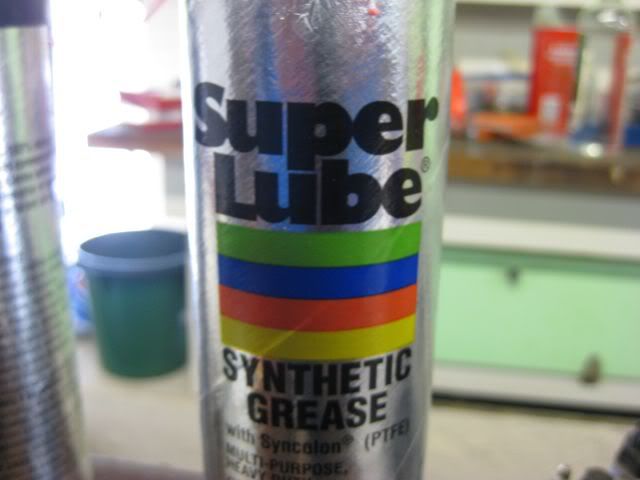 It's not what you'd call cheap at $19 (local Aus price) for a 400g container. We'll see how it goes. I figure that over time, the grease will seep out, get watered down etc and it's be nice to be able to top up the grease without having to fully disassemble. So grease nipples it is. I held the control arms roughly in place on the car to work out the best place to put the grease nipples so they'll be accessible, but without them being in a vulnerable place. Unfortunately, the bottom of the control arm is the only really viable place. So measure the centre of the control arm bush housing, drill a 5mm hole and tap for an M6x1.0 thread. And wind the nipple in.  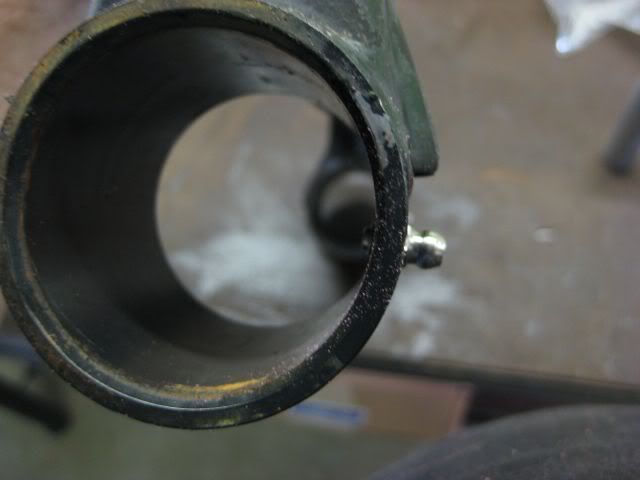 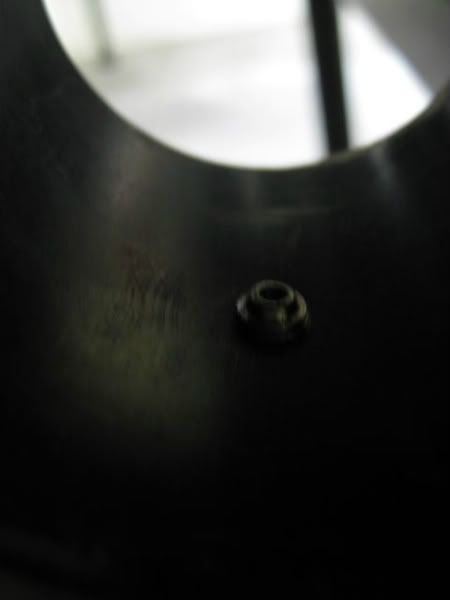 And then, wonder of wonders, you can hit the milestone of installing the first new(ish) bit back on the car in over two years of partial disassembly! 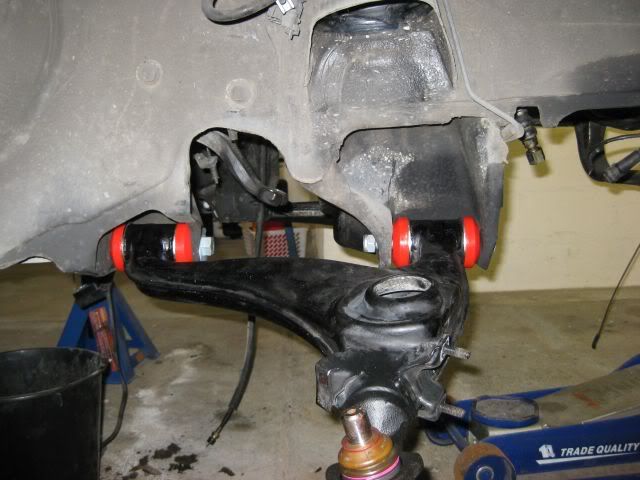  For many people, this would (and should) just be a weekend job. Regardless, I'm very ****ing happy to have done this little job! Planning a day of leave tomorrow to rebuild the brake calipers and get them ready for installation!
|
 |
| Bookmarks |
|
|


 Linear Mode


