 |
 |
 |
 |

|


|
|
|
|
|
|
#1
|
|||
|
|||
|
1975 240D "Back from the dead" build...
Hey alls...
New to the forum.. new to MB. Been wanting a diesel benz for a good while when an ad popped up on my local craigslist that I had to check out. Went to take a look at the ol' girl which ended up being a 1975 240D. The guy had bought it a few months back and tinkered a bit but just didn't have time to do anything with it. It had some rust issues.. glow plug relay/controller was dead... and one of the main issues was the steering idler bracket had rusted through and broke off the frame. I handed over $300.. title in hand... hot wired the glow plugs and limped it up on a trailer. 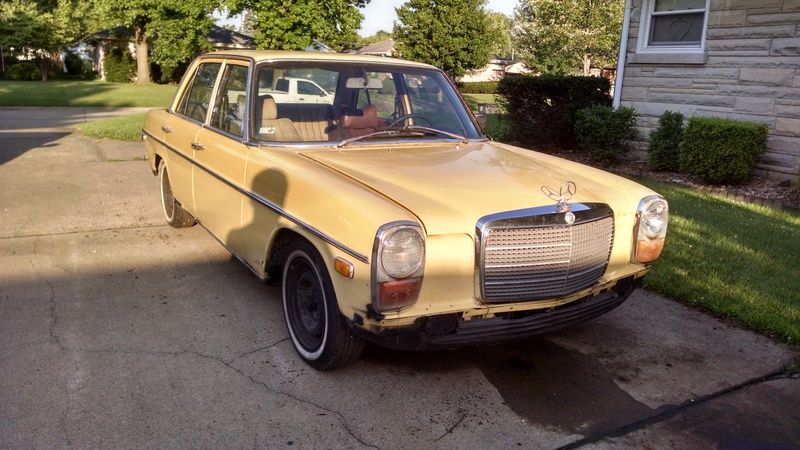 Dragging it home with my 4bt Cummins powered Tahoe.. 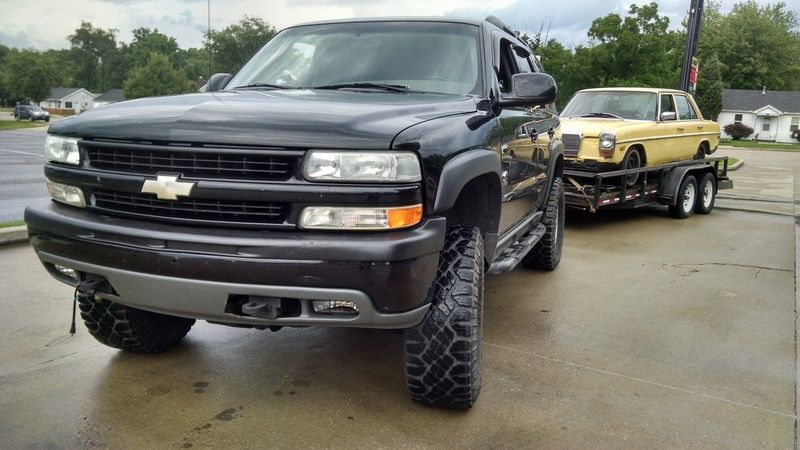 Got it rolled off the trailer into the shop and tore into the steering problem the same day... Here is the problem..  Went to the scrap bin and dug out a piece of 1/8" wall 1.5" tubing and starting playing... 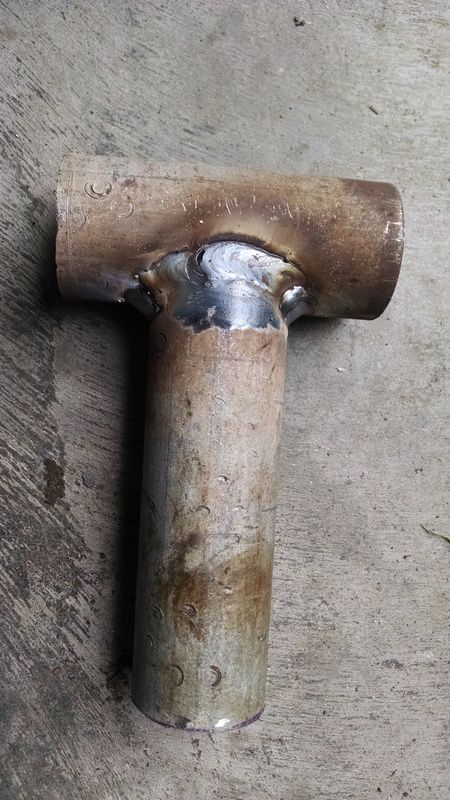 Had some left over poly shackle bushings from another project... 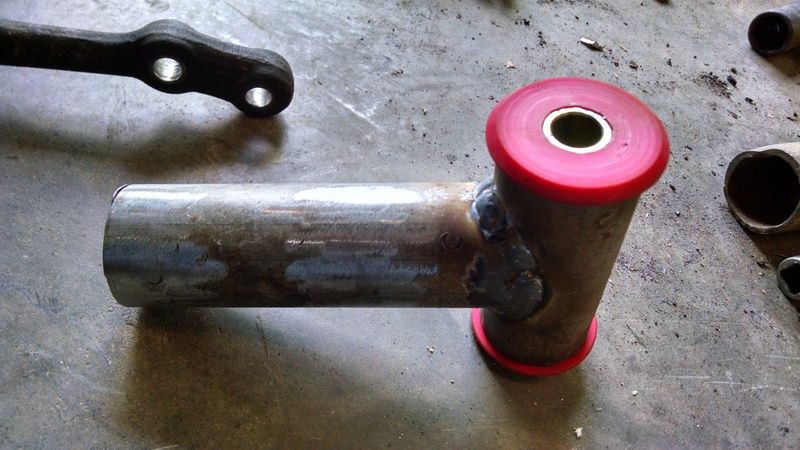 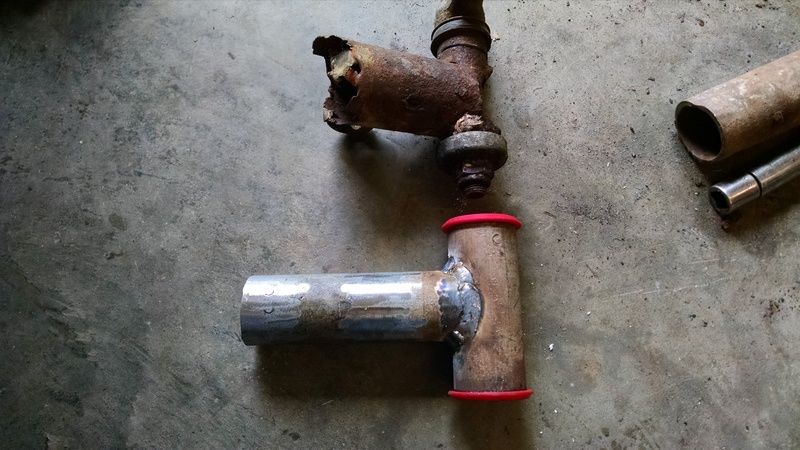 Knocked it in from the engine bay side... bolted the arm back in place and roughly aligned the steering linkage. Tacked into place and checked for binding then fully welded. 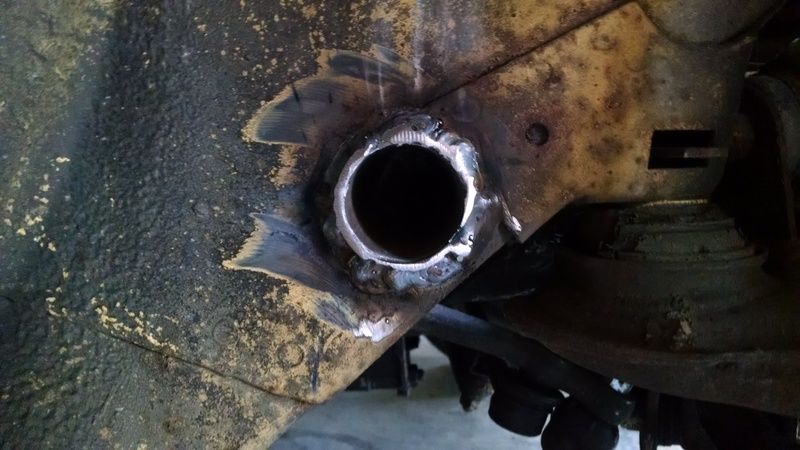 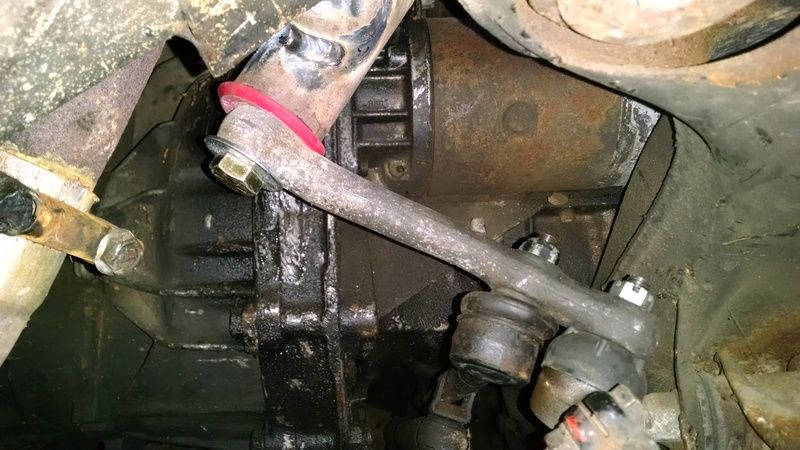 I still need to pull the arm back off... drill it and bush it for a 9/16" bolt as there is roughly 1/16" of play due to the bolt being slightly smaller then the stock hardware. Other then that, it works great. I plan to brace it on the inside of the frame rail as well. Next issue... getting it to start without hot wiring the glow plugs... -Chris |
|
#2
|
|||
|
|||
|
So.. now that the car was moveable... need to get it easy to start.
The stock glow plug relay/controller was shot but the glow plugs seemed to function well. Went to my stock pile of electrical goodies and found a new starter relay and some 8 ga. power cable... 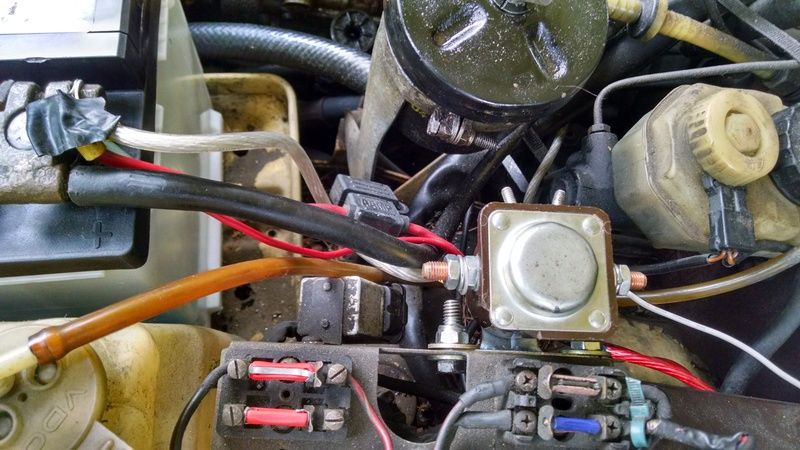 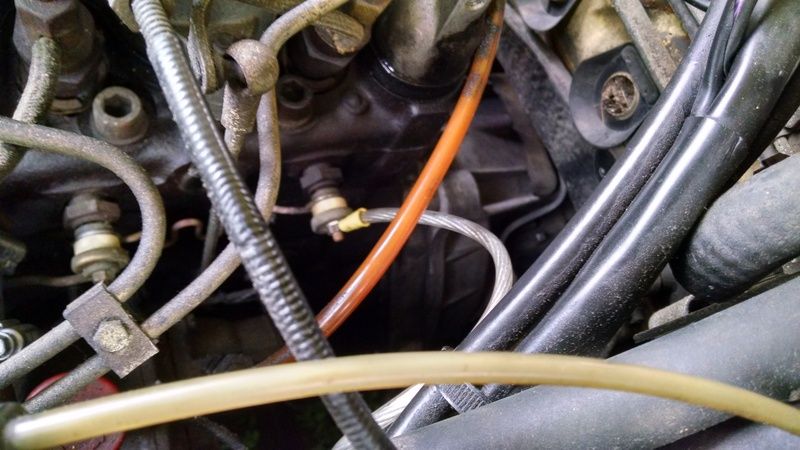 Had to make a trip to the parts store for this bit of the project... Now in it for $305 total... ($5 for a push button switch) 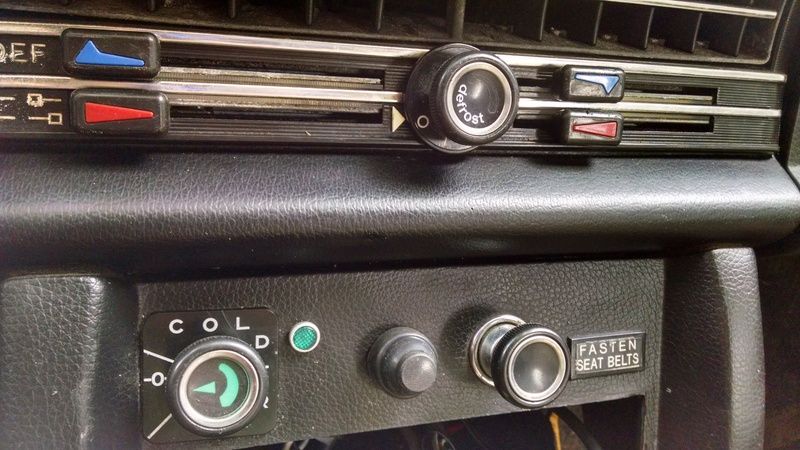 So now with manual control over the glow plugs, the car starts easy with no smoke or odd noises... but it did have a pretty good oil and fuel leak... -Chris |
|
#3
|
|||
|
|||
|
Decided to tackle the oil leak yesterday after doing a bit of research... I found oil dripping off of the filter canister and figured someone pinched the o-ring or damaged the canister.
The car was over due for an oil change so decided to kill 2 birds with 1 stone. Climbed under the car and went to pull the drain plug and all I see is a wing nut. After looking it over for a bit... discovered someone had replaced the drain plug with a universal expanding rubber plug. It took a good bit of effort but was finally able to pry it off... 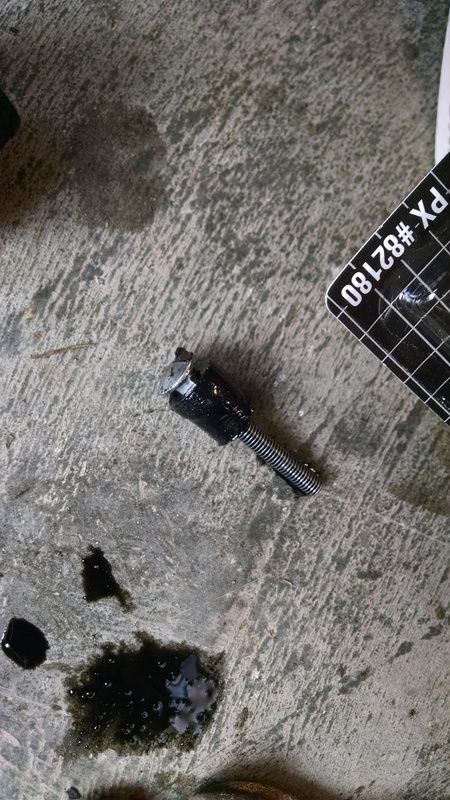 Also found a few bolts "missing" from the oil pan so I decided to pull the pan so I could repair the drain plug threads and see about sealing up the pan leak. The threads were a little damaged but was able to chase them and clean them up a good bit. Replaced the plug with an off the shelf GM plug with a rubber seal. (another $5 at the local parts house) 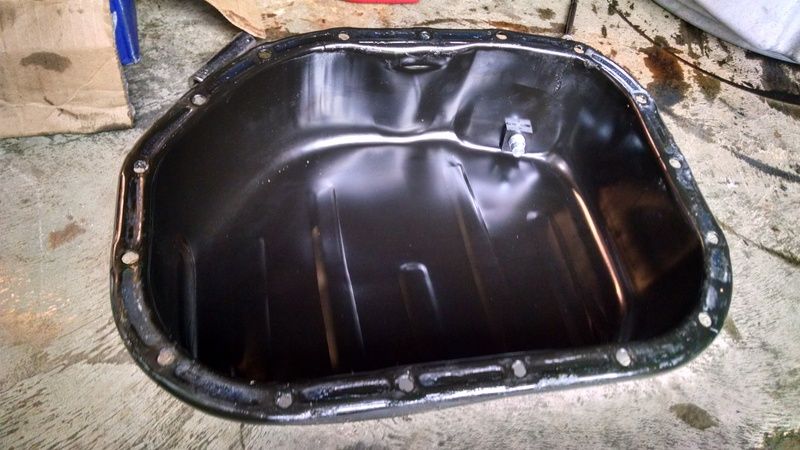 Engine looked fairly clean inside and no sludge standing in the oil pan... 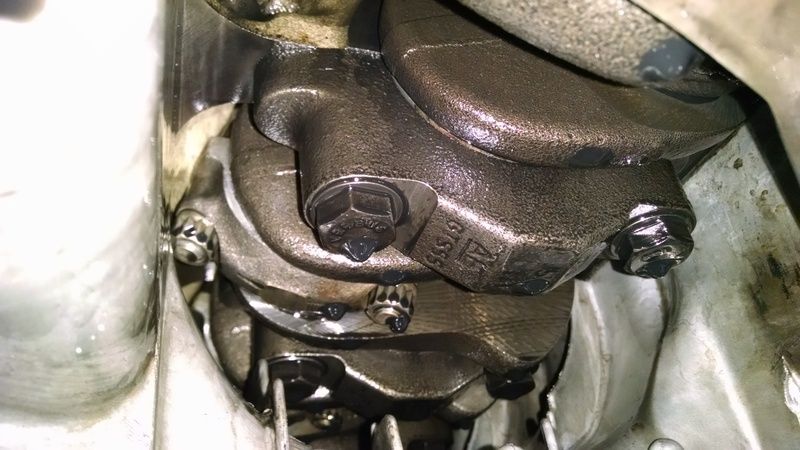 Well the 3 bolts that I thought were "missing" were actually broke off in the upper pan and broke off flush. I decided to not chance damaging the upper pan and drilled/tapped a new hole just to give a little bit of clamping force in that area. "Rigged"... yes... but it worked. No more pan leak. 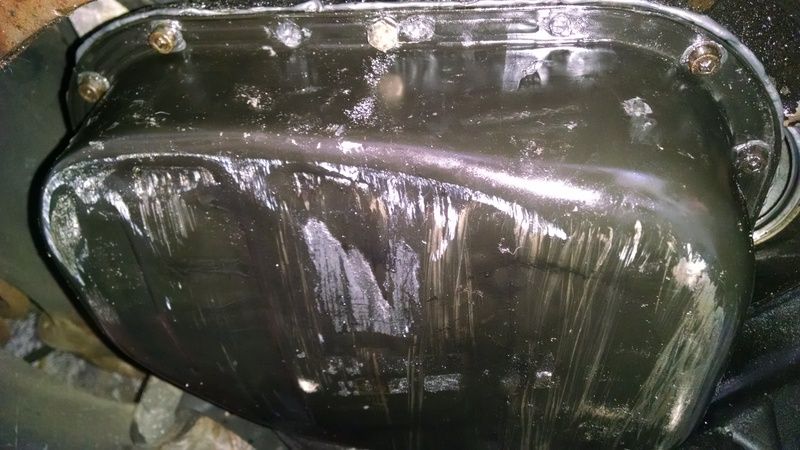 Then I pulled the oil filter canister and found this... 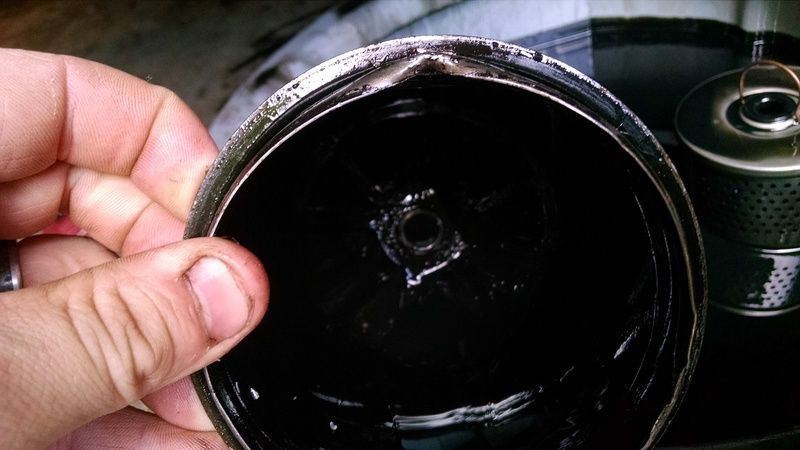 No damage to the actual housing or bolt.. both filters and spring were in place. Picked up a wix filter locally and re-installed the canister after some tweaking of the lip.. Leak only got worse. At this point, I started digging around for a new canister.. after discovering that was a joke (not giving $100+ for an oil filter canister for a $310 car).. I decided I best try again to repair what I had. Pulled the canister back off (3 times).. finally threw away the flat gasket that came with the wix filter and decided to reuse the o-ring that was on it. I also jacked up the engine a bit as the motor mounts are shot. I applied a hefty coat of grease to the o-ring and reinstalled the housing. Much to my surprise, no more oil leak. Apparently, it decided this spot in my shop was its new territory... 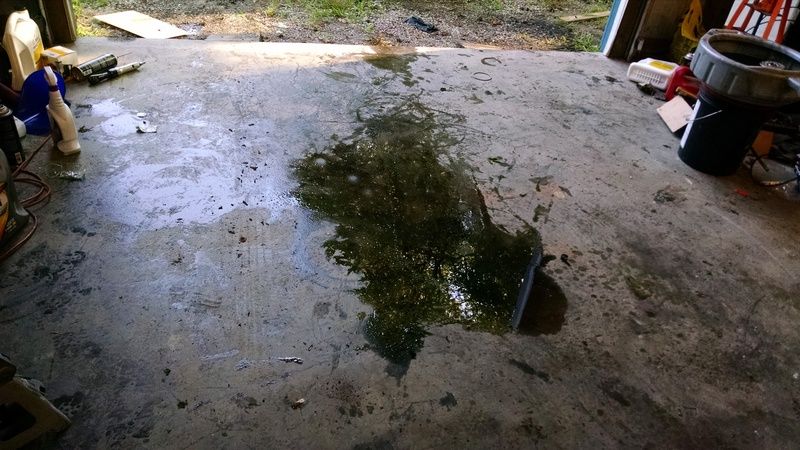 While it was running, I found my fuel leak as well... a pretty steady drip coming from the delivery valves. Considering the look of the oil and filter I removed, I figured it was probably a good idea to run the car a bit and plan on changing the oil again soon... Time to spend a little bit of money as now the car runs good and is drivable. New shifter bushings, oem delivery valve seals, oem valve cover gasket, oem fuel and oil filters, injector return hose, and aftermarket motor mounts are all on the way... (thanks pelicanparts) I decided to get the car out of the garage and drive it a bit... then pressure wash it... 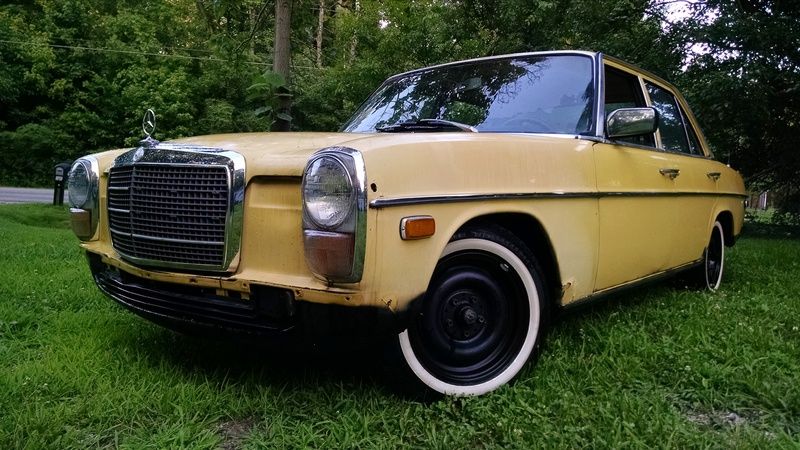 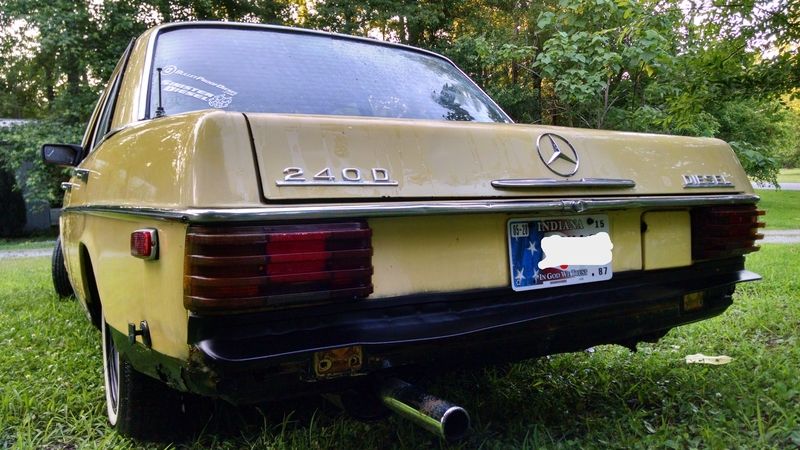 I do have the factory bumpers/hardware which will be going back on soon.. and another local craigslist ad just came up with a full set of oem hub caps which I plan on picking up Friday... All in so far.. just shy of $450 including all new parts. I plan to go on and replace all of the moving suspension/steering parts along with the front sections of the floor pans as they are in poor shape. One of the front springs has collapsed... strongly debating on putting this car on air as I love the looks of these cars sitting low... but hate the drivability issues that come with static drops. We'll see. More to come as parts/tools show up. -Chris |
|
#4
|
|||
|
|||
|
So I did a little tinkering after work today...
Found that the alternator is in fact dead.... I was able to get the trunk open (keys didn't work) without any damage... And I started to mount the stock bumpers... I despise how the stock bumpers look sitting out nearly 1' from the body. Looks tacky and I'm sure there is supposed to be some cover that hides the mounts but I don't have it... Has anyone revamped the bumpers/mounts to fit them tighter to the body of the car? |
|
#5
|
||||
|
||||
|
Looks great so far, nice write-ups!
__________________
|
|
#6
|
|||
|
|||
|
Scored some goodies for the 240 yesterday...
Went to the local Pull-a-part (which was their last day... going full service and crushing everything in the yard currently) Found a 75 250 sitting in the back corner with full black interior in decent shape, a windshield that was rock chipped in 1 spot.. Couldn't swing getting the whole interior.. but did pick up the front seats. One needs a bit of attention but they definitely fit the look I was going for much better then what is currently hacked into the car.. 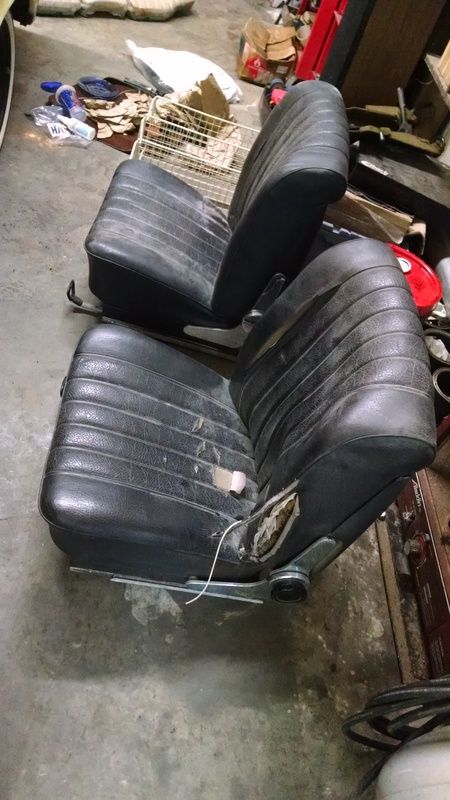 Windshield... 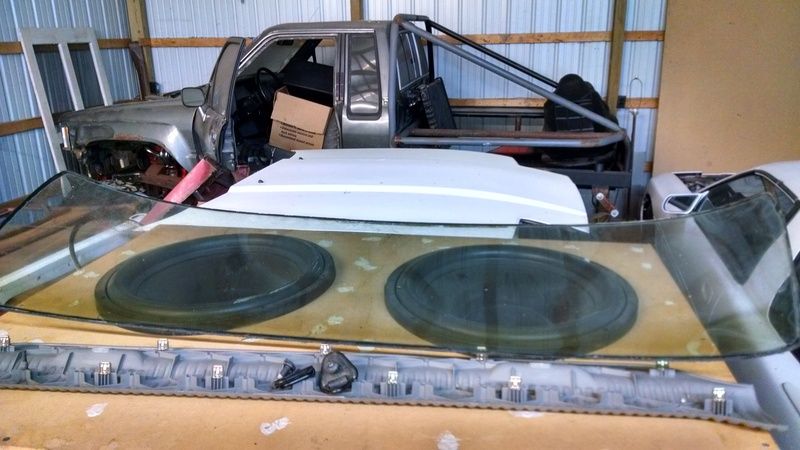 And a decent set of hub caps... 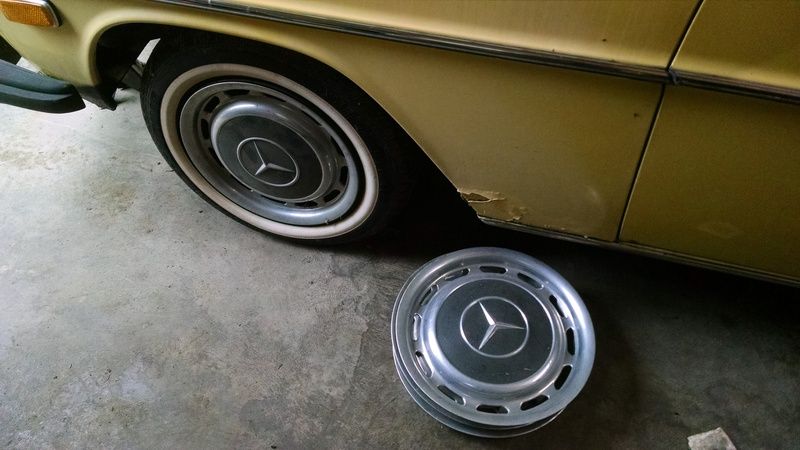 I'll most likely have both the front and rear seats recovered (thankfully, my mom owns an upholstery shop... so it shouldn't take a huge bite out of the budget) I also found that the alternator is dead on the car... getting battery voltage at the 2 larger wires at the alternator... light wire is getting about .5v less then battery voltage. I even went as far as tapping another light on the signal wire.. still nothing. Ran it up over 2k rpm and still no change... safe to say its done. Done some digging around and found the Saab alternator upgrade. Snagged a Remy reman from ******** for $60 shipped to my door with no core. Anyways.. some of my parts from MB are still on hold... hopefully I'll have everything in hand by next weekend though and get the car back on the road. My plans are to have it close to where I want it for under 1k including purchase price (not including air ride if I go that route...) We'll see what happens I guess. -Chris |
|
#7
|
|||
|
|||
|
I'm all about that budget...
So picked up both motor mounts and trans mount for ~$14 shipped. Now after a good bit of research on the subject, I knew my Anchor mounts wouldn't last long. After digging around a bit, found a couple half tubes of permatex ultra black rtv with a shore rating of 42. I'm going to let them cure until the weekend at minimum... but they should do the trick. 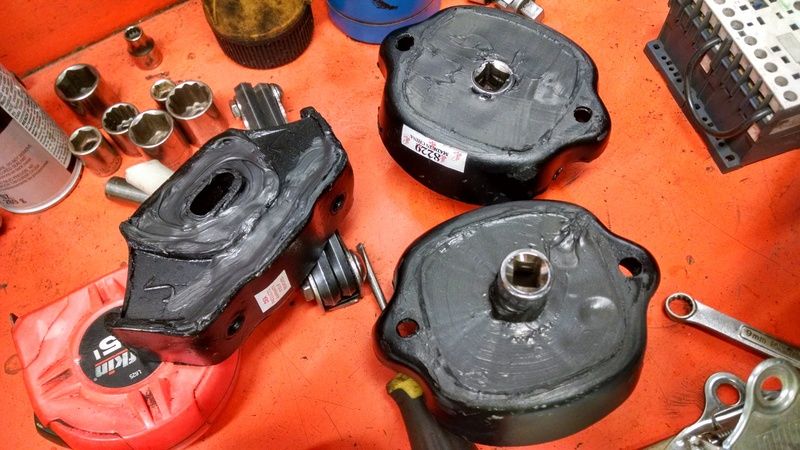 Filled all 3 mounts. Now I'm sure I'll get a bit more vibration out of the mounts which doesnt bother me at all... and in theory, it should keep the mounts from collapsing over time. I researched it a good bit and from what I've found, longevity doesnt seem to be an issue with this method of filling. We'll see... either way, should be better then my dead mounts. -Chris |
|
#8
|
||||
|
||||
|
Fun project! I dig the steering system fix. Interesting idea of filling the voids in the mounts with silicone.
Somewhere in a discussion on this site on putting Euro/blade bumpers on later W114/W115 cars someone chimed in that they had successfully shortened the shock mounts for later bumpers to bring them closer to the body, and trimmed some length off the end caps. Adapters could be made to eliminate the shocks. Looks like you can weld . . . :-) Phil in NM recently installed a new URO seal in the rear glass opening and did not break the glass. Only big problem with that seal is that it won't hold the trim. Keep us posted on it! I'll be curious to see how easily the windshield goes in.
__________________
- Greg - 1973 220D, The Prodigal Benz 1974 240D |
|
#9
|
||||
|
||||
|
Oh yeah, those three busted oil pan screws are actually longer than all the other ones. They run up through the upper oil pan's flange/lip, through a steel brace above that, and then there are washers and nuts on top which is why they wouldn't back out and broke off. They'll be easy enough to replace since you can get to the threads up top where the nuts are.
__________________
- Greg - 1973 220D, The Prodigal Benz 1974 240D |
|
#10
|
|||
|
|||
|
^
Thanks for the info! I'm guessing that the previous owner attempted to pull the pan and broke those bolts off and gave up. When I swap the motor mounts this weekend, I'll see if I can get the pieces out. I'm either going to ditch the bumpers all together or build new mounts.. not sure yet. -Chris |
|
#11
|
|||
|
|||
|
'75 240D rescue
SO happy you are saving this car.
I found my old '74 240D under a lean to in Durham, NC in 1995 and paid $400. Loved that car. Sold it to a buddy who drove it from Fla to Mexico to the San Fran bay area. Please keep us posted
__________________
Anders 1995 E300 2015 VW TDI Sportwagen 15K 1977 240D (197K) 2002 Subaru Legacy L Wagon (115k) (Wife's) Gone but not forgotten: 2005 Buick LeSabre 1998 C230 1984 300D 1983 240D 1981 300SD 1974 240D 1974 Fiat 124 Spider 1968 Triumph TR250 |
|
#12
|
|||
|
|||
|
Depending on the car, the voltage regulator may be the charging problem. It is held on the alternator by 2 small bolts and is easy to replace.
__________________
85SD 240K & stopped counting painted, putting bac together. 84SD 180,000. sold to a neighbor and member here but I forget his handle. The 84 is much improved from when I had it. 85TD beginning to repair to DD status. Lots of stuff to do. |
|
#13
|
|||
|
|||
|
Could be... It's not putting out anything at all. Any good way to test it?
|
|
#14
|
|||
|
|||
|
on my w115 71 220d, the alternator has a separate voltage regulator which is located on the passenger side - silver relay looking box near the shock absorber. Maybe take a picture of the back of your alternator so we can figure out what it is. Also make sure the alternator is well grounded - mine had grounding issues because of the way the alternator bracket mounts to the engine - through some rubber bushings.
Does the battery light come on when you turn the ignition on? |
|
#15
|
|||
|
|||
|
No battery light and I swapped the bulb with a known good one. I was able to get the bulb on the dash to light when I tapped a test light onto the blue wire at the back of the alternator (basically putting the same load on the wire the stock bulb does).. both the test light and the dash light lit up. Took the test light off and the bulb on the dash went out too.
I'll see if I can snag a picture but I'm pretty sure the regulator is on the back of the alternator on this one. I did manage to replace my motor and trans mounts... I think I found my clunk/vibration... 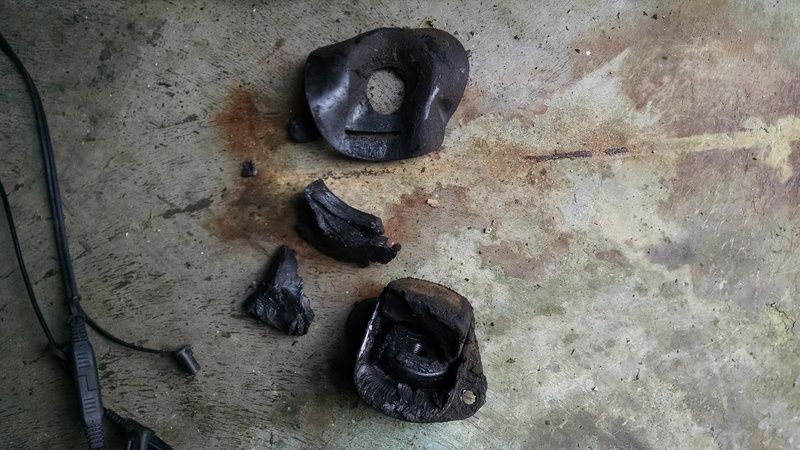 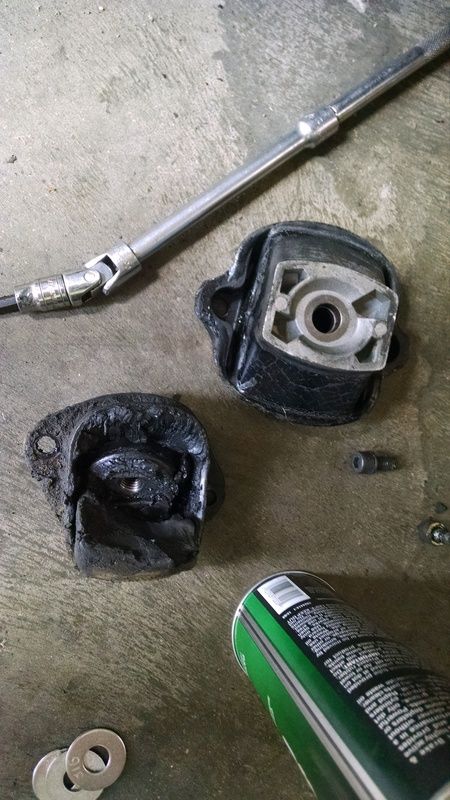 The mounts I received were the wrong mounts all together... but I made them work for now. The passenger side mount worked well filled however the driverside mount collapsed pretty well instantly. Oddly, the engine is sitting level in the car still and no more vibration/rattle. I'll probably try to track down some oem or quality aftermarket mounts in the near future but this will do for now. More to come... all my parts from Pelican will be here Wednesday. -Chris |
 |
| Bookmarks |
|
|