

|
|
|
|
|
|
#1
 06-02-2019, 04:46 AM
|
|||
|
|||
|
W115: Change or replacing bulbs to LEDs
Just took a look at the rear tail light assembly for the W115 and was surprised to see that there doesn't appear to be an easy way to remove the back panel to change the bulbs like in the W123.
Am I missing something?
__________________
Why I will never do business with "DieselKraut" again http://www.peachparts.com/shopforum/mercedes-benz-used-parts-sale-wanted/378935-why-i-will-never-do-business-dieselkraut-again.html Last edited by Screwdriva; 06-02-2019 at 05:05 PM. 
|
|
#2
06-02-2019, 05:25 AM
|
|||
|
|||
|
Fairly simple. Open boot. Locate and unscrew large plastic "wheels" on the back of the light housing. Slide outer plastic lens away from the body. Remove and replace bulbs. Be gentle with the lens as they can crack at the curvature where the directional portion meets the main body. It is 40+ year old plastic.
If the lenses haven't been removed in years the gaskets may be sticky. Don't force them. Re-install the thumb wheels a few threads and give the studs a gentle rap or two with a soft mallet. You might need to remove or reposition the spare tire for better access to the right side studs.
__________________
Whatever story you're telling, it will be more interesting if, at the end you add, "and then everything burst into flames. ― Brian P. Cleary, You Oughta Know By Now Last edited by Mike D; 06-02-2019 at 05:38 AM.
|
|
#3
06-02-2019, 05:00 PM
|
|||
|
|||
|
Cheers Mike! Super easy but WOW...what a difference the Osram P21W LED lights make! Faster and brighter illumination.
I was able to clean the lens and reflector as well. All in all, took 30 mins but highly recommended. Next step is to replace the 10W tail lights/ interior and the festoon bulbs. Anyone have the bulb sizes/ #'s?
__________________
Why I will never do business with "DieselKraut" again http://www.peachparts.com/shopforum/mercedes-benz-used-parts-sale-wanted/378935-why-i-will-never-do-business-dieselkraut-again.html
|
|
#4
06-02-2019, 07:14 PM
|
|||
|
|||
|
https://www.superbrightleds.com/moreinfo/instrument-panel-light-bulb/194-led-bulb-5-smd-led-tower-miniature-wedge-retrofit-car/206/919/?year=1974&make=49&model=81&scc_id=1416
Be advised, the standard 194 will work but you MUST bend the leads on the bulbs where they do not "wrap" around and make contact. It only took me three fuses to figure out the fault.  Do NOT use the CAN bus version as they will not work. Do NOT use the CAN bus version as they will not work.  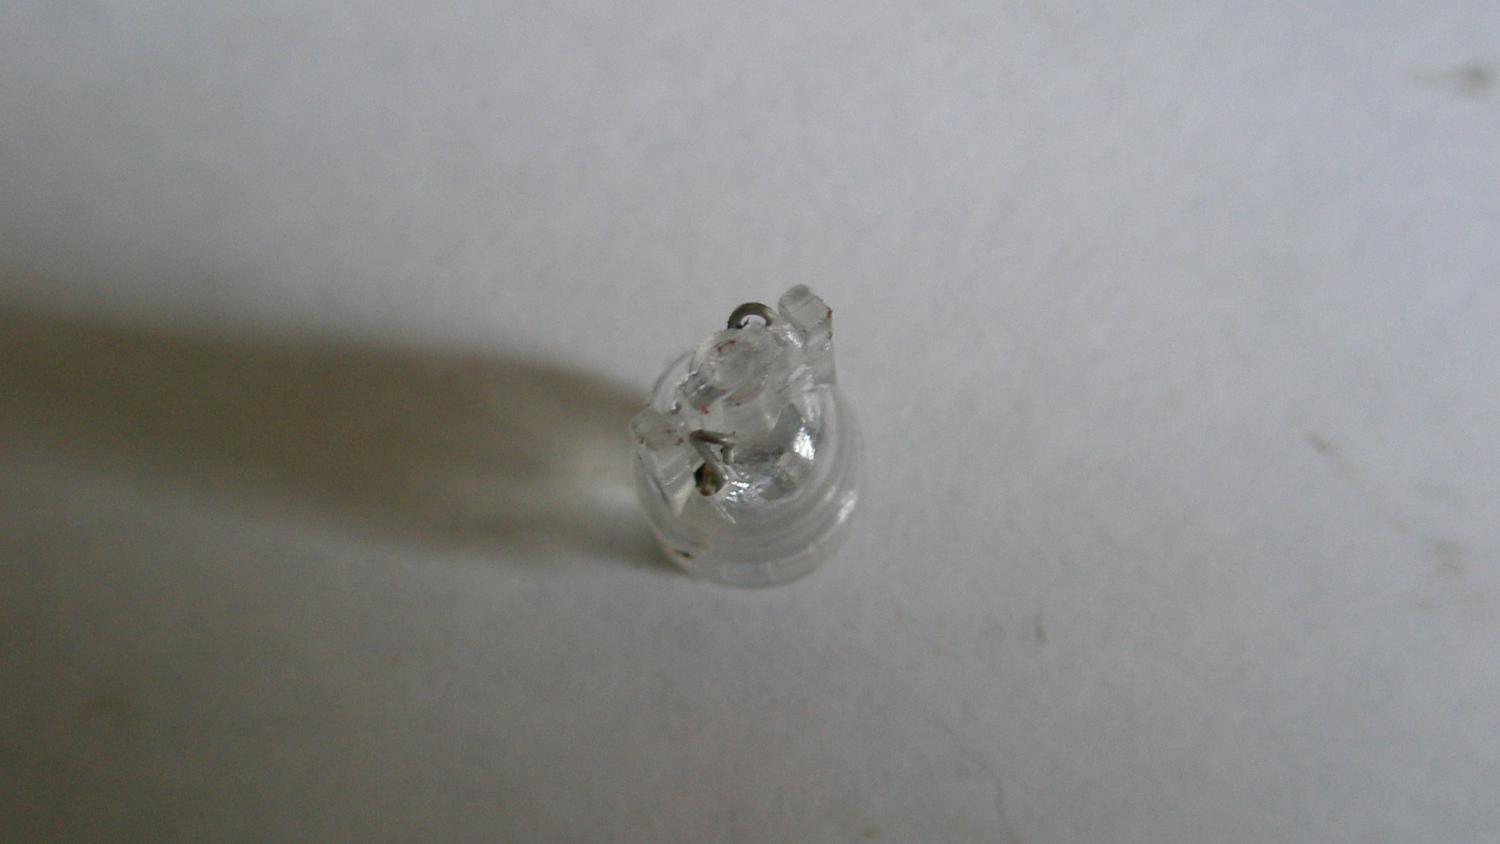 I tried these in a W123 but was not happy with the light distribution: https://www.superbrightleds.com/moreinfo/miniature-wedge-base/194-led-bulb-1-led-miniature-wedge-retrofit-car/197/852/ They might work fine in the /eight. I haven't gotten around to installing them in my coupe so I can't give a definite answer on them. https://www.superbrightleds.com/vehicle/1976-mercedes-benz-280c-vehicle-led-lights?make=49&model=81&year=1976 Just got the 5LED's delivered. I'll post pictures of them later on today. One LED and the 5LED 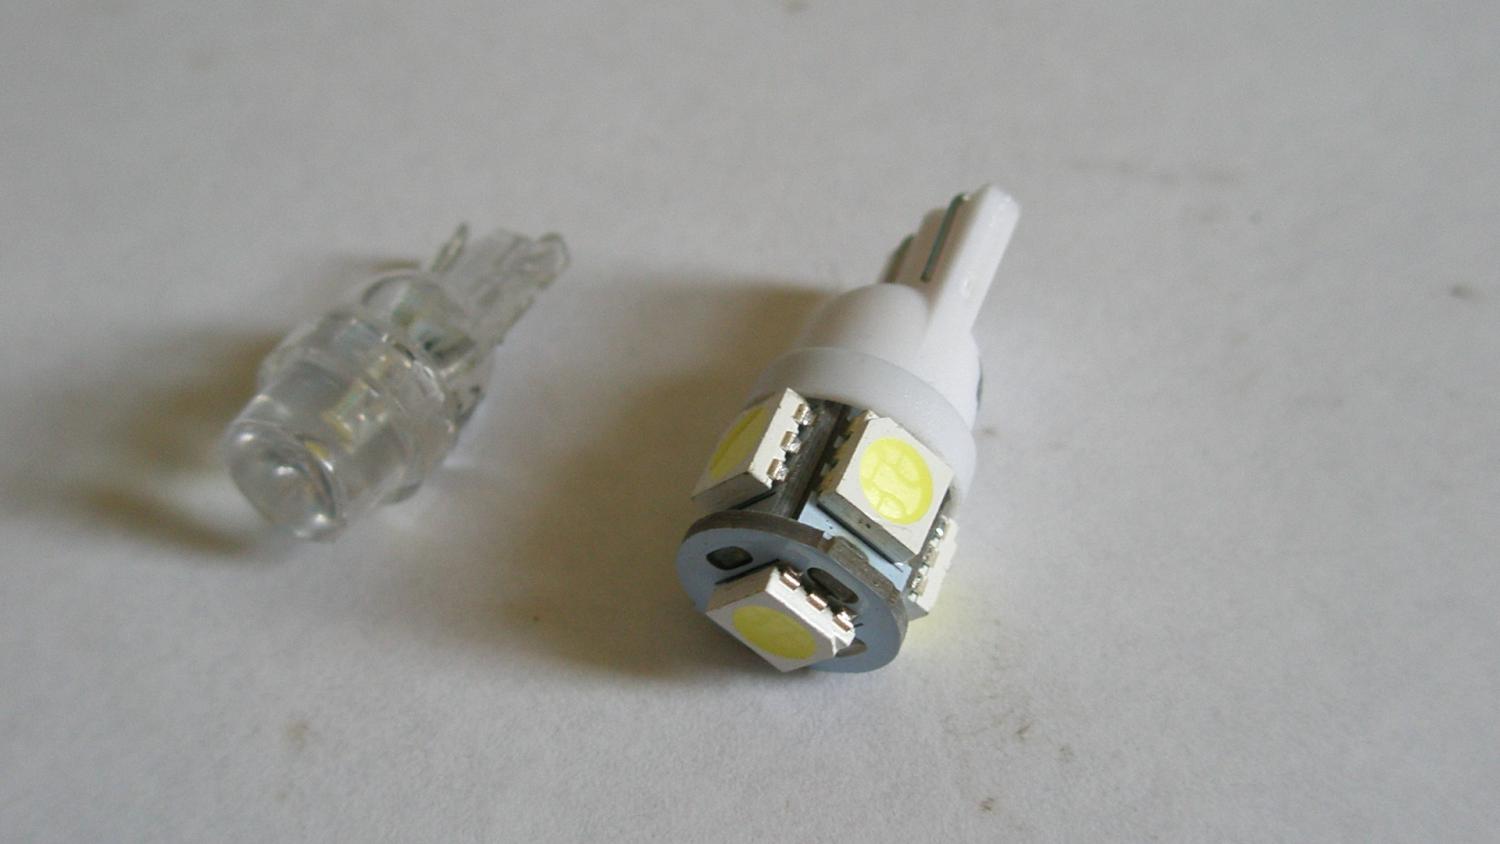
__________________
Whatever story you're telling, it will be more interesting if, at the end you add, "and then everything burst into flames. ― Brian P. Cleary, You Oughta Know By Now Last edited by Mike D; 06-03-2019 at 03:10 PM. Reason: Added stuff
|
|
#5
06-03-2019, 07:49 AM
|
||||
|
||||
|
Quote:
|
|
#6
06-06-2019, 02:17 PM
|
||||
|
||||
|
Also there should be four other screws that attach the inside housing to the body of the car. Often times these screws knock off the paint a bit and water gets in there and initiates taillight rust. I recommend taking the whole light fixture out, checking for bare metal or rust, and fixing it with POR15.
-Henry
|
|
#7
06-07-2019, 06:07 PM
|
|||
|
|||
|
Quote:
__________________
Why I will never do business with "DieselKraut" again http://www.peachparts.com/shopforum/mercedes-benz-used-parts-sale-wanted/378935-why-i-will-never-do-business-dieselkraut-again.html
|
|
#8
02-21-2020, 07:44 PM
|
|||
|
|||
|
Resurrecting this thread to double check before I pull the trigger. Will these Osraam bulbs fit the rear lights and the interior dash lights?
https://www.amazon.co.uk/Osram-2824WW-02B-LEDriving-Retrofit-Interior/dp/B00E3R8PLC/ref=asc_df_B00E3R8PLC/? Any suggestions for the dash turn indicator bulbs (smaller ones)
__________________
Why I will never do business with "DieselKraut" again http://www.peachparts.com/shopforum/mercedes-benz-used-parts-sale-wanted/378935-why-i-will-never-do-business-dieselkraut-again.html
|
|
#9
02-22-2020, 11:08 AM
|
|||
|
|||
|
Those state they are for 24 volts. Don't know if that is maximum voltage, more than likely is what they mean.
I wouldn't advise using the LED's on the the dimmer circuit. It seems as though any complaints about LED's burning the traces have been from owners who still have the rheostat enabled. I've jumpered all my cars to by-pass the dimmer and have never had a problem with with burnt traces. Might just be sheer, blind luck on my part but it is something to take into consideration. No reason to replace the directional indicators. They are "on" such a minimal amount of time there would be no benefit.
__________________
Whatever story you're telling, it will be more interesting if, at the end you add, "and then everything burst into flames. ― Brian P. Cleary, You Oughta Know By Now
|
|
#10
02-22-2020, 01:47 PM
|
|||
|
|||
|
An application of Armor All on the rubber seals will make them seal better. This type of German rubber is what Armor All was first formulated for.
A chemical engineer was transferred to southern California and found the vent window seals on his 911 started to dry out. So he cooked up what eventually became Armor All. Mercedes at the time advised the use of glycerin to coat the seals to keep them soft. I have done this and it takes a lot of glycerin since the seals really soak it up.
|
 |
| Bookmarks |
|
|


 Linear Mode


