 |
 |
 |
 |

|


|
|
|
|
|
|
#256
|
|||
|
|||
|
I am waiting for two boots to arrive so I can complete the wiring. I did get all four of the injector wires fixed up and have done what I could with the air temp and water sensors wires. I also installed the new injectors with the fuel rail. So once the boots arrive, I will not have much to do to finish up this part of the project.
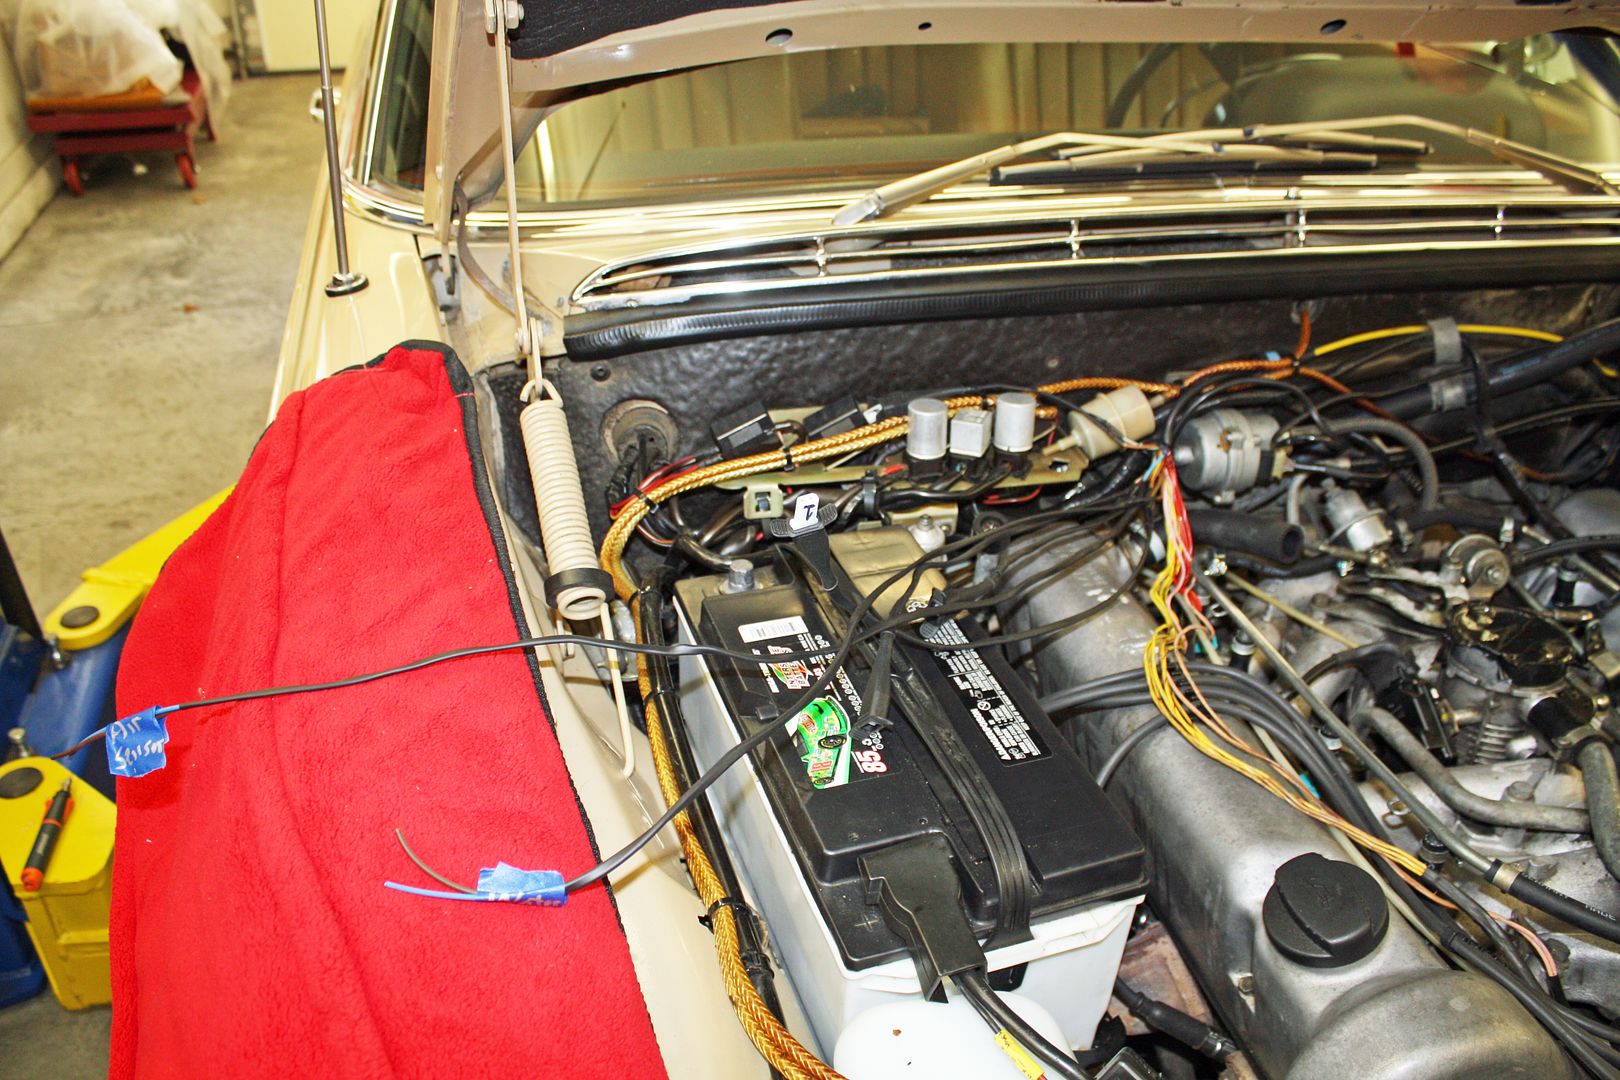 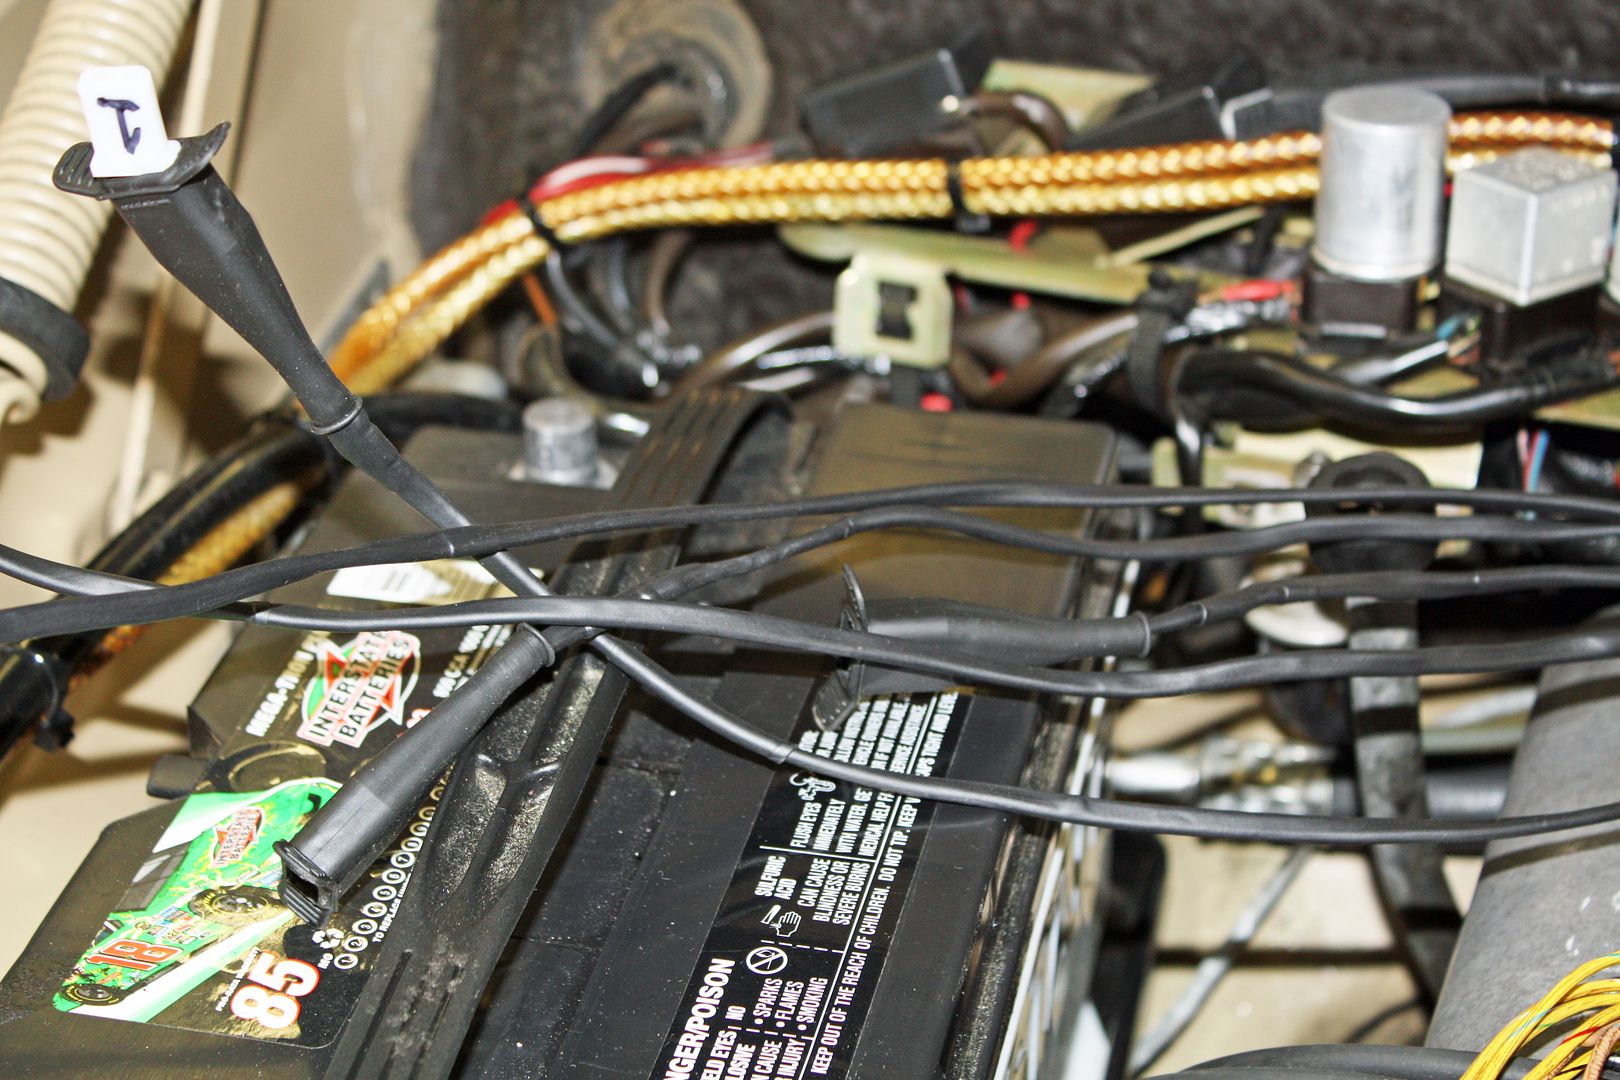 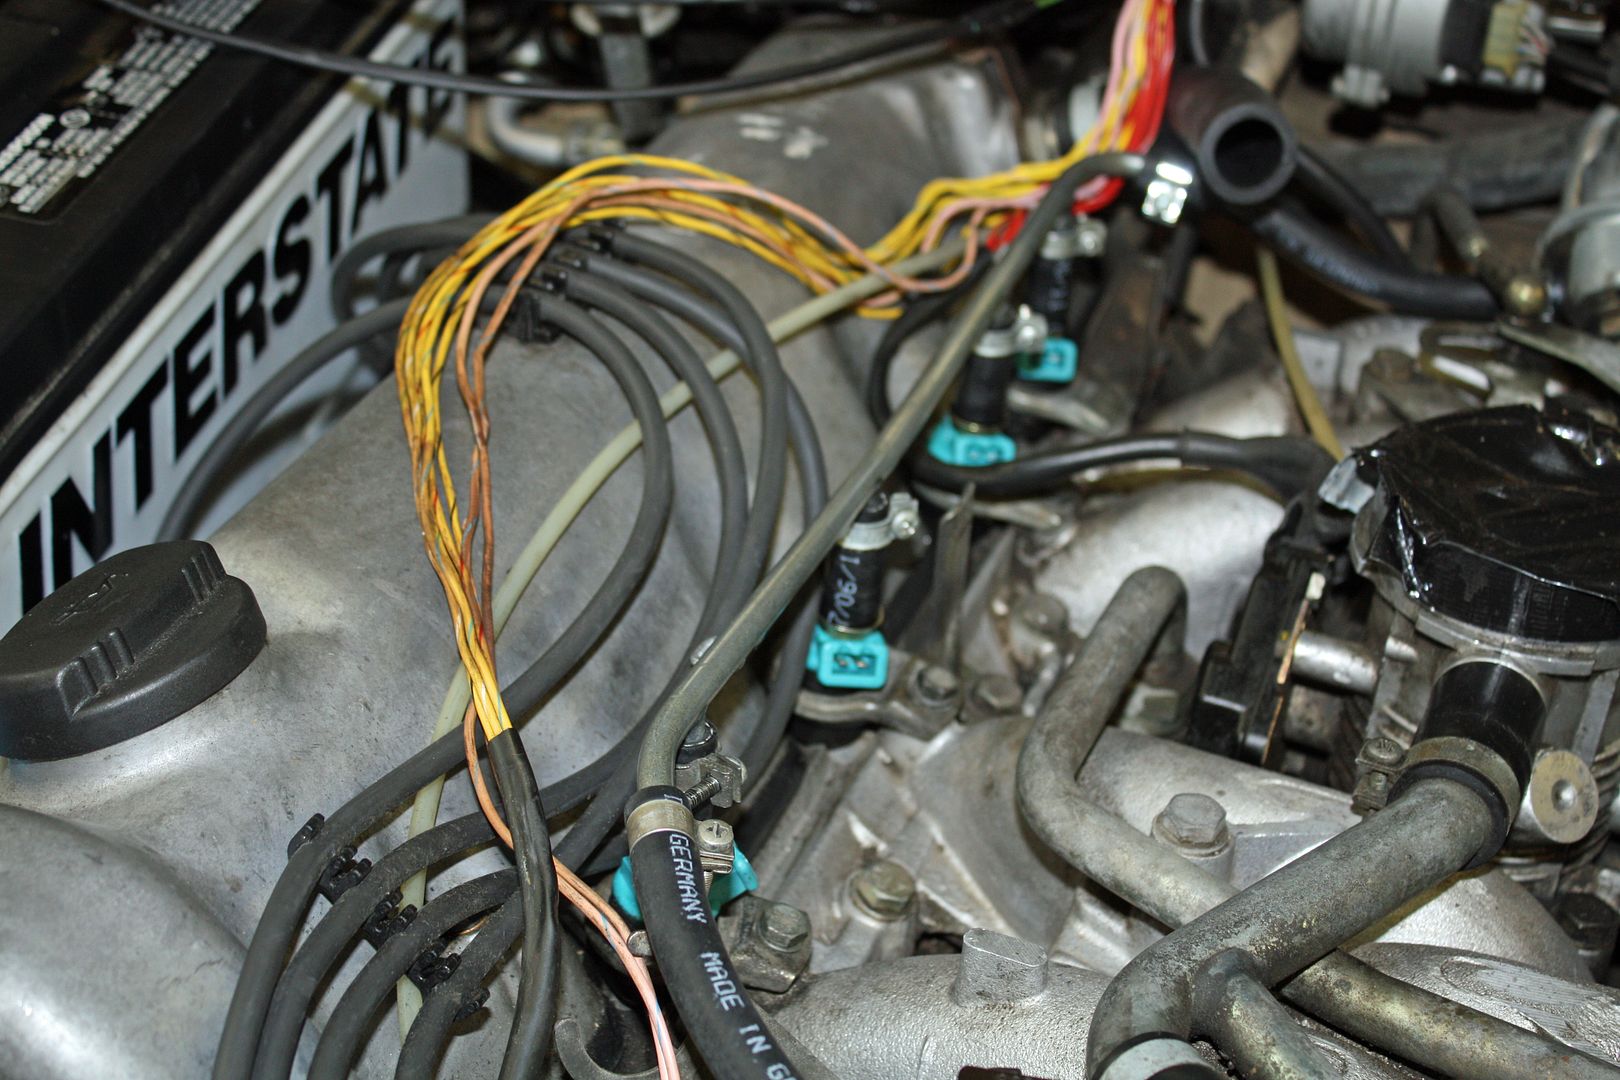 Initially I had found the injector connectors on Rock Auto for $4.87 for a package of three. I ordered four packages. Rock Auto sent me a message saying that they could not fill the order. So I went on eBay to order some from four different vendors to get at least nine of them. They all arrived this past week. The other day when I realized that I needed a couple more, I went on eBay to order some more from the same four different vendors. All four of those vendors canceled their order as they could not get them. Once the orders were canceled by the eBay people, I went to Auto Atlanta's site where I had ordered the boots. They had the connectors at a higher price. I ordered four from them. In the meantime, Rock Auto found a package of three which arrived yesterday. So I have enough to complete the job. Hopefully they produce more as I am sure others will need these connectors. The connectors and boots have shipped from Auto Atlanta so I should have them tomorrow. |
|
#257
|
|||
|
|||
|
The parts arrived on time today so I could finish up the job. After I buttoned everything up, I turned on the ignition and let the fuel pump run to check for leaks. I had to crank about three times before there was enough fuel to start it. I settled into a smooth idle. Once again I checked for leaks and everything was dry.
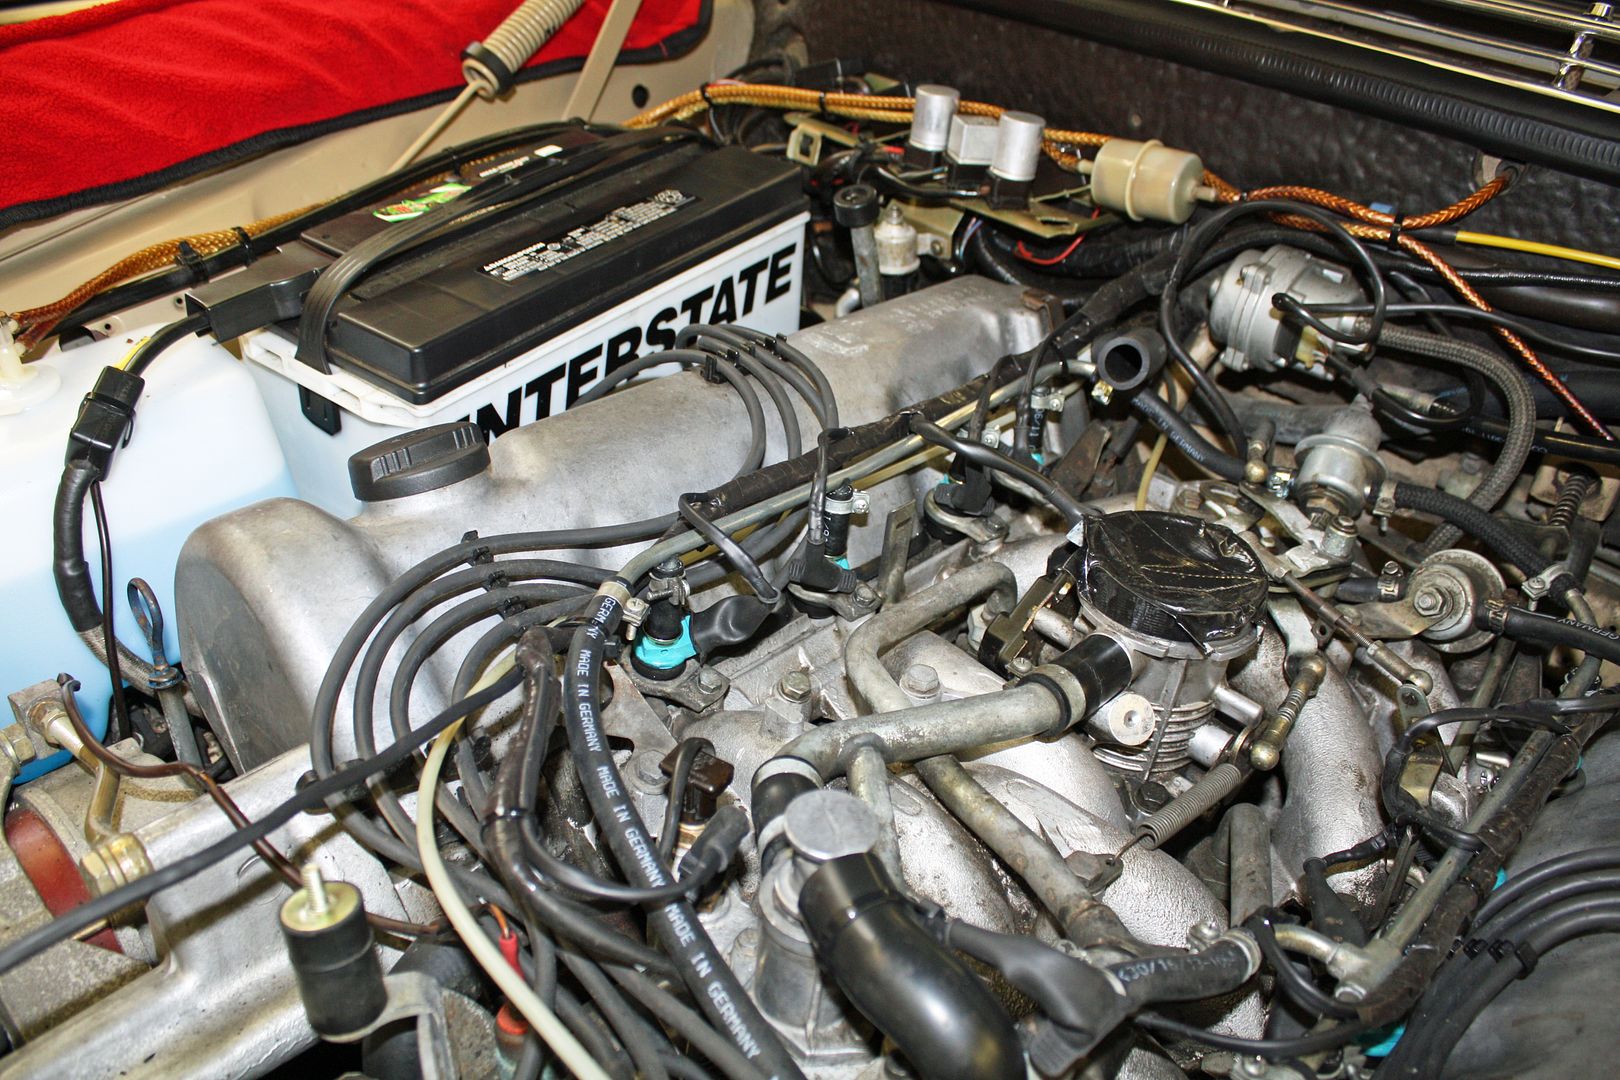 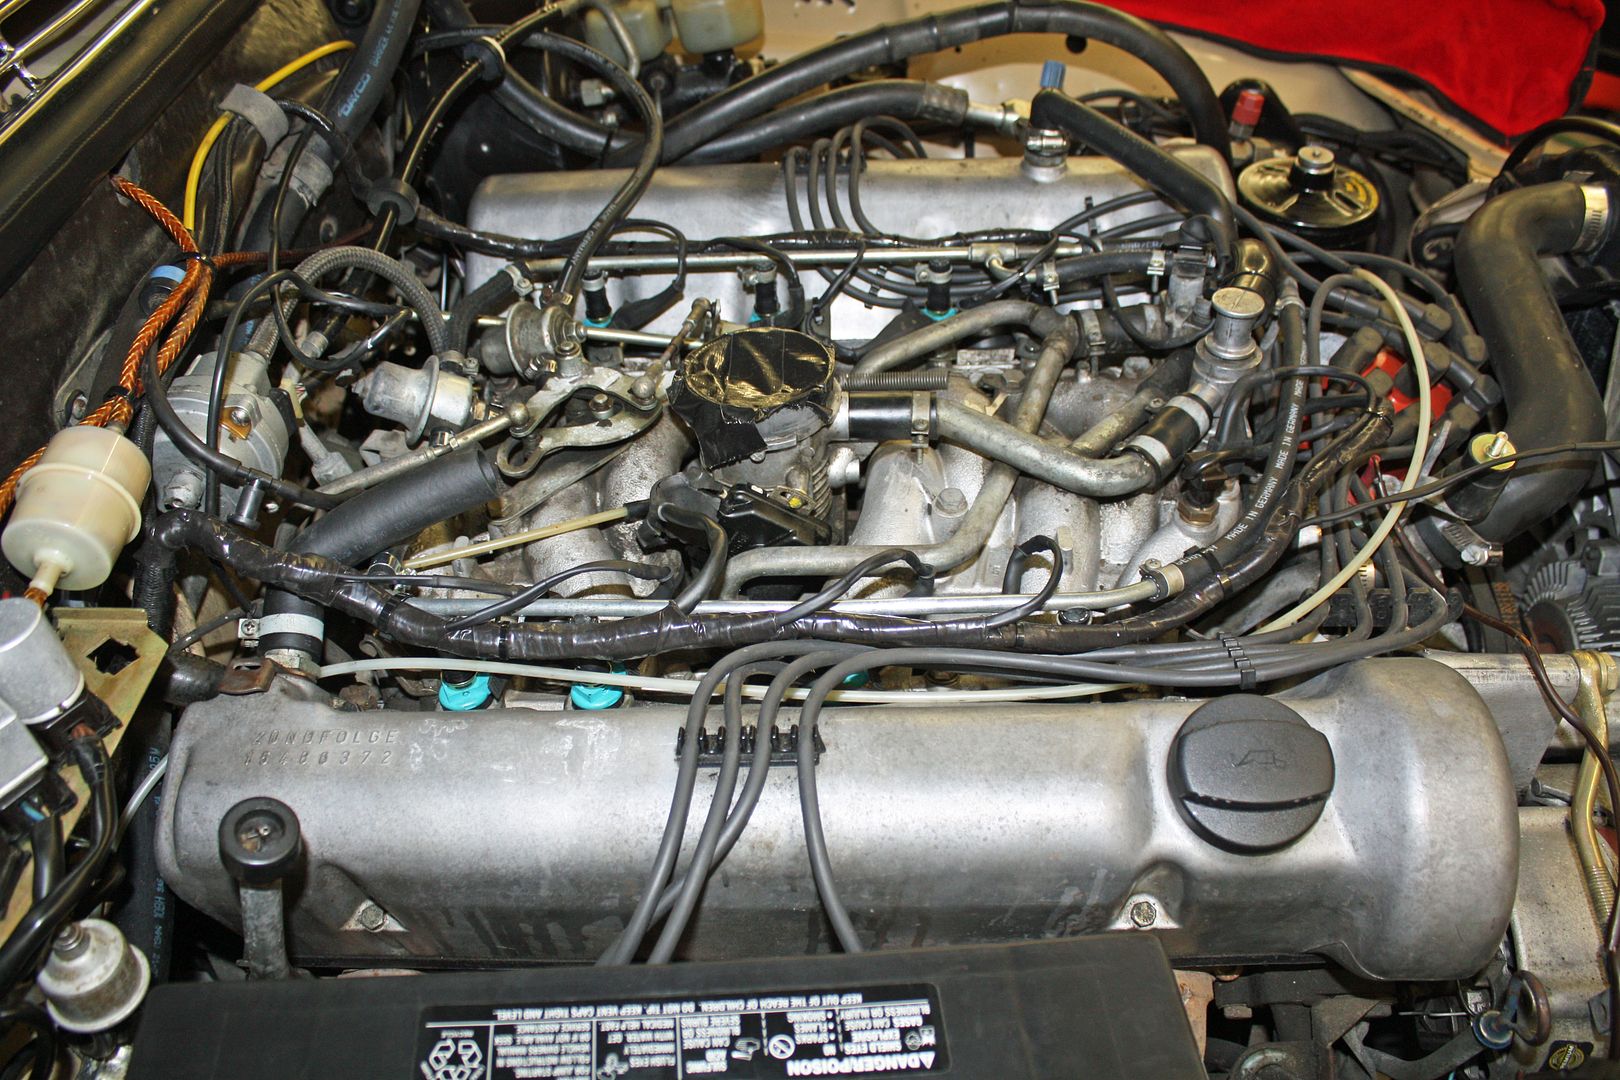 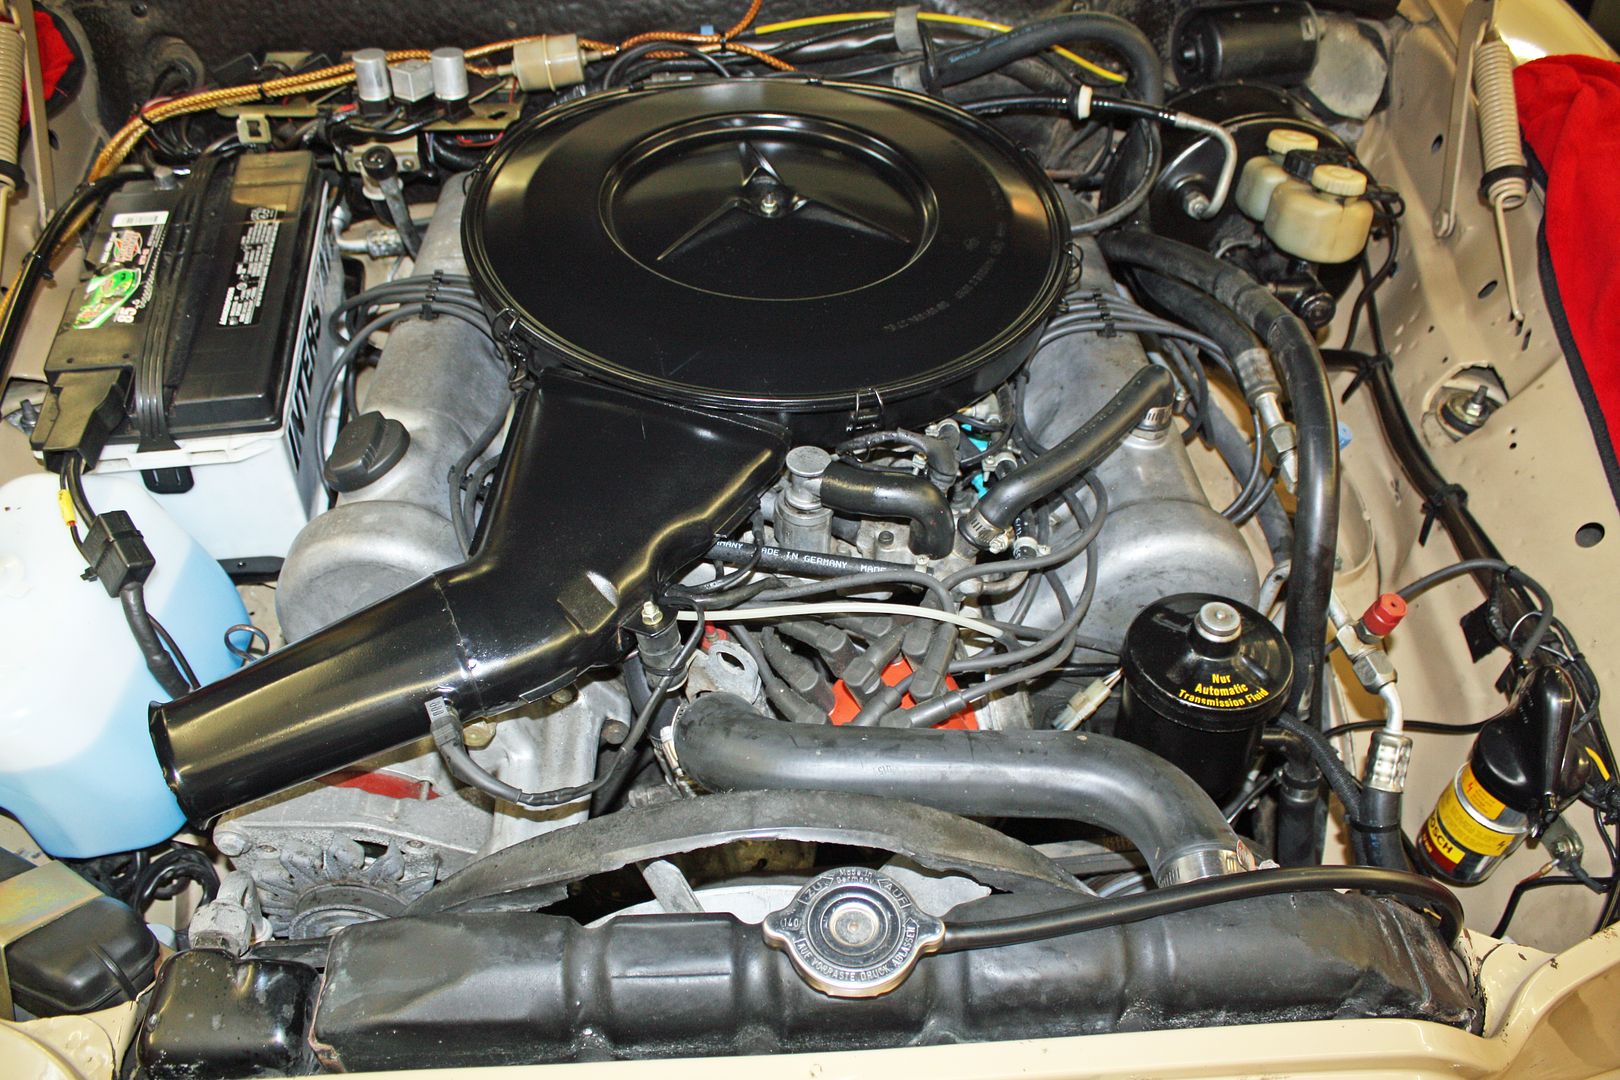 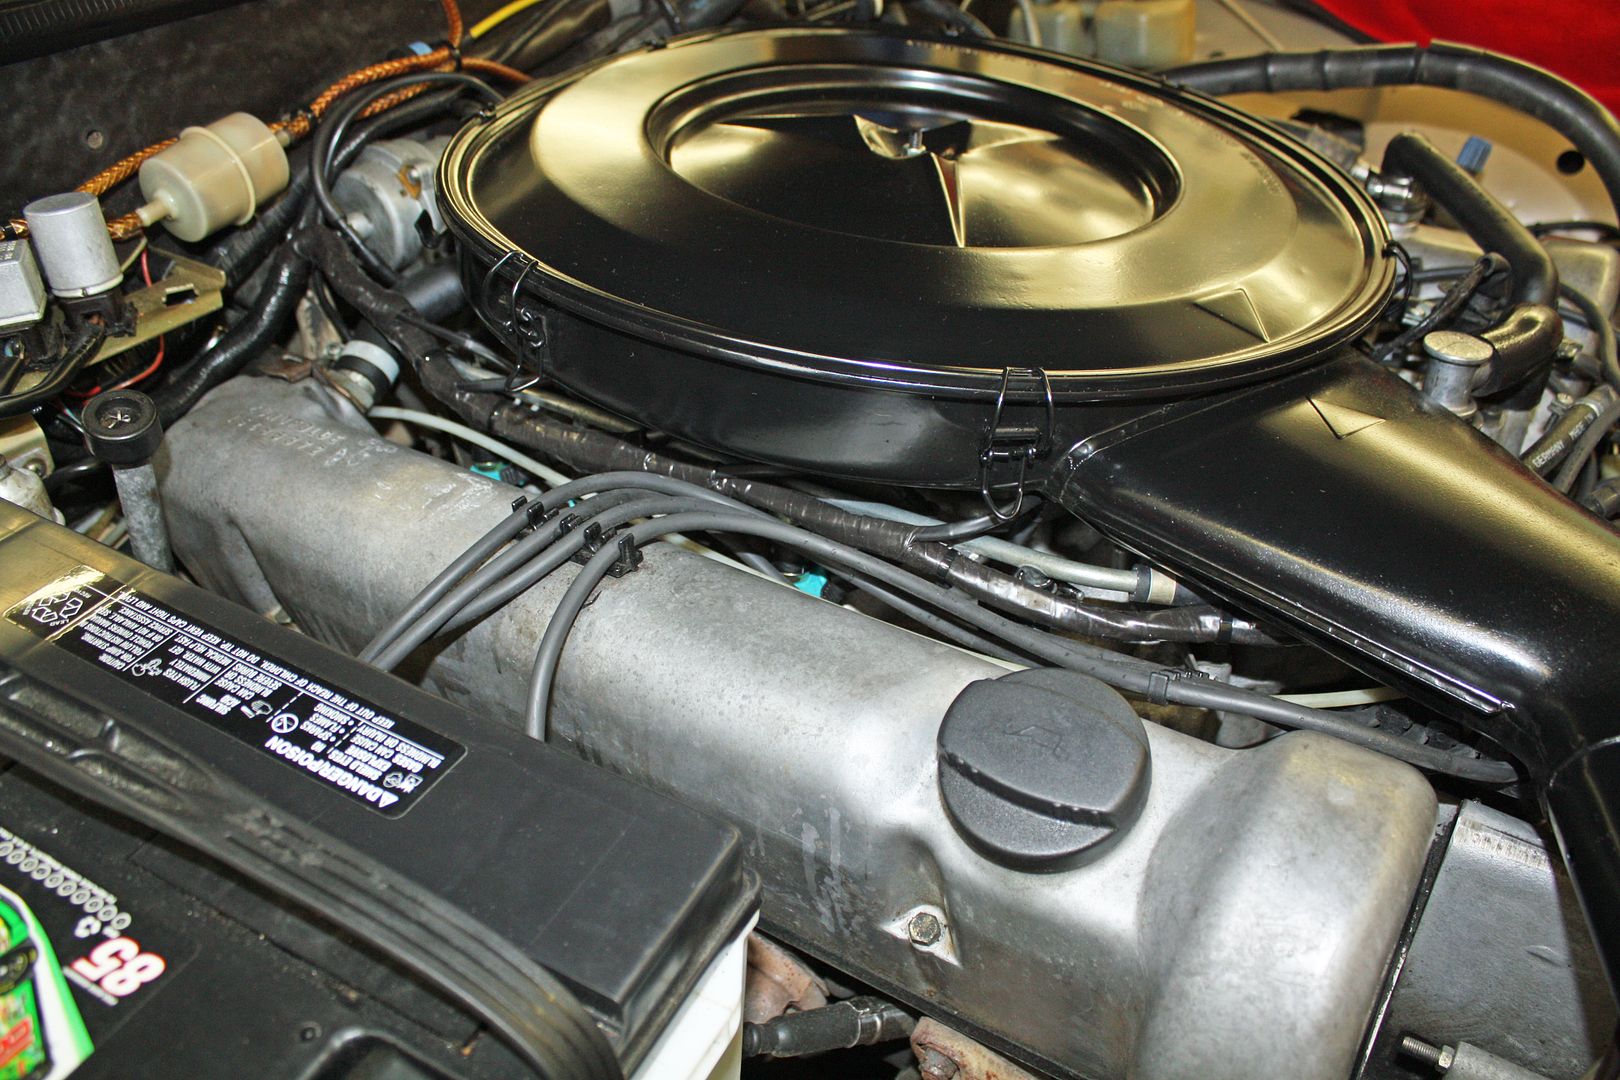 This is how the wires were connected to the air temp sensor on the air cleaner when I got the car and how it is connected now to the new sensor I had purchased. 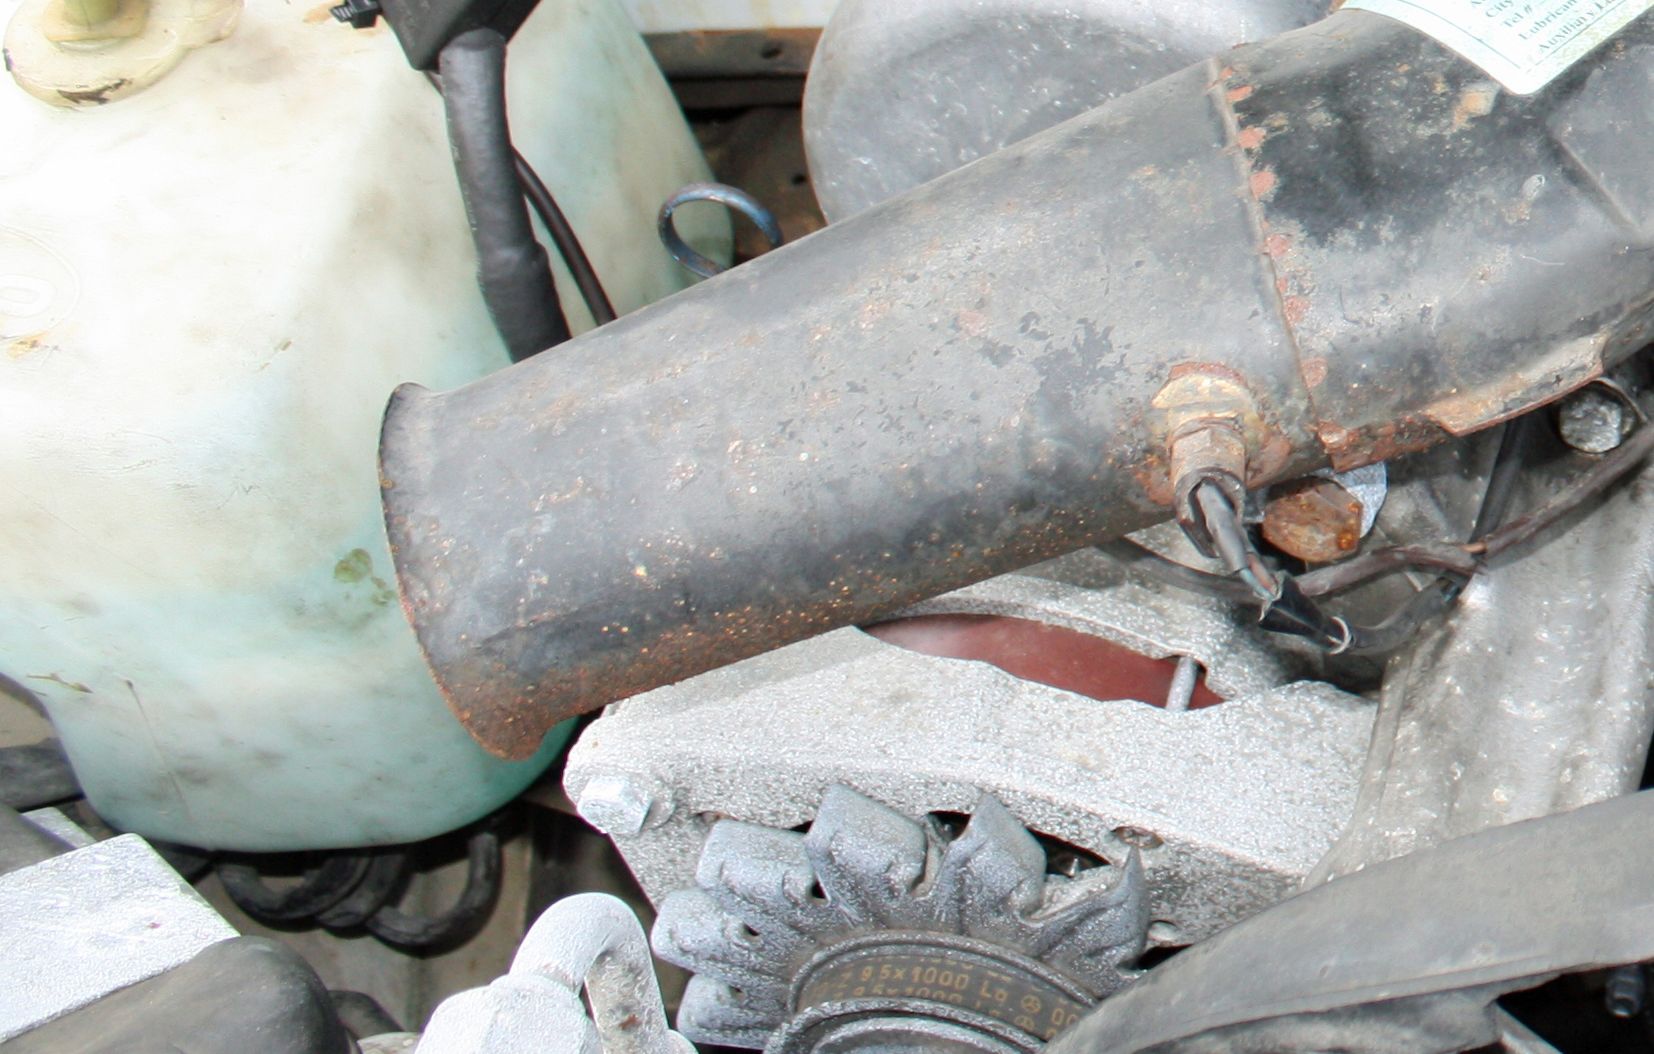 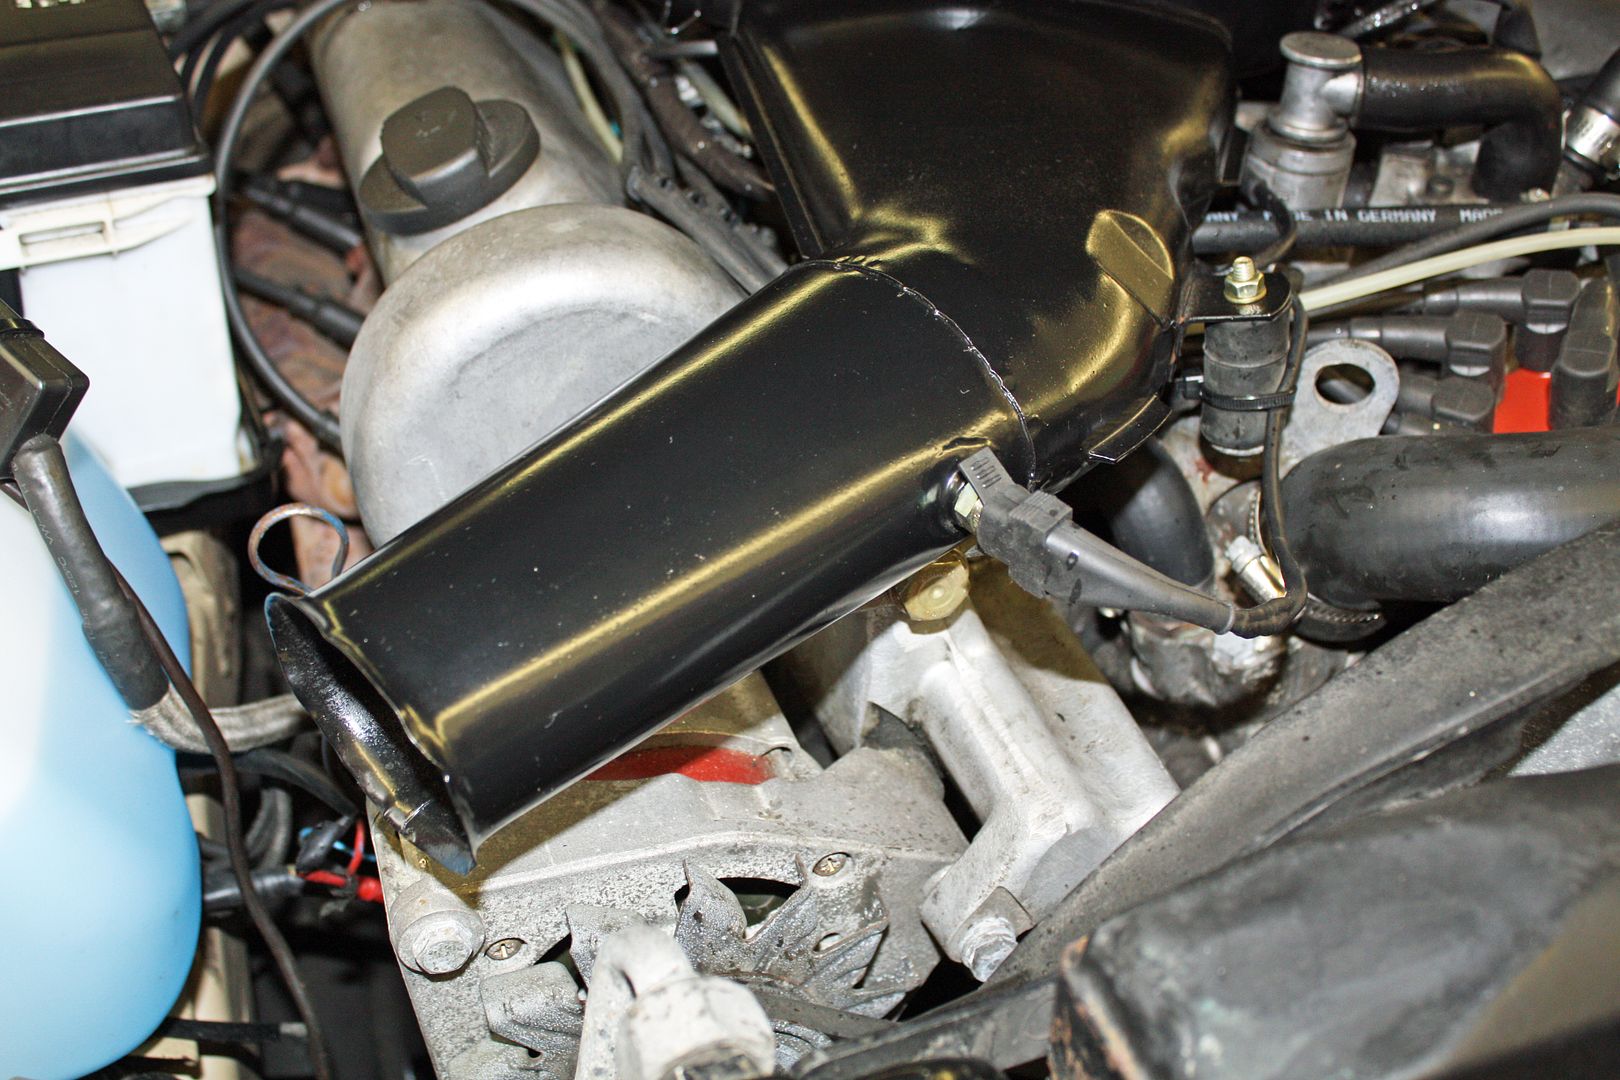 I took the car for a test drive. The engine was obviously more responsive. I won't be winning many drag races but I could tell it had more power. I will be curious to see if my warm start issues are still there. We have a Cars and Coffee in Charlotte this Saturday. It's about fifty miles away so it will definitely be warmed up by the time I get there so I can test the warm start issue. No leaks when I checked the fittings after the test drive. Hurrah!!! The threshold rubber I had ordered earlier was for a SE. While the fronts fit perfectly, the rears were 4" too short. I believe I mentioned earlier that I was able to find the SEL threshold rubber on German eBay. Those pieces had arrived just before our trip. I did have time to install the rears today. 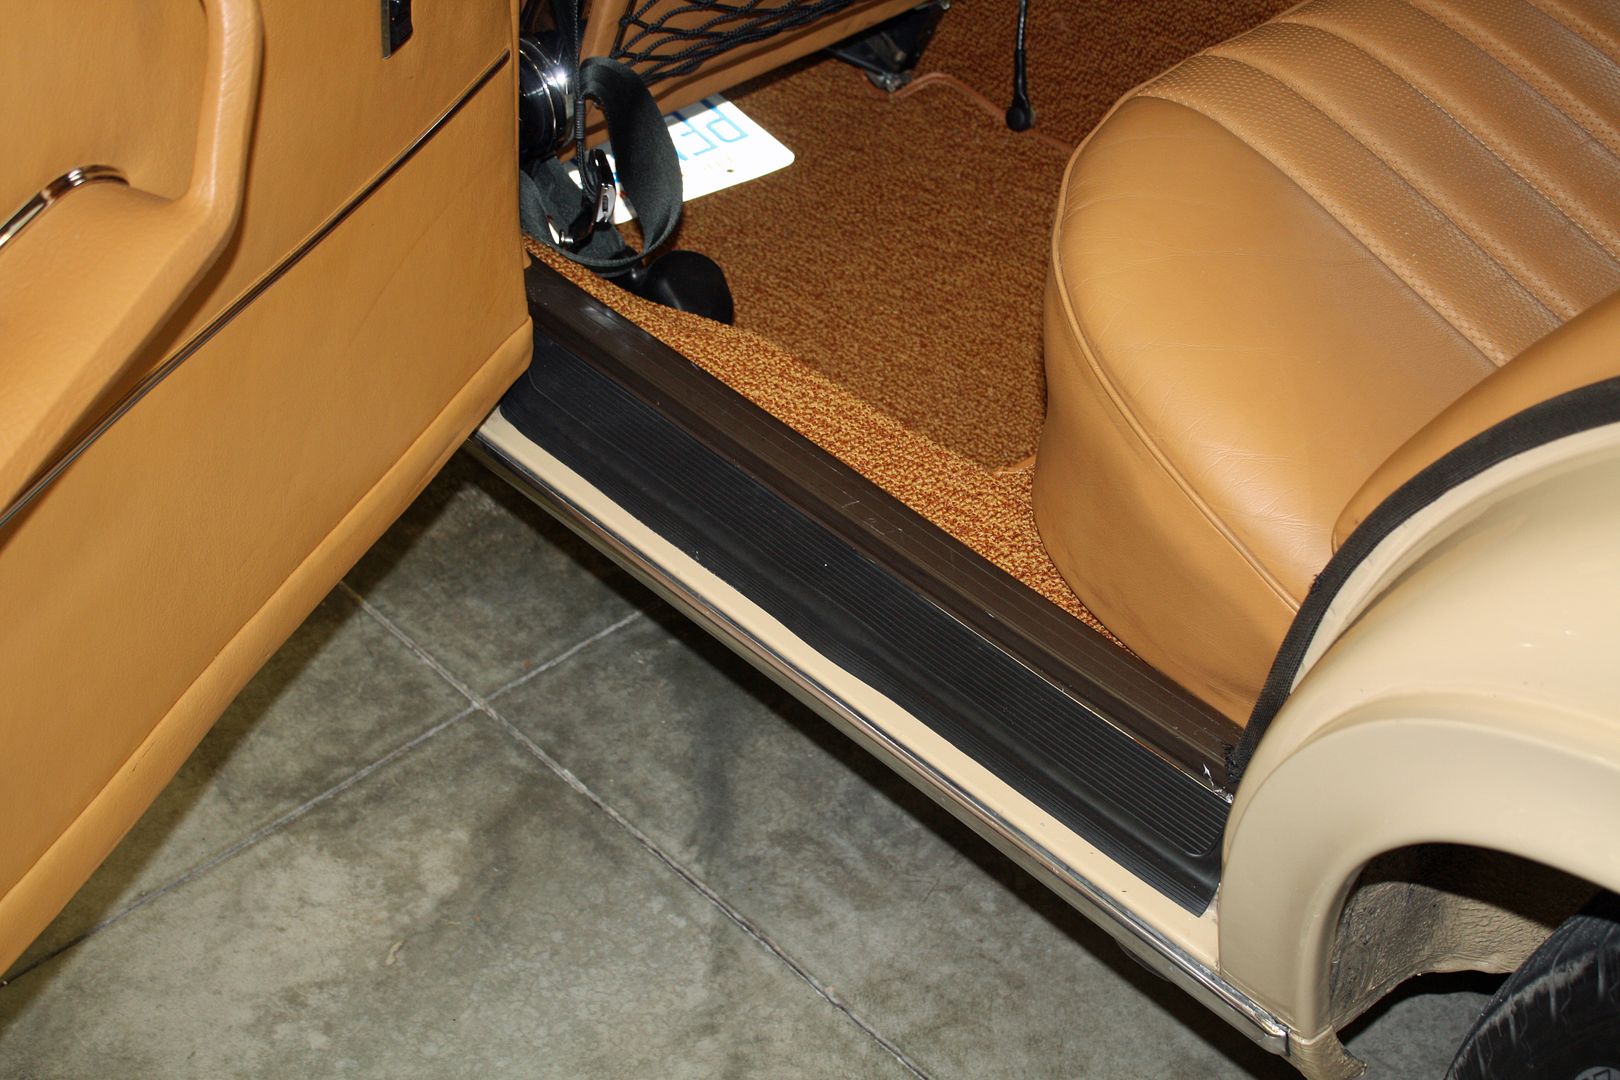
|
|
#258
|
|||
|
|||
|
jerhofer,
Your work is inspiring. I have learned plenty regarding my car following your posts. Two questions: 1. Did you replace your windshield fluid reservoir? You could not have cleaned old plastic to that level. 2. Is that an in-line filter I see in the washer fluid line? What is it's purpose? My vehicle does not have such a filter. Please keep posting, I enjoy reading about your progress. Ron |
|
#259
|
|||
|
|||
|
Quote:
I did replace the reservoir. I don't know if that is a filter. |
|
#260
|
|||
|
|||
|
D jetronic cross references
At the risk of telling many of you what you already know, Bosch's first generation electronic "D jet" technology was used by many maufacturers in the late 60s and eatly 70s, such as Porsche and Volvo, (see below). The point is that there are relatively few color coded injectors that were used across the entire line of applications. If, like the early 4.5 injectors, the connector is blue, it is the same unit regardless of the source. And therein lies the possibility of saving some money, since anything with a "Mercedes" label on it is likely to be more expensive!
D Jetronic users: Mercedes 250E, 280, 300, 350, 450. Porsche 914. Saab 99E. VW type 3,4. Volvo 1800E, 1800ES, 142, 144, 164E. Citroen SM, DS. BMW early 3.0Si. Jaguar XJ-S,XJ12.
__________________
Berfinroy in CT Present vehicles: 1973 300 SEL 4.5 1959 Rolls Royce Silver Cloud I 1959 Ford Thunderbird convertible/430 Past vehicles; 1958 Bentley S 1 1976 ex-Max Hoffman 6.9 1970 300SEL 2.8 1958 Jaguar MK IX 1961 Jaguar MK IX 1963 Jaguar E-type factory special roadster 1948 Plymouth woody 1955 Morgan plus 4 1966 Shelby GT350H Mustang Last edited by berfinroy; 08-04-2017 at 12:18 PM. |
|
#261
|
|||
|
|||
|
Quote:
In anticipation of attending Cars and Coffee tomorrow morning, I washed the car today. I always feel more comfortable having a fire extinguisher in old cars. I was debating on where to install it but did not want to drill any holes. I came across some wide velcro. I tried a piece on the carpet and it stuck well. So I applied a piece of that Velcro to the fire extinguisher and stuck it to the carpet in the left rear footwell. 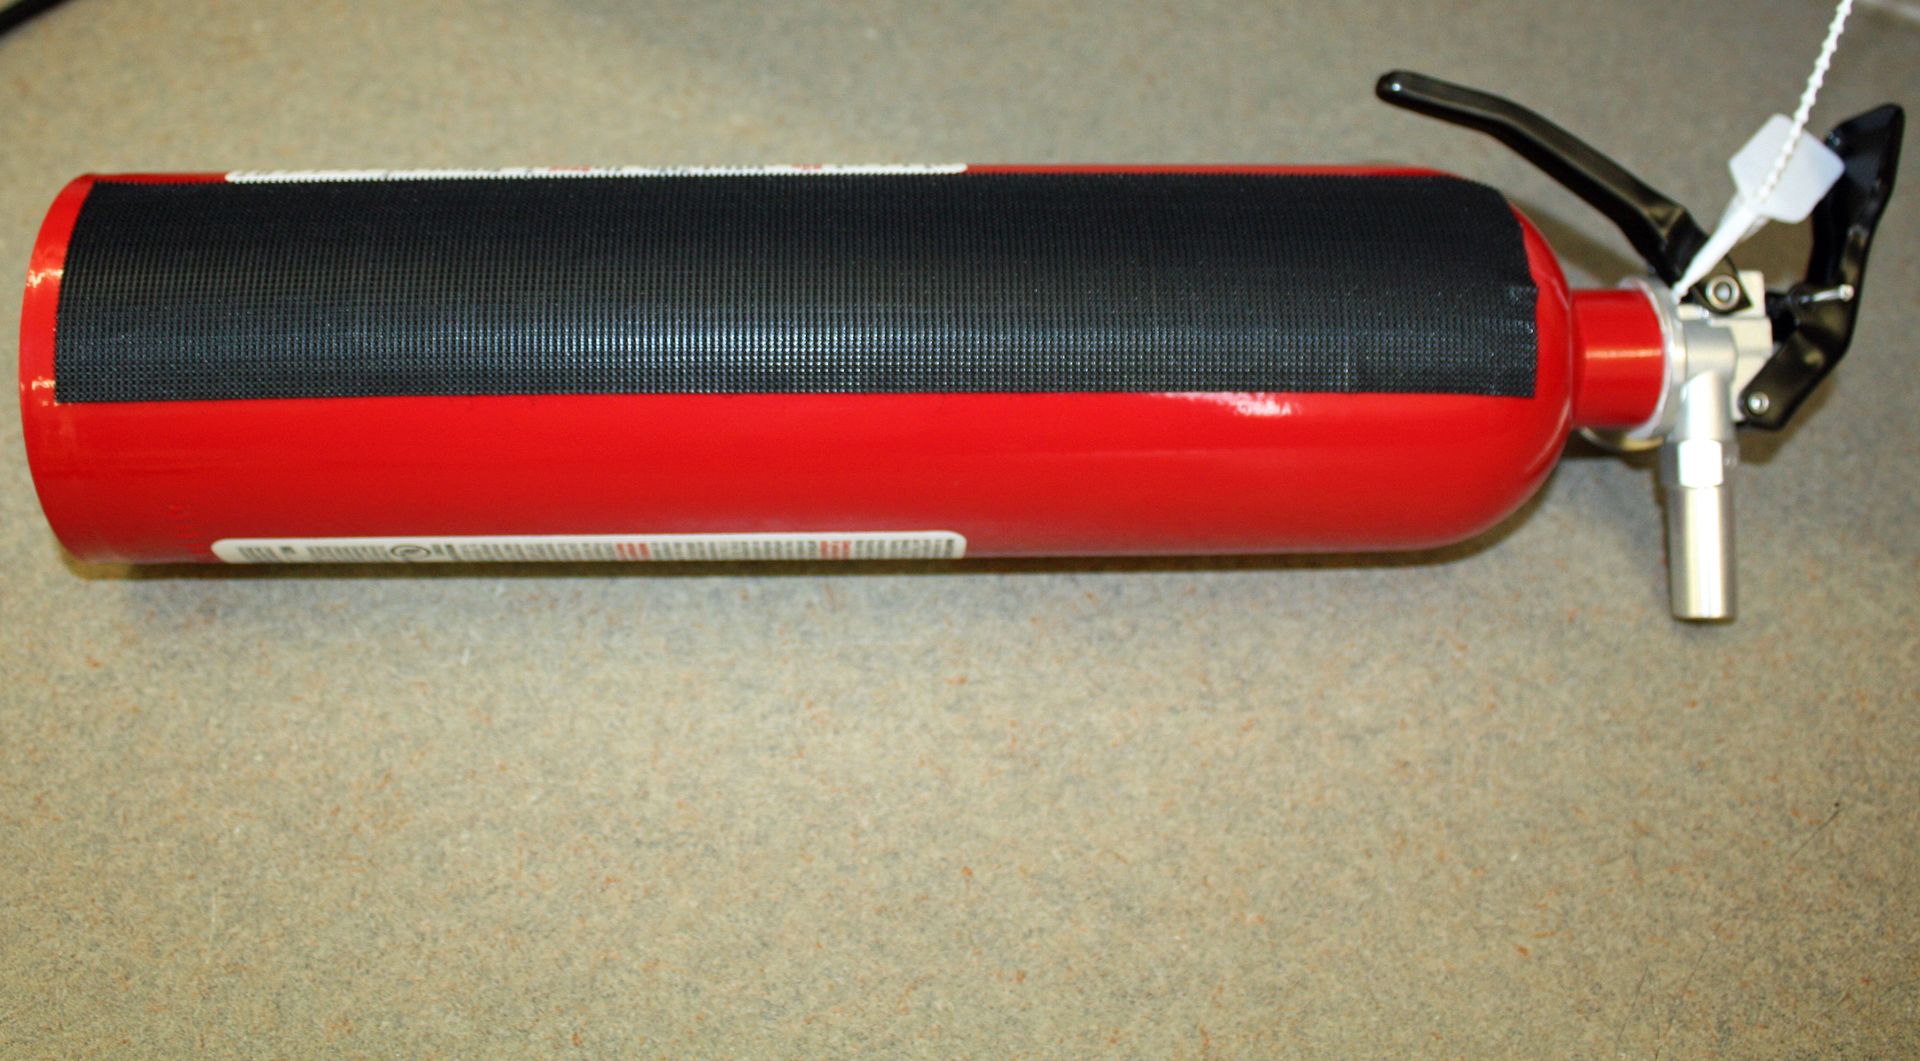 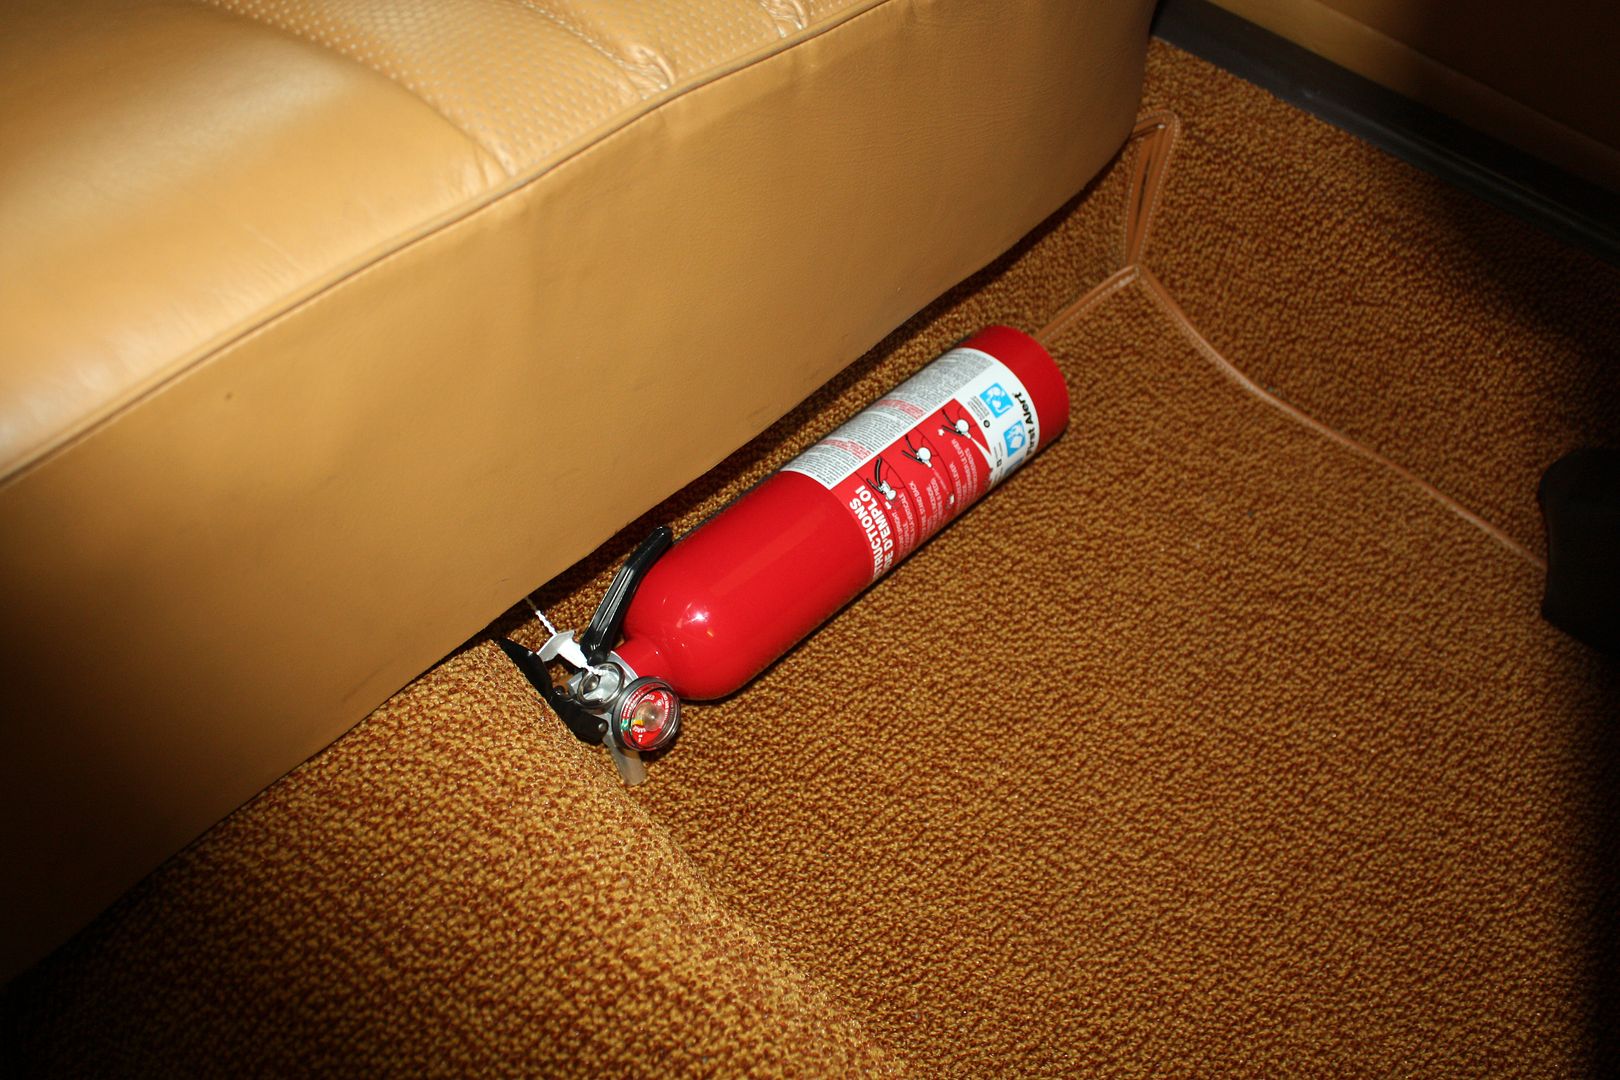 I had purchased a Garmin hard wire kit and finally got around to installing it today. I found a 12V ignition source under the dash on the left side and ran the wire alongside the door trim to the base of the left side of the windshield. I hate having a cord running to the GPS from the cigarette lighter. Much cleaner look this way. 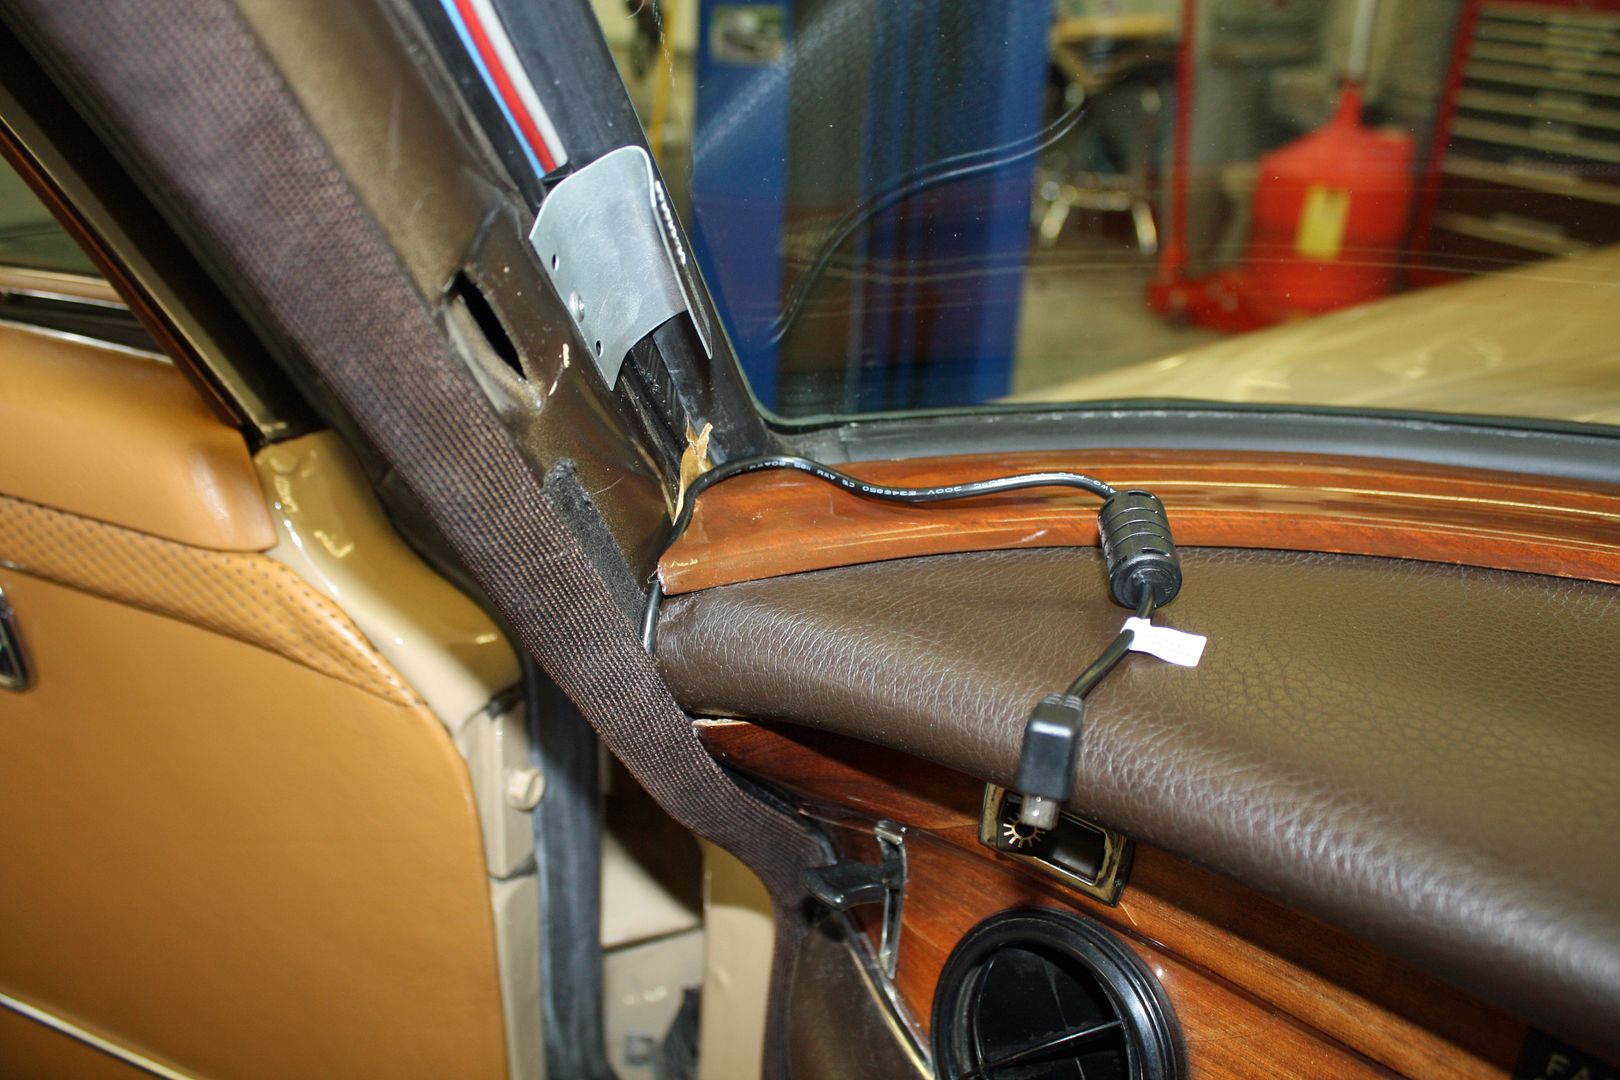 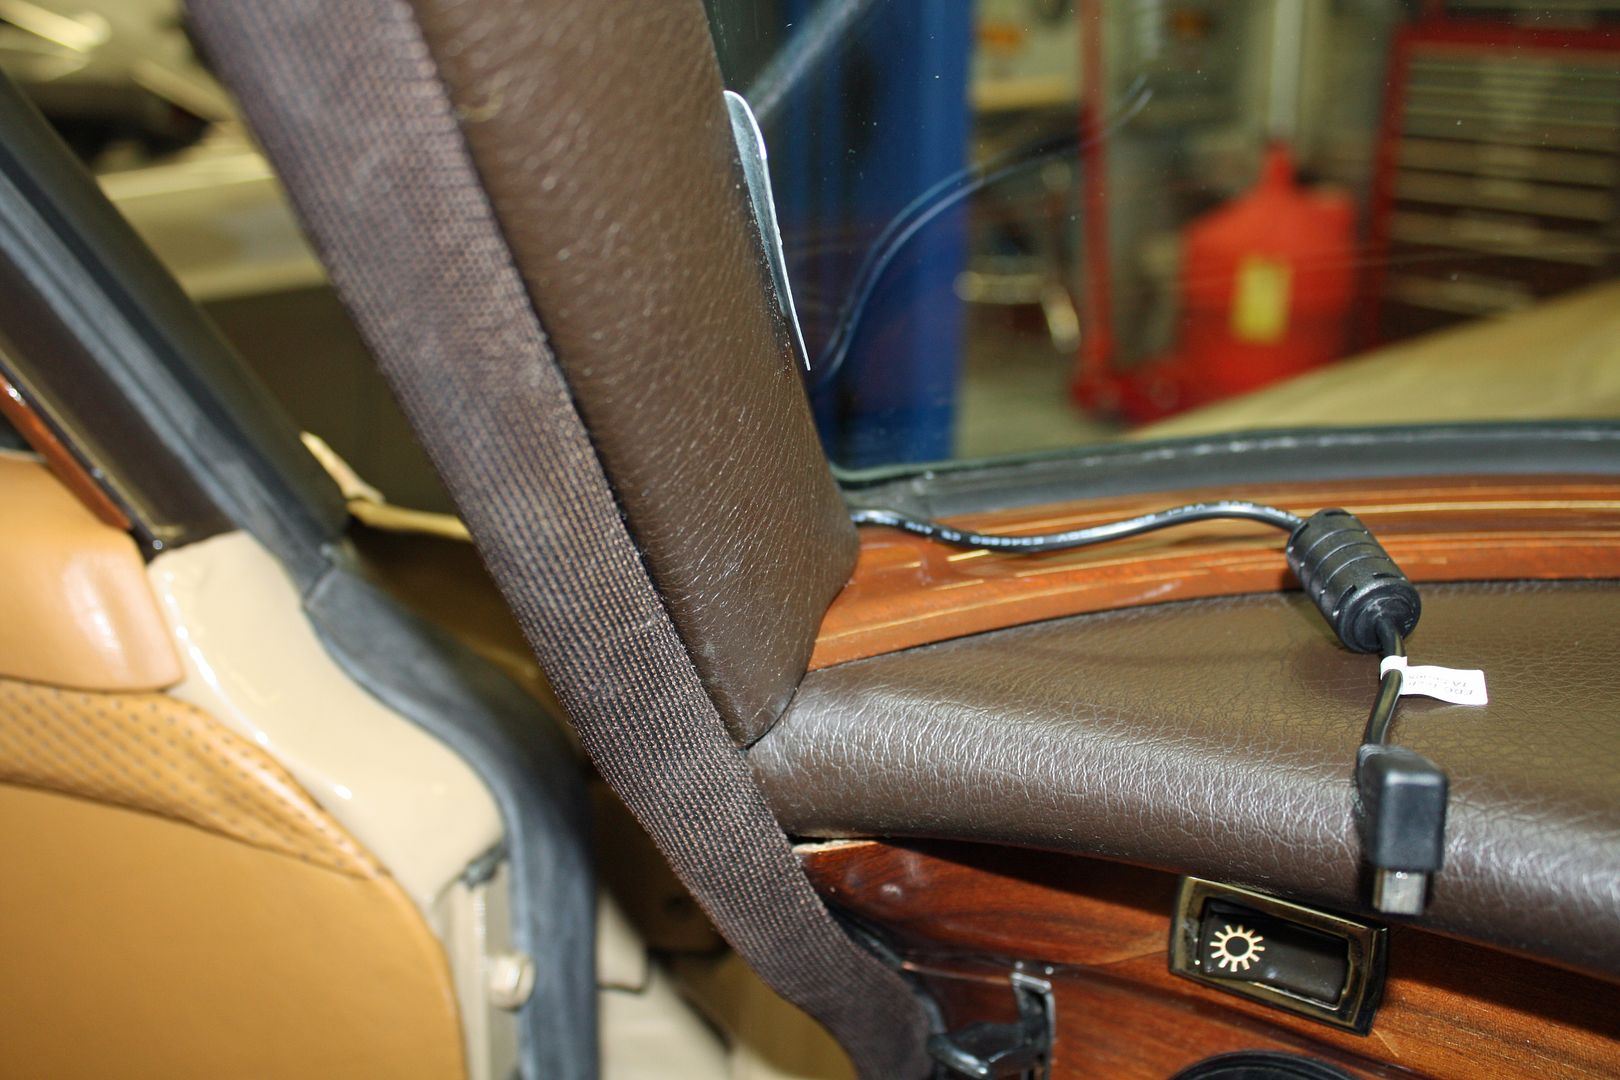 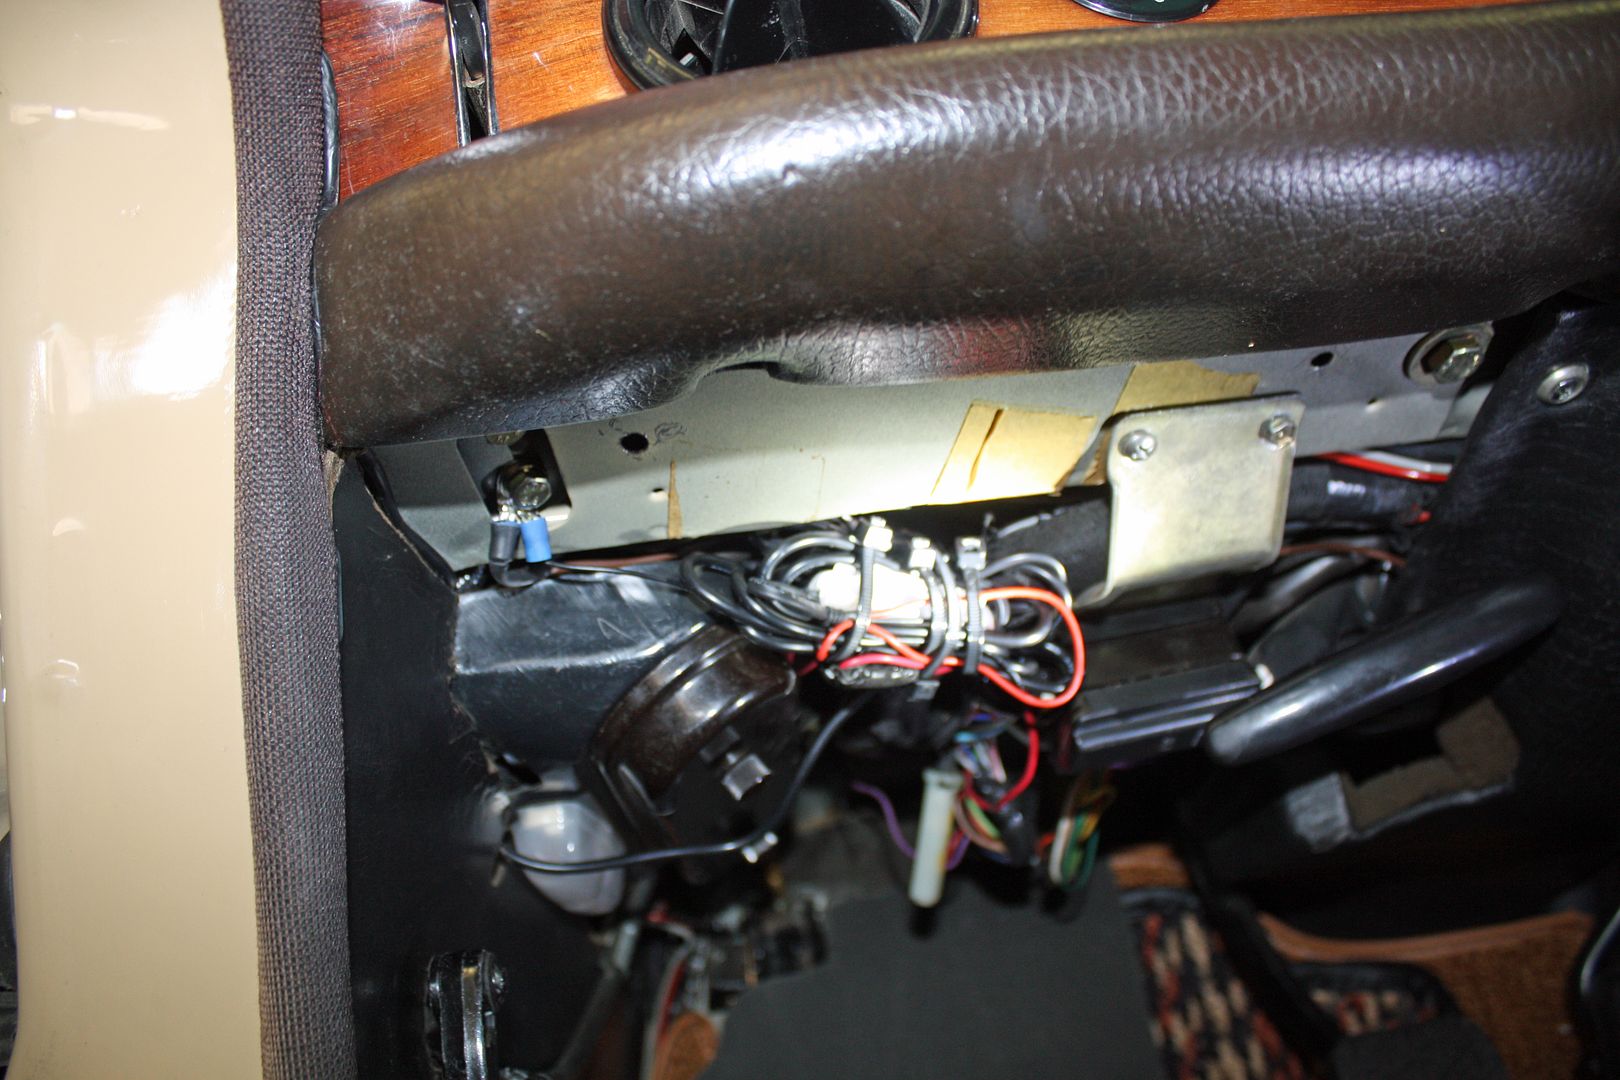 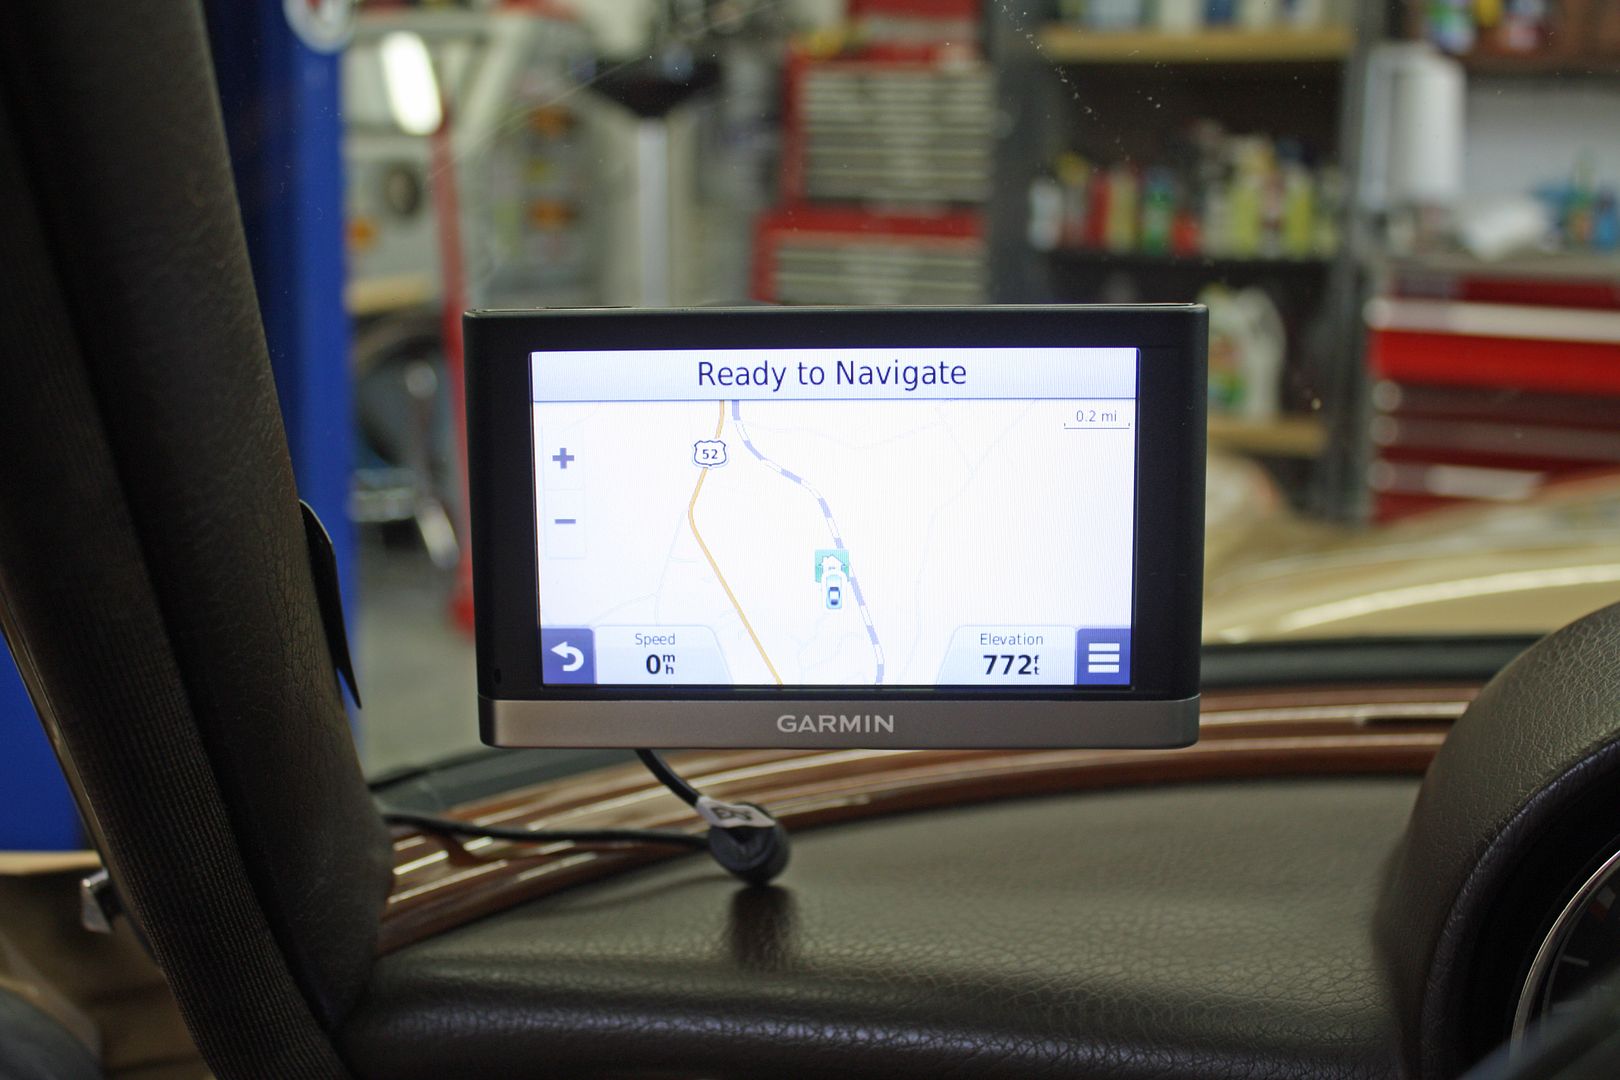
|
|
#262
|
||||
|
||||
|
Great post. Excluding the value of your time, do you have an estimate of how much you have spent on parts and repairs so far?
|
|
#263
|
|||
|
|||
|
I have spent around $9K so far. That price includes a number of parts that still need to be installed like suspension bushings, cruise control, etc.
|
|
#264
|
|||
|
|||
|
They had a great turnout at the Charlotte Cars & Coffee. I'm guessing at least 500 cars. I didn't see as many interesting cars as at some other times I have attended. Nice Mustang with photogenic fuel injection. This Lincoln suicide door convertible was outstanding. The owner had just installed an electronic fuel injection throttle body which sits completely under the air cleaner, including the electronics. He said it worked well and he was done with cars with carburetors. I also likes the Noble.
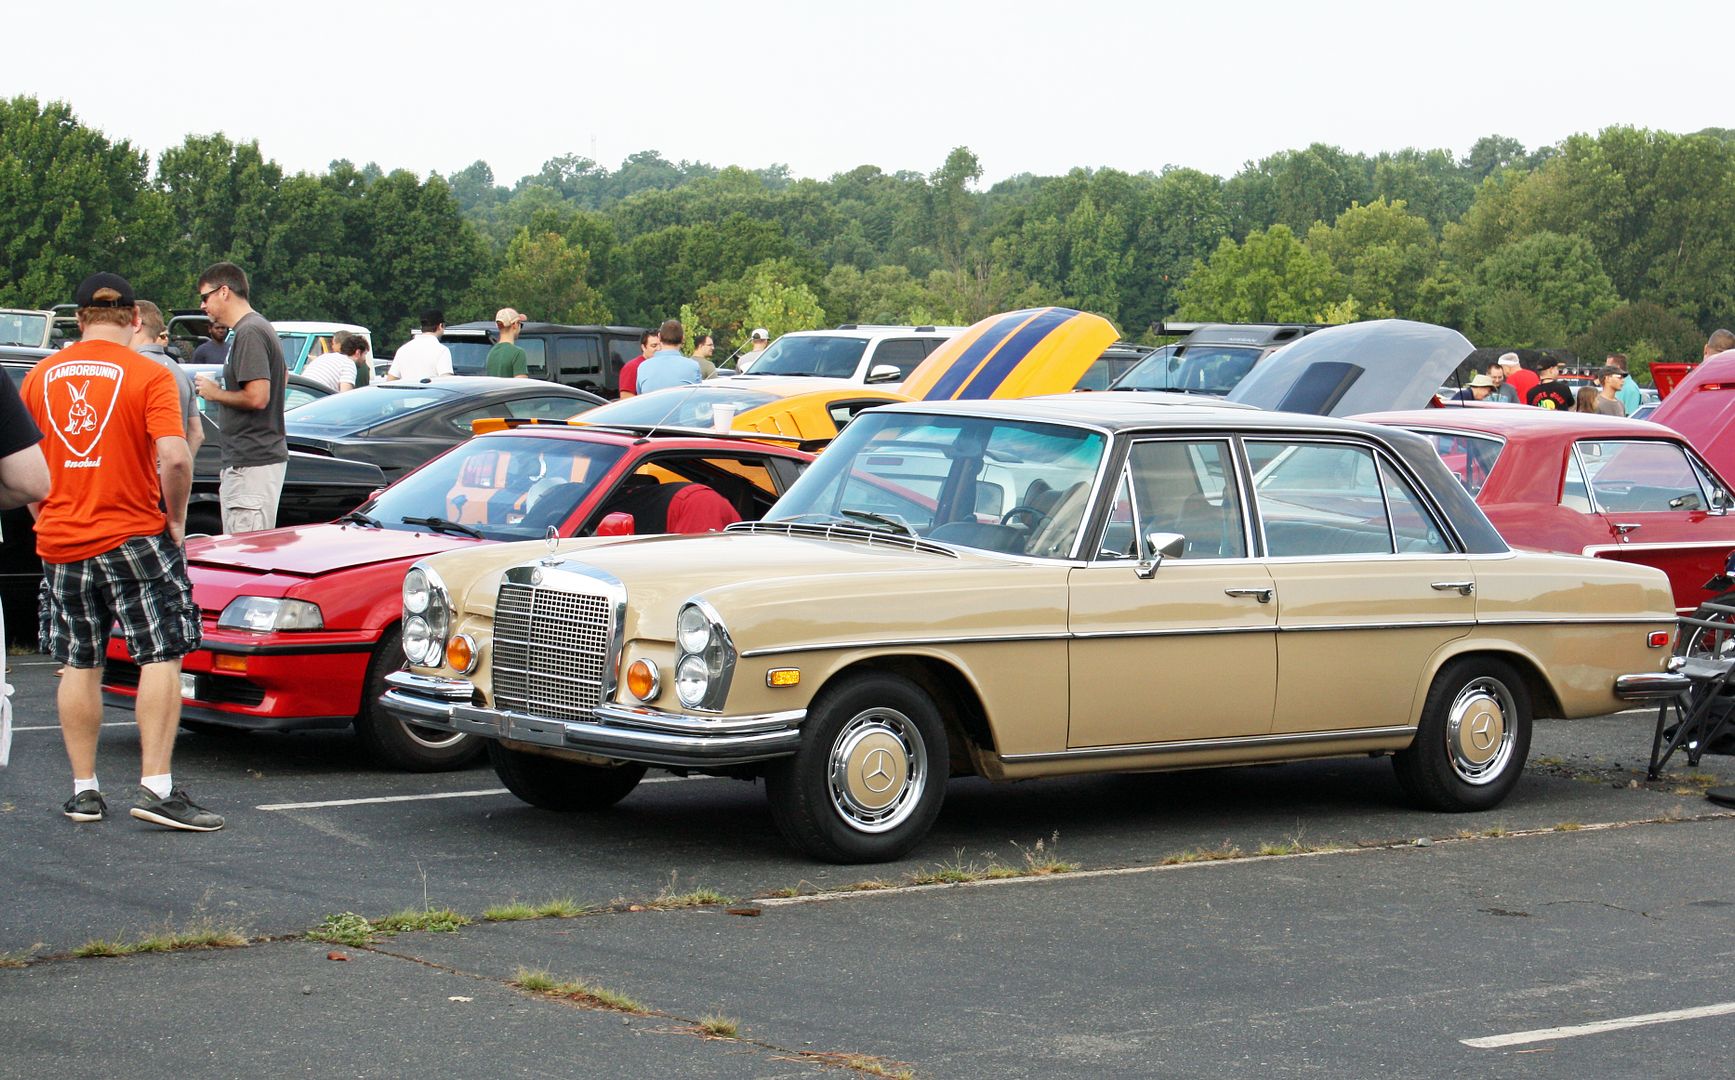 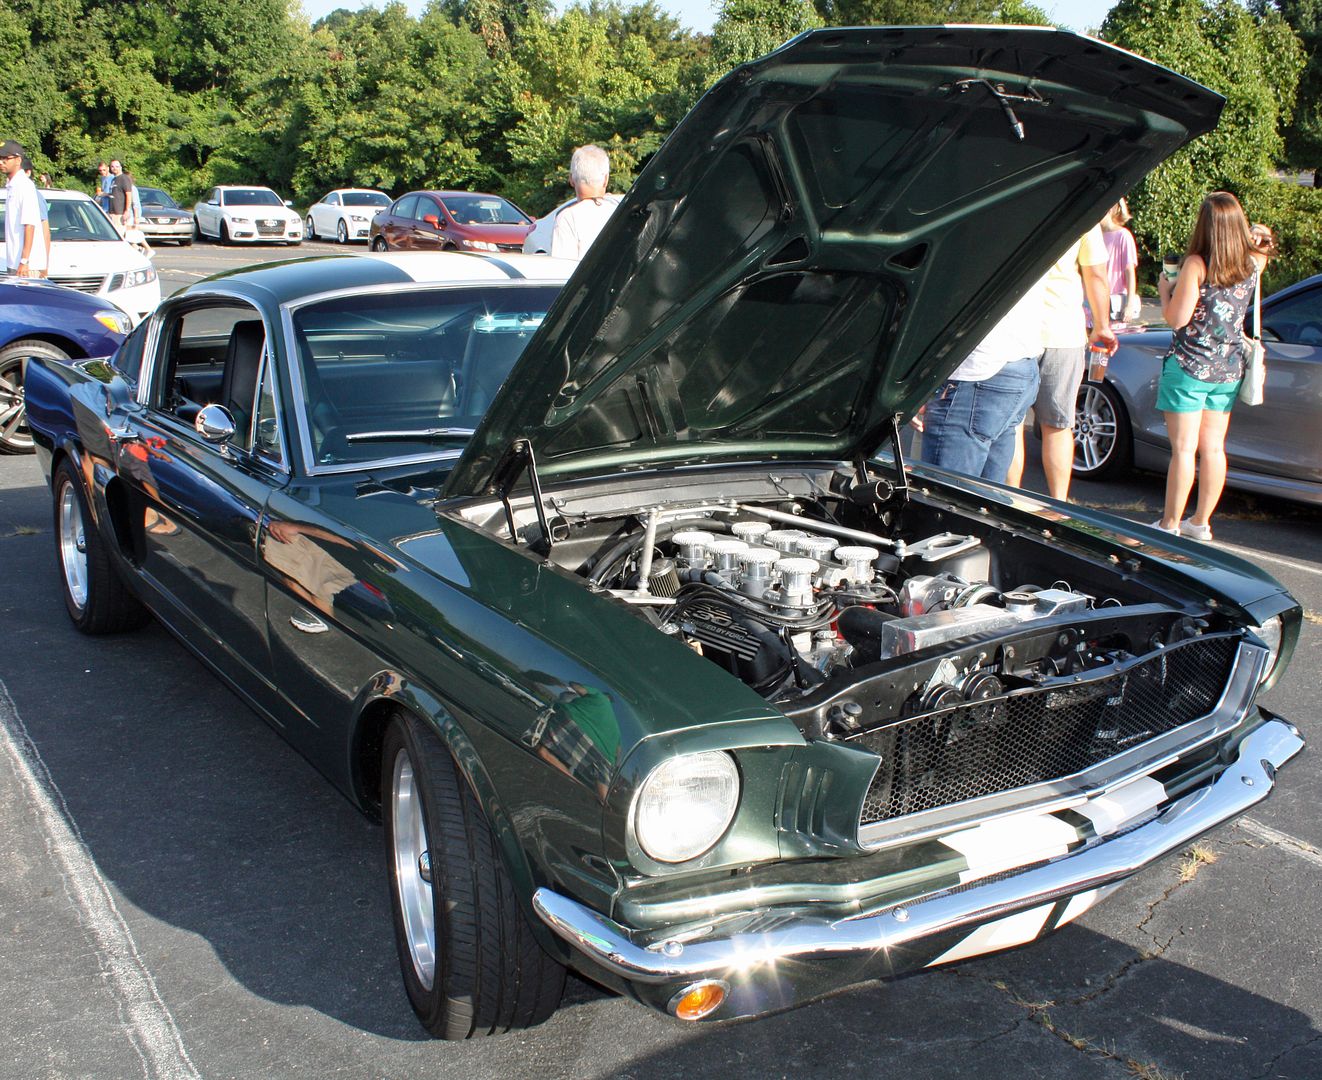 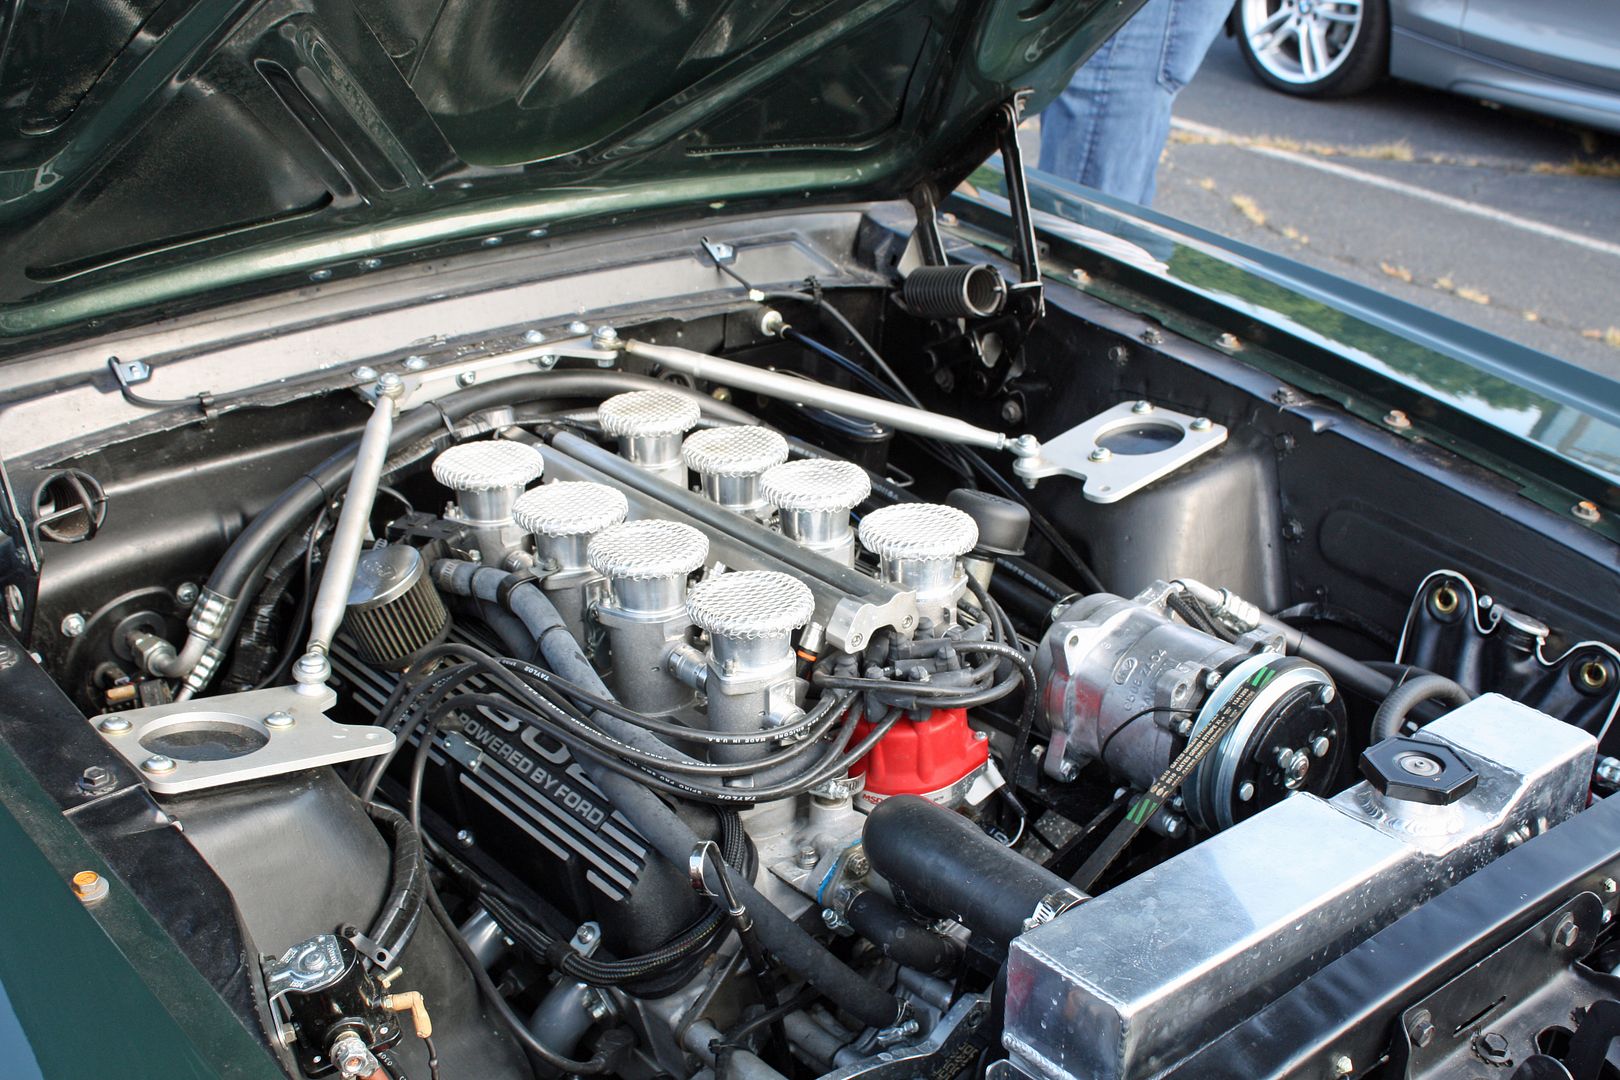 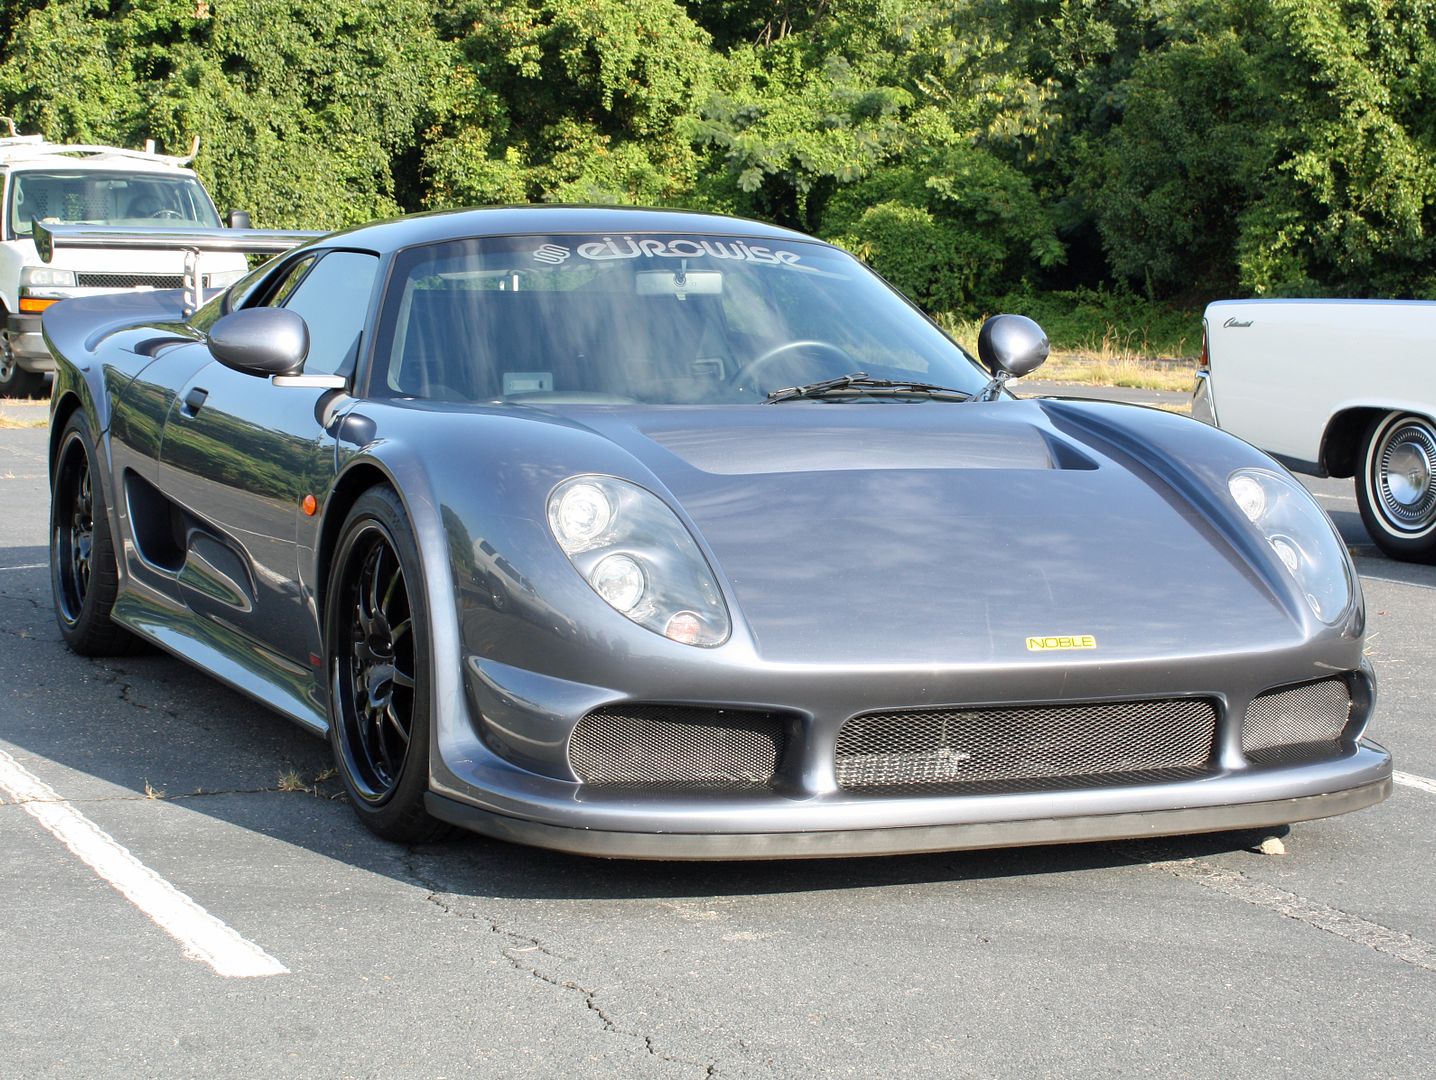 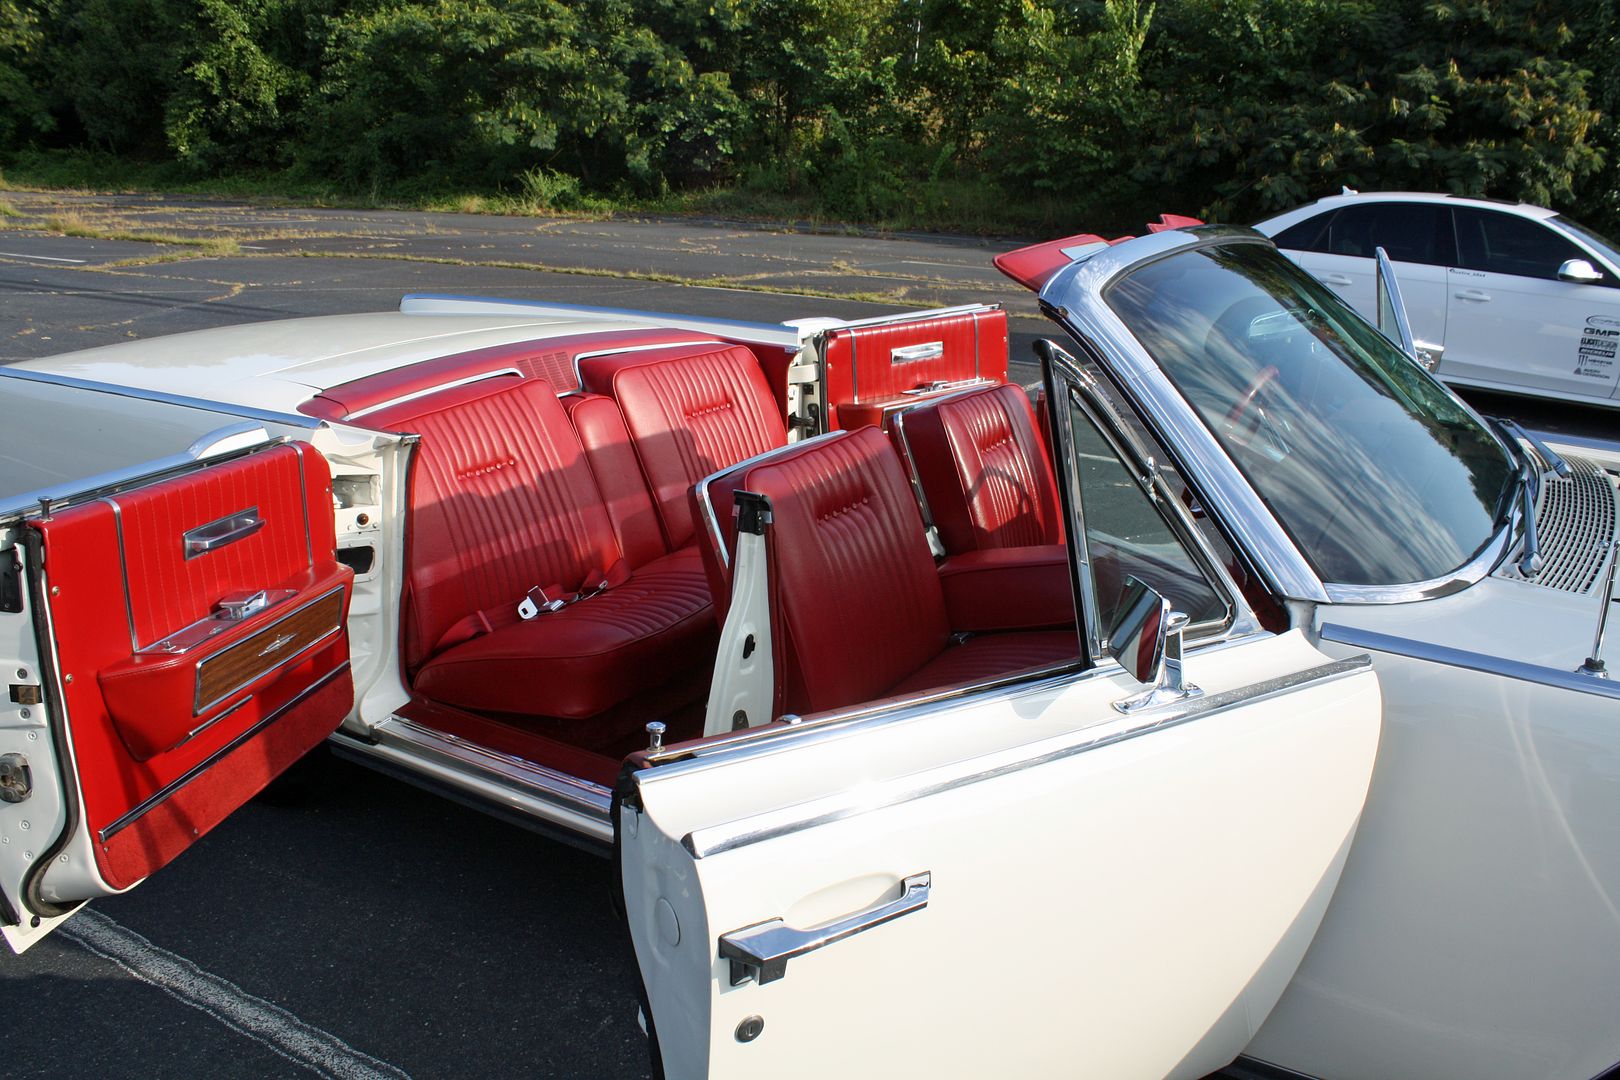 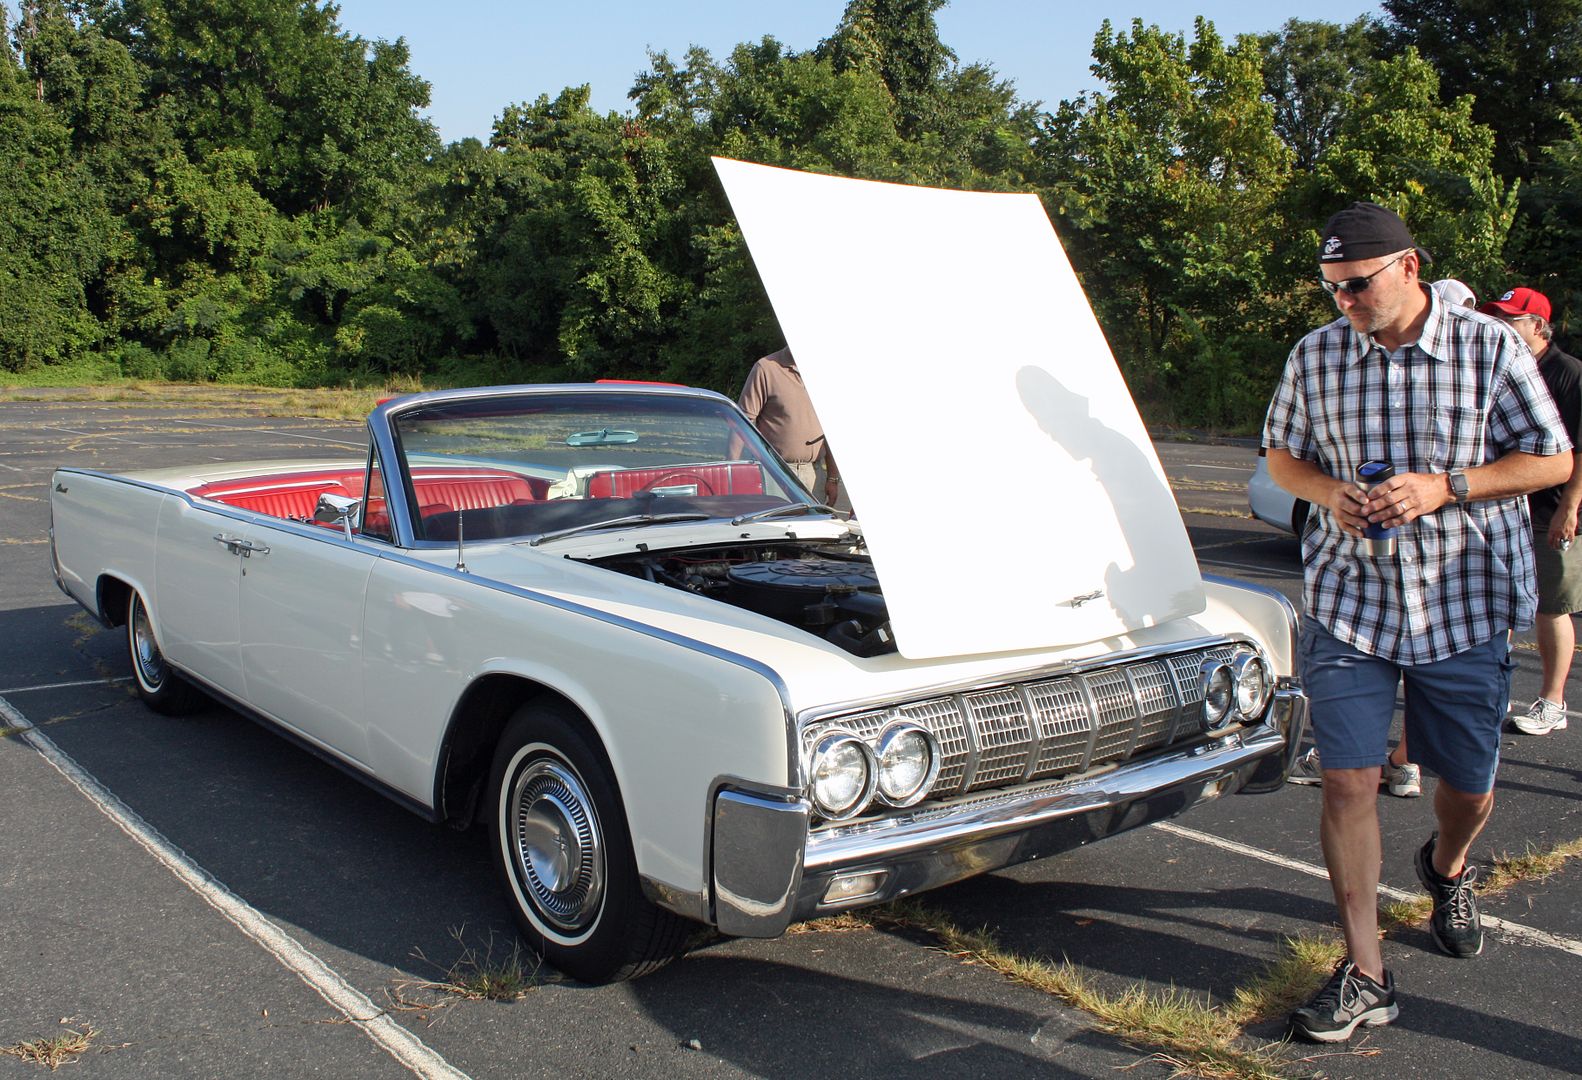 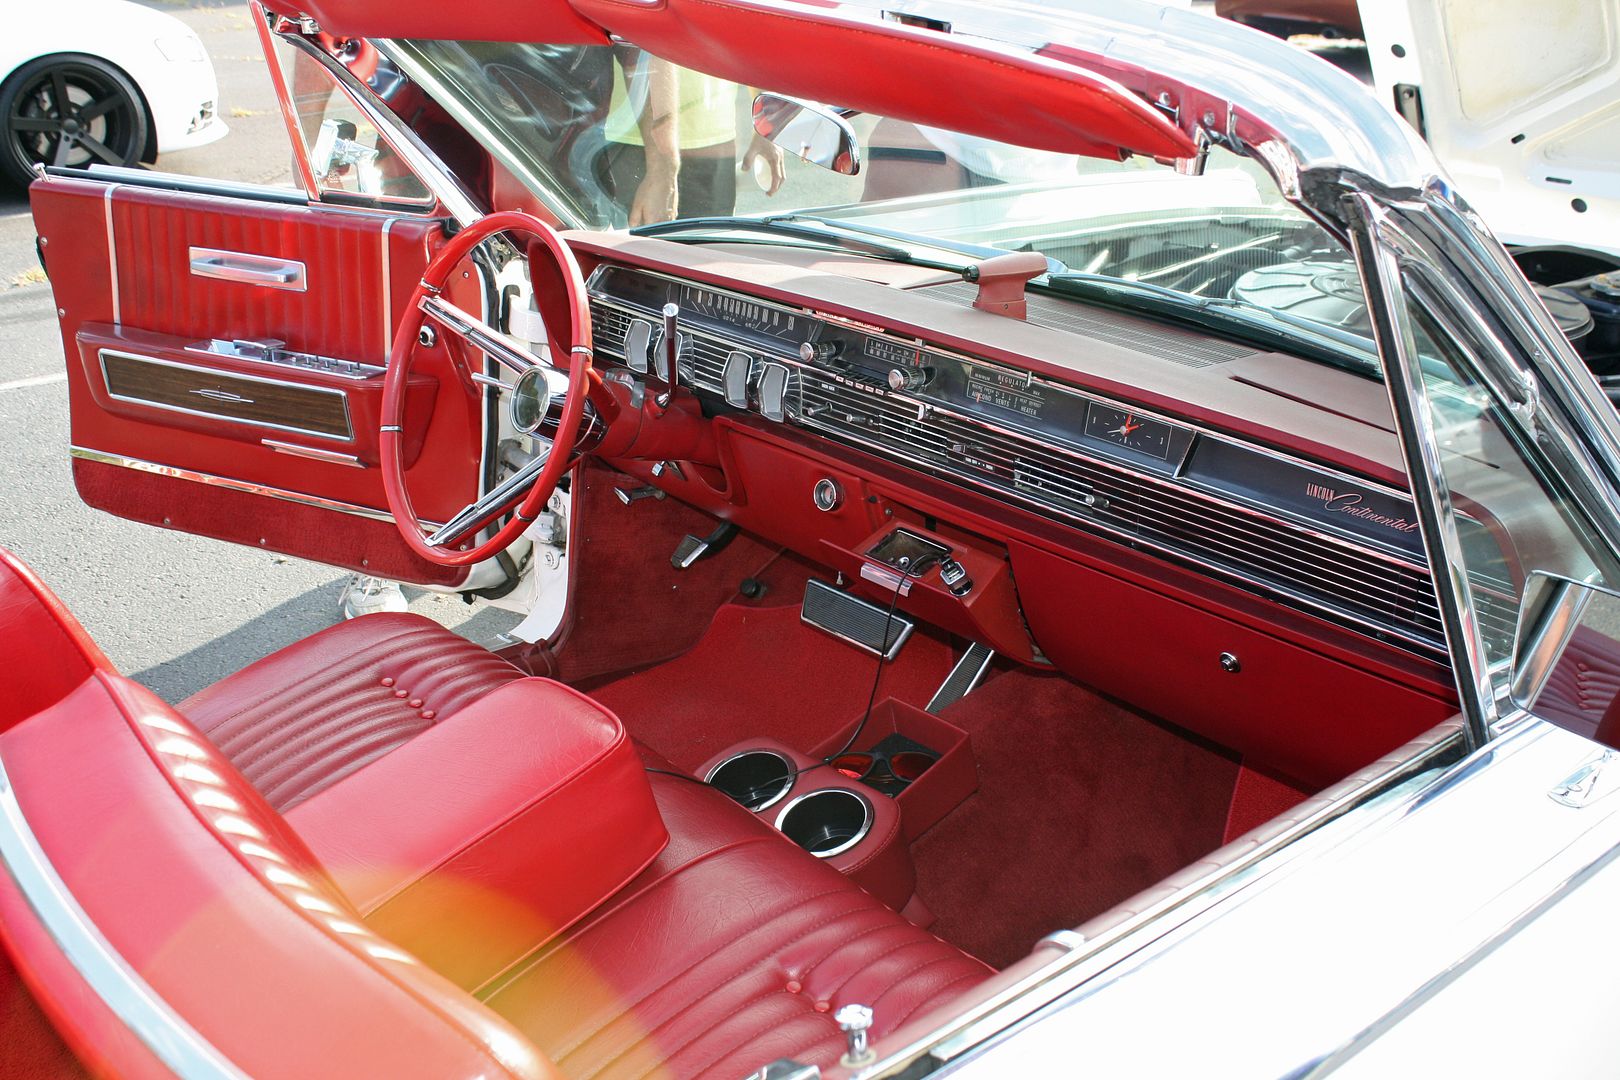 The car ran great!! No issues. However, I have always wondered if I have full throttle. So I drove over to my son's house so we could check it. I mashed down on the throttle and Matt said that it was only opening about half way. He did notice that something was amiss as the bushing on the firewall was completely gone and that rod was not allowing the throttle to fully open. The new bushings are on the way and I am excited to see what it feels like when the throttle fully opens!! 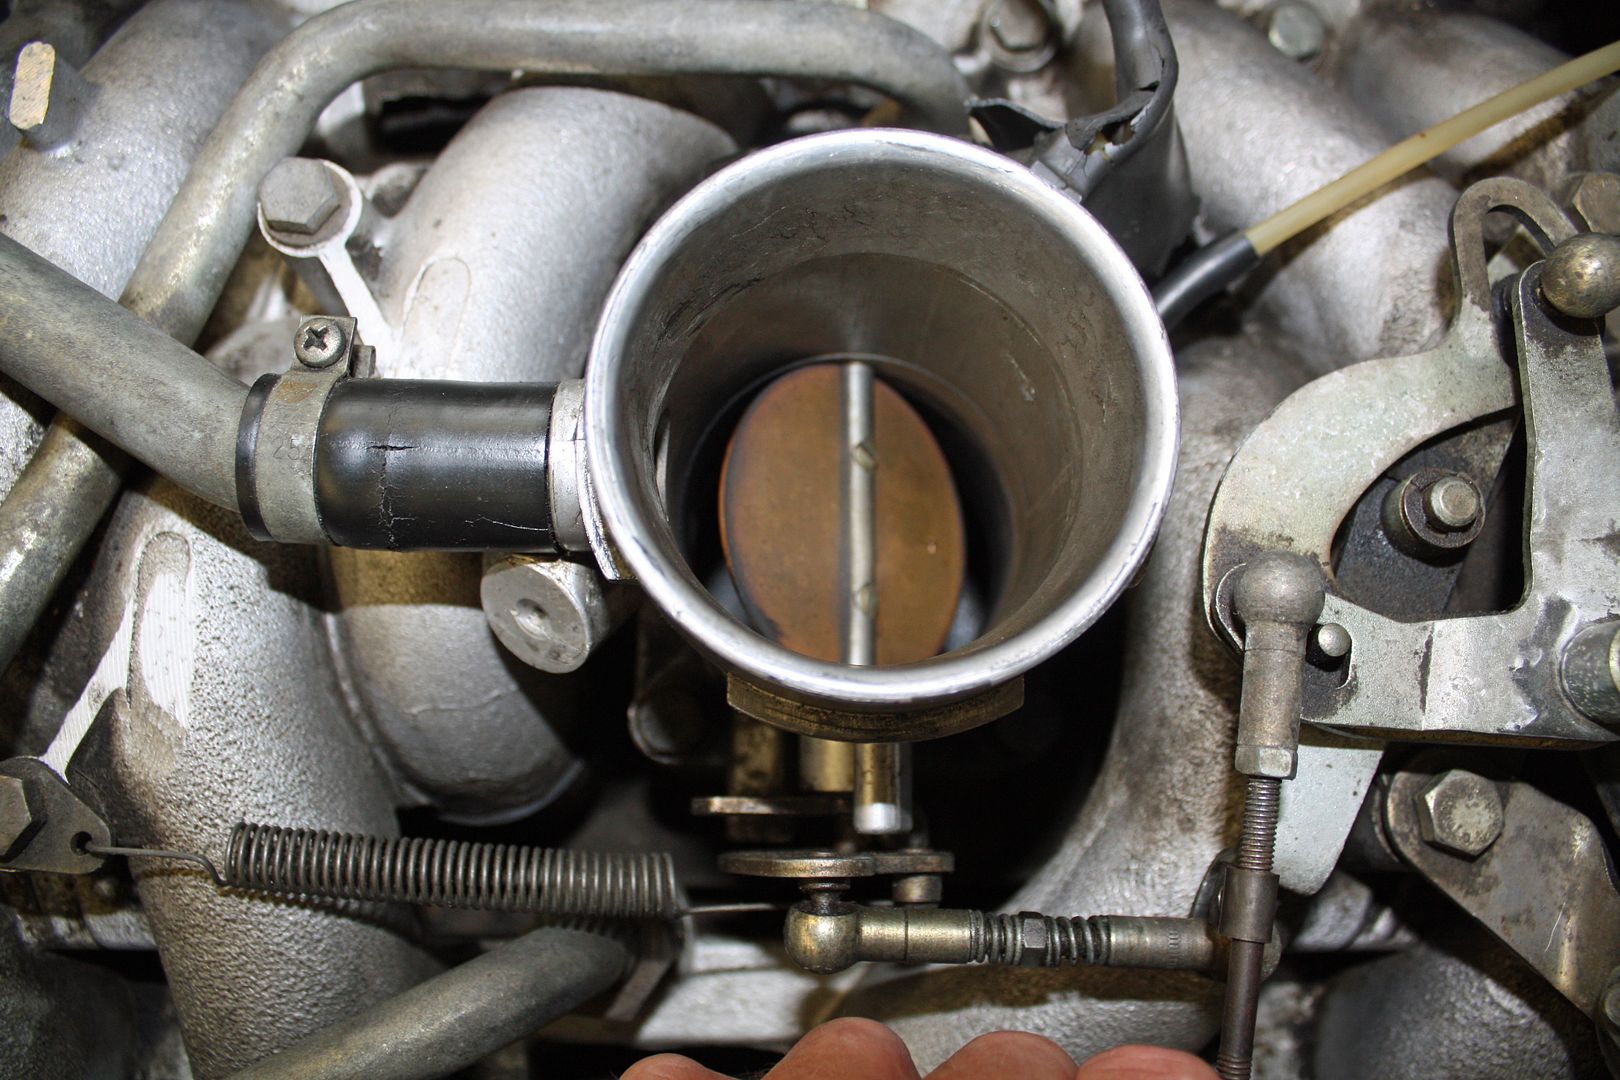 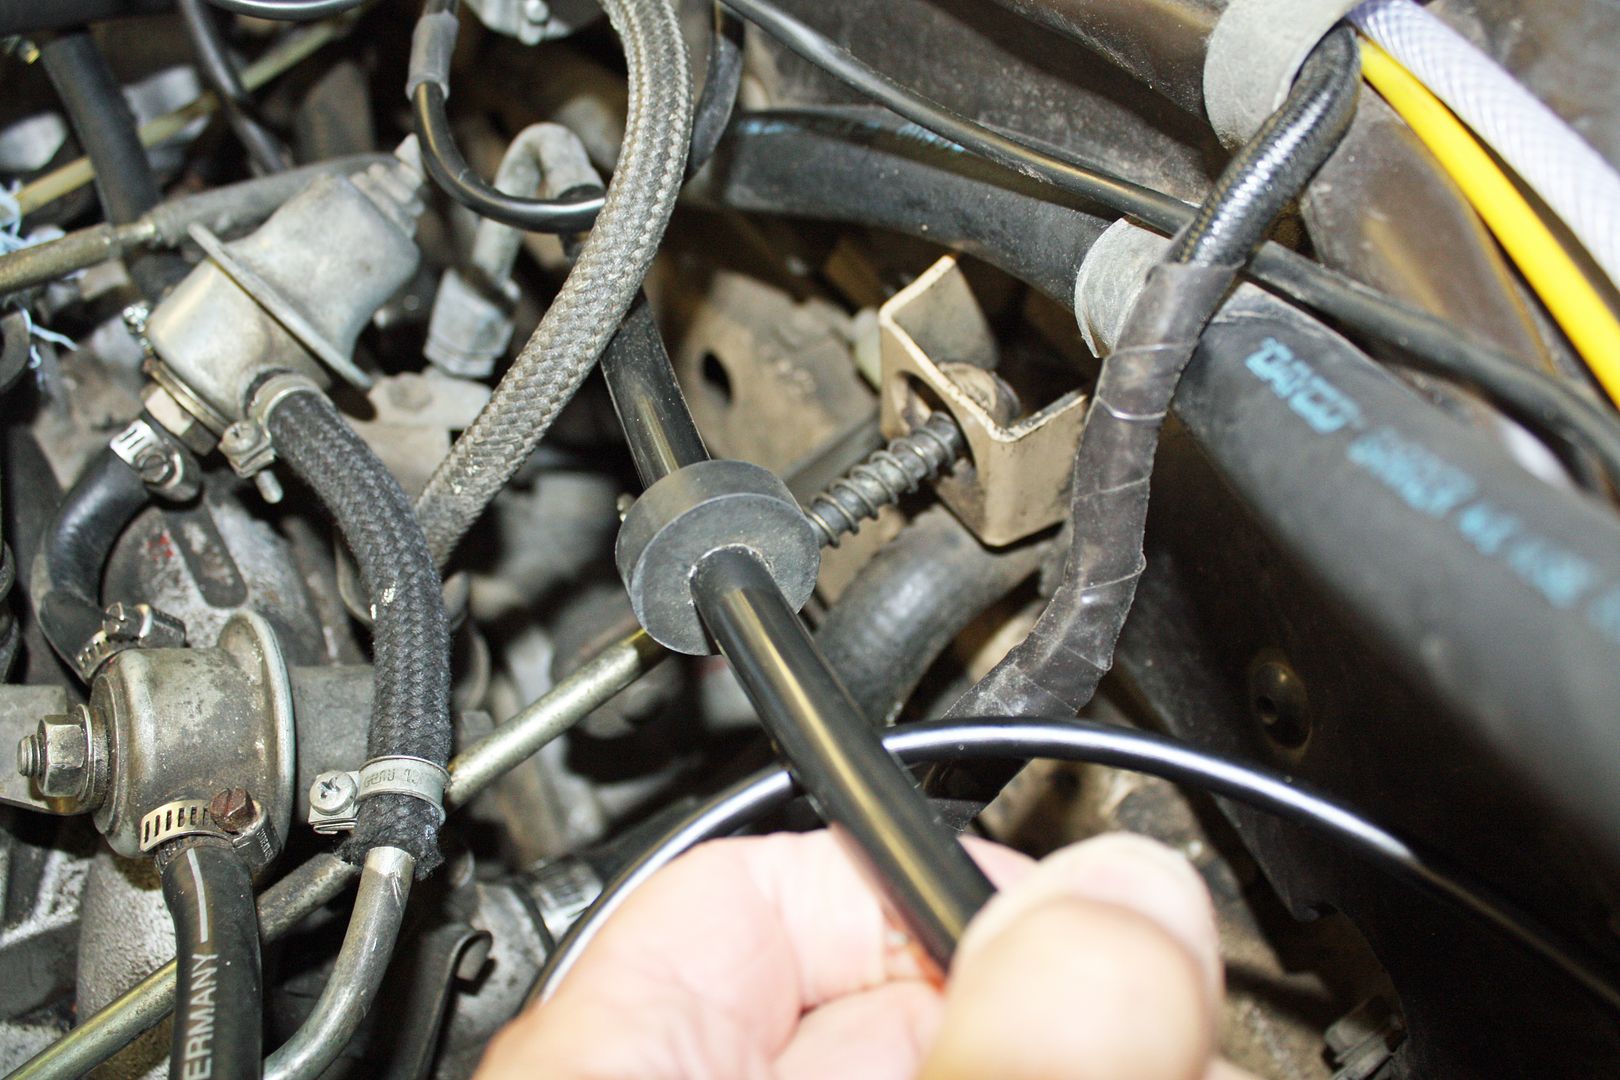
|
|
#265
|
|||
|
|||
|
During the NASCAR race this past Sunday I began to install the cruise control. It is a Rostra unit and similar to others that I have installed, including a couple of them on motorcycles.
The first step is to install the control unit. Unlike older units like the one that was installed on my car back in 1976, today's units have the electronics and servo control all in one unit. Since the instructions say it should not be installed inside the car, on the bottom of the car, in the fenderwell of the car, or within 10" of the coil, the only place left to install it was on the left front inner fender next to the master cylinder. They send a straight bracket that you have to bend into place. Once I figured out exactly where I going to locate it, I began bending the bracket to make it work. By this time it was late so I finished up installing the control unit on Monday. 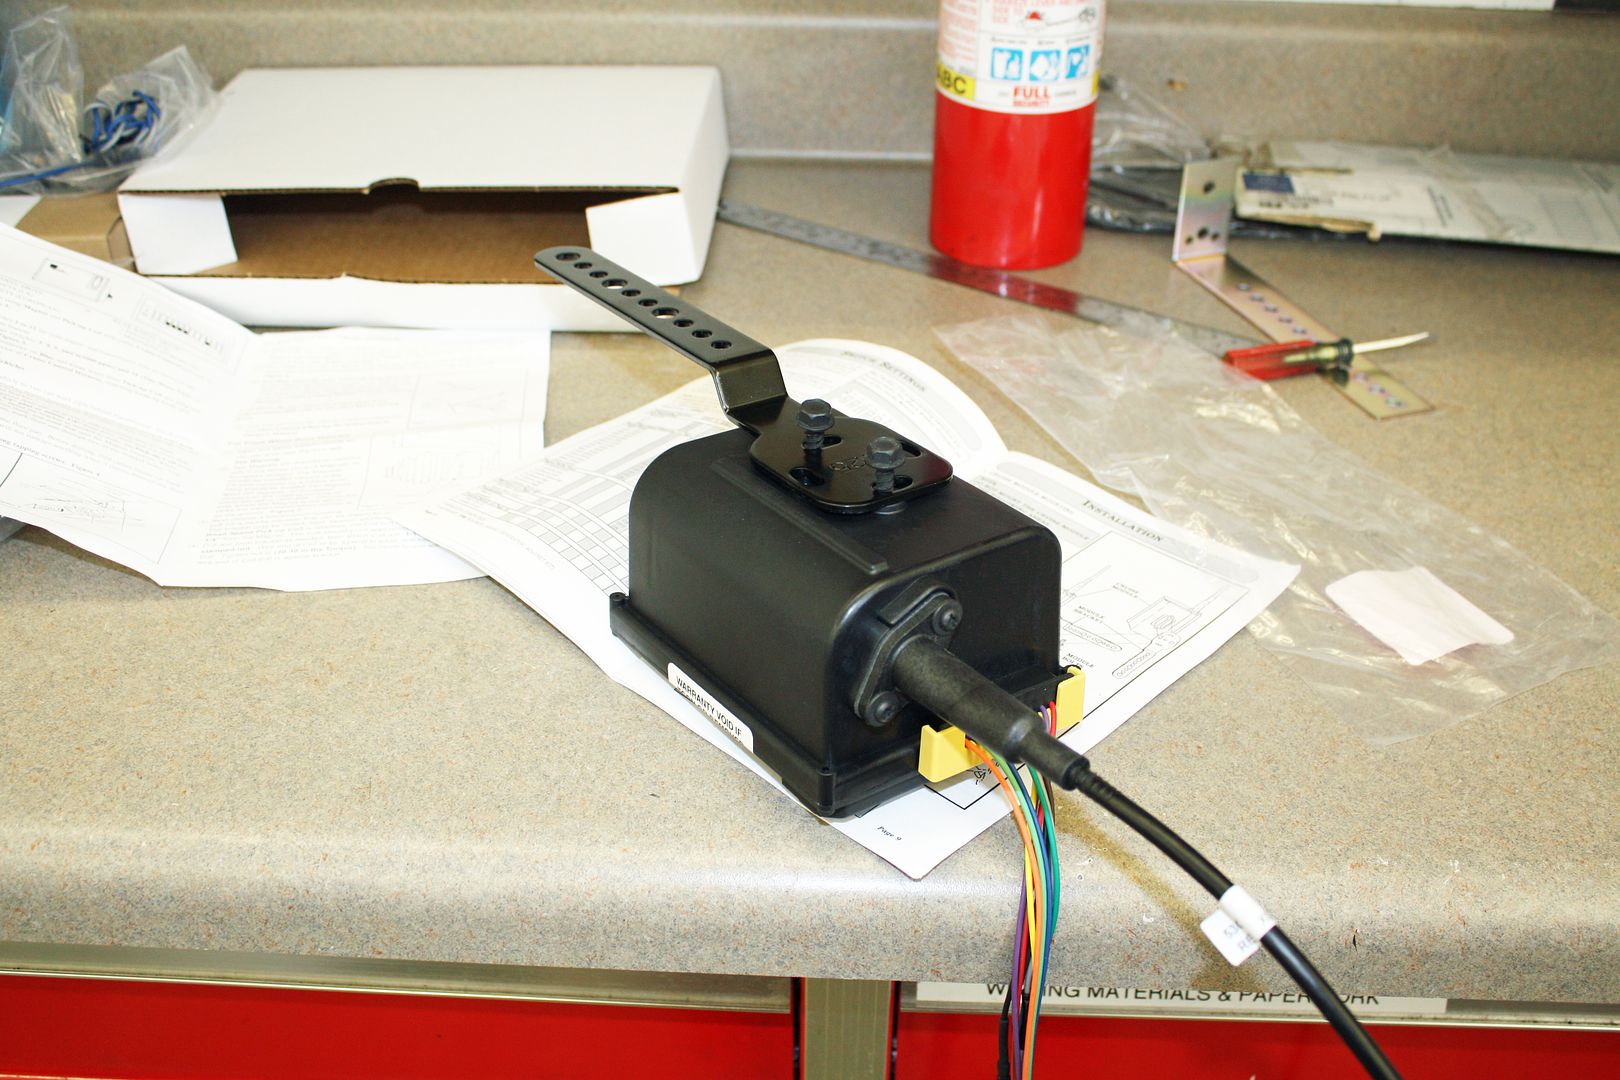 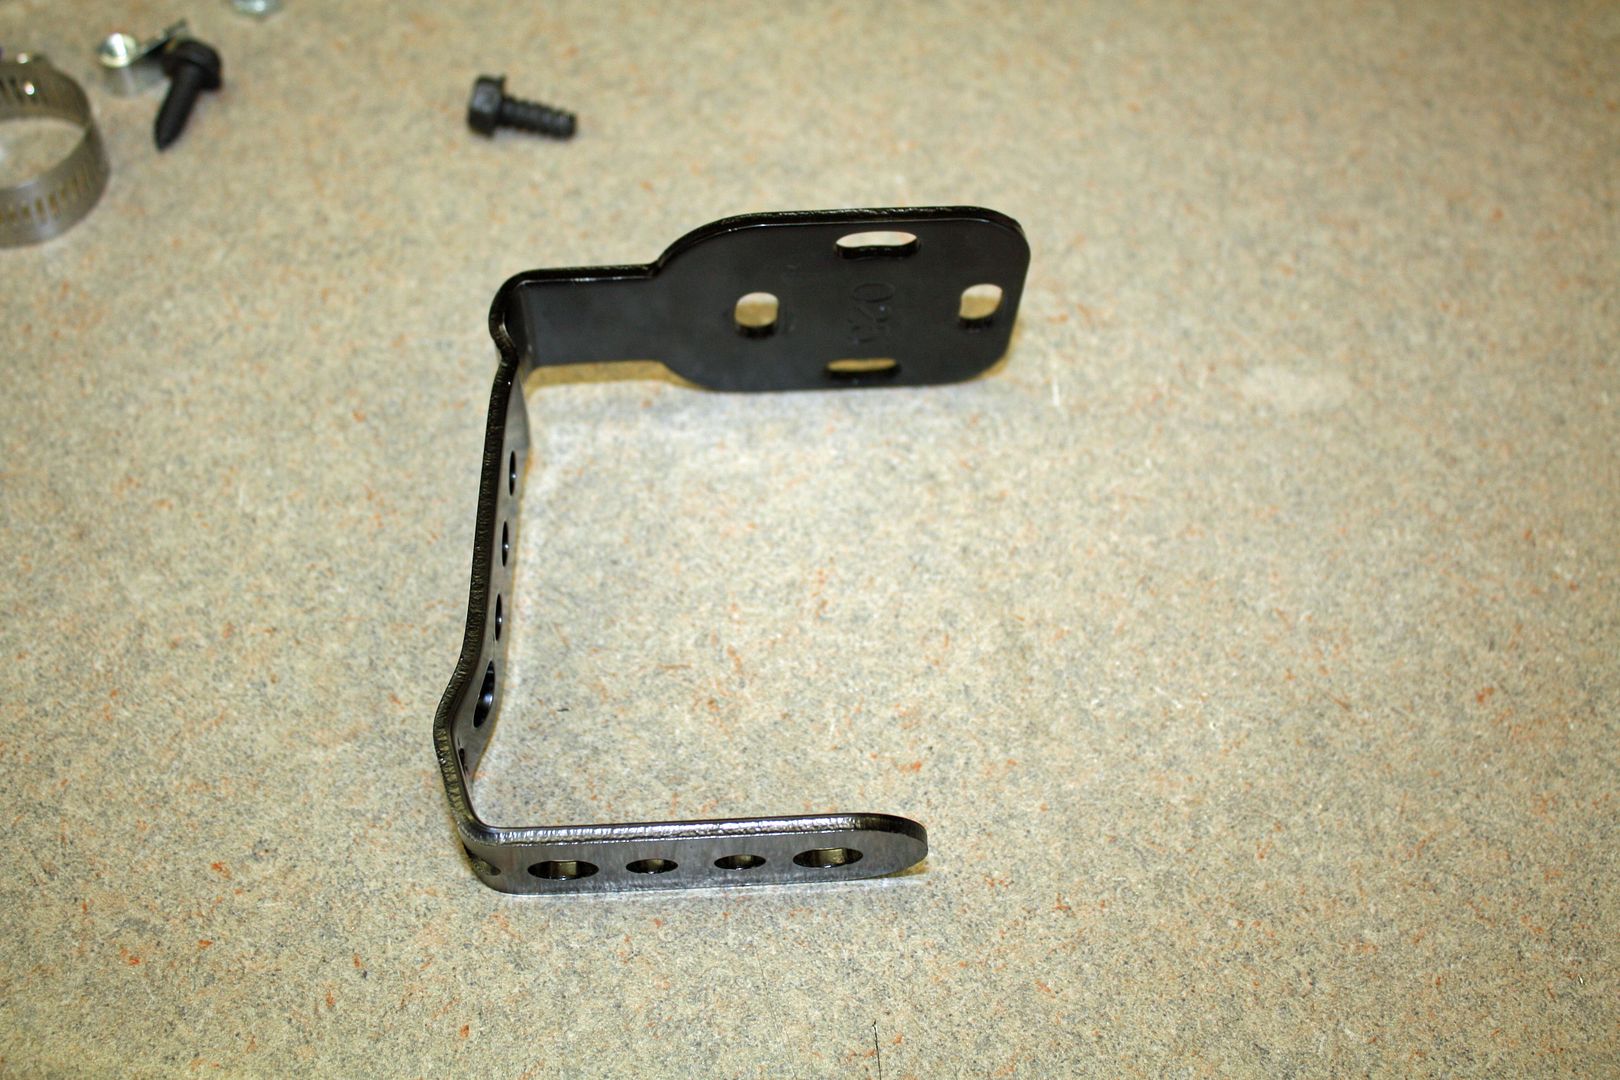 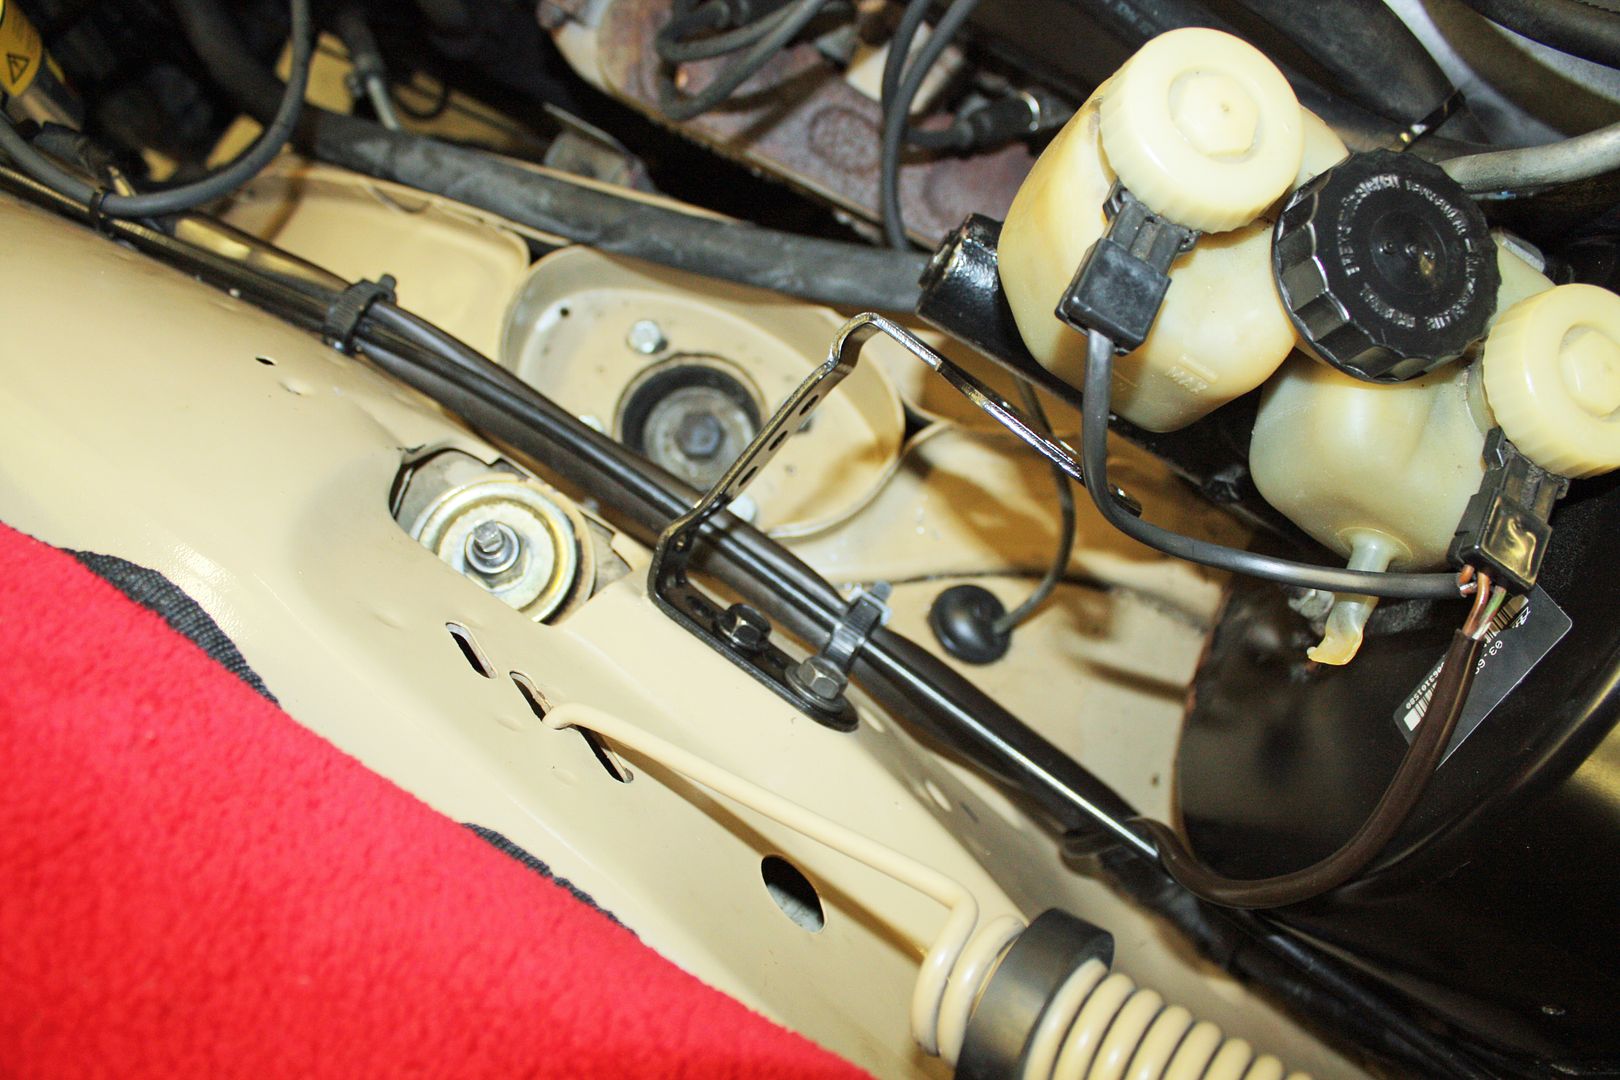 After finishing mounting the control unit, I needed to attach the cable to the throttle. Since there had been a cruise control installed when I got the car, I knew where I needed to attach it to the throttle. The instructions are very adamant about measuring how long you make the attaching cable and how much slack you must have. With that figured out, I needed to attach the square opening mount for the throttle retainer. It is another flat mount that you must bend into shape to work on your car. 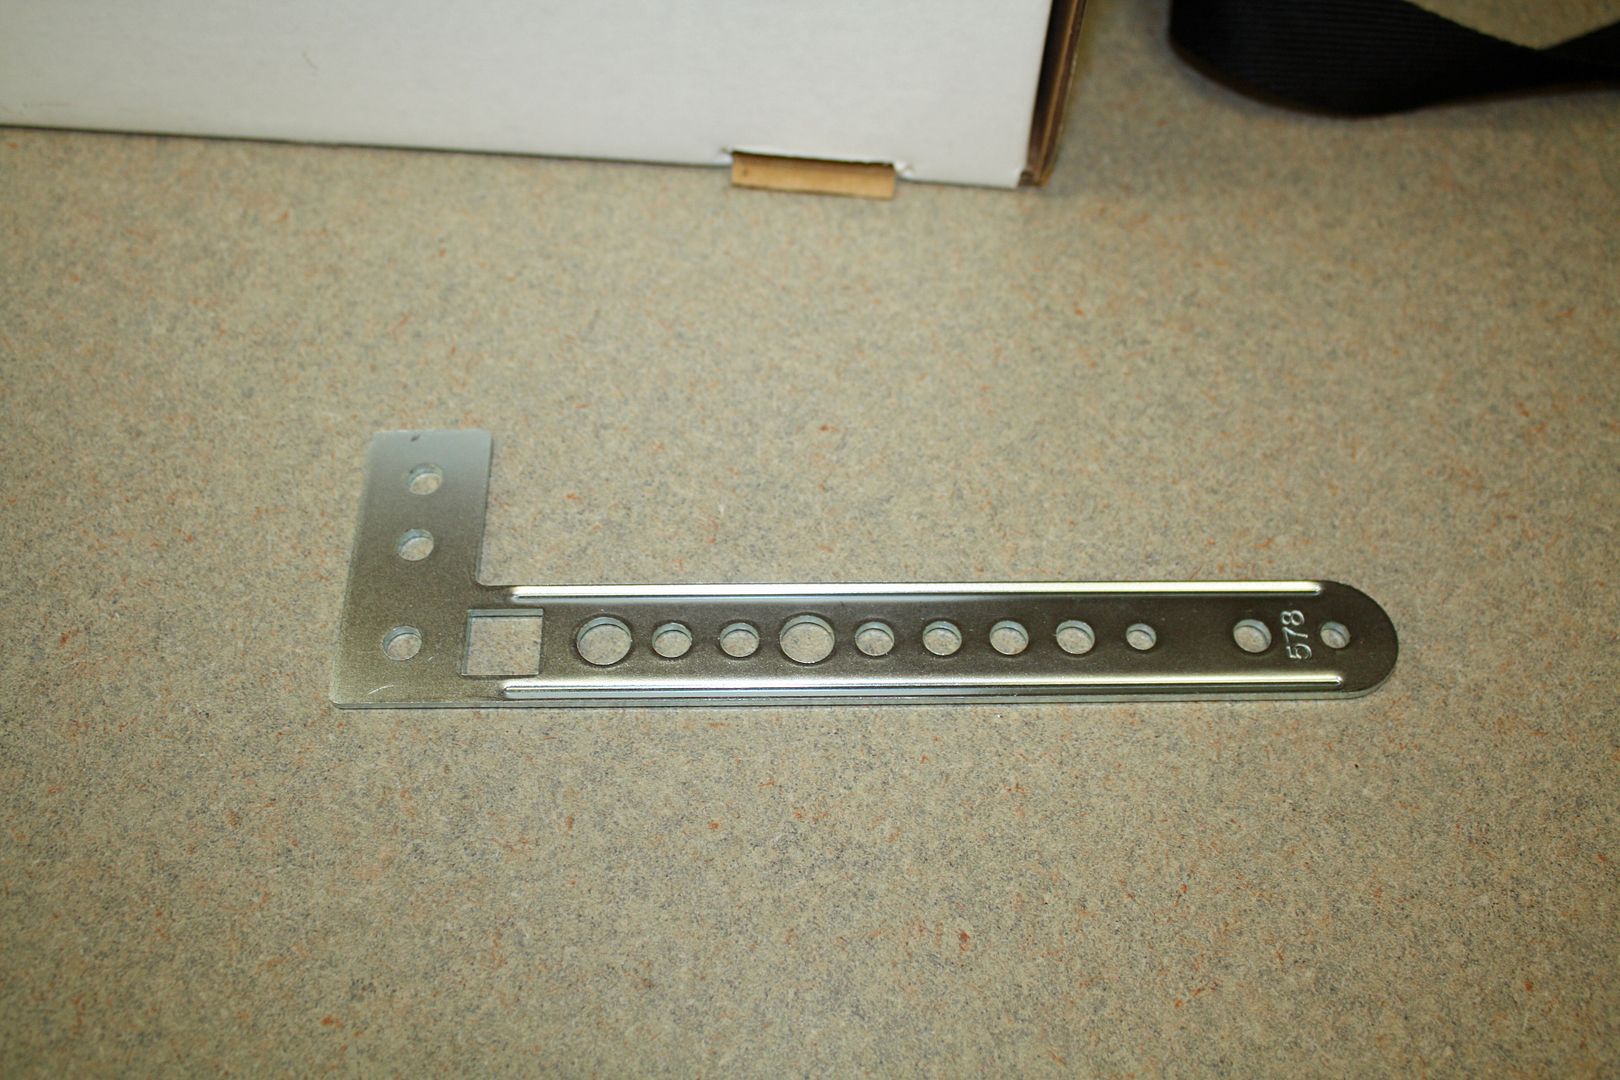 It needed to be mounted outside the air cleaner so the cable could run over the cam cover. However, I did not have any obvious attachment points that would work. After fussing around with it for awhile, I could see that the ideal place would be on top of the cam cover. Finally I pried out the spark plug wire retainer and, lo and behold, there were two M8 threaded holes there. 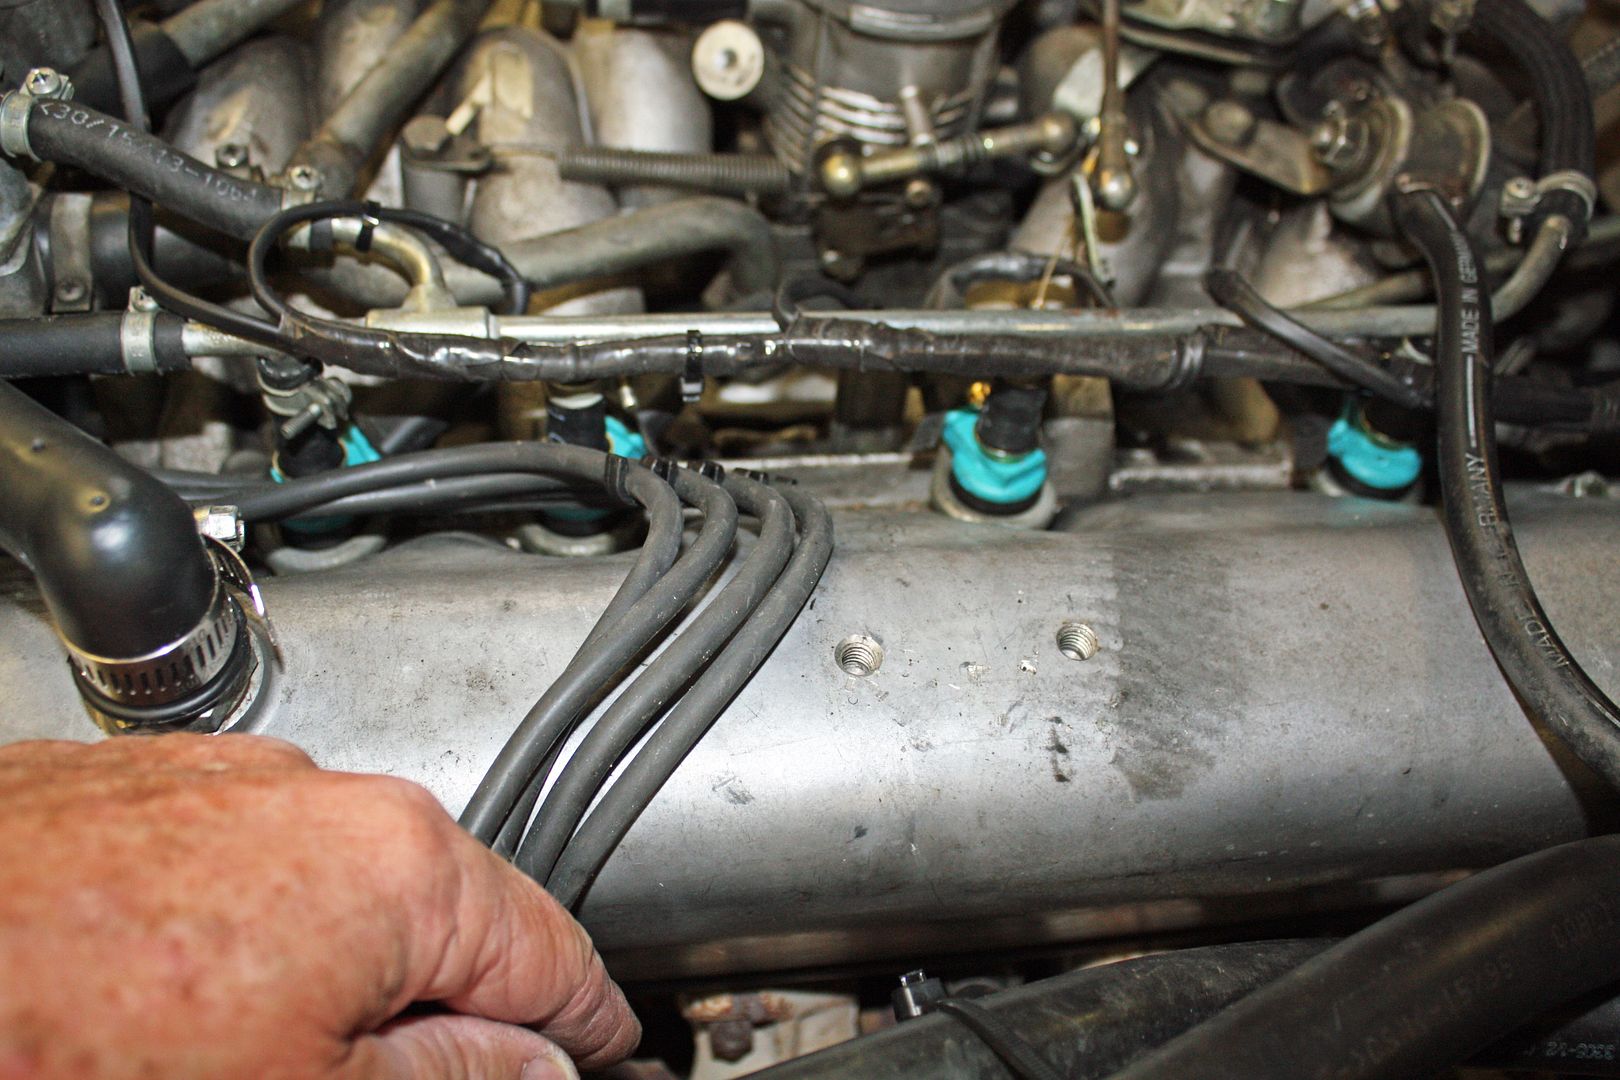 Evidently there is a metal guard on the bottom side of the cam cover as the holes were not very deep and I could feel the metal stop inside the cam cover. So I needed a short M8 bolt that had a shallow head. I found a stainless steel button head bolt that was a bit too long. I installed a nut on it and ground the end down to the correct length. I also ground off some of the head to give me more clearance. I then cut the bracket down to basically a right angle with the square opening facing the left side of the car. After painting it, I used red loctite to fasten the bolt to the cam cover. I then cut off part of the spark plug wire retainer and mounted it in the remaining hole. 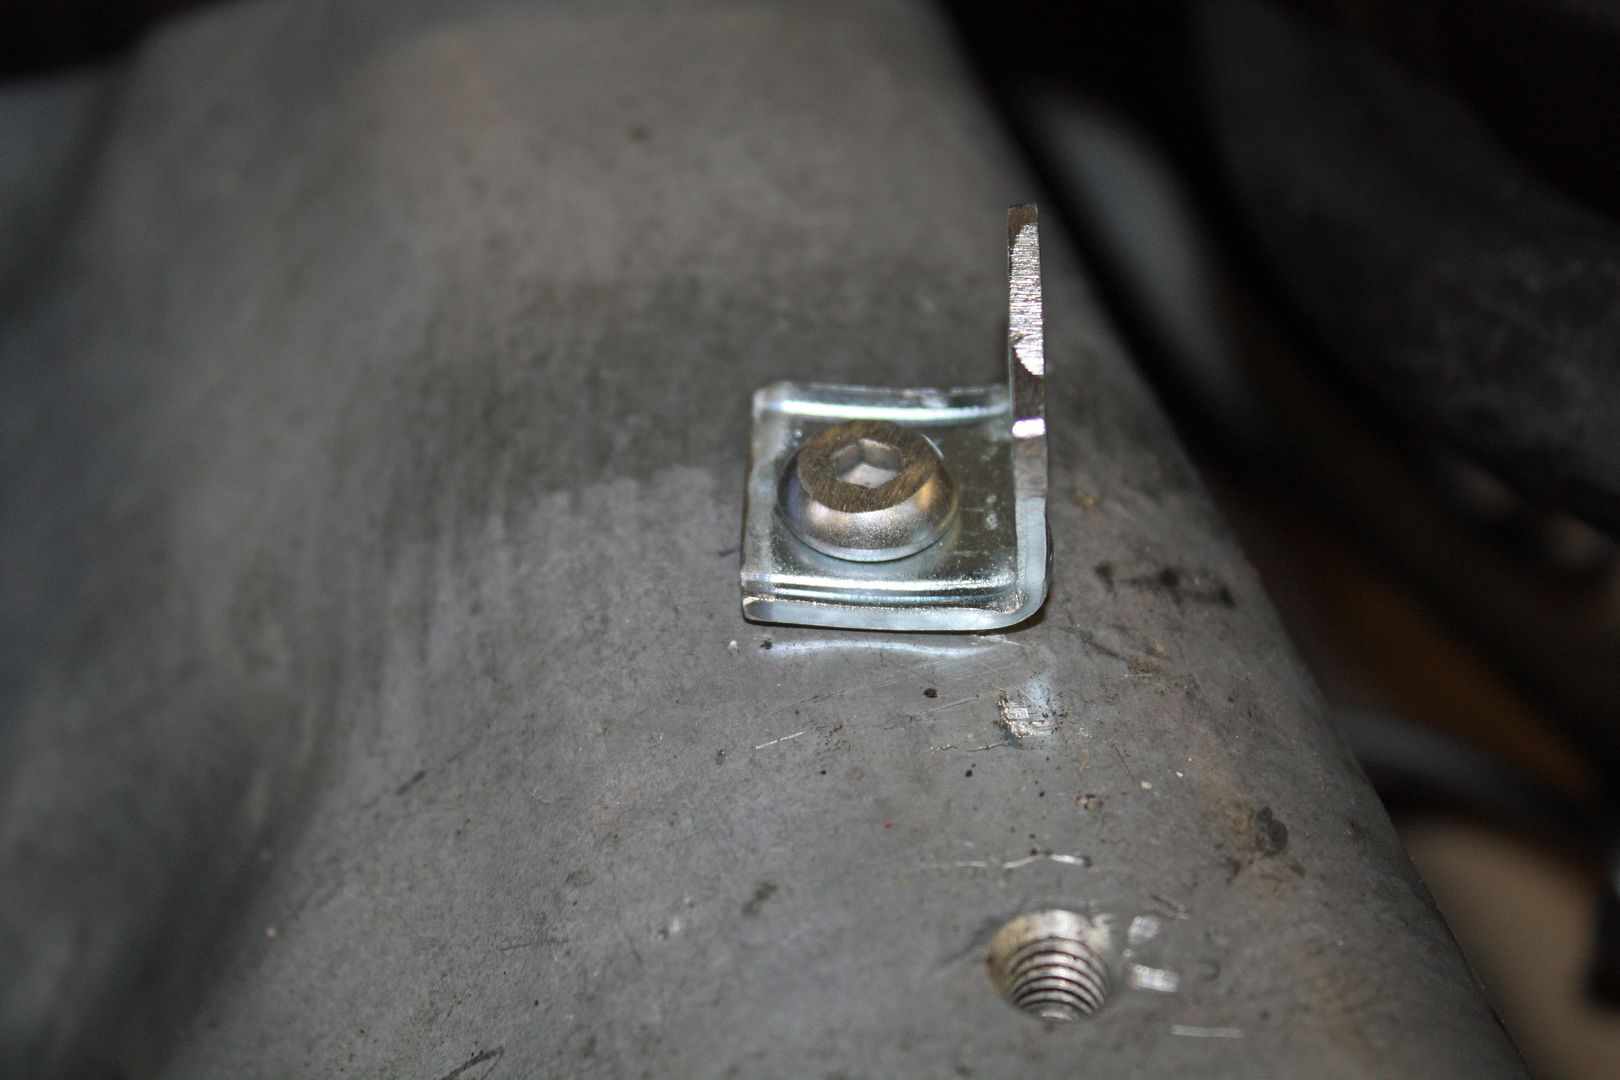 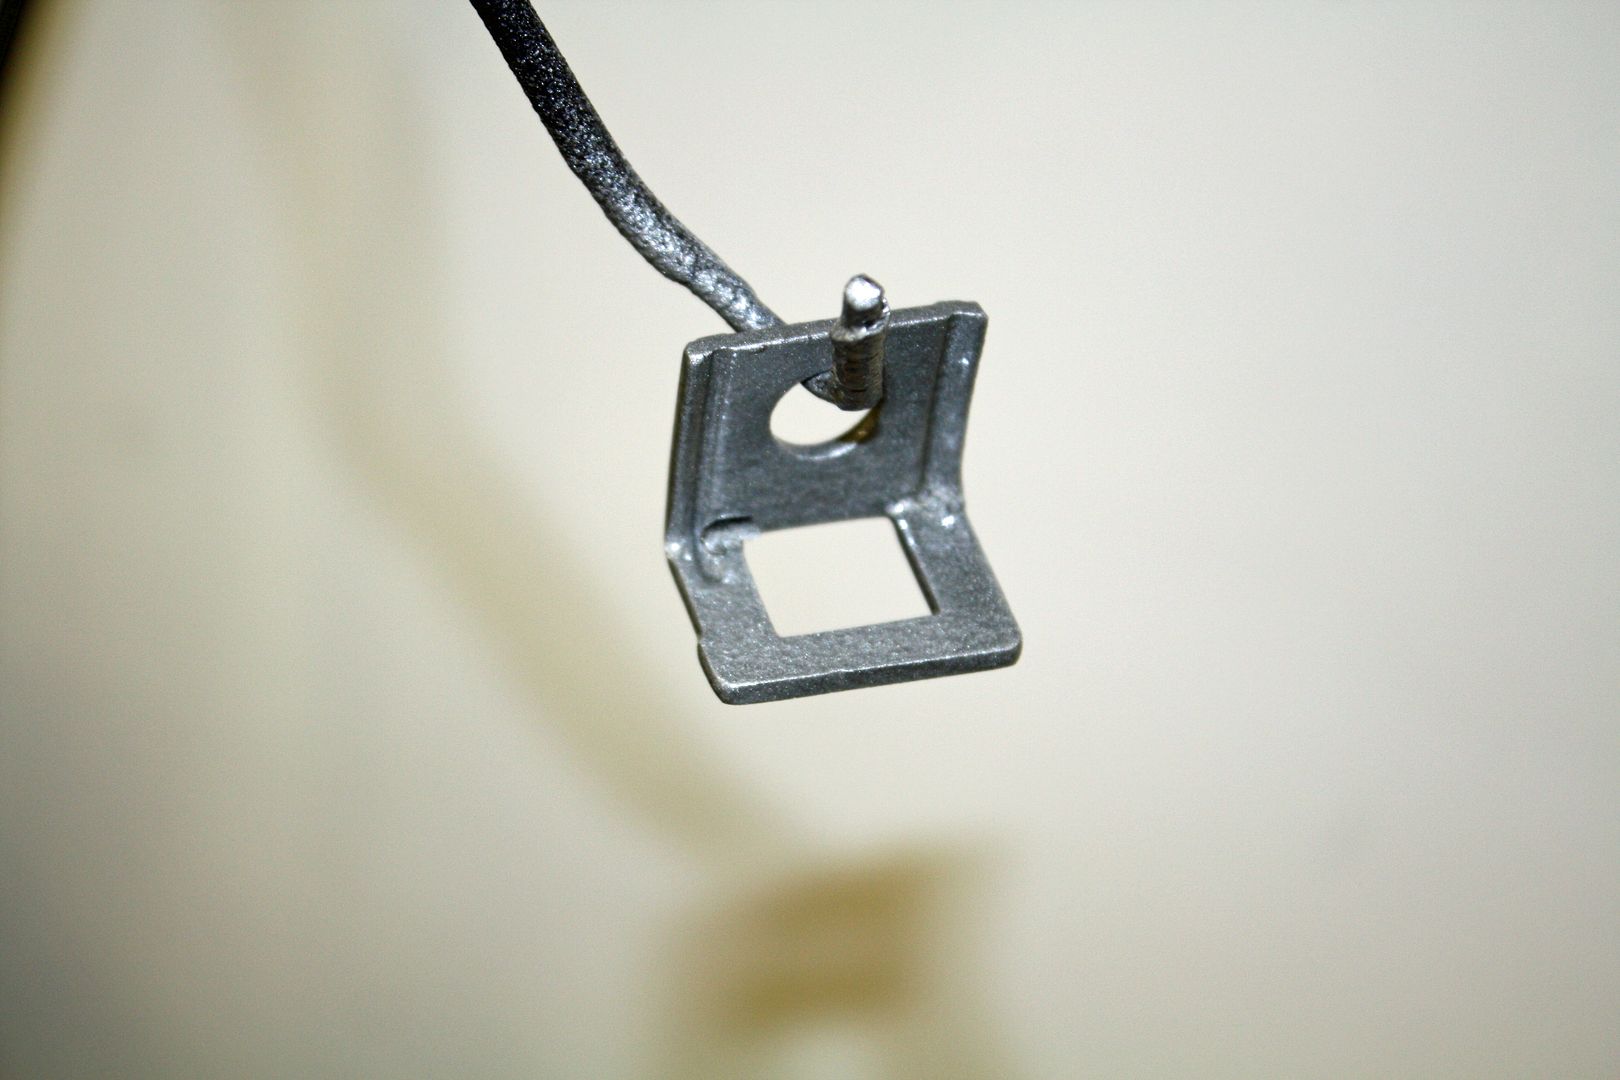 To mount the plastic cable retainer to the cable, the instructions say to thread a 1/4-20 nut onto the cable to make threads. Once the threads are made, the plastic retainer is screwed onto the cable and then inserted into the bracket I made. The cable was now routed from the control unit, looped behind the vacuum booster and then back to the engine. 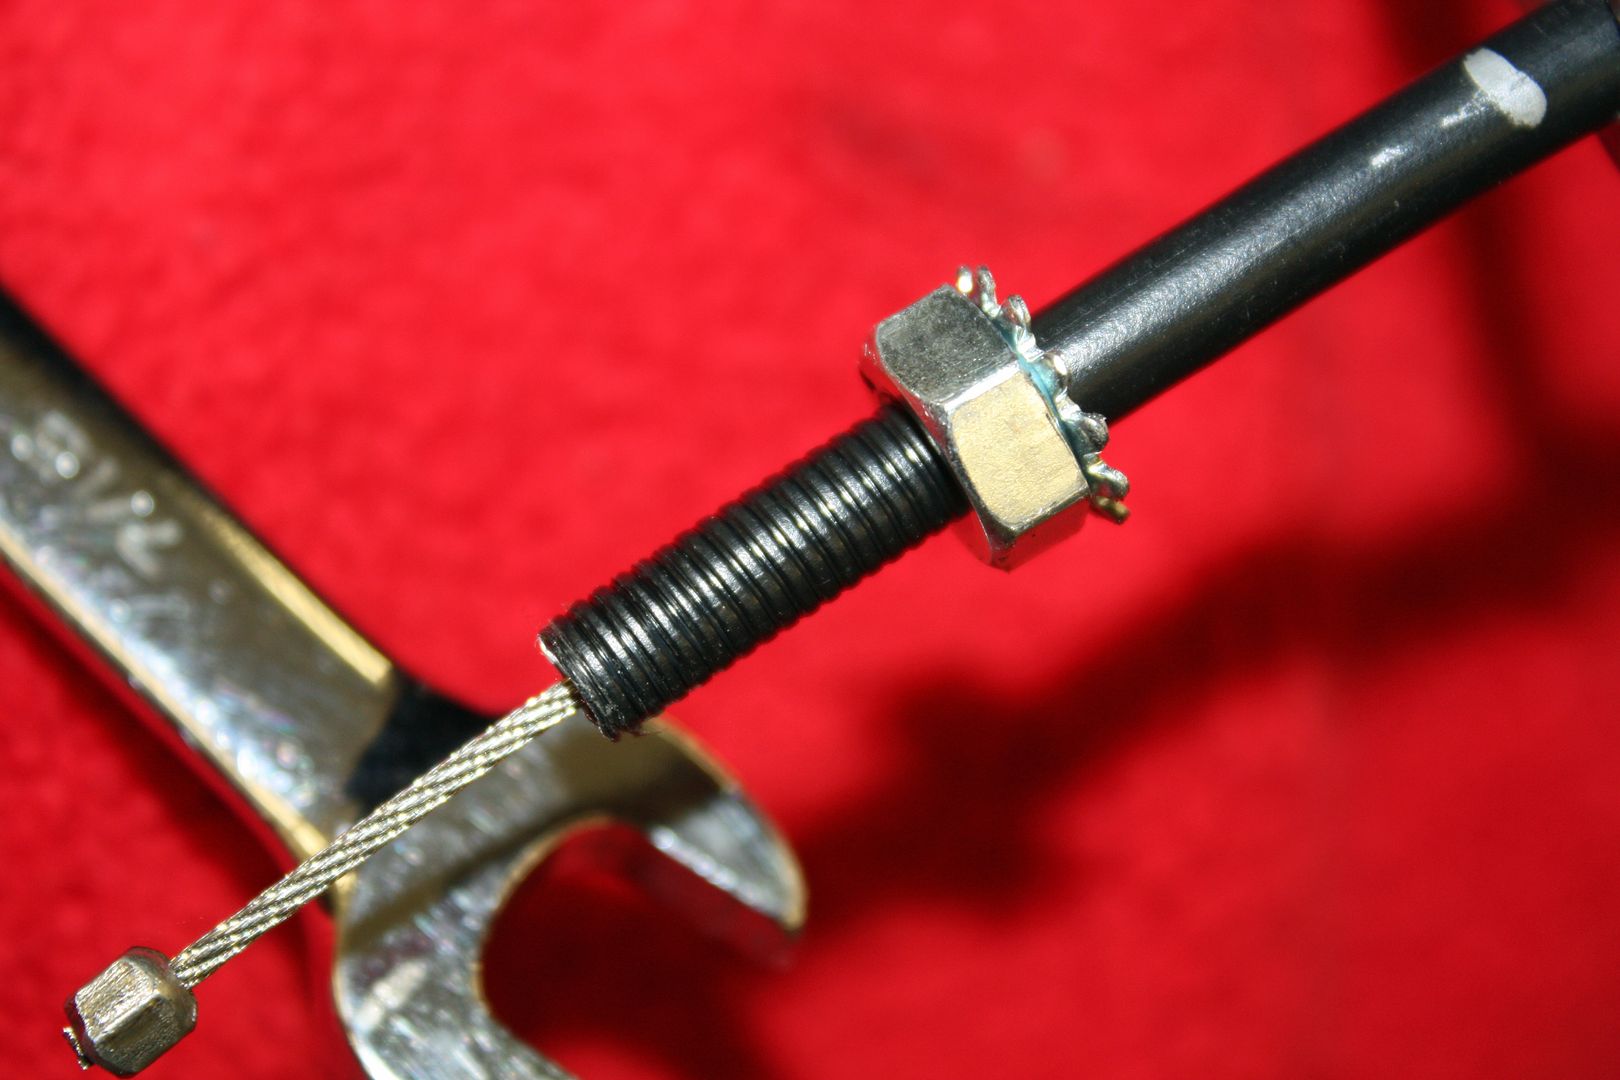 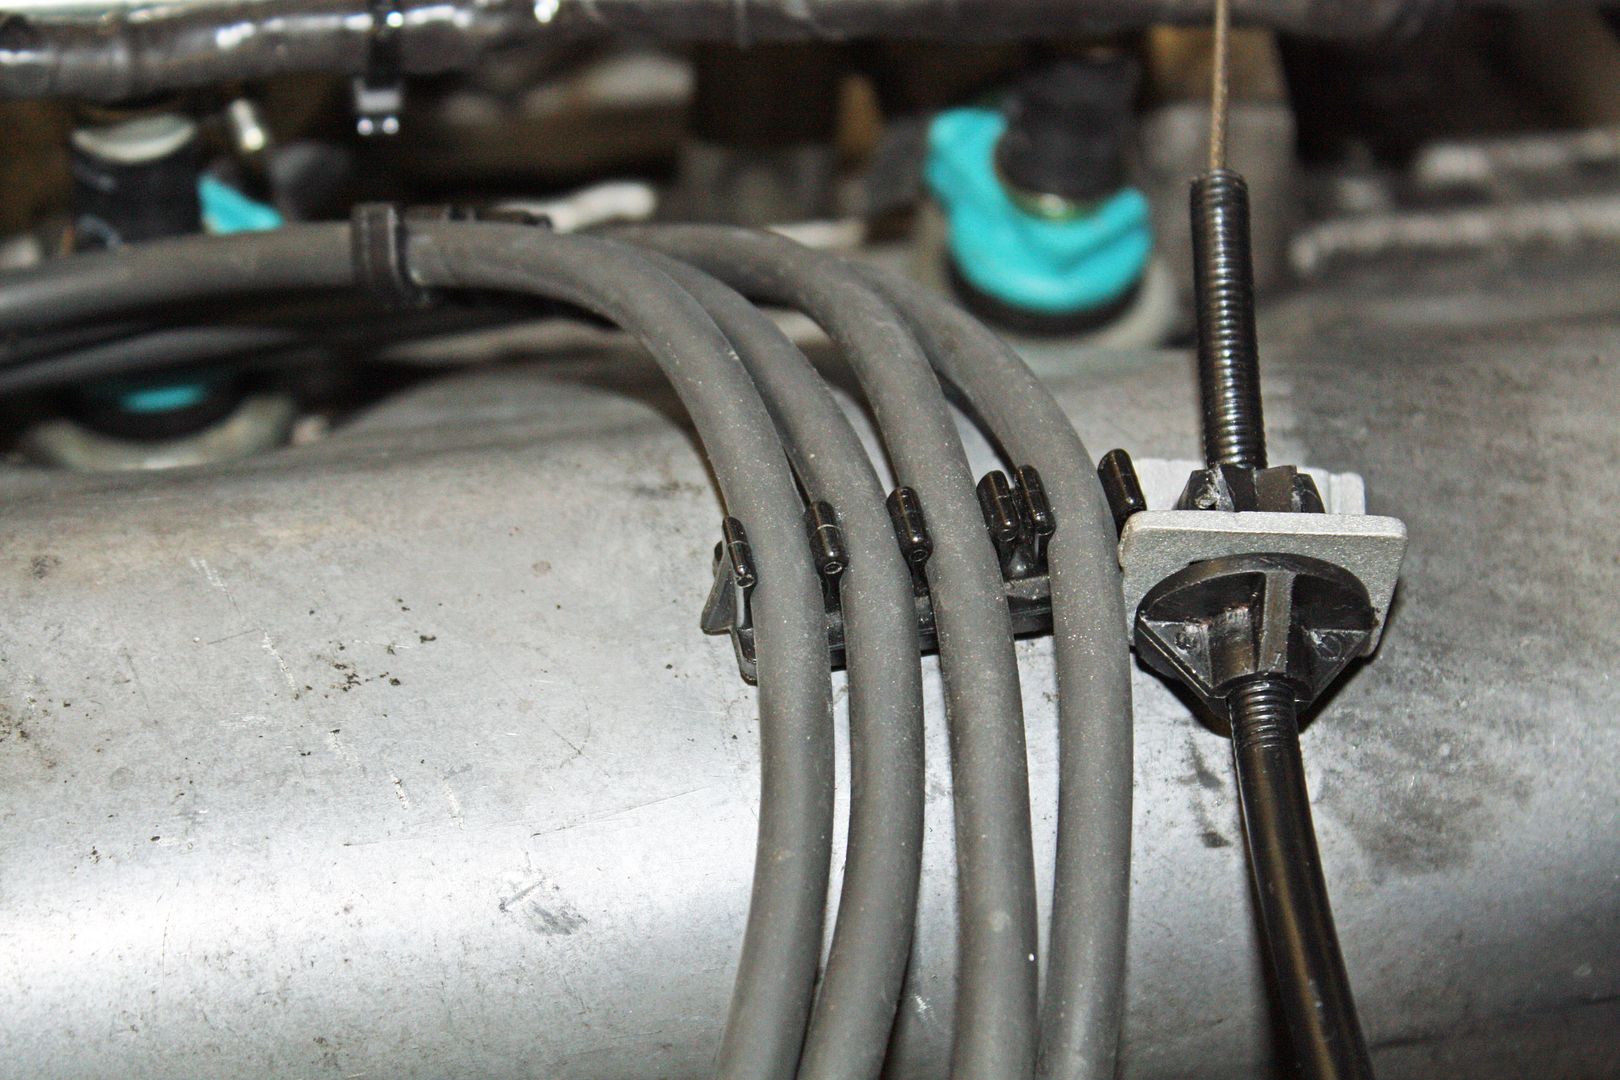 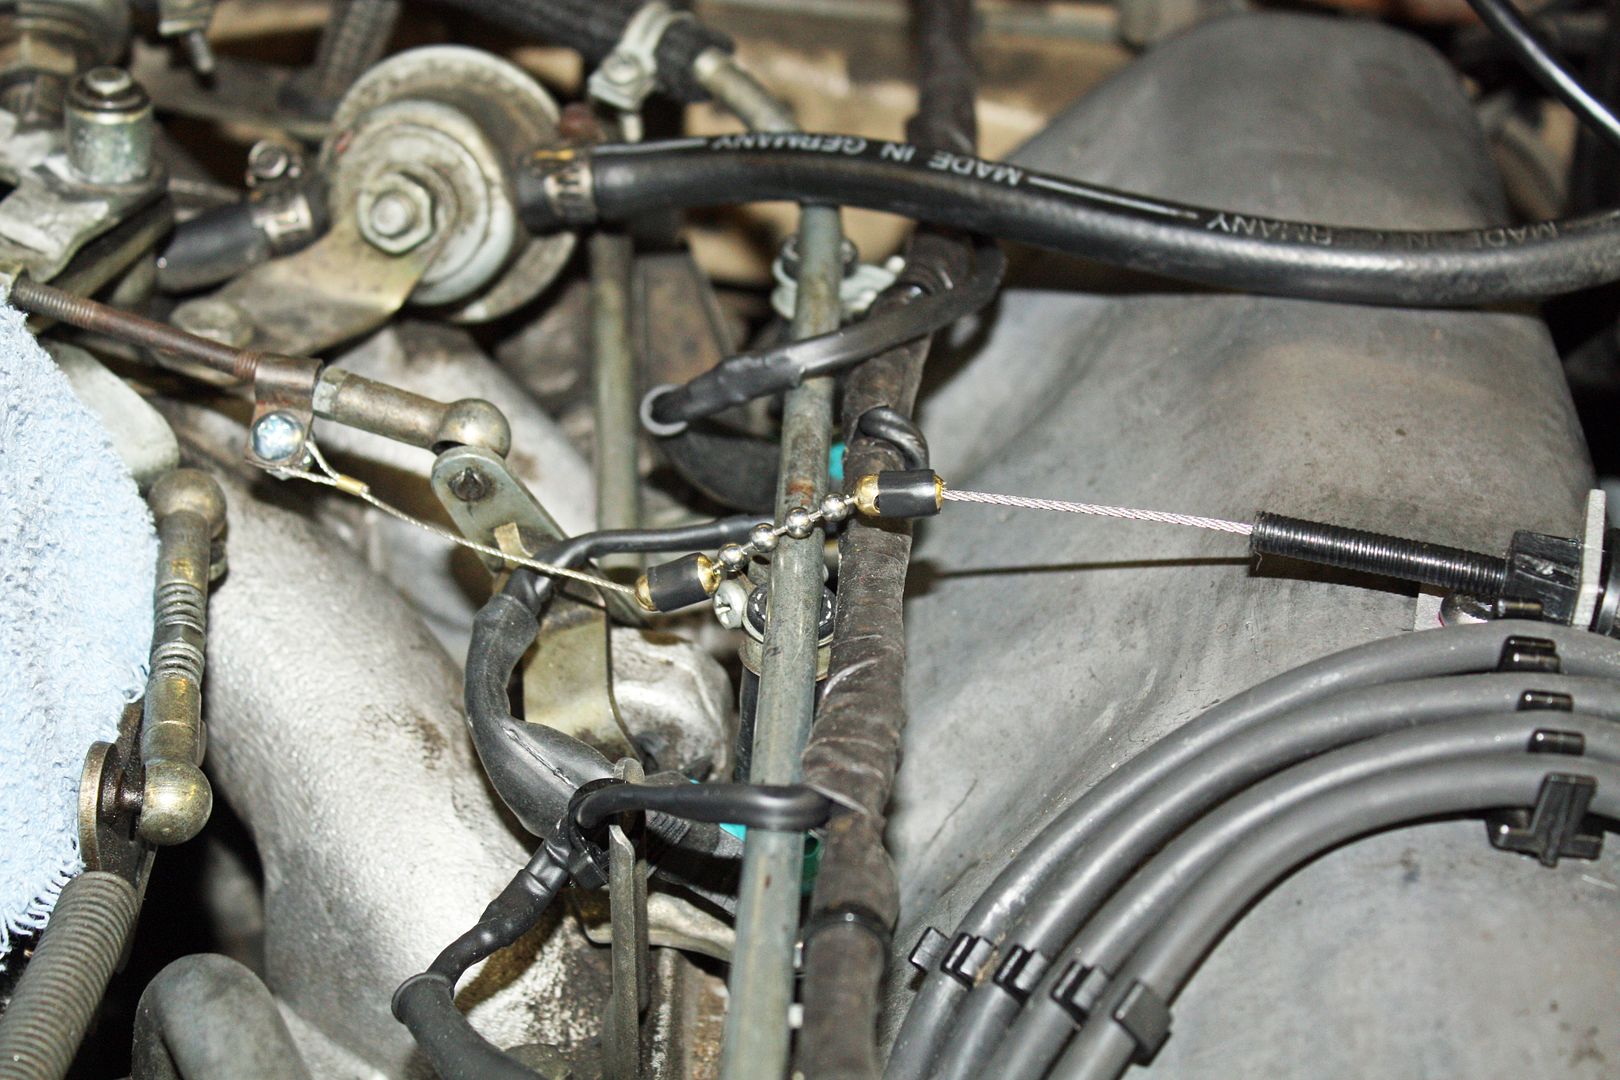 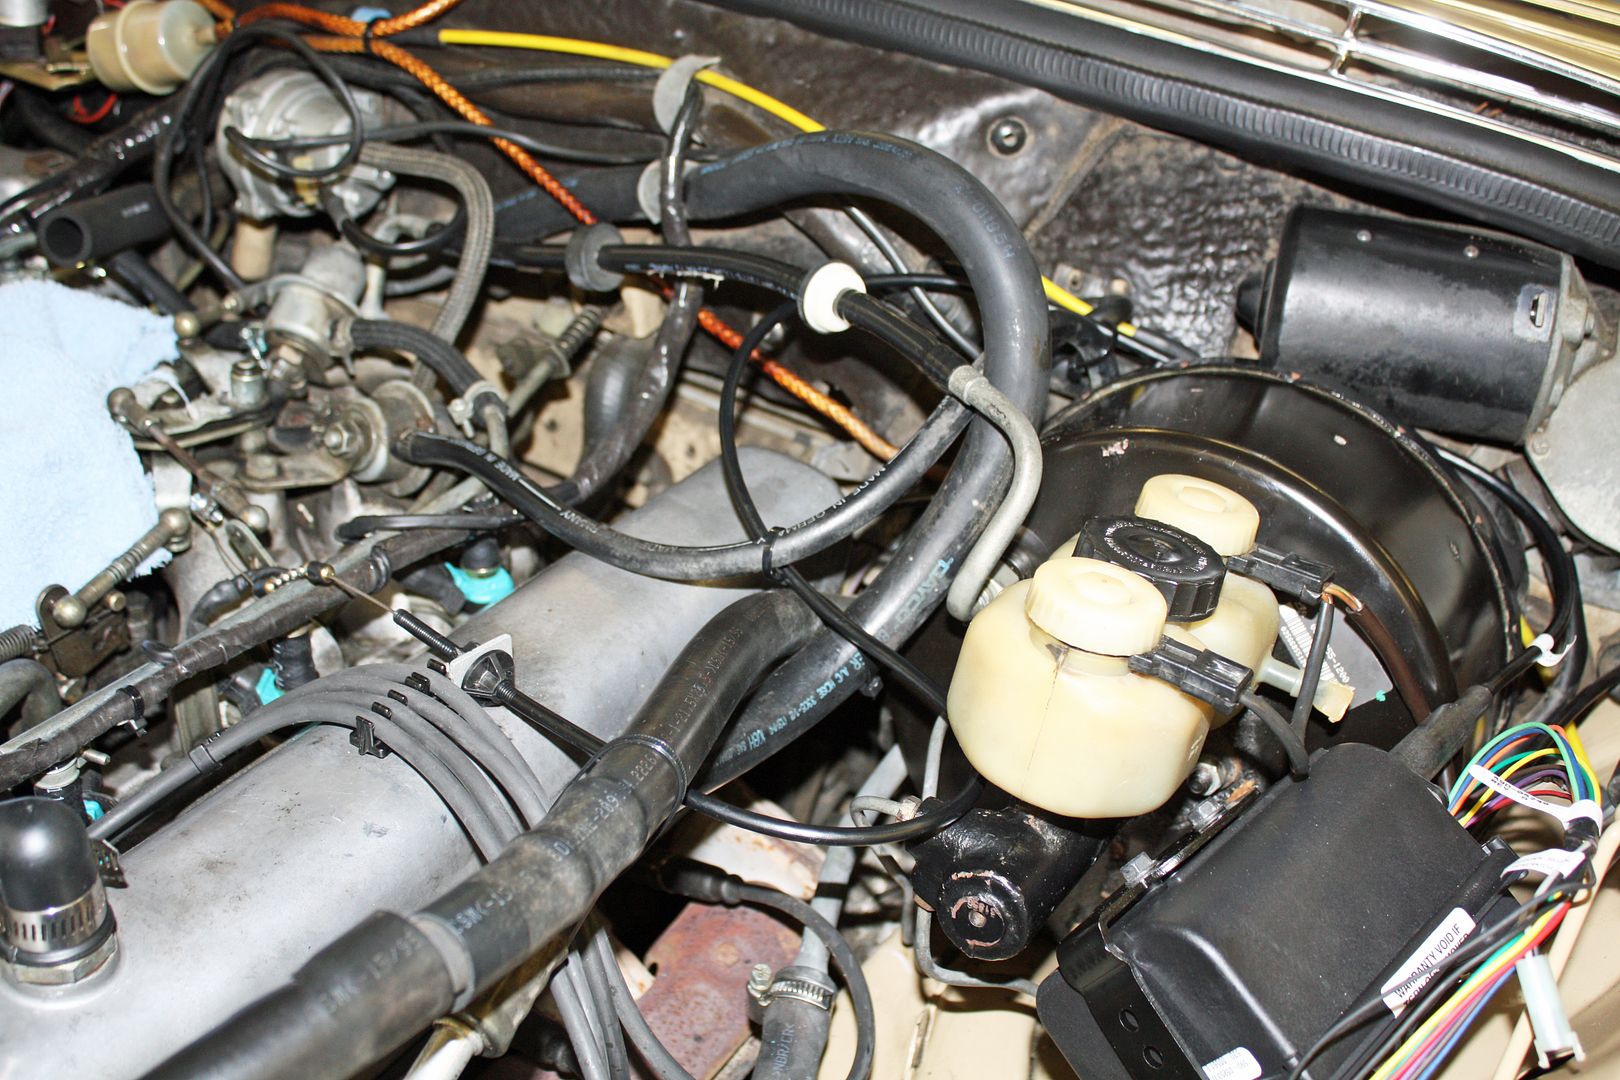 And that part of the installation was complete. |
|
#266
|
|||
|
|||
|
Since the speedometer is cable driven, I needed to install a magnetic sender. It needed to be mounted so it would face the drive shaft near the front. After mounting the sender, I secured two magnets to the drive shaft. It so happens that the old cruise control used the same type of system with the magnets taped on rather than secured with a wire tie.
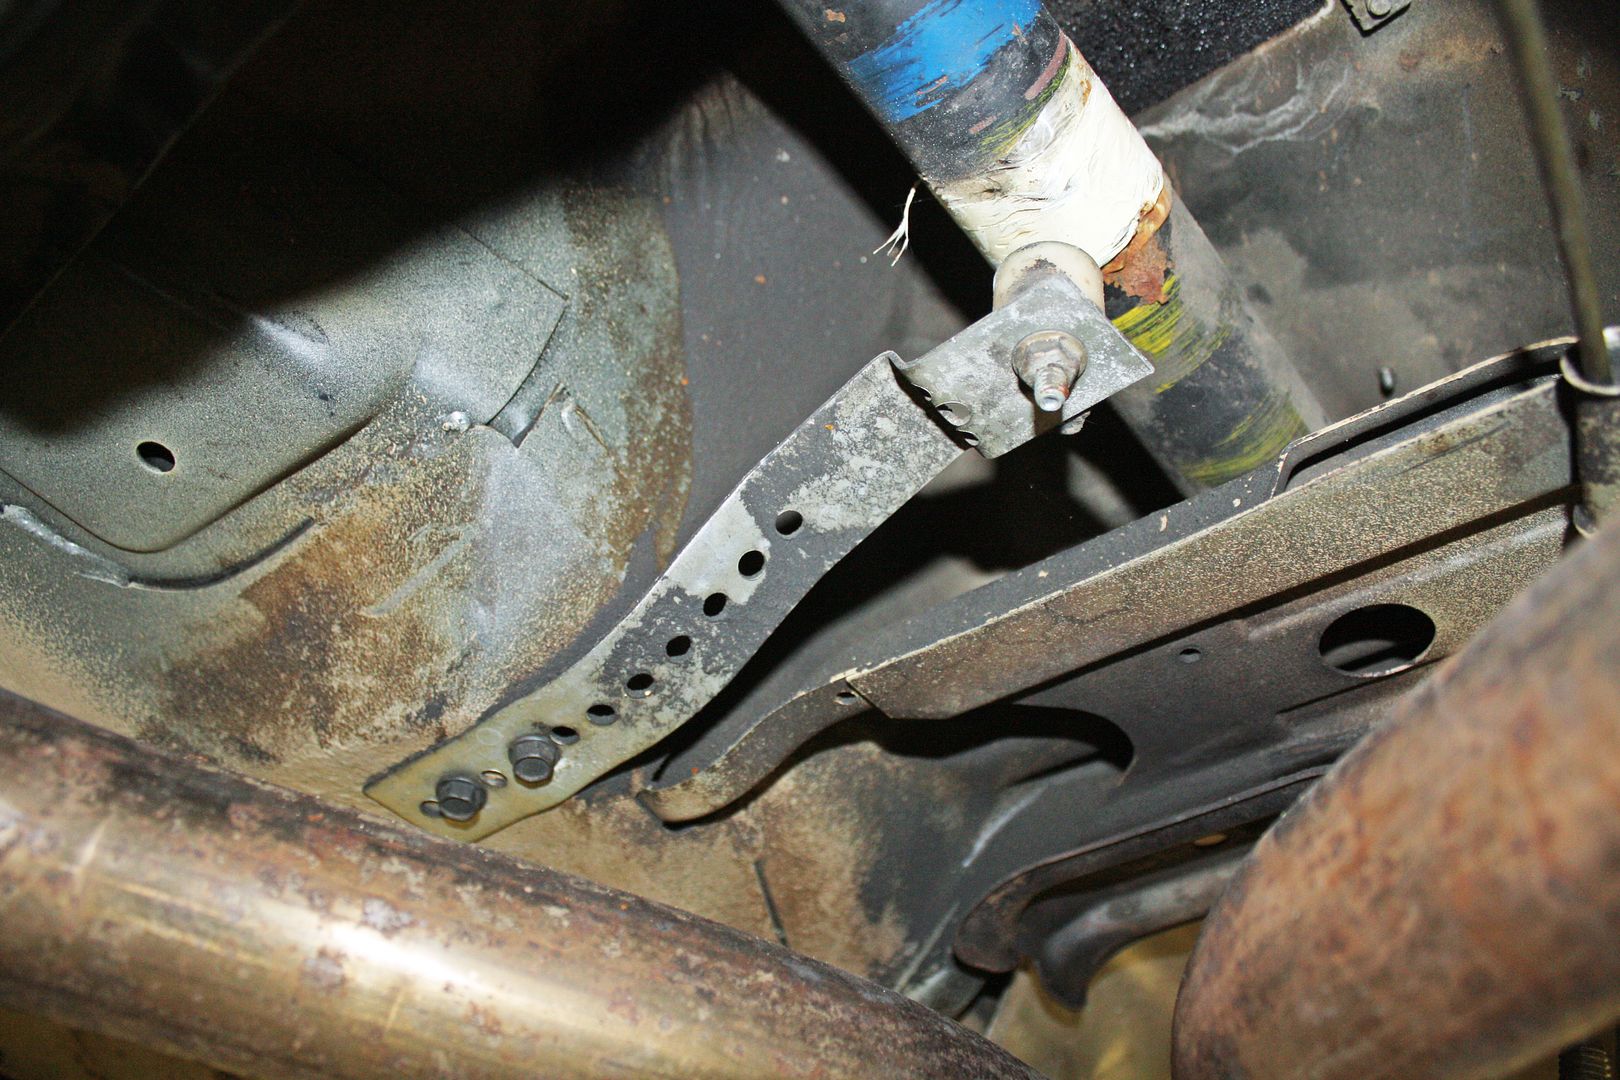 Another flat bracket was supplied that need to be bent into shape. The sender was to be 3/4" away from the drive shaft and centered on it. To gauge the distance I used a piece of 3/4" wood. Much easier than trying to use a tape measure. 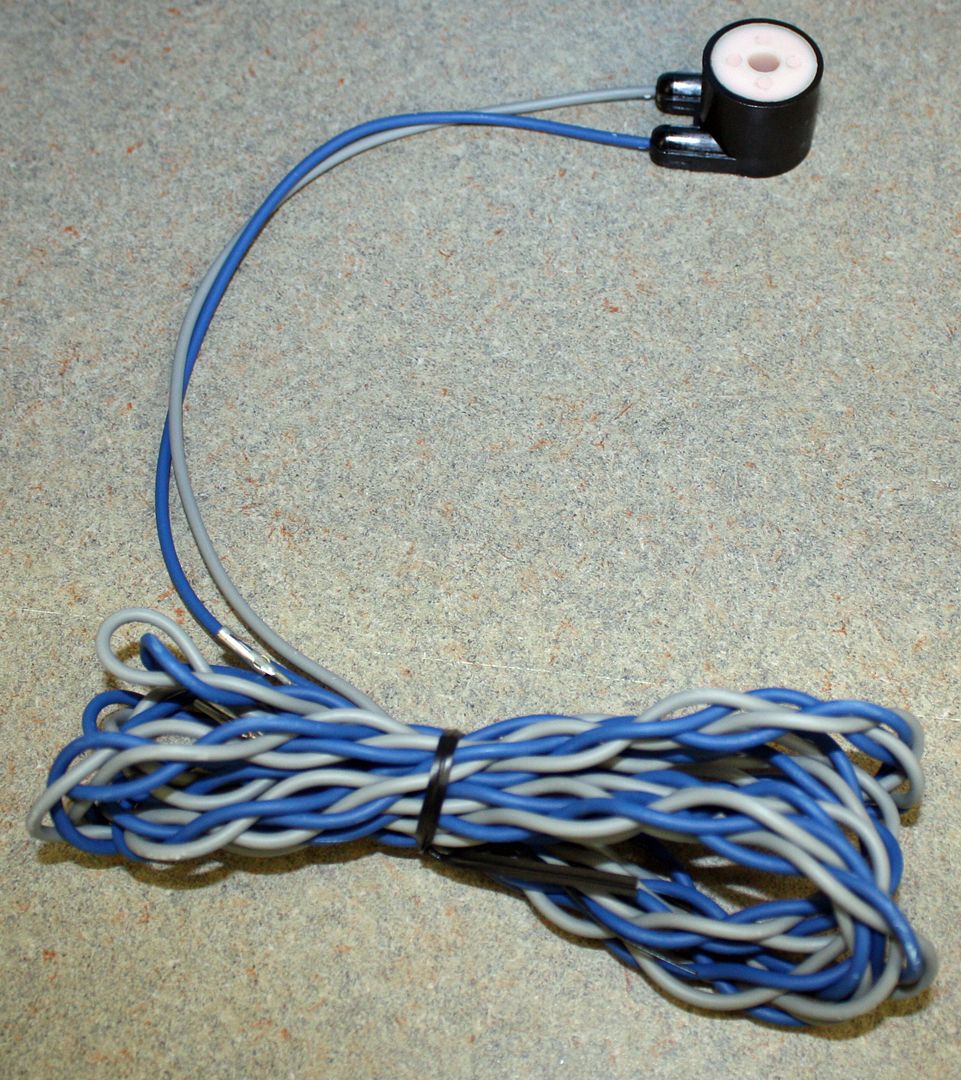 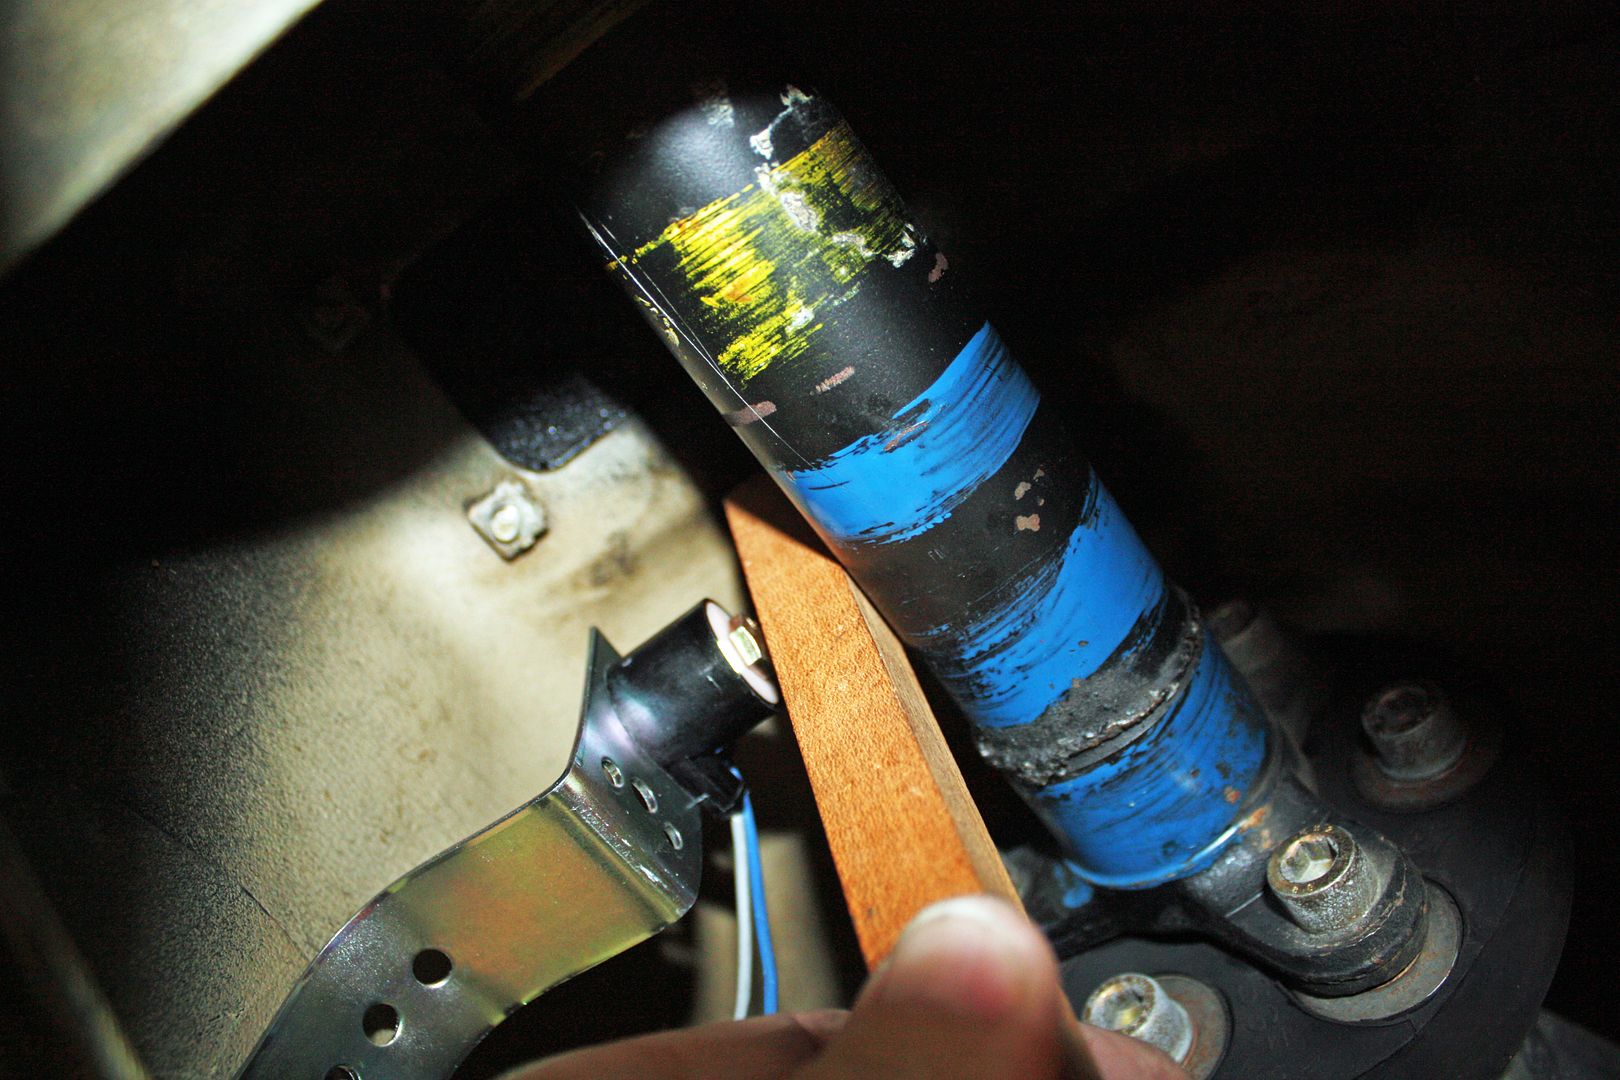 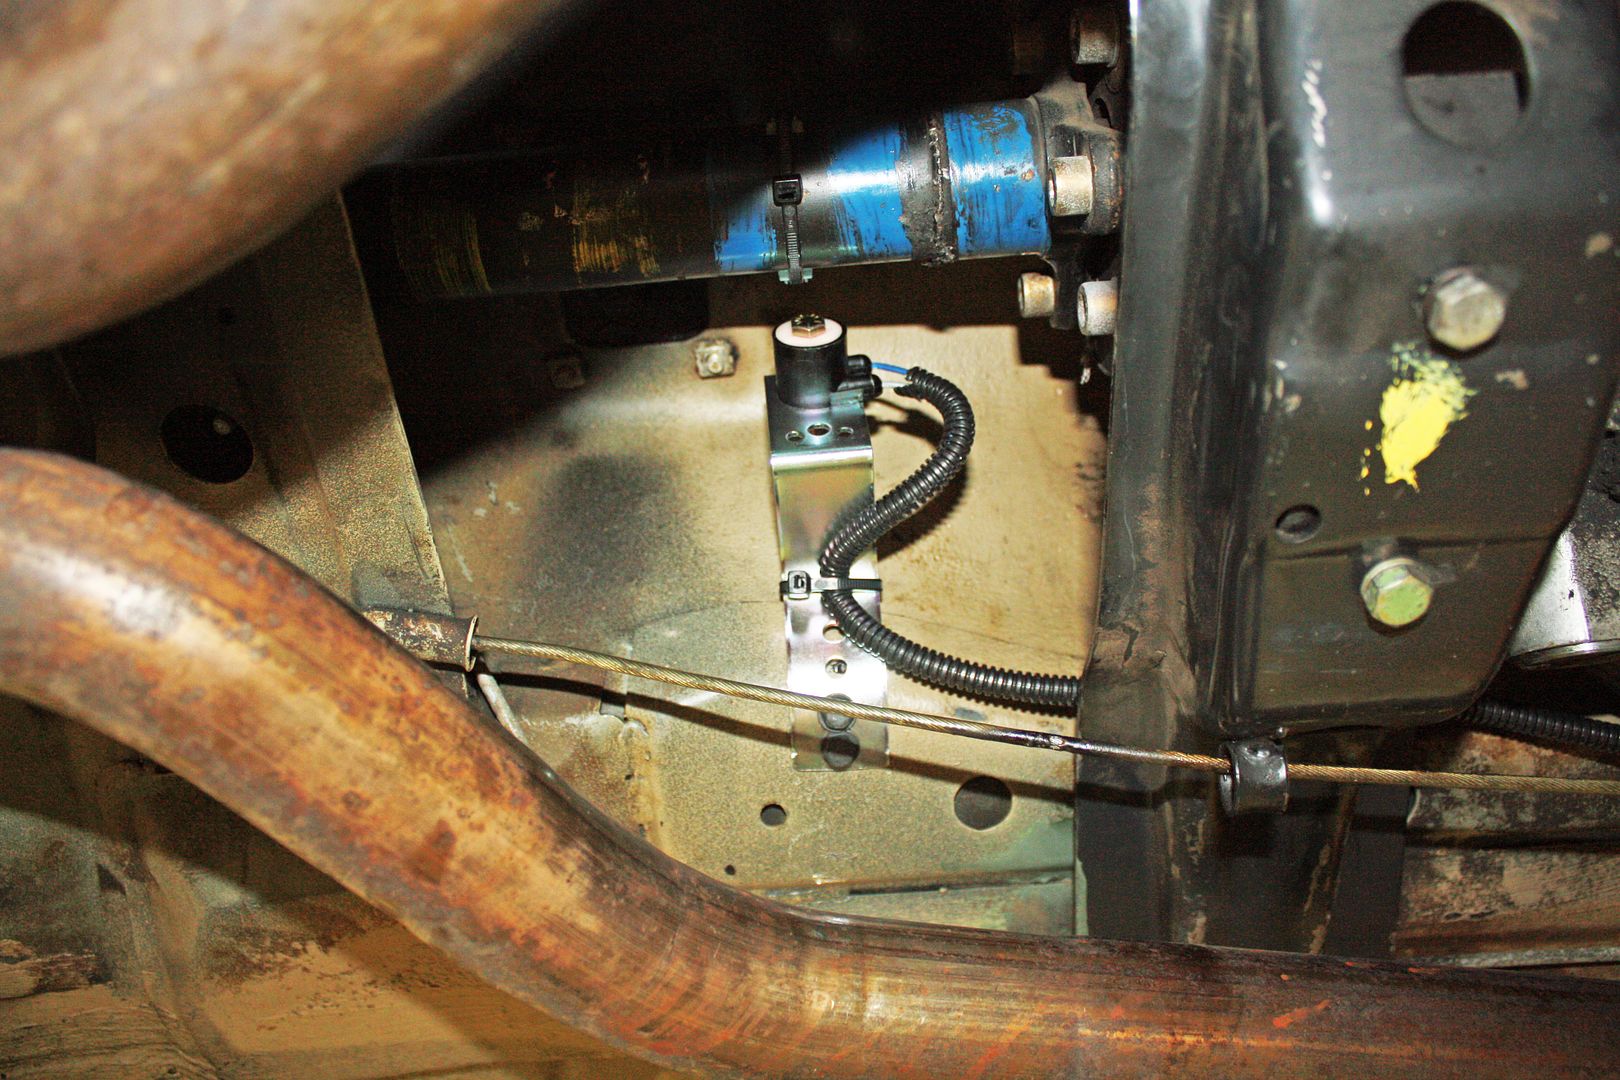 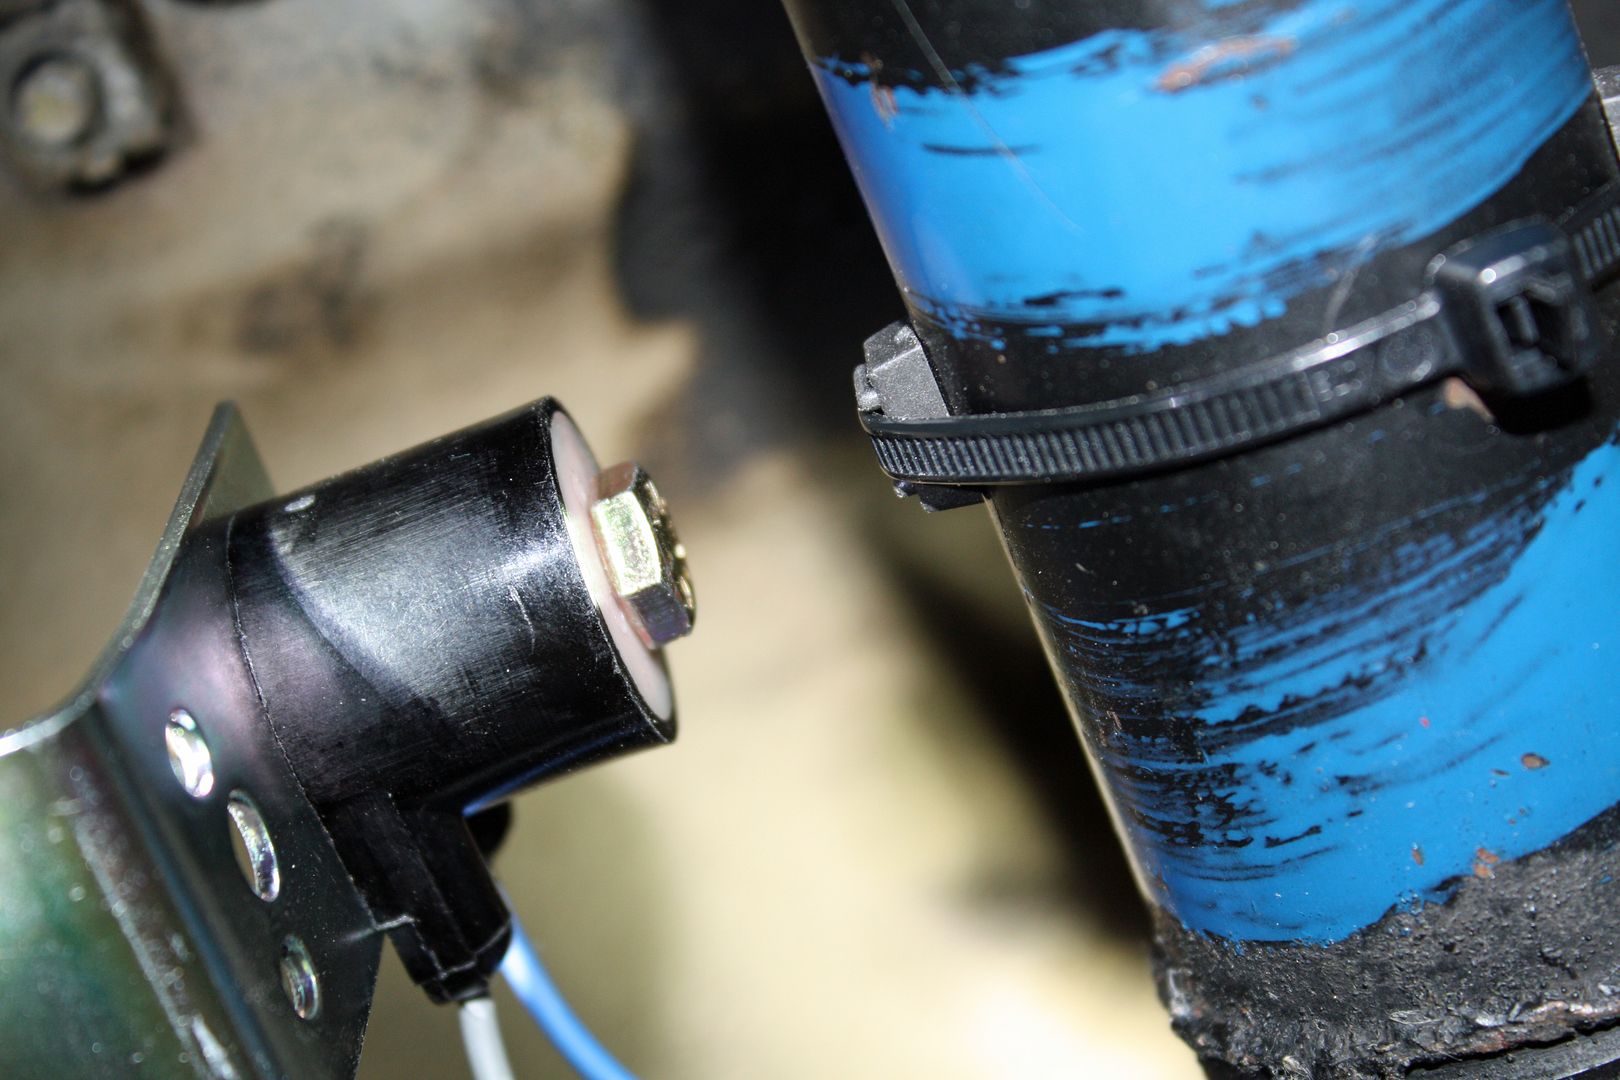 The next step was to run the wire forward up to the control unit. I ran it forward along the bottom rail to the point where it needed to go up. To get it into the engine bay, I ran a straightened coat hanger down from the top, taped the wire to the coat hanger and then pulled it up into the engine bay. 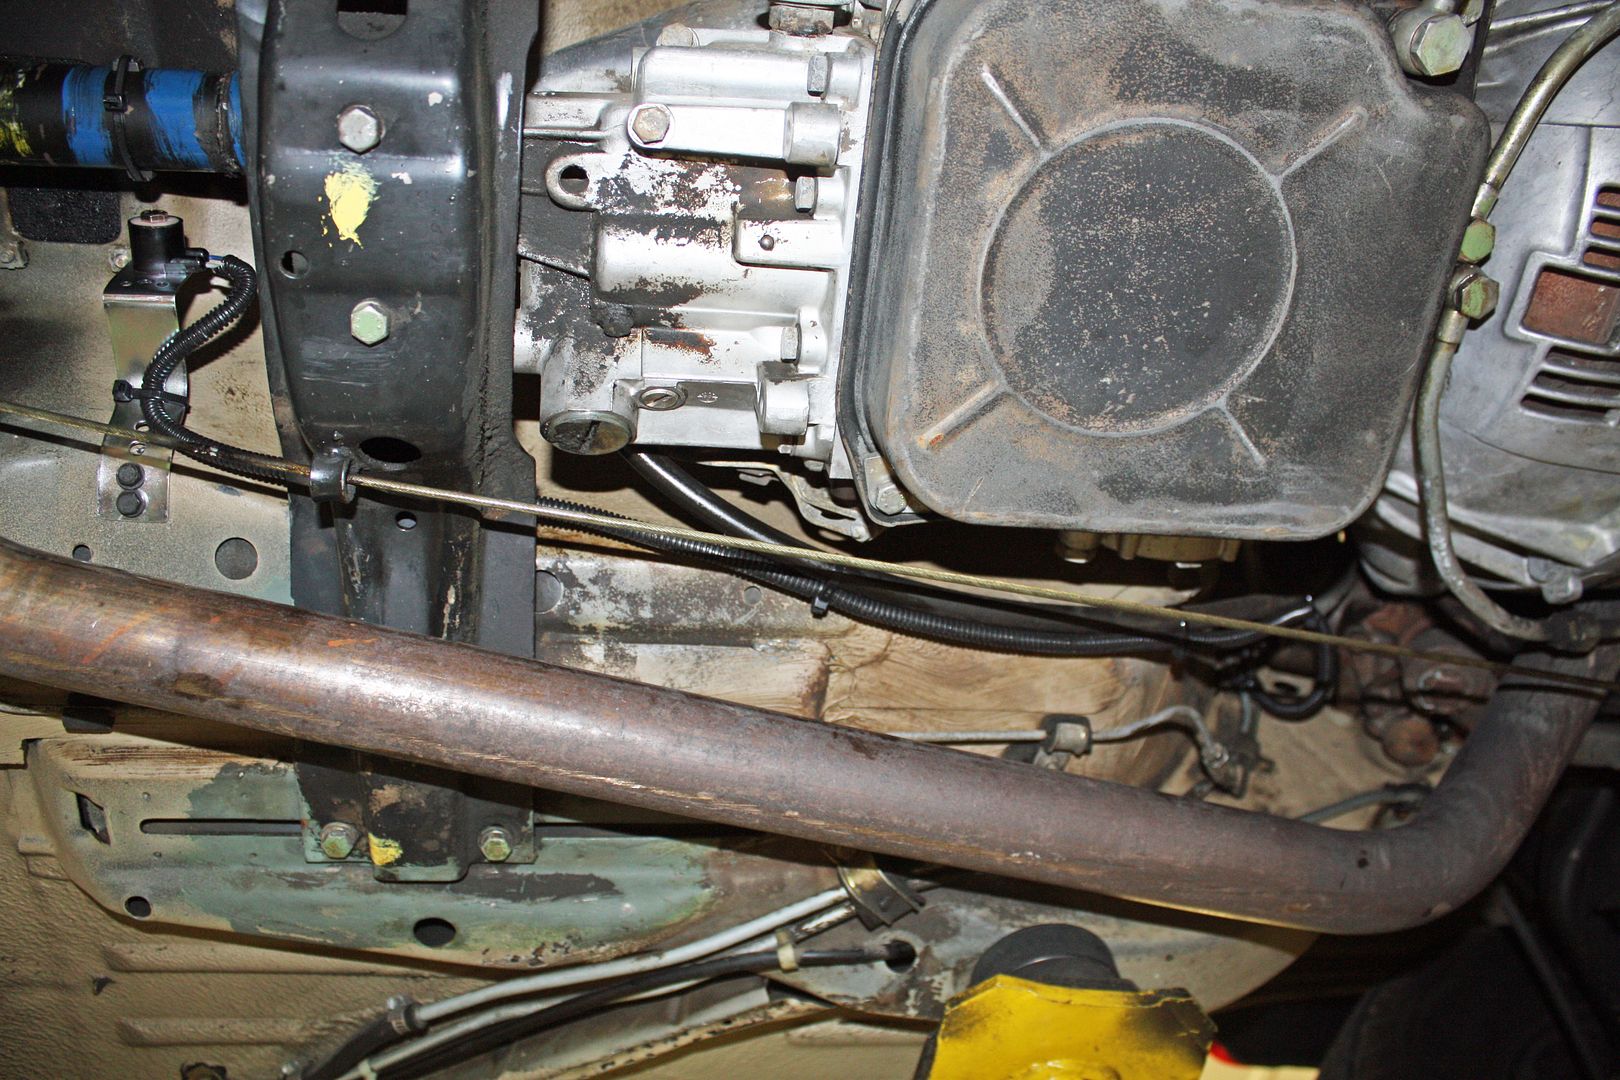 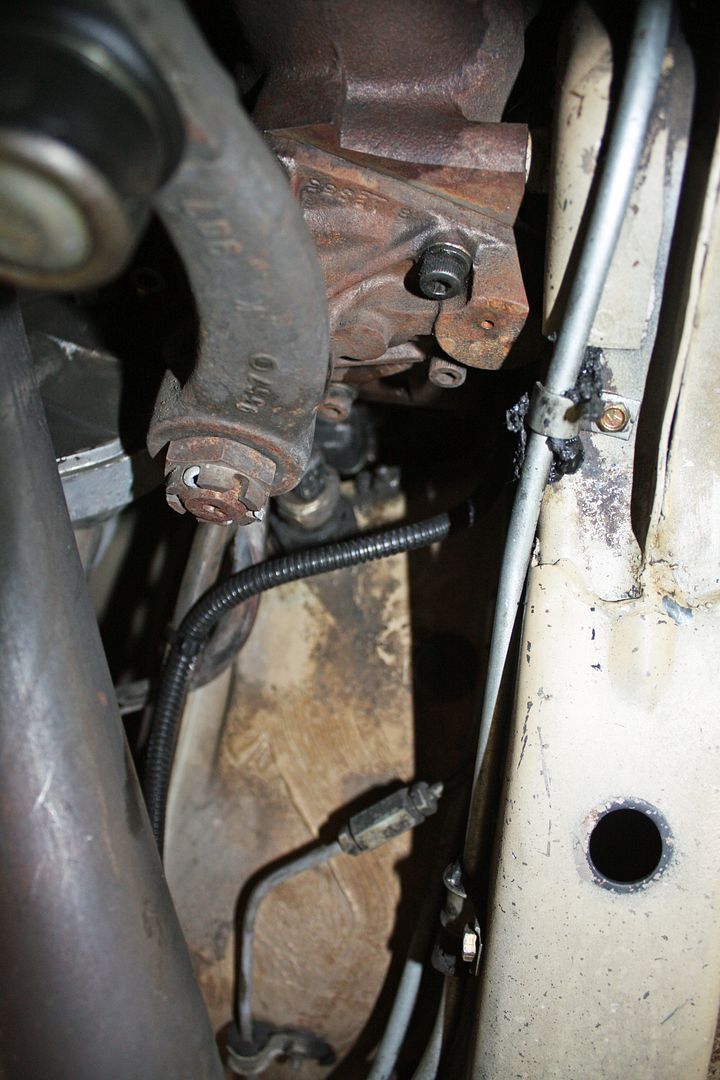 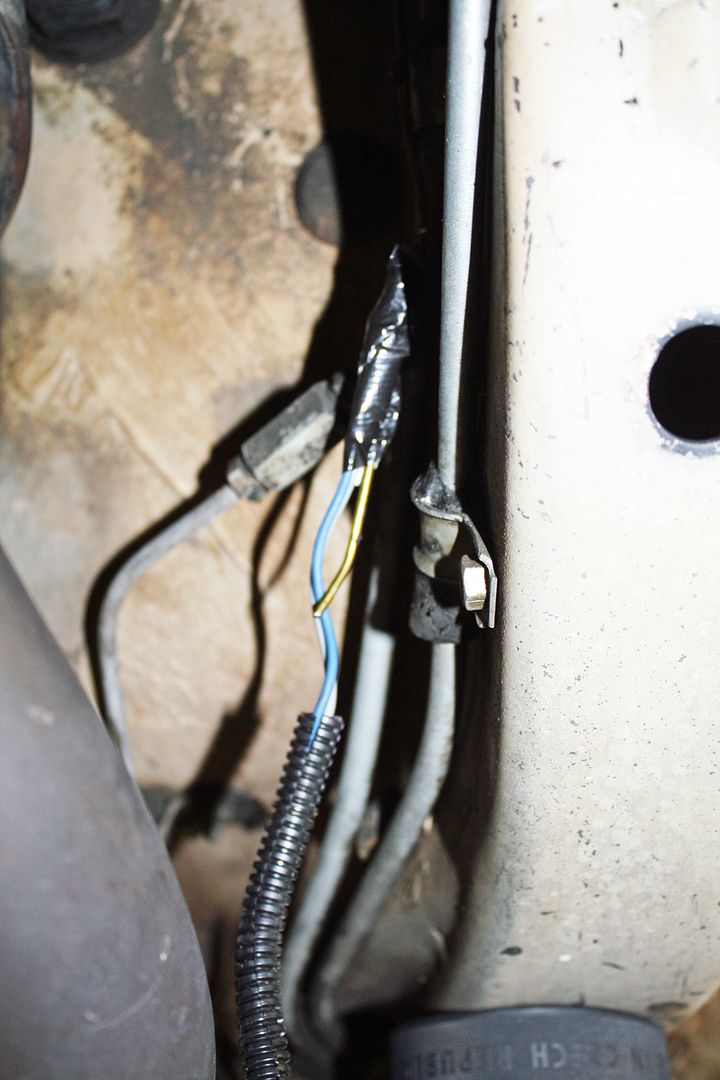 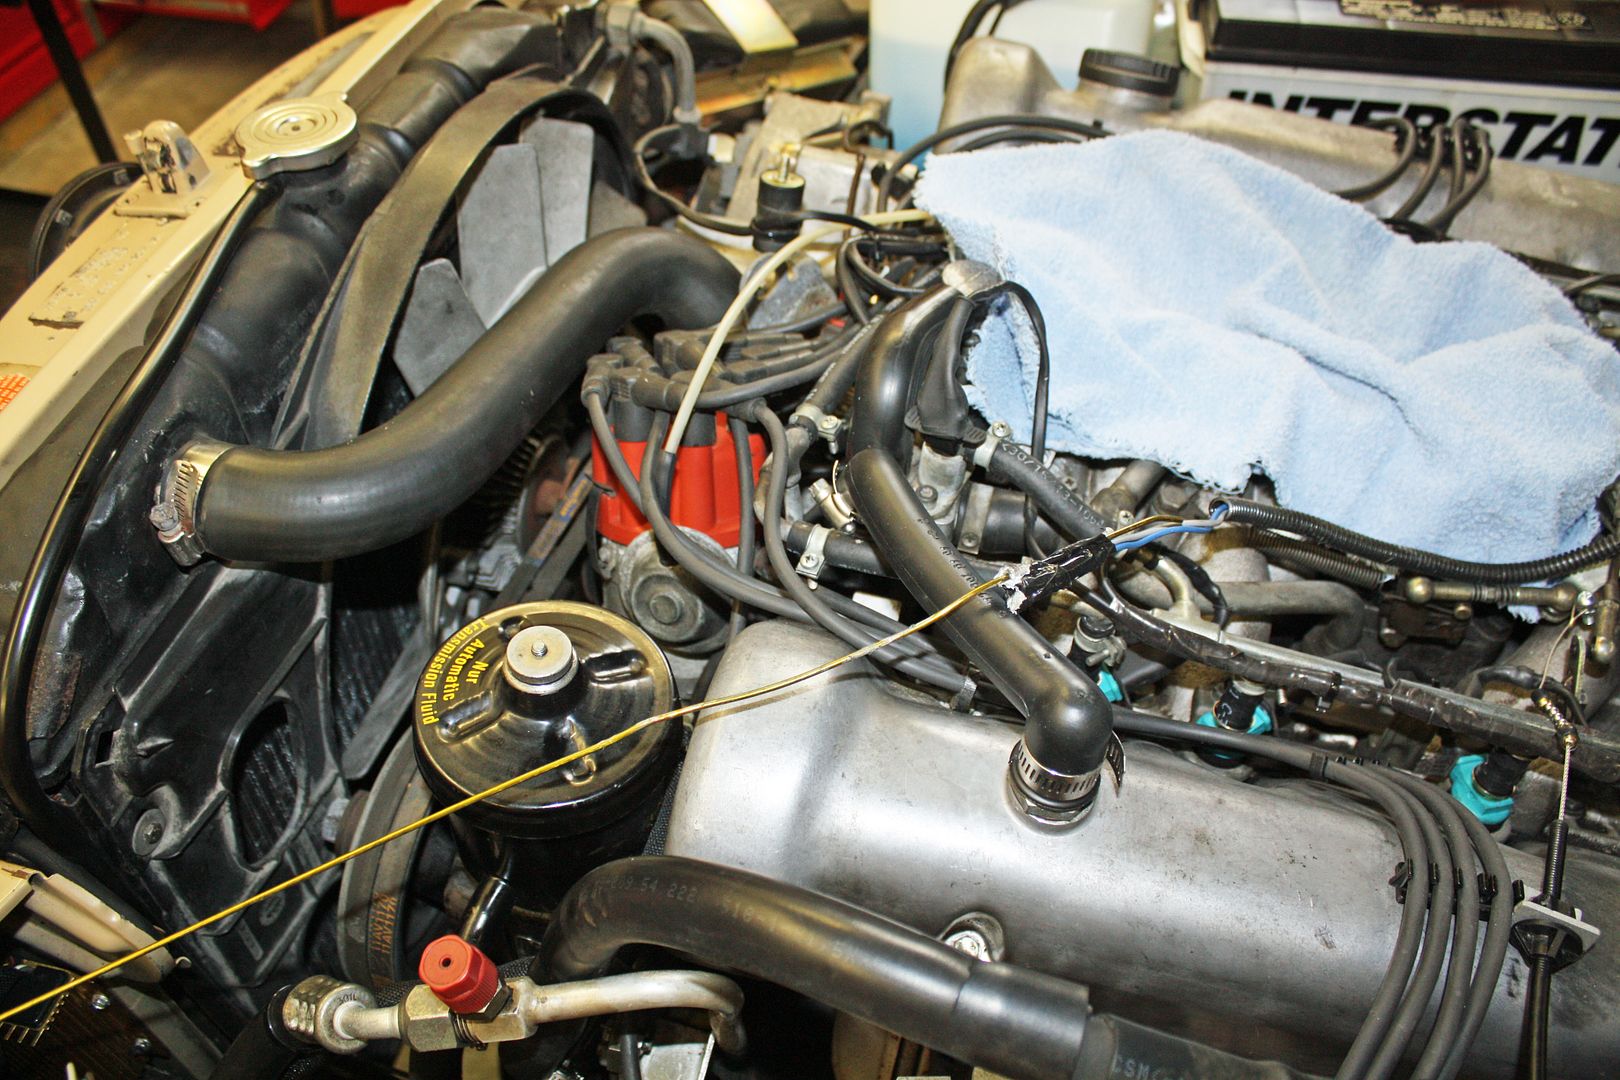 Now that I had it in the engine bay, I could insert the wire ends into the plug supplied in the kit. That plug is then inserted into the matching plug on the control unit harness. 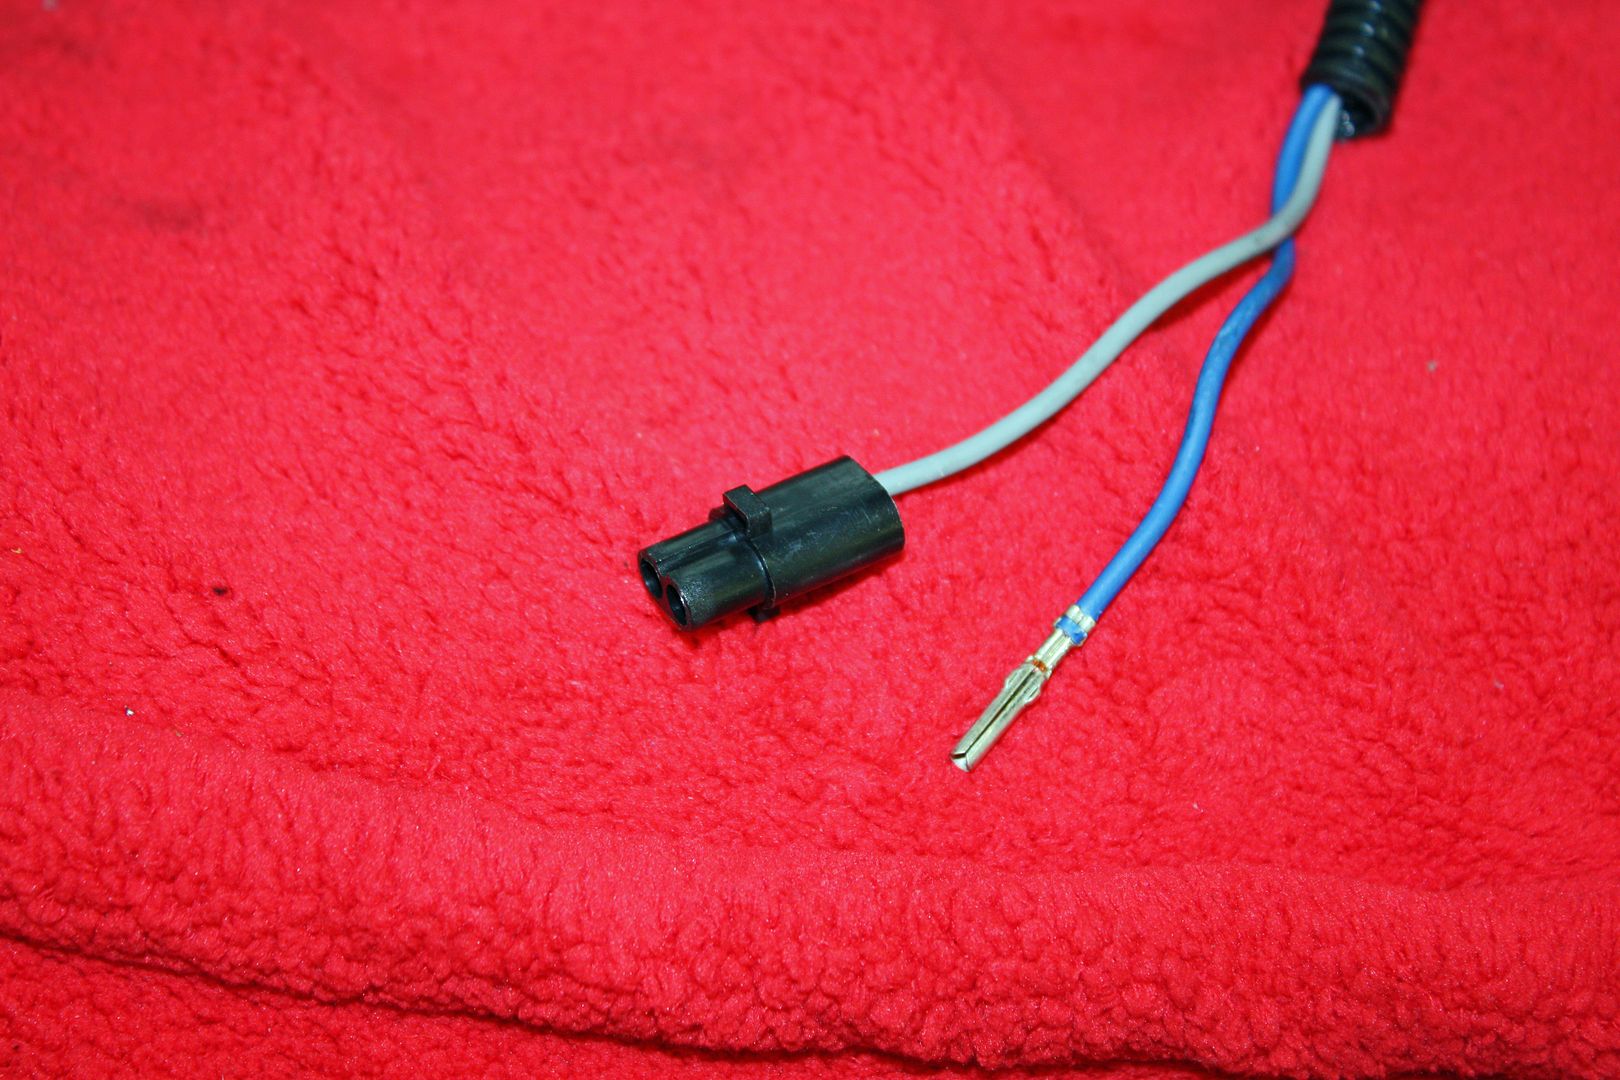 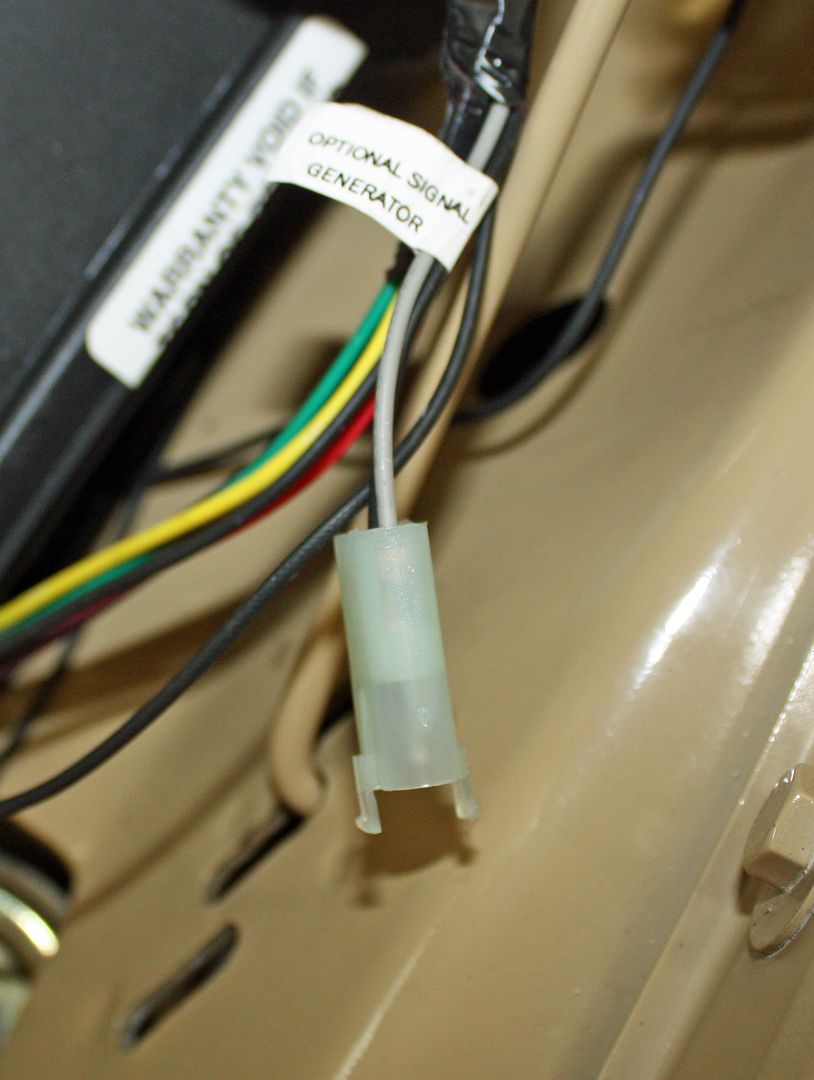 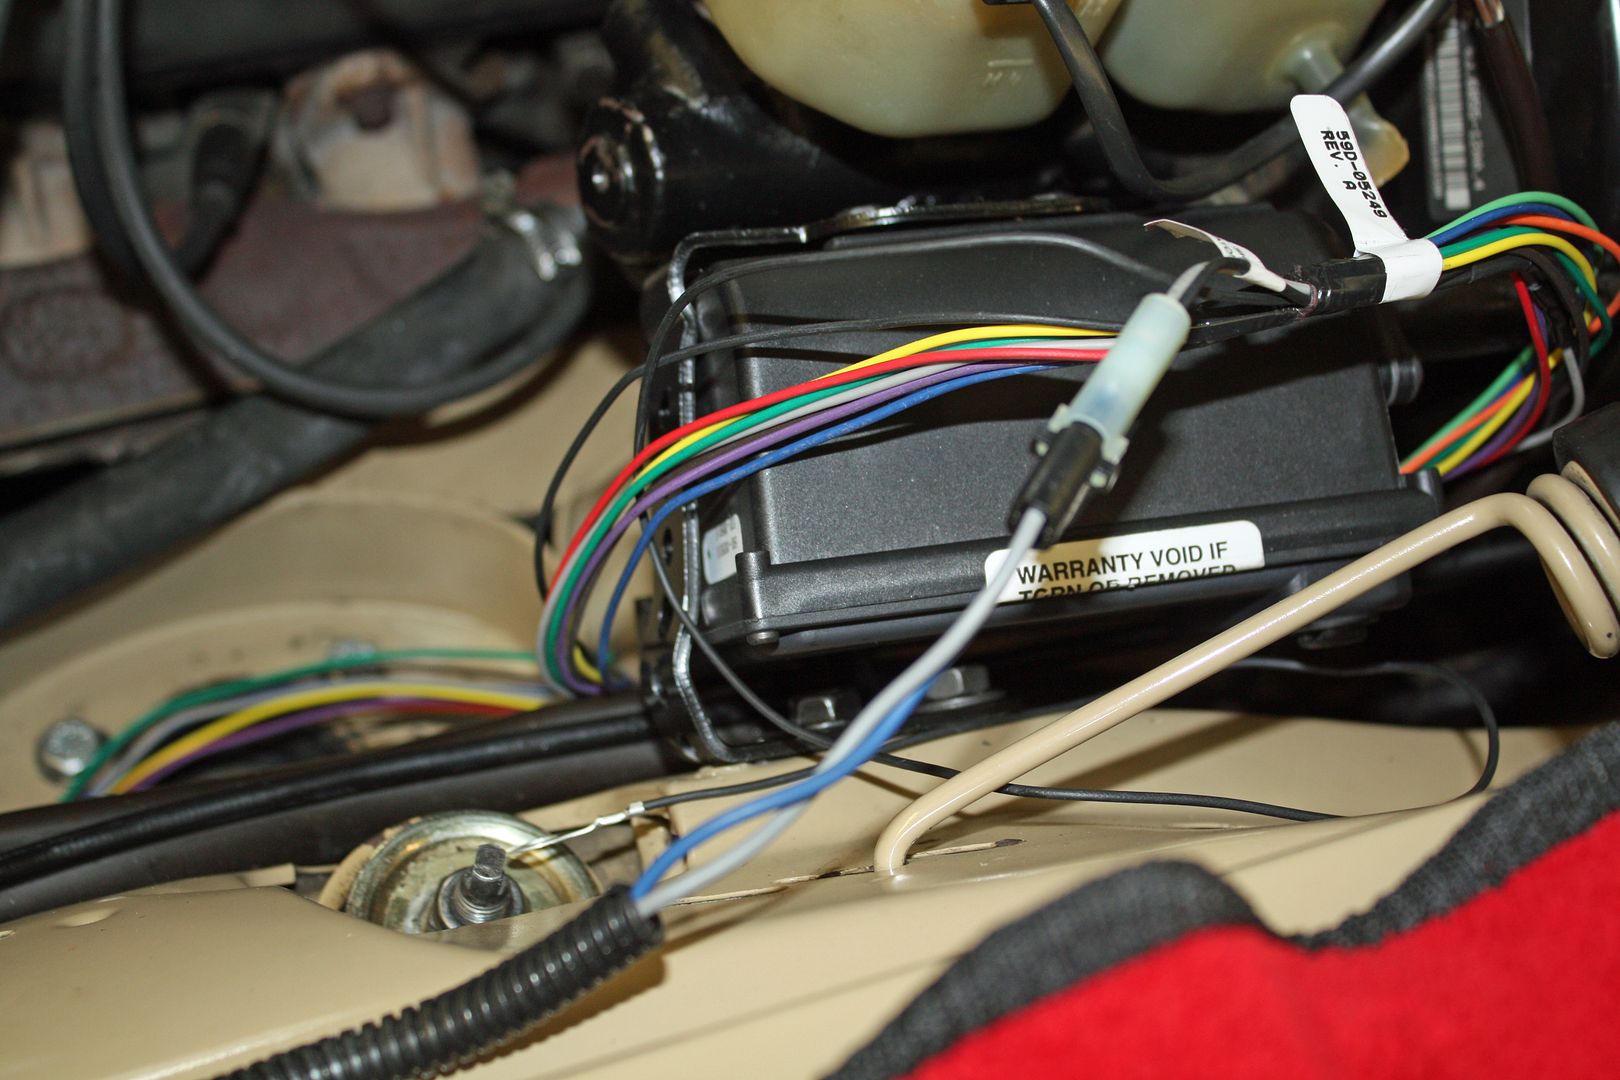 With that part completed, I decided to mount the cruise switch. The old unit had one mounted on the turn signal arm. Having used those in the past, I ordered the same type for this car. However, the turn signal arm was too large a diameter to fit the switch. They will be taking this one back and I have ordered a wireless one that uses a RF signal. I can mount it anywhere. 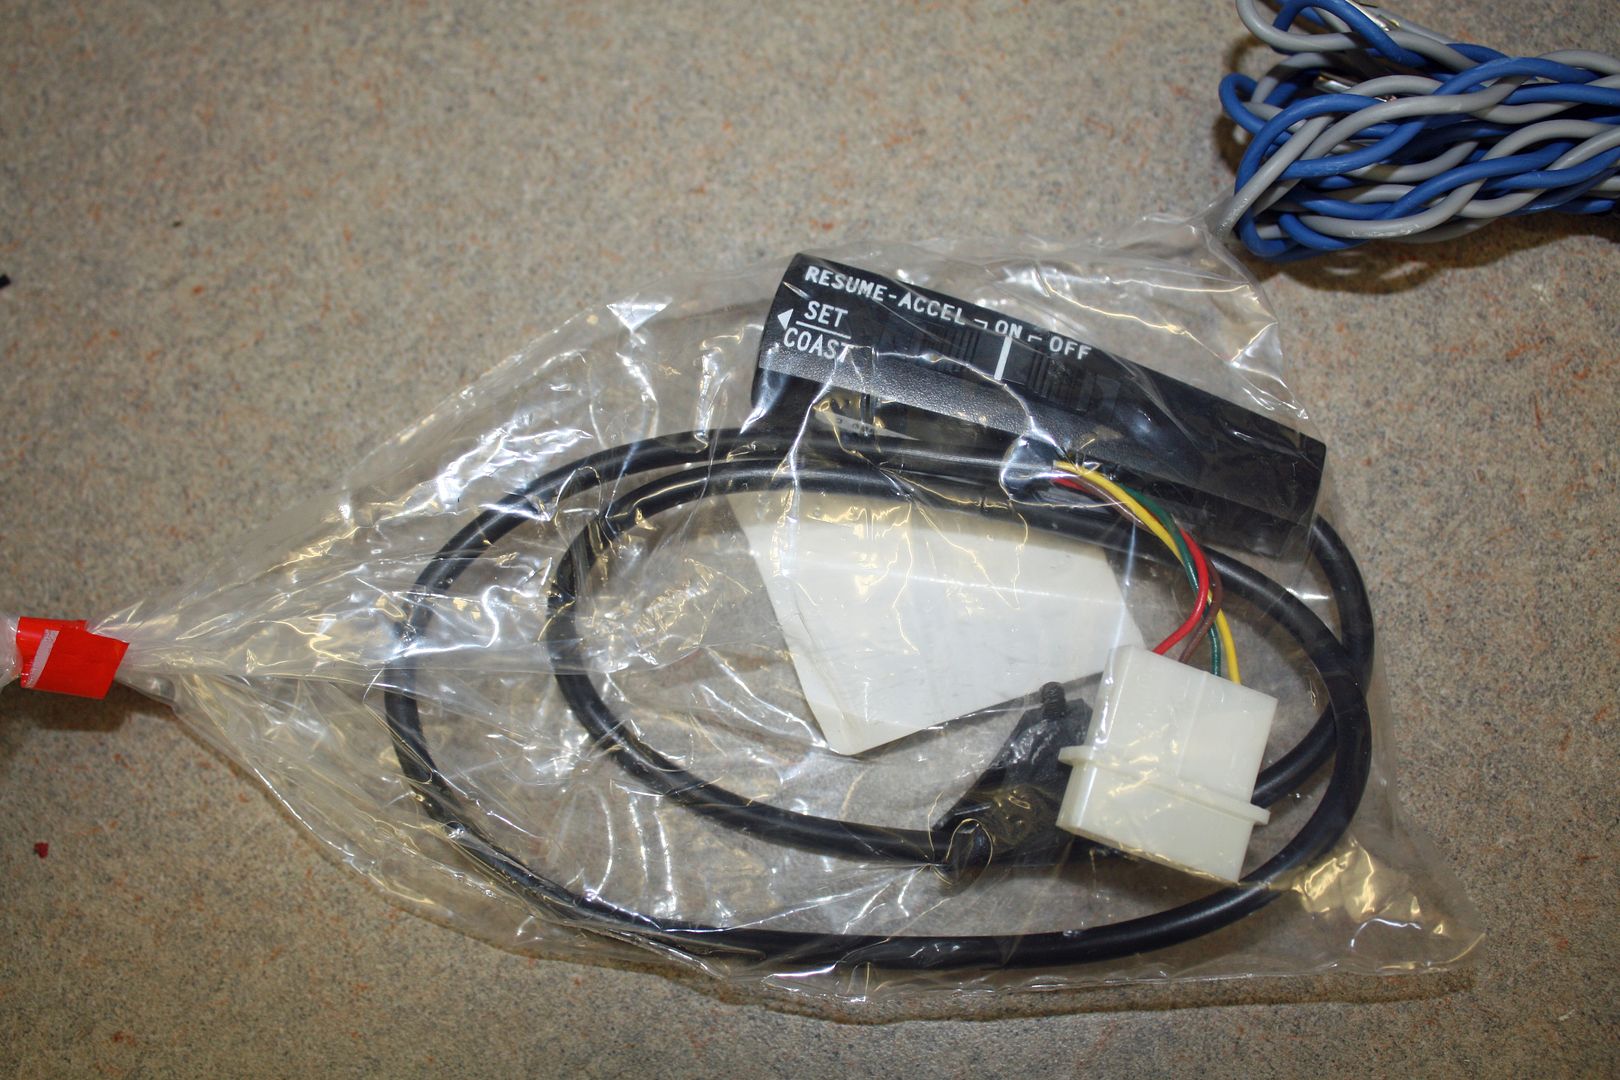 While I was inside the car, I removed the cardboard panel under the dash on the driver's side. Two of the cruise harness wires go to each side of the brake switch. In looking for that switch, I came across the windshield washer pump on the floor. I have new windshield washer hose and have been wanting to install it. I removed the old hose from the pump, and, after taping the new hose to the old hose, tried to pull the new hose through from inside the engine bay. Didn't work as the tape made it too wide to go through the hole in the grommet. So out came the coat hanger again. It worked and I now have that hose routed to the windshield washer tank. To replace the other line, I will need to remove the windshield wipers and the air intake cowl at the base of the windshield. 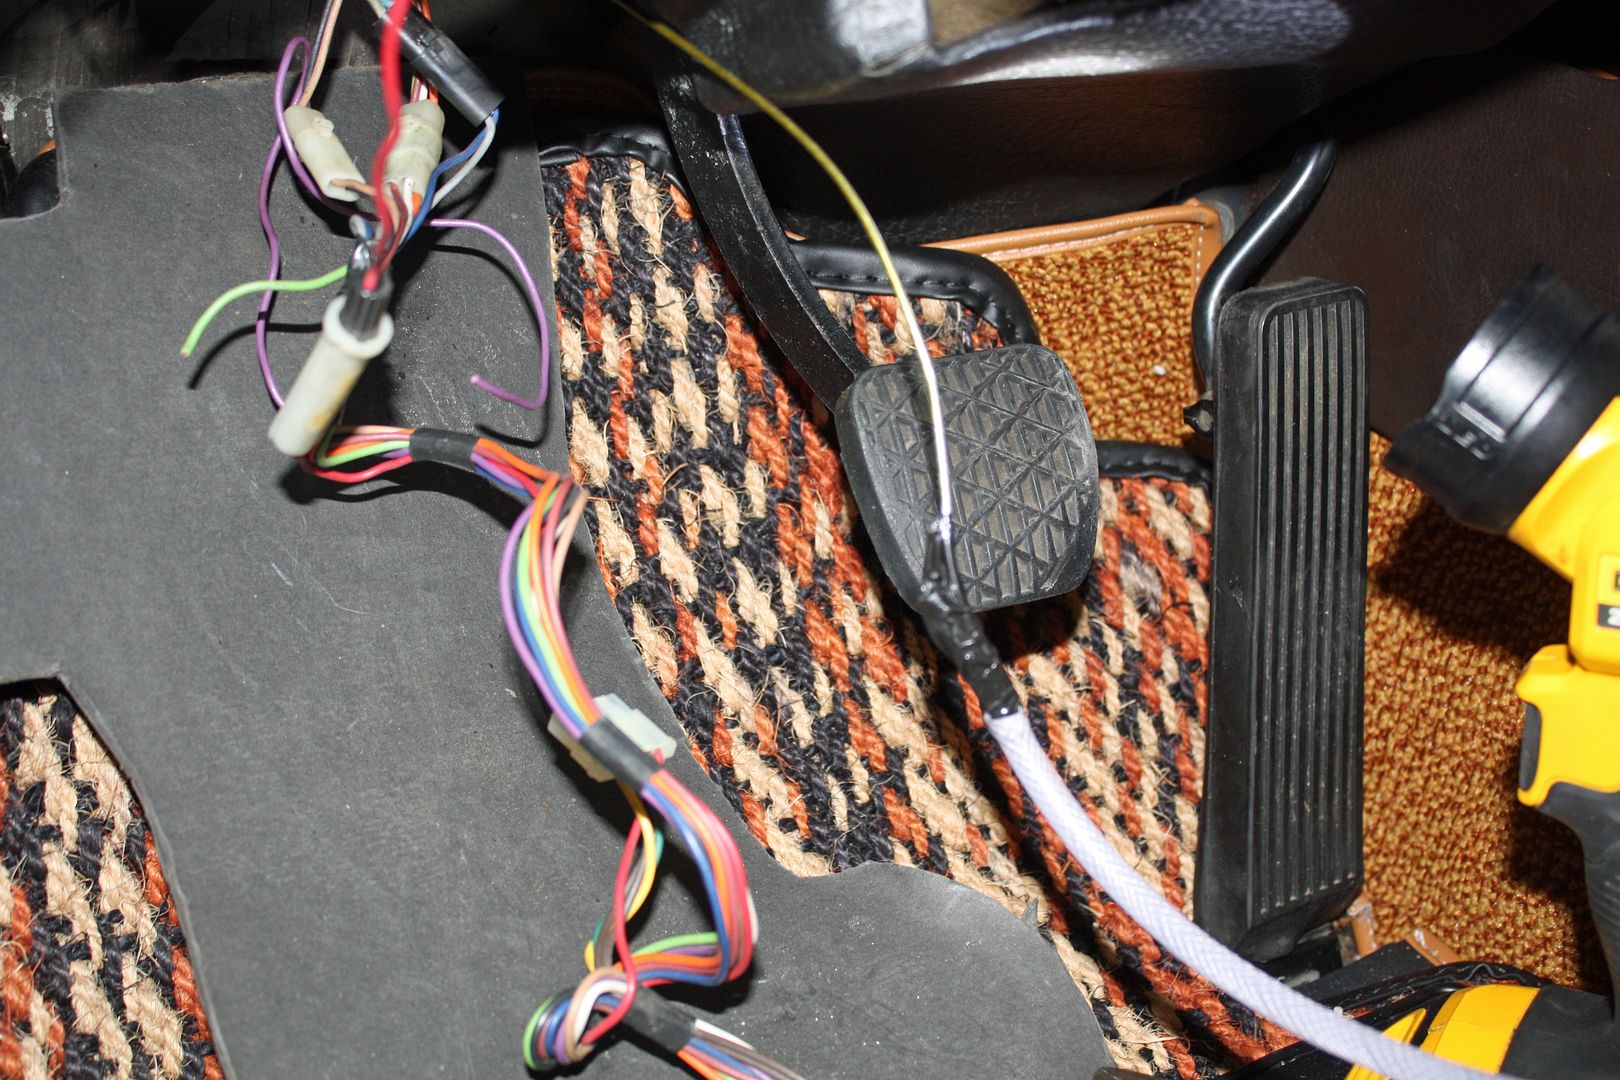 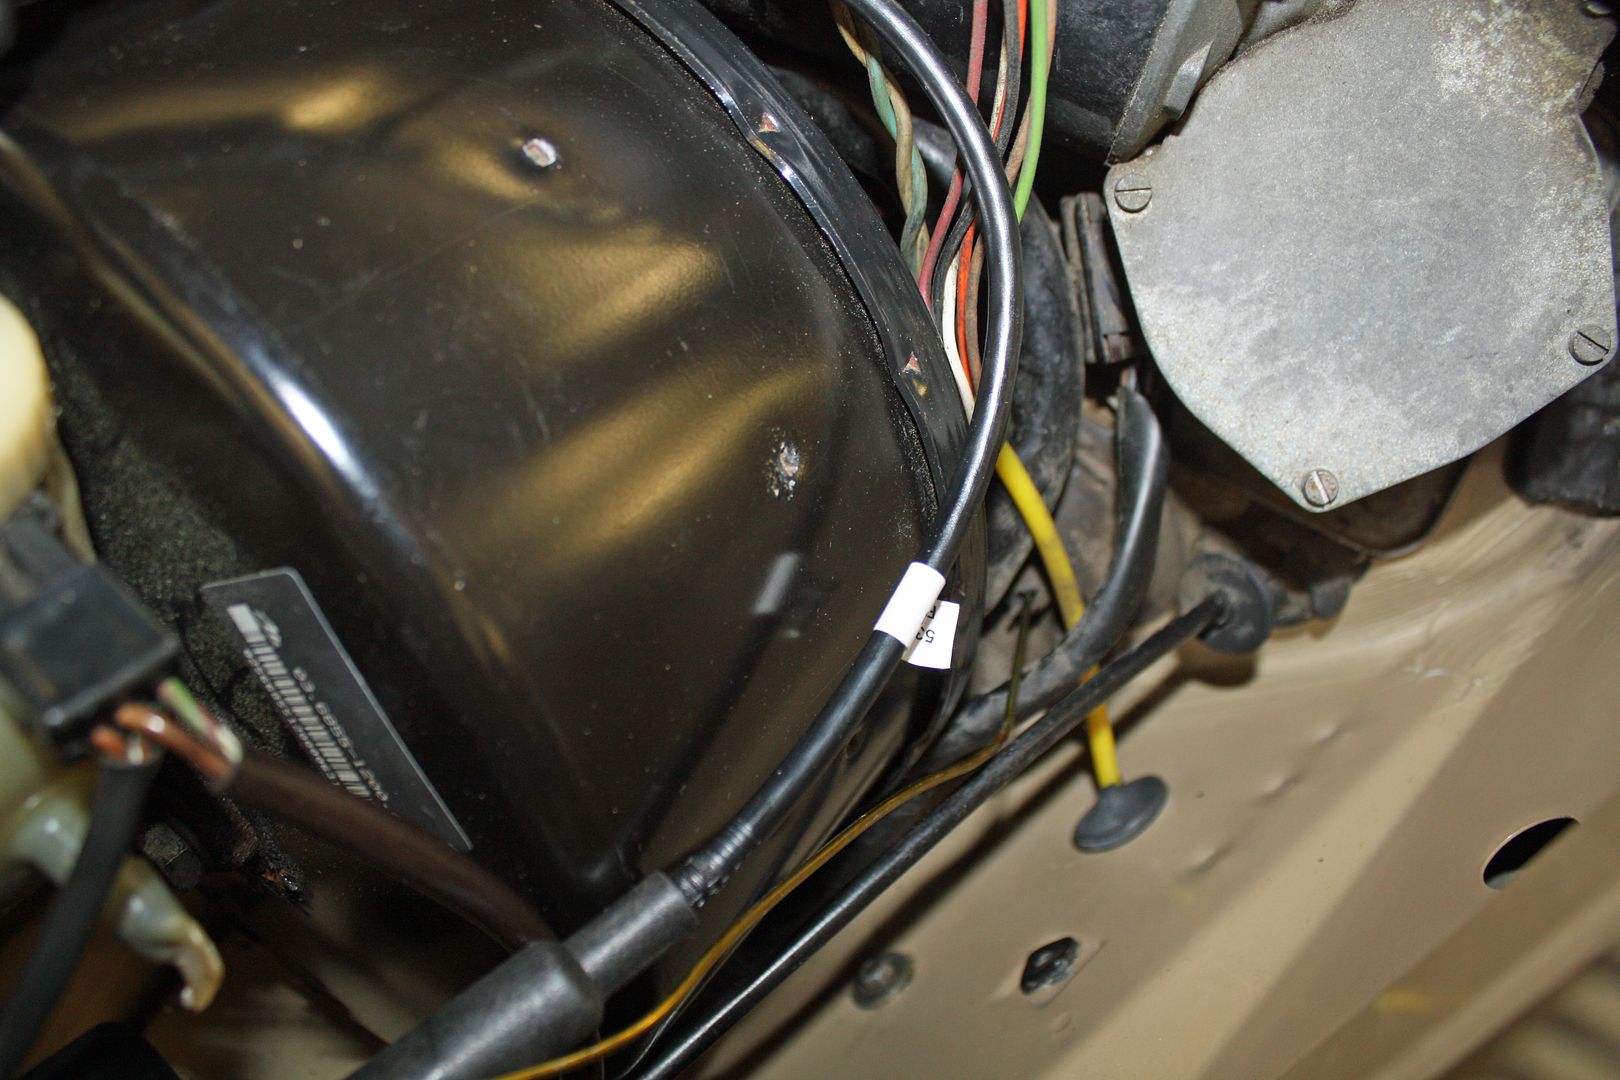 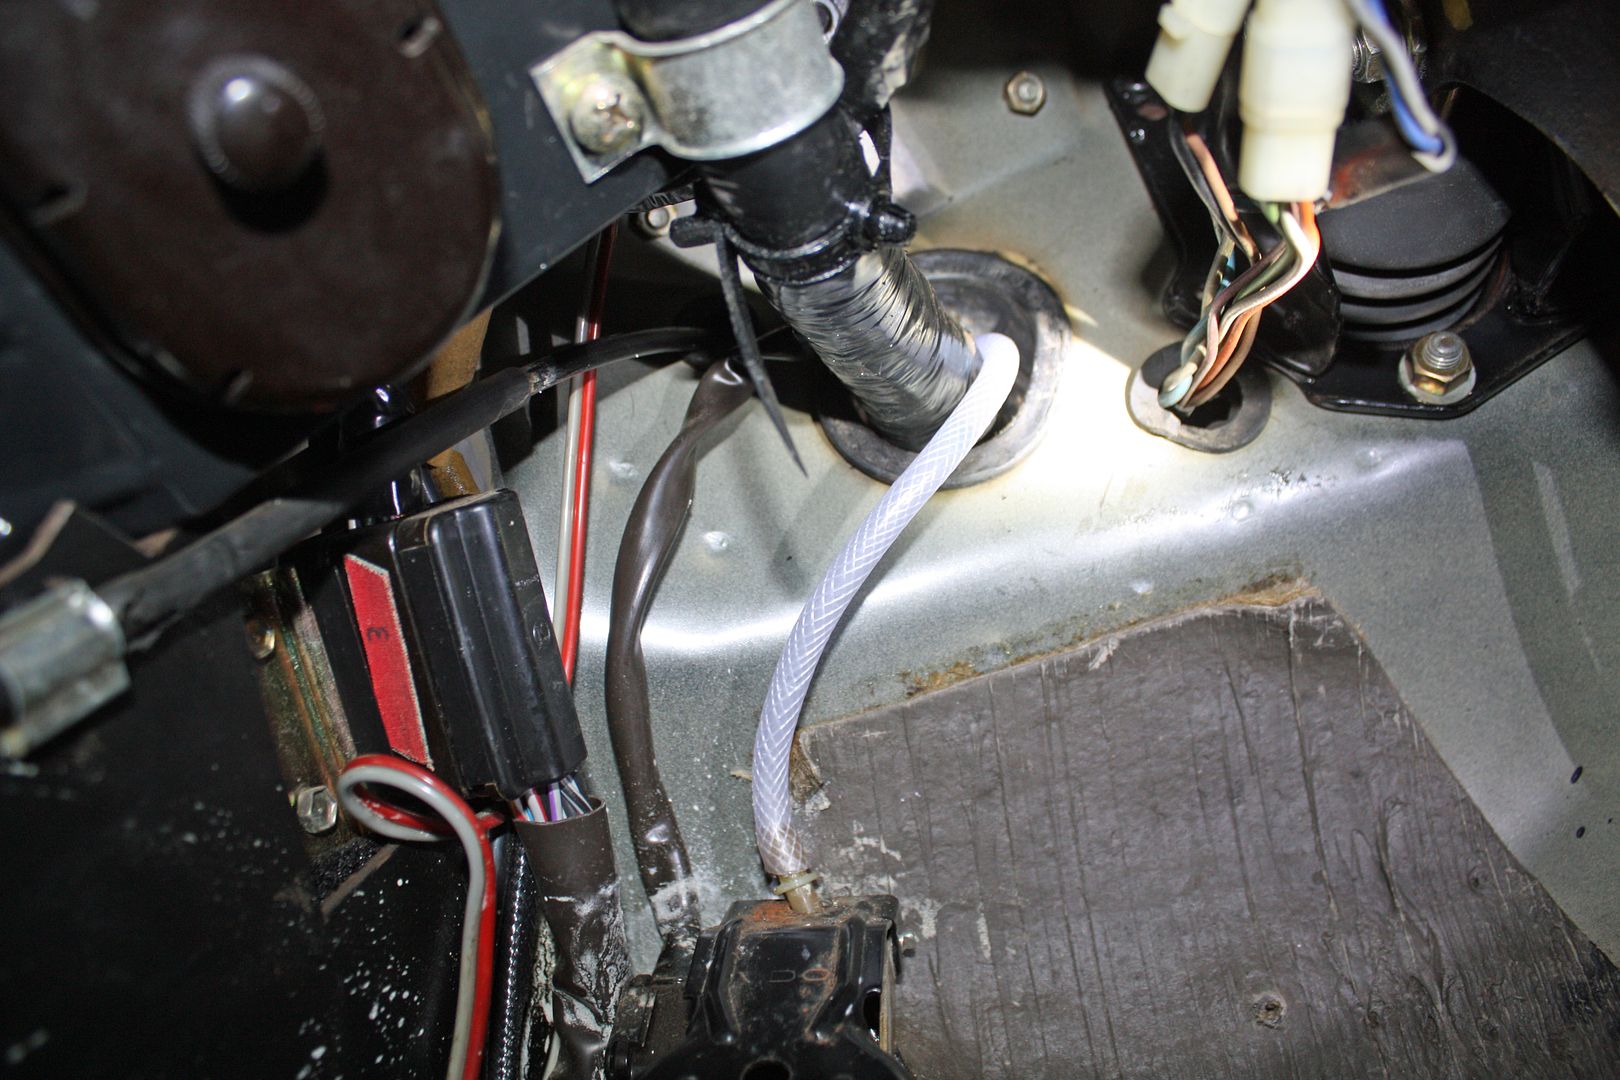 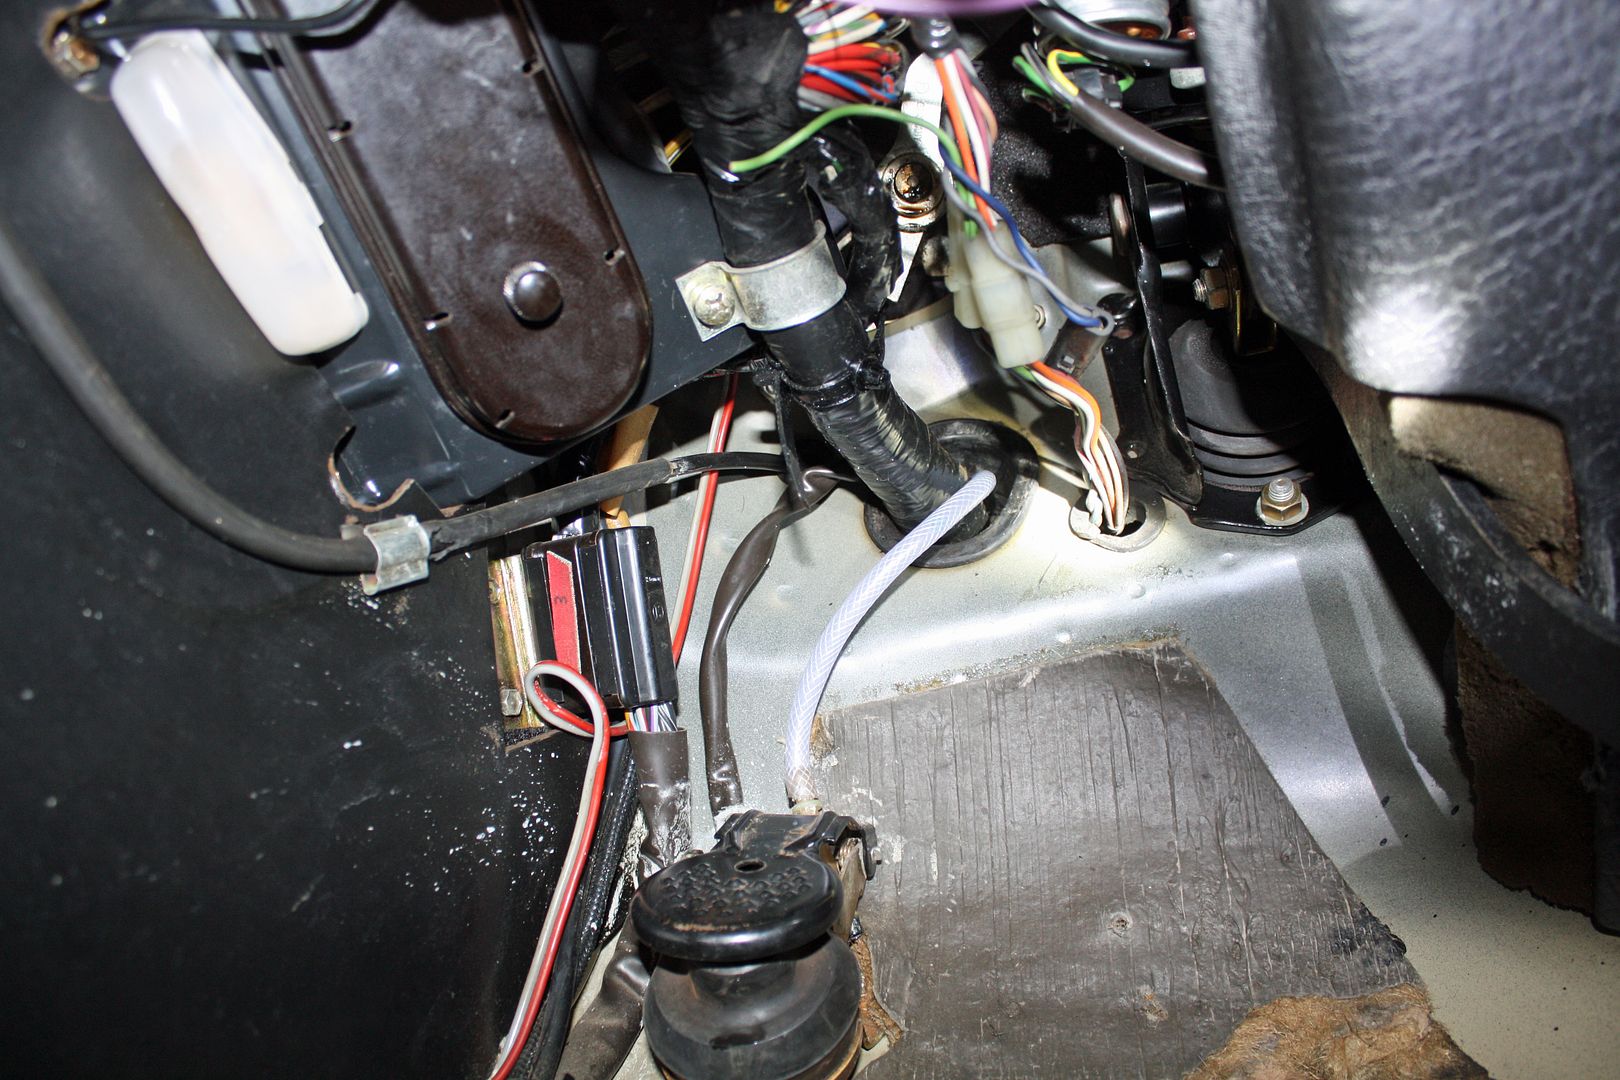 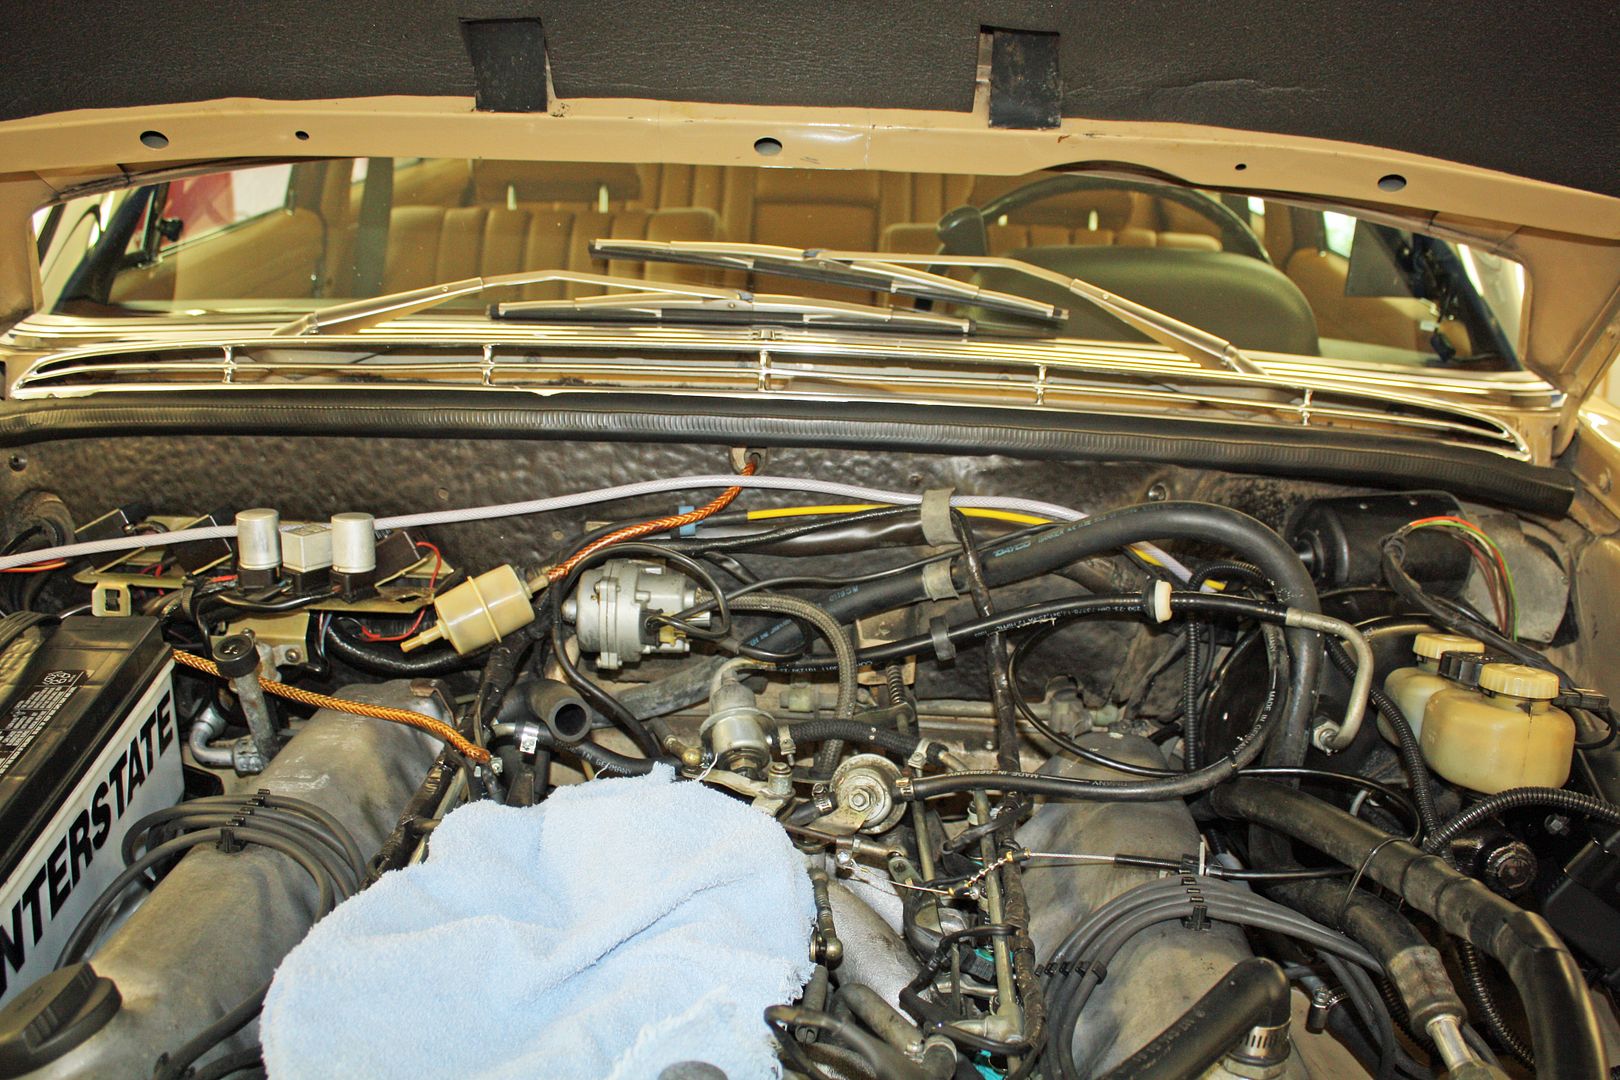 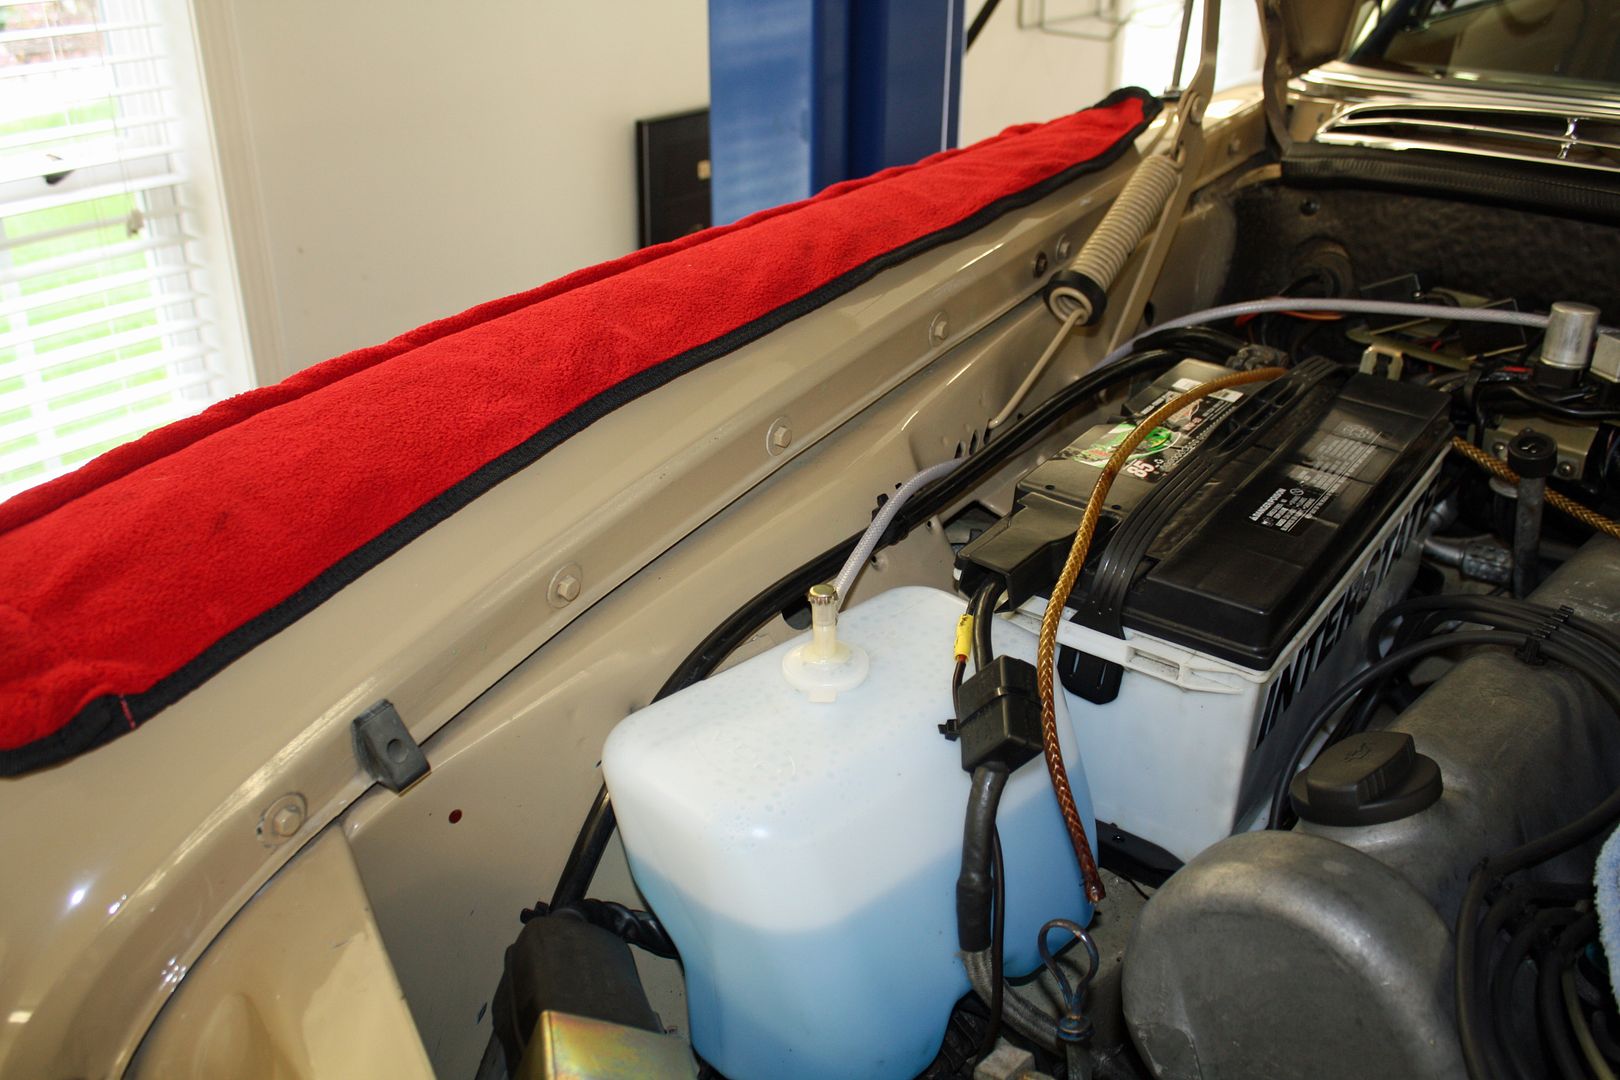
|
|
#267
|
|||
|
|||
|
To complete the job of installing new windshield washer hose, I thought I needed to remove the cowl sheet metal. Turns out I only needed to removed the fresh air intake grill. However, before I figured that out, I had already removed the windshield wipers. Even though I did not need to remove them, I will show you how I did it just in case someone has a need to know.
First I covered the area around the wipers with tape. After lifting up the cover, I removed the nut with a 13mm socket. To remove the wiper arm from the post I used a small puller. There wasn't room to line up the center post of the puller with the wiper post so I screwed the nut back on and used the puller on it . It did not take much pressure to remove the wiper arm but I could not manually do it. The silver colored plastic nut cover lifts off to reveal a 19mm nut. Once it is removed, along with the sheet metal screws, the cowl trim could be removed. Since I had them off, I removed the tape and used my polish around the wiper arm posts. This is a hard to reach area with the wipers in place. 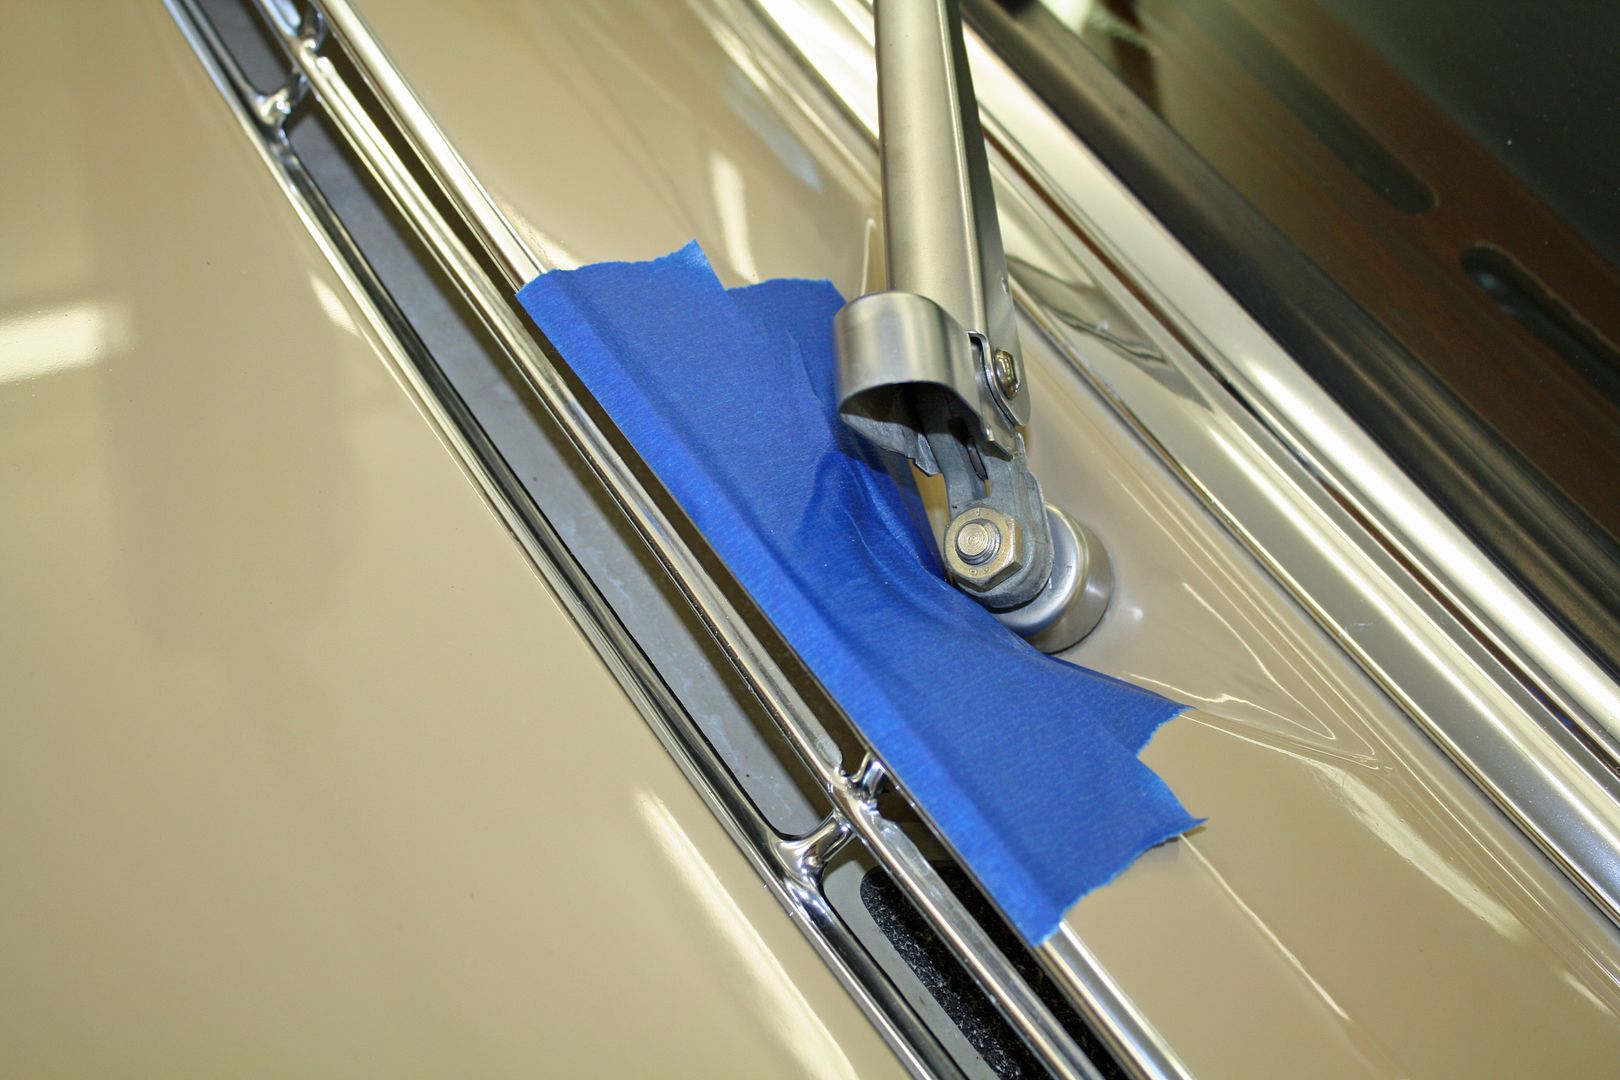 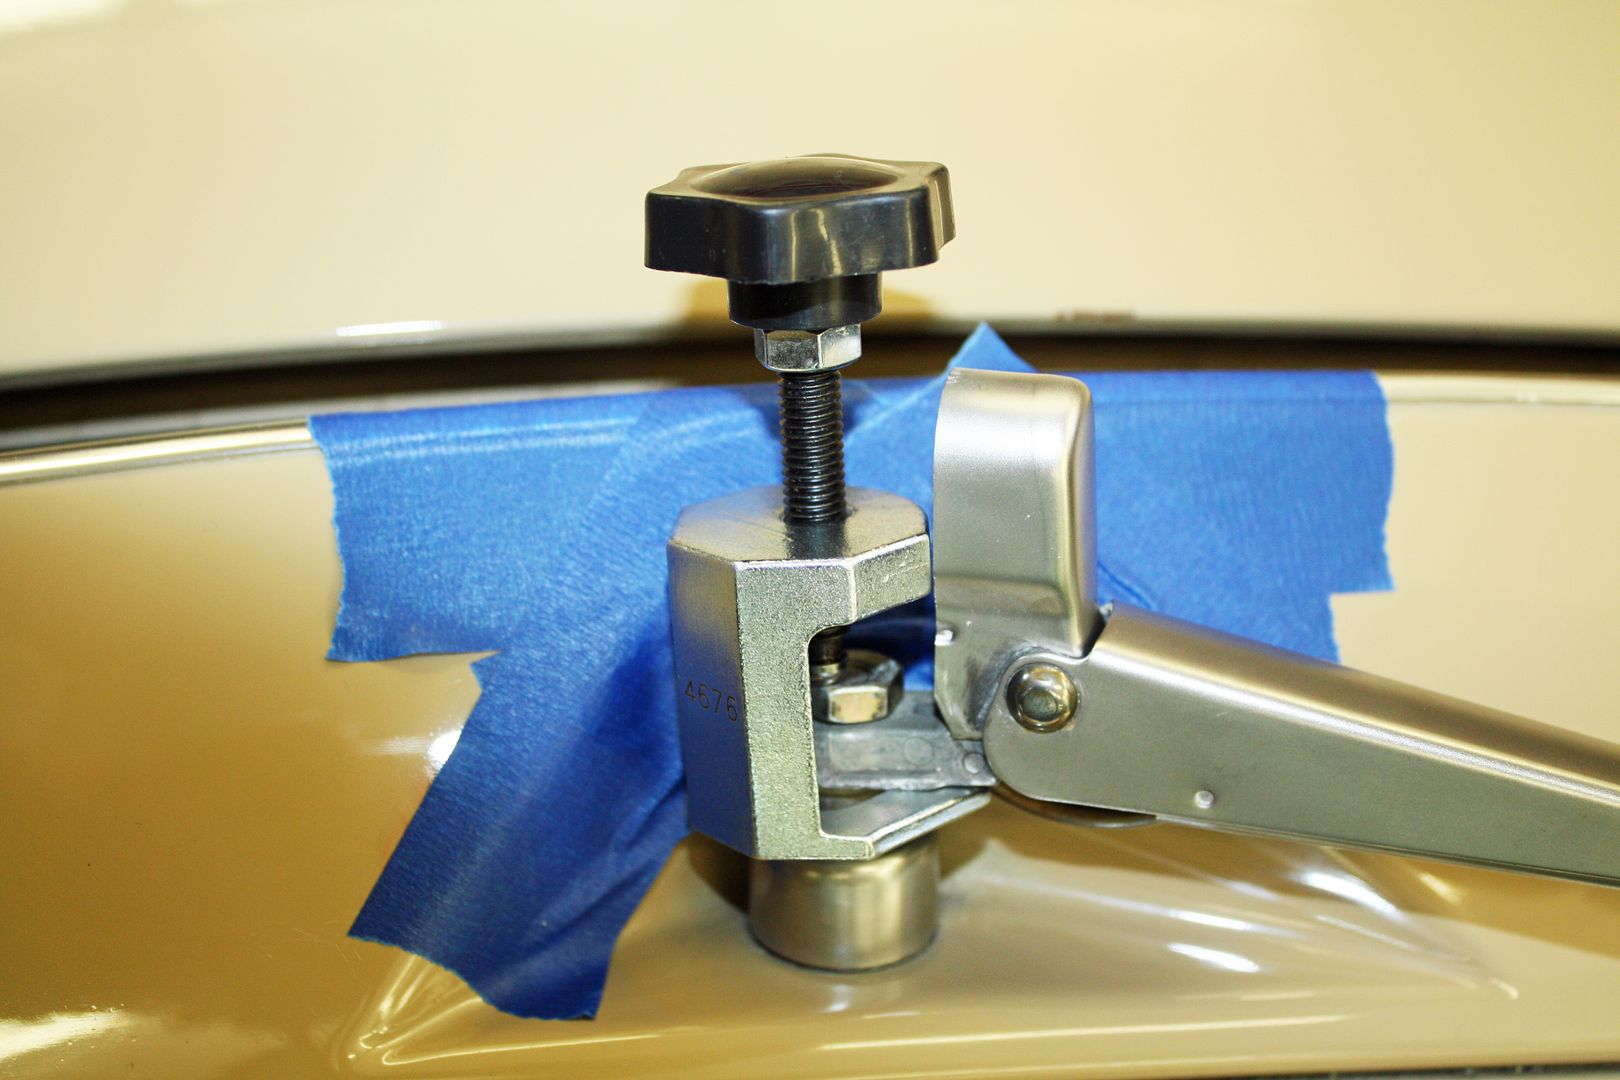 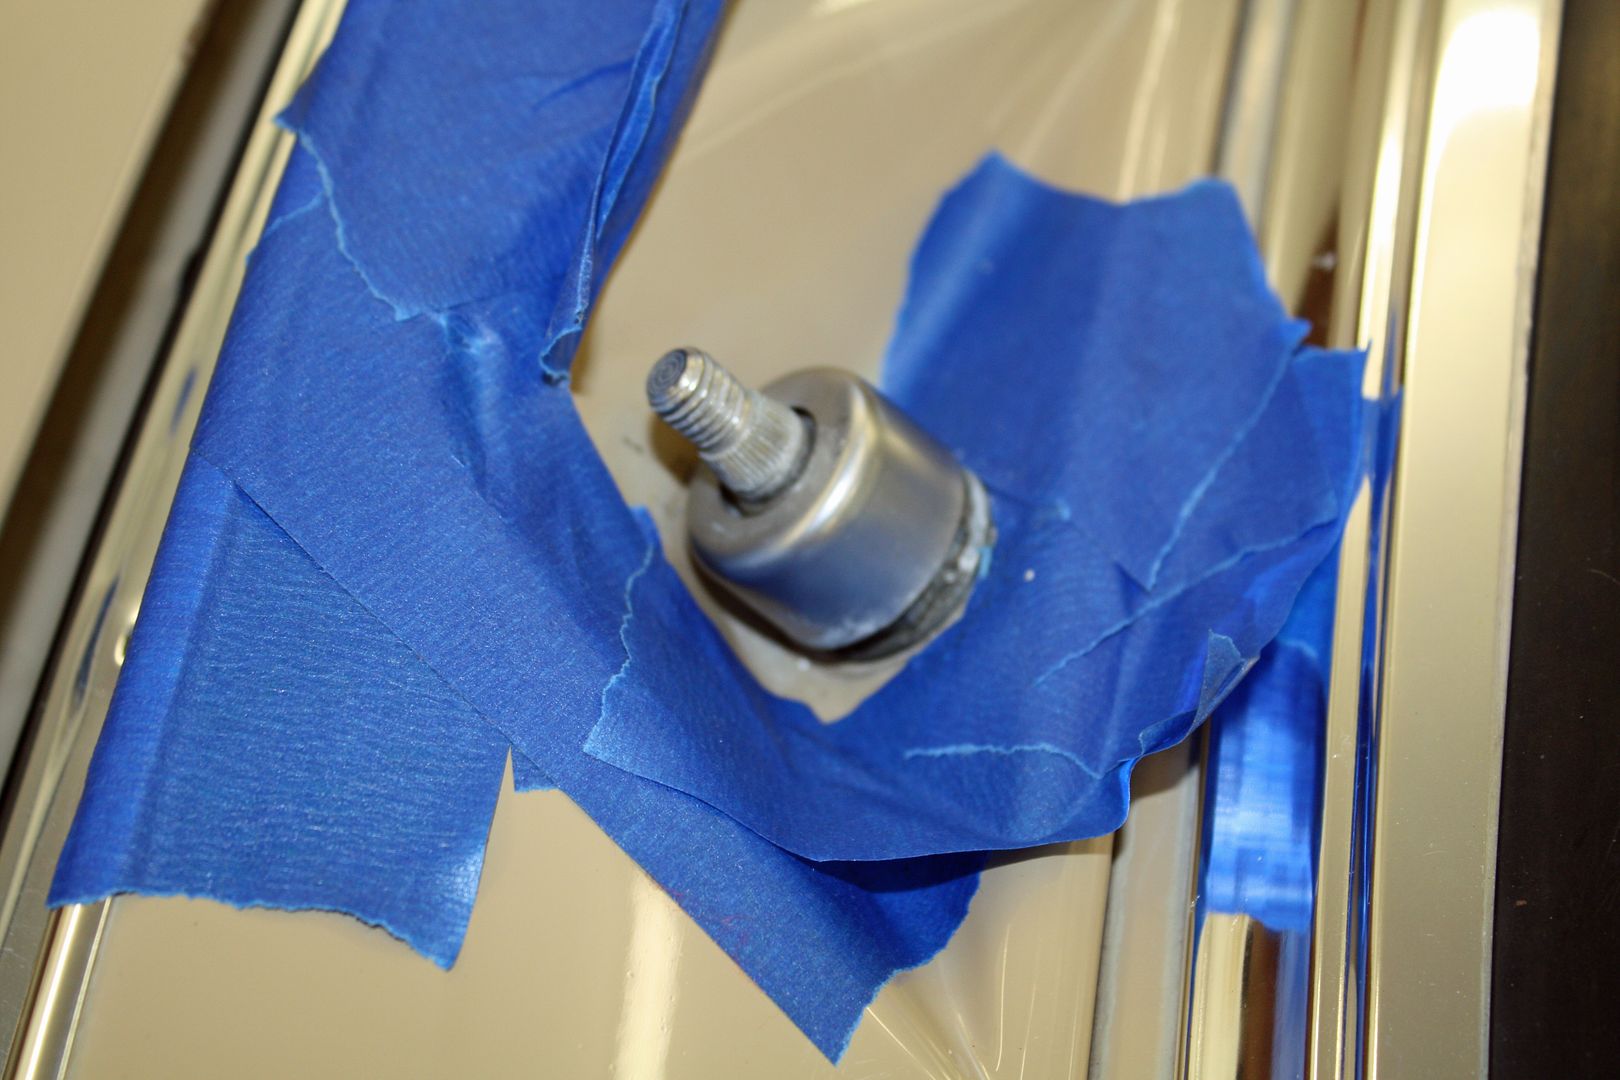 Next I removed the aluminum fresh air grill by removing the screws at its base. Once I had it off, I could access the windshield washer line. Unfortunately, the longest piece of hose I had was about six inches short. More is on the way. 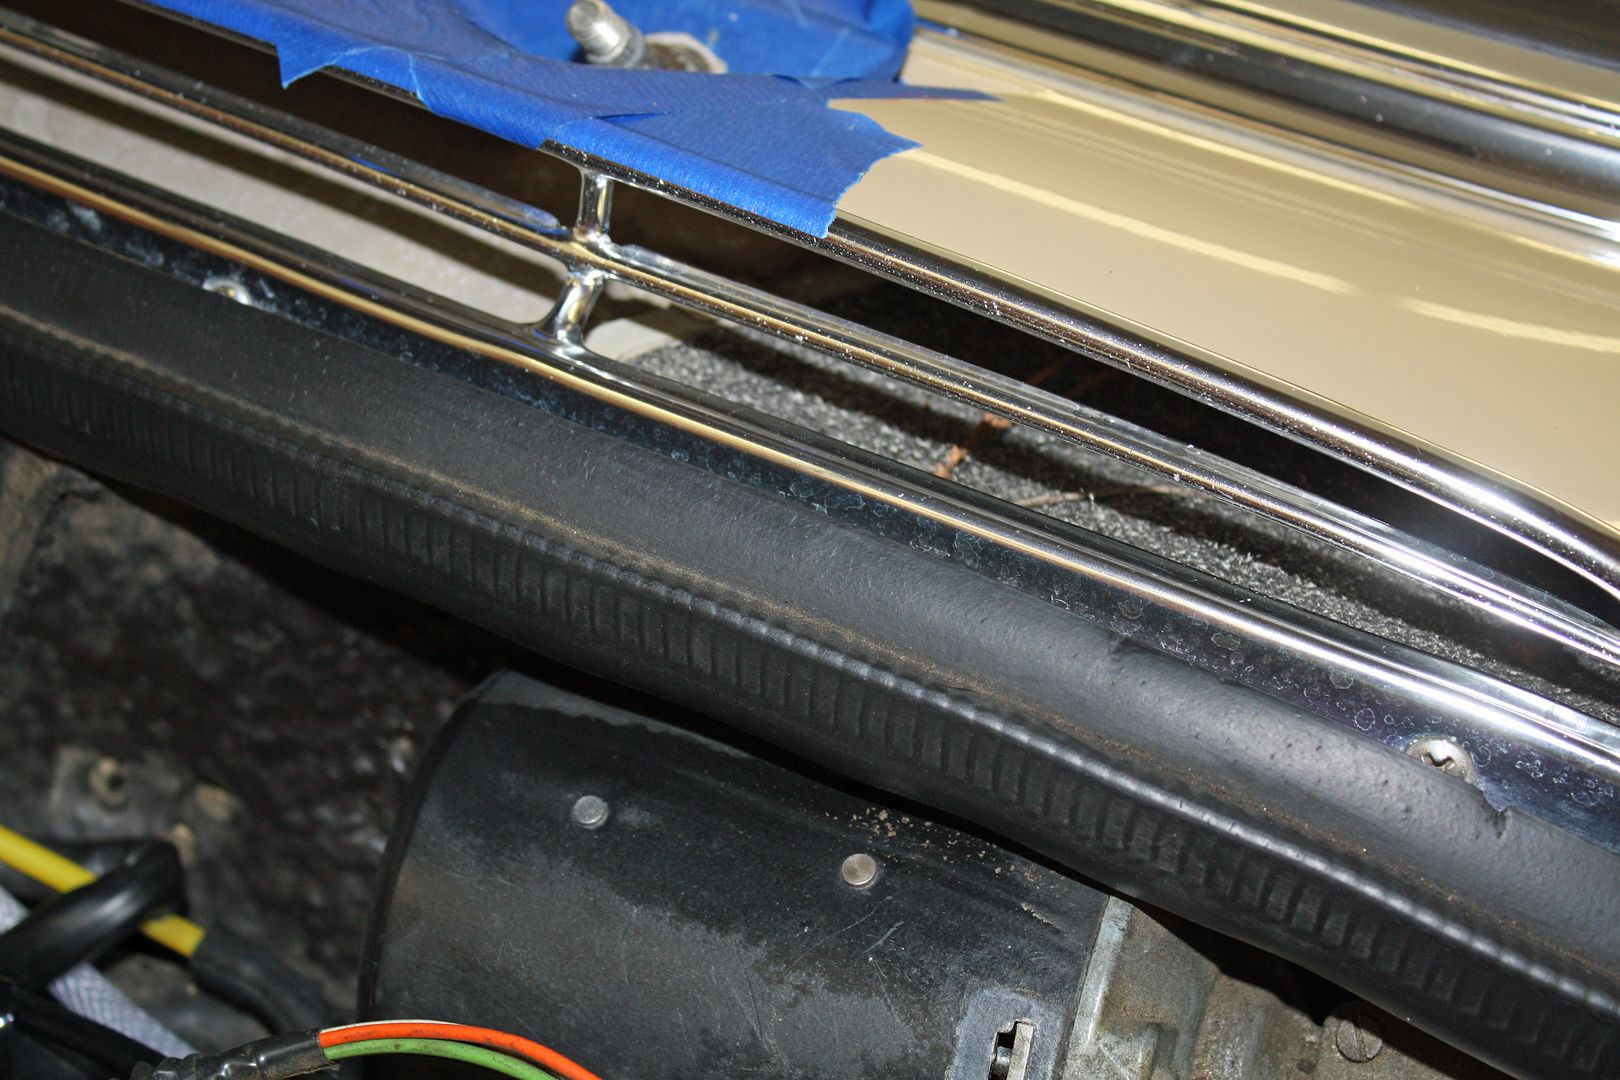 I also took this opportunity to replace the cabin air filters. There is a large one on the right side and a small one on the left. They were very dirty and even had holes in them. 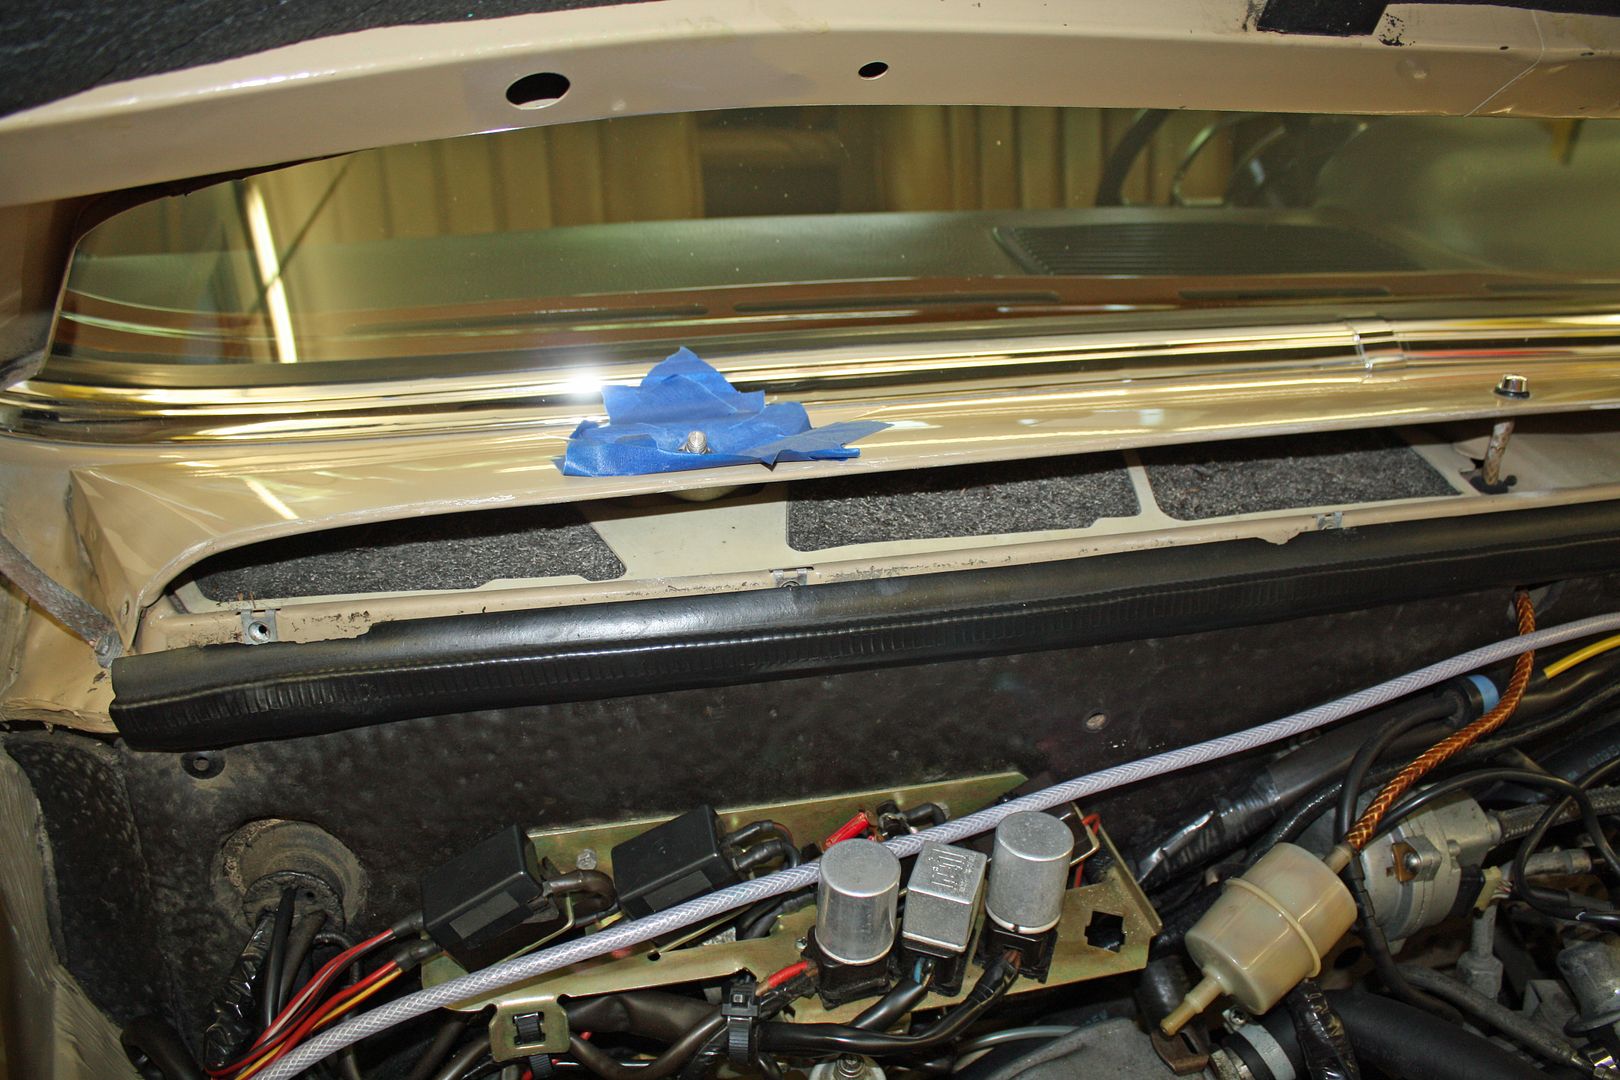 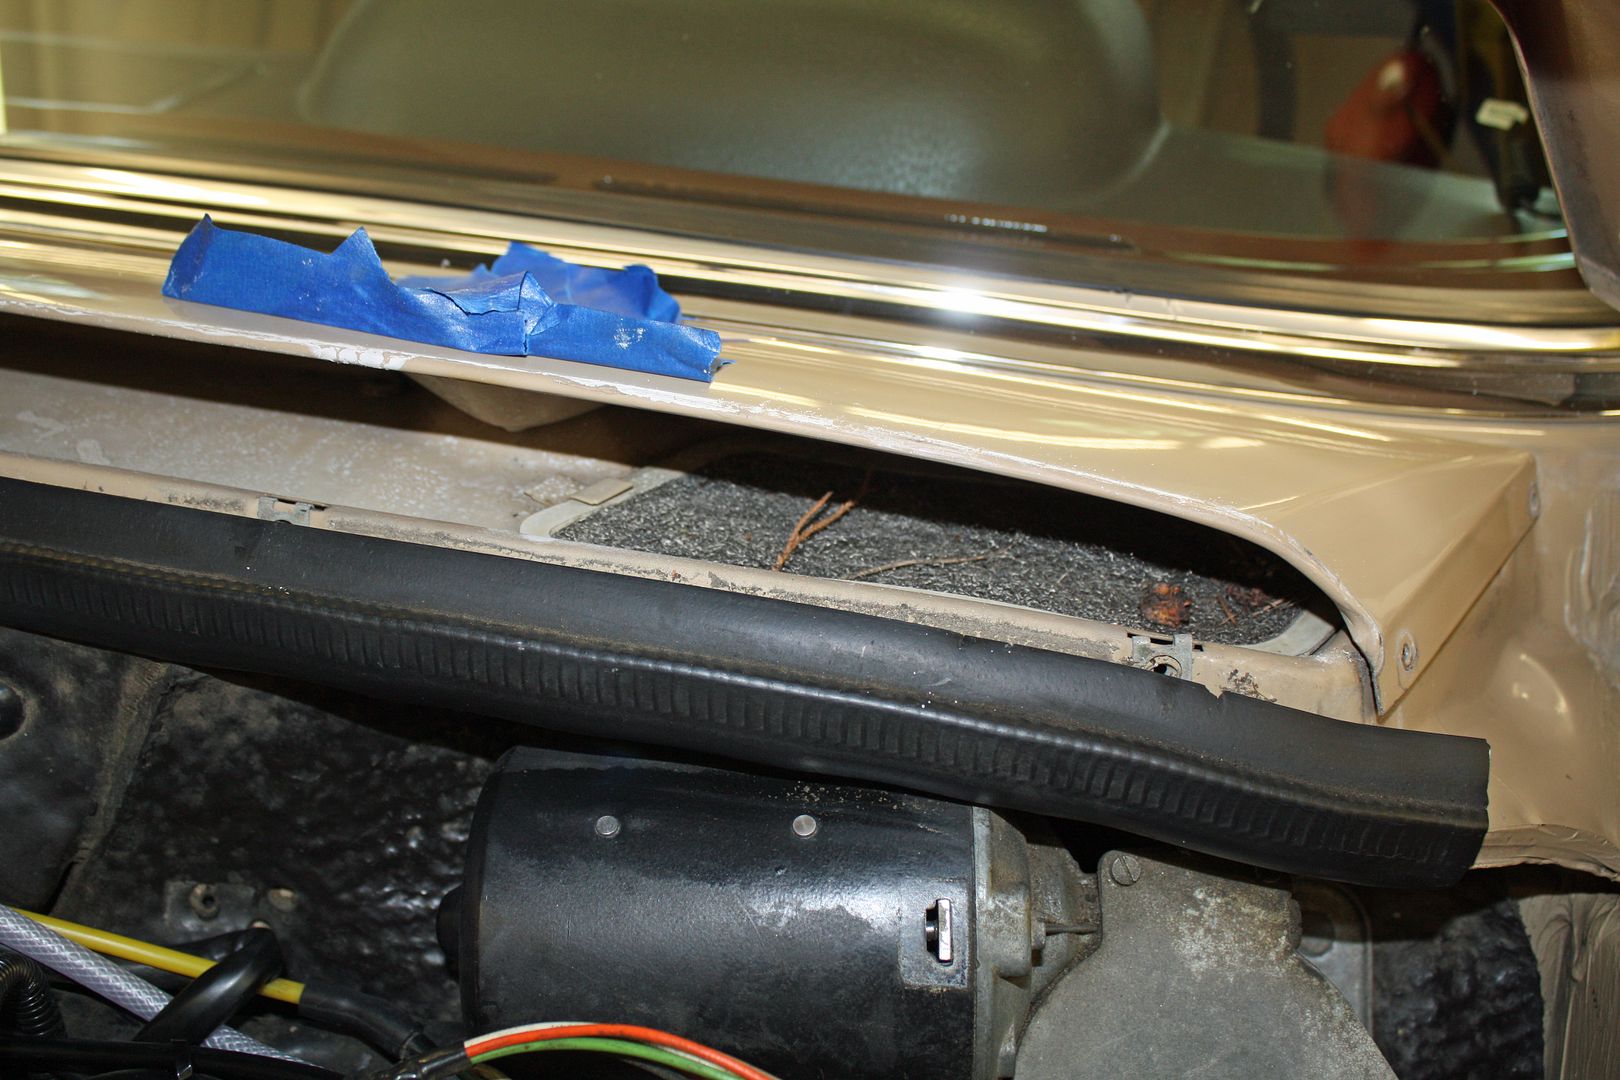 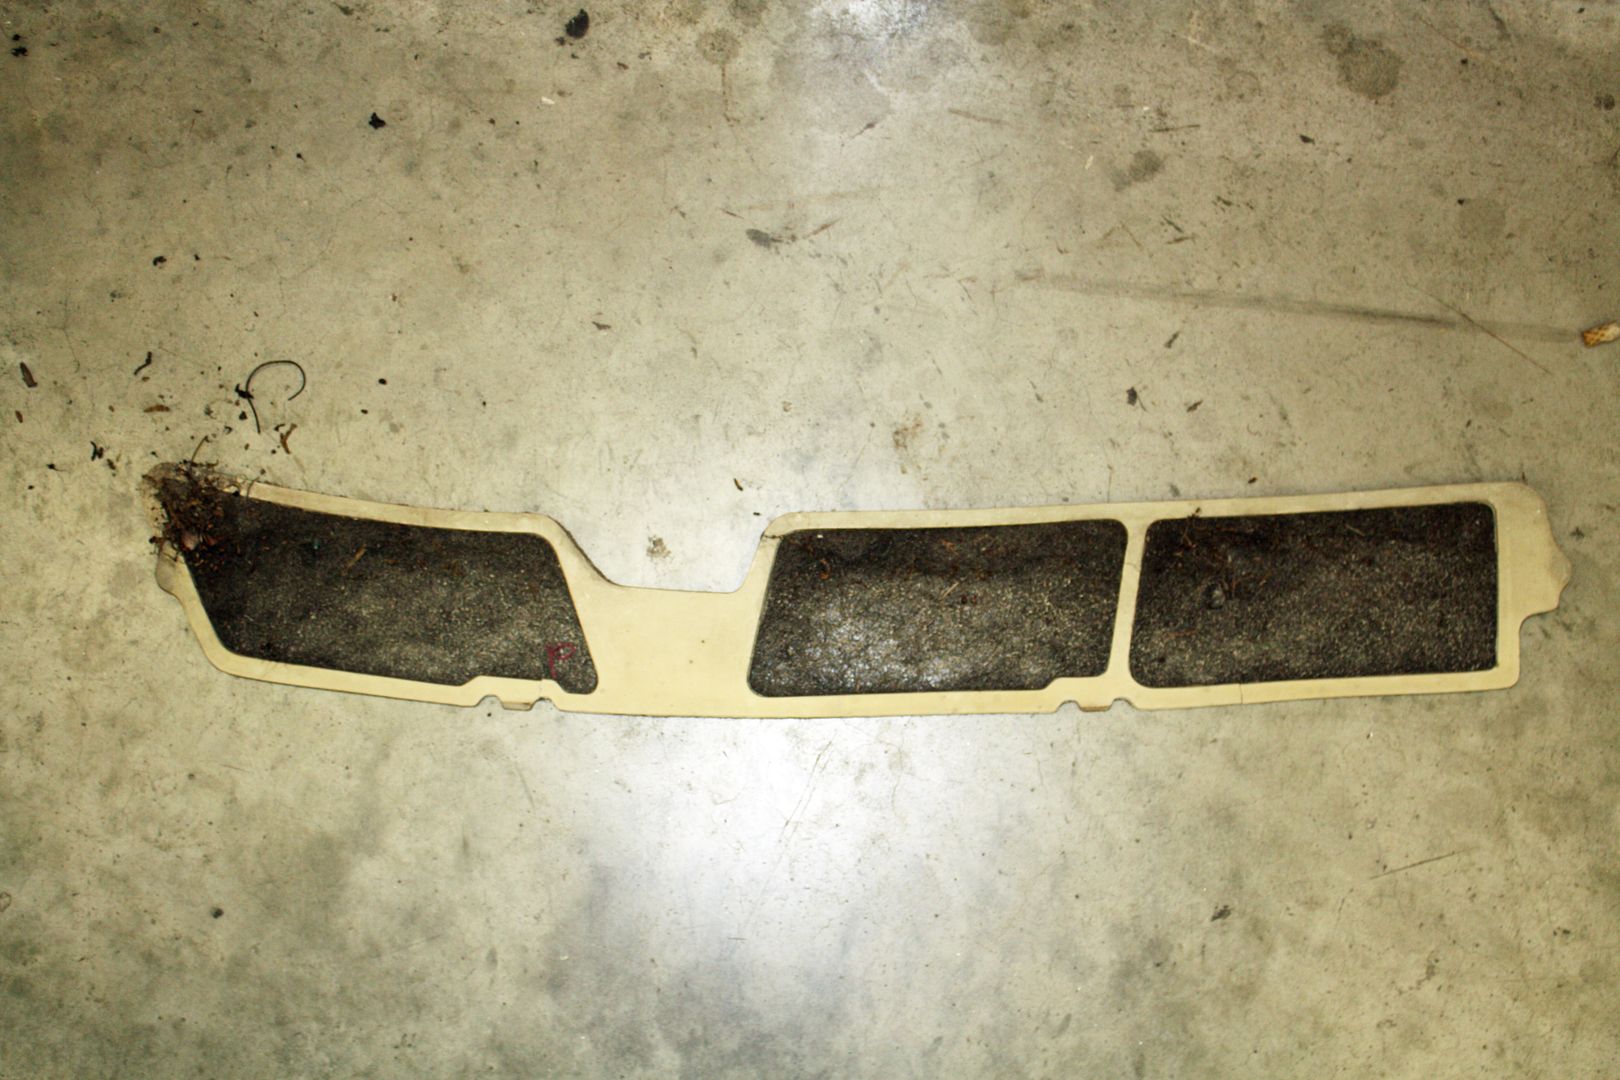 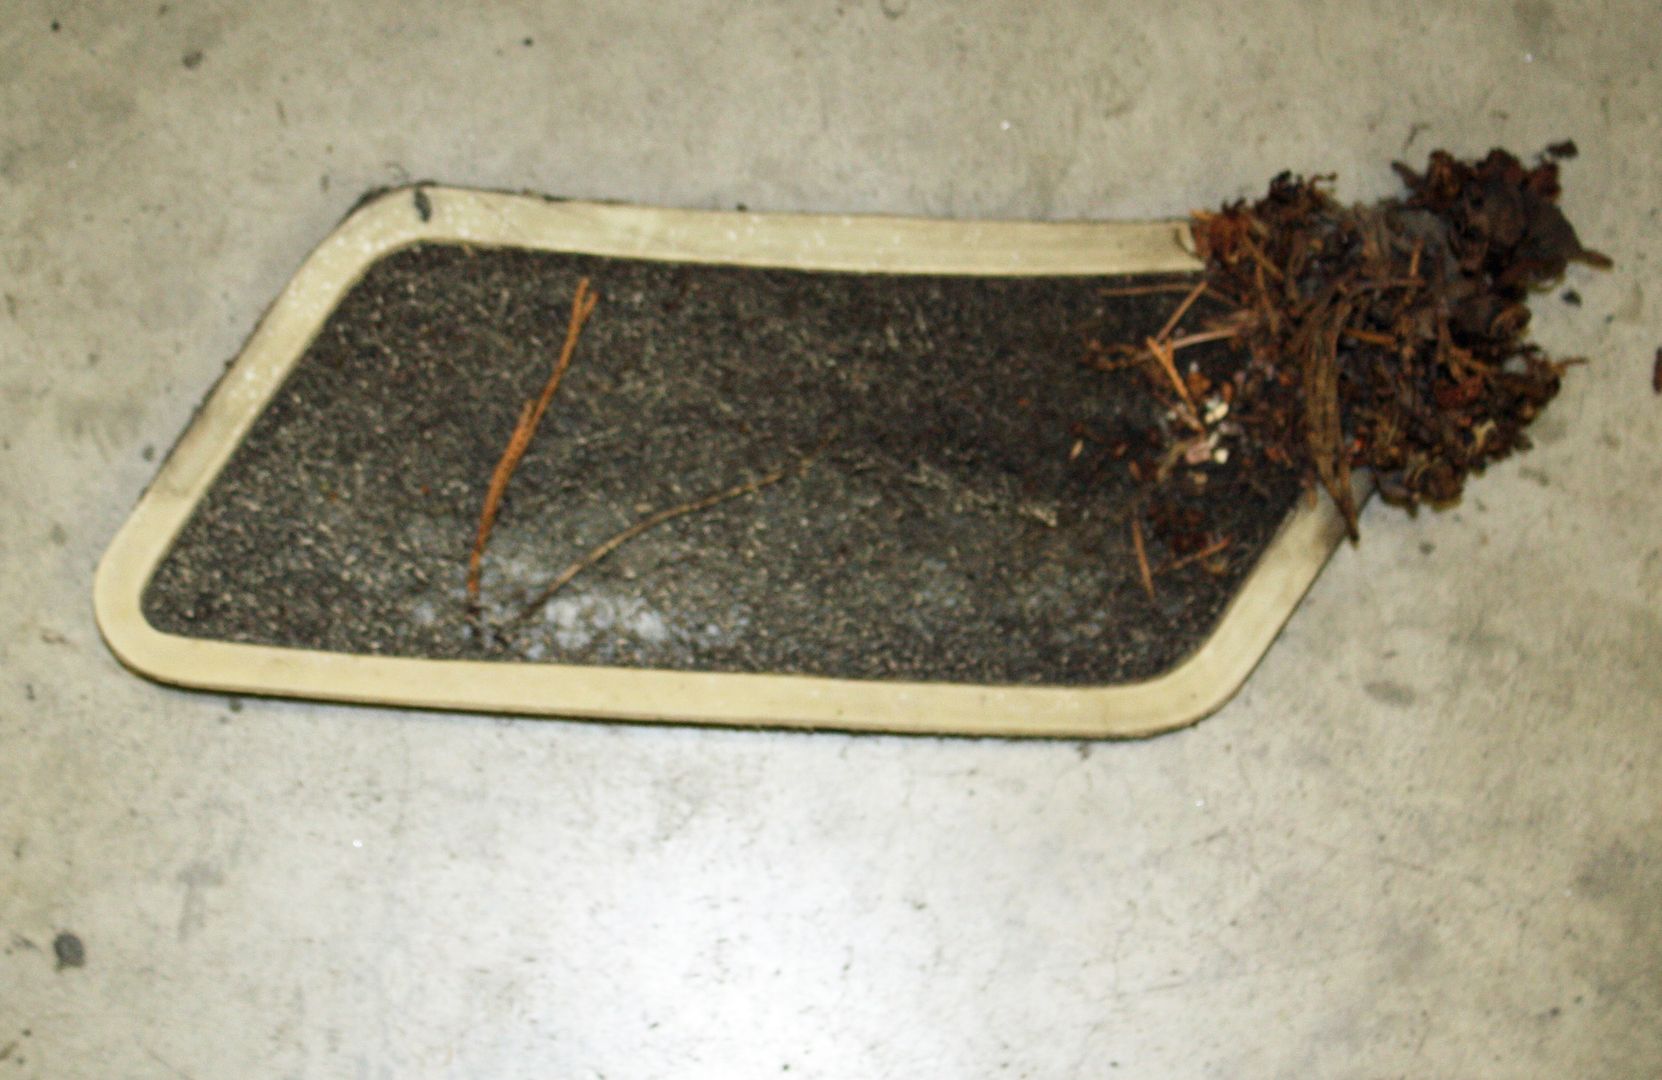 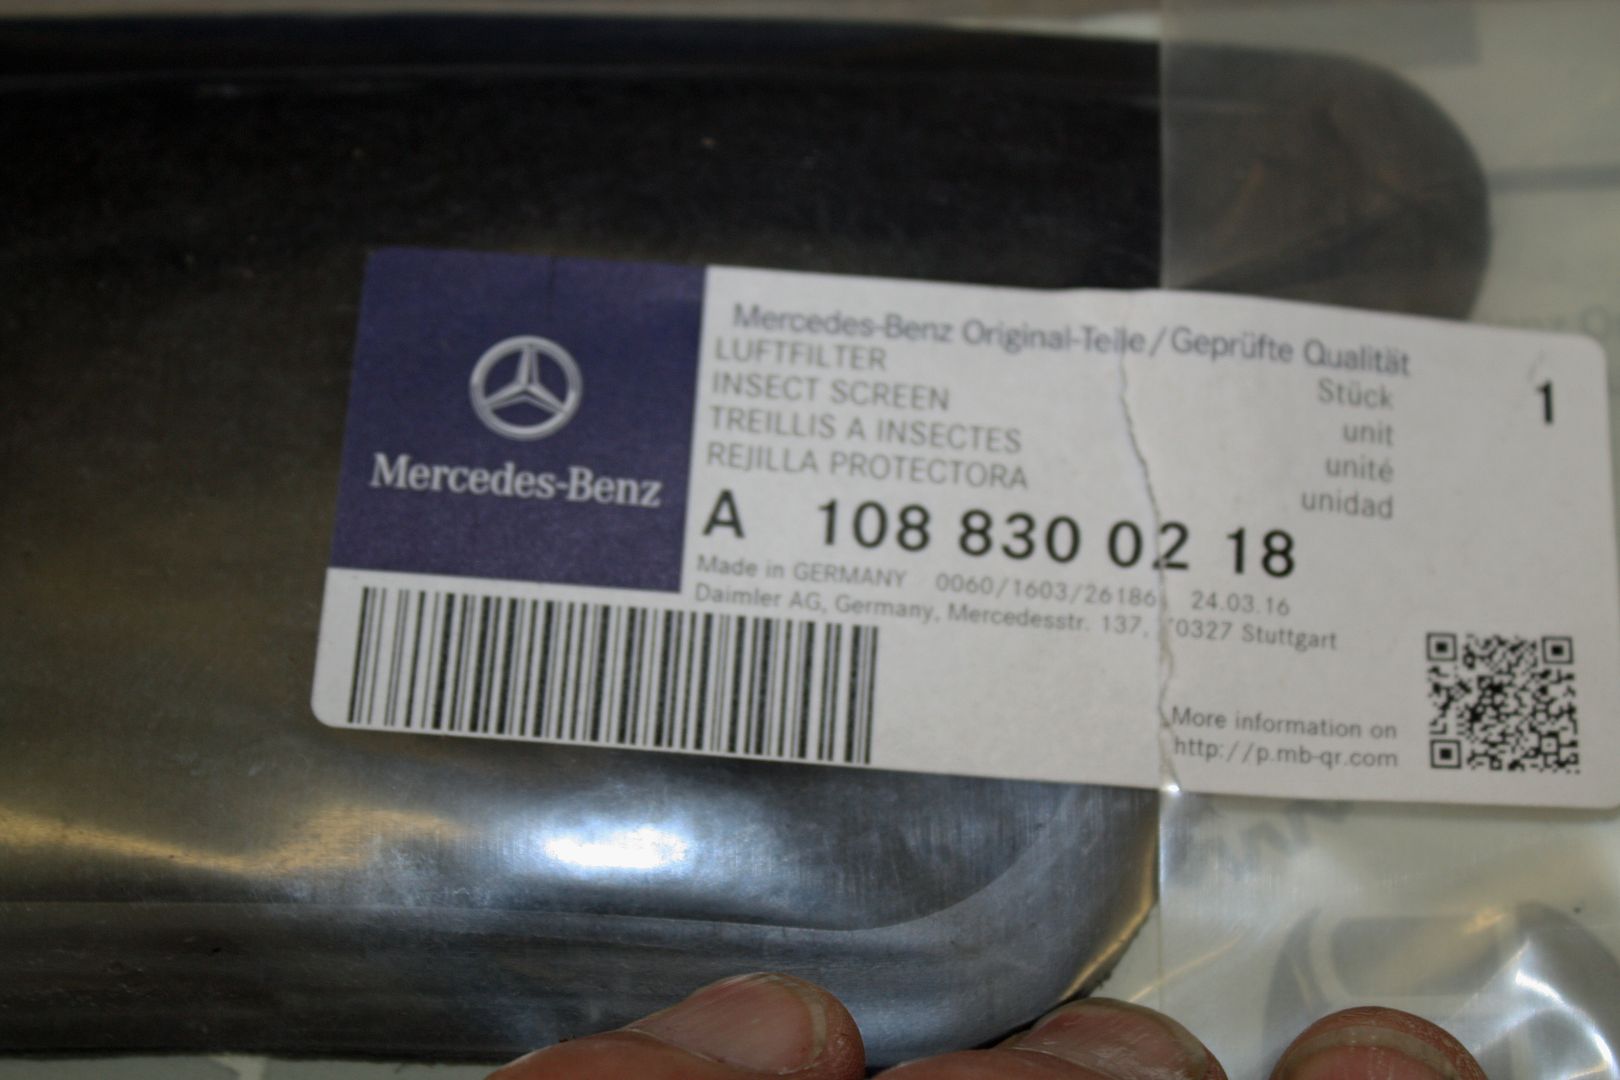 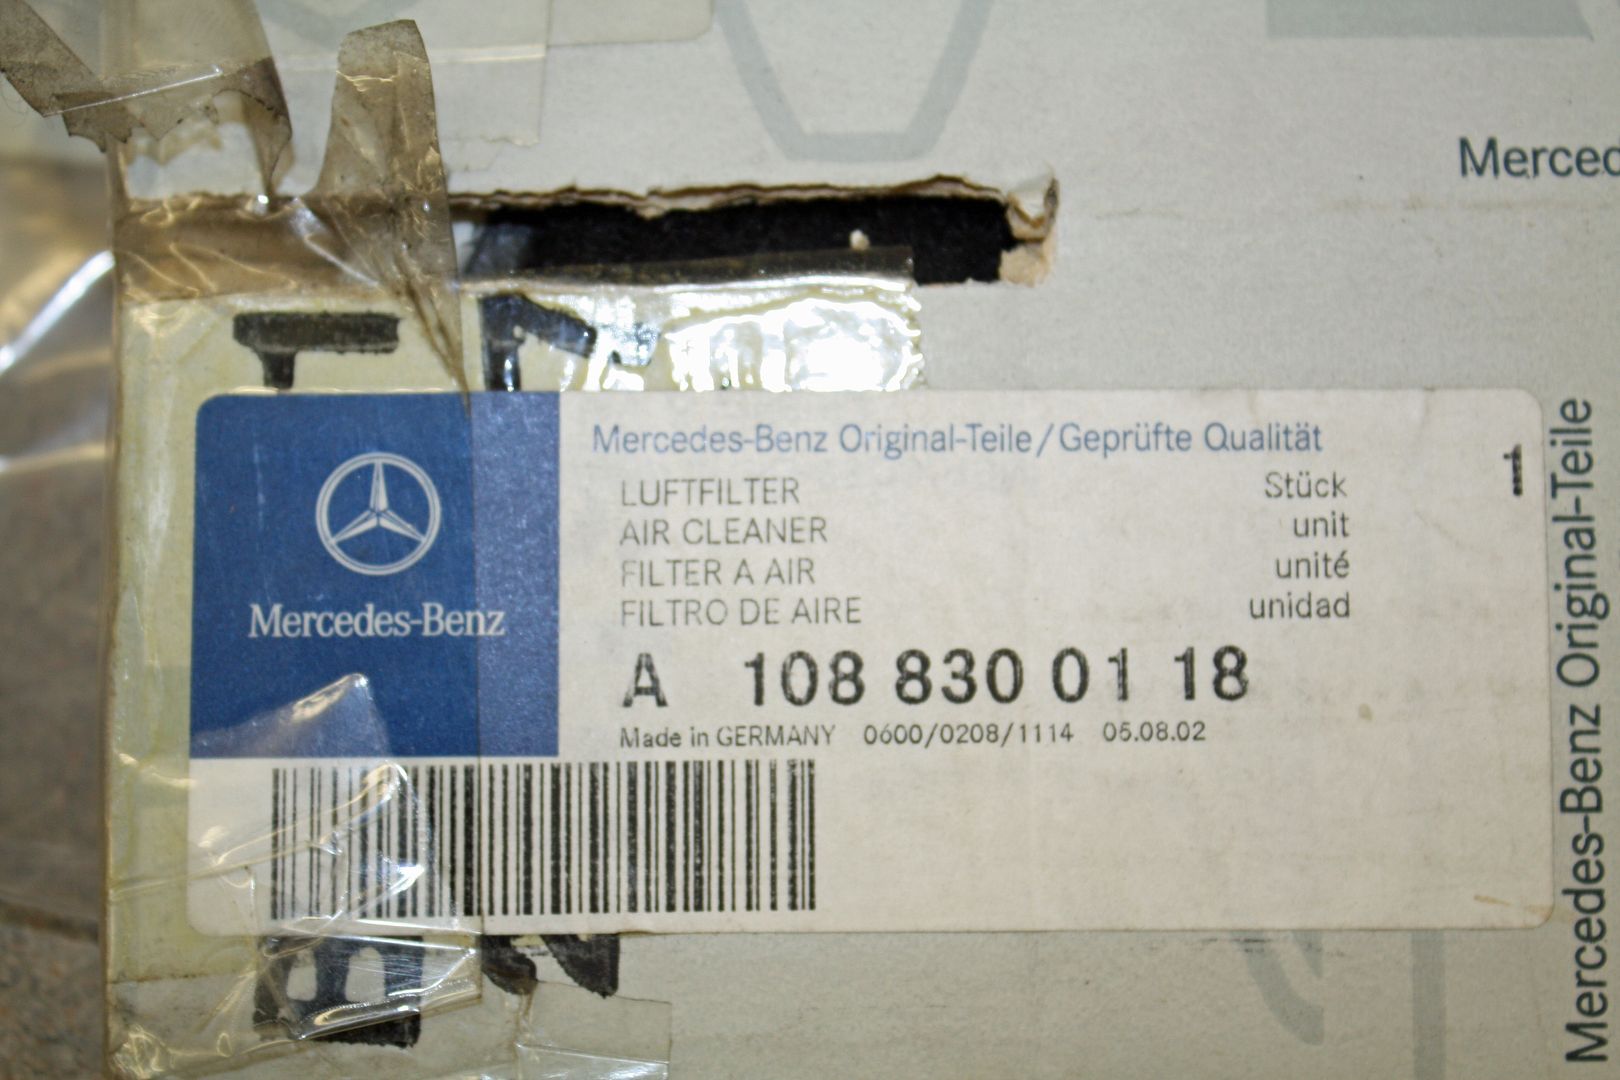 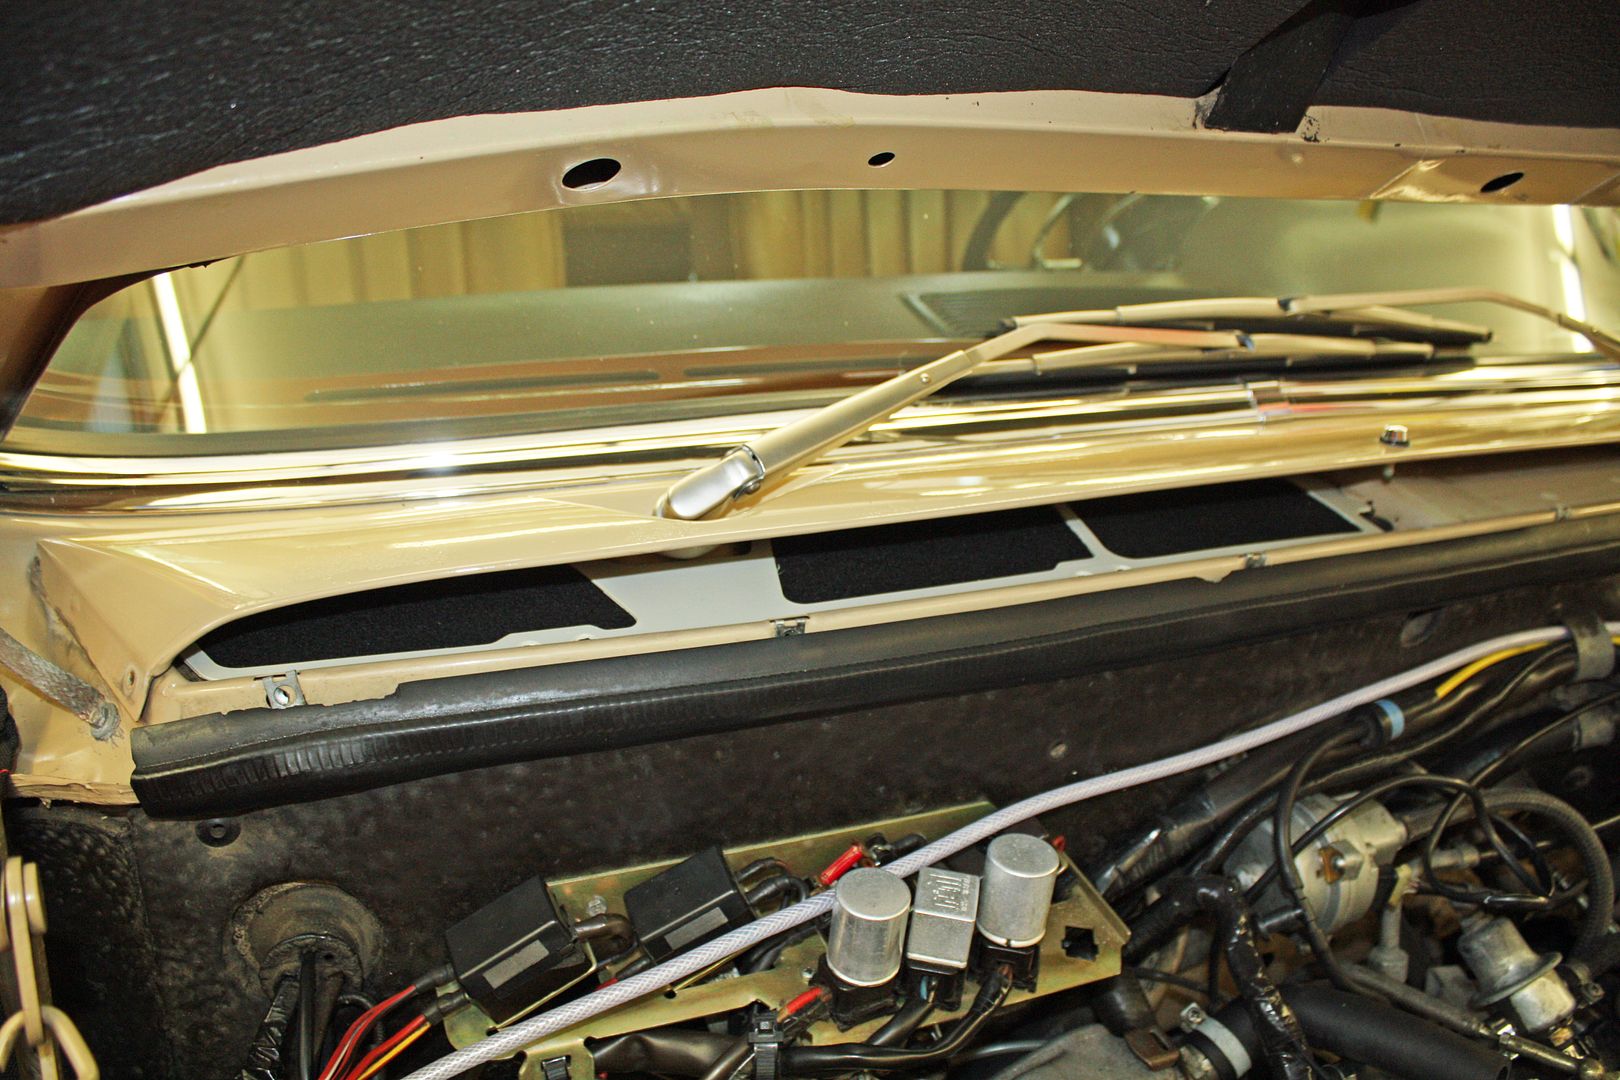 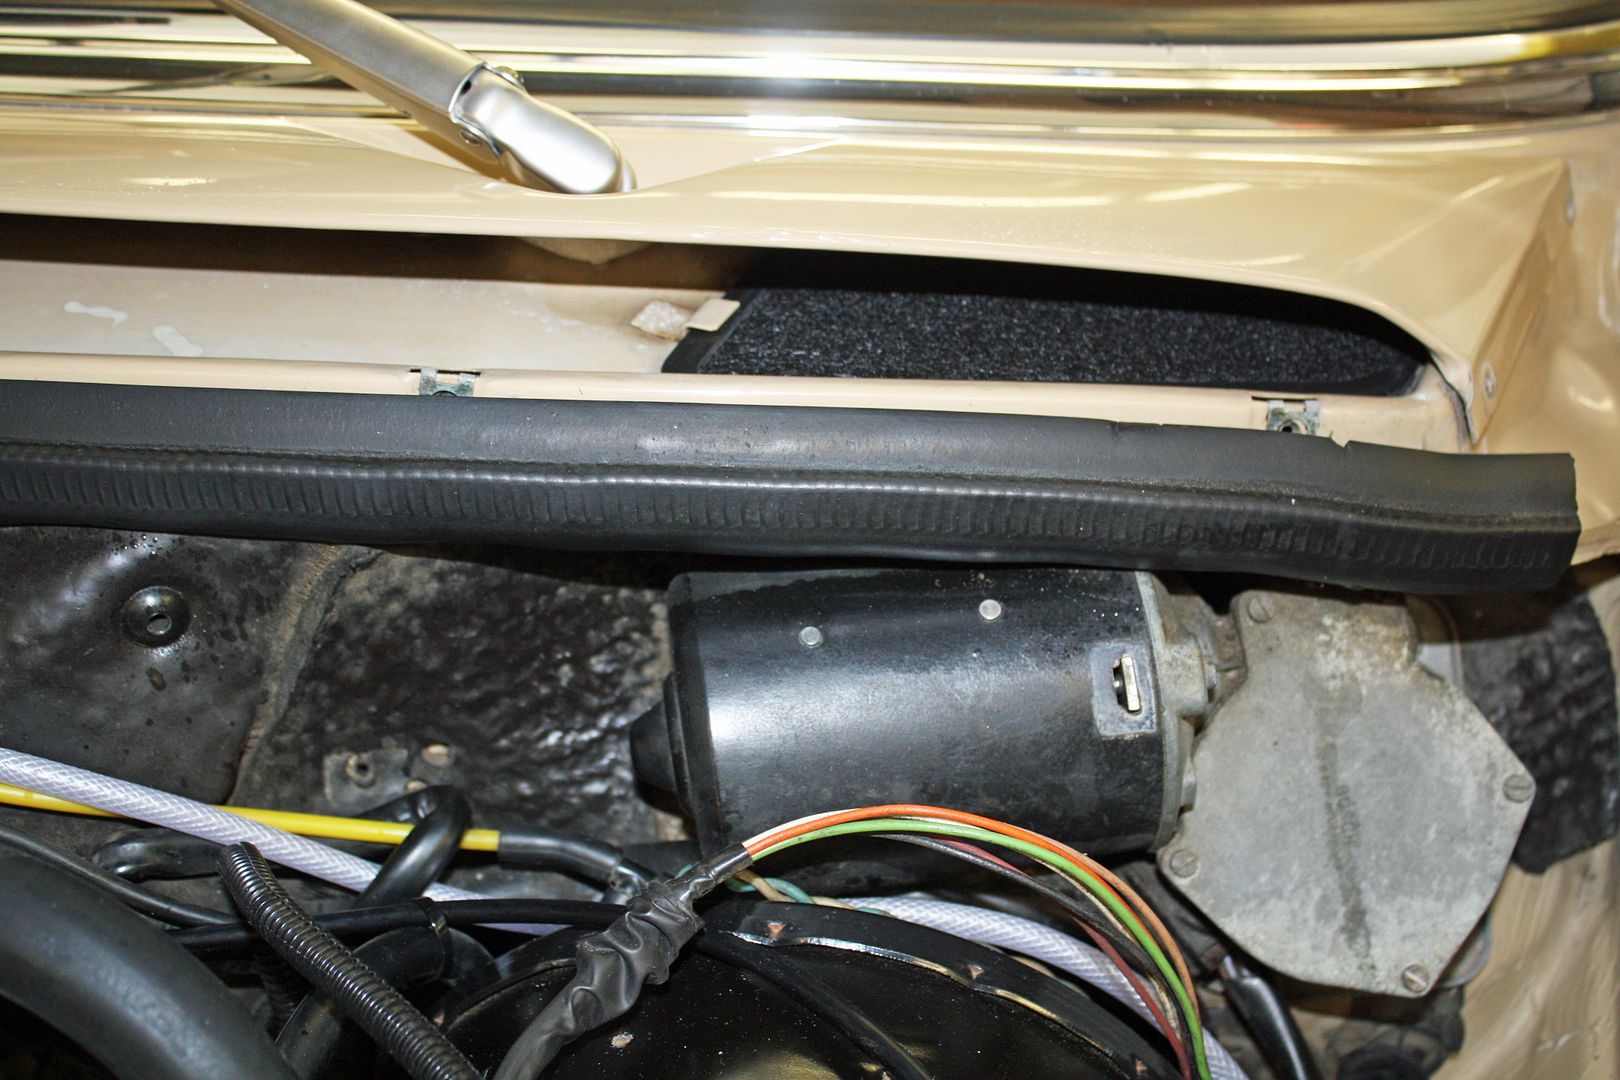 Since I am at a standstill on the cruise control install until the new switch arrives, I decided to install the rebuilt clock I had purchased before we left on our trip. Following instructions I found online for removing the instrument cluster, I unhooked the speedometer cable at the transmission to give it slack. 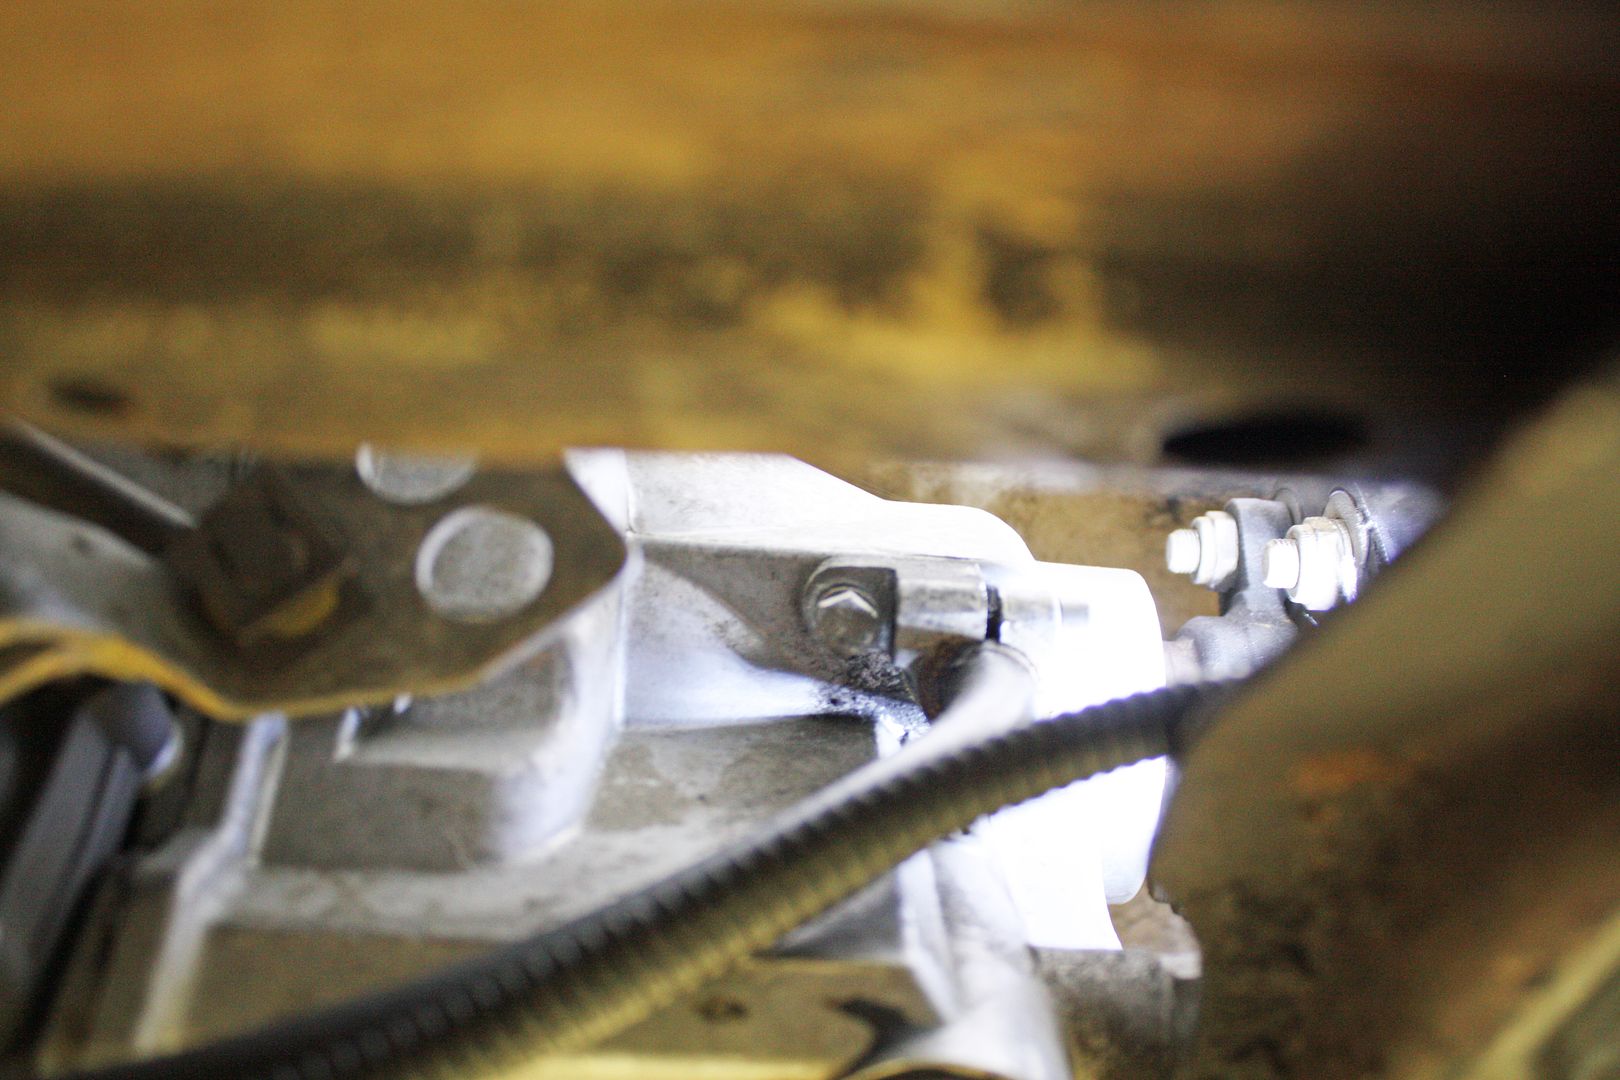 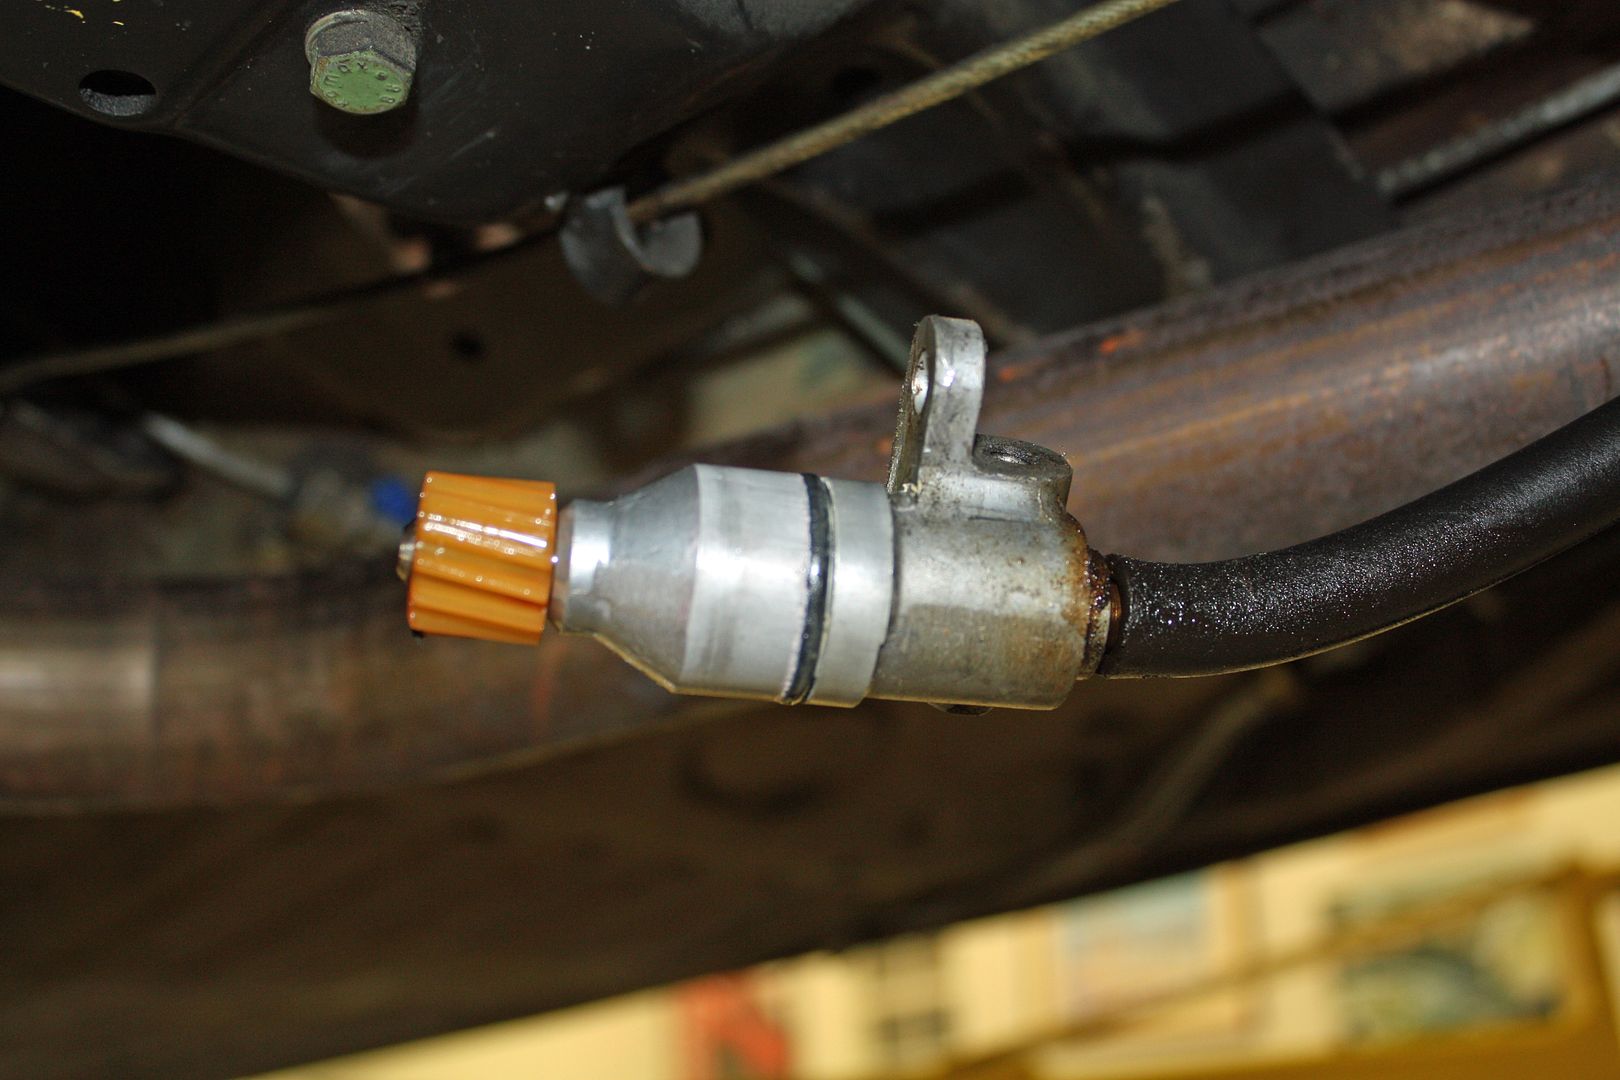 I had already removed the cardboard cover under the dash for the cruise control install. It was also advised to remove the bolts that fastened the parking brake bracket to give more room to get to the back of the instrument panel. 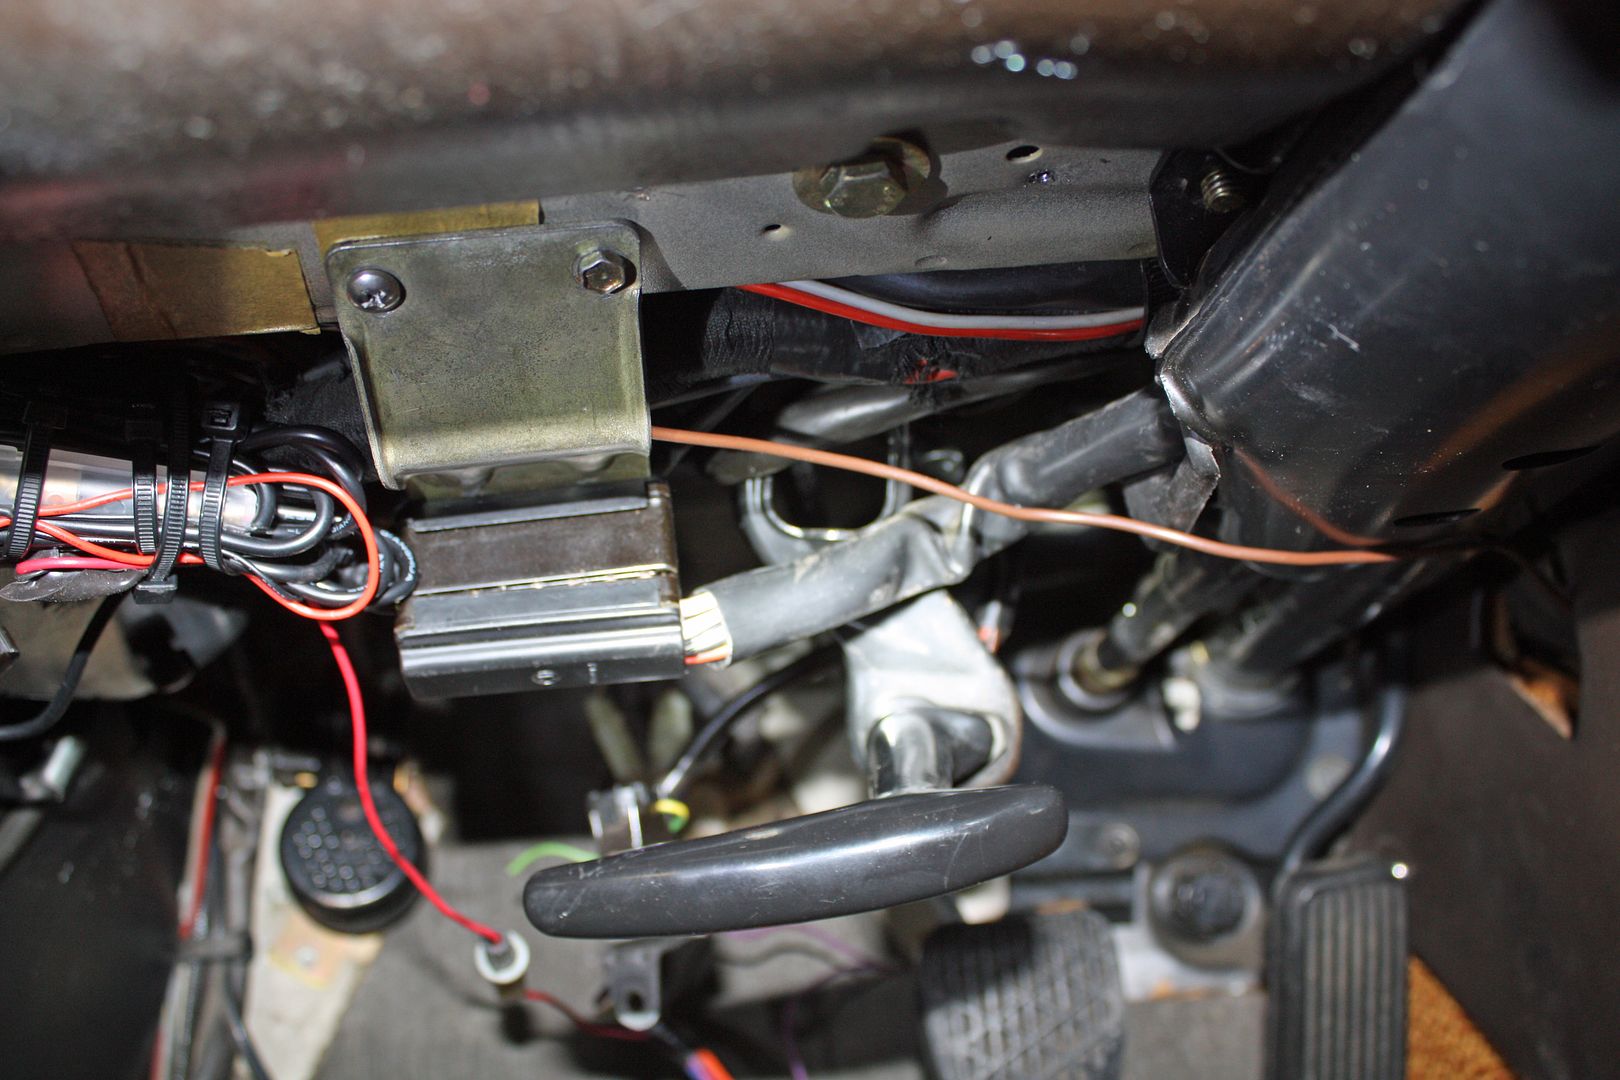 Since I have a column shift, I also needed to remove the bowden cable for the shifter. It is located on top of the shift column on the right side of the steering column. 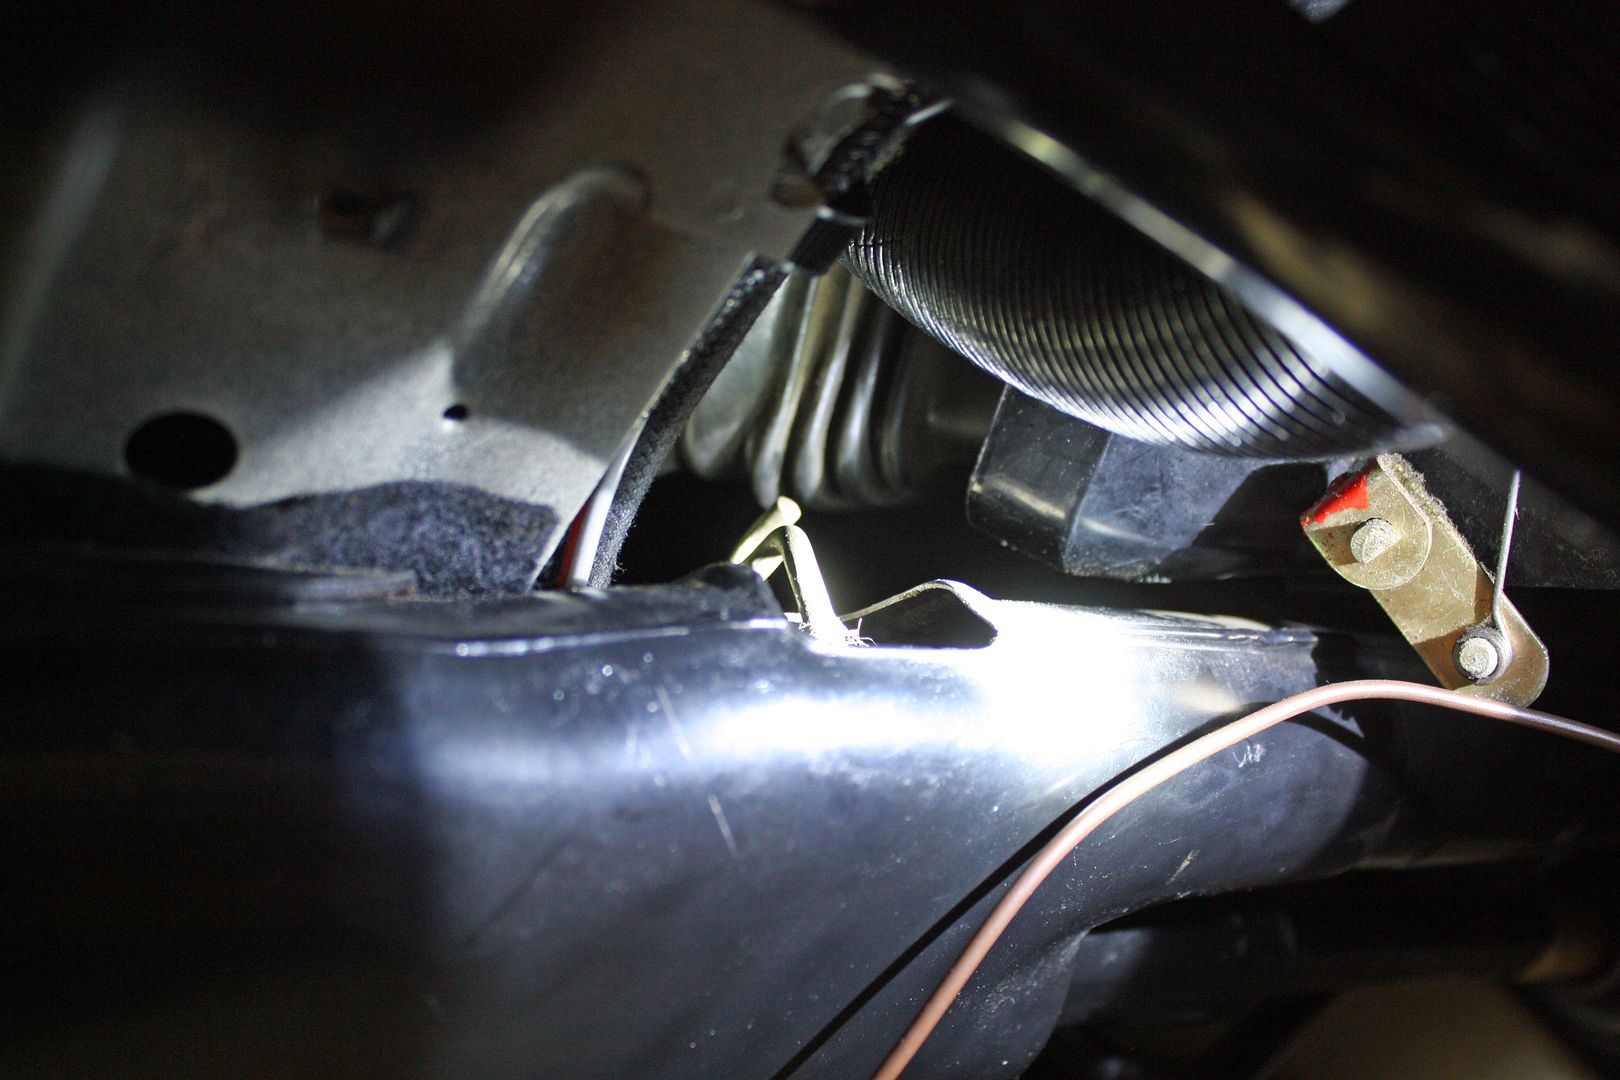 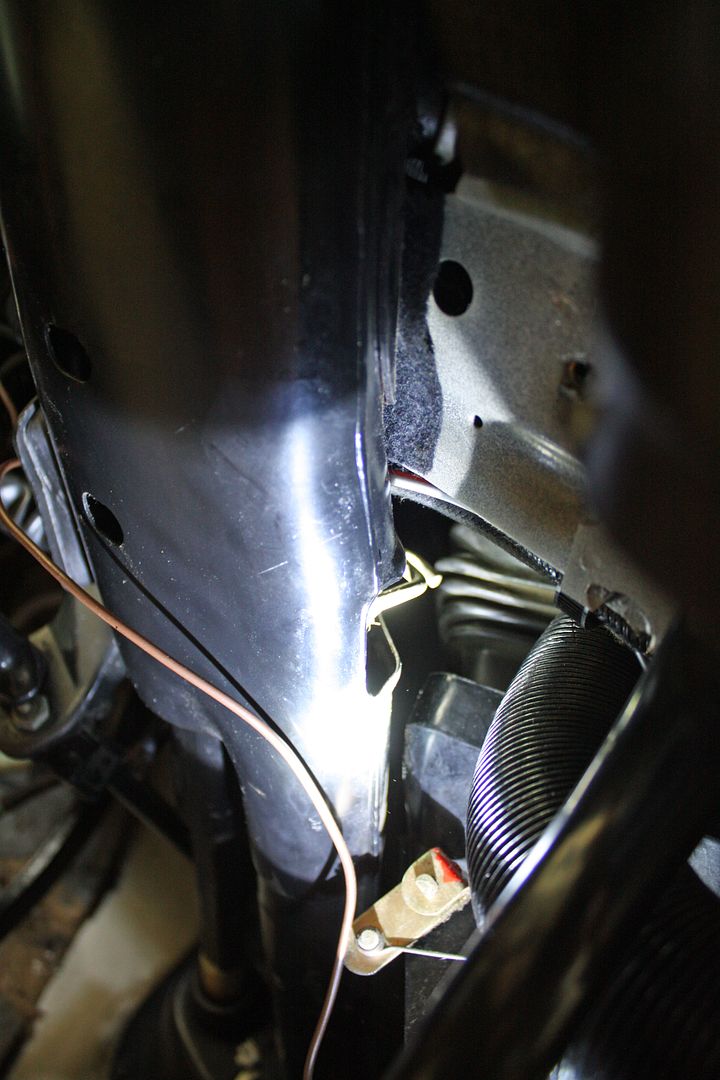 I also removed the steering wheel which will make it easier for me to work under the dash for installing the cruise control. After working under there today, I think I will also remove the driver's seat. The upshot of all this is that I could not reach the knurled nut that is supposedly holding in the instrument panel. When I reach up there I am encountering what feels like an air duct for the HVAC system. I cannot reach the back of the instrument panel. I even removed the radio and the sunroof switch but I still cannot access the rear of the instrument panel. It does pull out a about a 1/4". Tomorrow I will put the car back on the lift to see if there is a retainer for that speedometer cable between the transmission and where it enters the inside of the car. I am hoping that there is no knurled nut on he back of the instrument panel. Any suggestions would be appreciated. |
|
#268
|
||||
|
||||
|
Could be the knurled nut was removed during previous work and not replaced.
It's no fun, trying to get one's arm wedged in there. |
|
#269
|
|||
|
|||
|
Quote:
My arm looks like it has been through a cheese grater!!! |
|
#270
|
|||
|
|||
|
Ha! Been there, done that. My 4.5's knurled nut is now stored in the glove compartment.
__________________
1973 280SEL 4.5 2021 E450S4 AT/Wagon |
 |
| Bookmarks |
|
|