 |
 |
 |
 |

|


|
|
|
|
|
|
#361
|
|||
|
|||
|
I did find a LED bulb that works. Doesn’t get nearly as hot.
|
|
#362
|
|||
|
|||
|
I removed the compensator spring and replaced it with my newly rebuilt hydropneumatic compensator. From the digital service manual file, I printed the instructions.
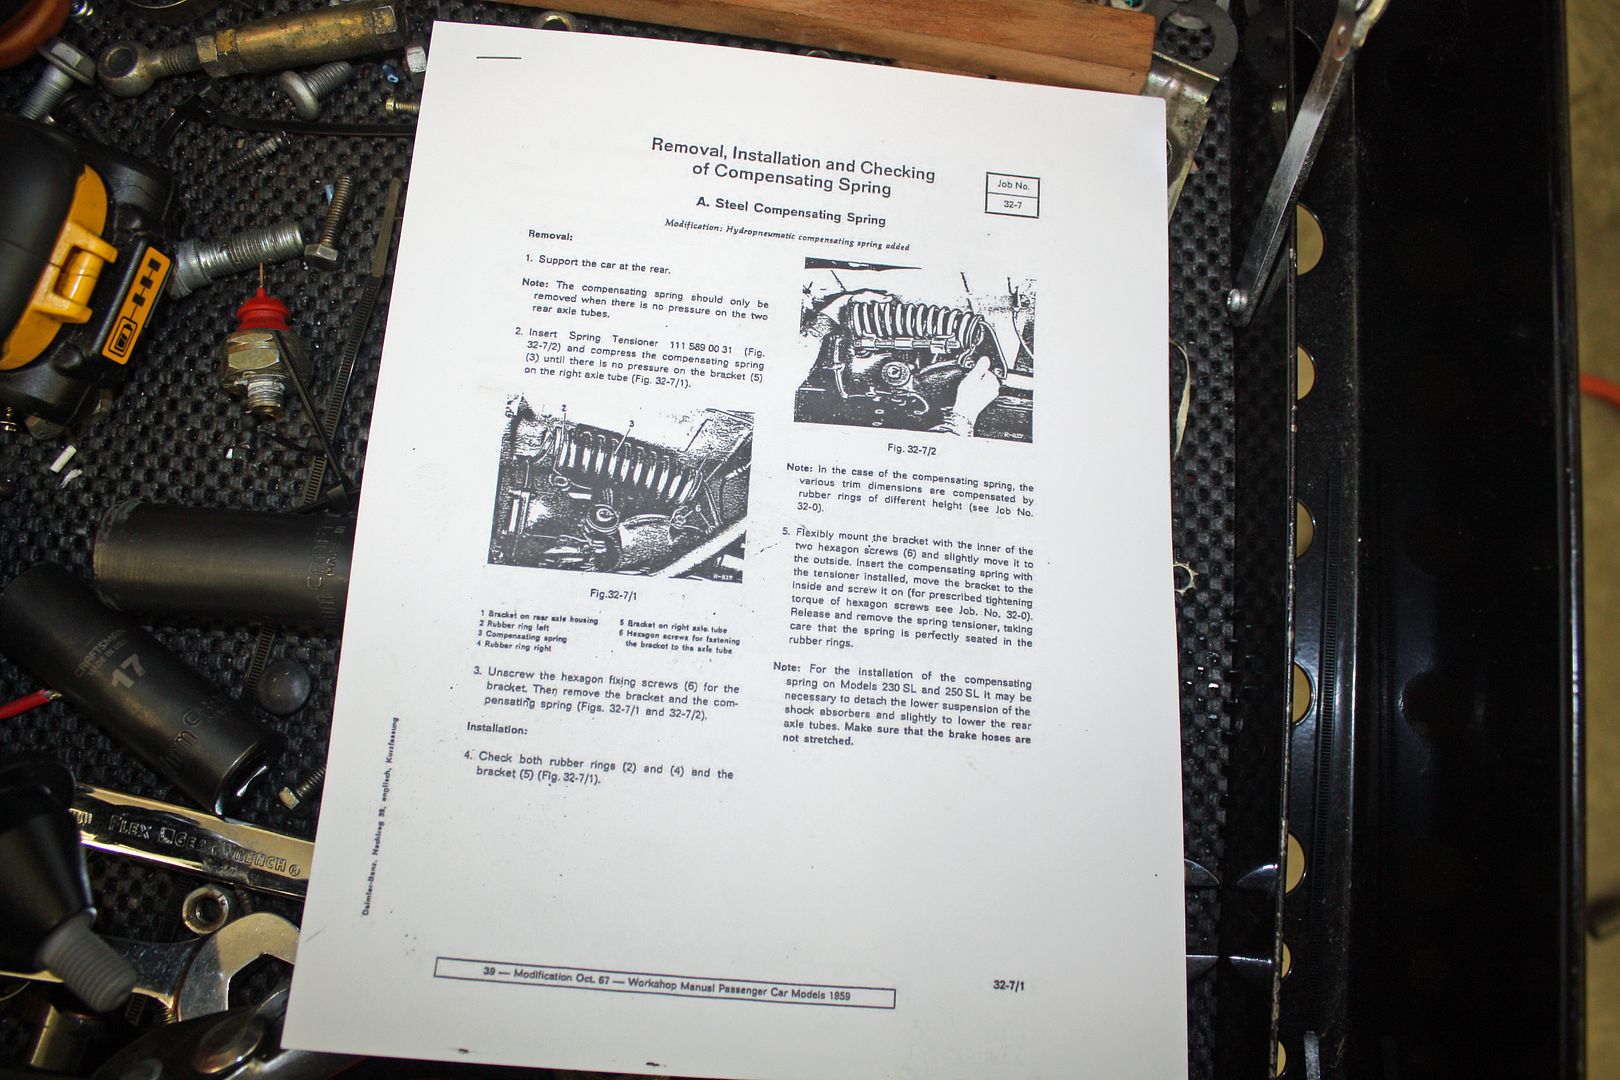 I began by placing jack stands at both rear suspension points. I then removed both shocks and then let the rear suspension droop as far as possible while making sure I did not stretch the rubber brake lines. The left side was the one to watch as there was sufficient length in the right side. 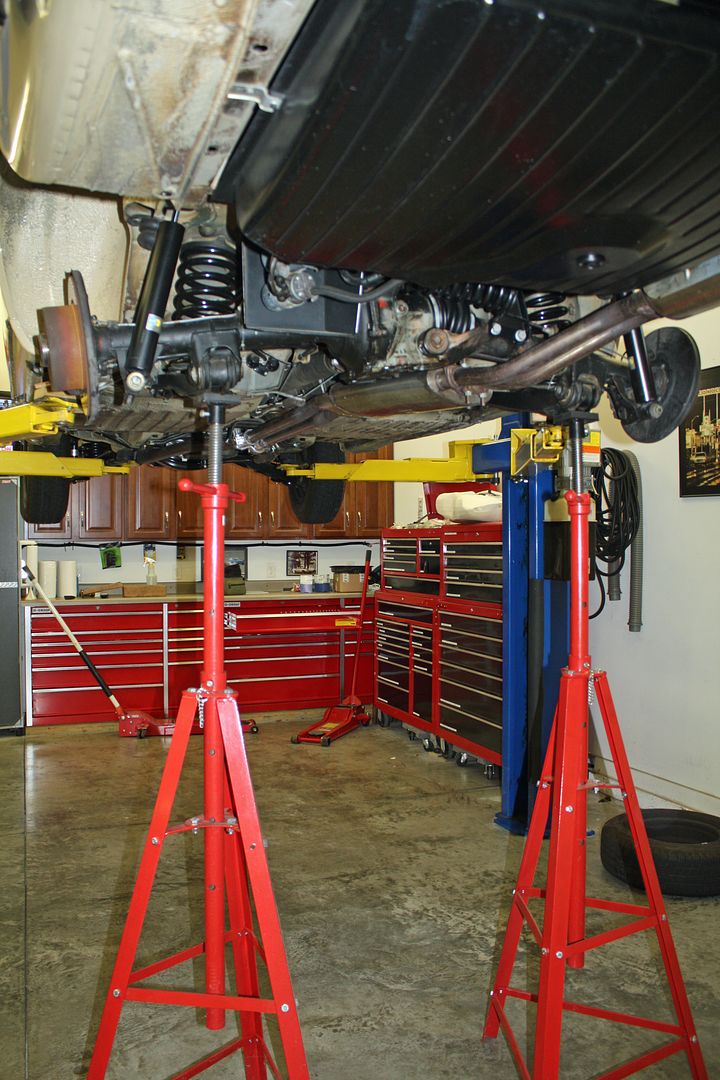 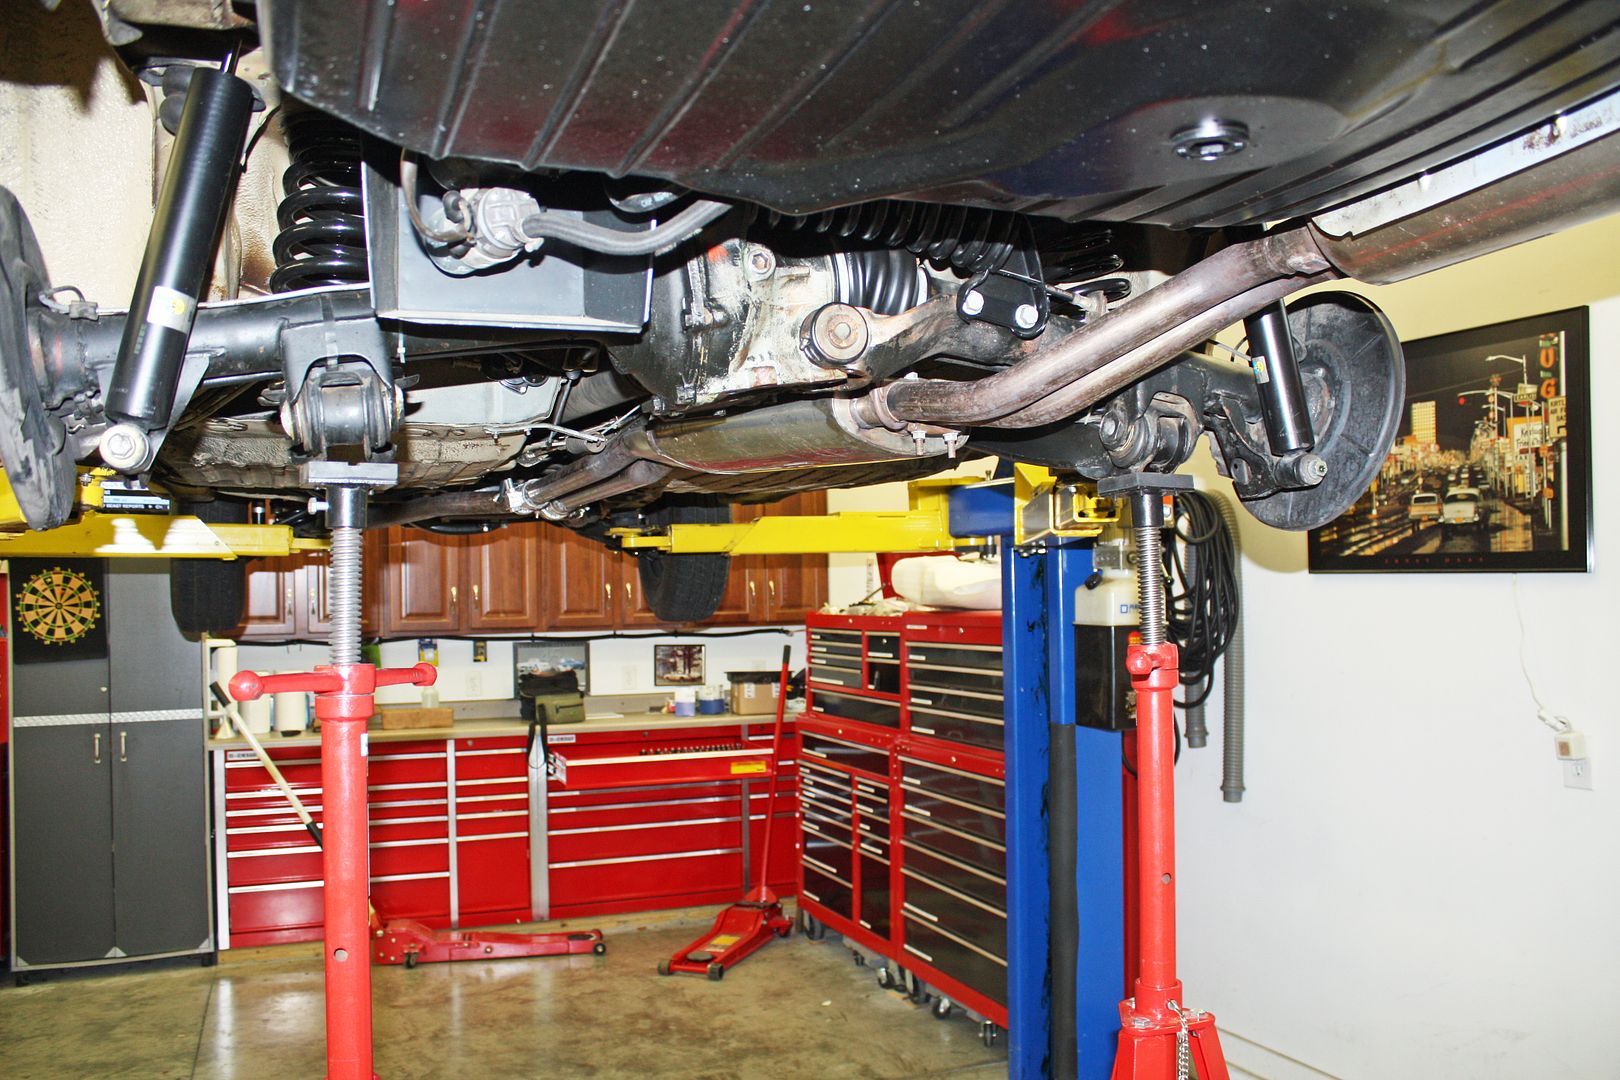 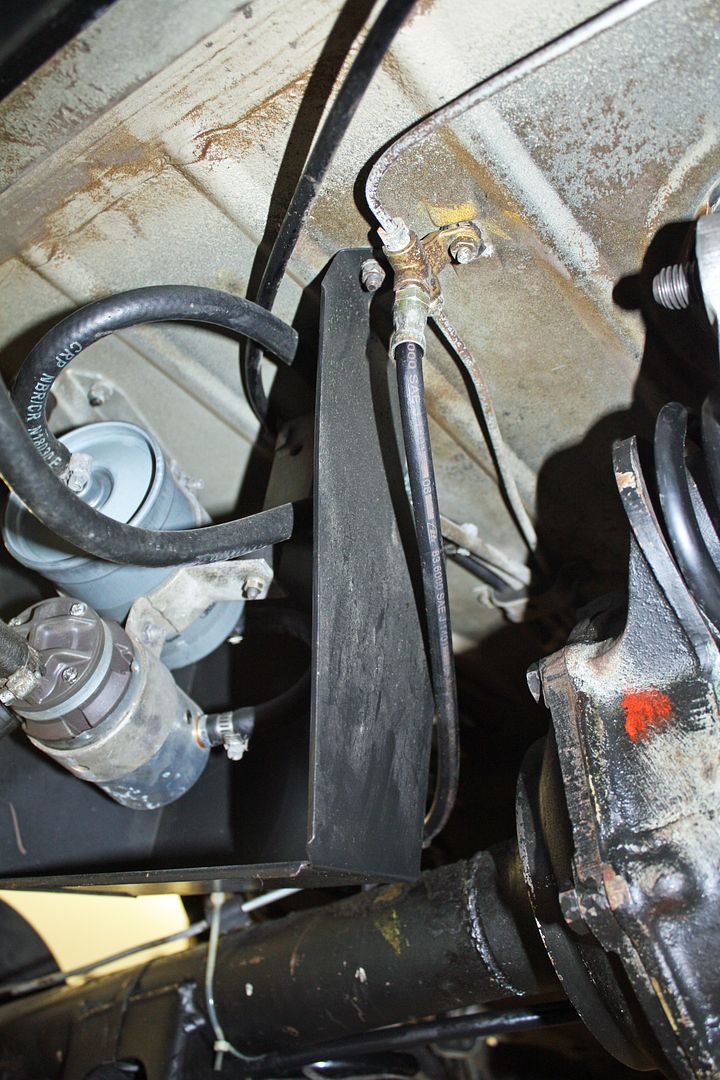 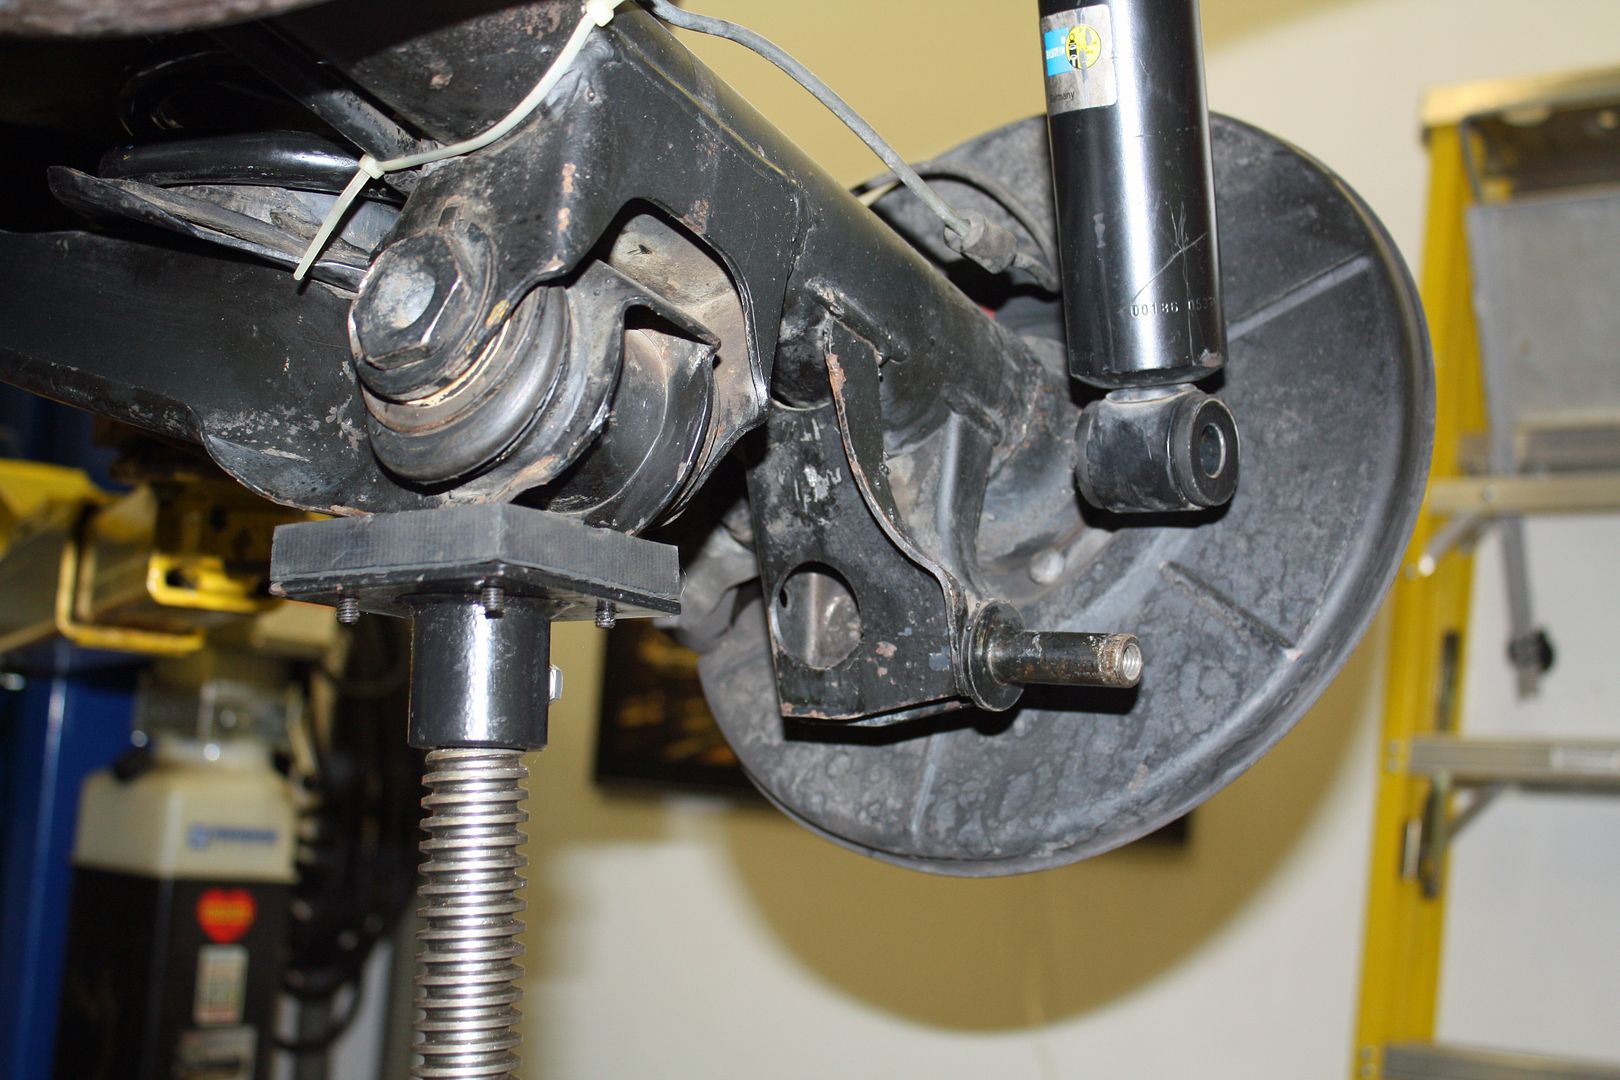 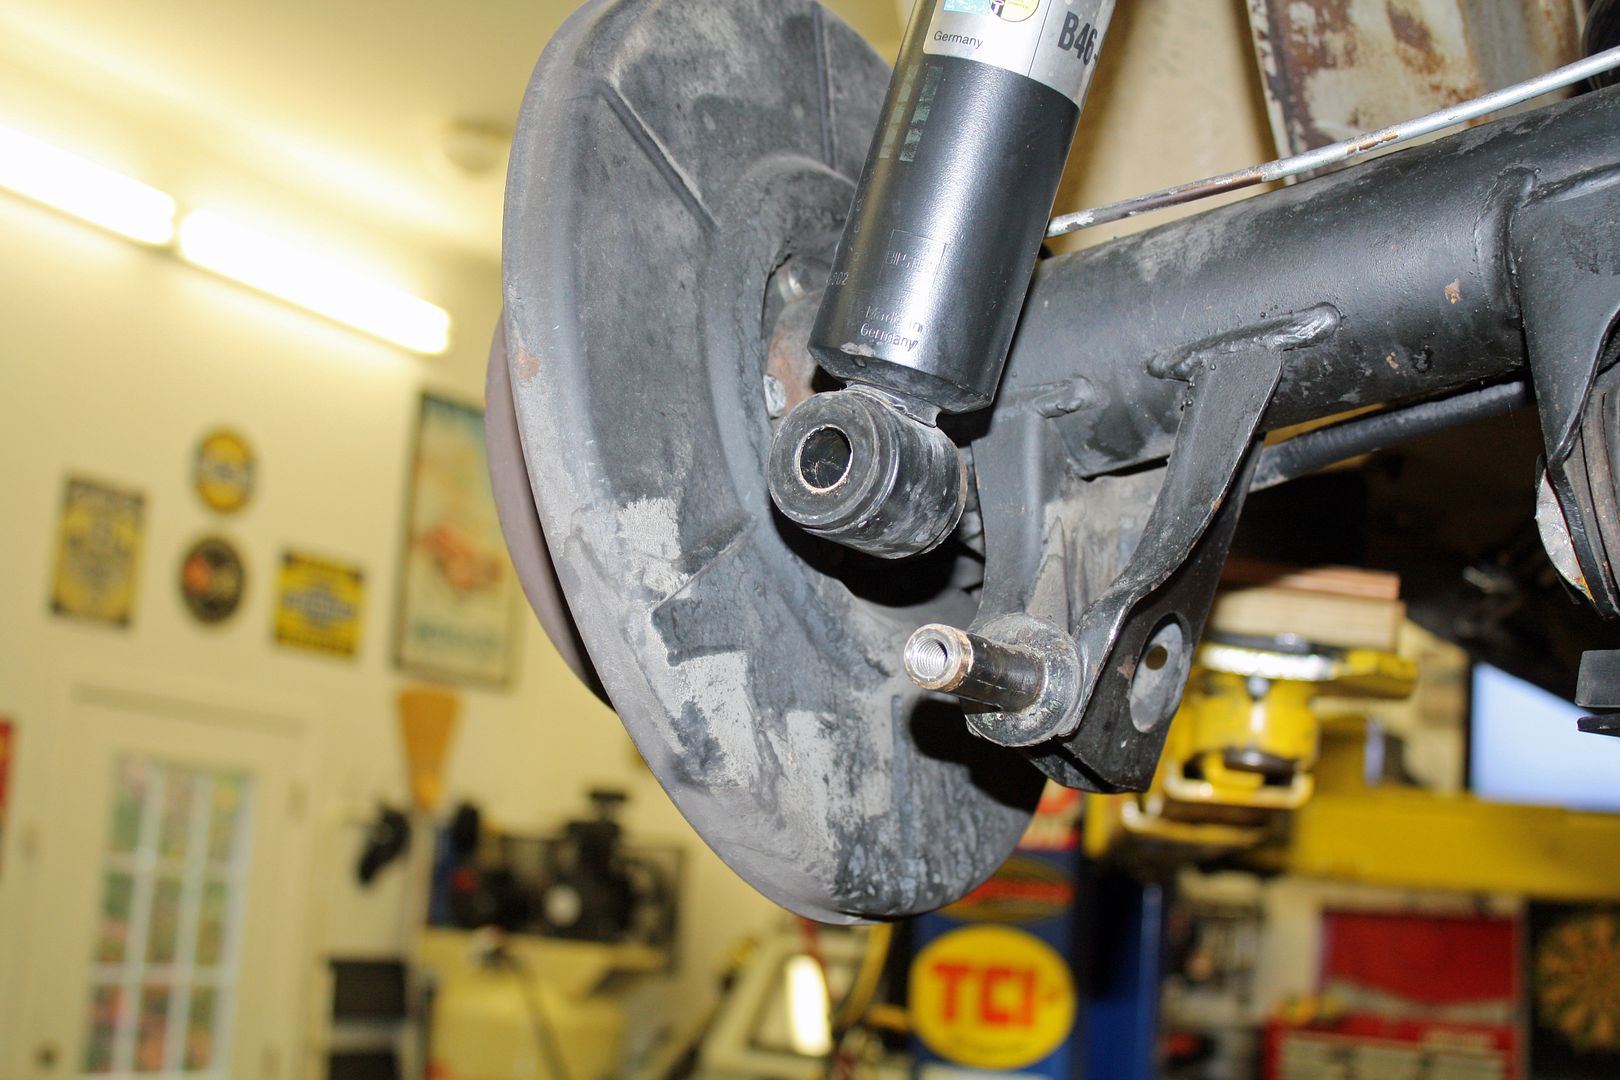 The instructions say to install a spring compressor on the compensator spring. My spring compressor claws were just a bit too large as I could only get one end inserted. I tried the single claw end first and, after that didn't work, I tried the other double claw end. I was able to insert one of those claws only but then could not remove the compressor from the spring. However, I could rotate the spring with my hand so I knew it was not under a great deal of pressure. So I gingerly removed one of the bolts. Nothing moved. However, as soon as I loosened the other bolt, the mount rotated and the spring released with some force. Not a great deal but it still surprised me. And it was out. 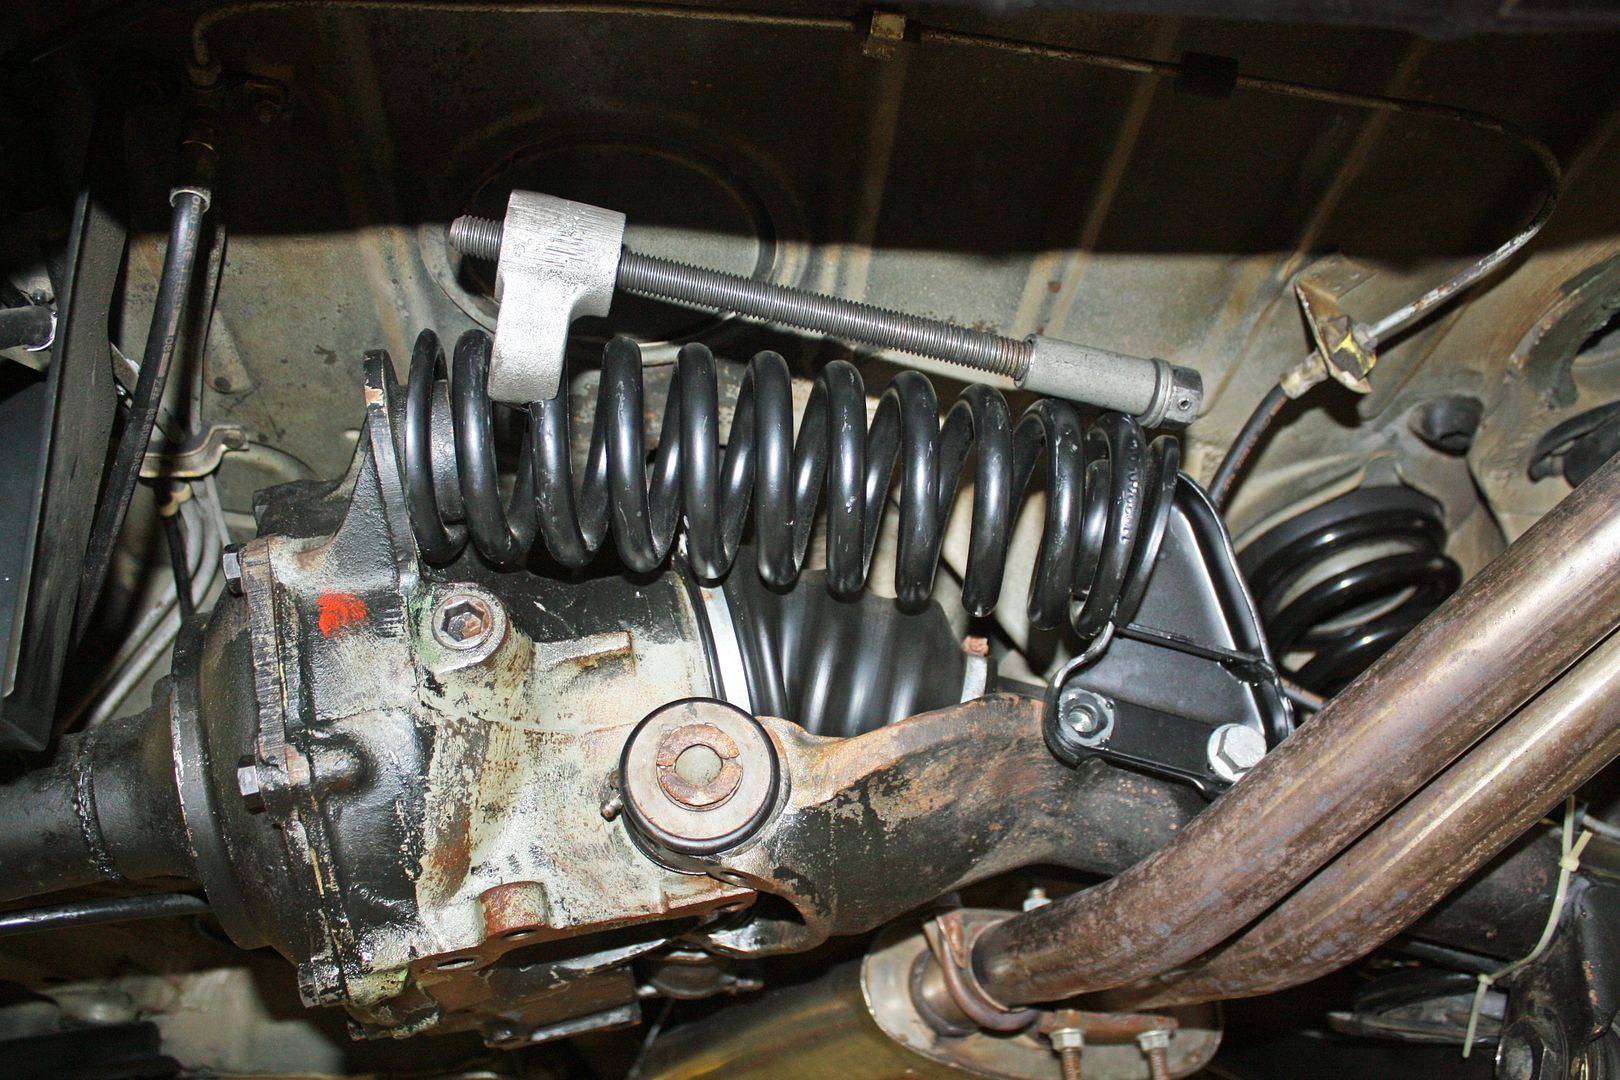 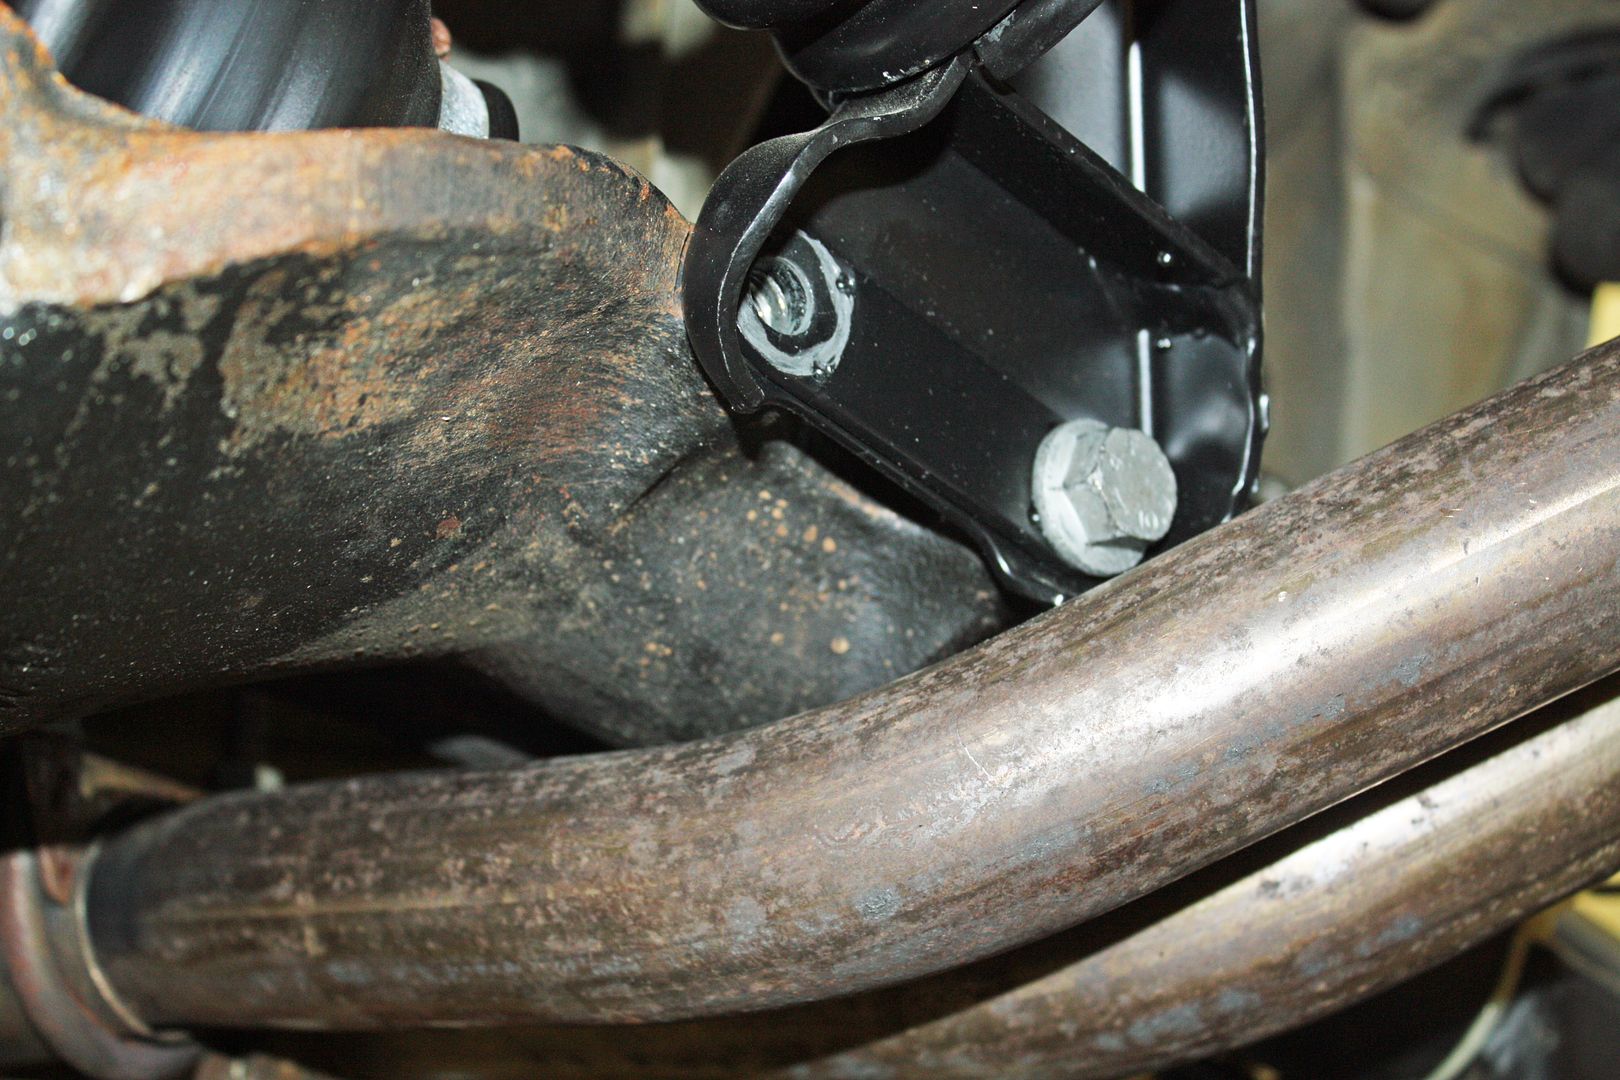 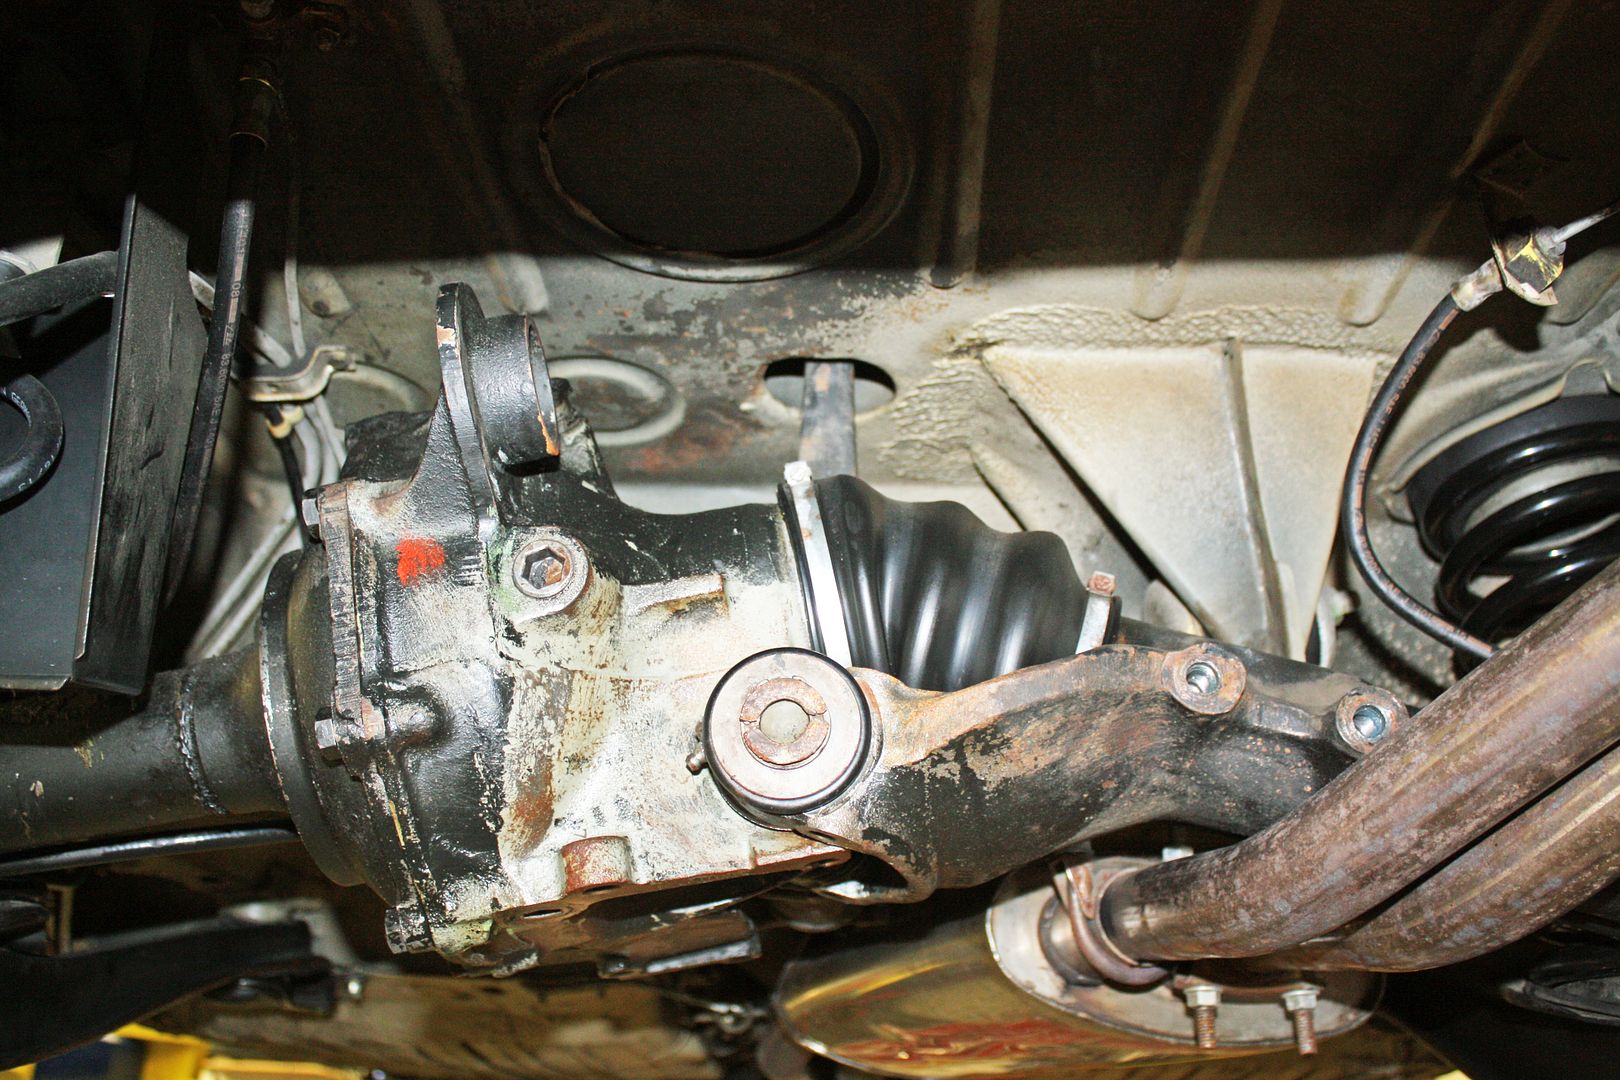 These are the parts that came with the rebuilt hydro compensator. 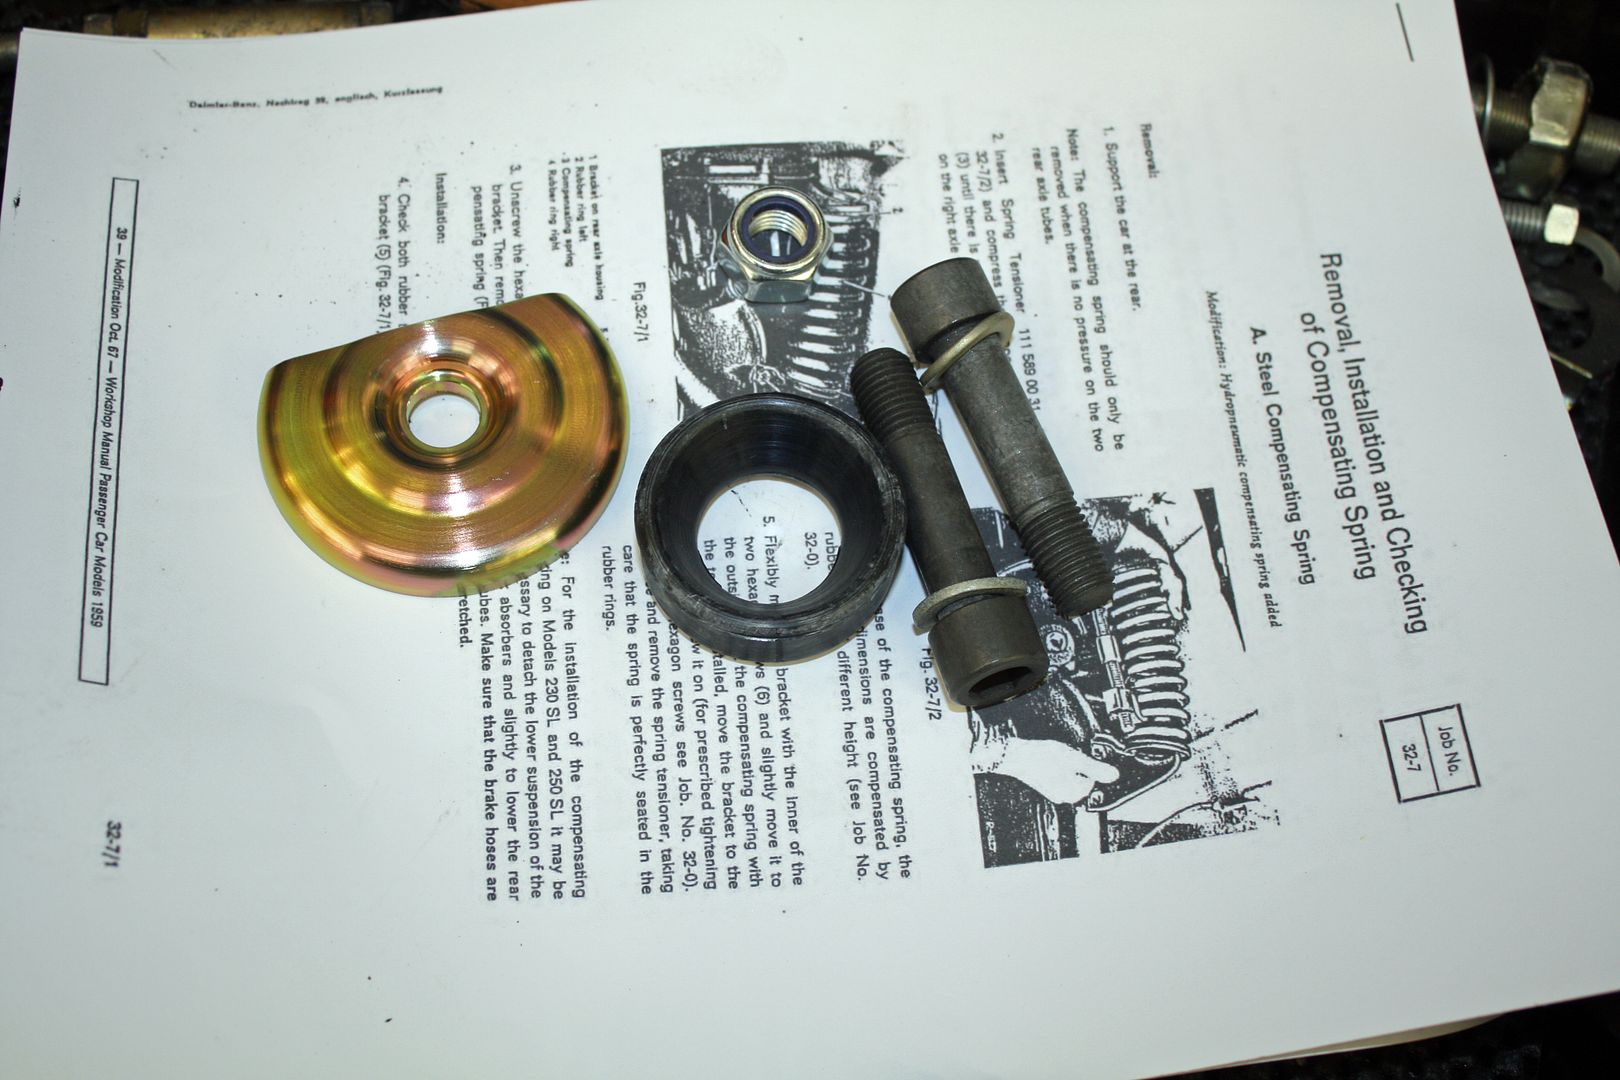 I removed the old rubber bushing and inserted the new one. After inserting the compensator shaft into the hole, I slipped the shiny new metal piece onto the shaft, screwed on the nut and tightened it. 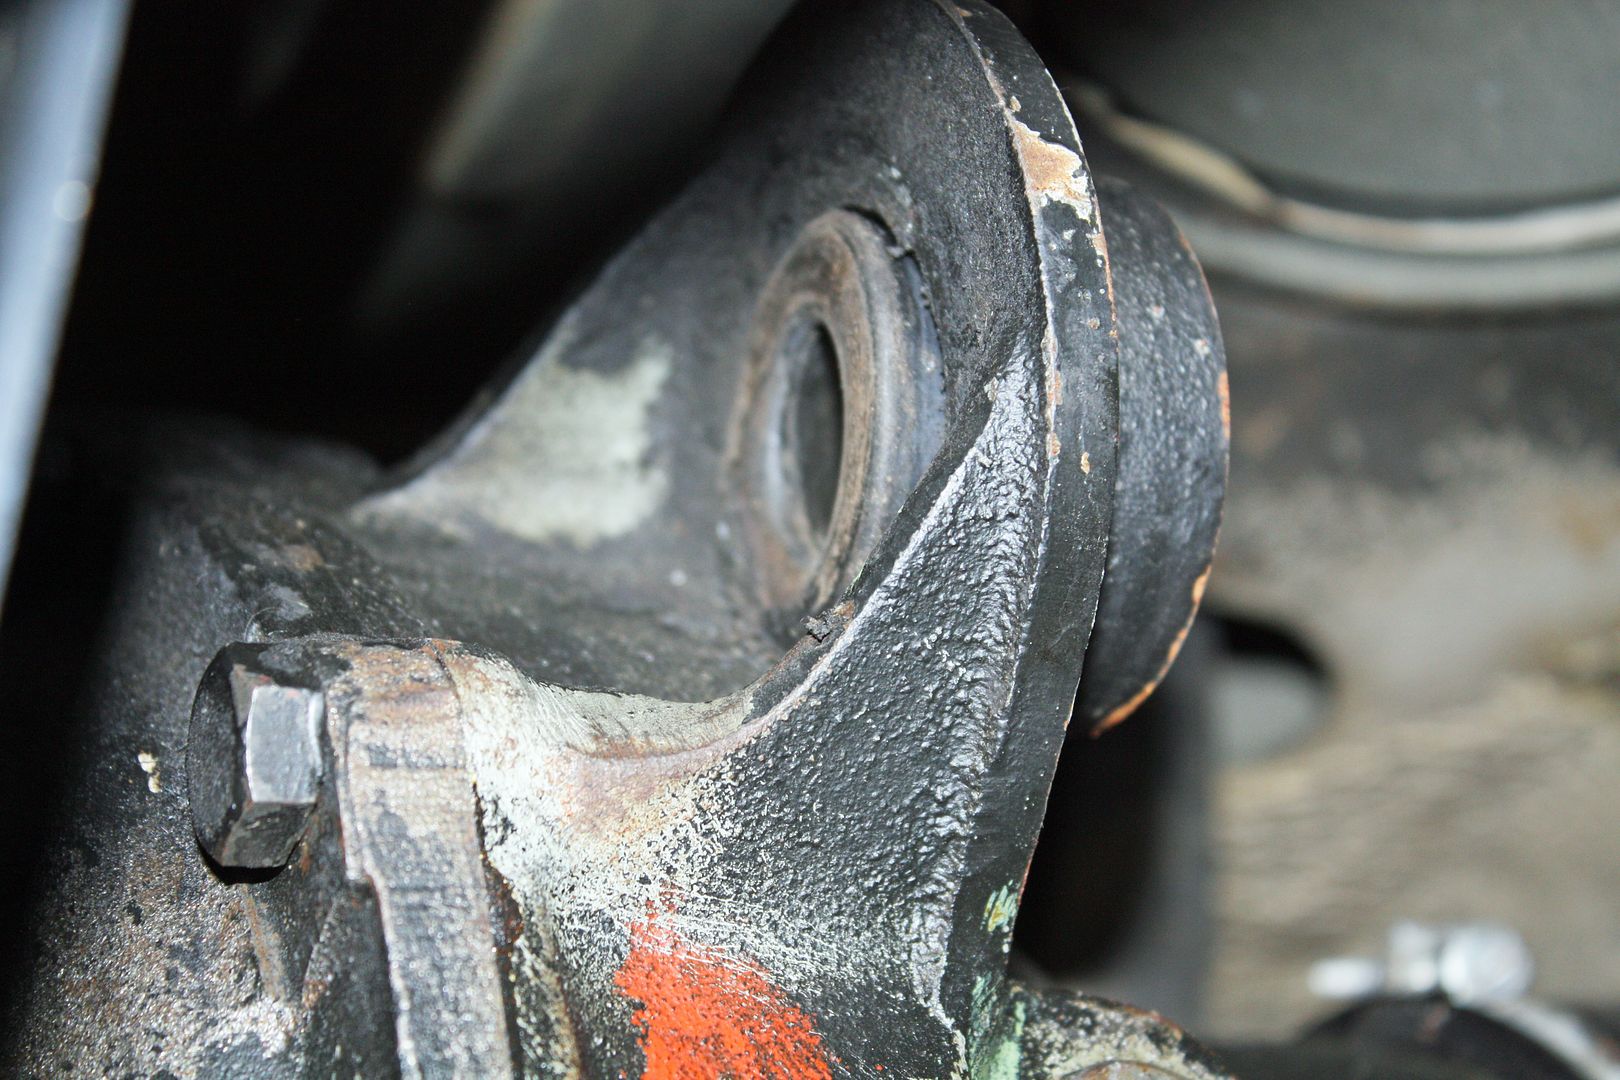 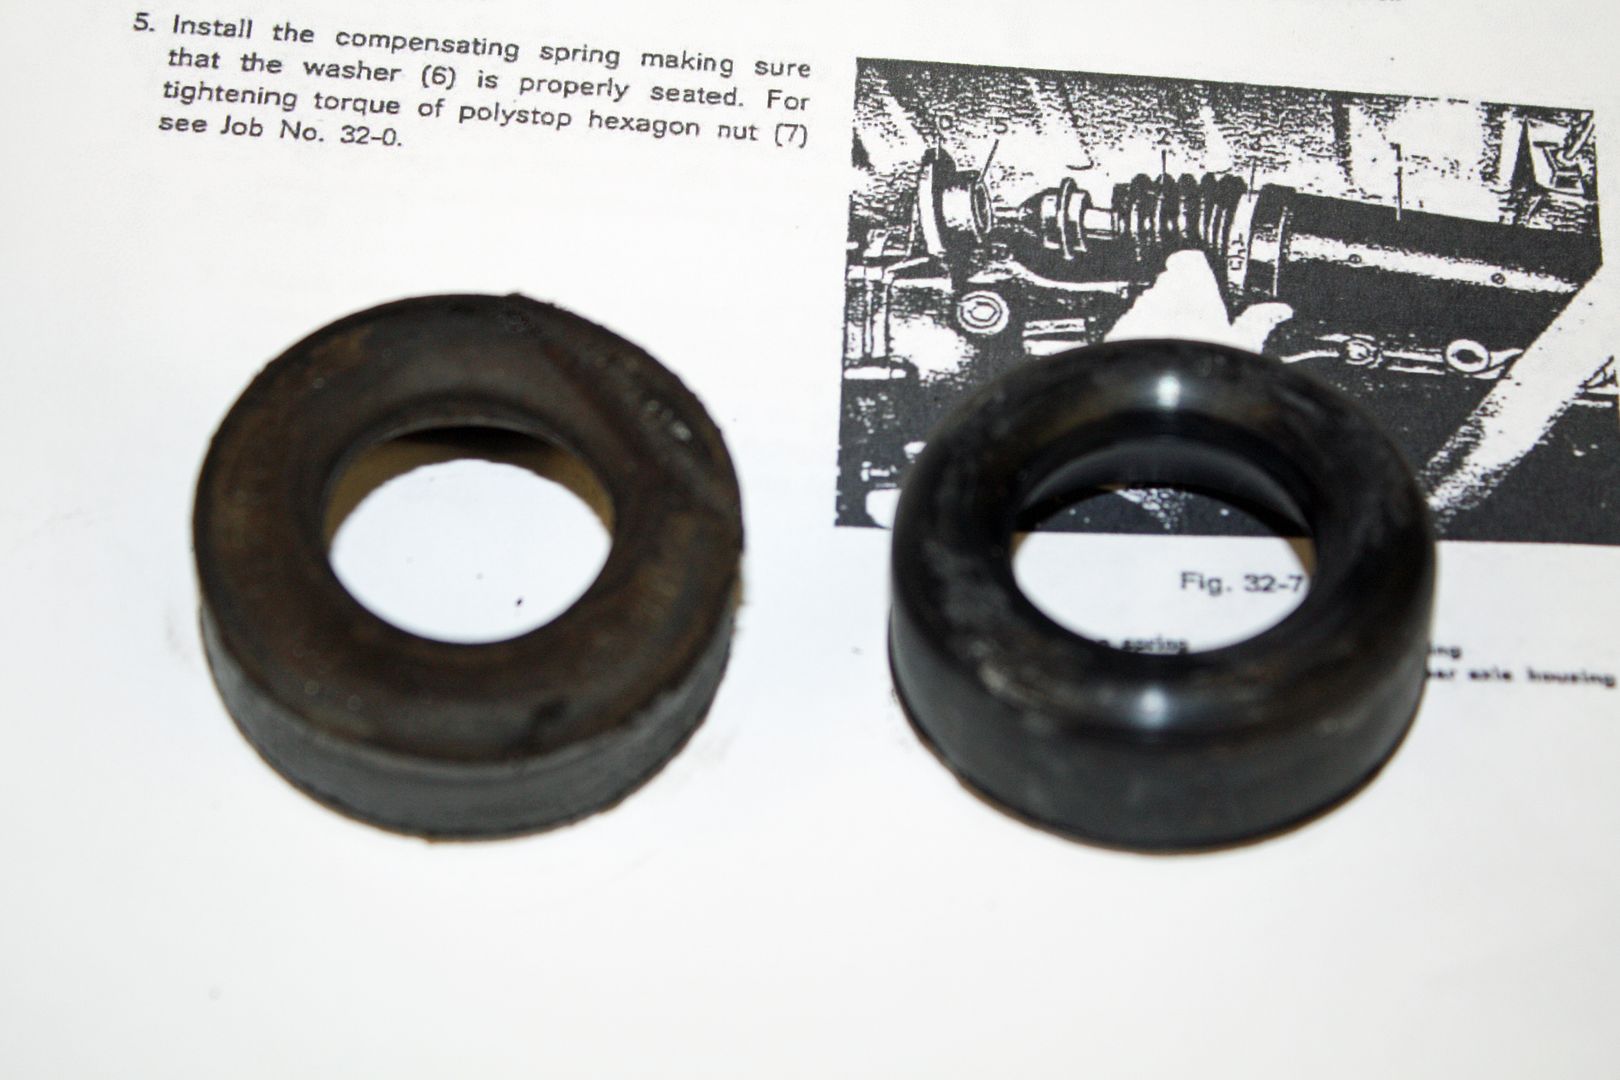 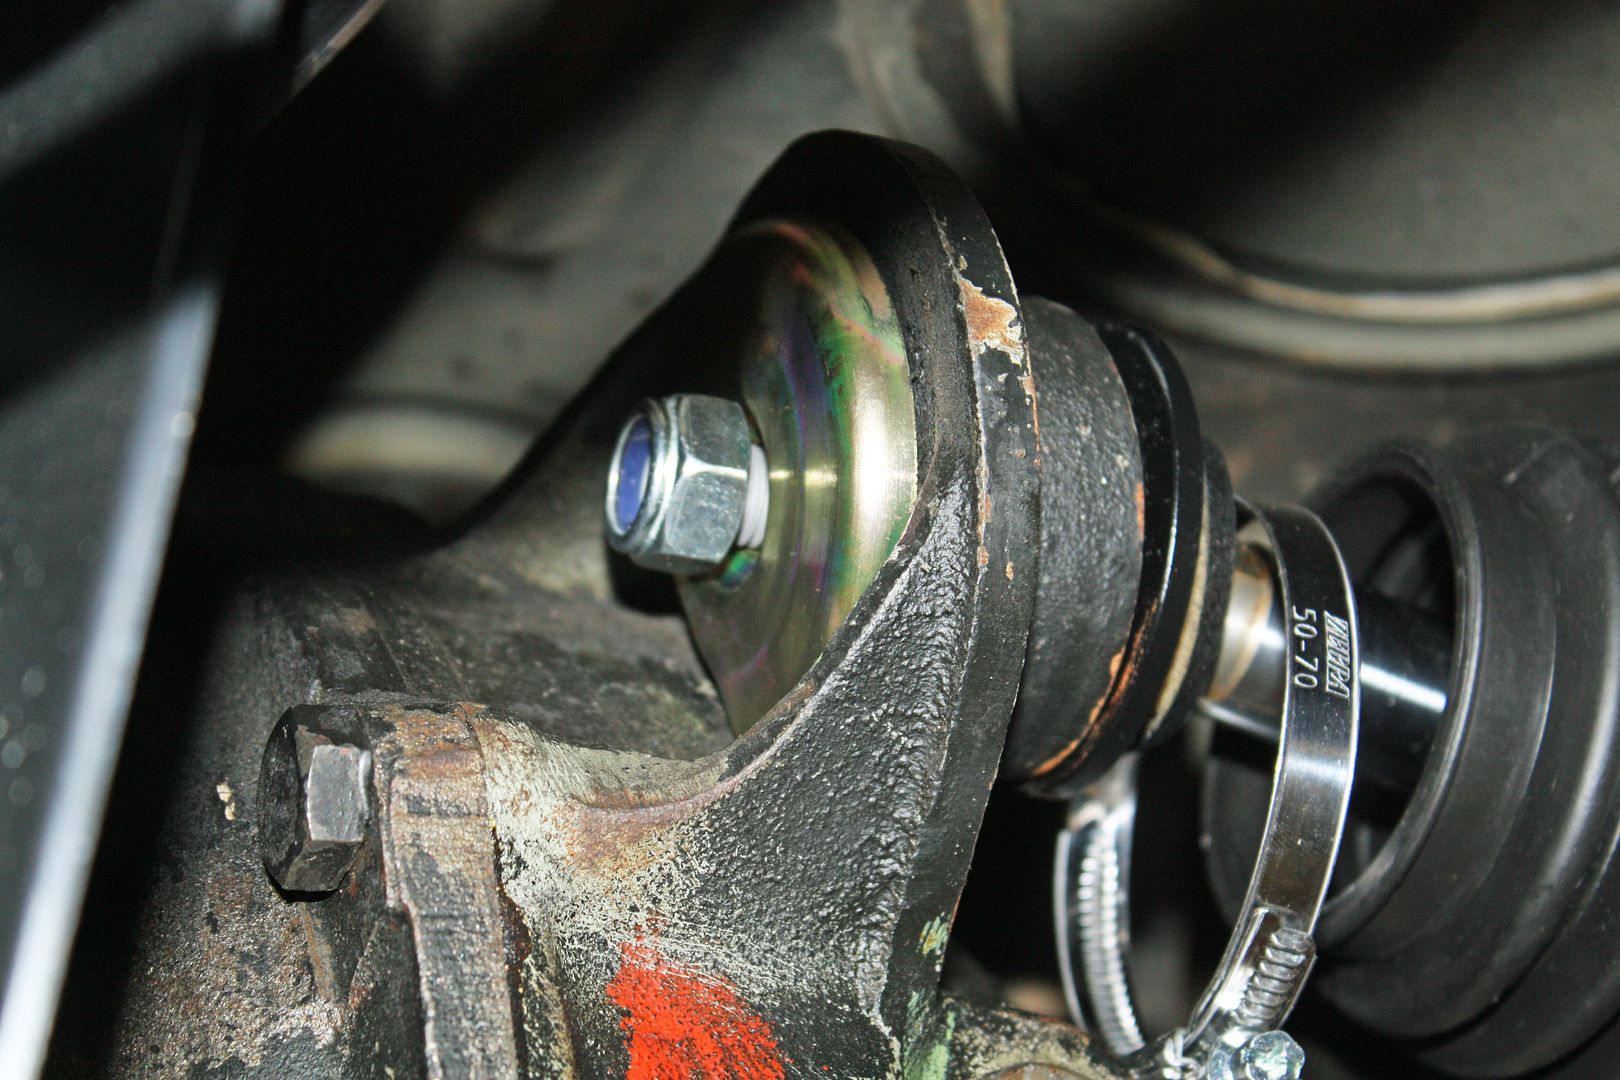 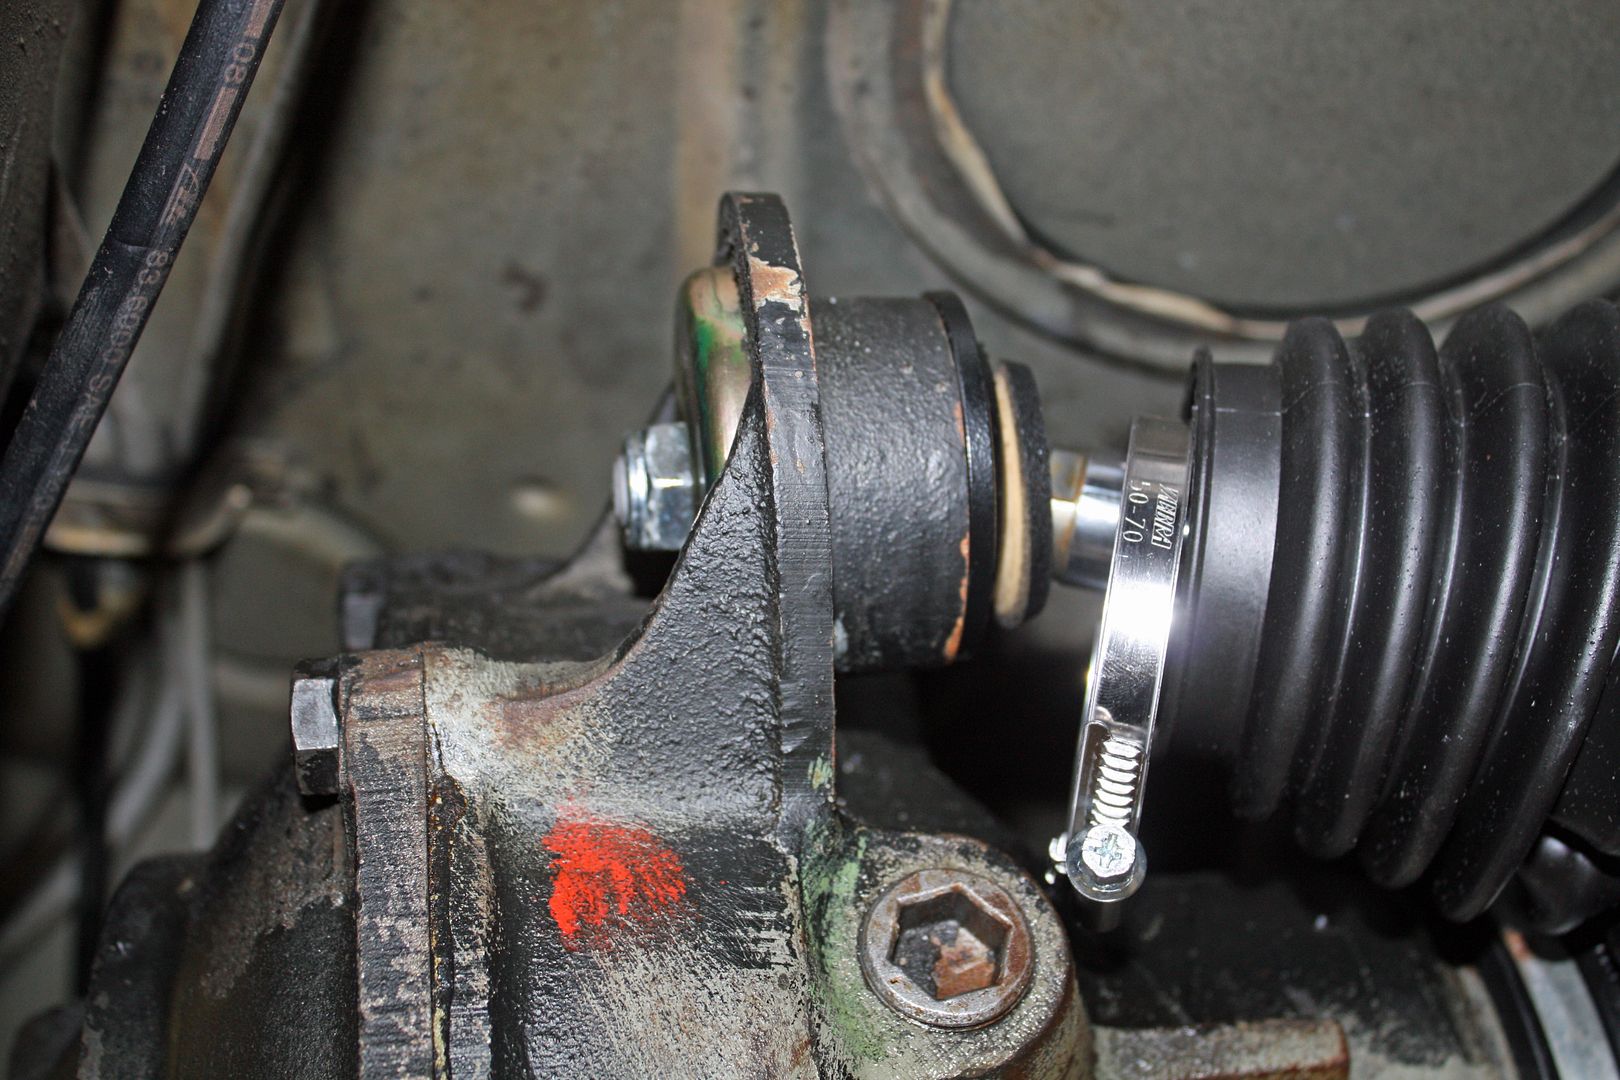 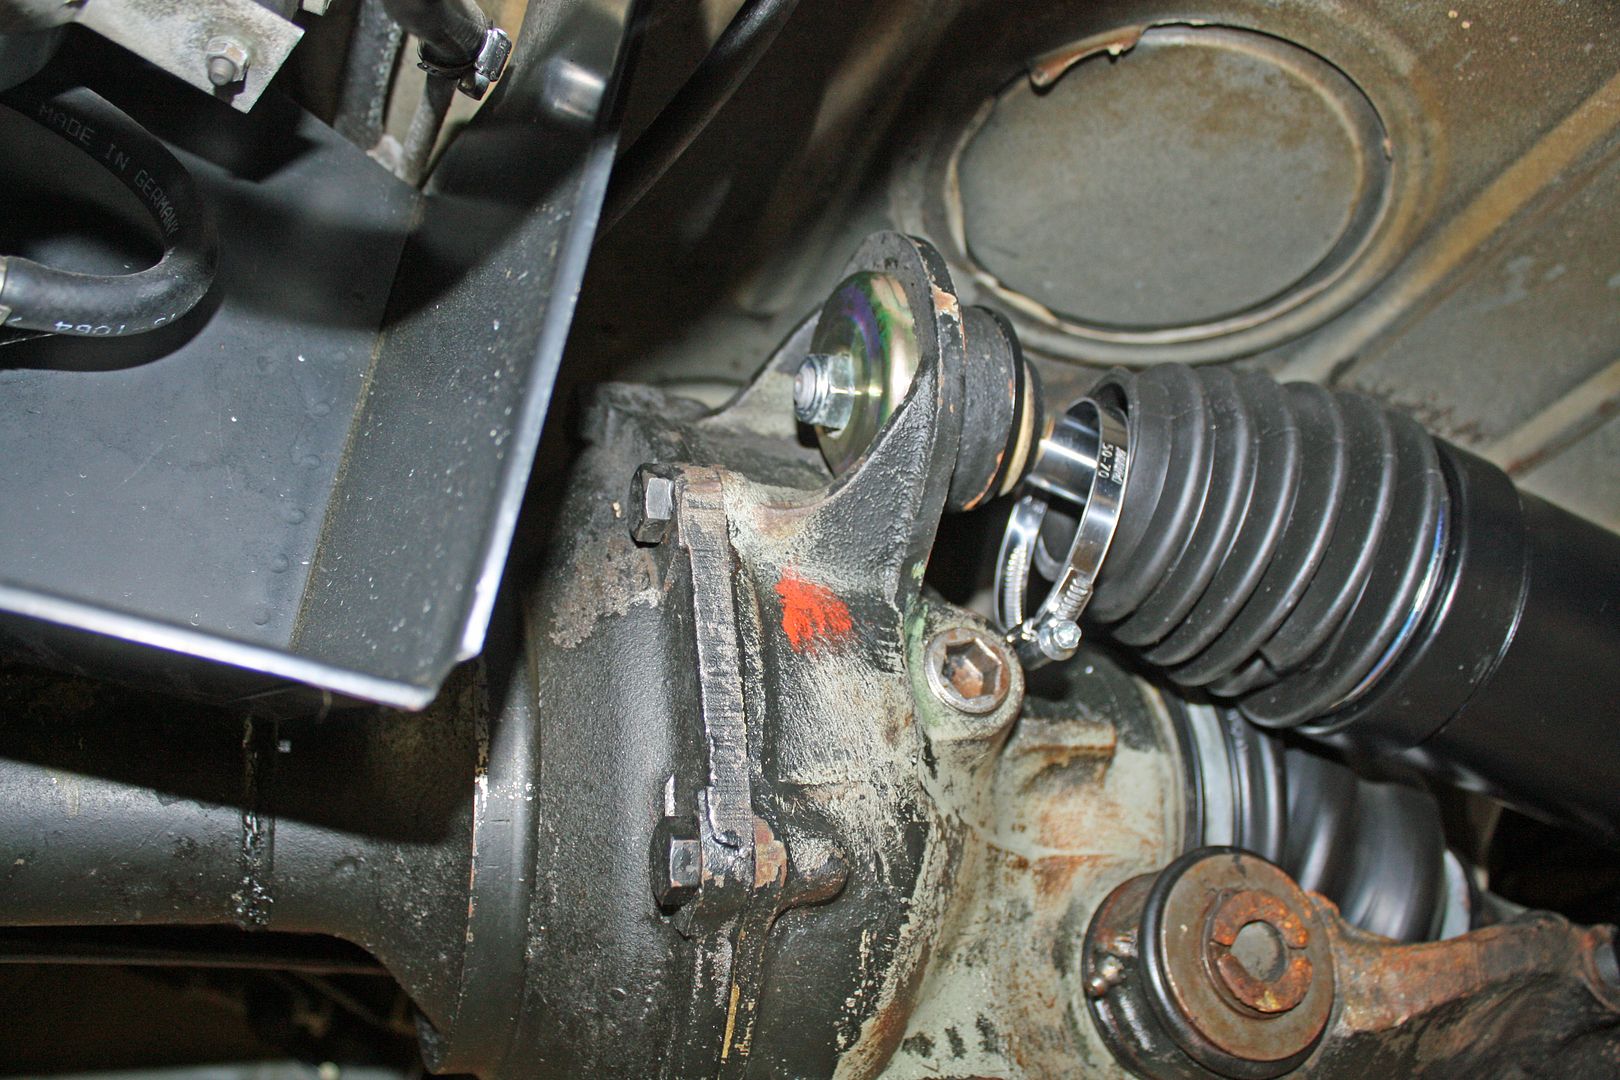 The instructions called for installing one bolt and then jacking up the suspension to line up the other hole. That worked well and I soon had the other bolts in place. After fixing the rubber boot to the shaft end of the compensator, replacing the shocks was the only thing left to do. 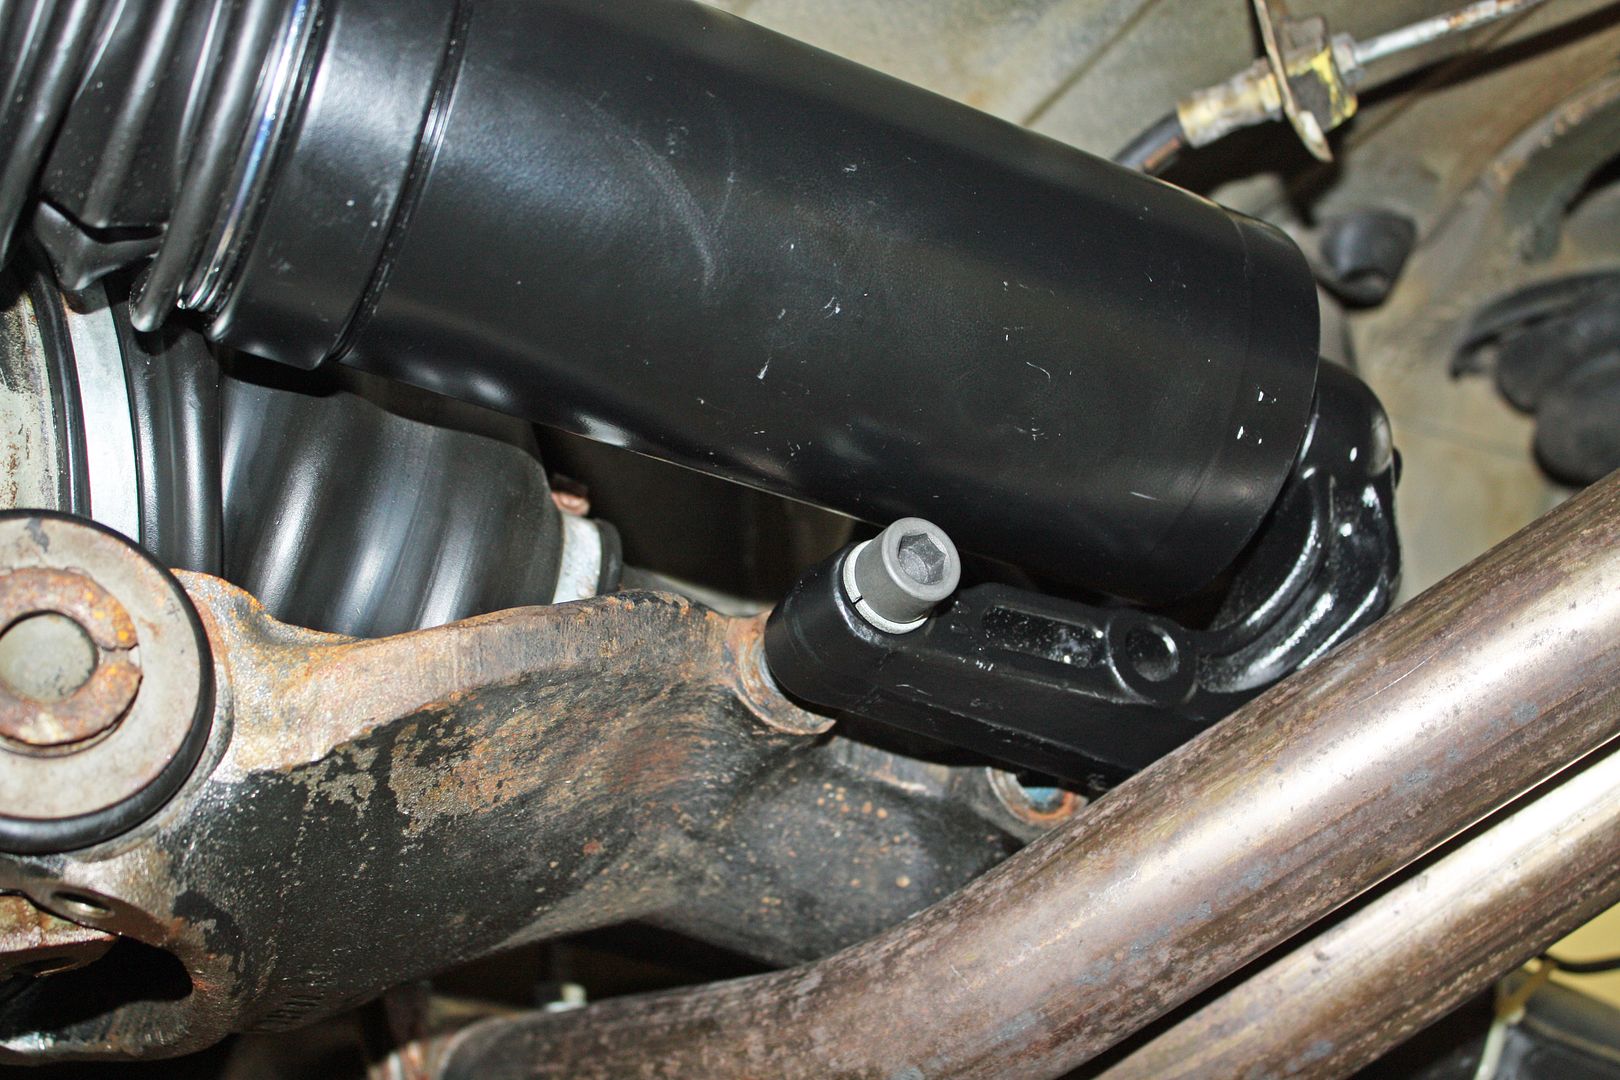 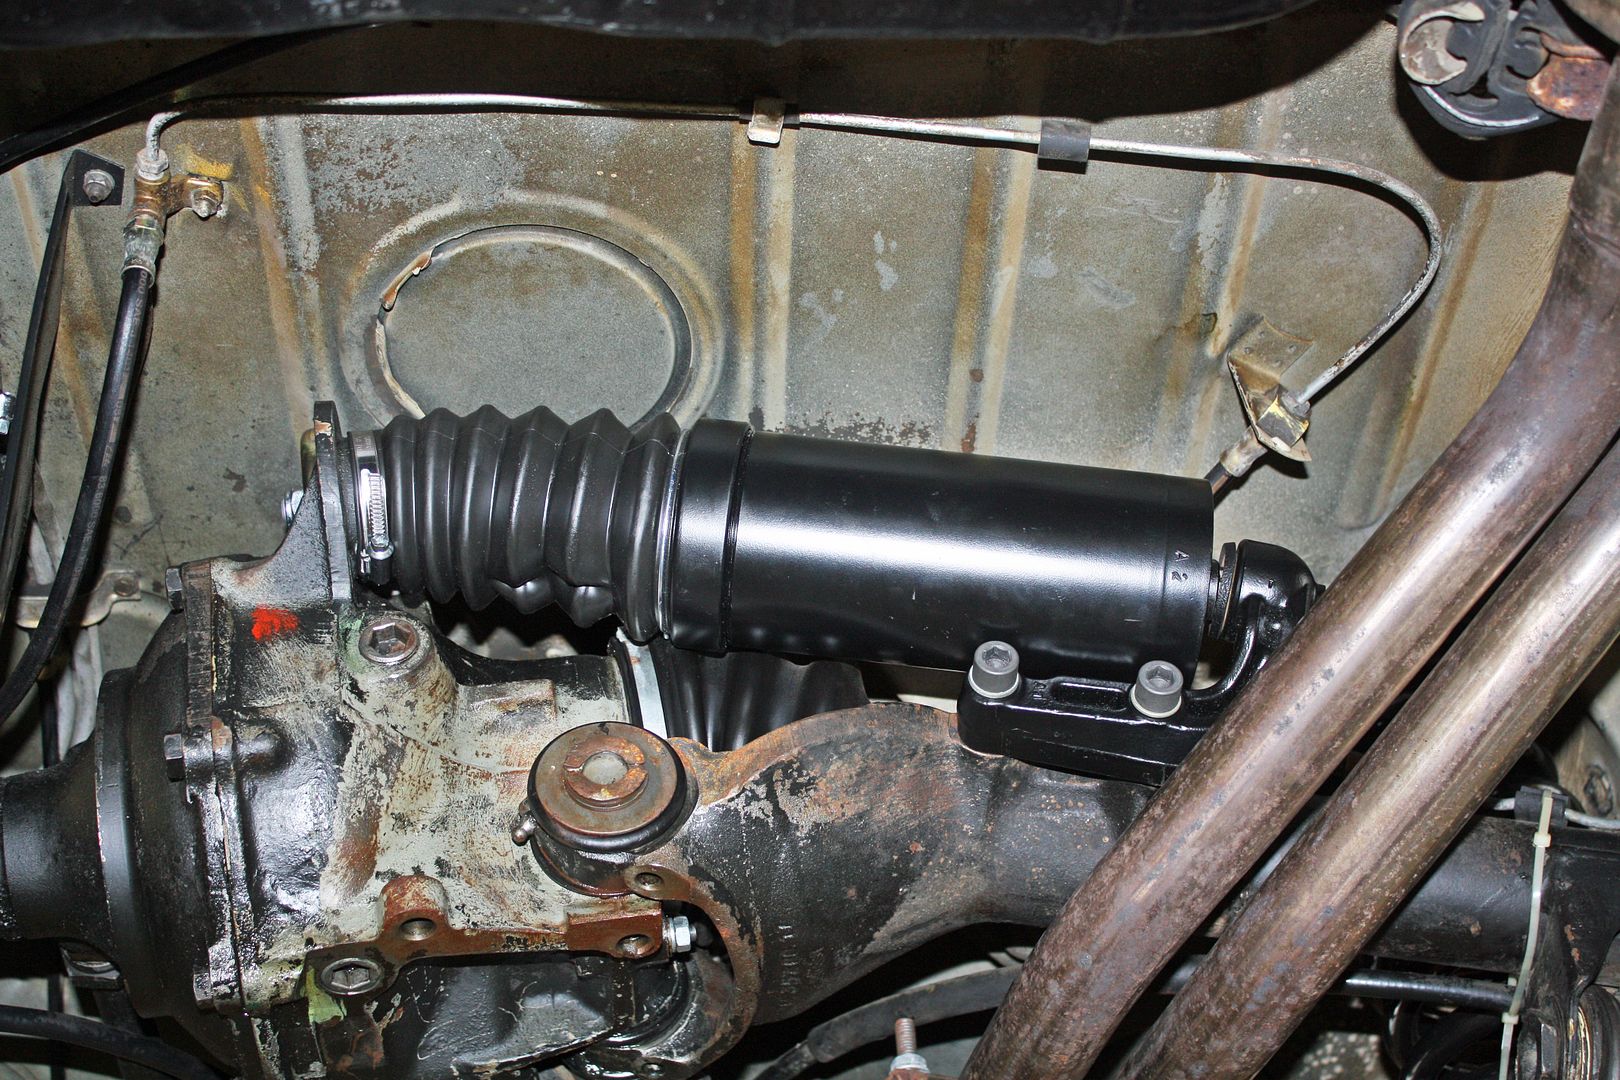 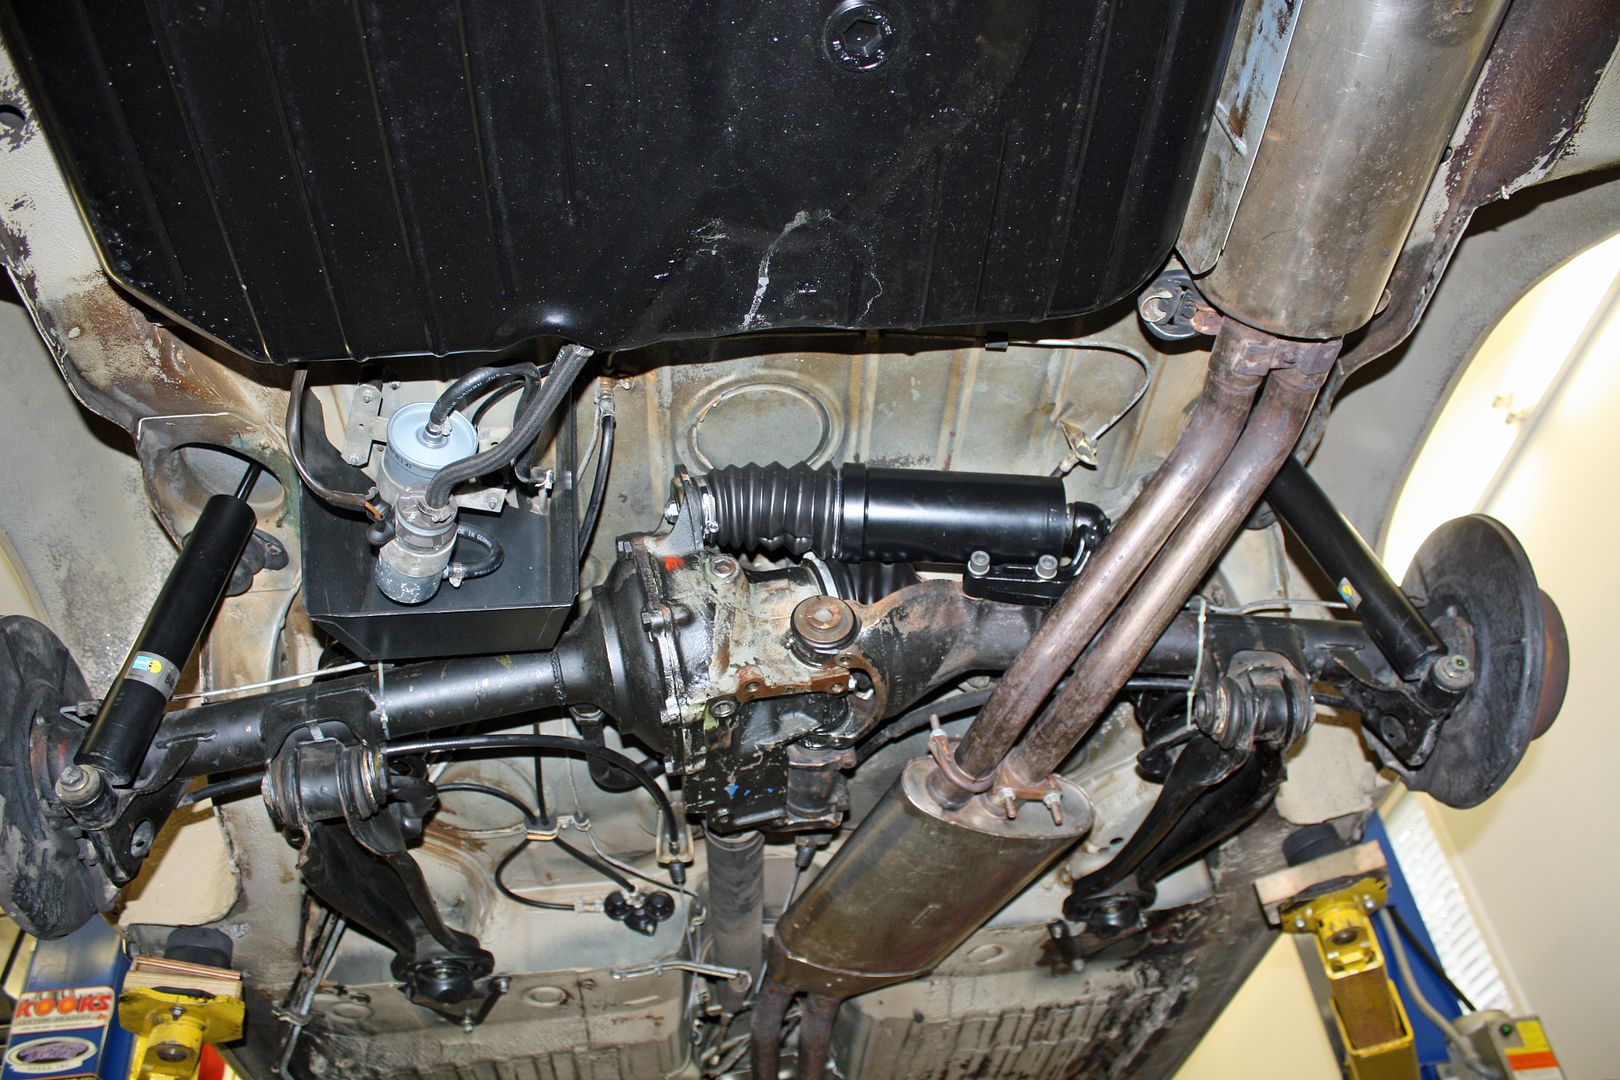 I needed some gas so I drove uptown to settle the suspension. Once I had the car back in the garage, I could see that I now had some negative camber, as it should. I forgot to take a before photo of the camber but it was decidedly positive. The ride height is now correct as well. 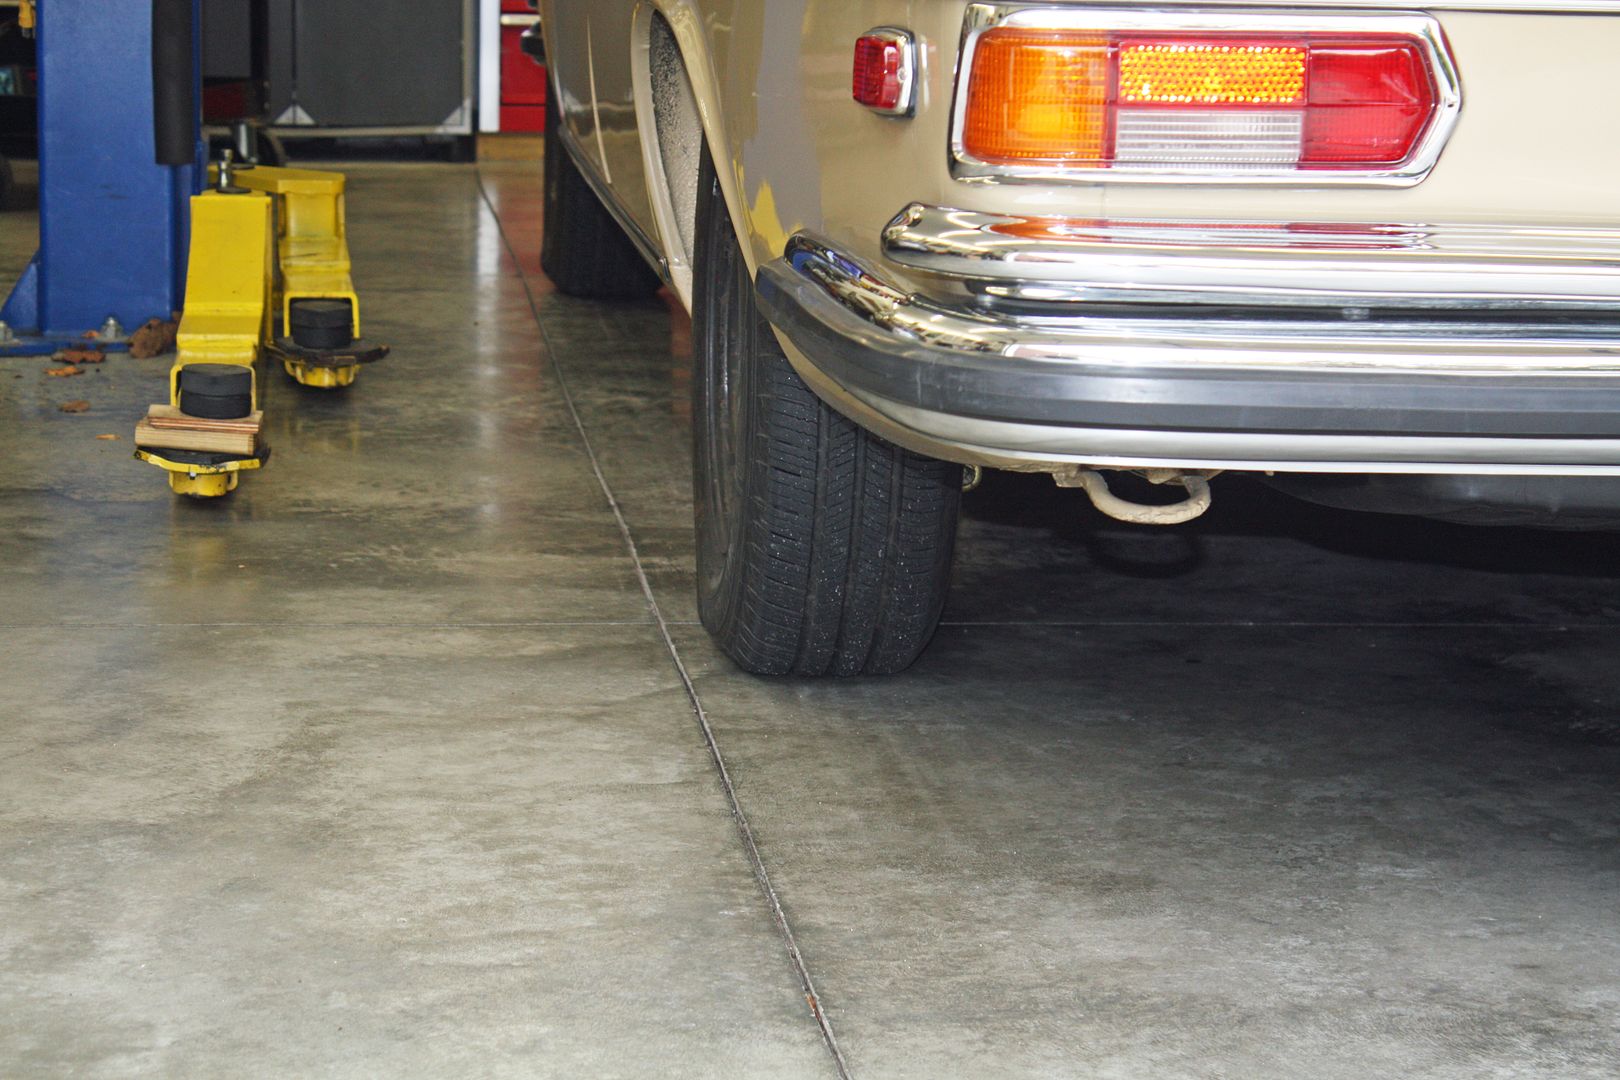
|
|
#363
|
||||
|
||||
|
Awesome work! You'll also notice a difference if you get some people and cargo in the rear.
__________________
Current: 2021 Charger Scat Pack Widebody "Sinabee" 2018 Durango R/T Previous: 1972 280SE 4.5 2014 Jeep Grand Cherokee Limited "Hefe", 1992 Jeep Cherokee Laredo "Jeepy", 2006 Charger R/T "Hemi" 1999 Chrysler 300M - RIP @ 221k |
|
#364
|
|||
|
|||
|
A problem developed today!!
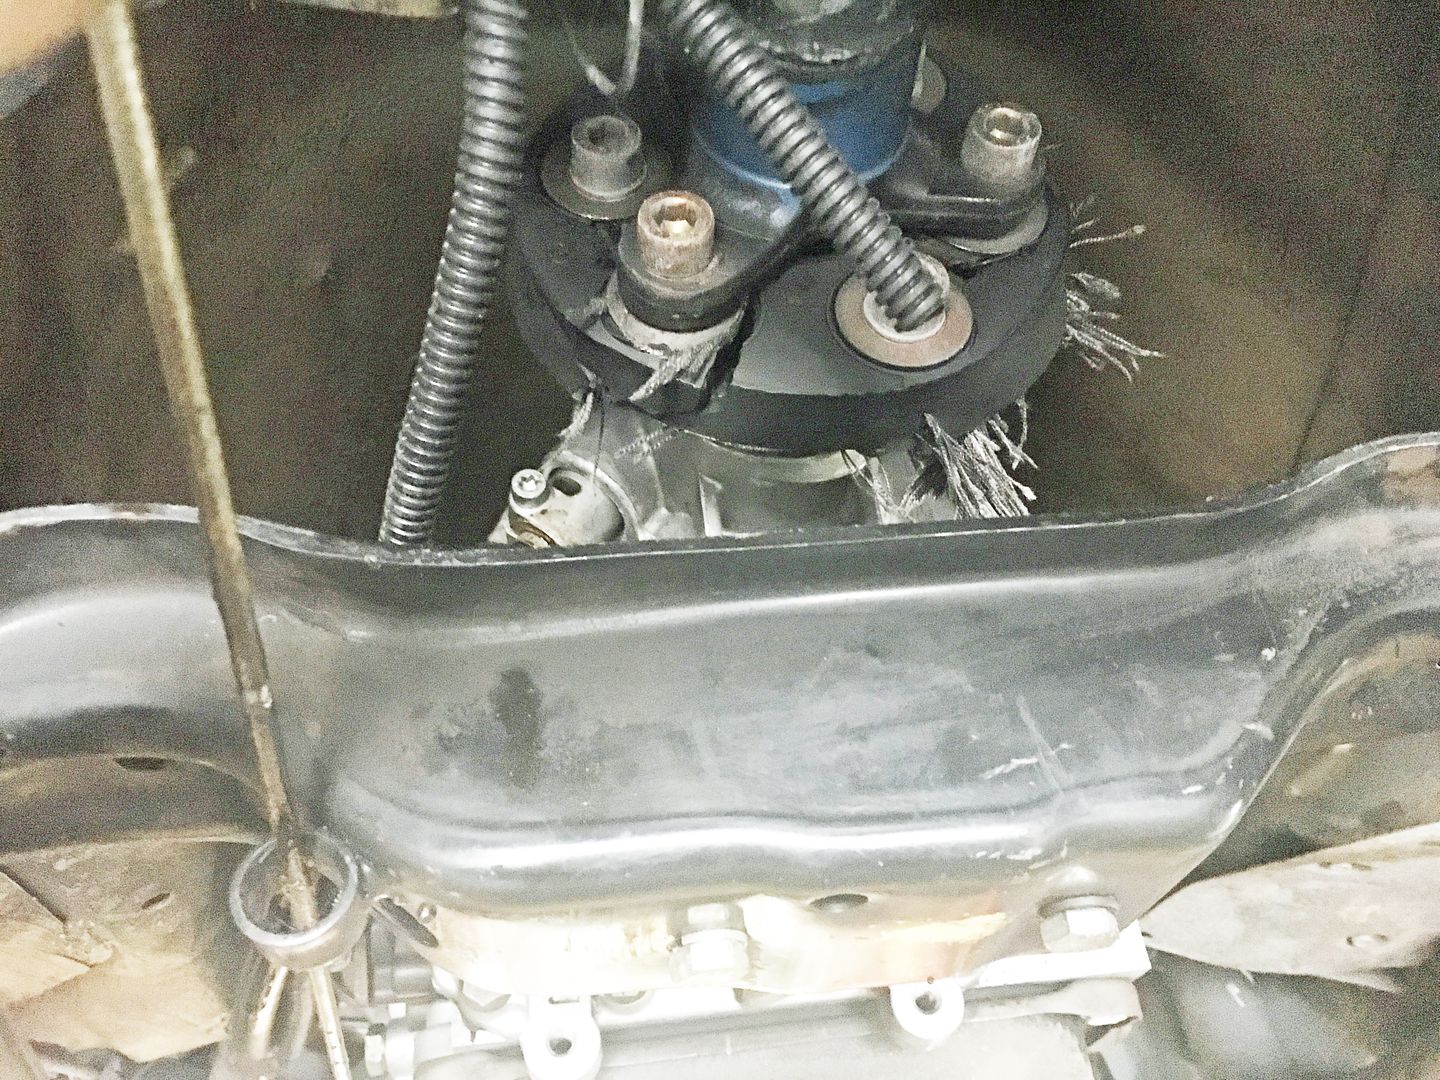 Because I still have a very small leak on the rear end, I drove the car about fifty miles to the independent repair shop that had worked on the rear end. I have always had a slight driveline vibration and I have inspected the flex disc a number of times and it always looked OK. In fact, it did not appear to be very old. It was not on my list on the previous visit but the mechanic had looked at it then and did not see an issue. He had the same thoughts about the age of the disc. The vibration was getting worse recently and was on my list of things to have him check out today. I took the photo above on his lift this morning. At least I know what the problem is. I was very fortunate to dodge a much bigger problem had it completely come apart. If I had looked at it yesterday after installing the hydro compensator, I might have caught it then. |
|
#365
|
||||
|
||||
|
Wow, you sure got lucky there!
I have found almost-bad flex disks to often look OK from a few feet away, but if I see any cracks of any size when inspecting the disk with a magnifiying glass and flashlight, then it gets replaced. |
|
#366
|
|||
|
|||
|
I picked up the car today. The mechanic told me that the driveline was smooth as silk on acceleration but there was some vibration when you lift off the gas, which I found to be true. His suspicion is the center drive shaft support bushing and bearing. He also mentioned needing the bearing housing. The bushing and bearing are available but the housing is not. Tom at Mercedes Classic said in all the years he has been selling Mercedes parts, he has never sold one of the bearing housings. So I may not need that. I have the other two parts on the way.
Here are some photos of the flex disc and the center locator bushing(not sure what you call it). The mechanic did not think the flex disc was very old and he thinks the center bushing was defective. Since the bushing did not center the flex disc properly, he thinks that is what caused it to come apart. This is also a part that is NLA. However, he has a number of cars that he is parting out and found a good one on one of the drive shafts. He showed me a very similar part from a later car that is off just a few thousandth's from fitting. Of course, that is all it takes to make the part non-compatible. 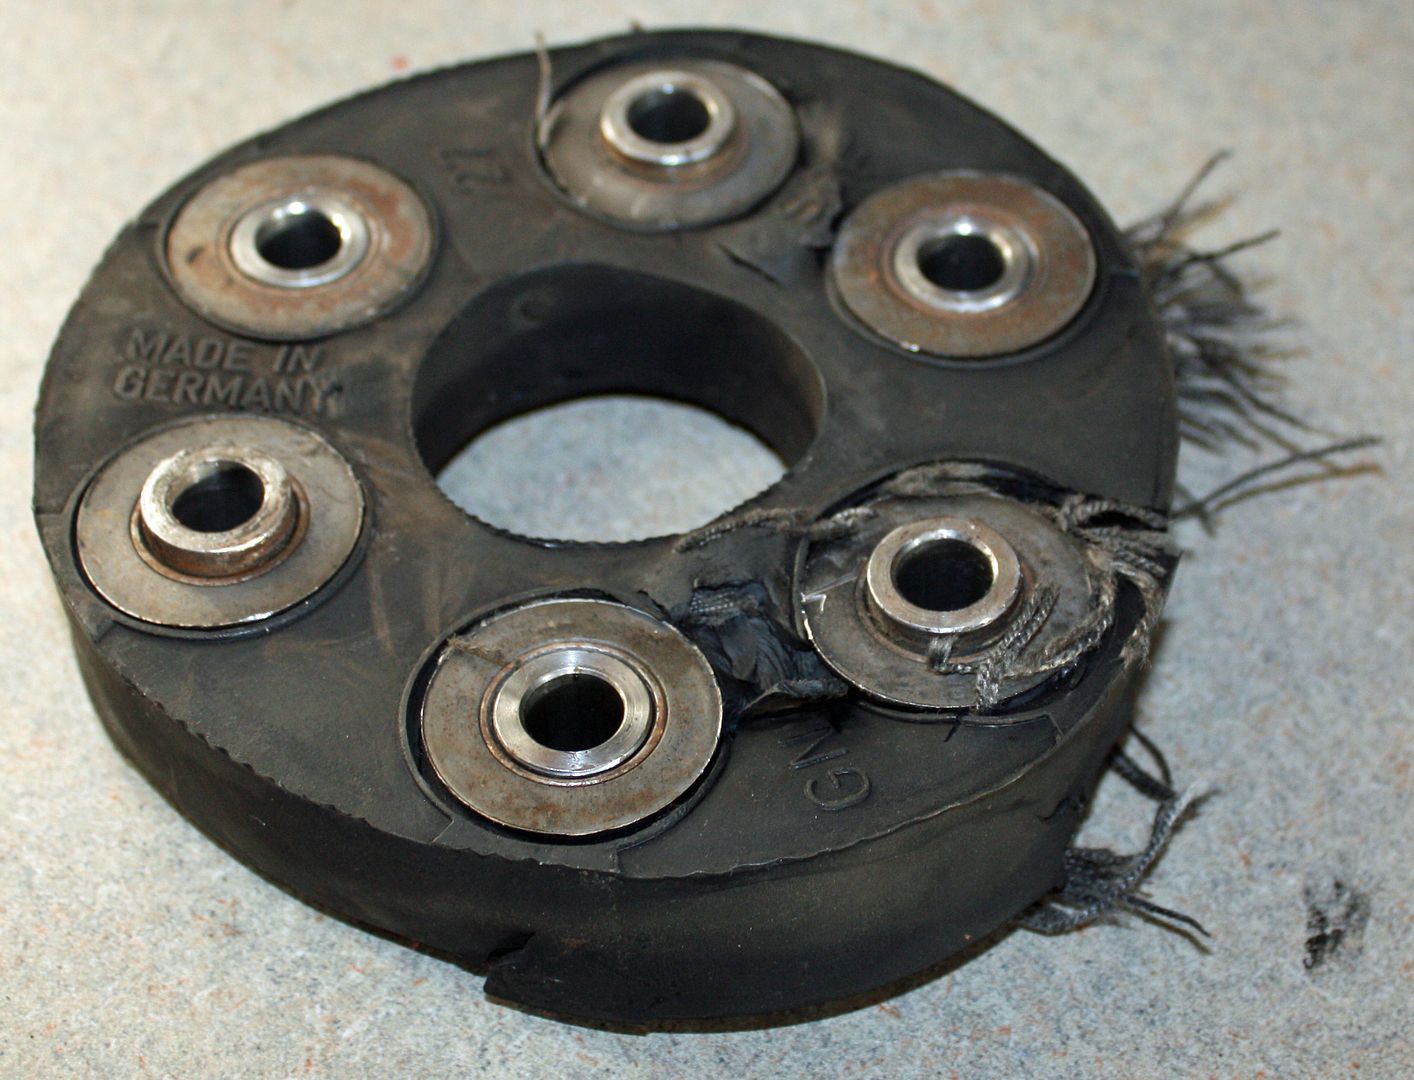 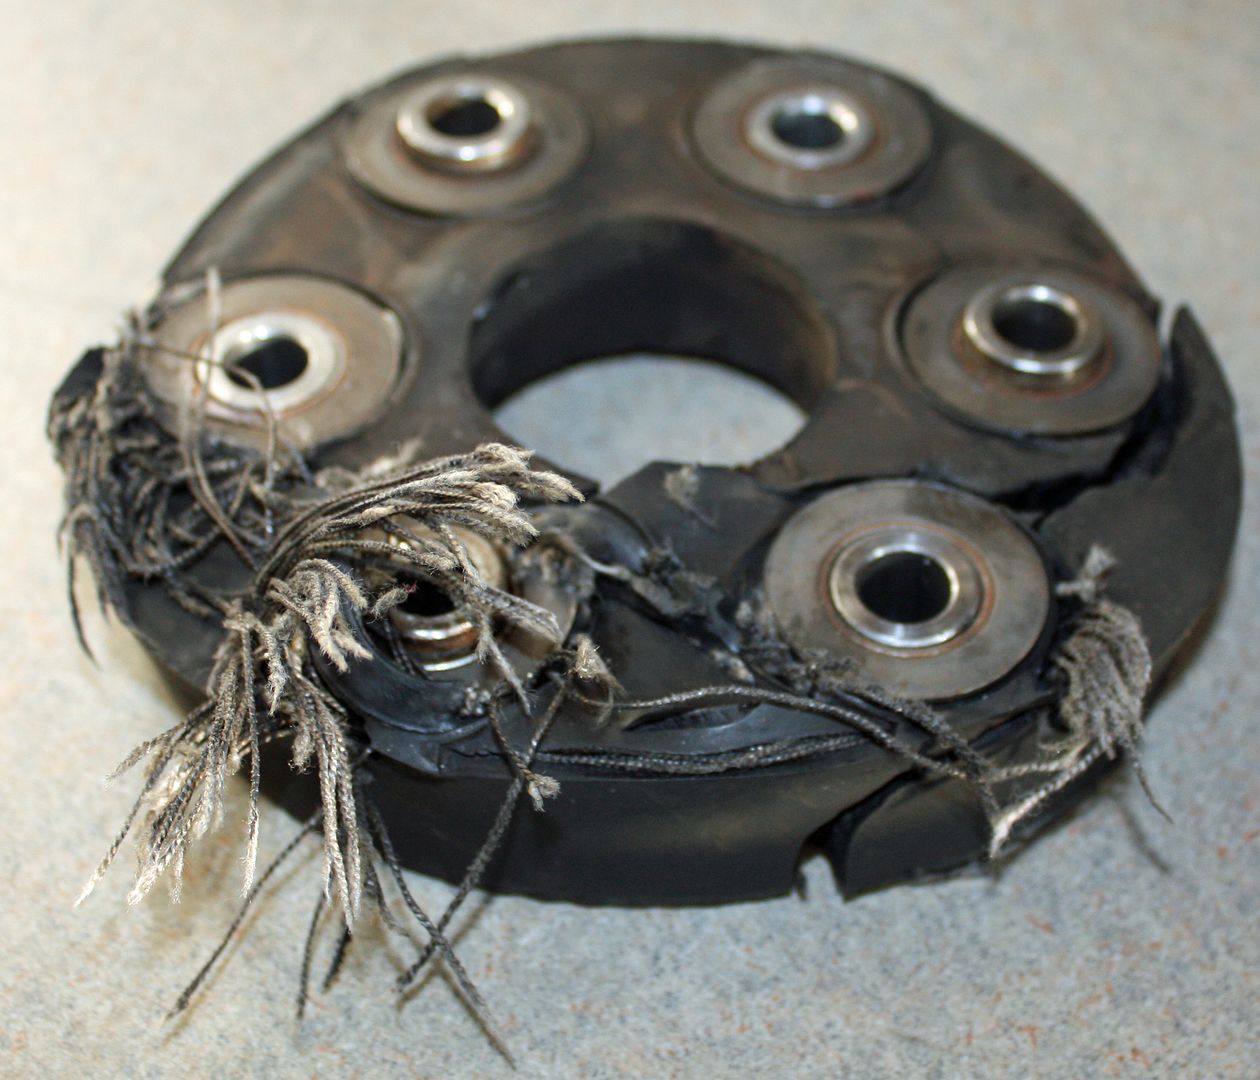 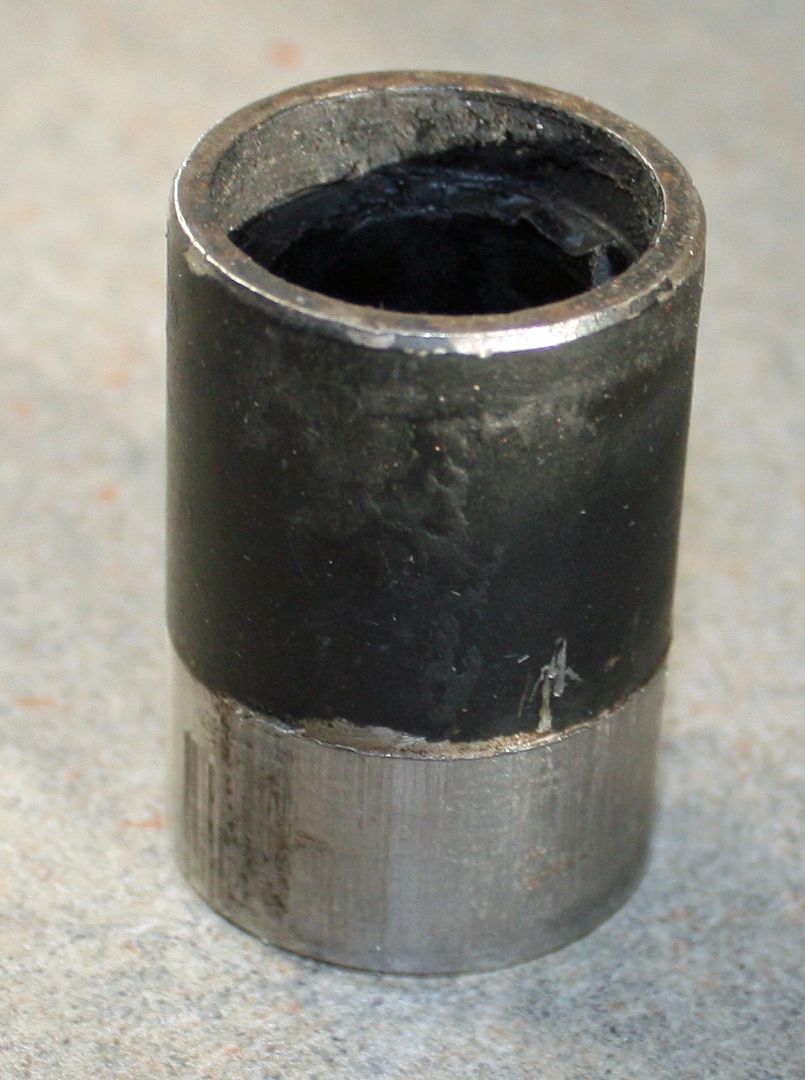 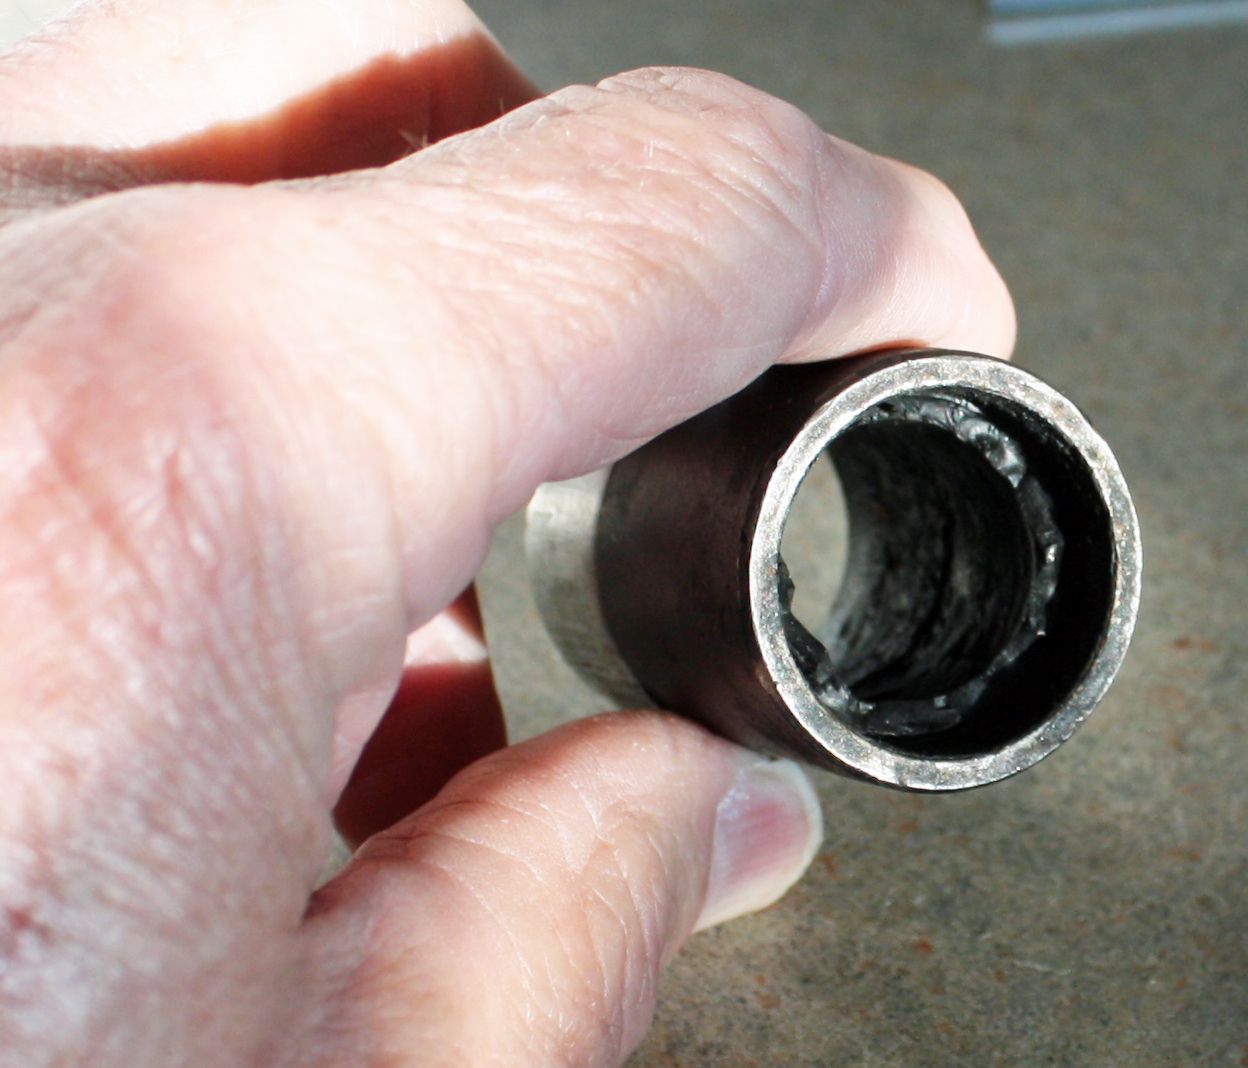 The rear end leak was coming from the bottom drain plug. He removed it, resealed it and replaced the fluid. On my list this time was the non-working kick down switch. The defective switch was another NLA part but he found one on one of his cars that still worked. It is nice to have the kick down working. I was following my wife as we left his place and she forged ahead of me on an on-ramp. I floored the throttle and was rewarded with the best acceleration I have yet experienced with this car. It ran it up to 80 plus on the speedometer before shifting up (my speedo reads about 6mph fast). This is the old switch. 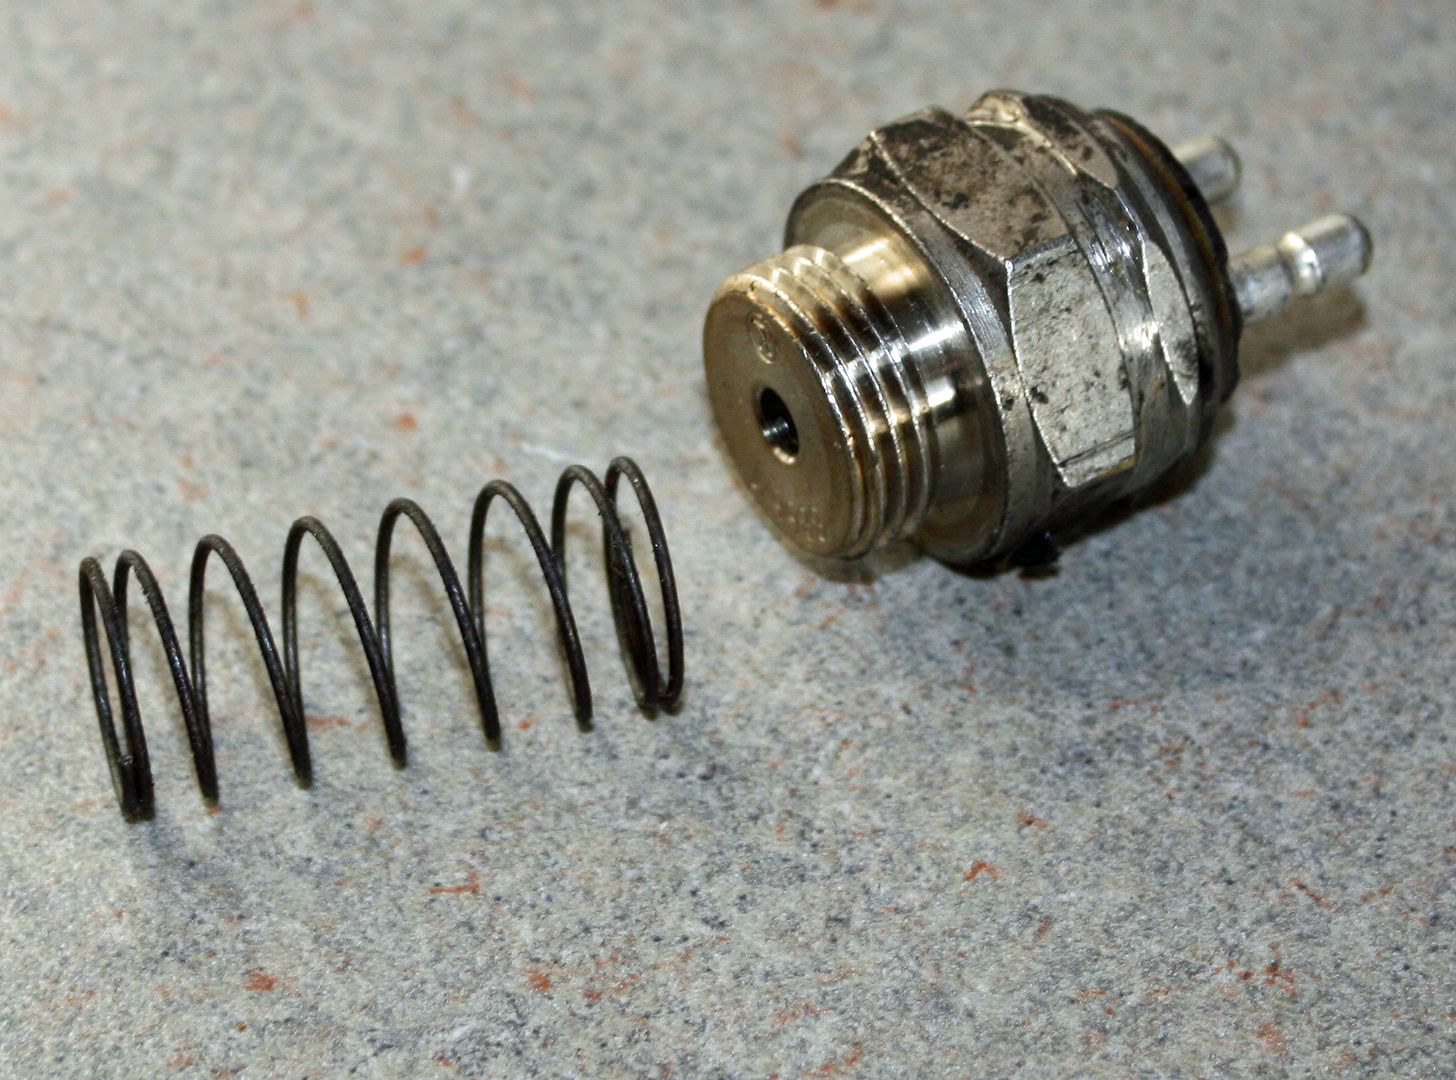 And so another couple items are fixed. I am certainly glad I found this mechanic. He started his shop 35 years ago so he has tons of experience. He works on newer Mercedes's as well. When I took the car back with the rear end leak, he was not the least bit defensive of his earlier work. His response was let's pull the car in and see what we can find. Best part of all is that he is a truly nice guy who always has a smile on his face. With his big white beard, I am sure he receives lots of requests to play Santa!!! |
|
#367
|
|||
|
|||
|
I just love the way the 4.5 motor pulls as the RPMs go up. For a sedan it's a fun car to drive hard.
Back in the 70s my father and I had over several years a number of W109 6.3s. One in particular was a very early model that got driven very hard as a demo and in the hand of several owners before we bought it with 60k miles or so on it. We checked the flex disk and they looked fine. There was however just a hint of vibration on deceleration. One day I was pulling a 900 lbs sailboat on a trailer which was nothing to the 6.3. On a two lane highway I accelerated to pass a big rig when the front flex disk let go and the drive shaft thrashed around and caused a great deal of damage. That lesson taught me never to ignore a drivetrain vibration in a Mercedes. It should always be smooth as silk and if it isn't you can end up paying way more later to fix a much bigger problem. |
|
#368
|
|||
|
|||
|
I'm surprised at the failure rate of kickdown switches, after all it's a simple on/off pushbutton. The one in my car was bad and one I got at a salvage yard was bad as well. I bought a good used one for stoopid money ($45, I think) which is in the car now.
I tried to take apart the old switches to fix them, but because of the way they are built they are nearly impossible to put back together once taken apart.
__________________
Csaba 1972 280SEL 4.5, silver |
|
#369
|
|||
|
|||
|
#370
|
||||
|
||||
|
That's holding up very nicely! The fact they didn't discolor at all makes me want to look into that on my next project car

__________________
Current: 2021 Charger Scat Pack Widebody "Sinabee" 2018 Durango R/T Previous: 1972 280SE 4.5 2014 Jeep Grand Cherokee Limited "Hefe", 1992 Jeep Cherokee Laredo "Jeepy", 2006 Charger R/T "Hemi" 1999 Chrysler 300M - RIP @ 221k |
|
#371
|
|||
|
|||
|
Rather than be glued to my recliner for four hours of NASCAR, I decided to head to the garage, turn on the TV and complete a couple of projects on the Mercedes.
First up was replacing the footwell light. The new light came with a cable with two ends but it appeared I would have to disassemble quite a bit to get to where those ends were connected. To save time, I cut the wires and spliced in the new harness. I installed the LED bulb which worked well. 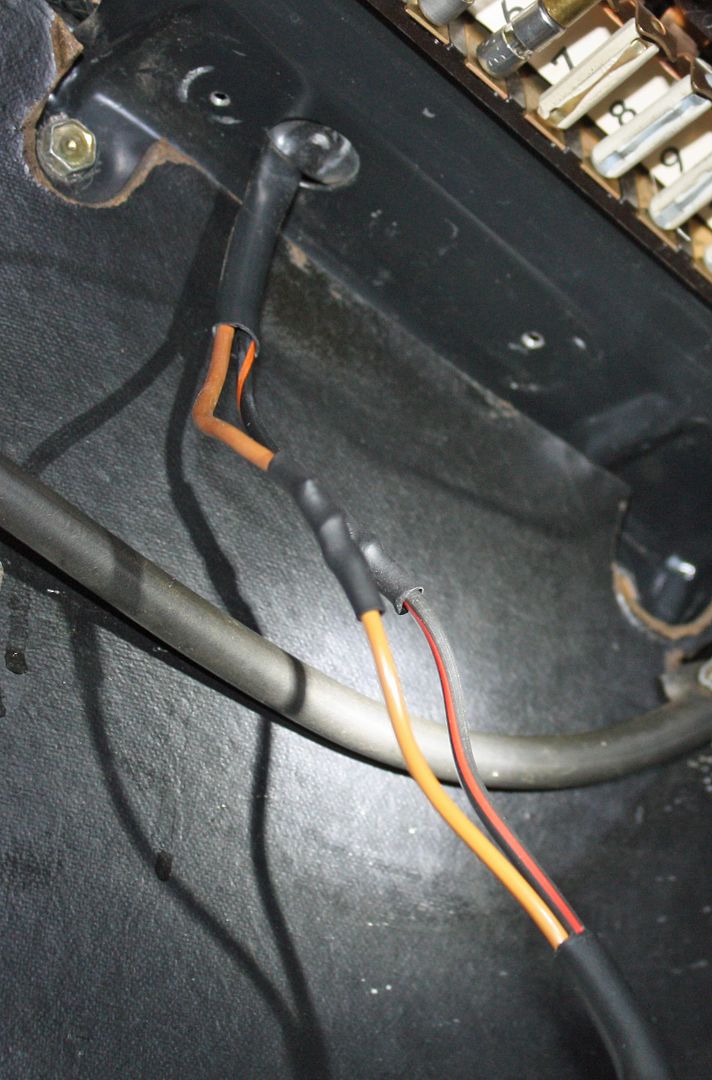 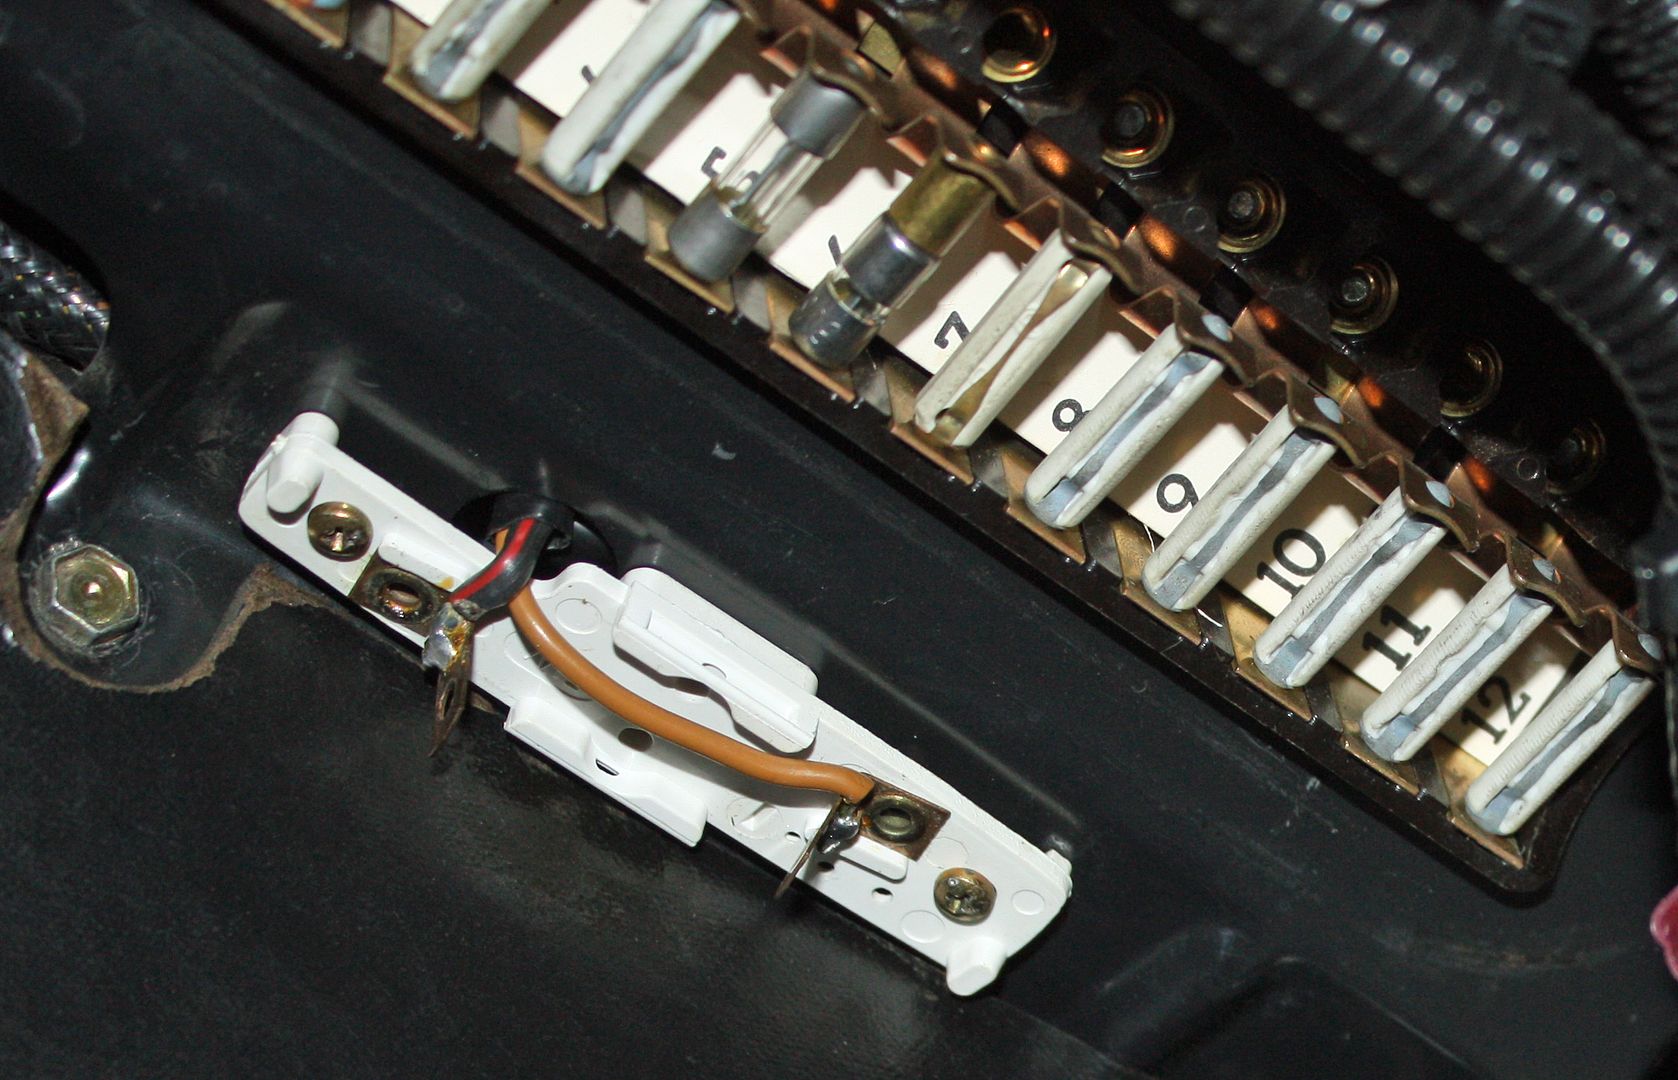 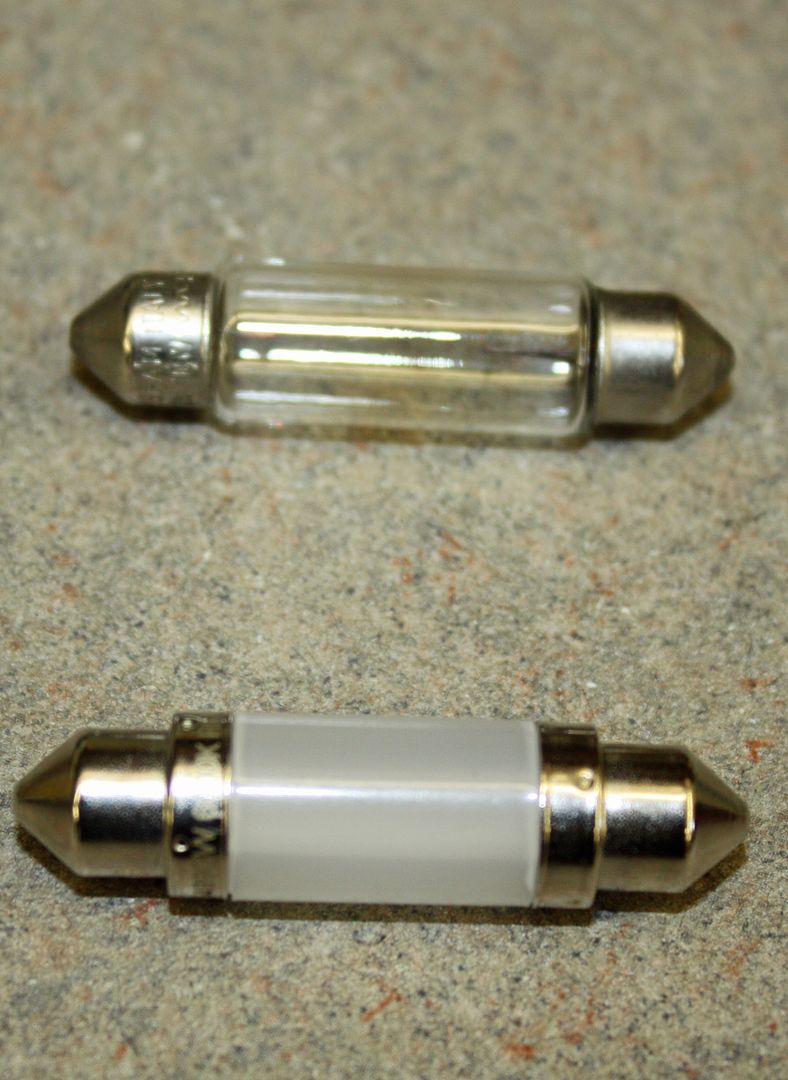 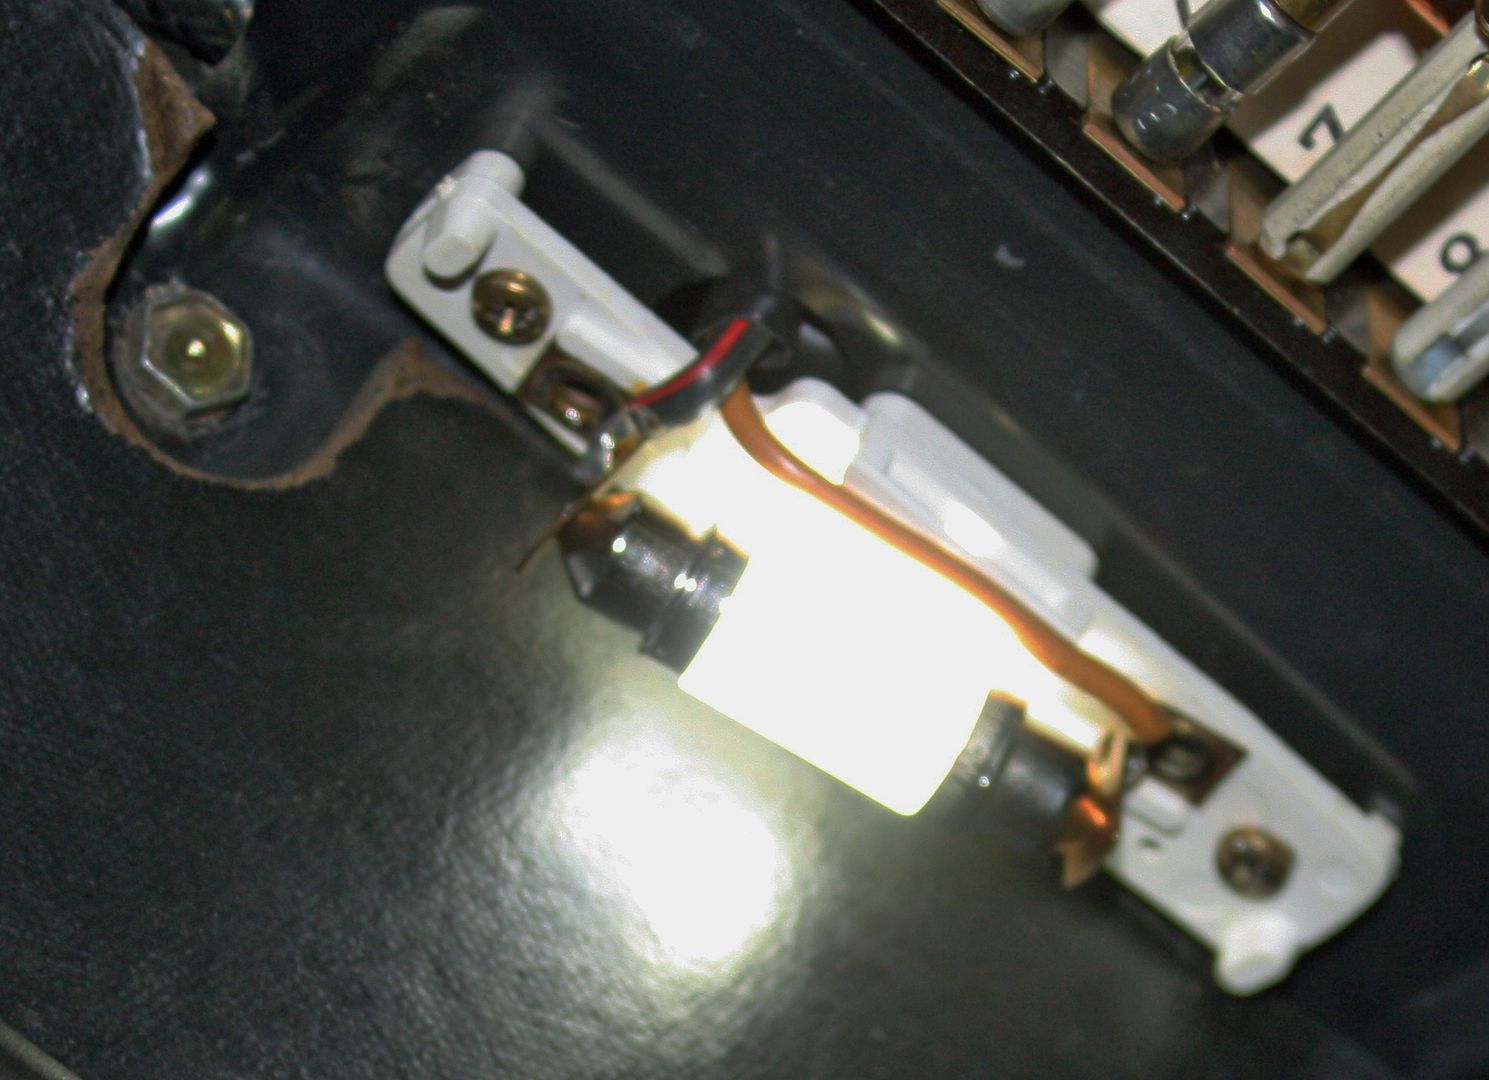 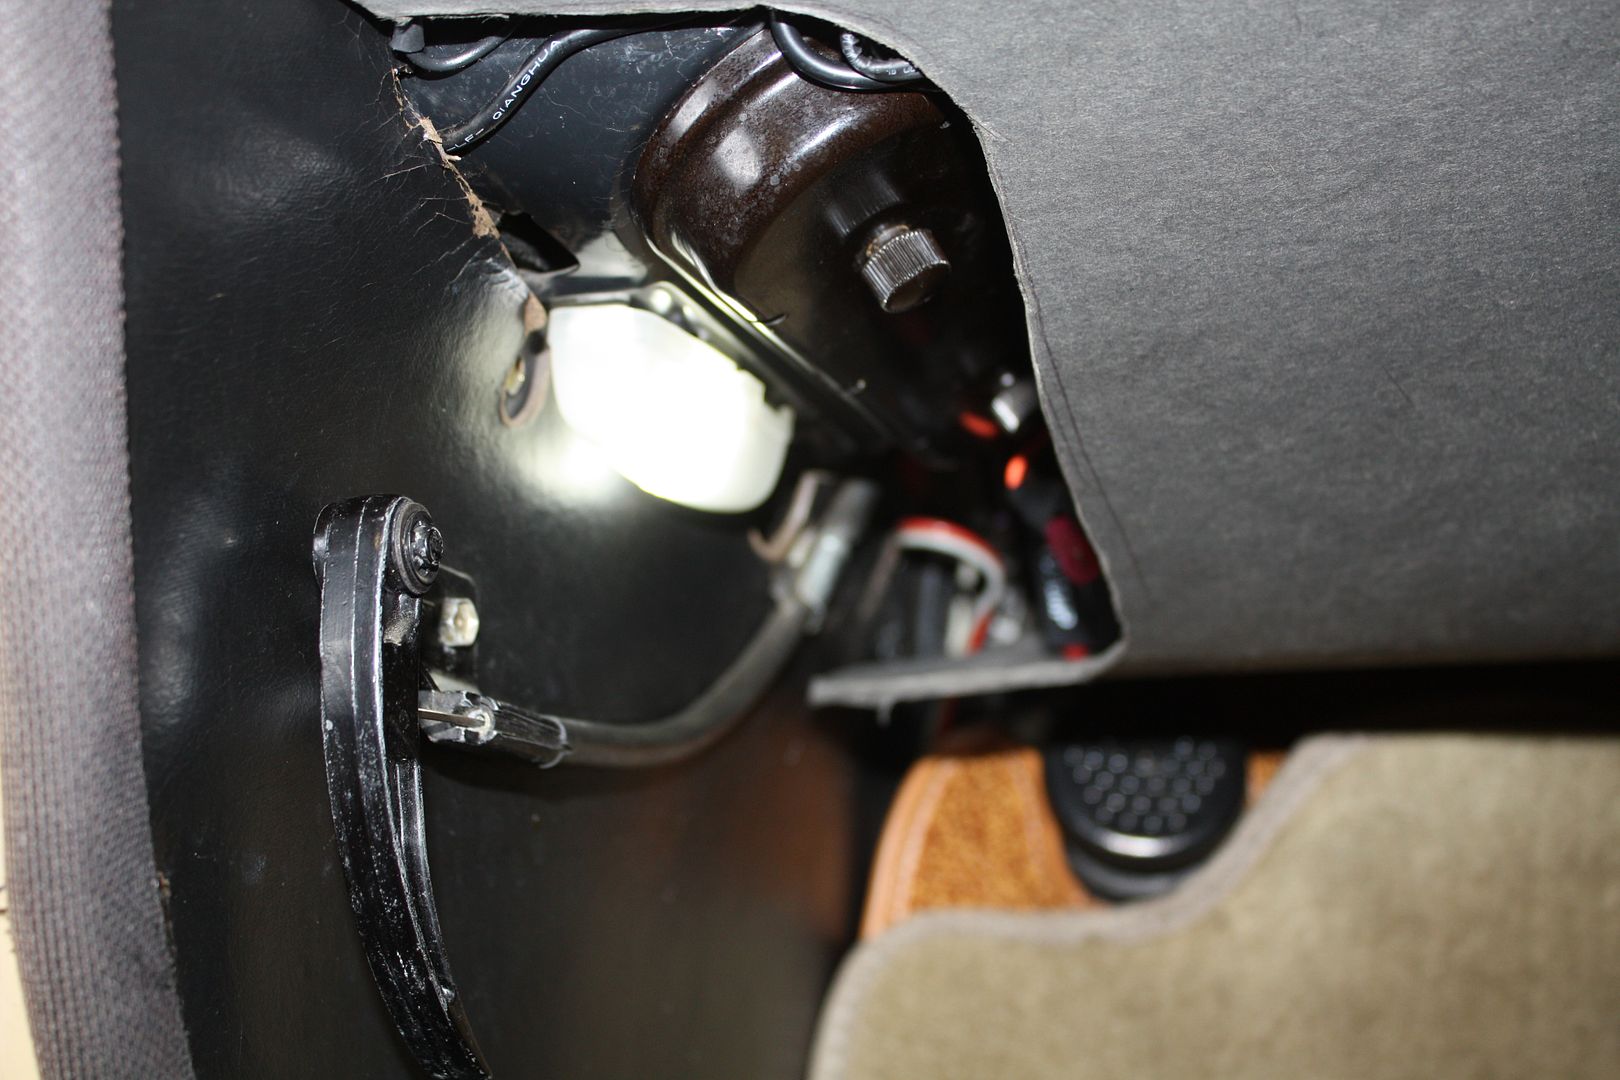 On a drive last week I noticed I did not have sound coming out of the left side speakers. I pulled out the radio and discovered that another speaker plug had failed. This is the second one as I had a defective one when Becker shipped me the radio. Rather than get another plug from them, I decided that I wanted to use a different type. They arrived a couple days ago and I installed them today. These plugs have a screw off top and fasten the wires with small set screws. Now I have sound out of both sides again. The first photo is of the type that have failed. 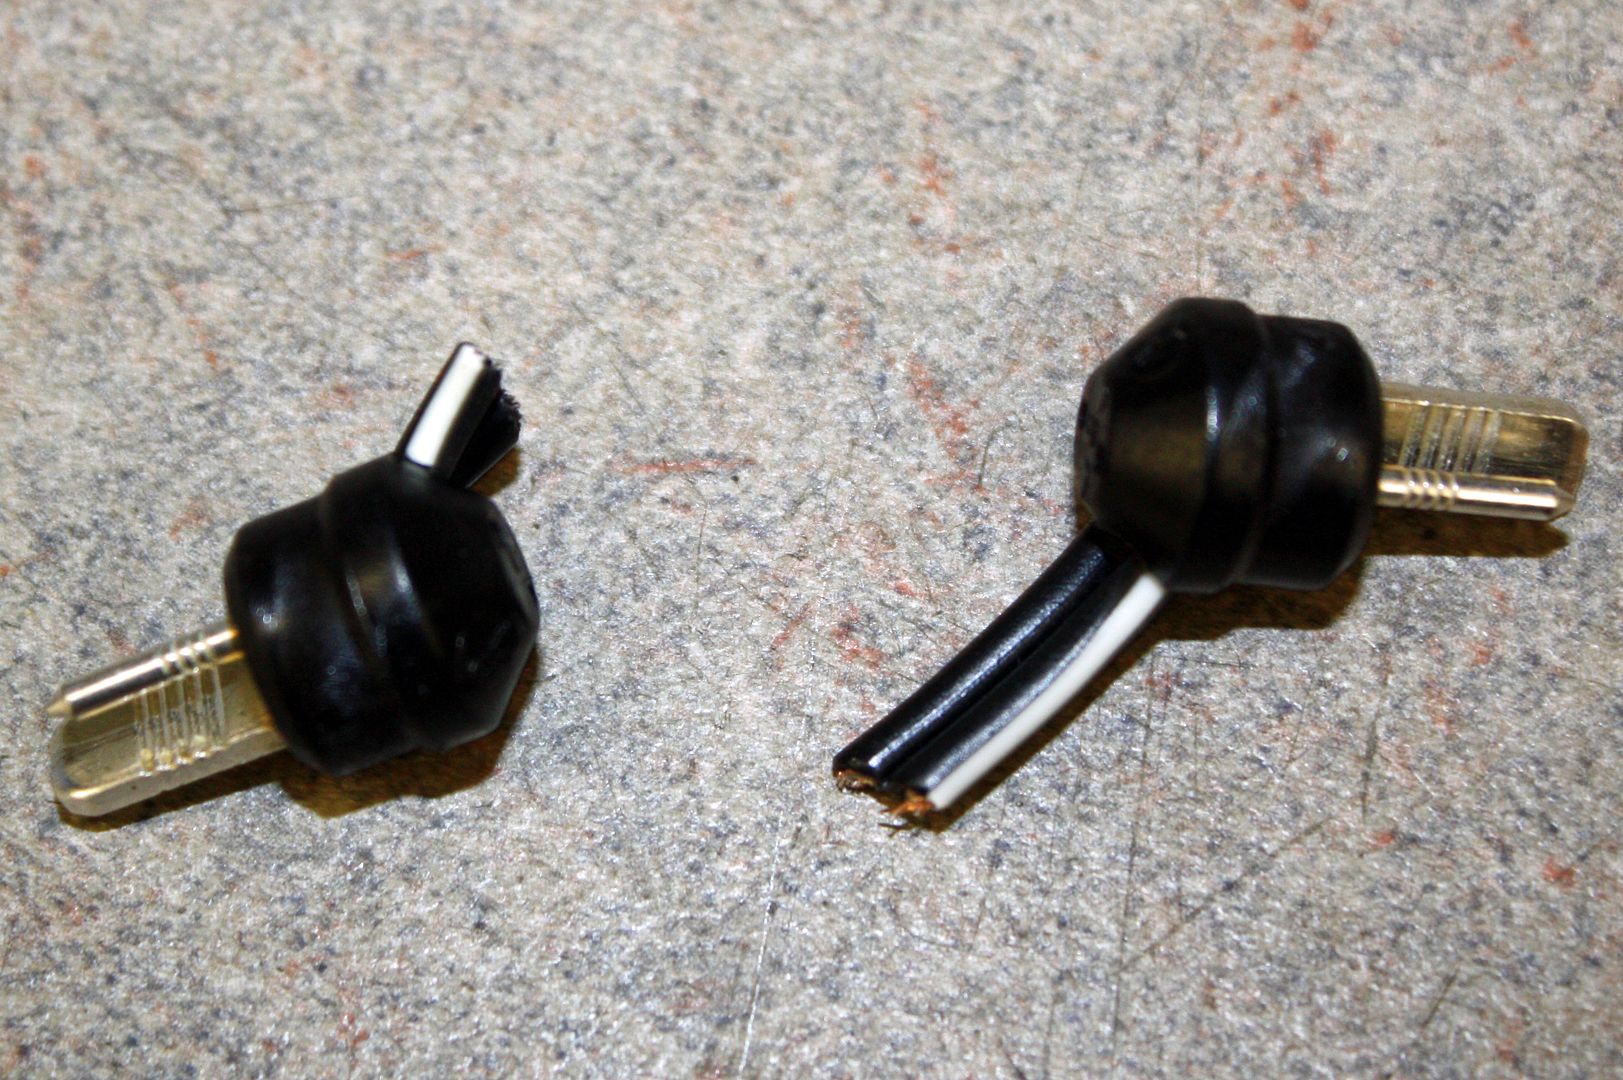 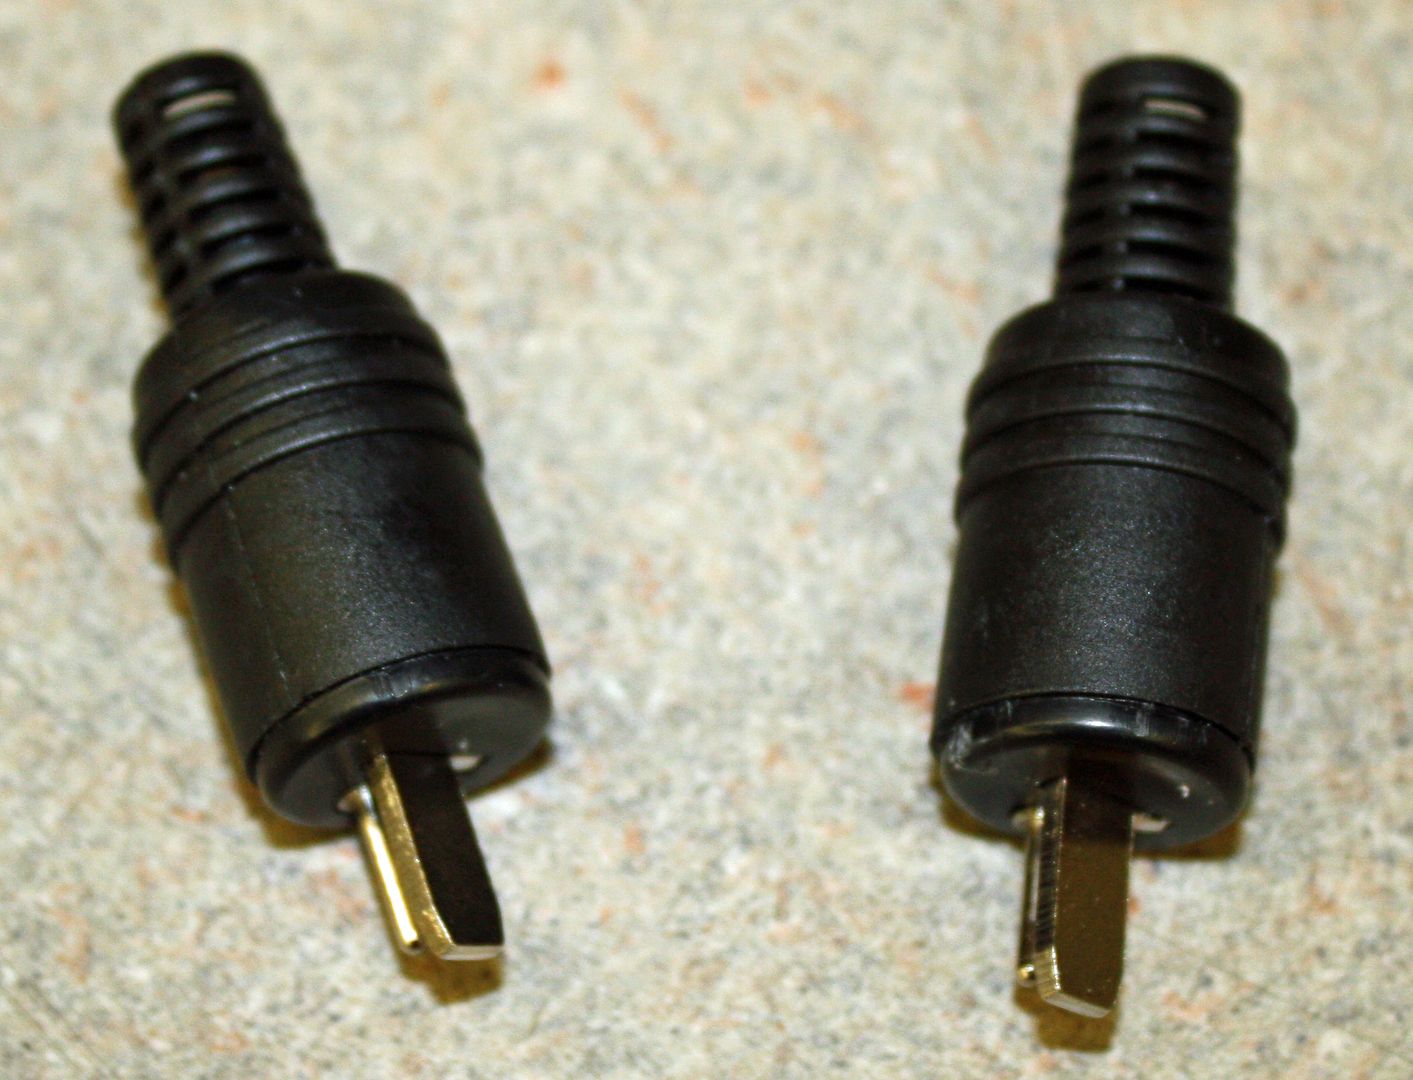 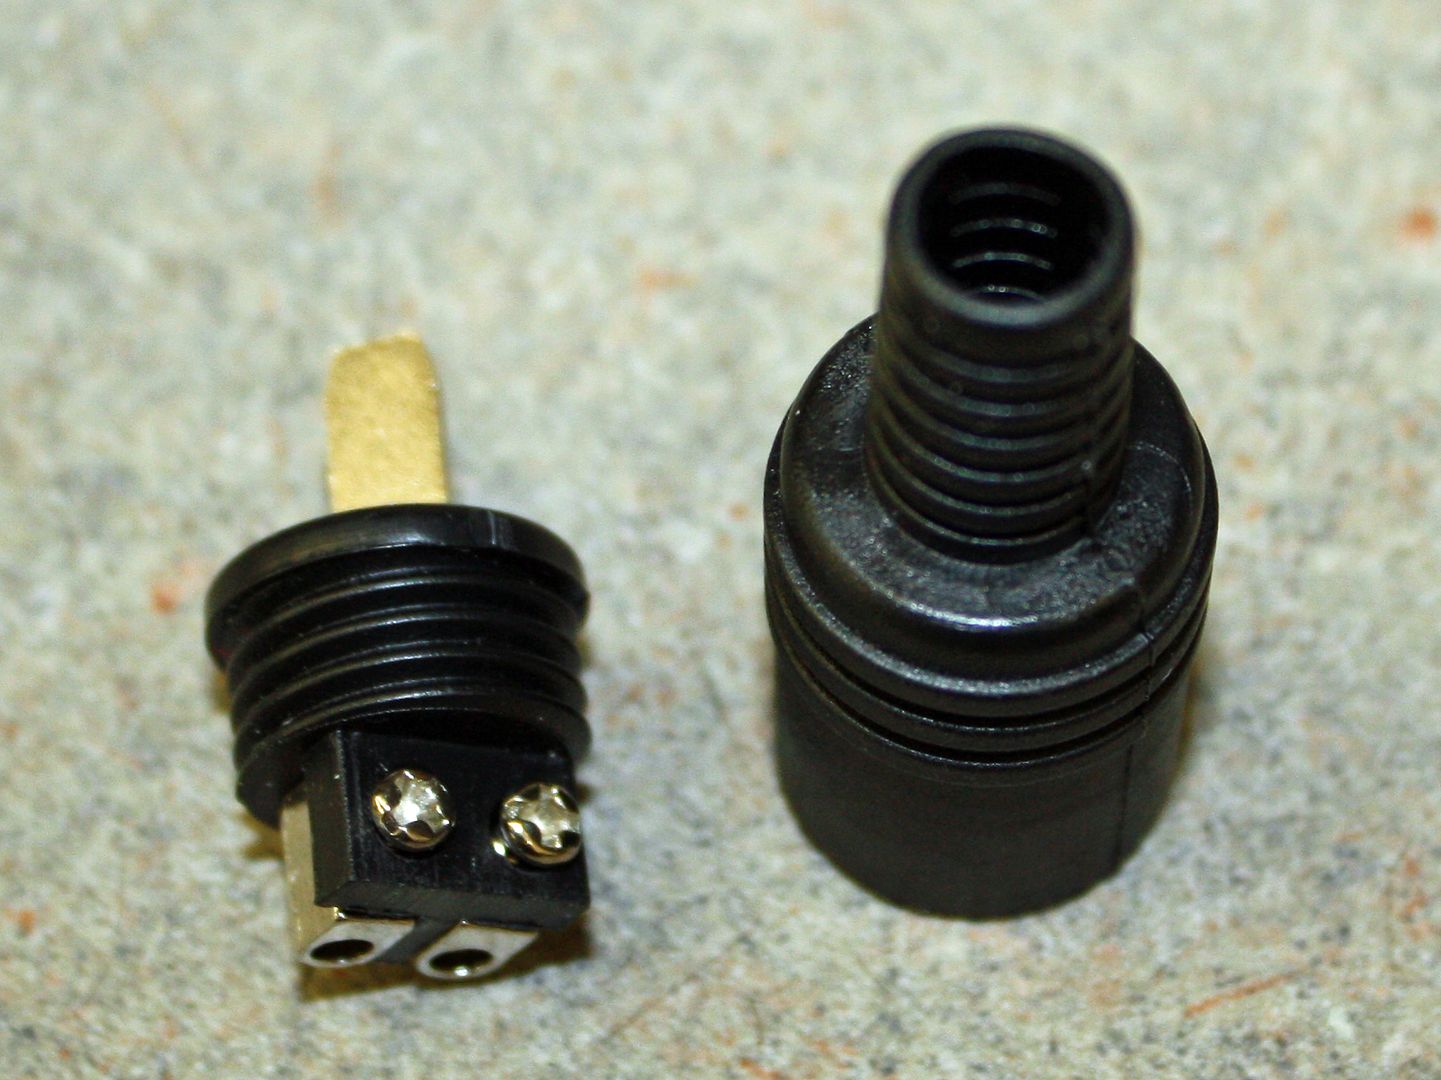 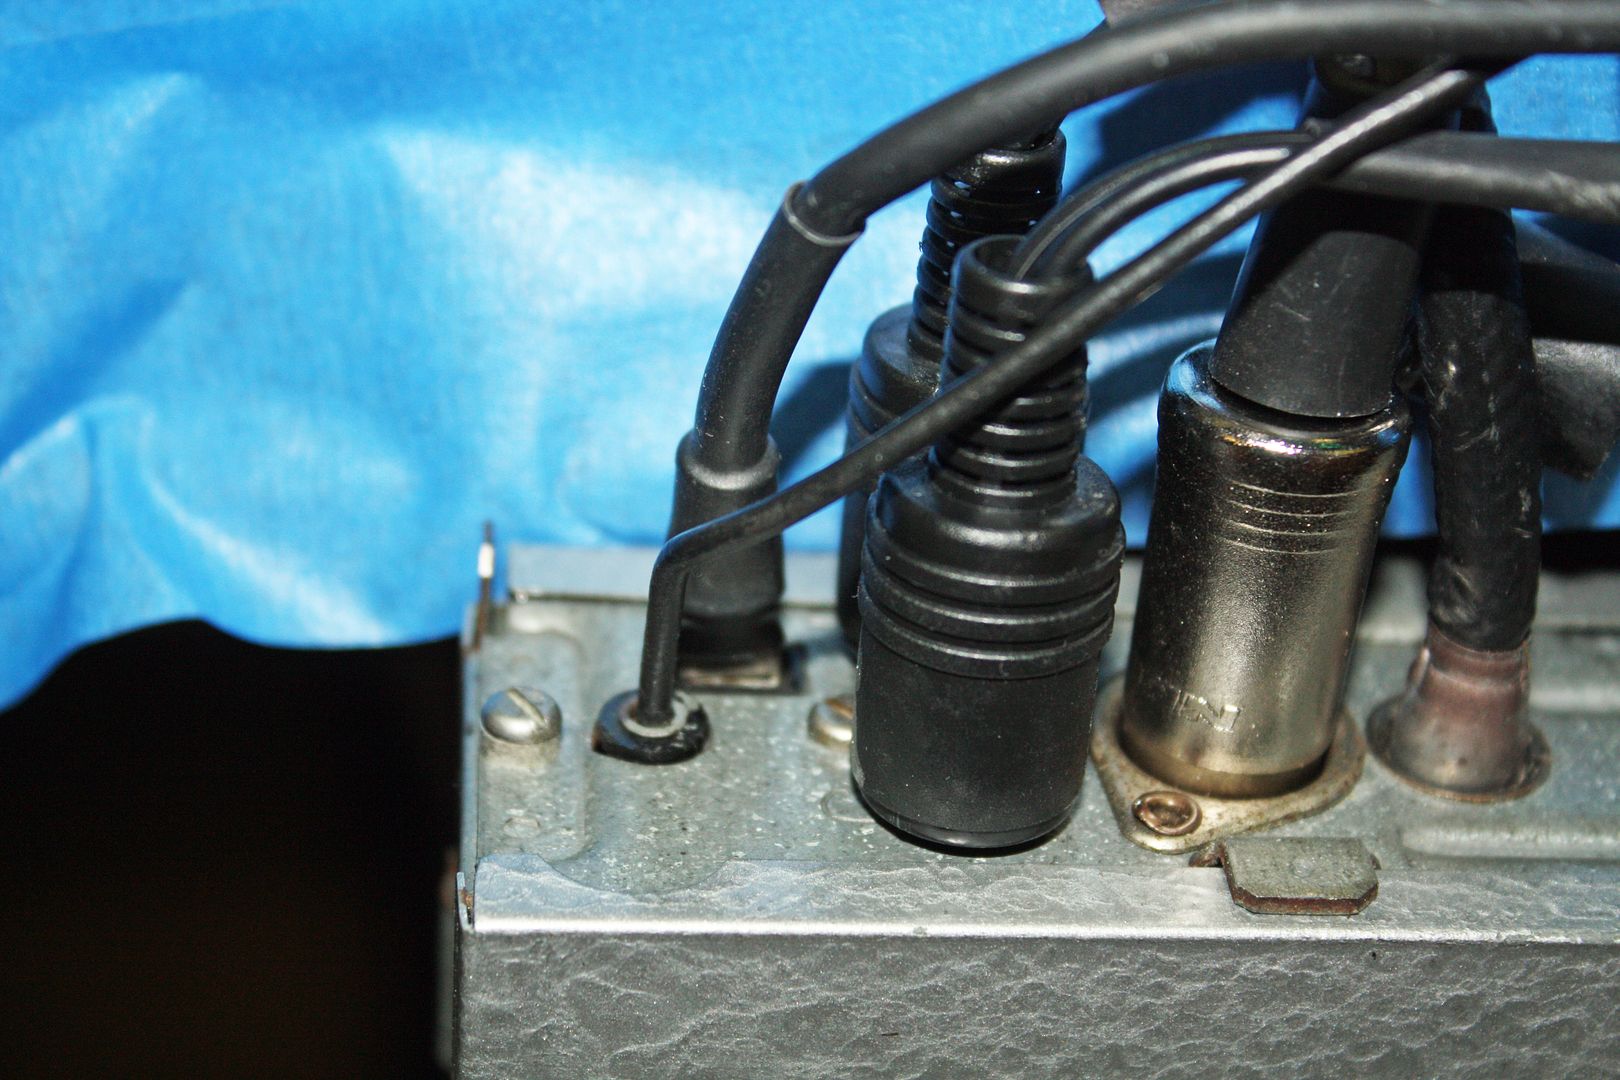 To make room for my cars, I put the Benz on the lift so I could park a car under it. The rear end was completely dry so that appears to be in order. I snapped a photo of the new flex disc for posterity. 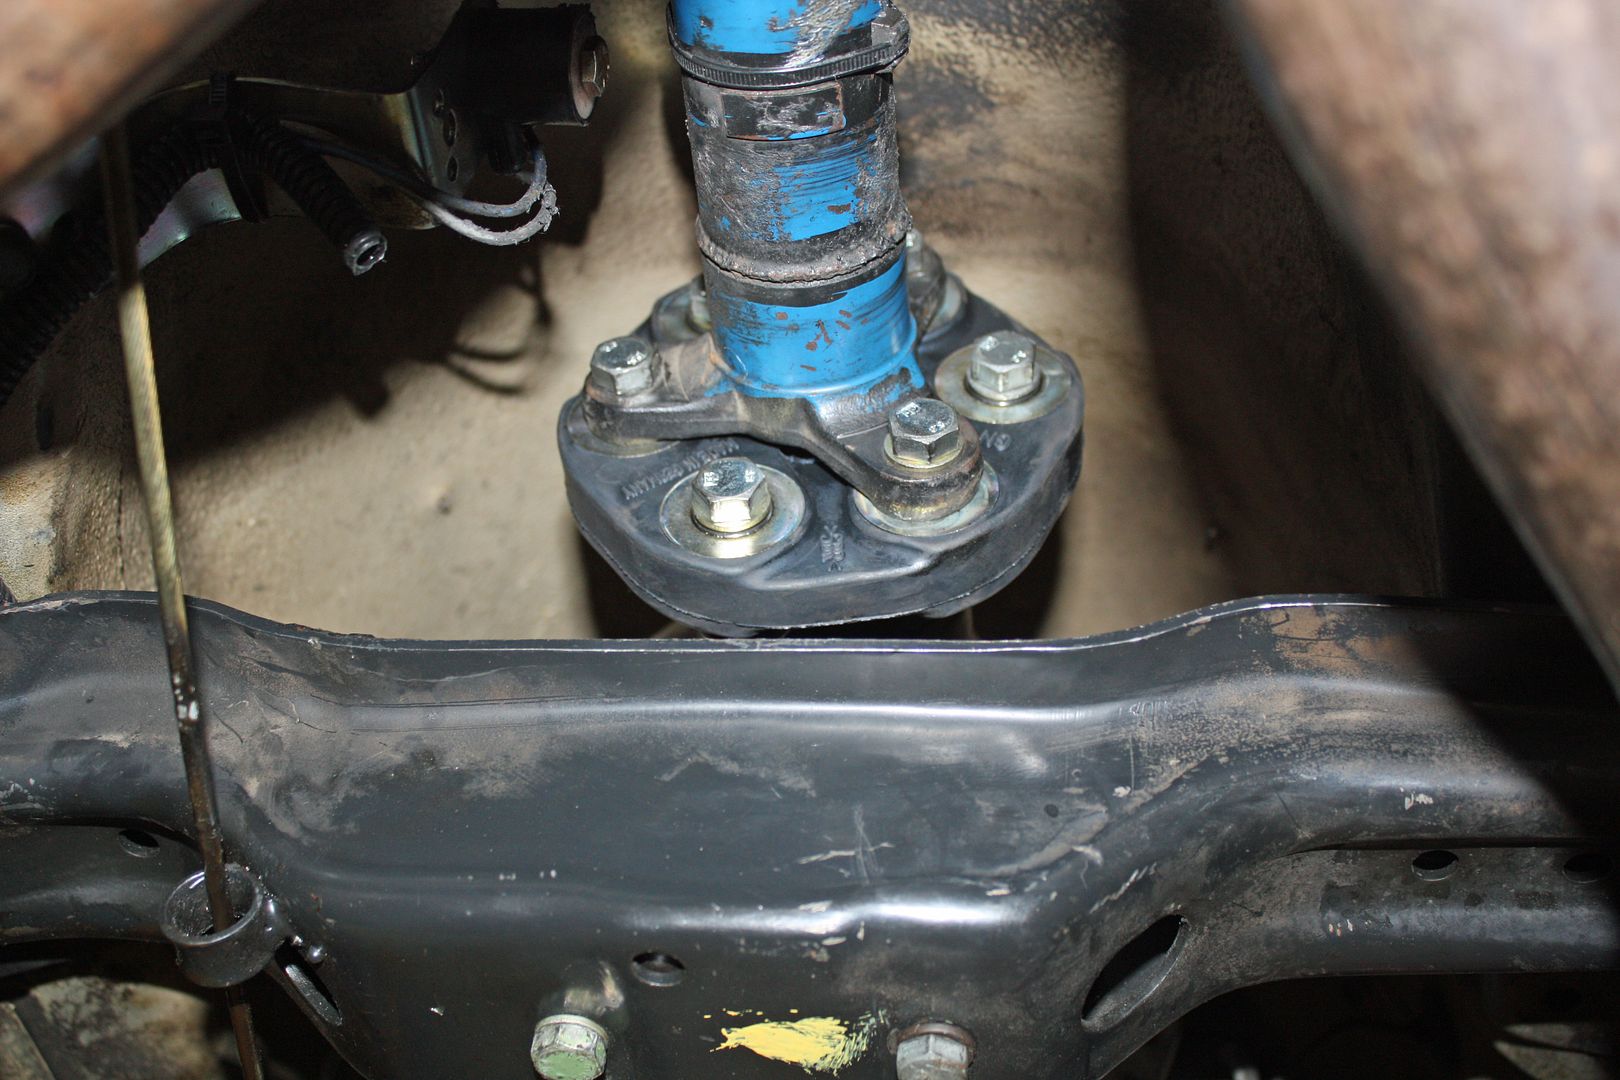 Since my son works for Toyota Racing Development, I was rooting for Toyota and, in particular, Martin Truex. It was a good day!! With the season he had, he deserved to win. I assume there will be bonus money for the TRD people as Toyota had a great year. My son says they are great people to work for. |
|
#372
|
|||
|
|||
|
#373
|
|||
|
|||
|
Hubcap thought
Have you considered painting the hubcaps the color of the roof?
|
|
#374
|
|||
|
|||
|
I haven't but that is an interesting thought. I looked at a 1972 350SL last month that was white with a black convertible top. The wheel centers were black on that car.
|
|
#375
|
||||
|
||||
|
If I remember right, two-tone Benzes from the factory came with their wheel covers painted whichever tone was lighter. If the car had a white-roofed blue body, for example, the wheel covers would be white. But this car is unusual in how the roof is a darker colour.
|
 |
| Bookmarks |
| Thread Tools | |
| Display Modes | |
|
|