

|
|
|
|
|
|
#151
 02-25-2017, 12:13 AM
|
|||
|
|||
|
The ride height of the car looks ok. Those wedges should not be there. The height of the rear end can be adjusted with different rubber shims for the tops of the the springs - they come in different thicknesses.
I guess you should remove the wedges and see how the car looks and behaves. Not sure how to test the compensator other than removing and evaluating it 
|
|
#152
02-25-2017, 06:48 AM
|
||||
|
||||
|
The compensating spring above the differential, if I remember right, serves to minimize camber changes from the swing axles when the car goes over bumps. My car has the regular spring (not the hydro-pneumatic type), so I don't really know how one would behaved when parked with a bad compensating spring.
Perhaps a look at the wear on the edges of the rear tires would help give an idea as to the status of the compensating spring.
|
|
#153
02-26-2017, 01:18 PM
|
||||
|
||||
|
If the car was not driven much, the compensator can go bad. Also, it does have to get "Pumped up" and it takes about 5-10 minutes of driving (depending on its condition, weather, etc.) if it's been sitting to "Pump up" to ride height. One thing though, the springs are on rotating perches that can be unbolted & turned to raise height - and that's what SHOULD have been done, if needed, versus using those aftermarket clamps on the springs.
__________________
Current: 2021 Charger Scat Pack Widebody "Sinabee" 2018 Durango R/T Previous: 1972 280SE 4.5 2014 Jeep Grand Cherokee Limited "Hefe", 1992 Jeep Cherokee Laredo "Jeepy", 2006 Charger R/T "Hemi" 1999 Chrysler 300M - RIP @ 221k
|
|
#154
02-26-2017, 02:09 PM
|
|||
|
|||
|
Quote:
|
|
#155
02-27-2017, 02:36 PM
|
||||
|
||||
|
Rear spring removal can be accomplished by lifting one of the rear arms with a jack and after removing the three nuts on the forward mounting plate, slowly lowering the arm until spring tension is released.
Control arm bushings - fore donut-shaped bushings should be easy enough. Aft horizontal bushings require a press to install. Some guys have cobbled together threaded rod and sockets to compress bushings enough so that snap ring can be fitted on exterior lip of trailing arm, if that makes sense. If it doesn't, take a look around the forums at sl113.org. 113s have the same trailing arm setup and parts.
|
|
#156
02-27-2017, 05:43 PM
|
|||
|
|||
|
Quote:
|
|
#157
02-27-2017, 06:57 PM
|
|||
|
|||
|
Yesterday afternoon I became bored watching the Daytona 500. I am ready to work on the interior this week so out came the rear seat. Lots of junk under it including some change and a watch!
  I removed the aftermarket Blaupunkt cassette radio too. All of the wiring junctions were wrapped with electrical tape. Peeling away the tape revealed all connections were made by twisting the wires together.   The fuel sender seal arrived today. I could now re-install the tank. Using a photo of the dirty tank for reference, I installed felt pads on the top side as close as I could to the original locations by using 3M spray adhesive. The rubber insulators on the pump wiring were gone when I originally installed the new pump and filter. The new ones arrived this past week. With another new fuel filter installed, it is now time to see if cleaning the tank solved my running issues.     
|
|
#158
02-27-2017, 07:02 PM
|
||||
|
||||
|
The watch looks like the ones we had in Nam.
|
|
#160
02-27-2017, 07:46 PM
|
||||
|
||||
|
Guess not. Ours were plastic.
|
|
#161
02-28-2017, 06:51 PM
|
|||
|
|||
|
Quote:
 
|
|
#162
02-28-2017, 07:05 PM
|
|||
|
|||
|
I had ordered carpet for the trunk on eBay right after getting the car. It was custom made by someone in the Netherlands and just arrived yesterday. I which they had rolled it instead of folding it. Hopefully the fold marks come out.
 I worked on installing the Becker Europa II today. The original wiring harness had been cut so there was no obvious way to wire it. After figuring out the wiring details, I decided I needed a two prong plug to wire up the 12V and the output to the power antenna. I explained to the lady at the local Advance Auto that I was looking for the same type of plug used by my Battery Tenders. She knew exactly what I was looking for. She came back with a hard wire kit using that plug. I told her I would need two of these packages to make it work. When she rang up the two packages, the total was two dollars plus sales tax. I was surprised at the low price which she said was because they were being discontinued. I asked her if she had more at that price. She had a total of ten which I bought for future projects.   I wired the speaker output wires only to find that the wires pulled out of one of the plugs. A quick call to Becker has a couple new speaker wires on the way.   I had power to the radio and hooked up the one speaker wire that was whole. I did not have sound. Another call to Becker and I was made aware that the rubber plug for the accessory output must be plugged in as it has contacts on it that completes the speaker circuit. I had unplugged it in anticipation of hooking up the auxiliary input.
|
|
#163
03-01-2017, 06:04 PM
|
|||
|
|||
|
Worked on the interior today. My windshield bow trim needs to be refinished so I removed it today. Removing the front speaker grill exposes the two screws that secure the bow trim. After removing the windshield pillar trim, I very gingerly removed the trim.
     I also removed the wood trim around the door windows.  There were multiple problems with the bow trim. One was that the finish was flaking off. As you can see by the photos of the ends which were protected while under the windshield pillar trim, the original color was a dark brown that matched the door window trim. To get the rest of the flaking material off, I began by using my fingernails until that became painful! My final tool for removing the material was a jeweler's very small screwdriver. The procedure didn't involve scraping the finish off. Rather, I would place the tip of the screwdriver against the edge of the clear finish and press against it. This eventually resulted in forcing the material to flake off. I spent an hour and a half doing this.    After removing all of the clear finish, I hauled all of the trim up to my buddy's house. He is a very experienced woodworker and has a full shop of tools. His first comment was that the material had delaminated on the ends due to being wet. On one end, there was a piece of the laminate that had broken off. I had some very thin shim material that was the correct thickness. I cut a piece to fit, applied wood glue and then clamped the trim.      After looking at the most preserved finish on one of the window trim pieces, my buddy said he would recommend painting all of the trim a matching brown color. It was pretty shiny on that piece so we would assume all of the pieces were originally that color. I would be interested to know if anyone has knowledge about how these trim pieces were originally finished.
|
|
#164
03-01-2017, 06:21 PM
|
|||
|
|||
|
After setting the clamps on the trim, I removed the front seats. Before doing that I unfastened the seat belts and removed the center pillar trim. There was one electrical plug on the passenger seat as well. I also removed the sheepskins so I can properly clean and treat the leather on the front seats.
  %20Benz%20280SEL%204point5/3-1-17%20trim%206_zps6xqtfotz.jpg.html] 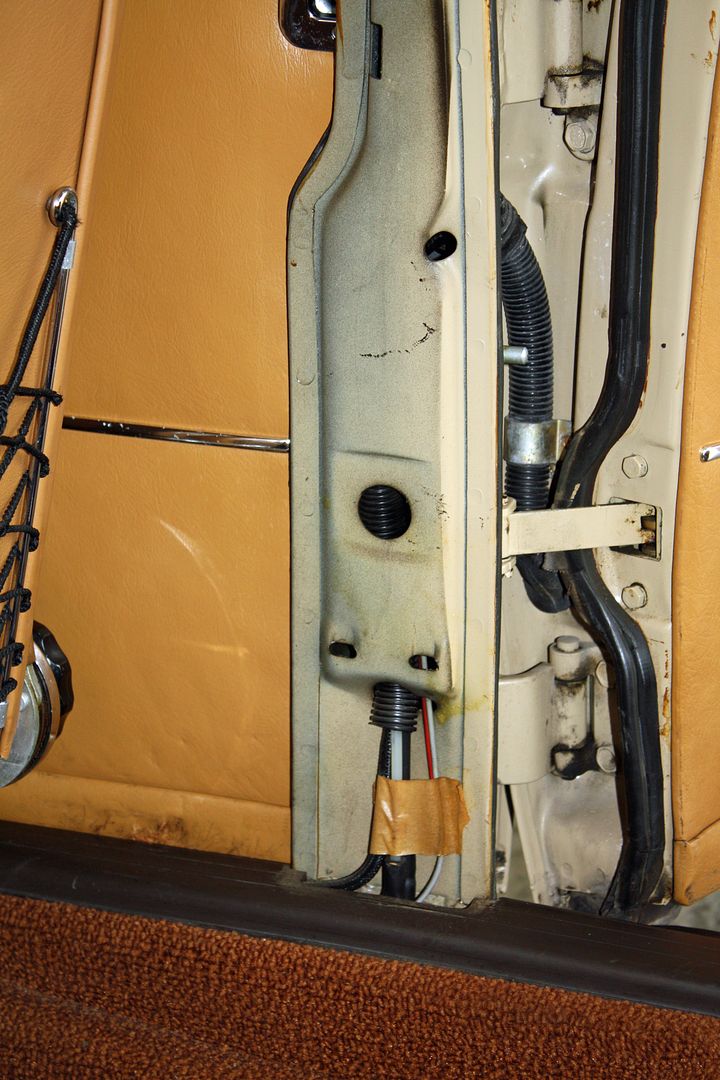 [/URL] [/URL]I began with the passenger seat and removed the rear bolts first. That was a mistake as it was very difficult to access the front bolts with the rear part of the seat loose. Eventually I was able to remove all four bolts. I spent an hour on that seat and ten minutes on removing the driver's seat. And that seat would have been removed even quicker if someone hadn't used a phillips screw instead of a bolt. You could not get a screwdriver squarely on that screw so I had to use a vice grips to get it off.     I removed the center console which required unplugging the window switches. With the console and the seats out, I began removing all of the carpet except on the sills. It was late in the day by this point and I decided I wanted to be fresh when I try to remove the sill trim which will allow me to remove the sill carpet. I want to take my time and be sure not to damage that plastic sill trim.     
|
|
#165
03-01-2017, 08:53 PM
|
|||
|
|||
|
A word about the compensator "spring". It is made by "Nivomat", and when compressed beyond normal (level ride height) due to passenger/trunk loading, it will pump up compressed air resistance over a short travel distance via clever valving and bring the car back to level ride height! Same design was used on the twin rear shocks on my 1983 BMW R100RT touring motorcycle.
Clever indeed, but I think very expensive to replace. The fact is that if the car is not heavily loaded, it's usefulness is limited.
__________________
Berfinroy in CT Present vehicles: 1973 300 SEL 4.5 1959 Rolls Royce Silver Cloud I 1959 Ford Thunderbird convertible/430 Past vehicles; 1958 Bentley S 1 1976 ex-Max Hoffman 6.9 1970 300SEL 2.8 1958 Jaguar MK IX 1961 Jaguar MK IX 1963 Jaguar E-type factory special roadster 1948 Plymouth woody 1955 Morgan plus 4 1966 Shelby GT350H Mustang
|
 |
| Bookmarks |
|
|


 Linear Mode


