Fuel Level Sending Unit replacement
on the 1983 300D Turbo (W123 Chassis)
by BoostnBenz
02/16/04
The following VFAQ was created to help people replace their malfunctioning fuel level sending unit. As always remember the lovely legal disclaimer that I do not accept any liability for yours or anyone’s actions who may follow any of my guides.
Isn't that just so annoying when you get on the bottom half of your tank and the needle keeps jumping around? How about when the fluid level takes forever to change or moves instantly in turns, while some of these are more annoying than other the root problem is all the same, the fuel level sending unit.
This is a very easy thing to replace no matter what the problem is, it is also very possible to fix it but it all depends on the individual I prefer to try to fix something but if it doesn't work I'll go ahead and replace it.
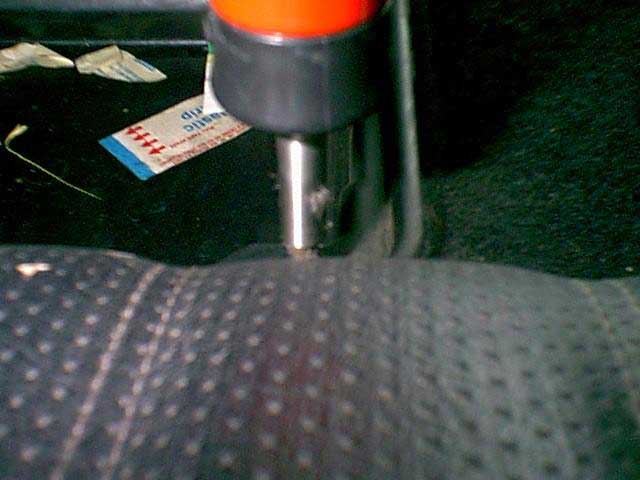
First things first we have to gain access to it, so the first aid box has to be removed. This is done by popping the cover open, (be careful otherwise you'll be popping it off!) there are two screws in the front corners, just phillips head. After those are removed the front pops up then forward so the tabs in back let it loose, you can pick it up and out of there now. Underneath of the first aid box you'll see this:
Wow that is one huge nut (42mm?), much larger than I had a socket for so I just went ahead and used some channel locks. Since I was doing some other stuff in the trunk I had the divider out which made for easy access on this nut. Be careful to not slip and bend the pins on the sender unit. As soon as it came loose the thing could just be undone by hand inside. Remember to have some towels around especially if you have more than an empty tank. It'll just keep dribbling out because of the design on the tube which surrounds the actual sending unit.
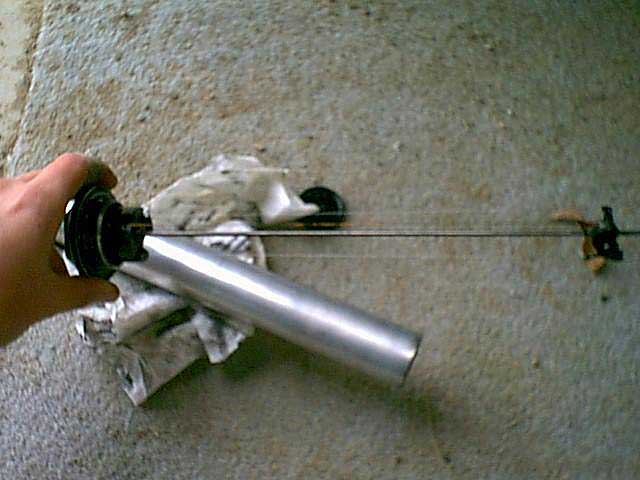
On the bottom of this tube you'll see one of those weird nuts that use circlip pliers or such to remove, at the moment I couldn't find that tool so I just spun the circular plate counterclockwise while pushing towards the nut on it. It loosened the nut enough to remove it. Underneath I found some of this nasty algae which of course grew there as the holes on bottom aren't large enough for it to just come in. I ended up cleaning off everything, I even used some steel wool to carefully clean off those very fine wires but I still had a jumpy gauge (reserve light contact was missing as well) so I just put everything back together. Remember to use a new seal (107 997 13 45) on the sender when reassembling, while it isn't critical I don't enjoy redoing anything. It is also a good idea to use some die- electric grease on the pins on reassembly, this unit works off of resistance so the loss in contact resistance could create a little bit of a problem. It always helps on taking the harness off anyway.
Tools:
- Phillips screwdriver
- Channel locks or 42mm tool
Discuss this DIY here.
-BoostnBenz
CategoryDiy