Aspirator Motor Replacement
on the 1998 S500 (W140)
by Greg Baxter
11/5/06

This article is of my own making, and from my own research. If you use any of the material within, then like me, you're on you're own. You can't hold me or anyone else responsible for whatever, so if you don't feel comfortable doing this sort of mechanical work, then take your car to an authorized mechanic.
This is a how-to guide to fix the Aspirator Motor, aka Sampler Motor, aka Recirculation sensor, aka Ambient Temperature Sensor, aka Cabin Temperator Sensor etc. I've seen it listed with as many different descriptions, but the part# is still 140 830 00 08 for late model 140s.
If you are having a hard time keeping the inside cabin temperature at your setting, then you may want to look at this. MB uses a similar air pump for most models since 1990 - but all models seem to be laid out a bid differently. On the 140s and 220s, this combination [miniature blower and temperature sensor] is located in the overhead switch cluster (sun roof etc). On some E class and 300s I've seen, this air pump is in the dash next to the glove box, and fed by a small hollow tube that runs from the overhead, down the windshield post and over to the sensor motor. In any event, this DIY is for 140s.
I would not have bored you with such a simple DIY, but a motivation for writing this DIYis the surprising frequency of this part needing replacment. They seem to clog often, or just quit spinning altogether. To make matters worse, when they act up these Aspirator Motors will drive you crazy trying to keep the cabin temp at a level, specific temperature. If this little motor clogs or goes bad, your indicated inside cabin temp will be all over the place. One I replaced was showing 30deg F to 100deg F swings in about 30 seconds.
Obviously what happens is the temperature you set on the control panel will simply never occur. Instead, the system will chase whatever temp the aspirator motor is sending at the moment, with a built-in 15 second delay to prevent thrashing. This one (this actual replacement) was just sluggish - and it took about 5-10 minutes for the system to catch up and change the temp. In the meantime, I (and all other vocal people in the car) were either real hot or real cold. Problem was the Aspirator was just clogged and almost stopped, and could not pull air from the cabin to assertain the actual temperature.
One more note before we replace this thing. If you want to see the temperature the Aspirator Blower/Sending Unit is actually sending to the system, put the display panel into diagnostic mode. Hold down "REST" for 5-6 seconds, and the very first item to be shown is cabin temp. Just press "REST" again and it goes back to normal.
Phil keeps these in stock at PeachParts.com parts. Good luck!
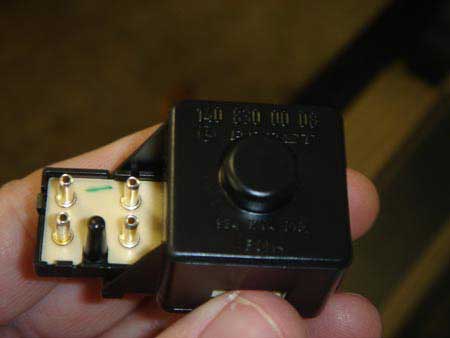
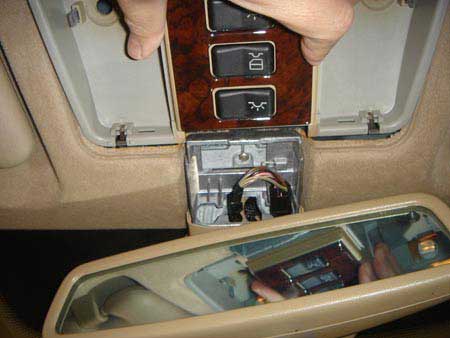
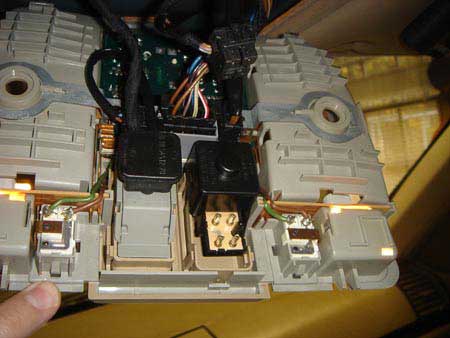
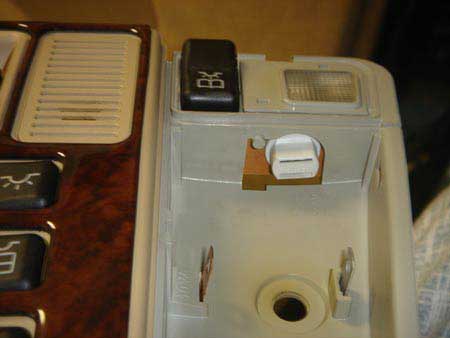
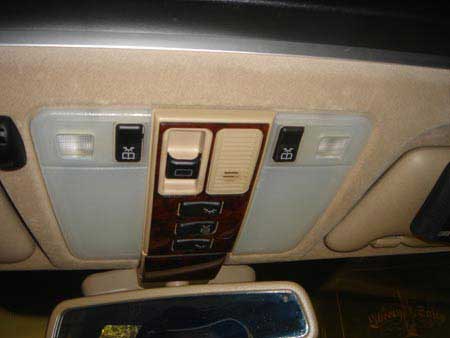
Ok - here we go. Here's the part we're going to be replacing - the "Aspirator Motor".
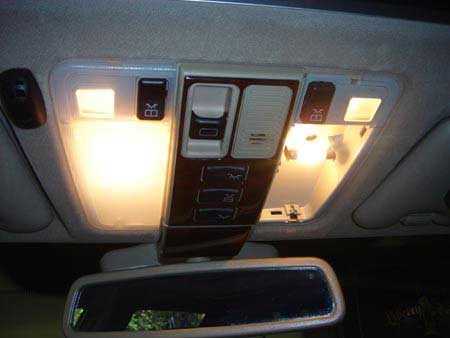
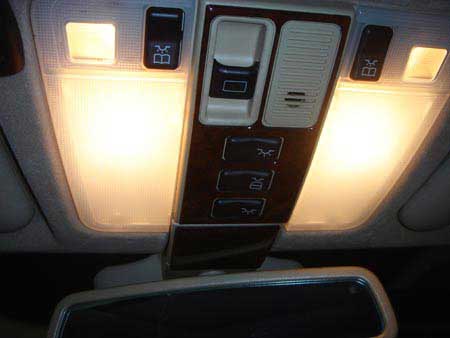
It's located in the overhead - notice the small air intake next to the sunroof switch.
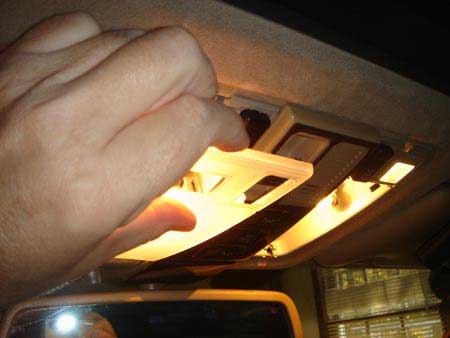
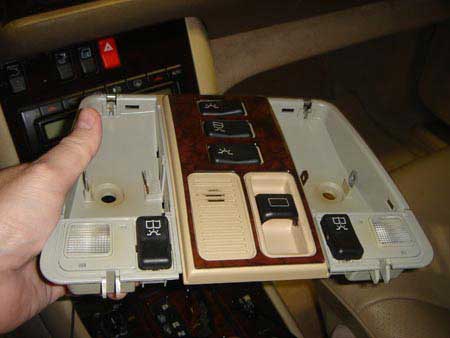
These light covers just pull down and pop out. I think you can see the notches in the other side that hold the lens covers. If you want to (and you're careful), you can actually release the plastic catches using something like a popsickle stick or even a screwdriver. Softer the better - even though this plastic is robust compared to most MB plastics, it can still crack. Again, I just pulled them down with fingers (shown).
Both lens covers off, exposing flood lights.
See those little tabs on either side on the front of the housing? Just slip a screwdriver in there and it all starts popping out. They unlatch from the front of the car to the rear. The rear latches are fixed, so they're last as it drops down.
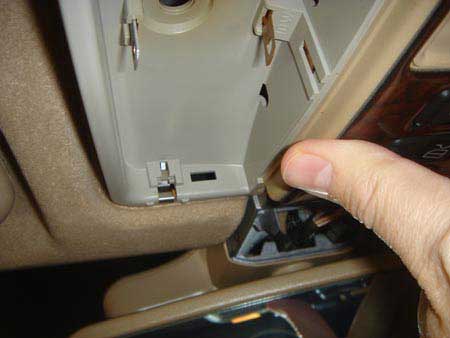
A better view of the latch. It's really that simple.
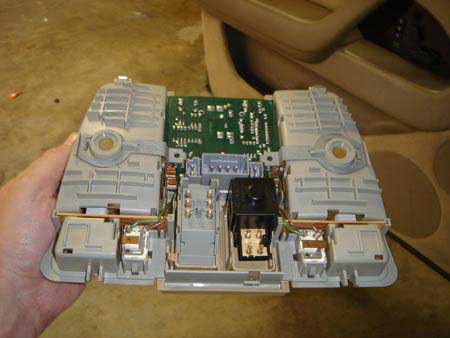
Out it pops.
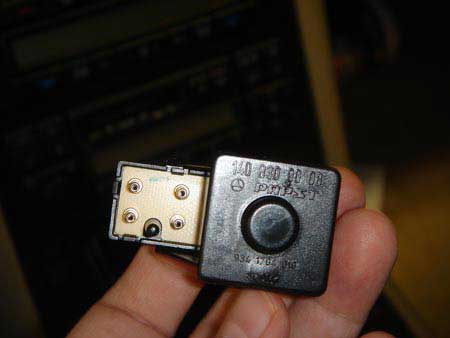
The new one. Should be part # 140 830 00 08 for 140s.
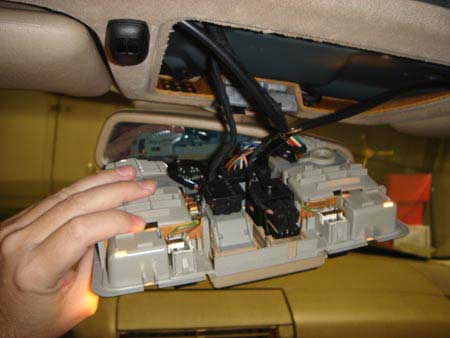
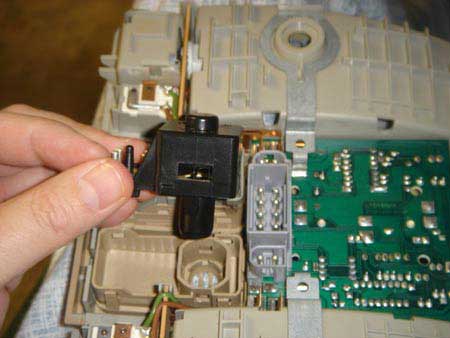
Wires still on. They just pull off - you can't mix them up when re-pluging as each has its own match.
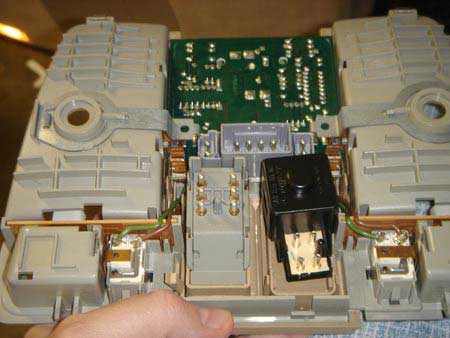
Unplugged. Old Aspirator Motor still attached. The plastic tabs that snap hold the Aspirator are underneath this whole assembly. There are 2 ways to unlatch it - 1) It's held by a base plate, which has its own set of 4 latches. They break VERY easily. Or 2) you can GENTLY twist the motor and the tabs will release and out it pops. In any case, I saw no good method to get it out by accessing the snap tabs on the motor. I just couldn't get to it.
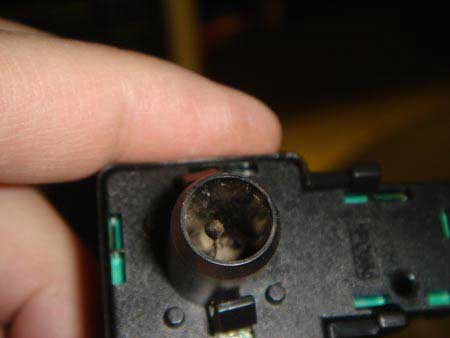
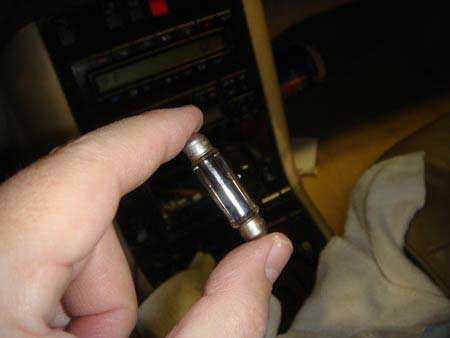
A photo of the old motor - thoroughly clogged. The little diode is the actual temperature sensor/thermistor, it sits on two thermal pins and runs down into the motor.
Not a good photo, but here's the new one going in to the slot. You can see the tabs I was talking about earlier. Clean this whole thing out before you reasseble it - I just blew it out.
I took this photo in case you wanted to see how easy it is to replace the lamps. The reading lamp housing just twists out and reaveals yet another pea lamp. Thankfully, you can still get these (see Phil).
New one just snapped into its slot.
These little lamps from the flood were filthy. Same sort of grey dust that clogged the Aspirator. I just cleaned them up with a towel. I hear you can get these in a whiter color (instead of the yellowish tint) but I lost the link. If you find them post the source.
It's ready to go back in. Plug in all the wires and ...
Rear in first, then snap in the front. Snap up the flood covers and that's it - you're done.
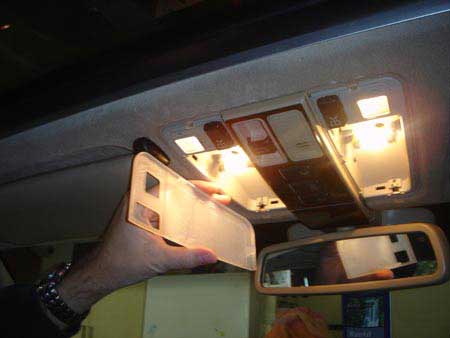
Did you notice the mirror cover was actually removed (shown in place)? I used some tack (a real tiny dab of gasket silicon) to keep it in place because it always falls out when you least expect it. Anyway, I'm not really sure you actually have to remove it in the first place for this simple little job.
That's it - I told you there was nothing to it! I ran a test drive after I installed a new Aspirator Blower, and the temperature lag was exactly 15 seconds behind - just like it should be. Much better than waiting 10 minutes for a temperature change (and 10 mins of bitching from your passengers) - what a difference!
See above for method to display interior temperature.
See Phil (PeachParts) for the parts.
I wish you success!
-Greg Baxter
CategoryDiy