

|
|
|
|
|
|
#1
 02-22-2009, 07:22 PM
|
||||
|
||||
|
87 300D gauge cluster innards and boost gauge mod
The weather's still crummy so I can't finish the dash job. Here's a view of the less seen side of the dash and some details of the boost gauge mod. I'll include a link to Jeremy's writeup on updating to a late 124 housing for better illumination. I haven't done this yet -
http://www.peachparts.com/shopforum/showthread.php?t=222092 This is the top of the gauge cluster - 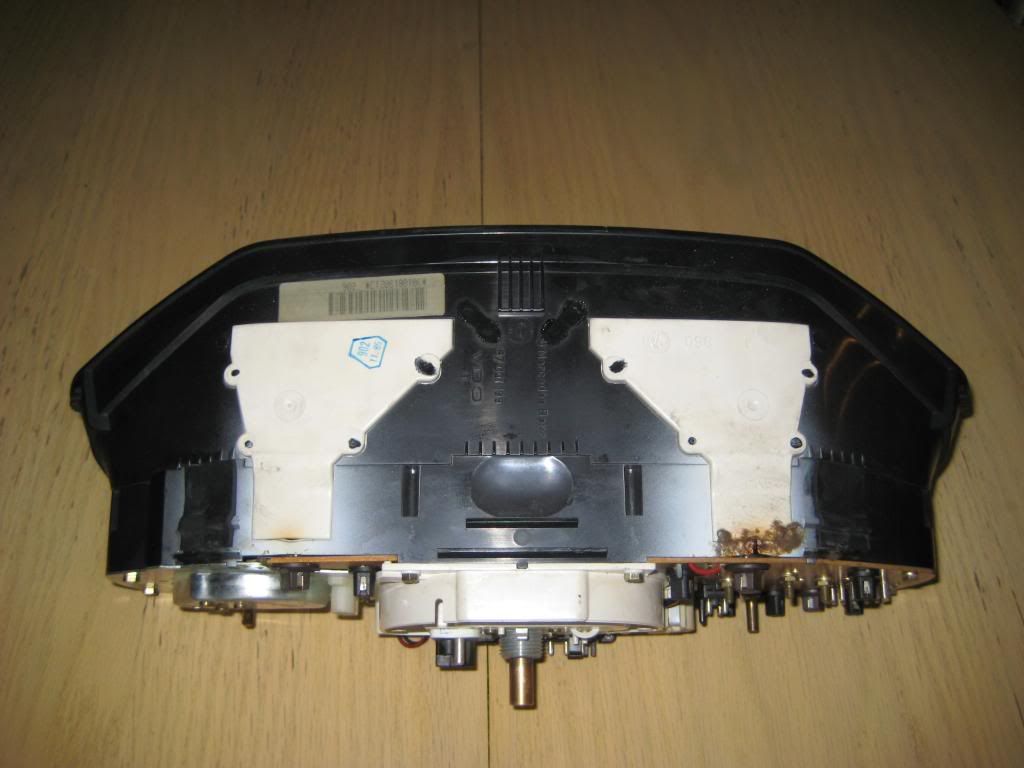 This is the bottom. Yes, a rubber pad is missing. I have it and I will glue it on after this post - 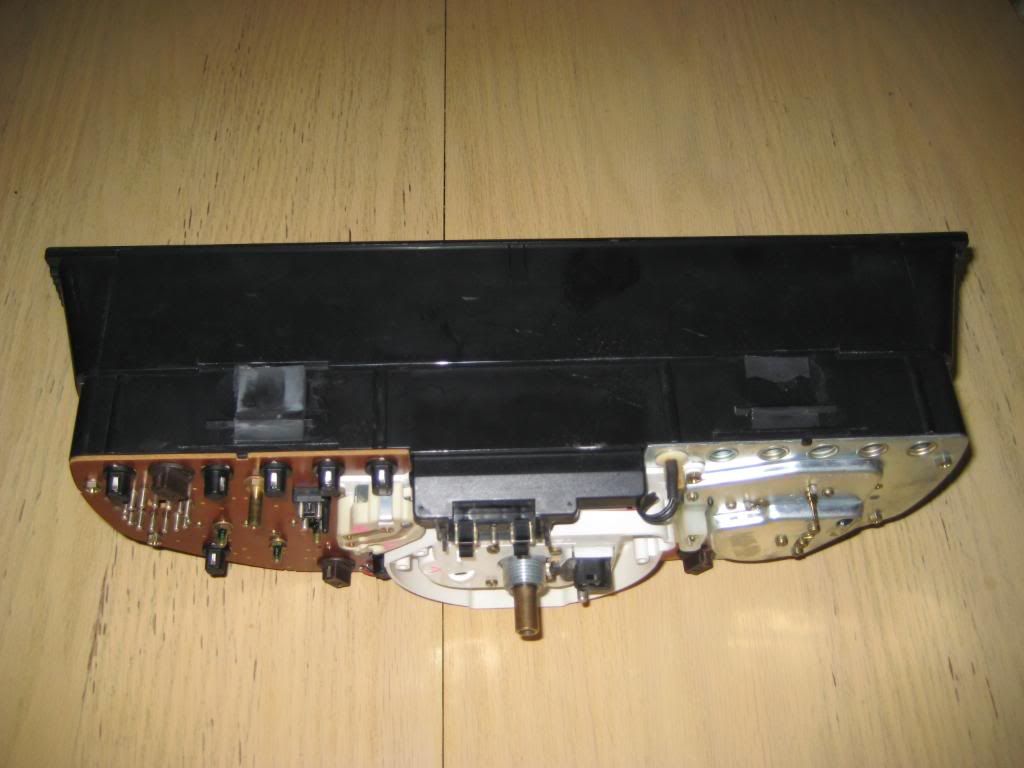 This is the back - 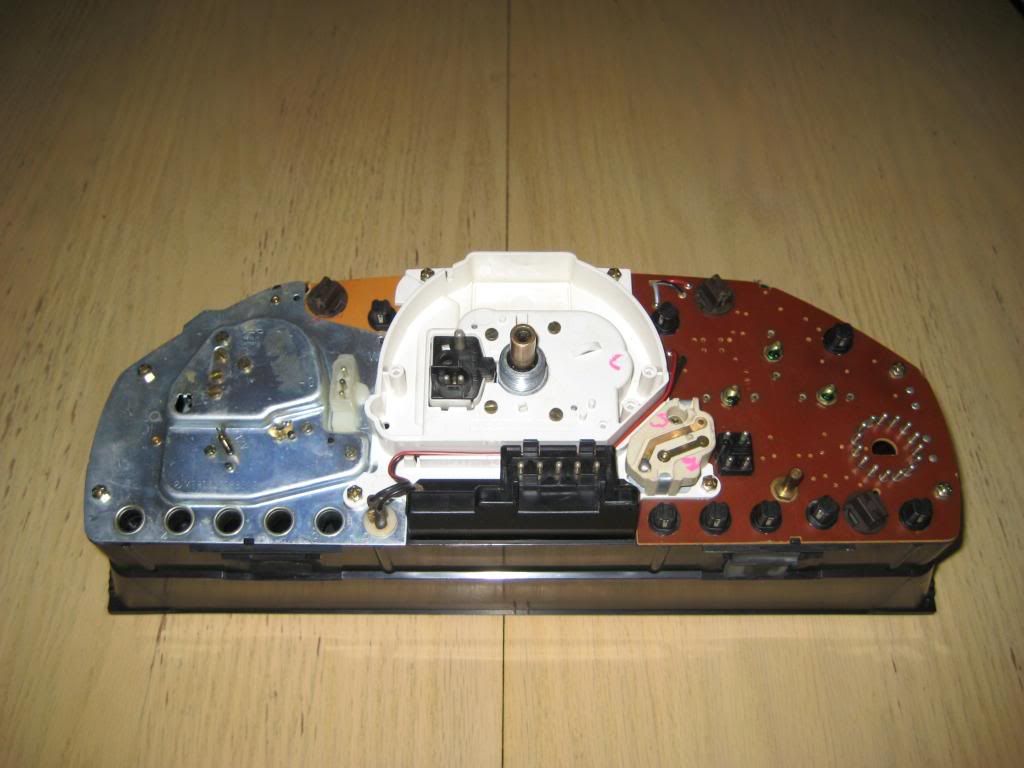 Okay, lets see how many screws we can remove. Start with the outside temp display which has 2 screws. Note that this is a later model 5-pin display with speed sensor input. The original temp display for an 87 300D has 4 pins. The 5-pin display requires a corresponding 5-pin connector. It's a simple matter to move the pins from a 4-pin to 5-pin connector - 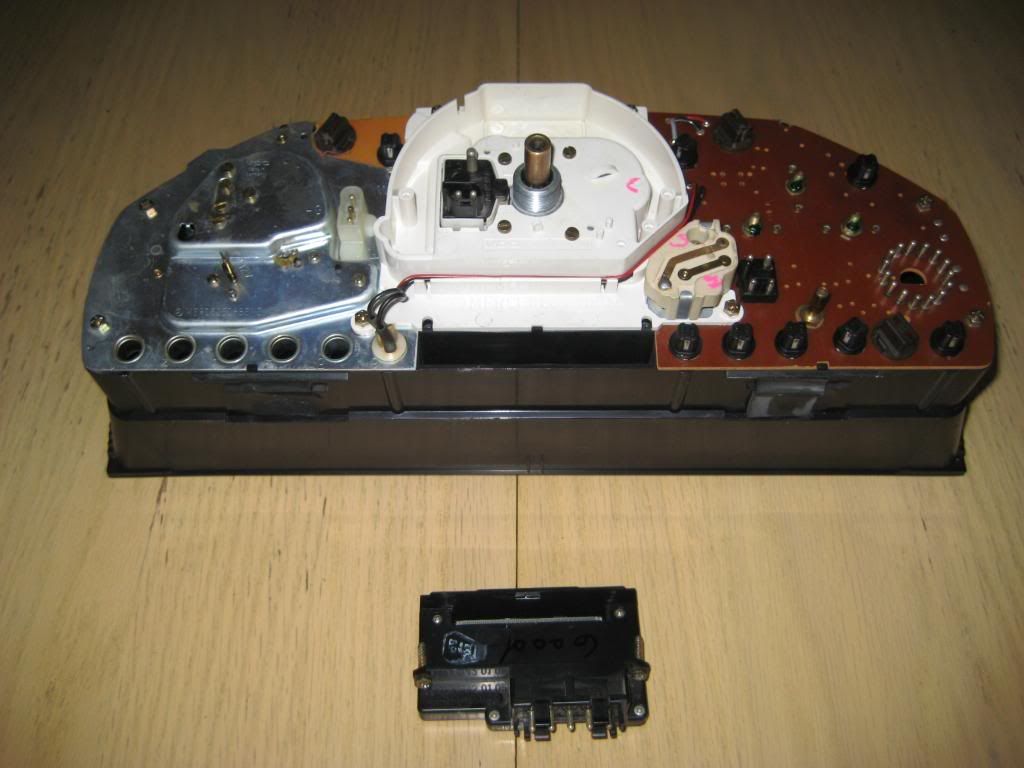 Now it gets tricky because unlike the W126 cluster that comes apart in pieces, the segments of a W124 cluster are interlocked. All the gauge sections come off the housing together then break apart. This picture shows the triple gauge and speedo sections lifted and how the tach section sits over the right side illumination and right turn indicator daugterboard, which is wired to the triple gauge section, and how the speedo section sits over the tach section. The speedo section is held to the triple gauge section by the solders of the dimmer. The W126 cluster is easier to get apart, IMO. Anyway, there are 2 screws along the right edge, 2 screws along the left edge, 2 screws along the top edge, 2 screws on the white plastic section straddling the outside temp display unit/cavity, and 1 screw through the dimmer. All the screws take either a Philips screwdriver or 6mm socket except for the screw through the dimmer. That's the dimmer a little higher than and to the right, as viewed in the picture, of the outside temp display unit. The 2 screws on the right edge, as viewed in the picture, have separate washers - 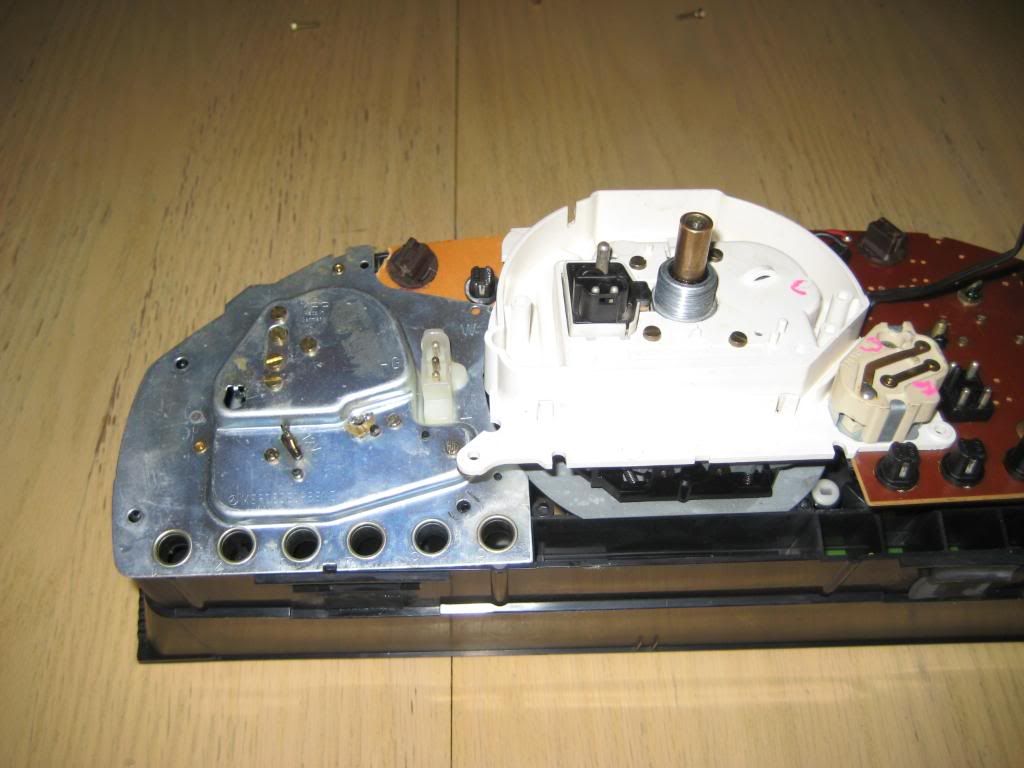 Here's a picture of the modified quad gauge section still attached to the speedo holder. Ignore the fact that the oil pressure pointer is below the lower post in the second picture. This triple gauge sits on the shelf since the boost gauge mod. The speedo has been removed. There are 4 fine thread screws that take a flathead screwdriver holding the speedo to the speedo holder. 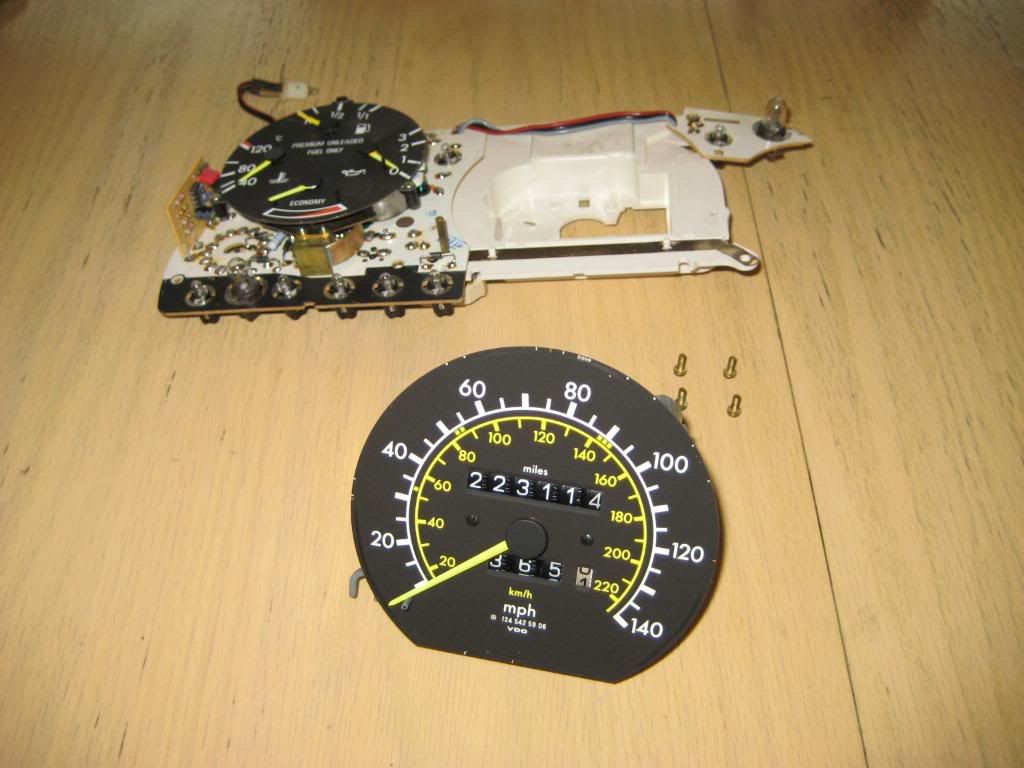 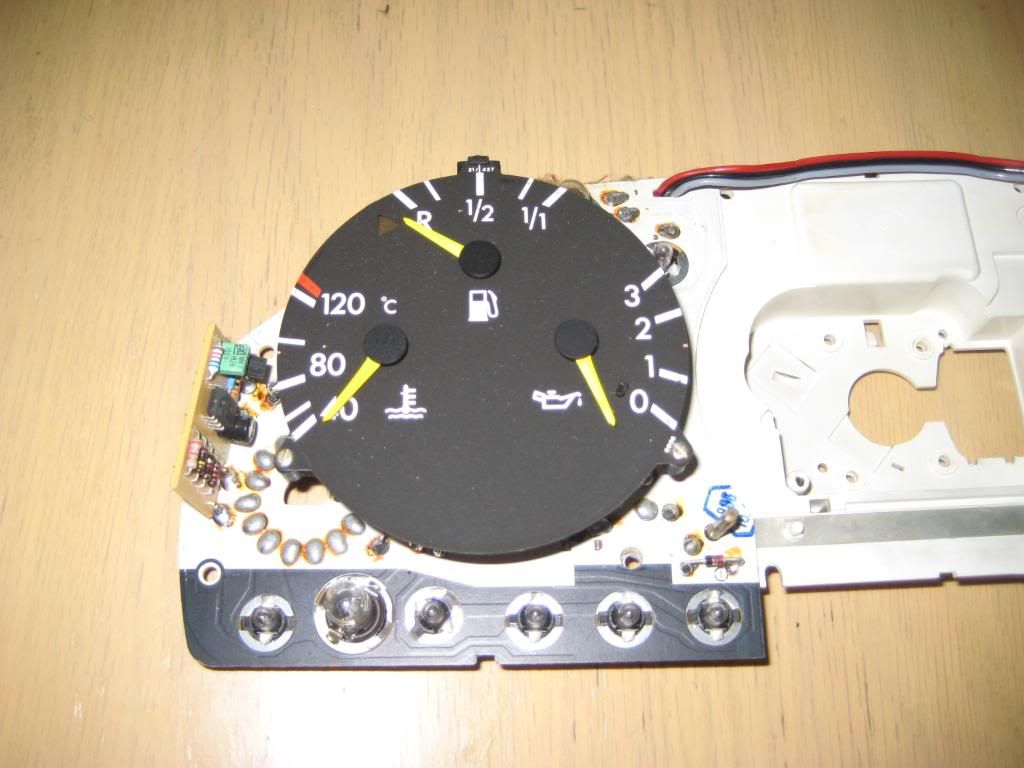 Here's a picture of the bottom of the speedo. I will disappoint you if you were hoping to see the guts of the speedo. I have no reason to take this one apart - 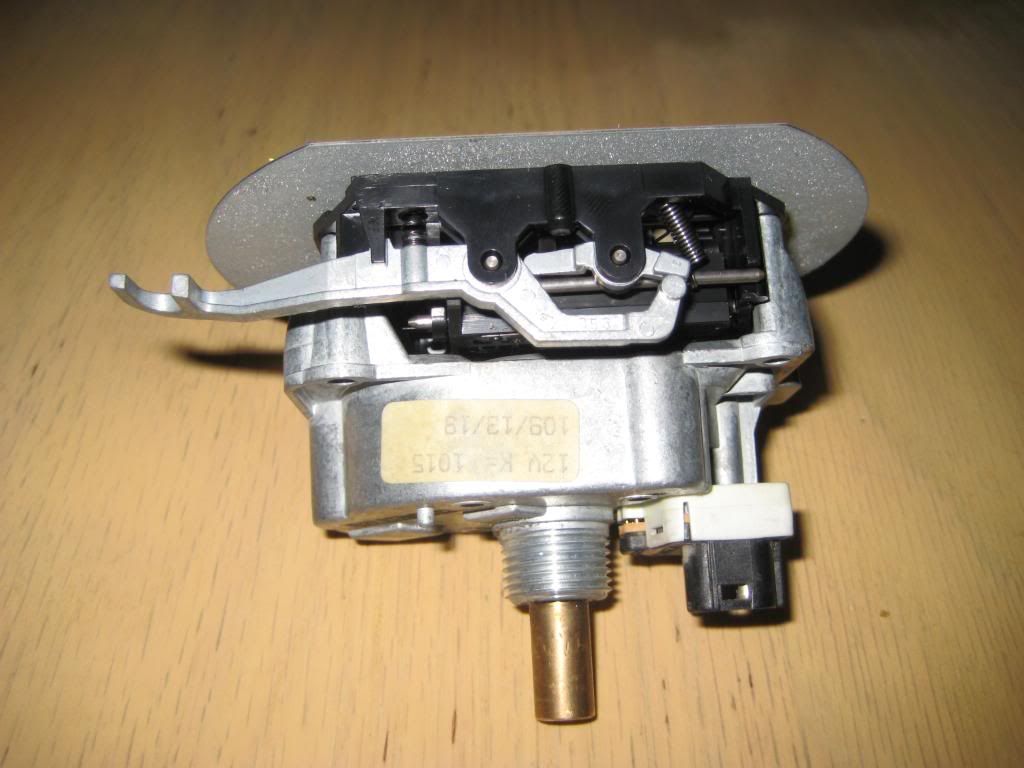 Looks like someone tried 5 watt bulbs to brighten the gauges at night! - 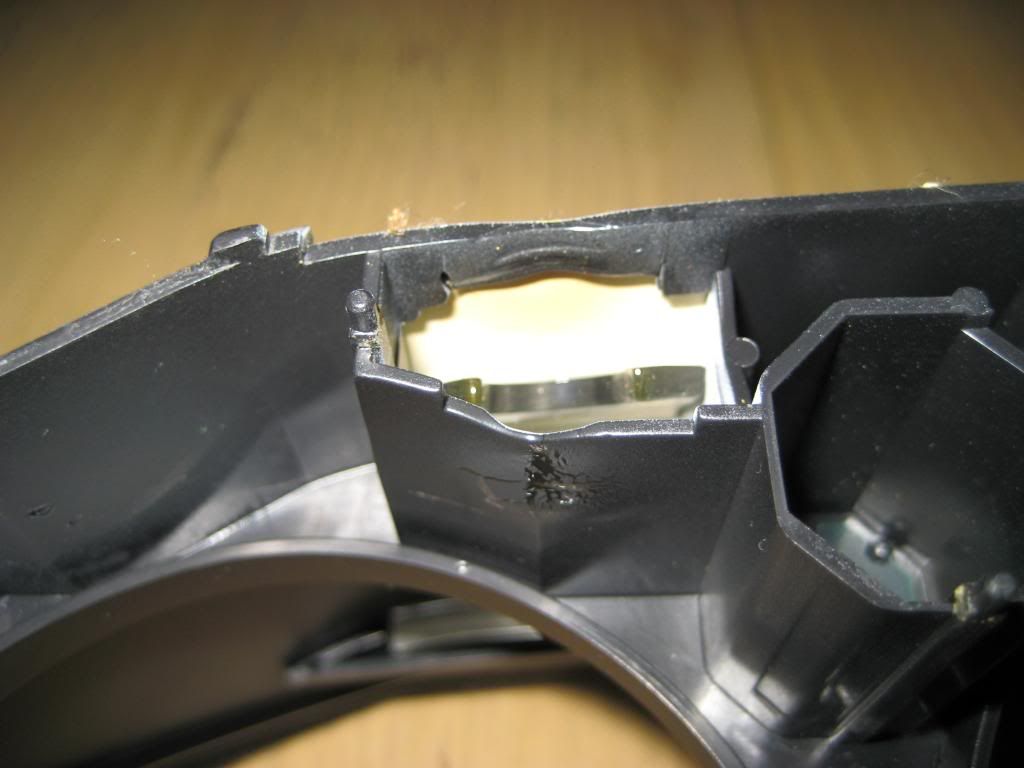 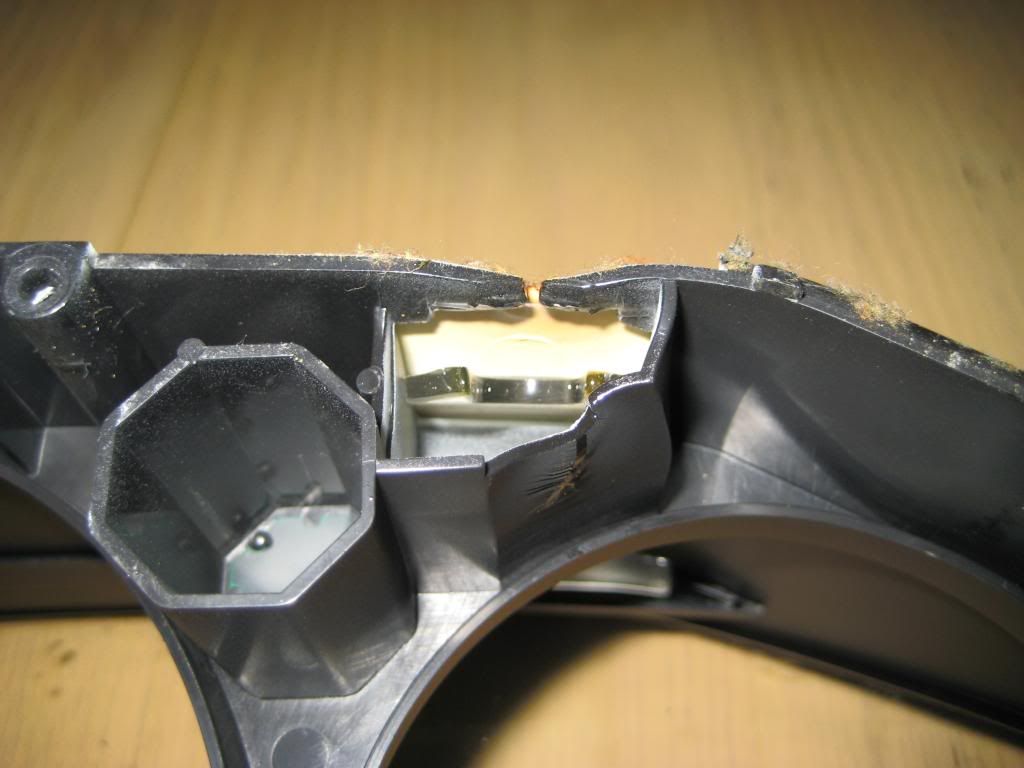 These pictures show the idiot light opaque screen strips. There's one on either side of the outside temp display. You'll see just enough of the strip extending from the side of the housing. I used longnose pliers to grip and extract the strips. They're rigid enough to slide in easily. I used a thumbnail, as in the cartilage thing at the end of my thumb, not an icon of a photograph on my PC, to do the final seating of the strip. These pictures also show the serrations on along the sides of the housing onto which the cluster removal tools hook. With all the serrations you'd think I'd catch one on my first attempt but you can see how it looks like a cat's been playing with this housing.  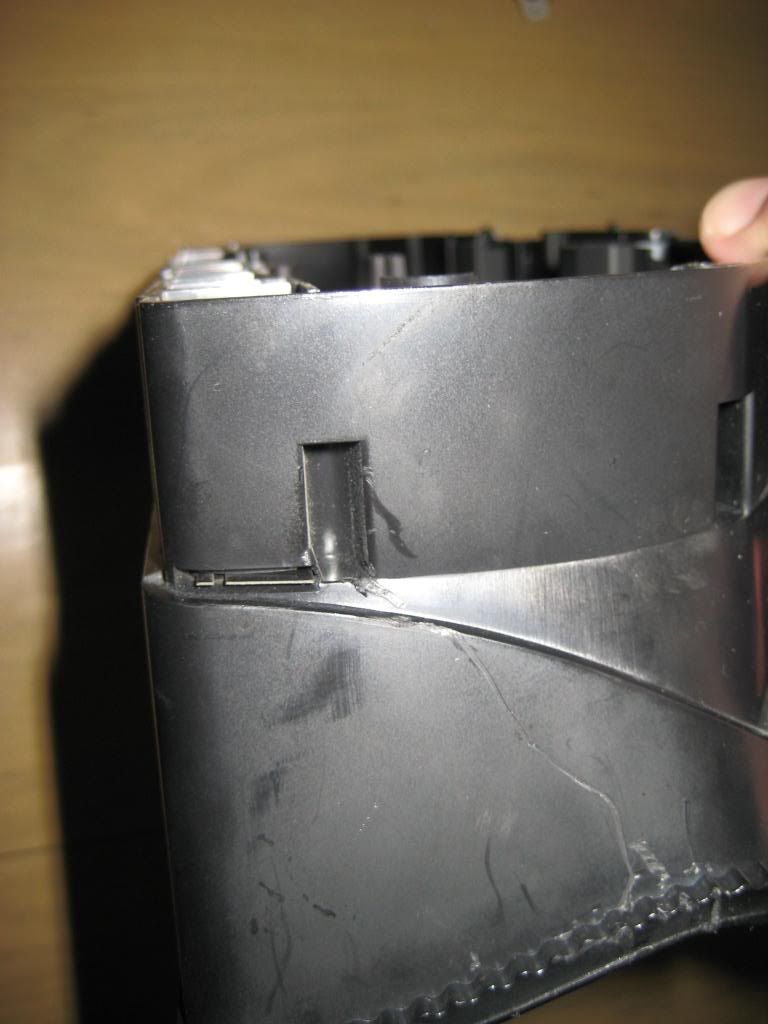 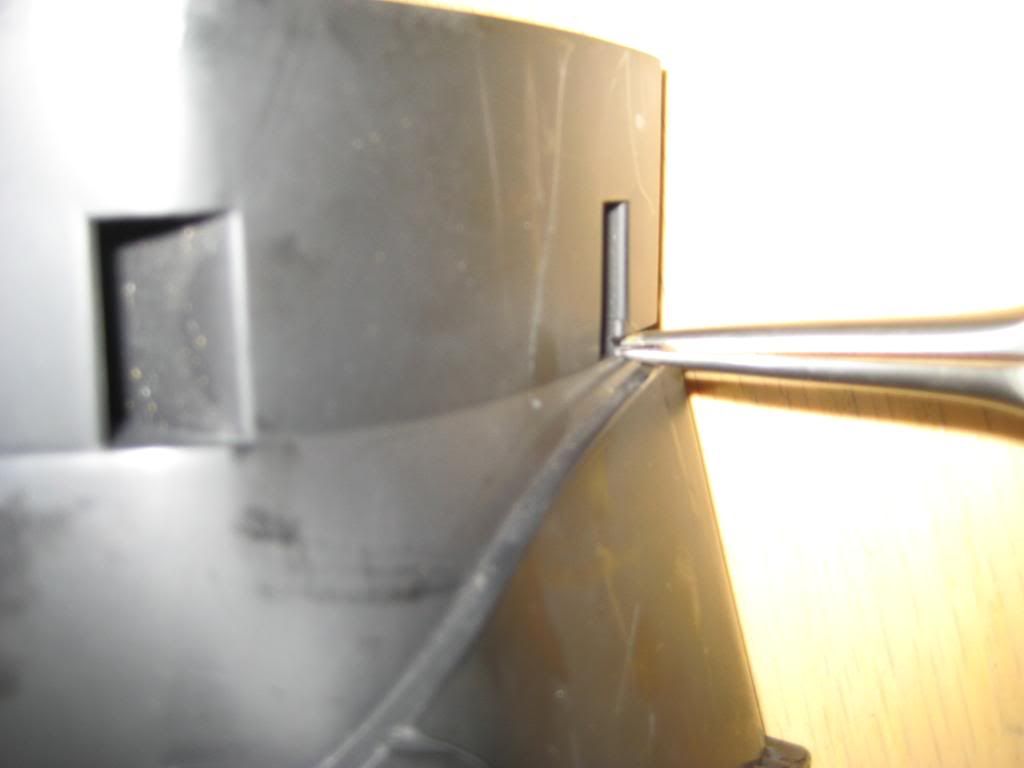 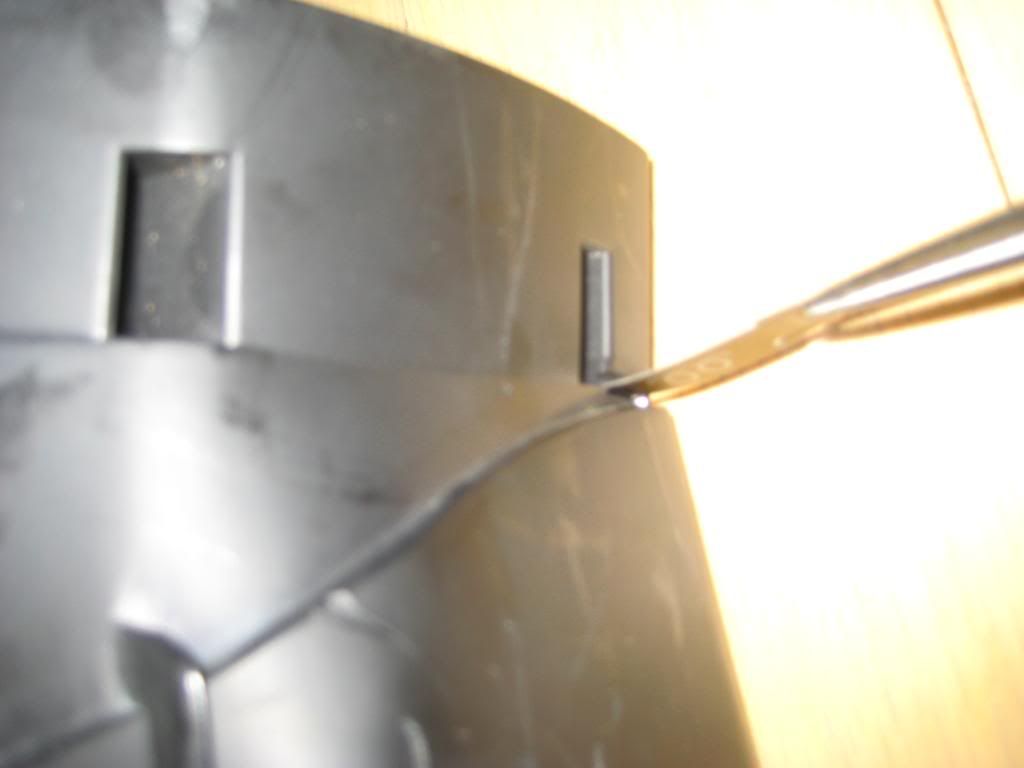 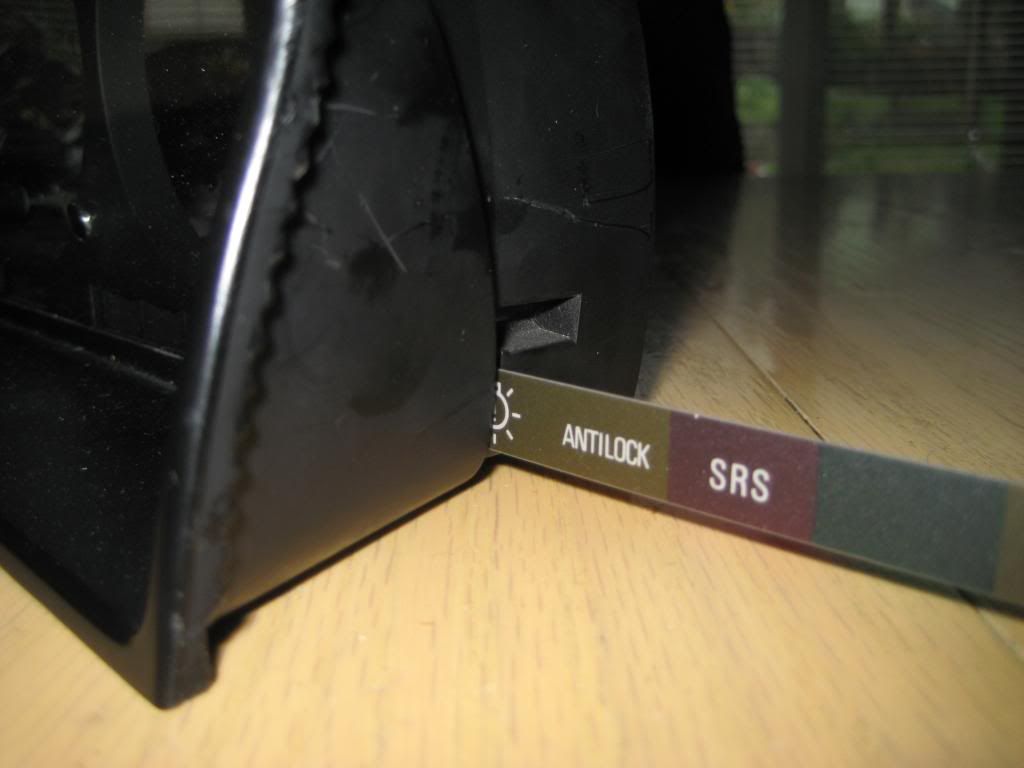 And finally here's how to replace a bulb. The bulbs are pressed into a couple types of sockets. Most of the idiot lights along the bottom have sockets that are a friction fit into the housing. Not much I can show in pictures. Pull out the socket, pull out the bulb, press in a new bulb. The bayonet holders are only slightly more complex. Give the bulb holder a CCW twist, remove the holder, pull out the bulb, press in a new bulb, align the holder with the slots in its location, give the bulb holder a CW twist. 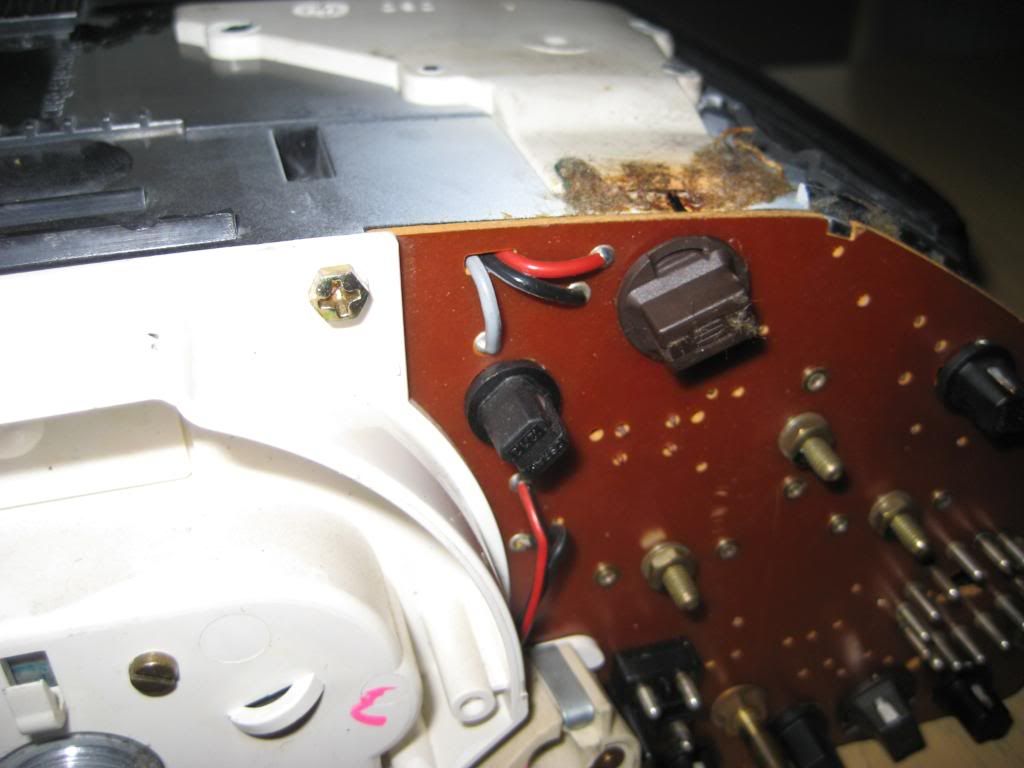 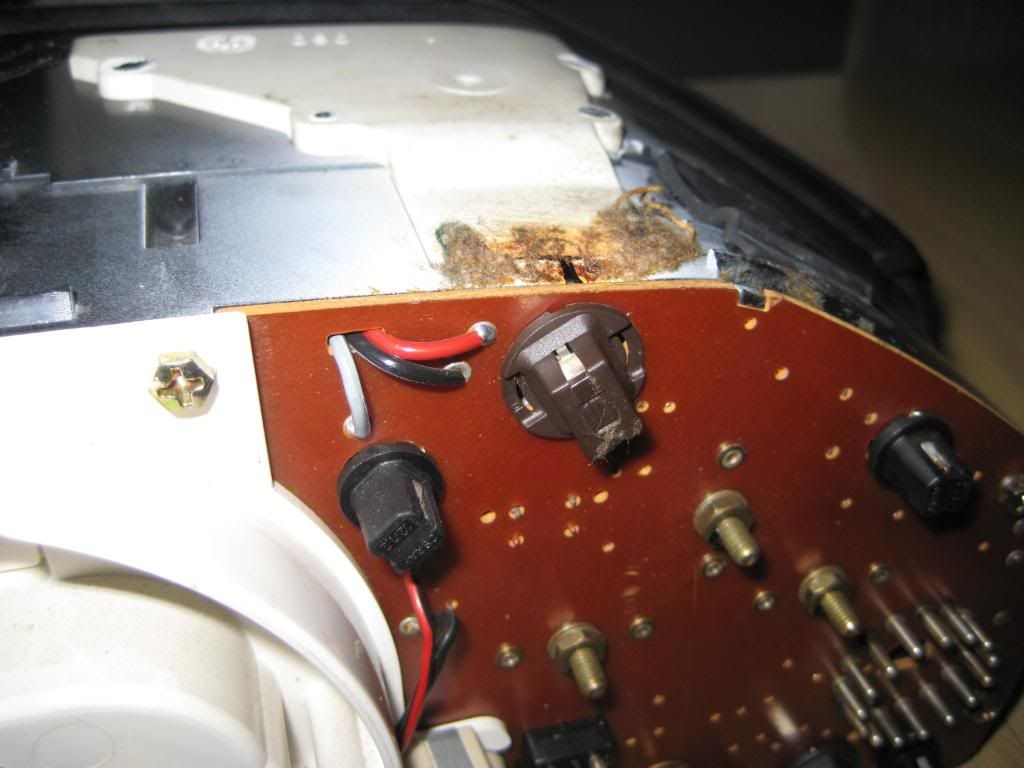 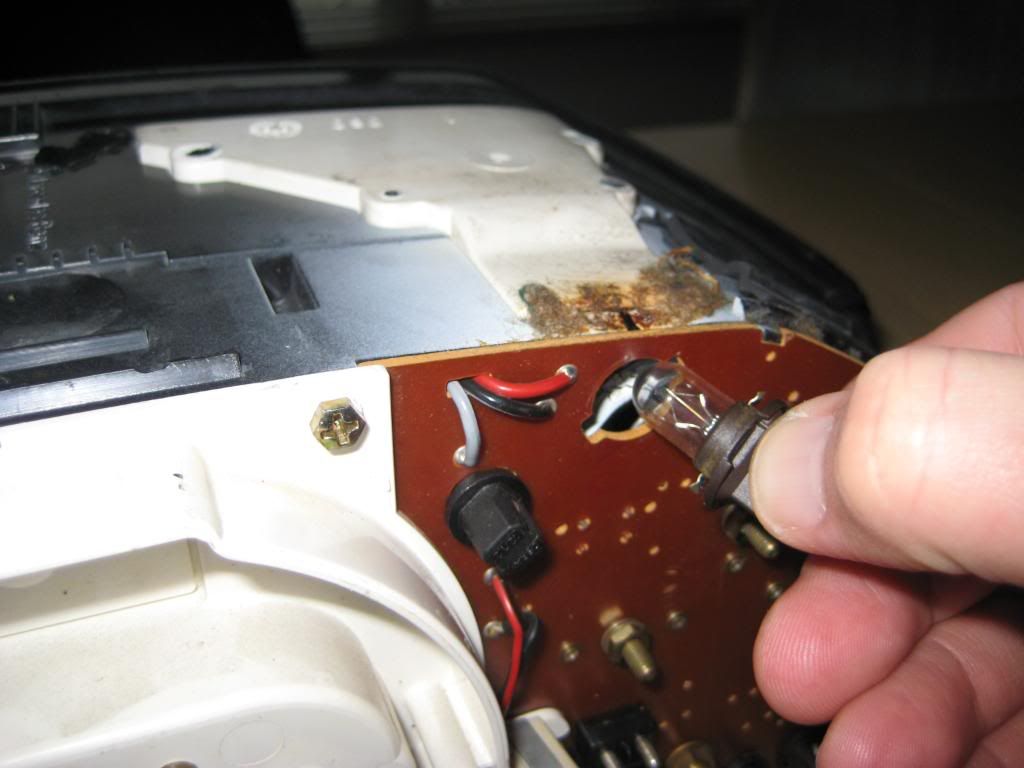 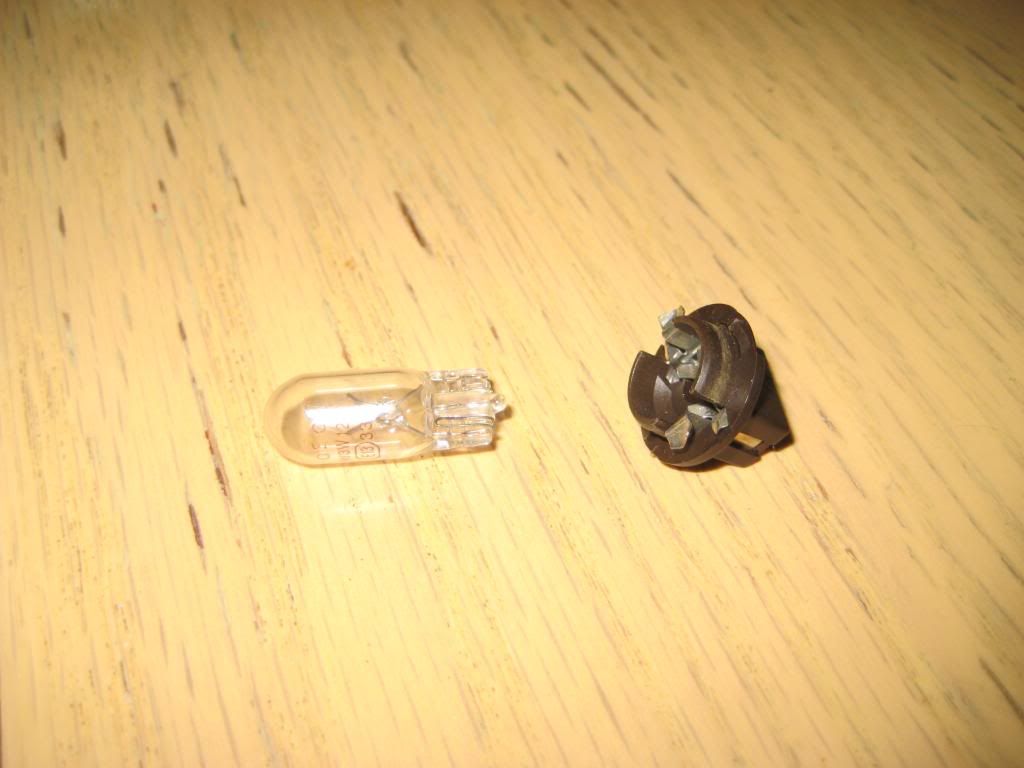 Sixto 87 300D Last edited by sixto; 02-22-2009 at 07:28 PM. 
|
|
#2
02-22-2009, 07:22 PM
|
||||
|
||||
|
Now for the boost gauge mod. This one's so easy I'm surprised I everyone doesn't do it. I guess you all have more taste than I do
 Credit for this idea goes to jba007 - http://www.peachparts.com/shopforum/showpost.php?p=388911&postcount=27 The key to this mod is the quad gauge from a gasser. Keeping to the same year minimizes incompatibility. This poses an interesting situation for later 124s because it's rare to see a 90s gasser with economy gauge. I'll gloss over why the economy gauge works as a boost gauge works but it does. Here's a quad gauge from an early 300E - 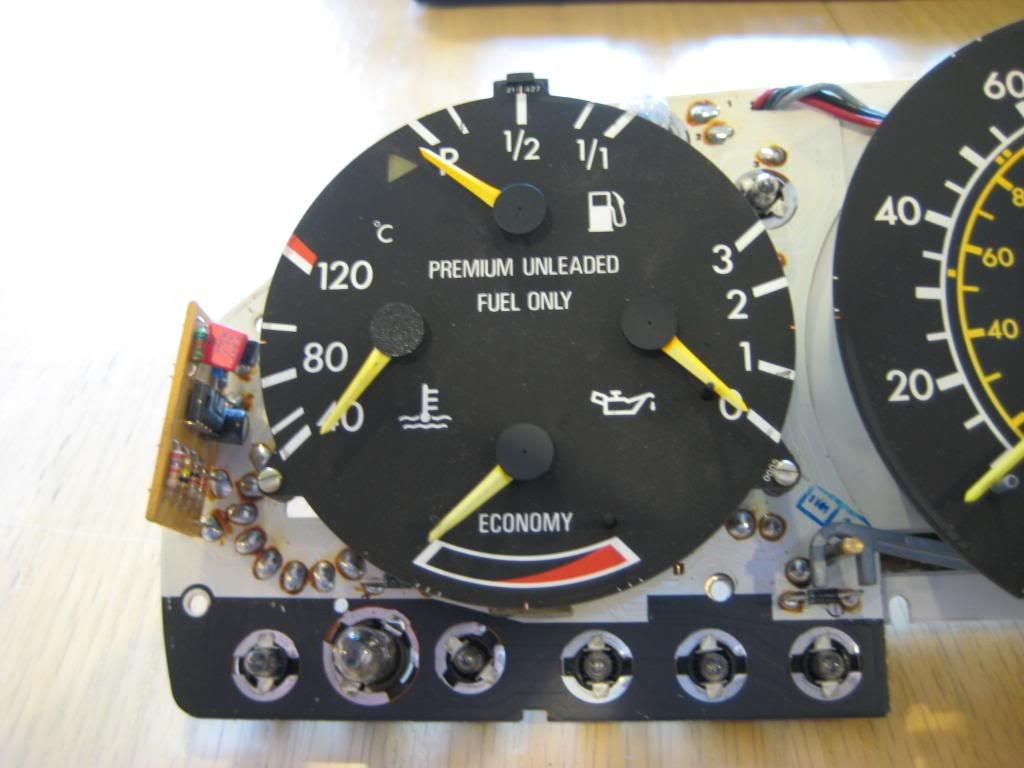 Pull off the economy gauge pointer with pliers and push it back in with your fingers at about the 10 o'clock position - 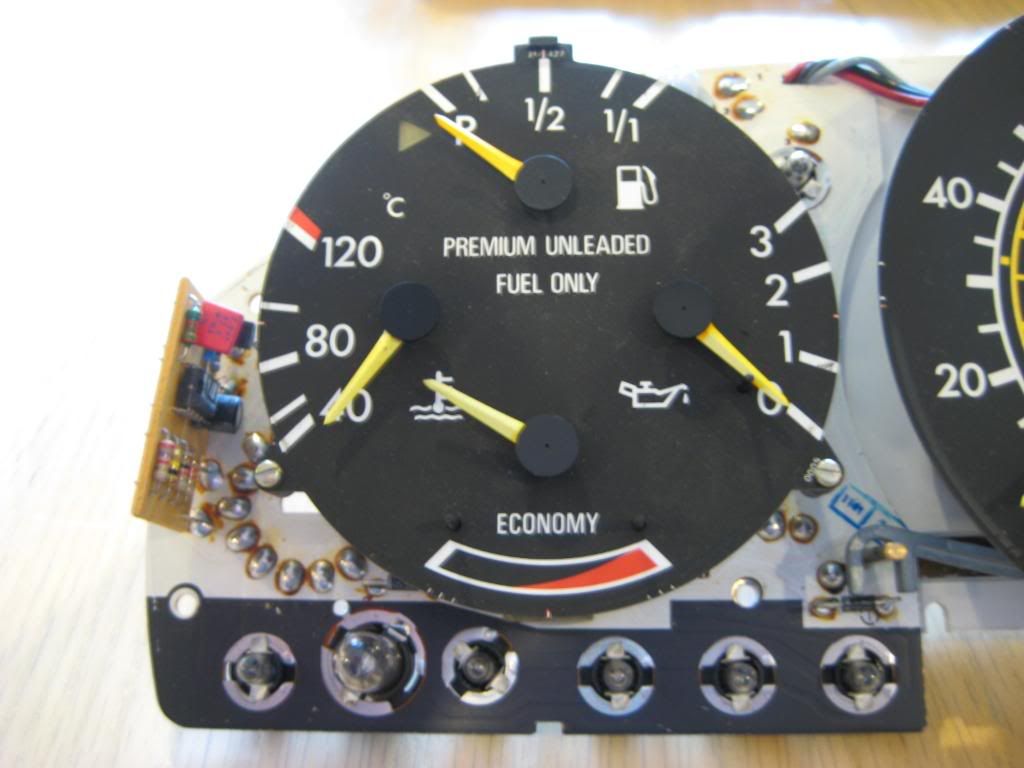 Swing the pointer down and over the left post so it's back in the display range. That's it! The taste part comes in with 'premium unleaded fuel only' note. I've yet to black it out. In fact I just had the cluster apart for these pictures and I didn't black it out. Doh! Jeremy found a quad gauge without this label so they're out there. I'll go on filling with premium unleaded fuel It takes trial and error to set the pointer for boost duty. There's about a 7 psi range between posts. I chose to have it show 5-12 psi. 5 psi is about the point the engine wakes up. Here's a series of pictures showing how it compares to a VDO boost gauge I've had for ages. The economy gauge lags the VDO gauge both on the upswing and downswing. For the curious, the pressure source is a MityVac. 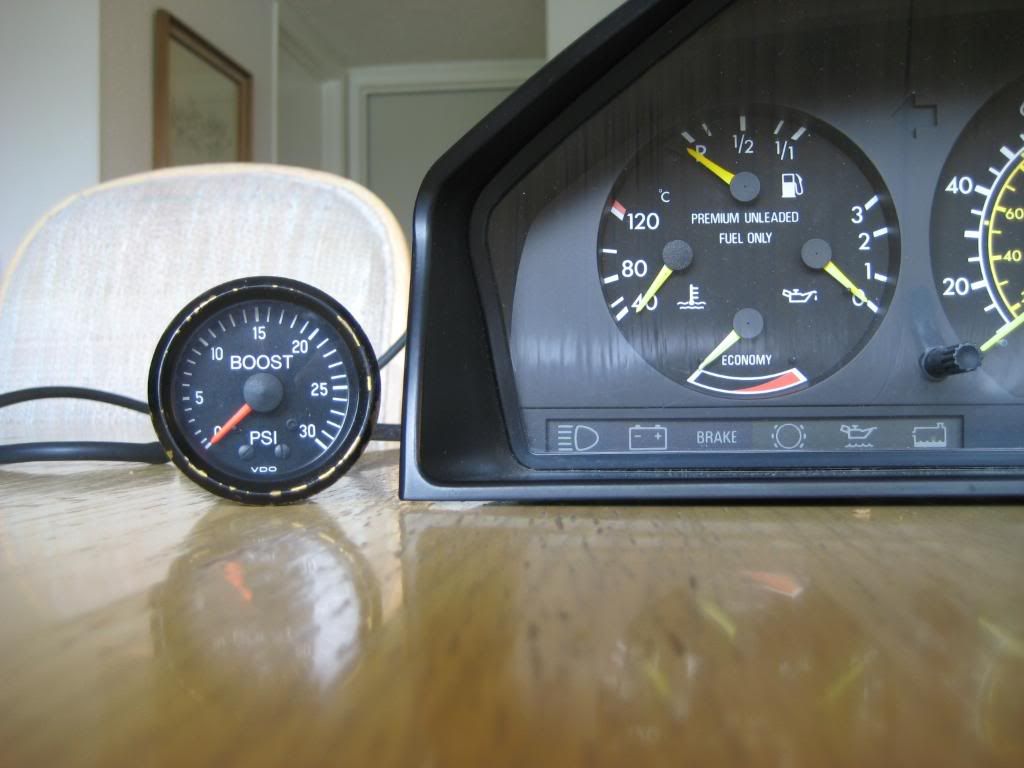 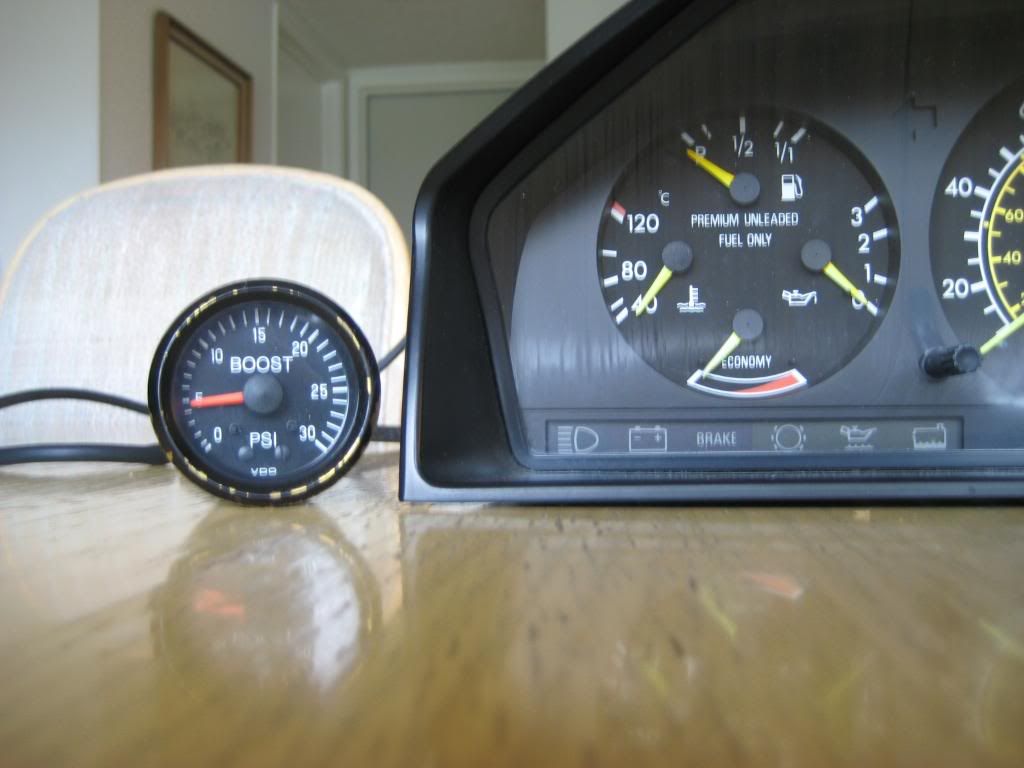   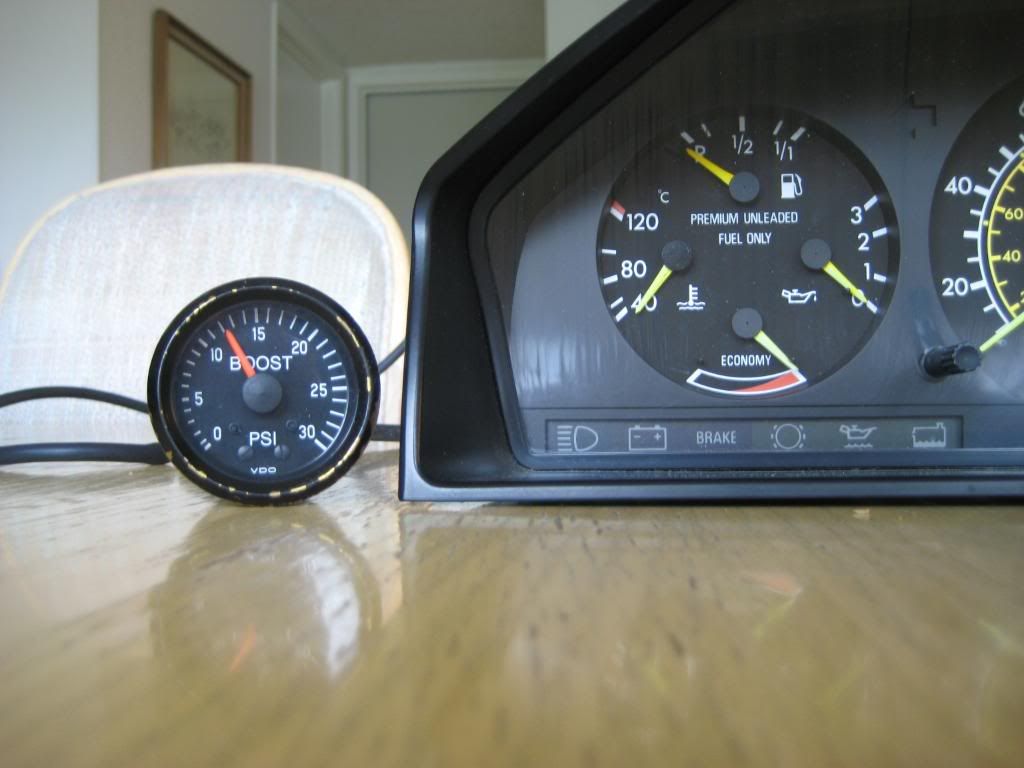 I've heard of folks moving the economy gauge to the black section of the triple gauge. That goes way beyond my skills given the resistors and traces in the way. 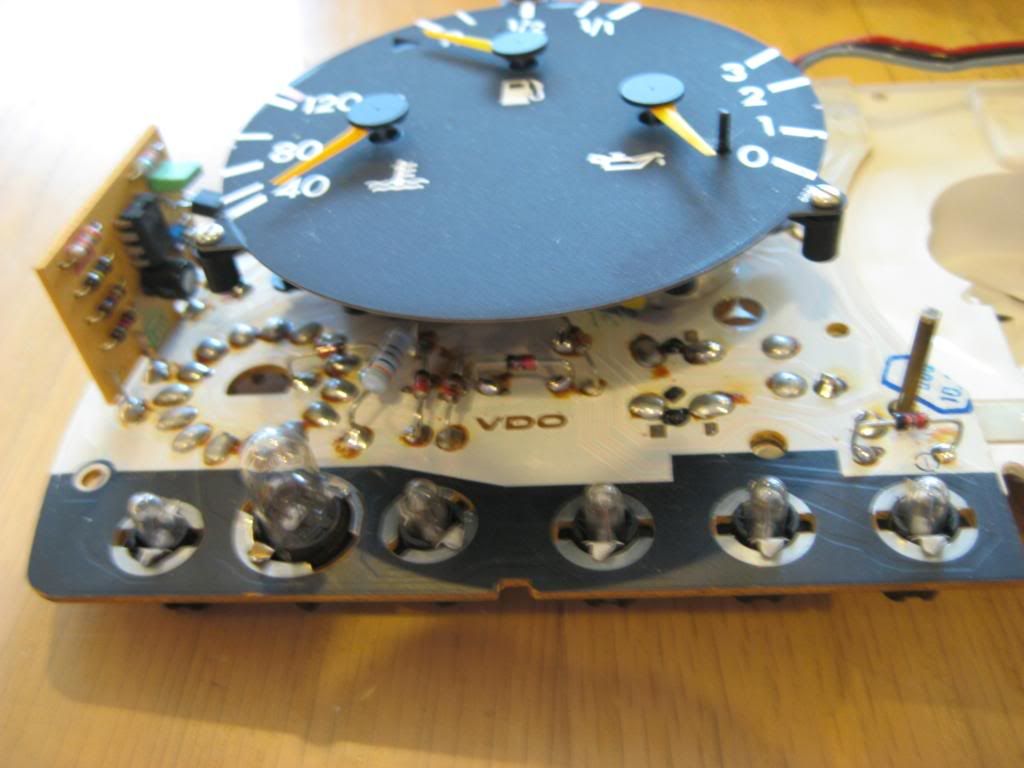 Sixto 87 300D Last edited by sixto; 02-22-2009 at 07:31 PM.
|
|
#3
02-22-2009, 08:37 PM
|
||||
|
||||
|
Okay, so you've succeeded in making the economy/vacuum gauge read a 7psi range over 90* sweep.
Now that it's back together: What about removing the pegs, and allowing it to have 180* of sweep from 9:00 to 3:00 which would extrapolate to ~14psi range? Wouldn't a gauge with no pin rest at atmospheric pressure, then hopefully be linear through its sweep? How cool would that be to have some (dry transfer graphic) numbers and lines and the word: Boost or PSI on there! Hell, I'd be happy with 15 dots. Kind of makes me want to tear my spare 300D cluster apart, put the boost gauge in there, and a pyrometer in the (now useless thanks to the radio display) clock spot.
__________________
 Gone to the dark side - Jeff
|
|
#5
02-22-2009, 11:41 PM
|
||||
|
||||
|
The pins are plastic, should snip off easily. Calibrating the face using a "real" boost gauge in parallel would be a good idea.
My quad-gauge came from an older 300E, that's why it lacks the "unleaded" warning. The gauges are identical in appearance and operation to the ones on our diesels; I didn't have to change a thing. BTW, if you remove the two screws and then pry the illumination rheostat off (it just pushes onto two pins), you can separate the gauge section and the white plastic panel that goes over the speedo. Nice write-up. Jeremy
__________________
 "Buster" in the '95 Our all-Diesel family 1996 E300D (W210) . .338,000 miles Wife's car 2005 E320 CDI . . 113,000 miles My car Santa Rosa population 176,762 (2022) Total. . . . . . . . . . . . 627,762 "Oh lord won't you buy me a Mercedes Benz." -- Janis Joplin, October 1, 1970
|
|
#6
02-23-2009, 12:00 AM
|
||||
|
||||
|
I did this on my 300SDL. Put a econ/Oil Press/temp/econ from a 560SEL in the car, was great, but the fuel gauge read incorrect, twice as much, i.e. it indicated 3/4 but was 1/2 tank. And at 1/2 tank, it was empty.

__________________
91 350SD 14 F150 Eco 19 Fusion Hybrid 11 GT500
|
|
#7
02-23-2009, 12:18 AM
|
||||
|
||||
|
I did this mod to my 87 SDL. The first quad gauge I tried was out of an early 80s gasser and the gauges didn't work properly. I switched to a quad gauge out of an 87 gasser (I insisted on the exact year but I don't remember if 420 or 560) and it everything worked fine. Matt (mj_sid?) still has the car as of his last post and I'm sure he would have mentioned if there were problems.
Sixto 87 300D
|
|
#8
02-23-2009, 01:04 AM
|
||||
|
||||
 You can get a custom set of gauges made without the Premium Unleaded Fuel part.
__________________
-Justin 91 560 SEC AMG - other dogs dd 01 Honda S2000 - dogs dd 07 MB ML320 CDI - dd 16 Lexus IS250 - wifes dd it's automatic.
|
|
#9
02-23-2009, 07:47 AM
|
|||
|
|||
|
Did the W123 gassers come with an Economy gauge?
__________________
Ron Schroeder '85 300 Turbo Diesel 2 tank WVO '83 300 Turbo Diesel 2 tank WVO Some former WVO vehicles since ~1980: '83 Mercedes 240D '80 Audi 4000D '83 ISUZU Pup '70 SAAB 99 with Kubota diesel '76 Honda Civic with Kubota diesel '86 Golf Several diesel generators All with 2 tank WVO conversion LI NY
|
|
#10
02-23-2009, 08:42 AM
|
|||
|
|||
|
Quote:
|
|
#11
02-23-2009, 10:27 AM
|
|||
|
|||
|
Quote:
__________________
87 300 Touring Diesel - 197K Bosch Euro Corners
|
|
#12
02-23-2009, 10:36 AM
|
||||
|
||||
|
Quote:
The catch: Prying the needles off can be very difficult, some are stuck on very tightly. The amount of pressure required can damage the gauge, causing the needle to "stick" at the normal rest position, and requiring a "thwack" with your fist on the cluster to get it to start moving. In extreme cases the gauge can be permanentely ruined (needle won't move freely anymore). Most of the time they're ok, and when you put the needles back on you can just seat them lightly, to facilitate removal the next time. But any time you have to pop the needles off... be warned that things may not work properly when you put it all back together. 
|
|
#13
02-23-2009, 10:38 AM
|
||||
|
||||
|
Quote:

|
|
#14
02-23-2009, 12:17 PM
|
|||
|
|||
|
FWIW, I always found that if you twist the needles off on instruments like the speedo and tach you won't damage anything. The pointer shaft for these instruments is high carbon steel and can snap or bend. The amount of pressure required to pry them off is fairly high and often does cause damage.
__________________
1986 300SDL 201K Daily Driver 1984 300D In Progress 1989 240GL 196K Swedish Brick 1984 300SD -- Sold 289K ------------------------------
|
|
#15
02-23-2009, 01:10 PM
|
||||
|
||||
|
Quote:
__________________
"Buster" in the '95 Our all-Diesel family 1996 E300D (W210) . .338,000 miles Wife's car 2005 E320 CDI . . 113,000 miles My car Santa Rosa population 176,762 (2022) Total. . . . . . . . . . . . 627,762 "Oh lord won't you buy me a Mercedes Benz." -- Janis Joplin, October 1, 1970
|
 |
| Bookmarks |
|
|


 Linear Mode


