

|
|
|
|
|
|
#46
 10-05-2012, 01:10 AM
|
|||
|
|||
|
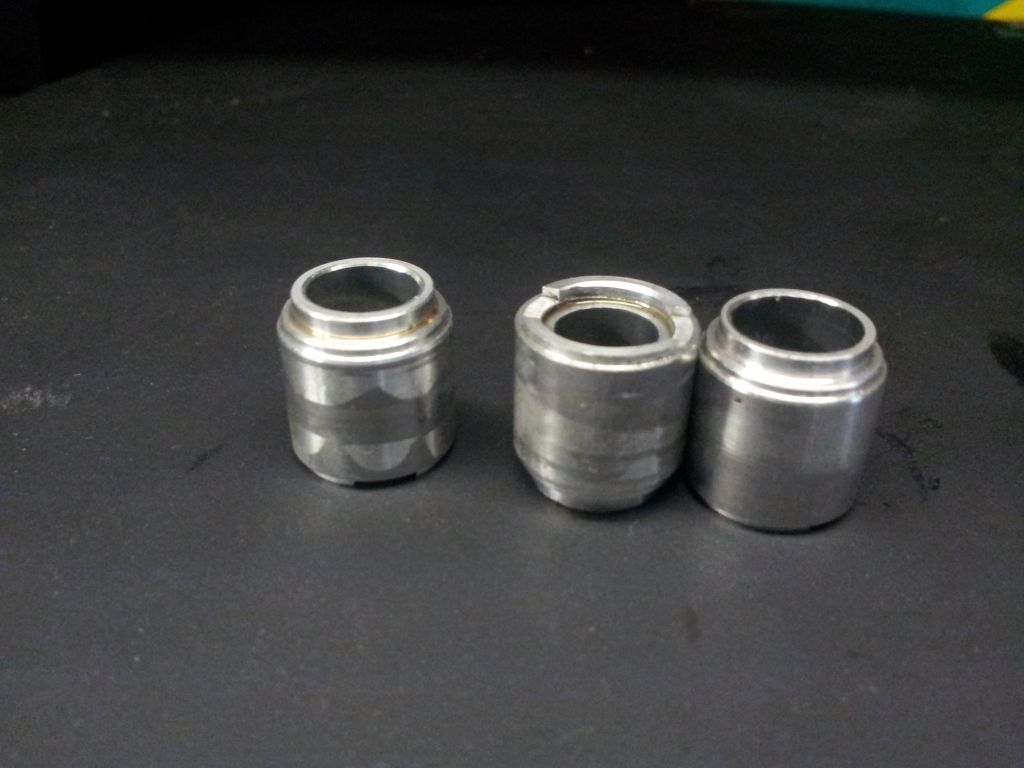
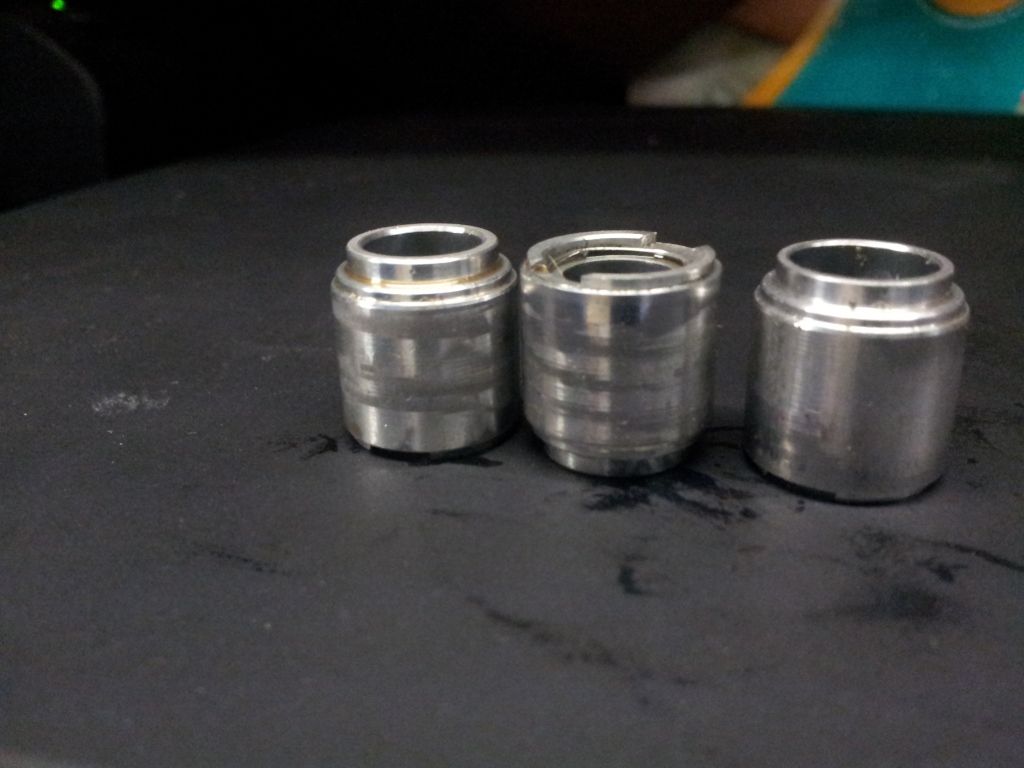
Yes, Sonnax worked great, i was a little apprehensive since their new valves look different than the stock ones. They have the o-rings on them that will probably help them last forever. My current valves had scuffs on them and looked worse than the new Sonnax. They made it very easy, marking each of the 3 valves with marks so you don't mess it up.
All the parts i used on this transmission, i purchased in multiple quantities so PM me if anyone is interested to do the same project. I could make them in a complete kit so you have everything you need to complete this job. I have access to WIS and can paste the images of the step by step guide made by Mercedes 
|
|
#48
10-09-2012, 01:10 AM
|
|||
|
|||
|
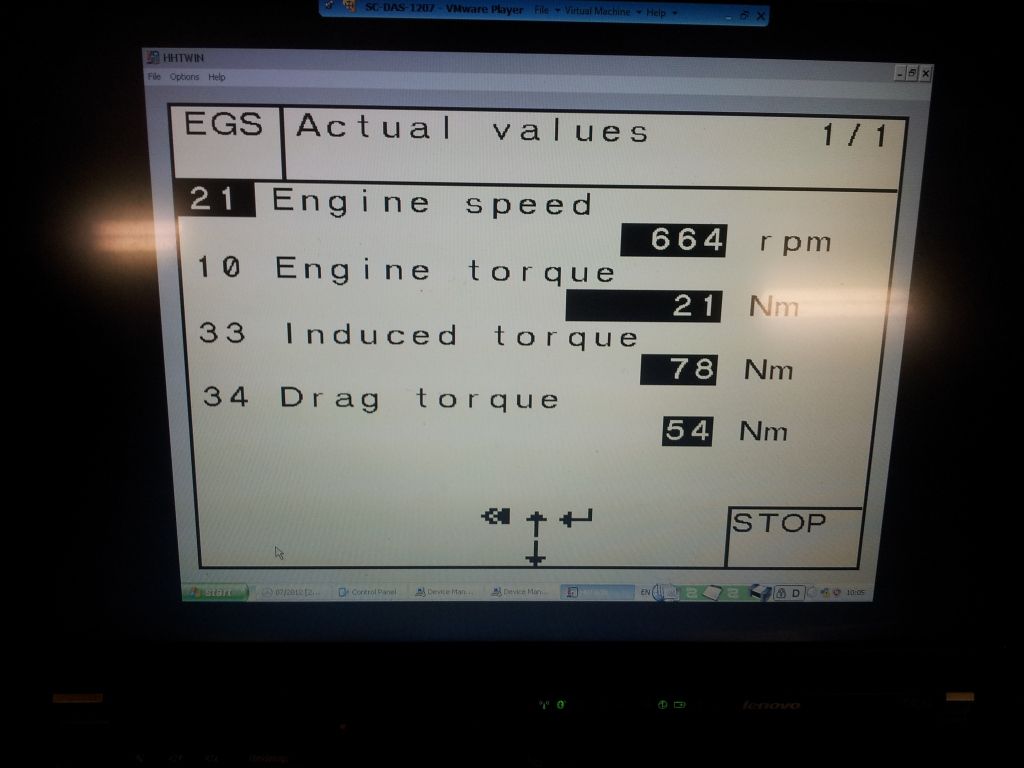
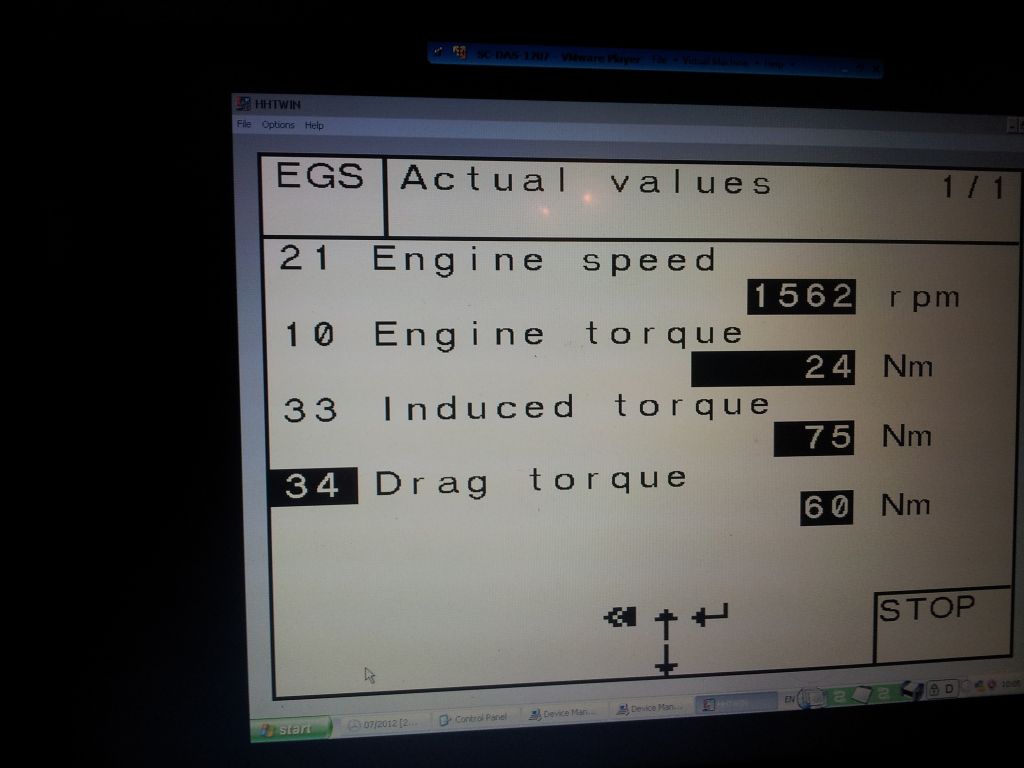
MB Star shows the Torques of the engine live
   And this is the Transmission Fluid Condition Reset 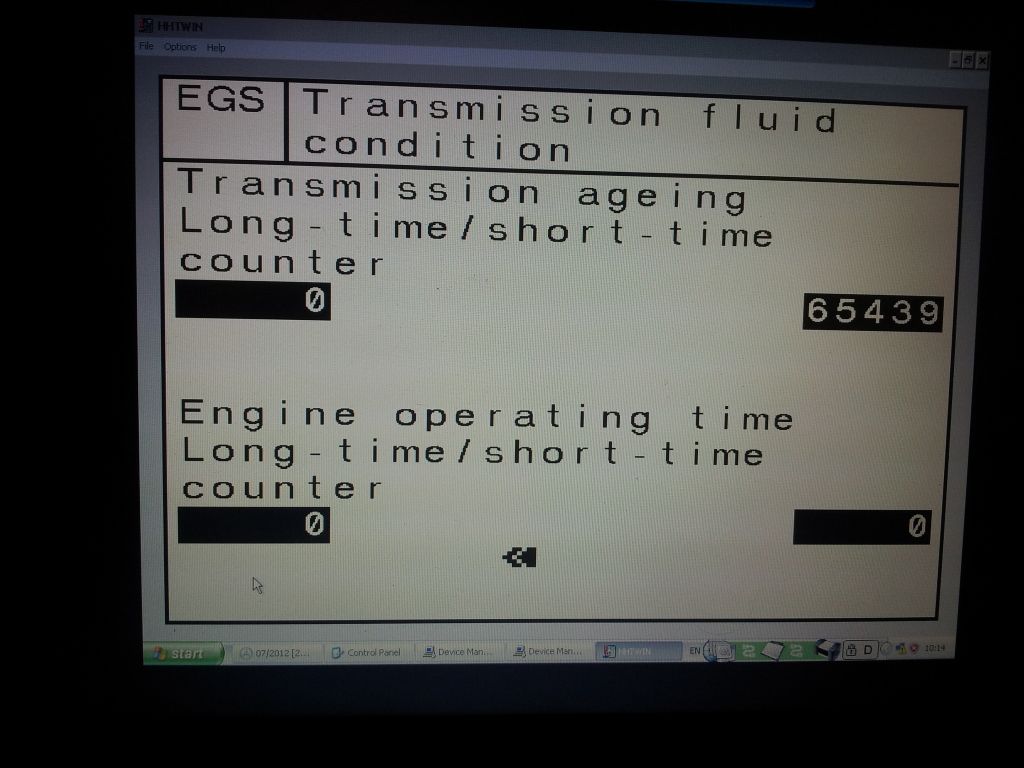 Here's the Dipstick. There's confusion on it. It doesn't have to go all the way in. If it stops than stop pushing. I made a 'mark' where it stops for reference 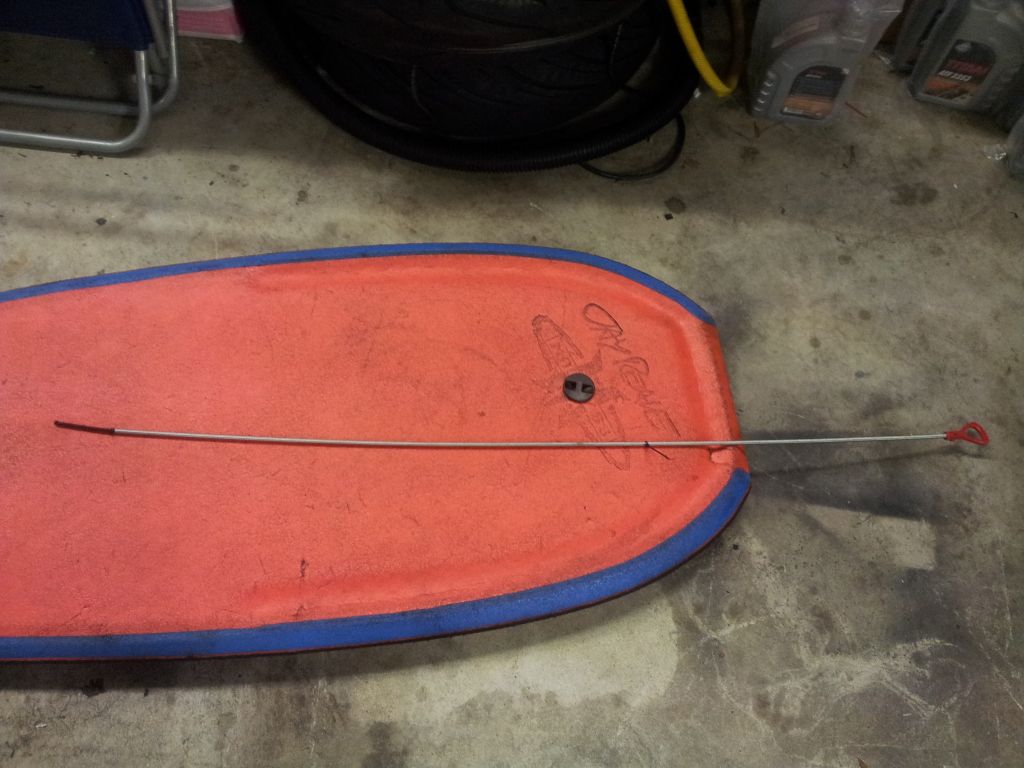 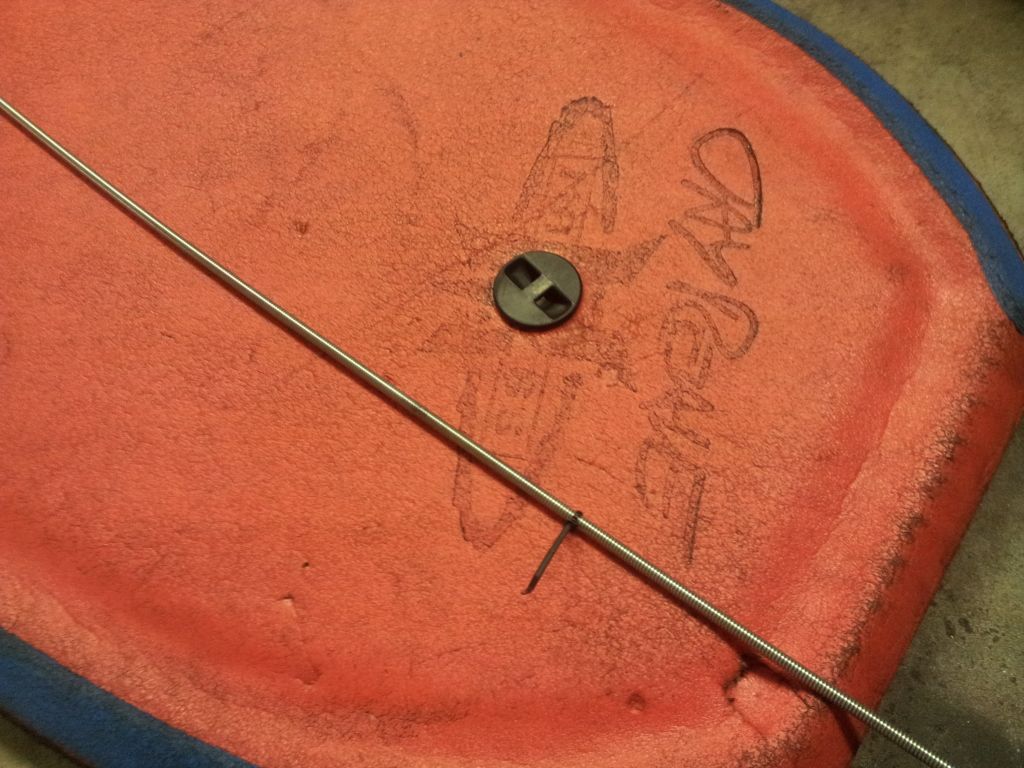 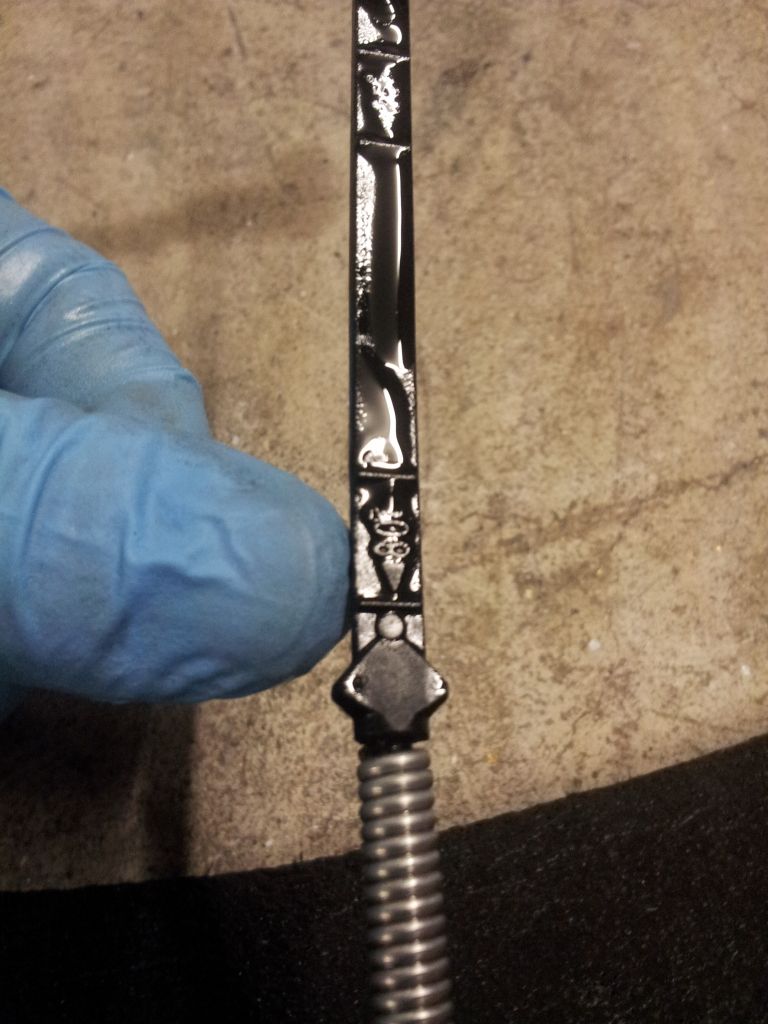 The difference between a running engine fluid check and a shut off is about a liter. So check at 80C with engine running to get an accurate reading
|
|
#49
10-09-2012, 08:00 AM
|
||||
|
||||
|
Right, the stick is a tool and is not intended to stay in. It is used for all the 722.6's, the cars will have different length dipstick tubes, so they measure off the bottom of the pan. You have the advantage of having the shop computer which will interface with the ETC so you can just read the temp off the way you're supposed to do it, it's pretty critical to get the measurement correct. Without that, the home mechanics have to read the temp of the pan itself, which if you ask me is no way to do it accurately.
Try getting the level right at the top mark on the 80 degree range, per MB.
__________________
Click here to see a photo album of my '62 Sprite Project Moneypit (Now Sold)
|
|
#50
10-09-2012, 08:32 AM
|
||||
|
||||
|
+1 on accurate level. If you overfill you should drain some out.
__________________
Good luck. 1998 E320 Wagon
|
|
#52
10-09-2012, 10:17 AM
|
||||
|
||||
|
Hmmm... Generally about half (4 liters) drains from the transmission and about 4 liters from the torque convertor. I guess YMMV
 . .
__________________
Good luck. 1998 E320 Wagon
|
|
#53
10-09-2012, 10:56 AM
|
|||
|
|||
|
I read 4-5 from the quick service and about 9 for a complete exchange
I'm guilty of cranking the engine with the tranny pan out (and injection fuses removed) to spin the TC and drain some more. Not sure if that helped that much, but i have 6.5 empty bottles and the level at mid 80C This is from some online sources For Mercedes models with 722.6XX electronic 5-speed automatic transmissions. Up to 9 liters per car with complete drain, 4.5 - 5.0 liters on service flush only.
|
|
#54
10-09-2012, 04:33 PM
|
||||
|
||||
|
Concerning the fluid and level, here is a link to a post here that is a copy of a handout I received at 722.6 MB school, it is informative and in a rare moment they even added some humor to it:
http://www.peachparts.com/shopforum/702285-post8.html
__________________
Click here to see a photo album of my '62 Sprite Project Moneypit (Now Sold)
|
|
#55
10-24-2012, 03:29 PM
|
|||
|
|||
|
Here's an update. I just got a pm from someone on the forum and thought I'd share this offer.
My transmission is now probably the bast part of the car. And I haven't had any issues with it so far. I may have all the parts you need to get your valve body refreshed. I actually have a 722.6 valve body that is refreshed. So I can send that to you assembled and it would just be a swap and I assume a few hours of work. If you decide to get my assembly, this is what you would get. 1. Used Cleaned valve body 2. New sonnax valve overlap kit installed 3. New pressure spring installed 4. Tested solenoids and 1-2 gear solenoids swapped with 4-5 gear solenoids. All solenoids tested for resistance. 5. New conductor plate 6. New harness adapter for the conductor plate 7. Gasket and filter kit 8. Dipstick tool 9. Lock pin for the filler tube 10. Washer for the drain bolt in the oil pan. 11. Fuchs transmission fluid - 6 liters (you may need up to 9 liters if you decide to drain the torque converter. I didn't have the drain bolt on mine) 12. Plastic covers for the solenoids 13. Magnet for the oil pan And that would be 500$ shipped. The reason the price is high is because of the valve body. They sell used for 300 on ebay. If you decide to rebuild your own valve body, than everything but option 1 in the list will be 350 $ If your gears are slipping than the refreshed valve body will not fix the issue. Also, you may have the transmission trouble codes in the module that need to be erased. You'd need the MBstar tool to clean the error codes and reset the adaptations. The tool will also help you check the transmission fluid level since it's very sensitive to the temperature. I have the tool and could rent it to you if you leave a deposit. You can give me remote access to your laptop and I'll guide you. The deposit will be 400 and I'll charge you 20 $ a day to rent it. I currently have 1 unit for w140 and 1 for w210
|
|
#56
03-18-2013, 07:39 AM
|
|||
|
|||
|
Nice thread. Is there a trick to changing out the adapter plug? Is it just pushed into the transmission? Or screwed in? Or do you have to remove valve body?
My plug was full of oil. But lucky the tcm was dry inside. Thanks
__________________
What Would Rudolph Do? 1975 300D, 1975 240D, 1985 300SD, 1997 300D, 2005 E320 , 2006 Toyota Prius
|
|
#57
03-18-2013, 07:56 PM
|
||||
|
||||
|
There is a machine screw in the middle of the plug. It is fairly small, hex head probably in the 8mm range IIRC. The screw is screwing in to the conductor plate inside the trans. But yes it is easy just loosen/remove that screw and it (the connector) will pull out. Replace using new o rings and also on the connector. easy peasey. You may lose a little fluid, be sure to check fluid level correctly as noted in this thread, especially if it has been leaking (on to the ground, not just sloppy in the connector).
__________________
Click here to see a photo album of my '62 Sprite Project Moneypit (Now Sold)
|
|
#58
07-05-2016, 09:47 PM
|
|||
|
|||
|
Quote:
Nice work on the Sonnax overlap kit and swapping the solenoids around. That sounded like a briliant idea  I almost wish I would have done more of the Sonnax parts that didn't require bore rework when I had mine apart namely the TCC Damper Valve and Sleeve kit: 68942-23K. I'm sure I will have this car for quite a while so perhaps it still can be done in the future. I almost wish I would have done more of the Sonnax parts that didn't require bore rework when I had mine apart namely the TCC Damper Valve and Sleeve kit: 68942-23K. I'm sure I will have this car for quite a while so perhaps it still can be done in the future.
__________________
Josh 2005 E320 CDI 2002 VW Jetta TDI
|
|
#59
07-25-2016, 12:42 PM
|
||||
|
||||
|
Just found and read through this excellent thread.
A few days ago, my 99' C43 (277'000 km) started playing up like loosing fifth gear, then reverse. Gear changes were harsh and this morning it lost all gears except 1st and reverse. I figured the conductor plate was probably the culprit because the only code stored was a P0715 which is a Transmission Input/Turbine Speed Sensor Circuit Malfunction. I ordered a new conductor from a parts supplier in Germany (I live in Switzerland), and also the Sonnax Overlap Control Valve Sleeve Kit #68942-05K. Unfortunately that's going to take 2 weeks to get here. I purchased the gasket, filter, crush washer for sump bolt, not forgetting the wiring harness plug with O rings even if the one on the transmission is bone try. I just need to order new O rings to use when reinstalling the solenoids. Plenty of Fuchs Titan ATF already in stock together with a dip stick, so guess I'm ready to roll. Anybody see anything else to add?
|
|
#60
07-25-2016, 01:56 PM
|
|||
|
|||
|
The next most important thing to your conductor plate is the pressure regulation spring. Here is USA it is not sold by Mercedes any more, but by Sonnax... The spring will not cause limp mode, but they break...
722.6 - Sonnax Regulating Pressure Control Valve Spring - 68942-01 - Sonnax The 2-3 shift valve sometimes fits very tight, so some times it needs to be sanded down a bit... Martin
|
 |
| Bookmarks |
|
|


 Linear Mode


