Dash Light Rheostat Rebuild
on the 1983 240D (W123)
by tankowner
08/28/09
Refurbing the Dash Light Rheostat (Caution: For The Purists Out There)
My dash and console lights were not working on the '83 240D. After doing some searching I realized that it had to be the rheostat located on the back of the instrument panel. If you own an older MB and none of your dash or console light are working, there's a good chance your rheostat is corroded. What is a rheostat you say? A rheostat is simply a device that allows you to control the resistance in a circuit. In this case, it allows you to control the brightness of the dash lights. Unfortunately, the internal contacts tend to corrode over time and eventually enough corrosion will halt the current flow through the rheostat with the end result being no more lights.
The most common "fix" for a bum rheostat is to simply solder a jumper wire across the two metal strips on the back of the rheostat. This effectively bypasses the internal components, which is good because it gets your lights back. However, in doing so you sacrifice the ability to dim your lights if you want to. The argument for bypassing the rheostat is that, even on "high", the dash lights in these older MB cars are not all that bright. After fixing mine, I agree, but nevertheless, I still wanted to open up the rheostat to see what it looked like inside and, once I did, I realized it wouldn't be a hard fix - so I cleaned up the contacts, put it back together and now it works great. What follows is a DIY on refurbing you dash light rheostat.
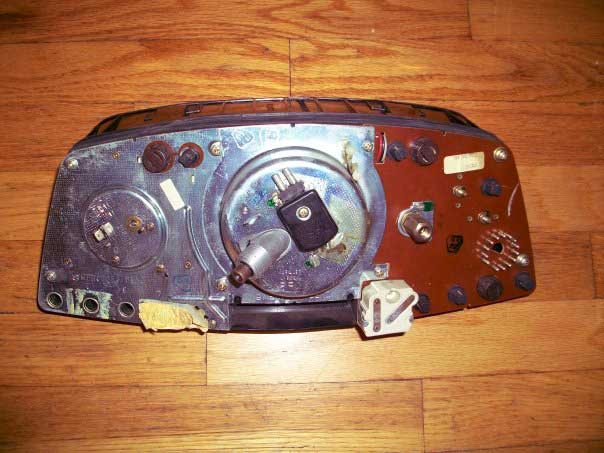
Step 1: Remove the instrument panel.
Probably the easiest way to remove the panel is to reach up from behind and push it out. You can make the little tools to pull it out, but it really is quite easy to remove the panel below the steering column (3 screws) and reach up there to push it out. Just keep in mind there are some things you will need to disconnect to get it out. Unscrew the speedo cable. Unbolt the oil pressure line (in my '83 240D the nut is 10 mm). Finally, undo the electrical connections. Be sure to keep track of where everything goes.
Note: No starting of the car while the oil pressure line is disconnected ... ask me how I know that ...

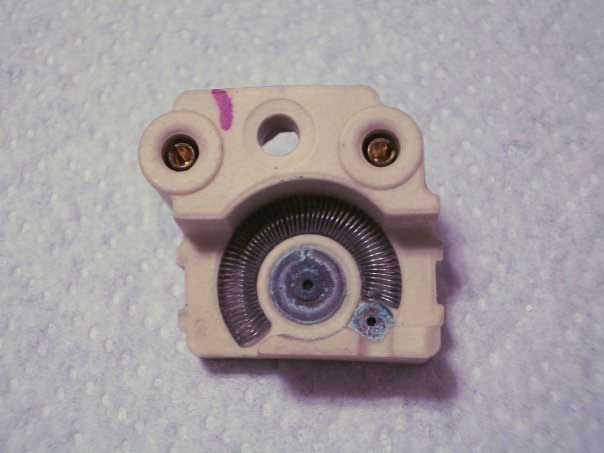
See the little white box with the two metal strips on it (near the bottom of the panel) - that's the rheostat.
Step 2: Remove the rheostat from the panel.
To remove the rheostat from the panel, simply unscrew the one screw that holds it on. It will not come right off, it is still on the two pin electrical contacts. You will need to pull it straight out from the panel - no twisting or you might break off a pin.
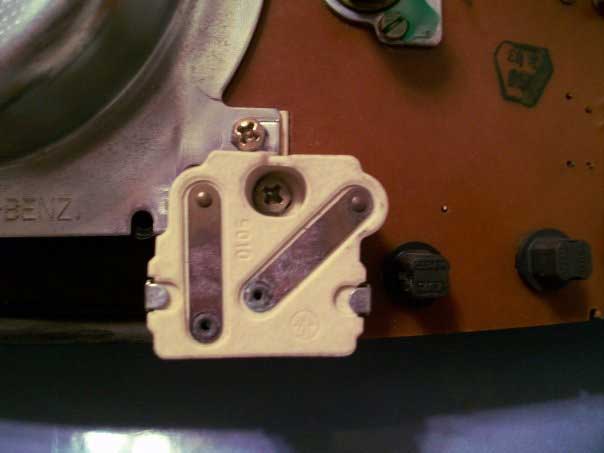
I used a small flat-head screw driver to pry it just a little to get is started. Go slow, it will come off pretty easily.

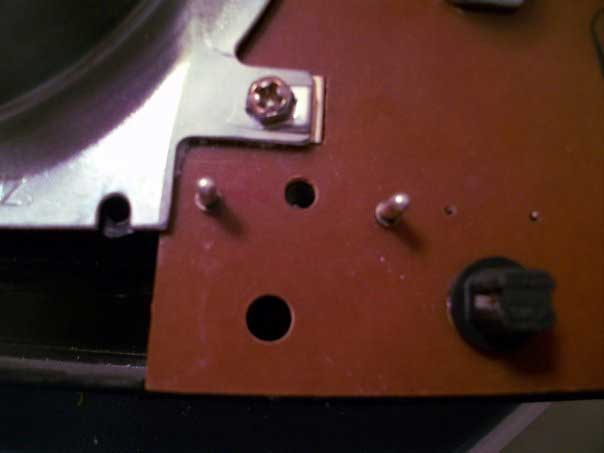
Here are the two pins that the rheostat connects to, be careful not to break them.
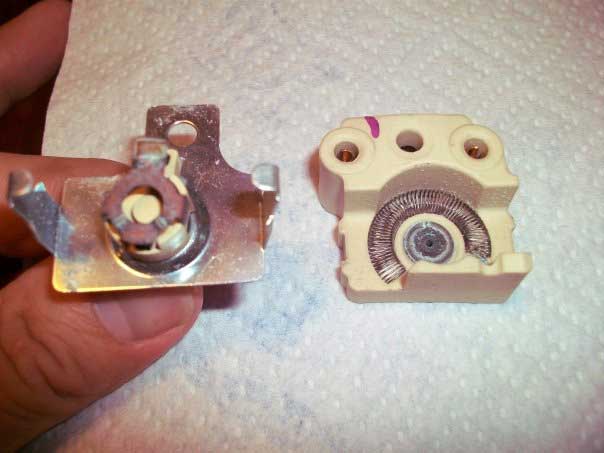
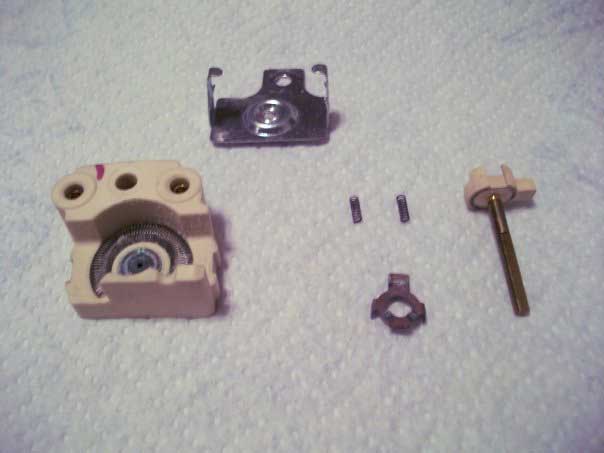
Step 3: Disassemble the rheostat - but watch out for the little springs.
To get into the business parts of the rheostat you will need to remove the metal clips that holds the the dial and slider components against the coil and coil housing. Just pull outward on the clips and it will come off easily. You might deform the metal clips a little, but you can bend them back in a little to make sure they do their job once reassembled.
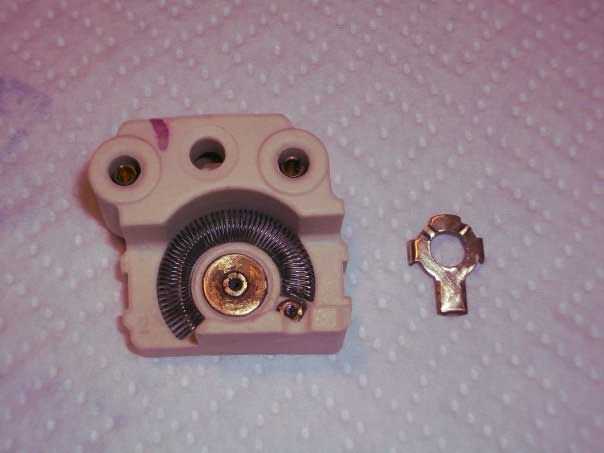
Here is what the rheostat looks like on the inside. I am holding on to the dial part that turns when you spin the little knob on the front of the dash panel to adjust the light brightness (same knob that resets the tripometer, by the way).
CAUTION: Do not attempt to take the rheostat apart in your car or in your driveway or anywhere but over a table top where you can watch for the two little springs that are going to fall out. Once you get the dash panel out of your car, I would take it to where you plan to do the work before you even remove the rheostat from the panel. It is not a pain to deal with these springs, but if you lose just one of these its all over for your rheostat (although you can always do the jumper wire trick).
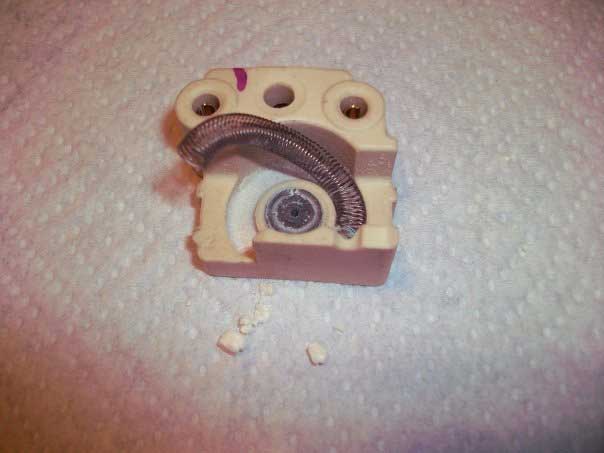
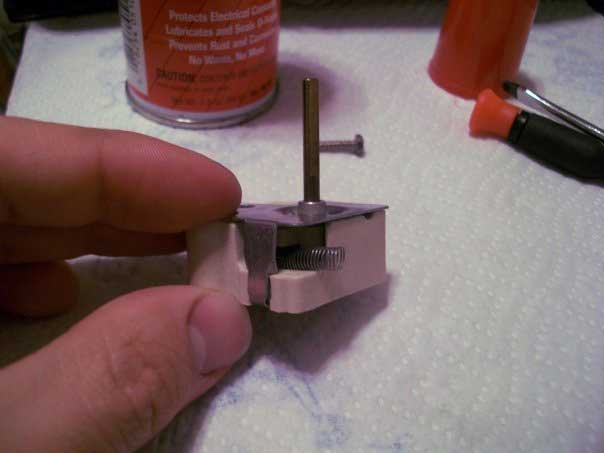
Okay, it's not going to look like this when you pull it apart, the sprigs and slider will fall out. This is just a staged shot to show you how the slider sits on the dial mechanism (the two little springs are currently underneath it - their job is to hold the slider against the coil when everything is assembled. You can see the coil in the housing to the right.
Another staged shot to show you how the springs sit in the dial mechanism. The slider is removed and laying in the background. The metal braket that holds it all together doesn't actually go there - i was just using it to hold the dial upright so I could take the picture.

Here are all the pieces. Do not attempt to remove the coil from the housing as it is attached on one end. Break the coil off and, again, you will be resorting to the jumper method. It's not fragile, just don't pull it out.
The coil will pull up from the side that it is not attached. Many others have noted the white powder material that seems to build up inside (I cleaned it out of the coil area - see it below the housing.) Not entirely sure what that is. May be that the housing is made out of bakelite and it degrades a little over time. Regardless, if your rheostat isn't working you probably have some of the white stuff along with corroded components.
Although the finger projection of the slider runs along the coil (which is fairly clean), there are other contact points of the slider that make contact with the little disc in the center. See how corroded it is? We need to clean that . . . and the slider, too.
Step 4: Clean off the corrosion.
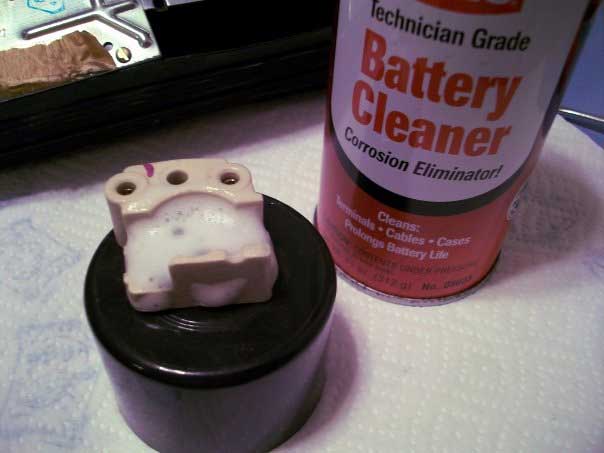
I started out with some battery cleaner to help loosen things up a little. Let it sit for a couple of minutes.
Then I took a small screw driver and scraped off the corrosive coating. See how it wants to be shiny and new again?

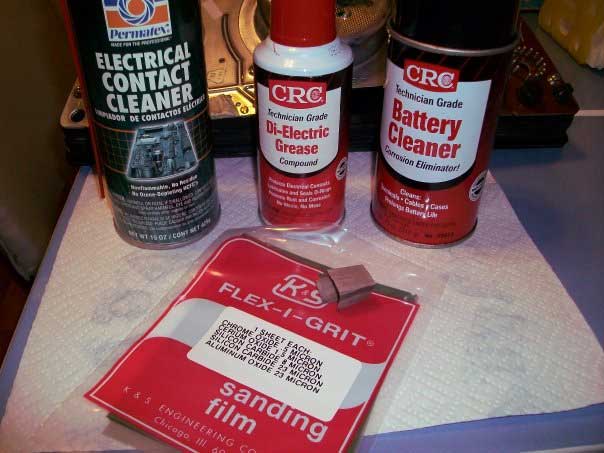
Some other materials I used, probably not all required, but I wanted to do it right the first time. I started with the battery cleaner. Then I scraped off as much corrosive coating as I could with the little screw driver. Then I used some fine grit paper to take off even more corrosive coating. Afterwords I sprayed it down with electrical contact cleaner and let it dry. You'll see what I used the di-electric grease for in a minute.
Now we're looking good . . .
Step 5: Reassemble the rheostat.
Now it's time to put the rheostat back together. Put a little bit of di-electric grease on one end of each spring and place them back in their holes. The grease will keep them in place as you reassemble.

From there you just need to hold the slider onto the spring and place it back into the housing. The metal clip is what holds the dial/spring/slider assembly onto the coil housing, so you will need to hold it in place as you slide the metal clip back on.
Once it is back together, you should try rotating the dial a few times to see if the slider runs good along the coil. When I tried it I found that the slider was now pushing the coil out of its track - see below (it shouldn't be sticking out like that).
So, how do you fix that? More di-electric grease, of course. I lifted up the coil, placed a few globs of grease in the track and then pressed the coil into the grease. Worked like a charm, the grease held the coil in the track and the slider moved smoothly across the surface of the coil. Note that you can rub a little dielectic grease on some of the metal components to keep them from corroding, but avoid getting it on the contact surfaces.
That's it! As they say, assembly is the reverse, right? Mount the rheostat back on the panel and reconnect the panel.
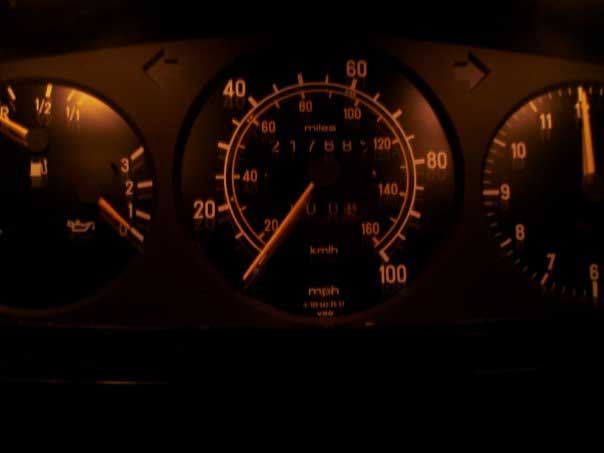
Step 5: Enjoy those dash lights and your functioning rheostat!
Discuss this DIY here.
-tankowner
CategoryDiy