Rear Window Seal Replacement
on the 1980 300D (W123)
by whunter
11/19/08
REAR windshield seal W116, 123, 126
Notes and warnings...
- This job requires 3 - 5 adult size helpers, pliers/razor, Philip's screwdriver, pliers, clothesline, and dish soap.
- There should be NO cracks in the glass you plan to use, they generally will expand or the glass can stress and explode.
- The seal should be replaced in a WARM location 70F is recommended, this is for seal flexibility and seating.
- The body/seal mounting lip MUST be CLEAN, no dirt, old sealer, etc.
- Your hands should be clean and dry, for maximum gripping ability.
- The glass REAR windshield mounting lip/seal area MUST be CLEAN, no dirt, old sealer, etc.
- This rear windshield seal procedure should function for the following chassis:
(there will be minor differences on the oldest chassis).
Procedure:
#1. remove the right and left rear paneling with cut-out for safety belt.
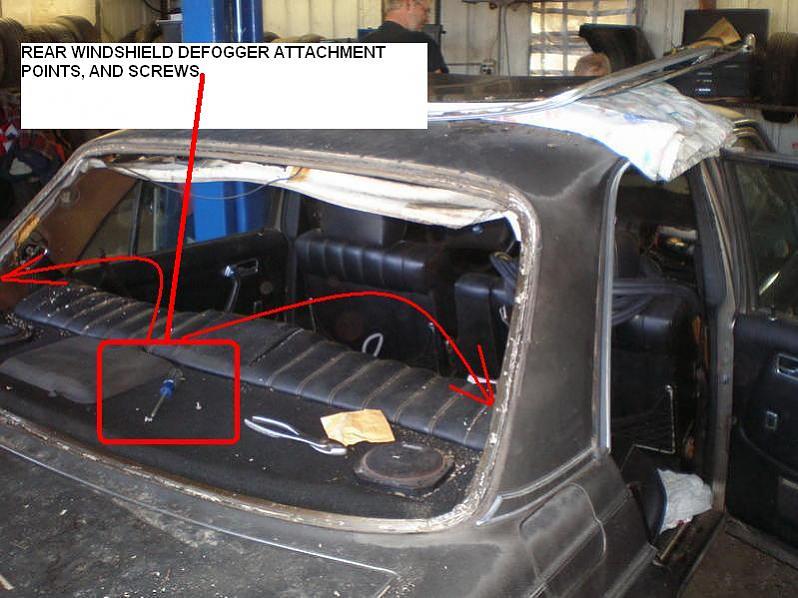
#2. Locate the rear windshield defogger connections middle of left and right C pillar, and disconnect them.
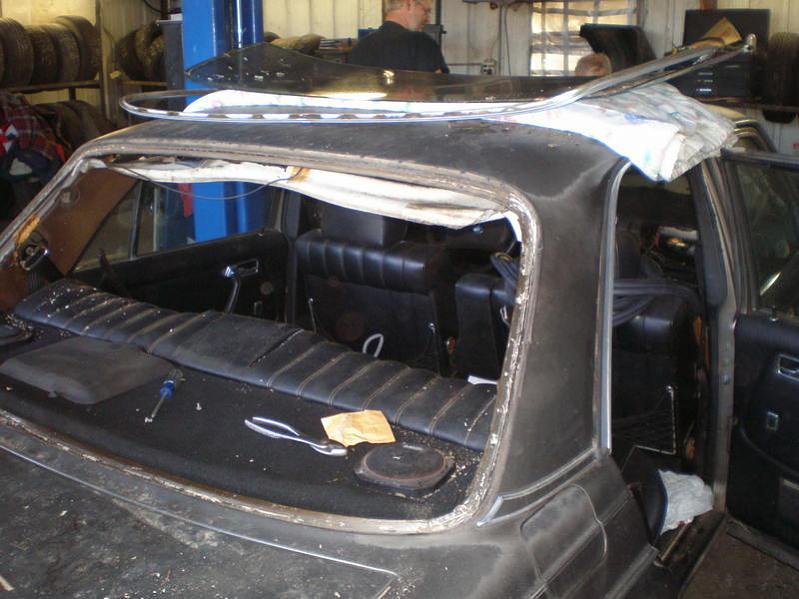
#3. From inside the rear passenger compartment, very carefully with pliers, pinch/nibble the old/hard seal, roughly 7/16 wide bites, (if the old seal is still soft you can use a razor knife to slice it away from the body/seal mounting lip.
Note: the inner seal lip must be removed from the top, and sides as close as you can get to the bottom of the windshield.


#4. Place a quilt or other thick cloth padding larger than the glass on the roof, or a totally empty work bench.
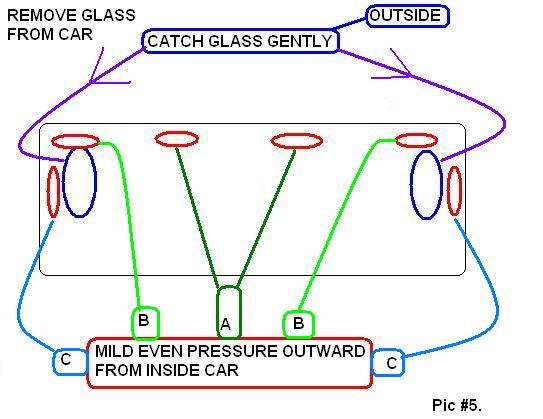
#5. This step requires at least three people, one in the back seat gently pushing out, two outside catching and lifting out the glass.
#6. Place the rear windshield on the quilt inside surface up.
#7. Remove the old seal from glass.
#8. Remove the trim from the seal, rolling the seal apart to not damage or deform your trim.
#9. Clean the body/seal mounting lip and glass mounting lip/seal area = no dirt, old sealer, etc.
Note: I prefer cloth rags and a good supply of clean water, no detergents/cleaners.
#10. Install the new seal to the glass.
#11. Exercising great care, flip over the windshield.
#12. Spread dish soap into the trim groove.
#13. Spread dish soap on the windshield trim barb.
#14. Install the window trim to the new seal.
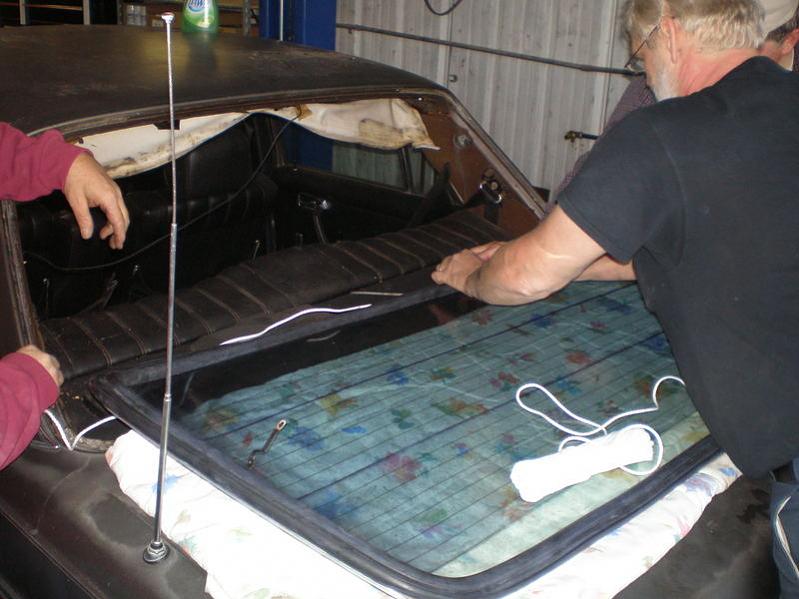
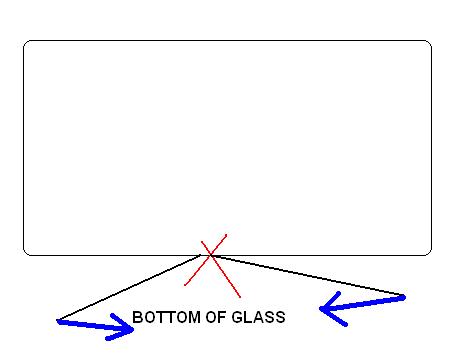
#15. Install clothesline into the body/seal mounting lip groove with four - five inch overlap in the Bottom Center of glass seal, leave several feet of extra cord out beyond the overlap for hand pulling...

#16. pull the headliner over the upper lip seal area, and glue in place with trim adhesive.
#17. Gently lift the glass/seal/trim assembly.
#18. Insert the lower glass seal over the body lip, and gently lean the assembly against the window area.
#19. At least two assistants must gently press down and in on the glass while you pull the cords out evenly.

#20. The seal lip should roll open as the cord pulls out = allowing the seal to seat to the body.
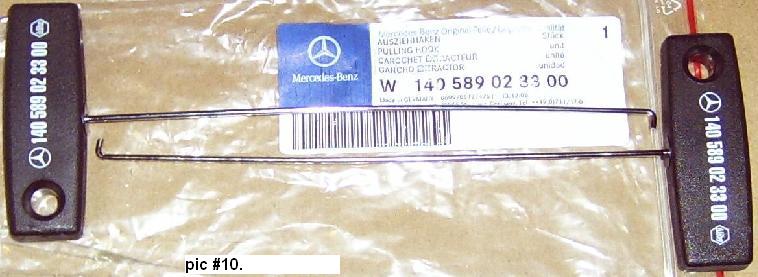
#21. Use instrument cluster hooks to seat the outer perimeter of the seal.
#22. gently press/thump any trim areas not fully seated.
#23. Install the rear windshield defogger connections middle of left and right C pillar.
#24. Install the right and left rear paneling with cut-out for safety belt.
Discuss this DIY here.
-whunter
CategoryDiy