Radiator Removal And Reinstallation DIY Article.
1992 Mercedes-Benz 300CE W124 Chassis
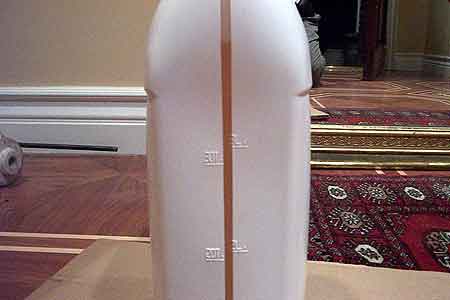
To Start, make sure you have the appropriate Equipment and Tools. I chose a Brand New Behr Radiator, and The Recommended Mercedes Benz Antifreeze. I unpackaged the Radiator and Inspected it to ensure it was the updated kind with the Metal inserts in the Hose Necks.
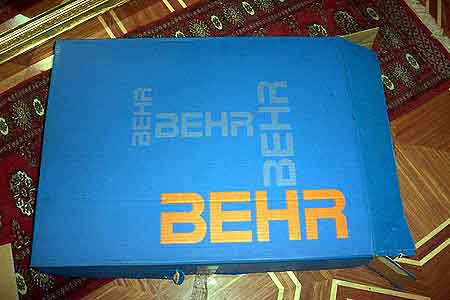
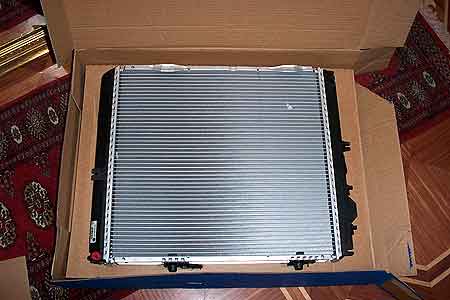
New Behr Radiator With Updated Necks.
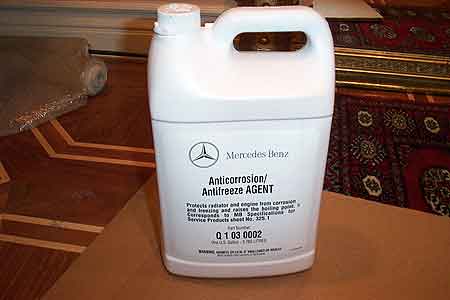
Mercedes Benz Antifreeze Agent
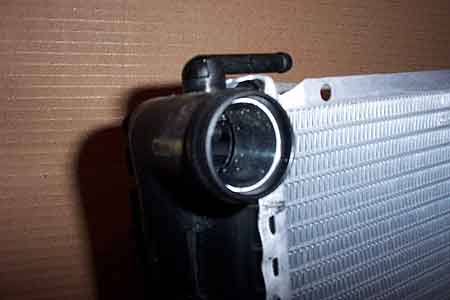
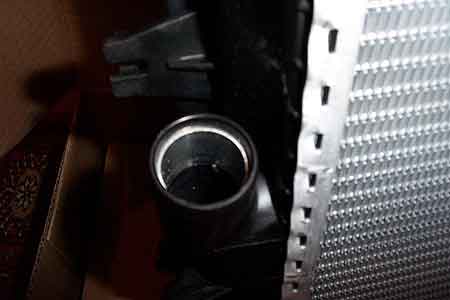
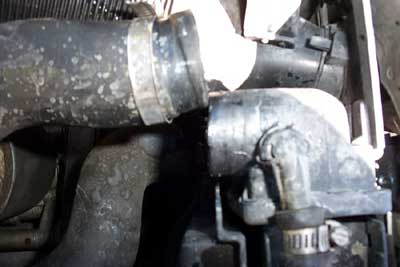
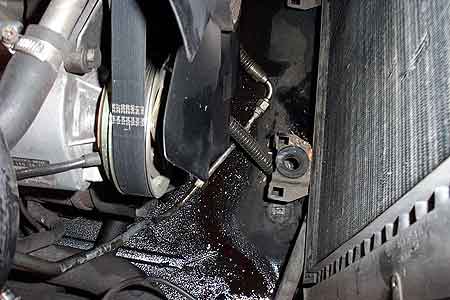
Now for the Good Stuff. The Reason for Replacement. See Below Picture. Notice the broken Radiator Hose Neck. A Common Problem on the older Radiator Design.
Radiator Removal Process:
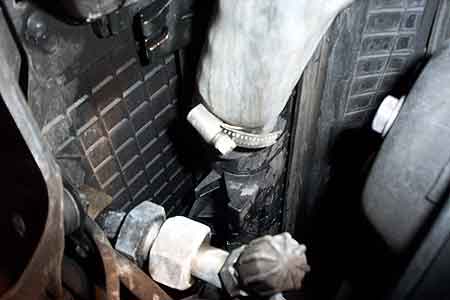
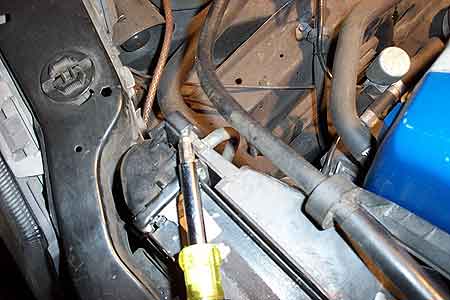
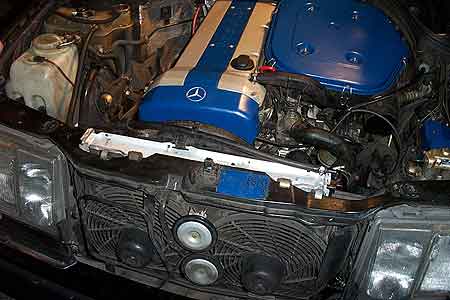
1. Undo Top hoses, and lower hose on left side of engine - See Above Pic.
2. Remove Radiator Fan Shroud Clips and Remove Fan Shroud.
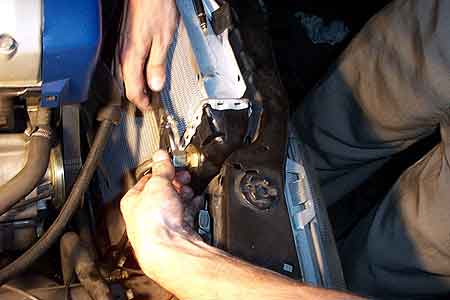
3. Remove Radiator Oil Cooler Lines
4. Remove Radiator Inlet hose from Water Bottle.
5. Undo Radiator Top Clips.
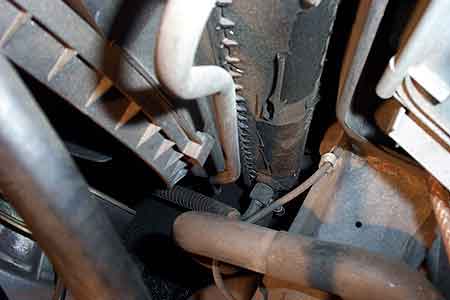
6. Undo Oil Cooler Line Bracket from botto of radiator.
7. Lift out Radiator slowly and Drain into environmentally safe area. a good tub is fine.
See Below Pictures

Fan Shroud Removal
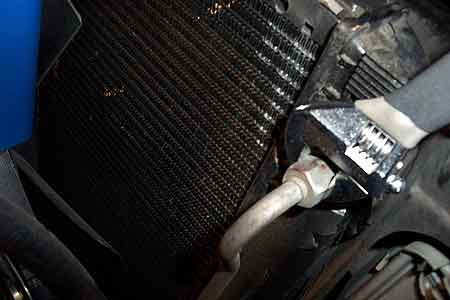
Oil Cooler Lines Removal
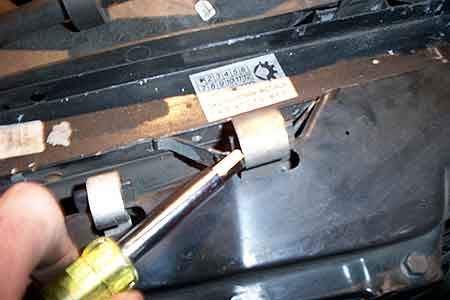
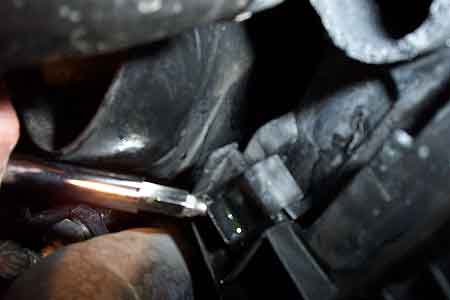
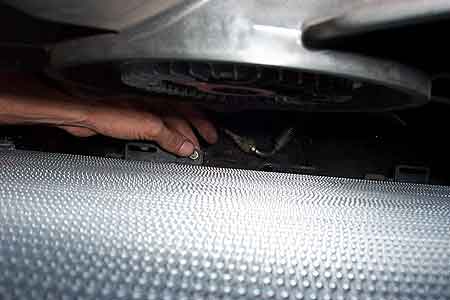
Radiator Top Clip Removal One on each side of radiator
Lower Mounting Hole one on each side,
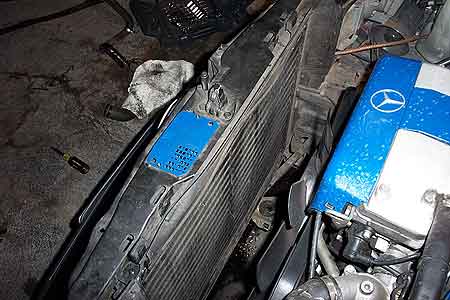
and Empty Radiator bay
Reinstallation Instructions - Reverse of above.
1. Slide Radiator in carefully and fit into lower mounting holes.
2. Transfer Rubber washers form old radiator to new radiator and attach radiator clips.
3. Install bolt in oil cooler line bracket.
4. attach oil cooler line bracket and oil cooler lines back onto radiator.
5. Place lower inlet hose on right bottom of radiator back on.
6. Hook up lower left hose.
7. Slide Fan Shroud Back down, and make sure it goes into the two bottom mounting holes and the top mounting hole.
8. Secure Fan Shroud with clips. Reattach secondary fan shroud piece and attach top hose.
9. Refill with water, and test.
10. Top up transmission fluid if needed.
See Below Pictures
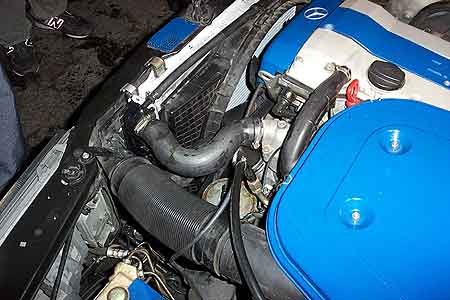
Radiator in position and Oil cooler bracket bolt.

Oil Cooler Lines Reinstallation
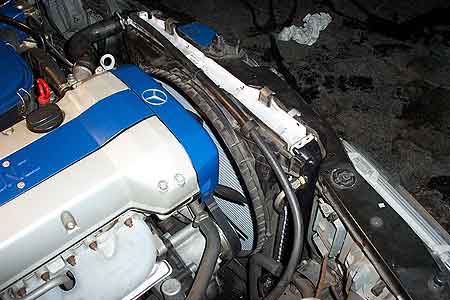
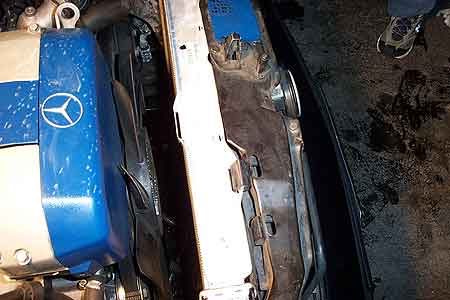
Finished Engine Compartment
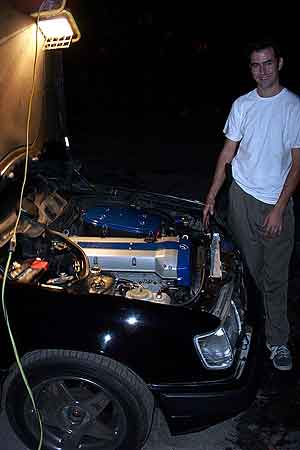
A Job Well Done!!!
Alon
CategoryDiy