Revision [392]
This is an old revision of W126RearShocksSprings made by WebMaster on 2006-03-20 18:25:52.
Replacing the Rear Shocks & Springs
on the W126 1985 300SD
by whunter
3/18/06
1983 300SD rear shock & spring R&R DIY
#1. Remove rear seat base from the interior.
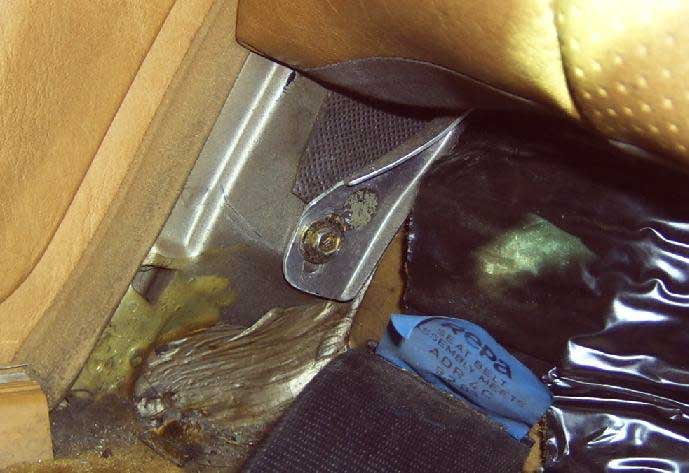
#2. Remove the eight millimeter bolts from right/left base bracket of rear seat back, refer to
picture #A for bolt position.
#3. Lift rear seat back up, and toward the front of car, remove it from the interior, take care
to not damage body paint or seat.
#4. Fold back the rear bulkhead padding on left and right side = expose the three inch white
plastic hole plug.
Loosen rear wheel bolts.
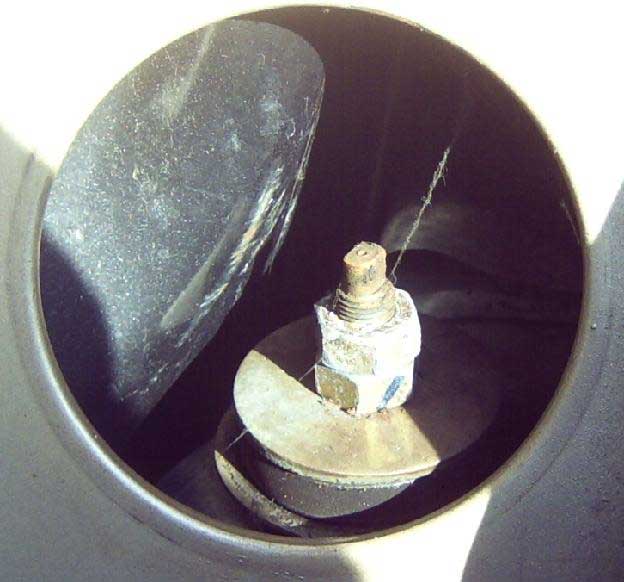
#5. Remove both three inch white plastic hole plugs, refer to picture #B.

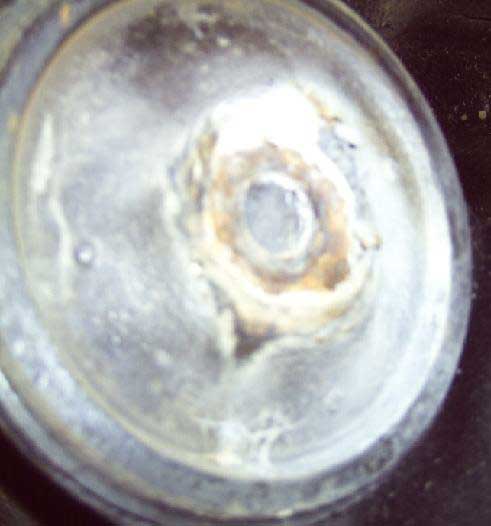
#6. Remove the 17 MM upper shock absorber mount nuts, washer and bushing, refer to picture #C. for position.
#7. Loosen rear wheel bolts.
#8. Raise only one side rear of car, lifting from the rear control arm, keep the jack in place for further operation.
#9. Insert jack stand under the rear rocker panel rubber lift point, refer to picture #D. for position.
#10. Remove rear wheel.
#11. Remove the sway bar link 17 MM nut, relieve pressure on the bar, and dismount the link refer to picture #E.
#12. Dismount the brake caliper from rotor/hub by removing the two 19 MM bolts, support the caliper so the flex hose is not holding caliper weight.
#13. If you only have one floor jack, relieve tension/support from control arm = let it hang.
#14. Insert jack to support the rear sub frame with light pressure.
#15. Remove the sub frame bushing bolt.
#16. Slowly relieve jack pressure until the sub frame is hanging free.
#17. Inspect your sub frame bushing for corrosion, and swelling, replace as needed, read the following threads for more data.
Rear sub frame Bushings W126 1985 300SD DIY
W126 subframe mount clarification needed
#18. Remove the two 17 MM lower shock absorber bolts, and lower the shock down.
#19. Jack up the control arm as high as you can go, using great care, reach in/under the control arm, and gently remove the old shock absorber.
#20. Lower and remove the jack, being sure the jack stand has not shifted.
#21. Leather Gloves are needed here = PINCH hazard.
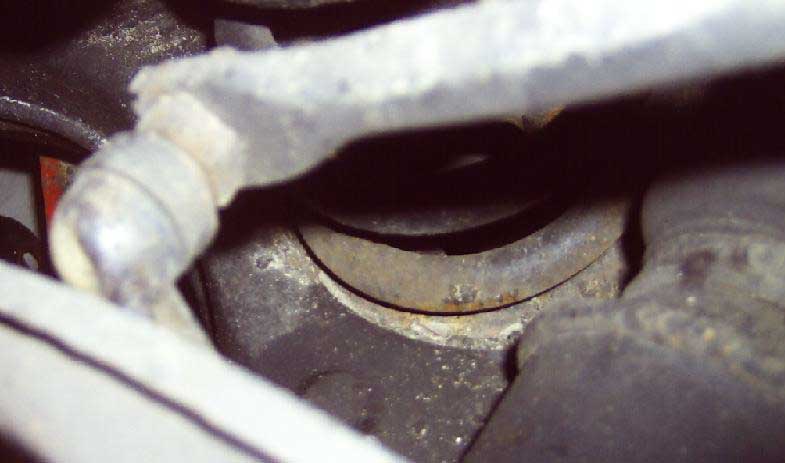
#22. Apply pressure down on the brake rotor hub while tilting the top of the coil spring toward the rear, (it should come out with hand pressure) refer to picture #F for position.
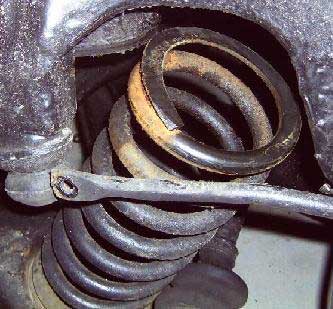
#23. Tilt the top of the spring toward the differential as you lift it from the control arm seat, it should be almost aligned with the axle shaft in the final extraction position.
#24. Remove and replace the upper rubber spring spacer mount.
Reverse this procedure, with the following step added for installing the sub frame mount bolt.
#A. Install the greased sub frame bolt and cage into your socket.
#B. Slide the bolt into the bushing.
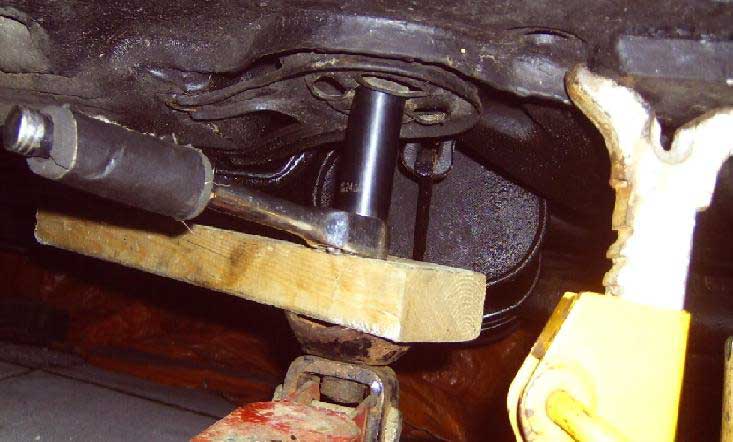
#C. Slide a board between floor jack and ratchet head.
#D. WARNING: the bolt must remain upward centered or you risk injury/damage.
#E. Slowly use the jack to raise the bolt/socket/sub frame assembly into position, you may need to reposition several times to get the bolt seated in the body hole.
#F. Safety warning: Install a jack stand under the sub frame, with roughly a half inch gap = it is only there to catch, if the ratchet falls from the jack.
#G. Do not try to get more than two or three clicks of motion from the ratchet in this position, more will risk causing the ratchet to slip from the jack.
-whunter
CategoryDiy