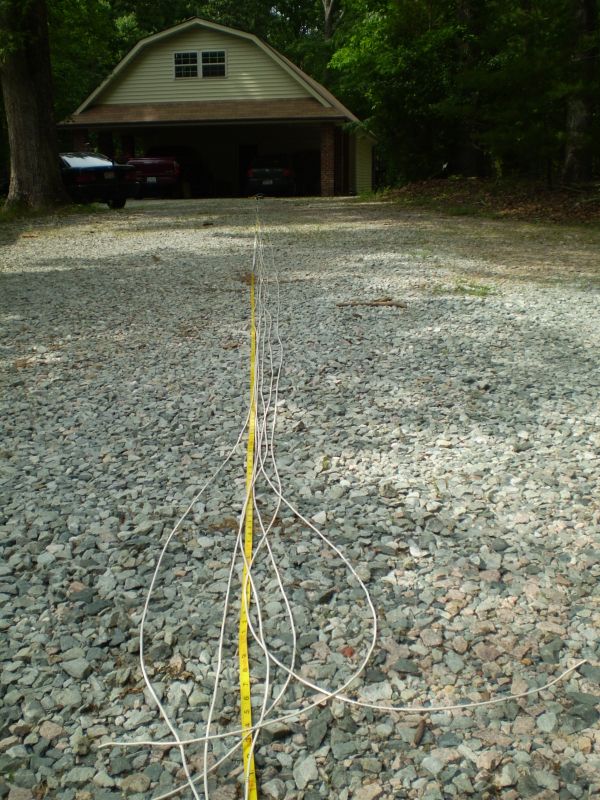
So, for the final chapter in this saga, the conduit is now buried and cable pulling begins. I stretched out the control cables and cut them to length:
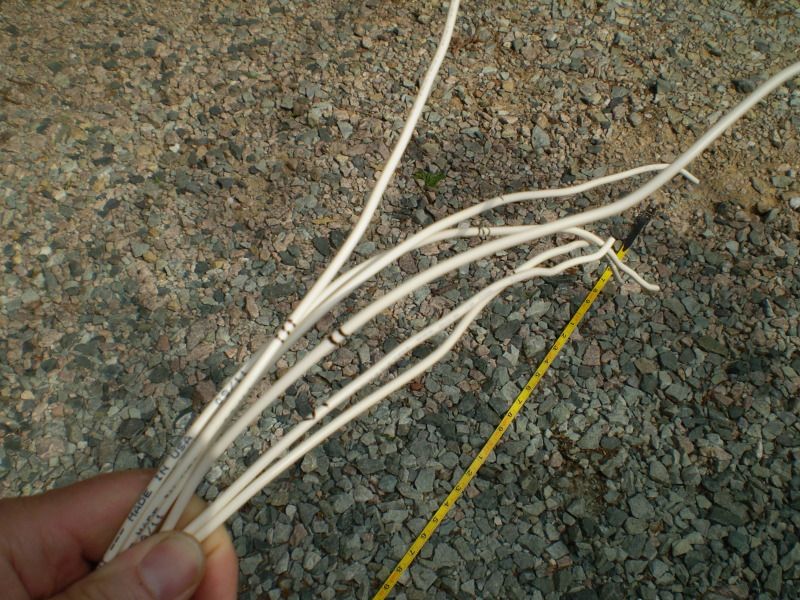
Since the cables are all the same color, they're marked with roman numerals. Later, they'll get colored tape:
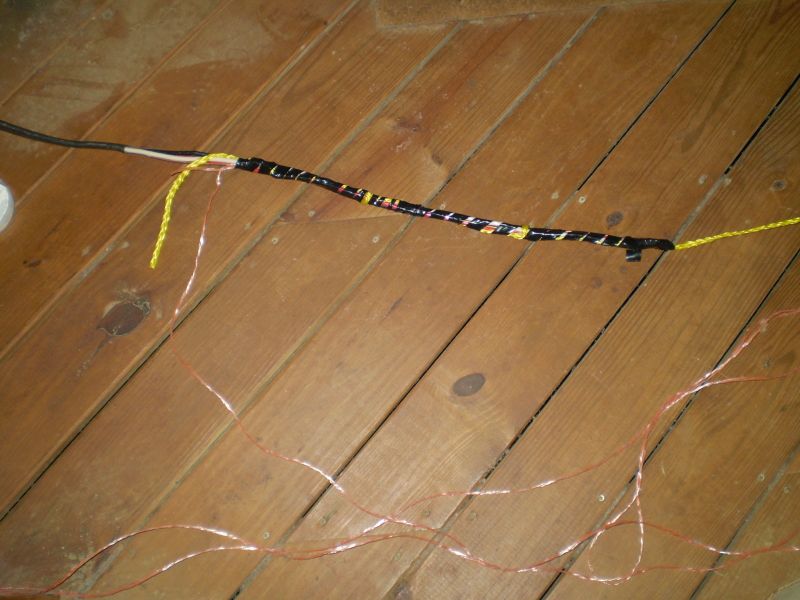
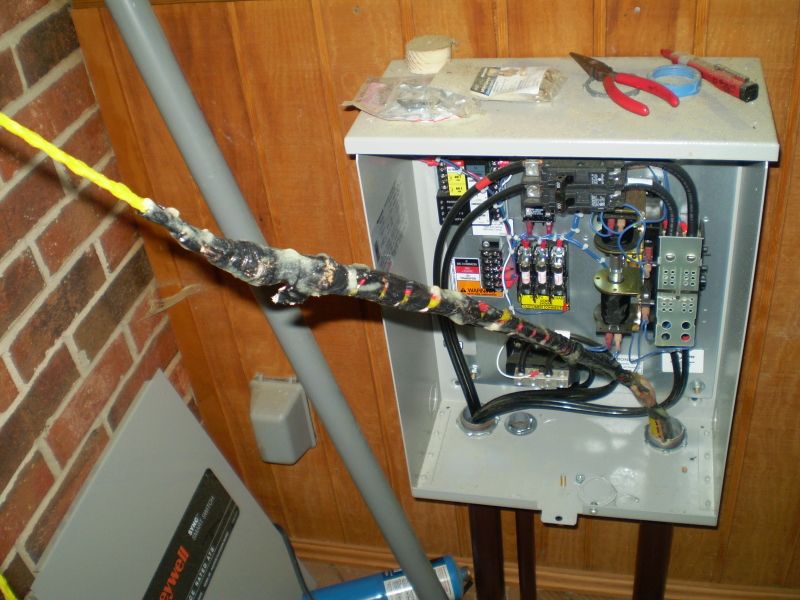
Now the hard part begins, the pulling. Here, the power cable is prepped. I used lots of cable lube and had a friend push the cable on one end while I pulled the other. I ended up using rope to pull the cable rather than pull string because of the gauge of cable:
Success! When pulling cable, it's key to have everything working in your favor. Pull downhill if possible, make sure all your couplings are connected so that they don't catch the cable and arrange for someone to help. This is an impossible job without a helping hand:
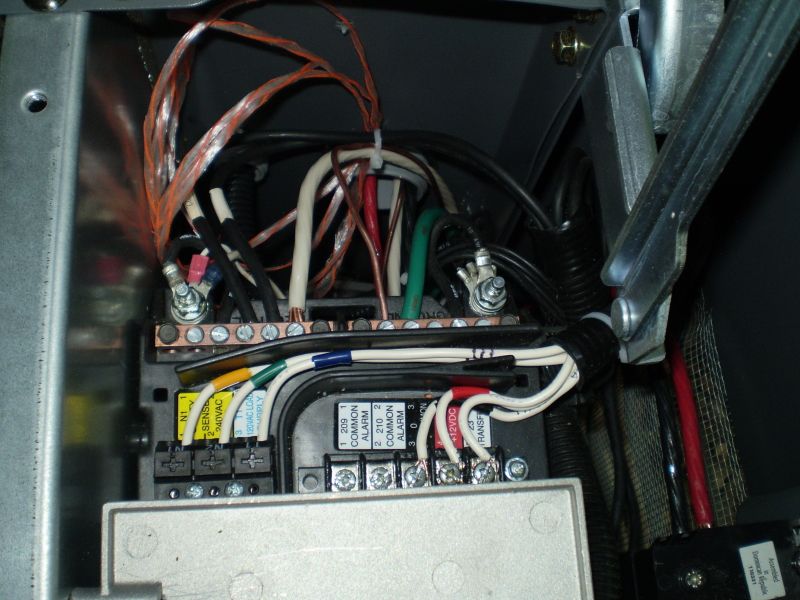
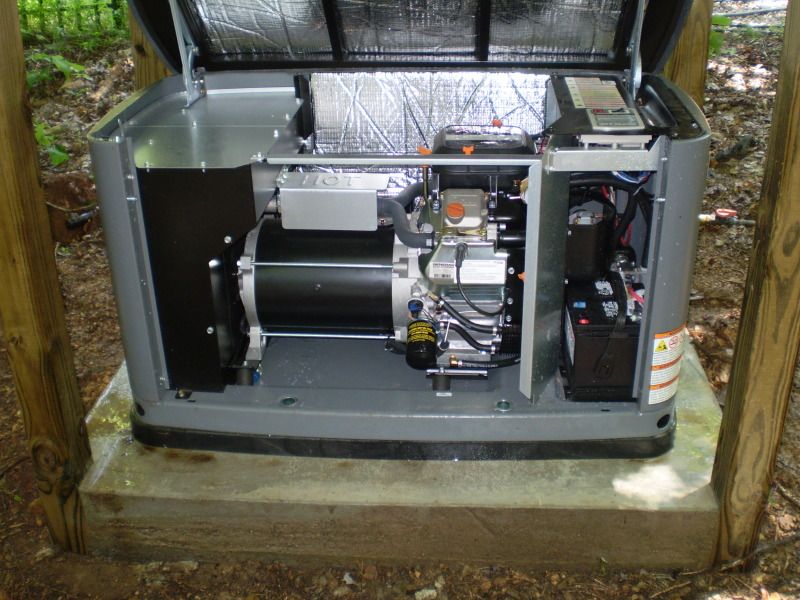
Routing the control cables in the generator:

Completed generator cabling with color coded tape. The generator wiring was done first since it's the "dead" end of the circuit:
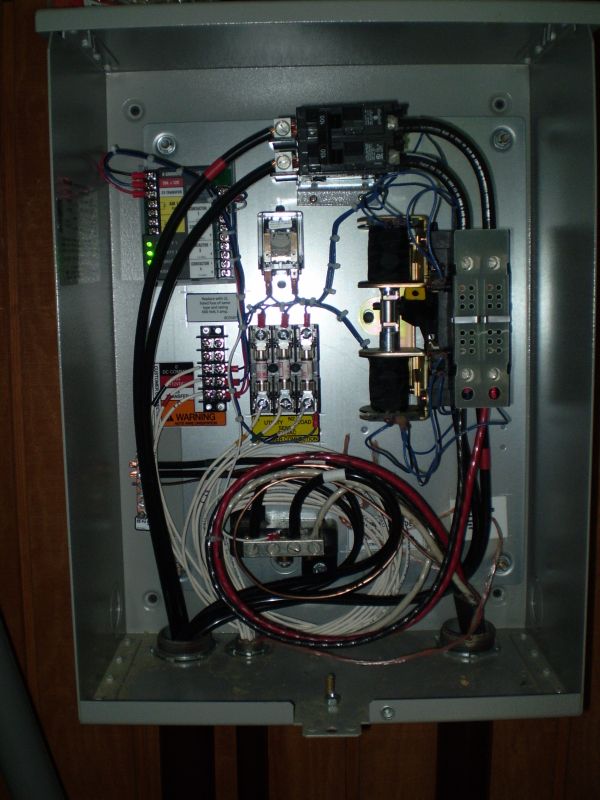
Here's the completed transfer switch wiring. Doing this part last minimizes the home power down time. I also left a generous service loop and secured it wire ties:
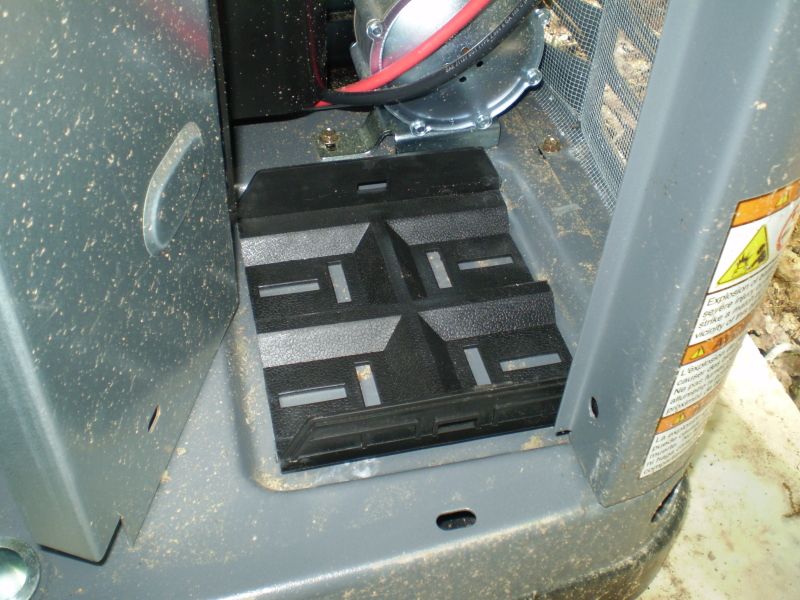
The only remaining task before testing is to install the battery. I took the extra step of buying a plastic tray since the bottom of the battery compartment is metal:
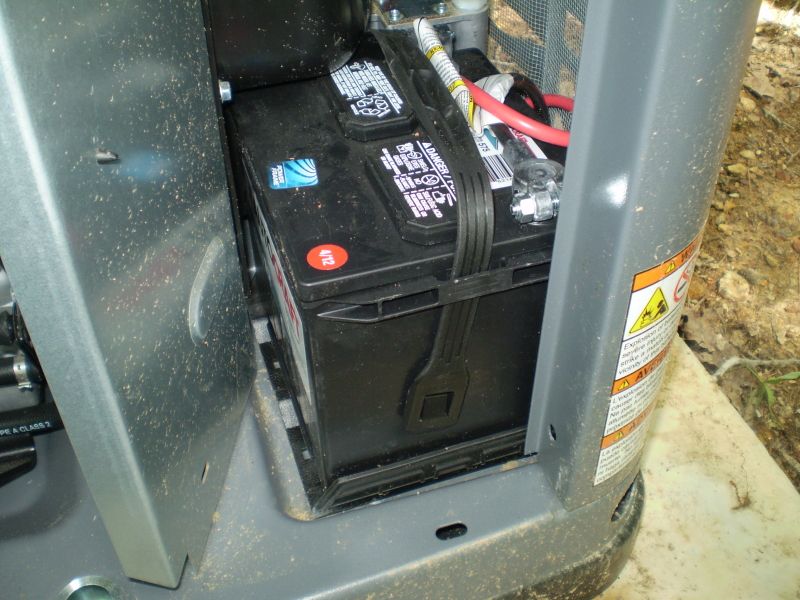
The battery is a very tight fit:
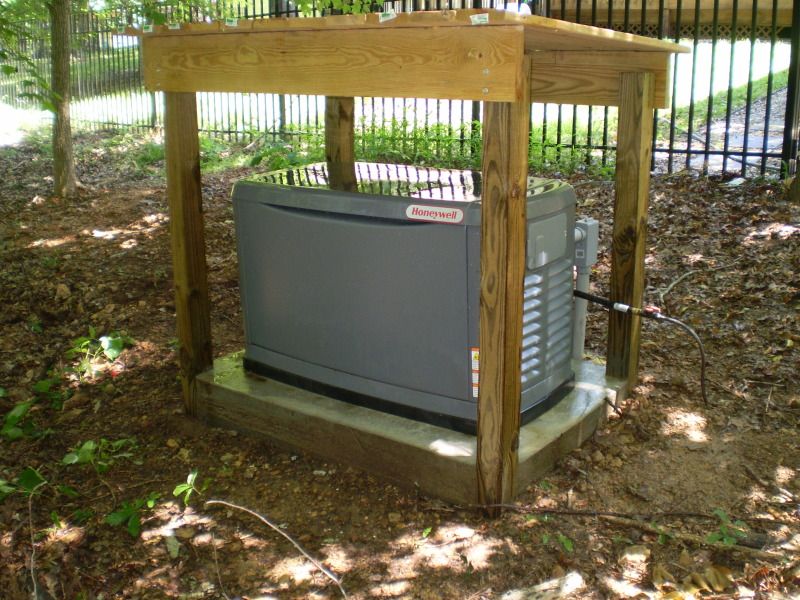
I test fired the generator manually first then in auto mode with the cover off. Everything seems to be working perfectly. The control system requires you to go to the corporate website and register for an activation code. This code has to be entered into the system at the generator before it will operate in auto mode:
Everything finished, buttoned up and cleaned:
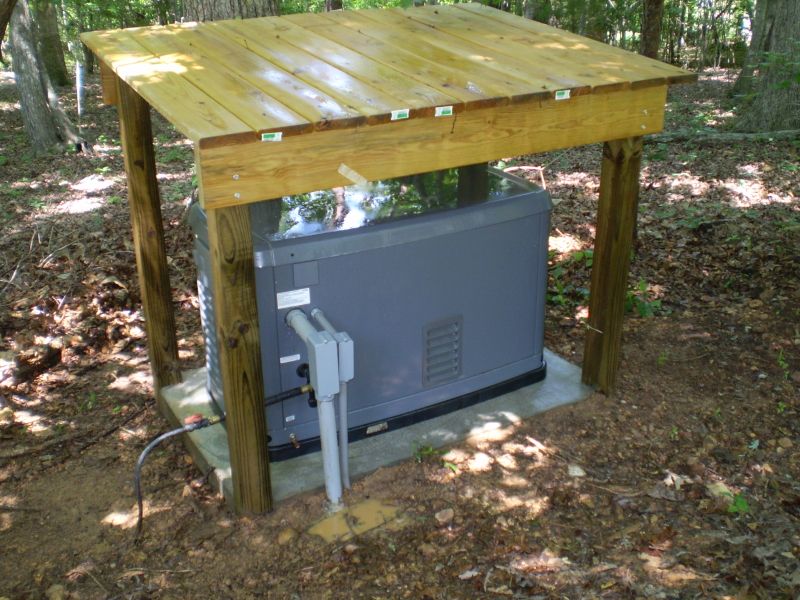

That's it! If anyone wants to do the same install, I'll be happy to answer any questions. The generators are still available at Costco for around $2300.00 complete with transfer switch. The install materials were about $800.