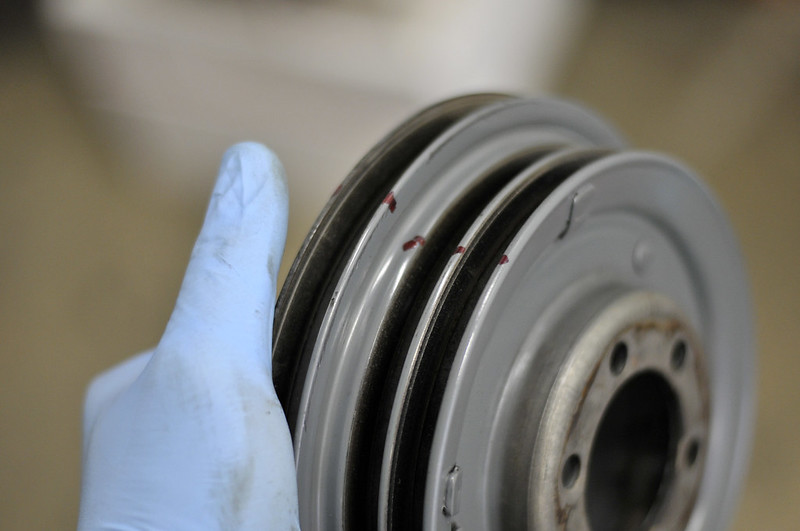
A new timing chain has just been installed, what a job! Found out that the fan clutch is seized, and one of the blades has a crack. Ordered a replacement 9-bladed plastic fan and new clutch already.
I won't cover the basics on how to, there are more threads about that here in the archives/forum. However, I wanted to document the job for reference.
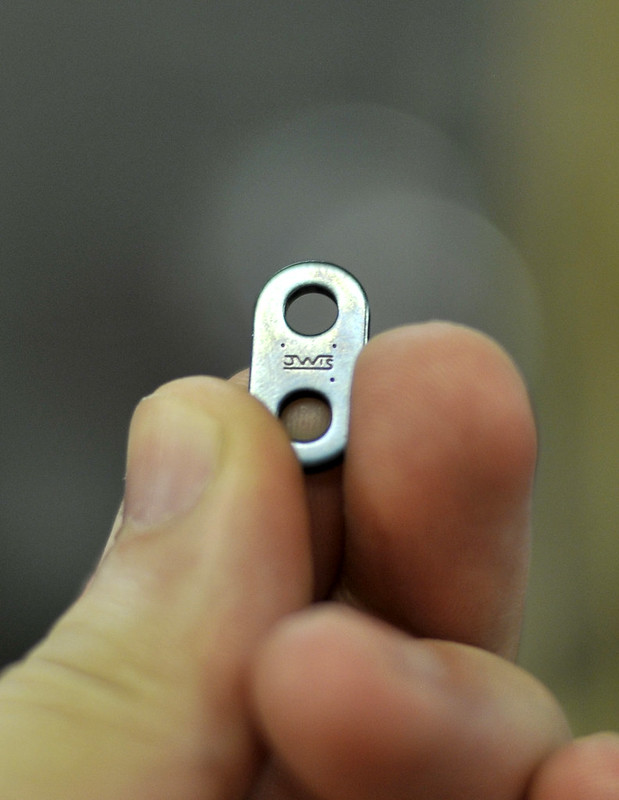
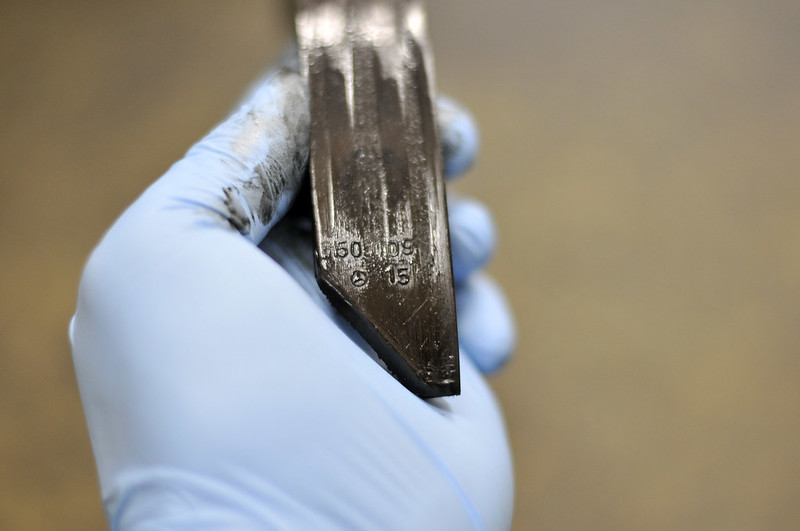
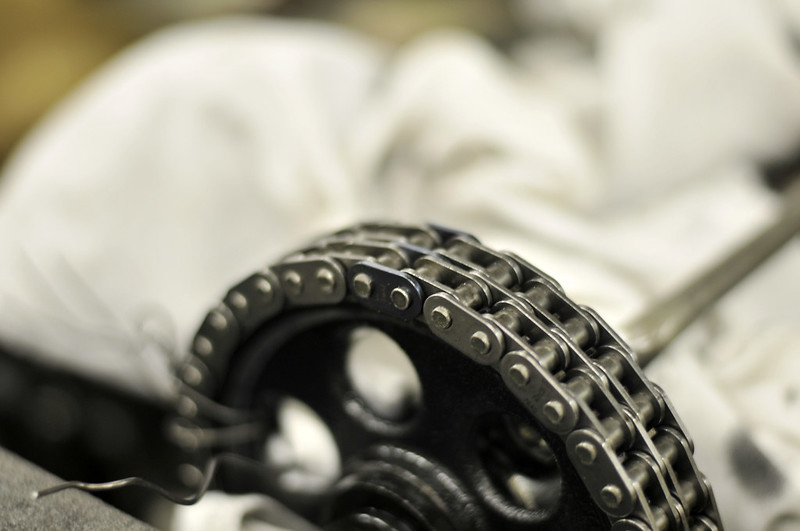
MB's chain is JWIS:
The timing chain tensioner spring has a portion that rubs against the tensioner housing. This one in mine was worn halfway through

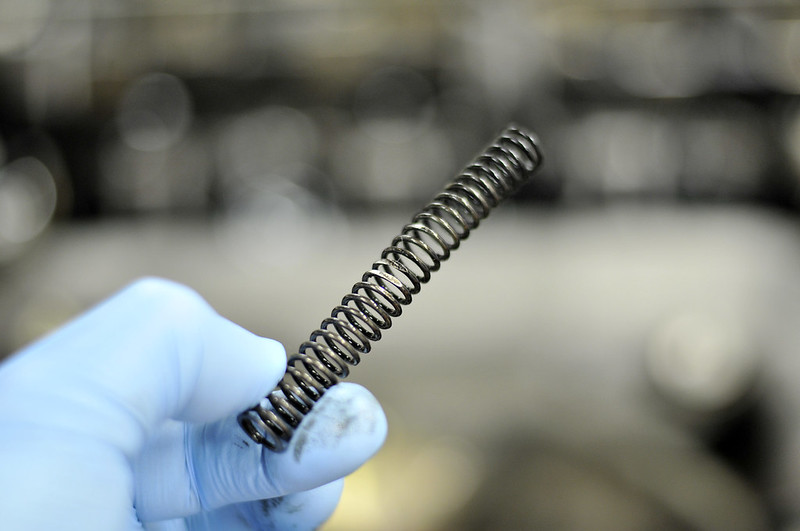
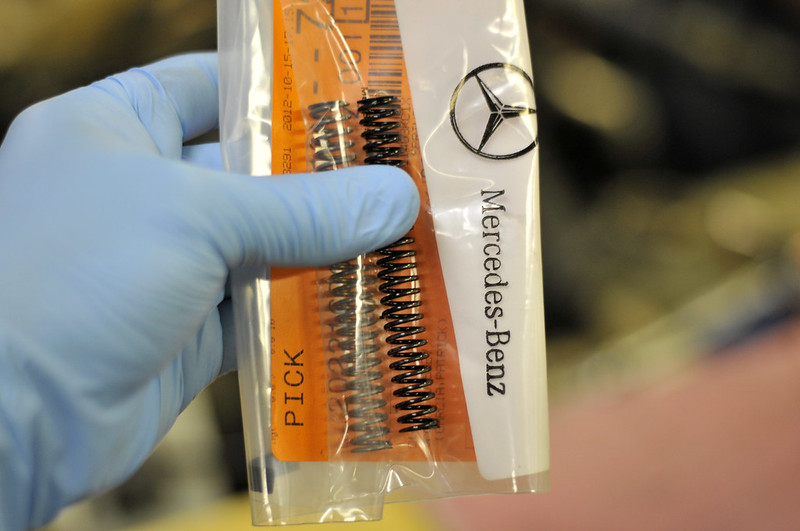
It's also noticeably shorter than a new spring:
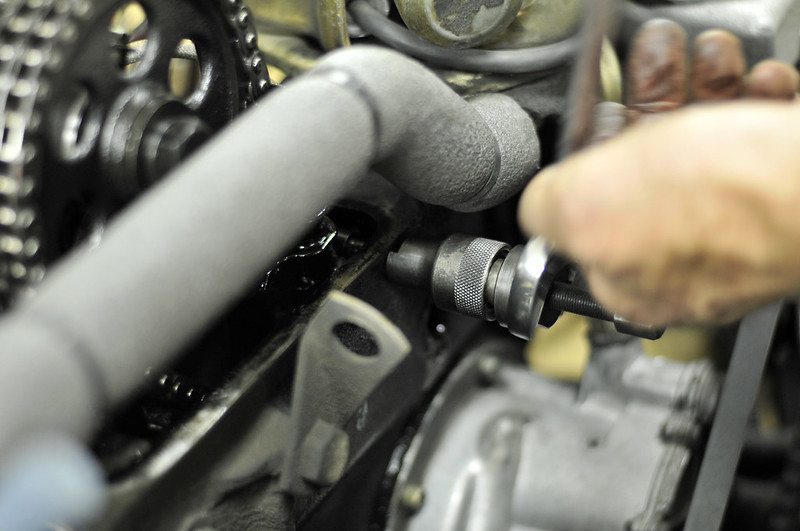
Those pins were tricky to remove! Took a while to get this one, as well as the lower pin, out from the block.
After all these miles and years (almost 30 years, 230k miles), there is a lot of material left on the rail, but the wear is noticeable:
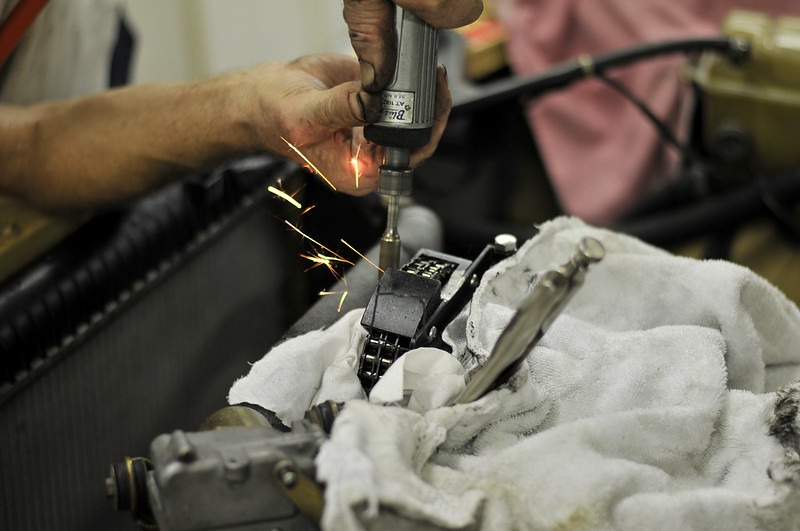
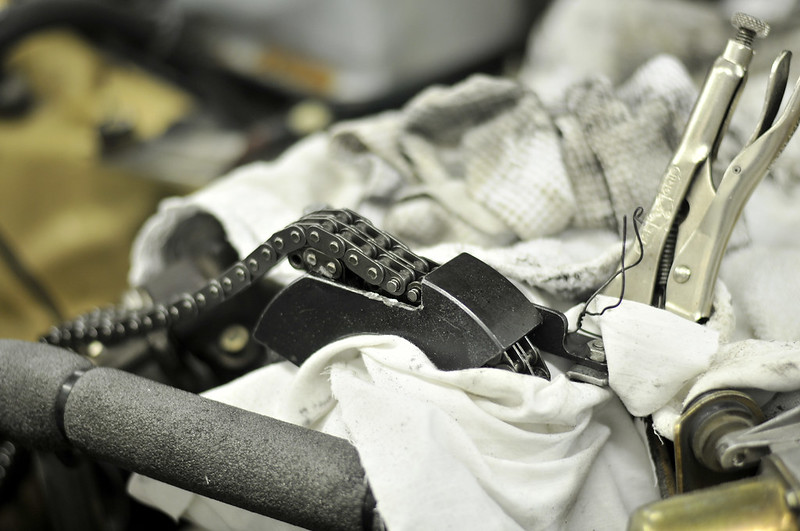
Grinding off a link in the original chain:
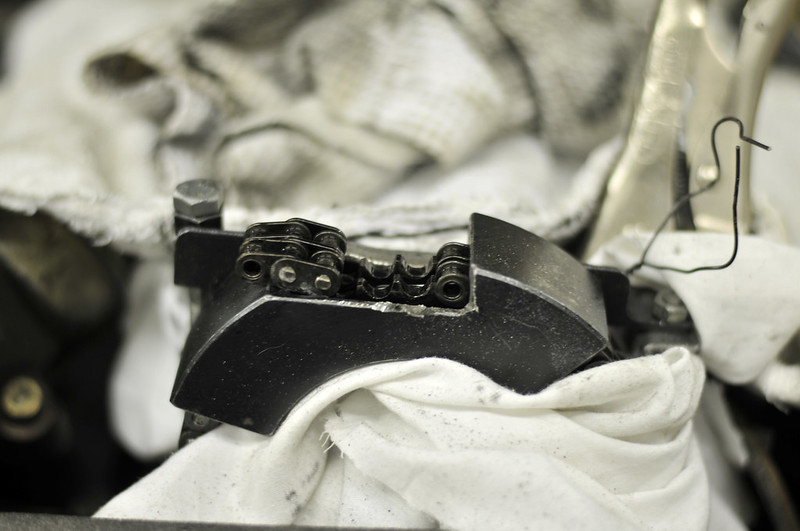
Original chain disconnected:
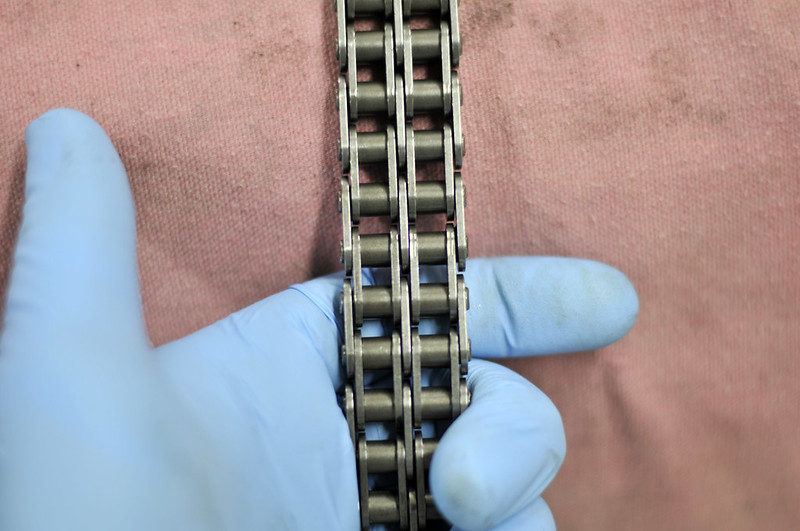
New JWIS chain is nicely made and the links are significantly thicker than the original:
Out with the old, in with the new:
Crimping the new links together:

New master link in
blue:
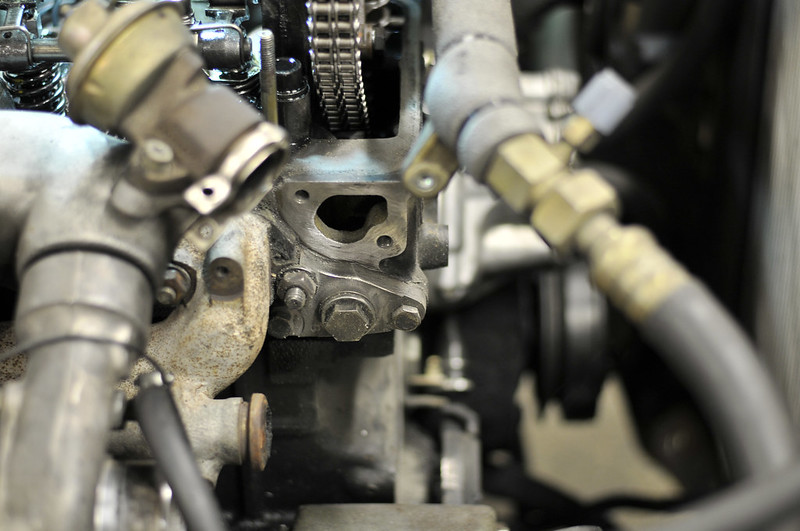
While we were at it, a valve adjustment was also done. Only 3 slightly tight valves. Not bad:
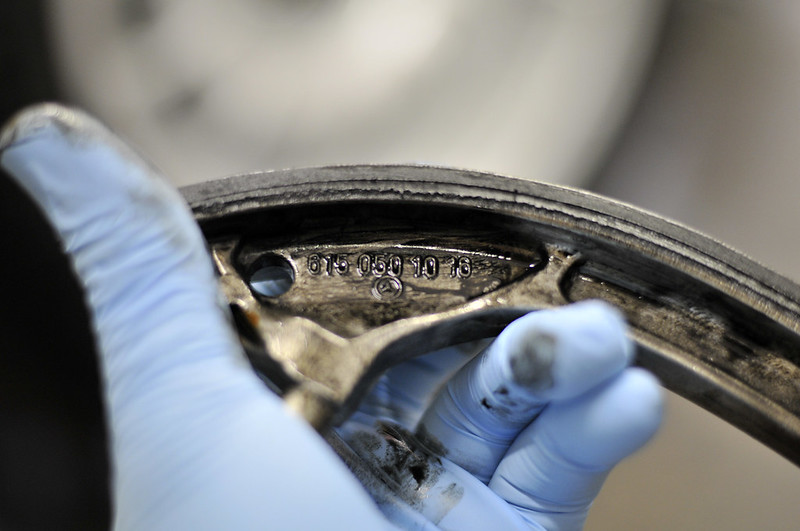
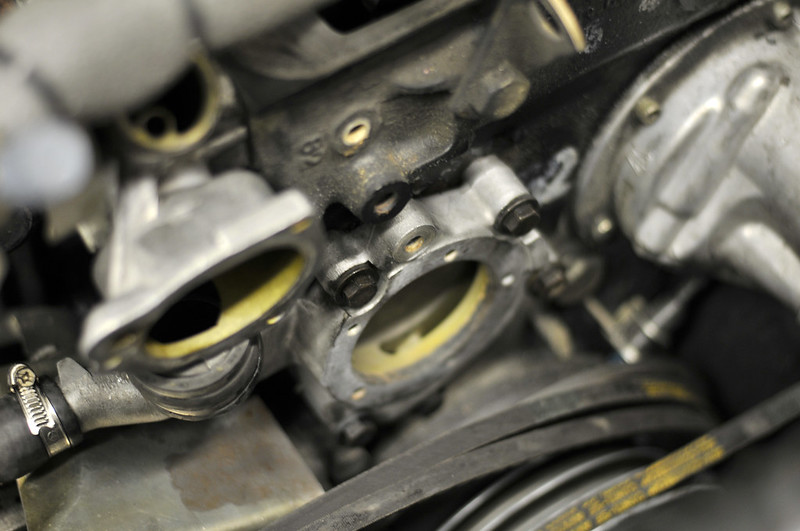
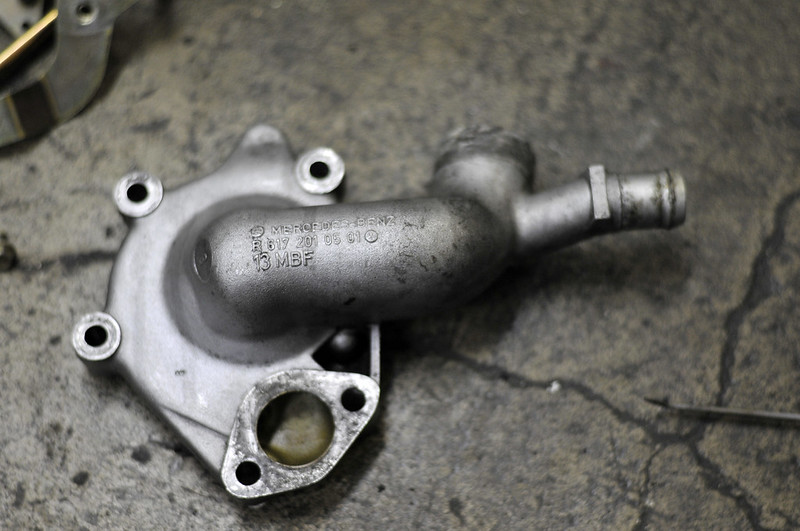
In case somebody tries to get the weird shaped gasket for the thermostat housing to engine, here's an image for reference:
Make sure you also get the water pump to pump housing gasket, that sucker was a royal PITA to remove. Apparently they used adhesive from the factory when they were new. I had to use a razor blade to remove the stuck adhesive from the water pump flange to get a good seal.
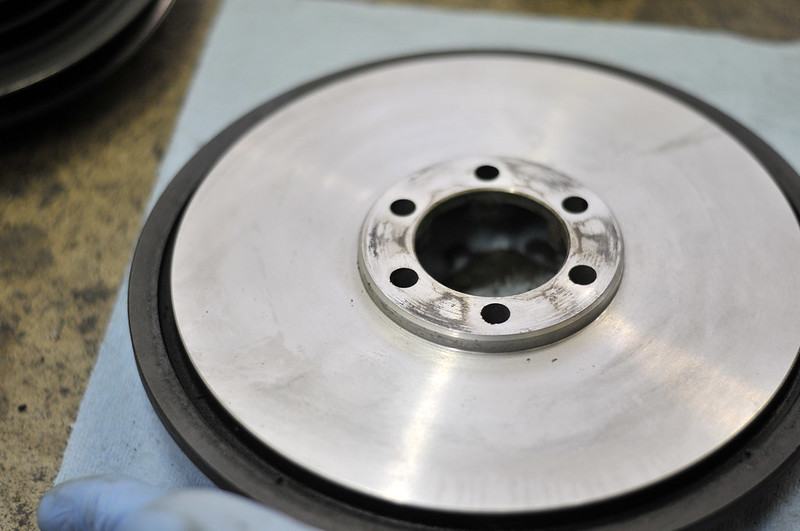
And while you're at it, CLEAN!

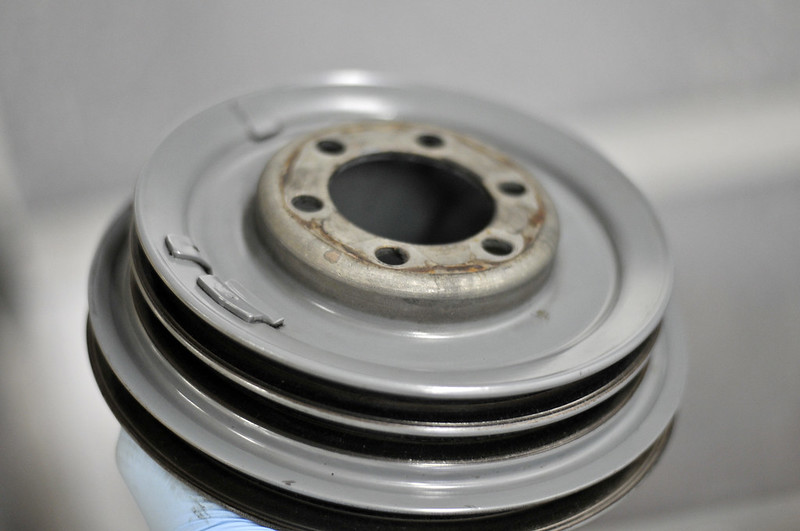
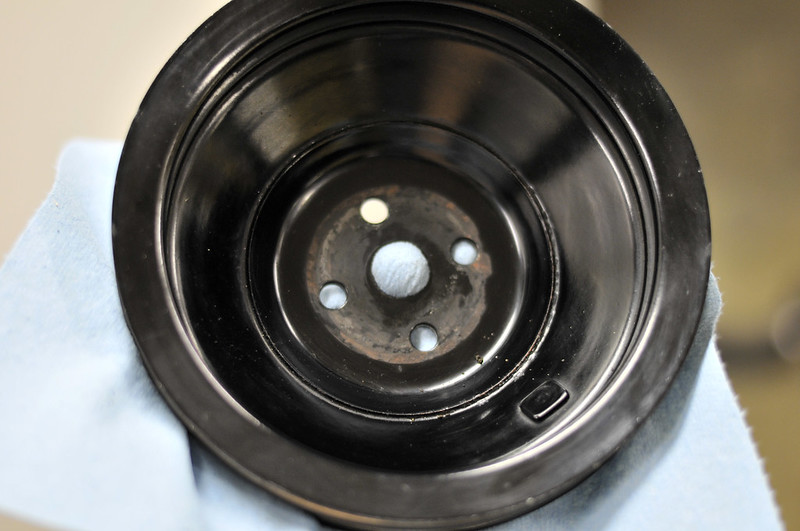
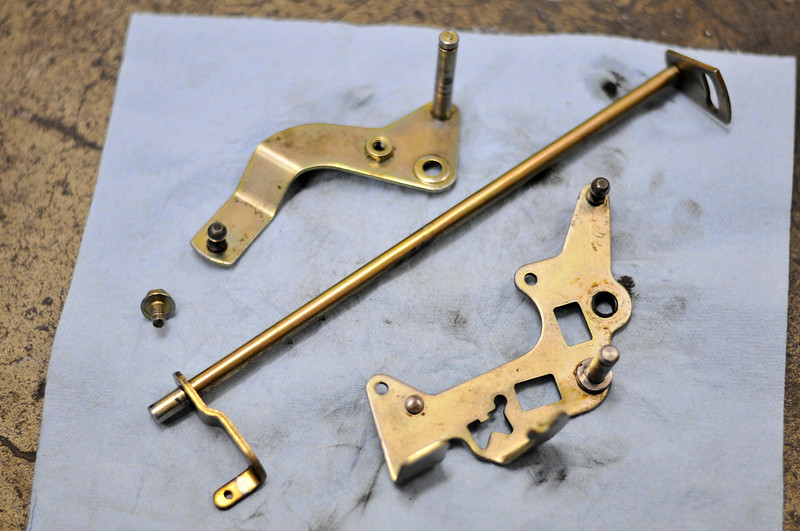
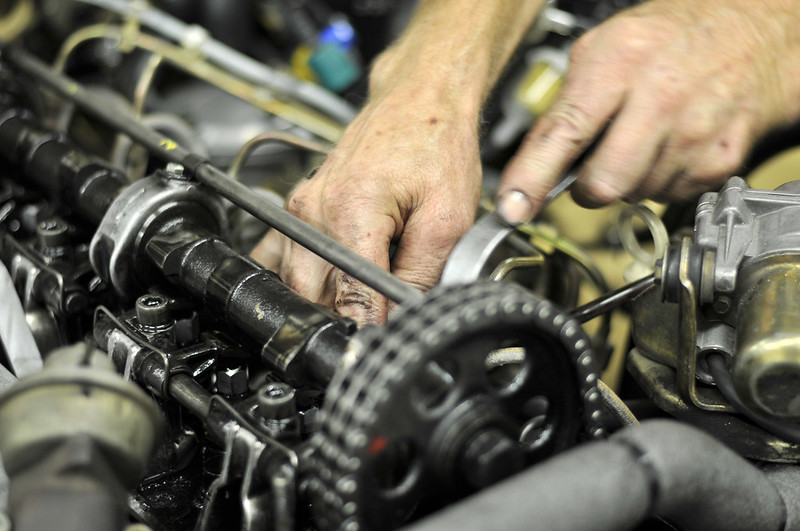
And do not forget to mark parts before removing! Otherwise they will not be in sync/alignment
More
pics for reference.