

|
|
|
|
|
|
#1
 05-10-2011, 02:12 AM
|
|||
|
|||
|
New Stereo Install 1979 240D
The original Becker worked except for the AM side. I listen to a lot of AM, so I decided to get a new radio. I knew I would have to hardwire it and I figured out what all the wires go to, but...
There are 8 speaker wires (2 for each speaker, positive and negative) that come from the new head but there are only 4 wires coming out of the car (What appears to be Left and Right). How do I remedy this situation? There is a wiring harness conversion kit on crutchfield, but I don't want to spend the money on it if it possible without it. I pretty much refuse to go to bestbuy and have them do it, 1. cause i dont think they will do it right and 2. cause that is quiting...and im not a quitter! any insight? 
|
|
#2
05-11-2011, 04:59 PM
|
|||
|
|||
|
Quote:
can you post the wire colors for the power, ground and battery?
|
|
#3
05-11-2011, 07:53 PM
|
|||
|
|||
|
Come on guys, I've personally posted this exact info a few times. Search search search.
If you have the OE harness, I recommend the Crutchfield harness because it's plug and play. If not, and you want to cut the wires, you've got some tracing to do. I can't explicitly speak for the '79 240, since that may be a bit more older-tech bare bones than the 300's. The standard 4 wires for power and lights are: brown is ground, thin red is steady +12v, thick red is ignition switched +12v, gray/violet is headlight switched rheostat controlled +12v(ish). I may be wrong on the thick/thin but you'll figure that out quickly with a meter. The radio taps off the cigarette lighter for main power. Notice that these power sources come off of three different fuses (1,2,4 maybe?) so you might have some troubleshooting to do if you dork something up. Speakers share common grounds front and rear. Green is right and red is left (or look at the little black/white cap for an L/R). Assuming the 240 is similar to the 300 you can trace the fader back into the console and UNPLUG, yes, that's correct, unplug the rear speakers and pull those wires forward to the radio. The other benny of the Crutchfield harness is that it has adapters for the speaker pins. You don't need to cut those. If you don't eliminate the fader you may blow the new HU due to parallel circuit dropping the impedance and requiring too much power to drive the speakers (I think, I'm tired so I may be wrong). Some newer HUs can handle the lower impedance. Your call.
|
|
#4
05-14-2011, 09:54 PM
|
|||
|
|||
|
Quote:
|
|
#5
05-15-2011, 11:30 AM
|
|||
|
|||
|
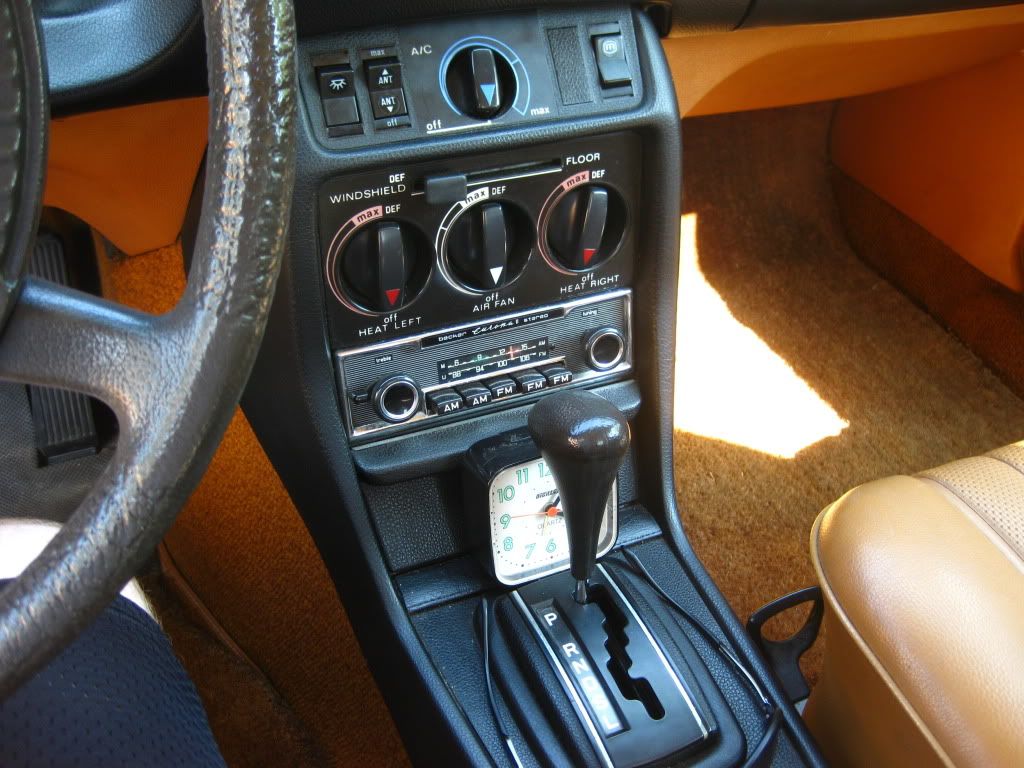
The pic is helpful since it shows the optional equipment.
First the disclaimer: use at your own risk. If your car bursts into flame from an electrical short, it's not my fault. Use a meter to check the connections. A correction: the older 240's have different wiring than the later 300's. The 300's had "solid state radios" and included the constant +12v. Source of info: Service manual wiring diagrams. Important tip: The wiring diagrams for the 240 use german abbreviations for color; i.e. sw = schwartz = black; bl = blau = blue; sw ge gn = schwartz gelb gruen = black yellow green. The nearest source for steady +12v in the console appears to be the rear dome switch next to the antenna switch. Per the diagram, there's a 0.75 mm red wire to this circuit off of the 8 A fuse 2. This fuse connects to branch 30, which is connected to the battery via screw 30 on the headlight switch. The only other items on this 0.75 mm wire are the rear door switches and the light. Assuming the new HU only uses steady +12v for clock and station memory, you should be OK. If it uses the +12 line to power the internal amp, then it may be too much for the circuit and fuse. There's a lot of stuff on fuse 2, so it's possible honking your horn could blow your radio fuse. If you want to run a separate wire, there should be an oval rubber grommet beneath the battery that enters right into the passenger footwell. Depending on what you want to do, e.g. have an iPod or cell phone you may want to consider adding a fused dedicated +12 line to the console. Your clock doesn't work? No watch?
|
|
#6
05-15-2011, 09:03 PM
|
|||
|
|||
|
Quote:
the clock quit a long time ago and my grandmother put that clock by the shifter (its her old car) and when it was passed down to me i left it
|
 |
| Bookmarks |
|
|


 Linear Mode


