

|
|
|
|
|
|
#1
 02-02-2012, 02:40 PM
|
|||
|
|||
|
W115 6 Speaker Install DIY
First off, many thanks to pizzachef for posting his How To. It can be found here:
Upgrading Stereo/Speakers in '74 240D (w115) I recommend reading through it to get another perspective as well as access to more photos. I borrowed heavily from his guide, but differ in some details. I also added 6x9 speakers to the rear deck. Front speakers: You most likely have a mono speaker in the dash. A replacement unit is available from Decker for $90ish. Since I'm upgrading my entire sound system, I opted to use Boston Acoustic s35 3 1/2 speakers instead. I wanted speakers that were low profile and had a difficult time finding any that would work. These S35s as well as their newer replacements, the Se35, from Boston Acoustics seemed to work fine on paper, and actually did fit in practice. If you get speakers that are either too tall or mount too deeply, you will run into problems. You'll either have to shim the speaker to avoid laying on the heater ducting in the dash and/or you'll have to mount a gasket beneath the grille cover because the speaker rises above the level of the dash. Pizzachef's pictures illustrate this clearly. Anyway, here's what I did. 1. Remove plastic speaker grill from dash (4 long, fine threaded Phillips head screws). 2. Remove foam covered metal grill that covers the actual speaker (Phillips x 4). Gently remove the black foam padding and set aside for later. 3. Lift up the speaker. It's possible to undo the quick disconnects in case you plan on reusing the stock radio. After 30 seconds of frustration, I snipped them. 4. Remove stereo as per pizzachef's guide. 5. Once everything is out of the way, the fun starts. I depart slightly from the other How To at this point. 6. Trim away the front edge of the speaker well. A Dremmel tool and pliers work well here. What metal you can't cut, you'll have to bend out of the way so the speaker will fit. You might want to leave the front mounting holes in case you ever want to revert back to the stock radio/speaker set up. You *will* get metal dust and filings everywhere. 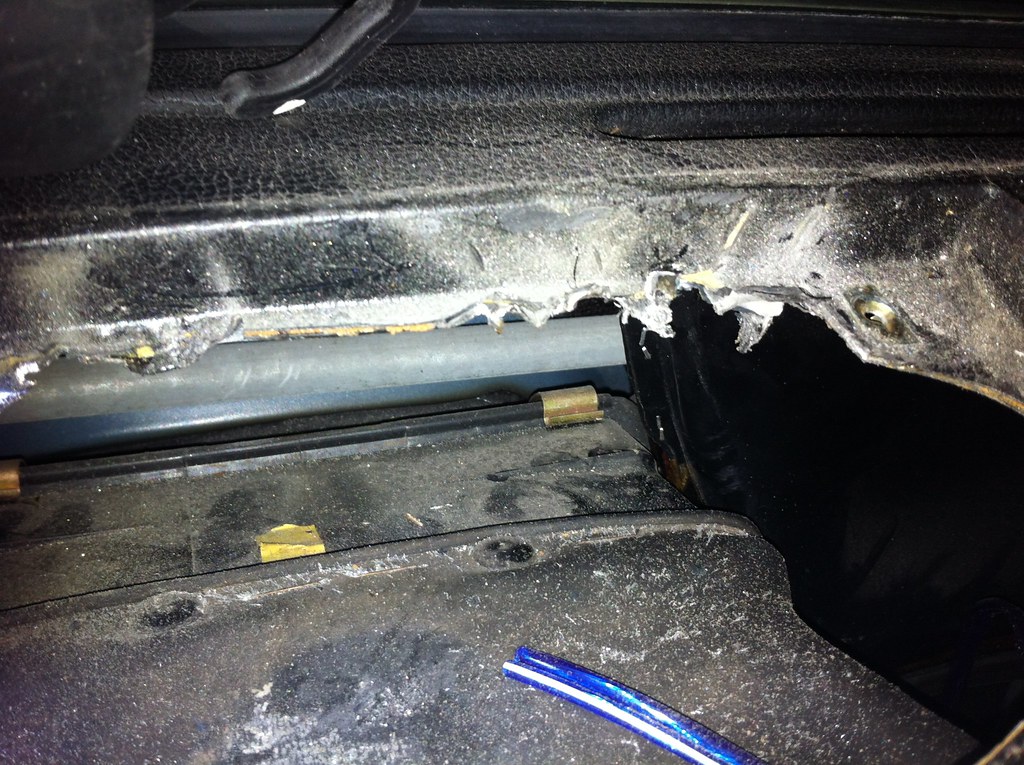 7. Test fit and retrim as necessary. 8. Wrap the sticky foam that ships with the speakers around the base, just under the mounting brackets. This is to help minimize buzzing later. 9. Run speaker wire, crimp your connections, and attach to the speakers. Ensure the polarity is correct! 10. Attach each speaker to a bottom mounting hole. I used two rubber sided washers to shim mine in place. You can use the stock mounting screws here. This is also a good time to reinstall the two remaining screws that held the original speaker in place. Although they serve no purpose, how best to store them for future use than in their original location? 11. Gently bend the tabs up on the remaining mounting brackets. 12. Using a small drill bit, create a starter hole in the front portion of the dash. I angled mine down to avoid puncturing the defroster ducting. 13. Screw in self tapping metal screws to hold the speakers in place.  14. Remember that styrofoam packing that shipped with the speakers? How about spray painting it black and stuffing it in the holes around the speakers? This should somewhat separate the top and bottom portions of the speaker cones to create a better sound...or so I read. 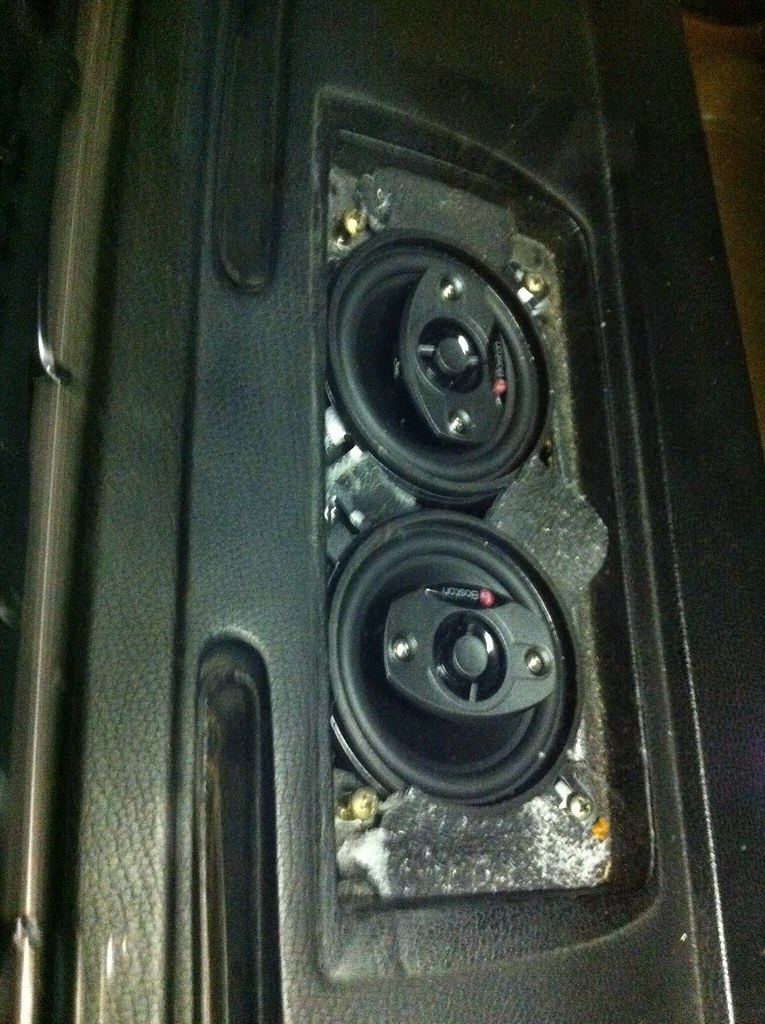 15. Place the black foam padding that you set aside earlier atop the speakers. This will help pad the speakers should they vibrate against the grill. It will also hide the speakers so they won't be an eyesore.  16. Reattach your speaker grill. If all went well, it should fit flush. 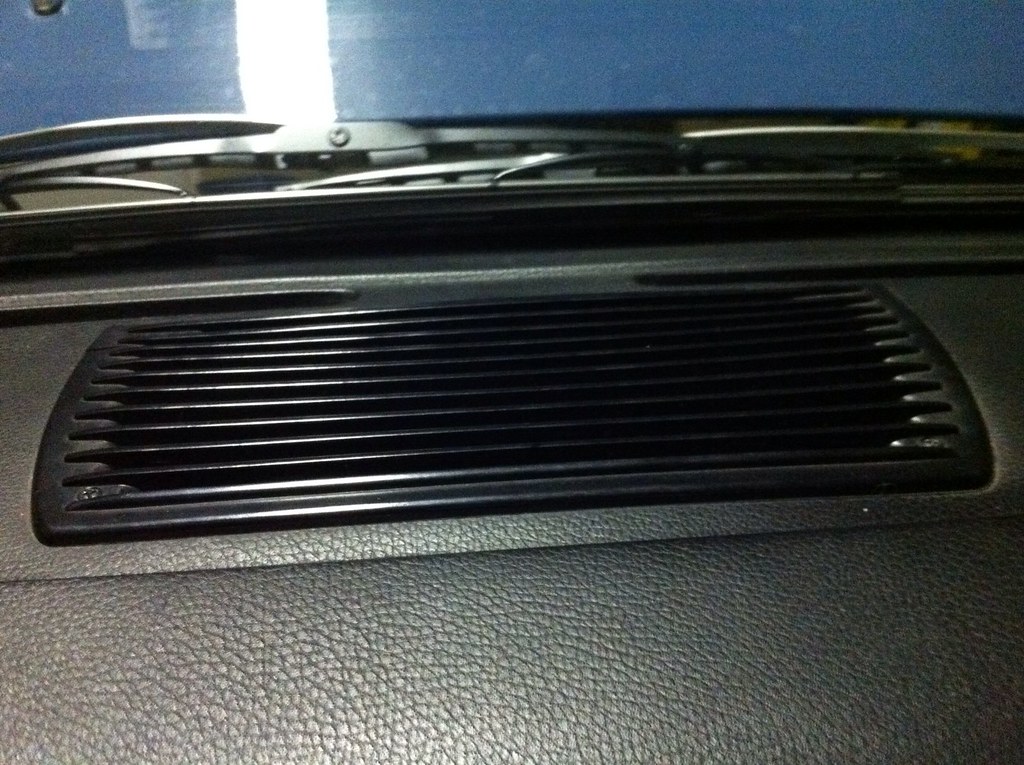 17. Connect the speakers to your new deck if you're stopping here. Otherwise continue on to rear seat and rear deck speaker ideas.
__________________
1974 240D "Boldie" 170K.- New timing chain/freshly rebuilt IP/replaced valve seals/injectors/upgraded stereo/new Bilsteins with Yokohamas/fresh paint and rocker panels plus lots of welds. 
|
|
#2
02-02-2012, 02:50 PM
|
|||
|
|||
|
1. I had to remove the rear seats, seat belts, and carpeting on the rear deck. To remove the seat belts, I dusted off my pass through racket and socket. I bought them with an Xmas gift card several years ago on impulse. Now that I finally had an occasion to use them, I'm glad I did. It would have been a slow going, perhaps rear glass cracking evolution trying to wedge a regular rachet in place.
 2. You'll notice that my W115 had 3 knockouts in place. Two are on either side and can accommodate ~ 5" shallow mount speakers and there's one center speaker knockout that matches the in dash mono speaker.  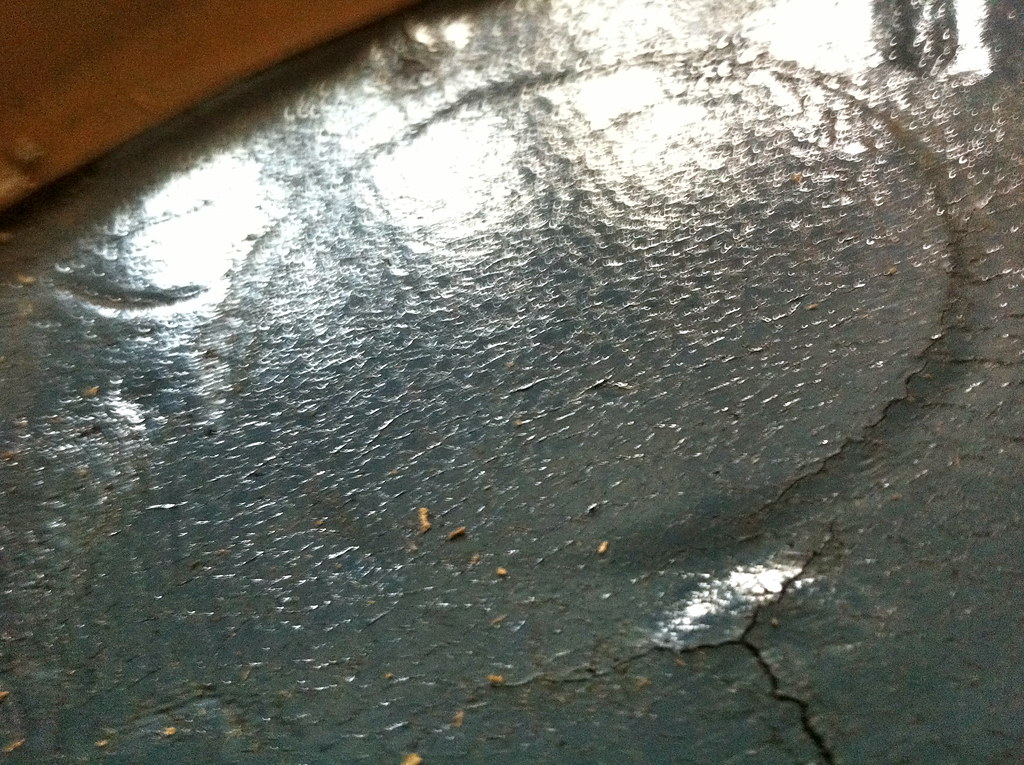 3. The reason that I choose the undermount option is pretty obvious. Not only do the 6"x9"s look horribly out of proportion for the car, they're also saying "Hey, look at me! I'm a set of expensive Infinity reference speakers. Don't you want to break the glass and take me home with you?" As I mentioned above, because of structural framing beneath the deck you cannot move these speakers outboard and farther away from each other. This is about as much separation as you can get. 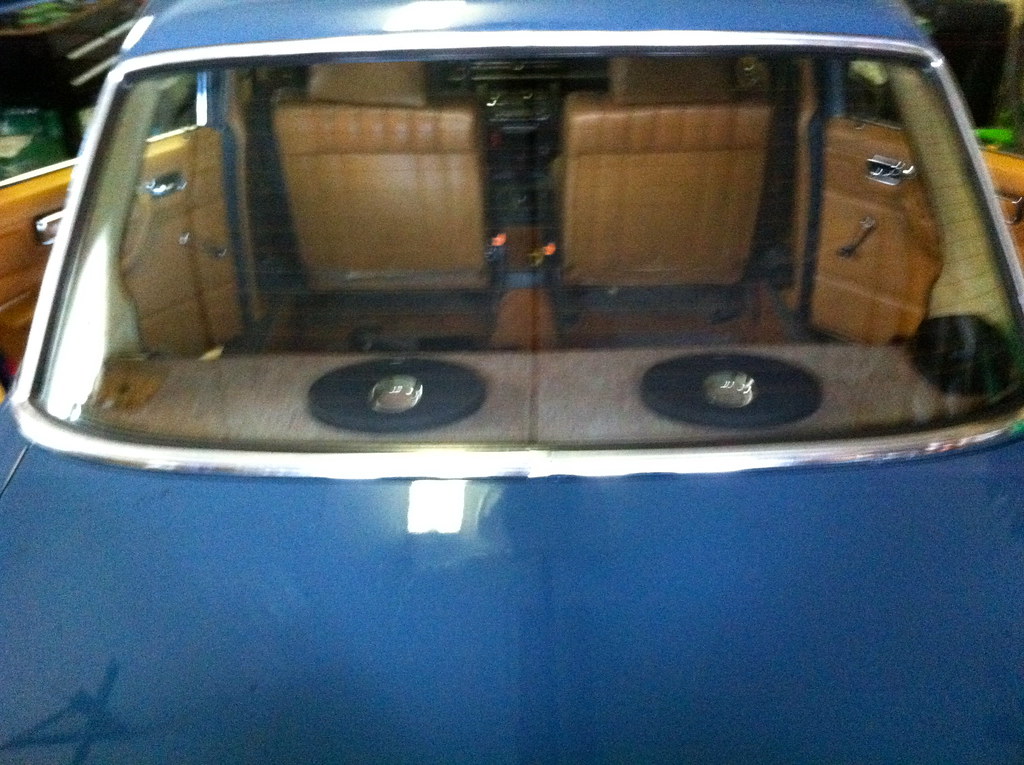 4. Once everything was removed and I'd measured twice, I marked my cutout for the 6x9s on the deck and drilled a starter hole for each speaker. Using my jigsaw and a metal cutting blade, I started cutting the rear deck. Because of the rear glass, I was only able to cut about 70% of each hole from the top. I had to cut the remaining bit from the bottom. Using the same pattern, I cut out two 6x9ish wooden spacers and then cut the middle portion out to actually accommodate the speakers. Measure several times to make sure you got it right. Too large a spacer and you won't get it to fit because of the framing beneath the deck. Too small and you can't get a screw through it when you mount the speaker. I also wrapped two layers or electrical tape around my spacers. Not only does it make it look slightly less ghetto, but provides some dampening to minimize any speaker buzz later. Also, note that you will bust off no small amount of the spray on sound dampening material. It goes without saying to be careful to avoid metal shavings. If you don't line your trunk with newspapers or something, you'll be vacuuming them up for a week. 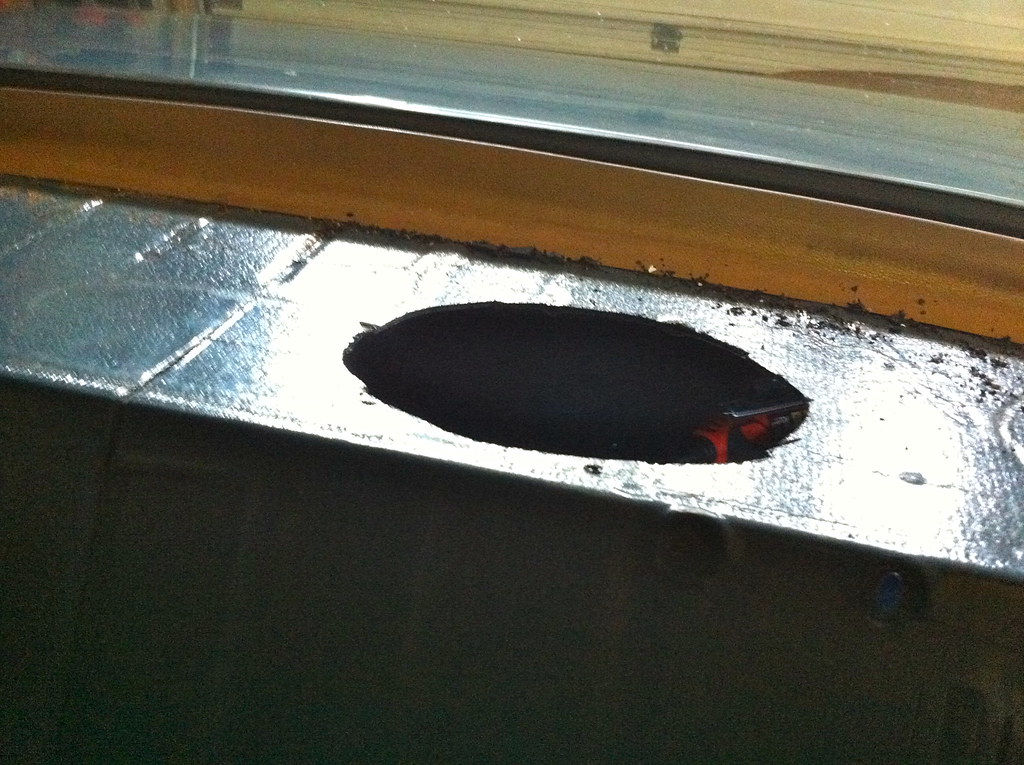 5. I had to drill four carefully measured mounting holes for each speaker. I lined the speakers up on their new spacer and drilled slightly into the wood with a small bit. Once the holes were started, I set the speaker aside and held the spacer in place with one hand, while drilling up through the metal with my drill hand. There are probably other ways, but this was the quick way to do it by myself. Once I had the starter holes, I attached a larger bit to drill the actual sized holes I needed for my mounting bolts. You'll need to buy separate bolts for this. The regular mounting screws that came with the speakers were meant for top mounting and weren't long enough to penetrate the metal, the spacer, and still have enough thread to get the nuts to bite. Speaking of tightening...that's a two person job - one to hold from above and one to tighten from below. Also, make sure you use washers and apply liberal amounts of spot torque (that is, tighten until you see spots). You don't want to have everything back together only later to have the speaker work loose and start buzzing. 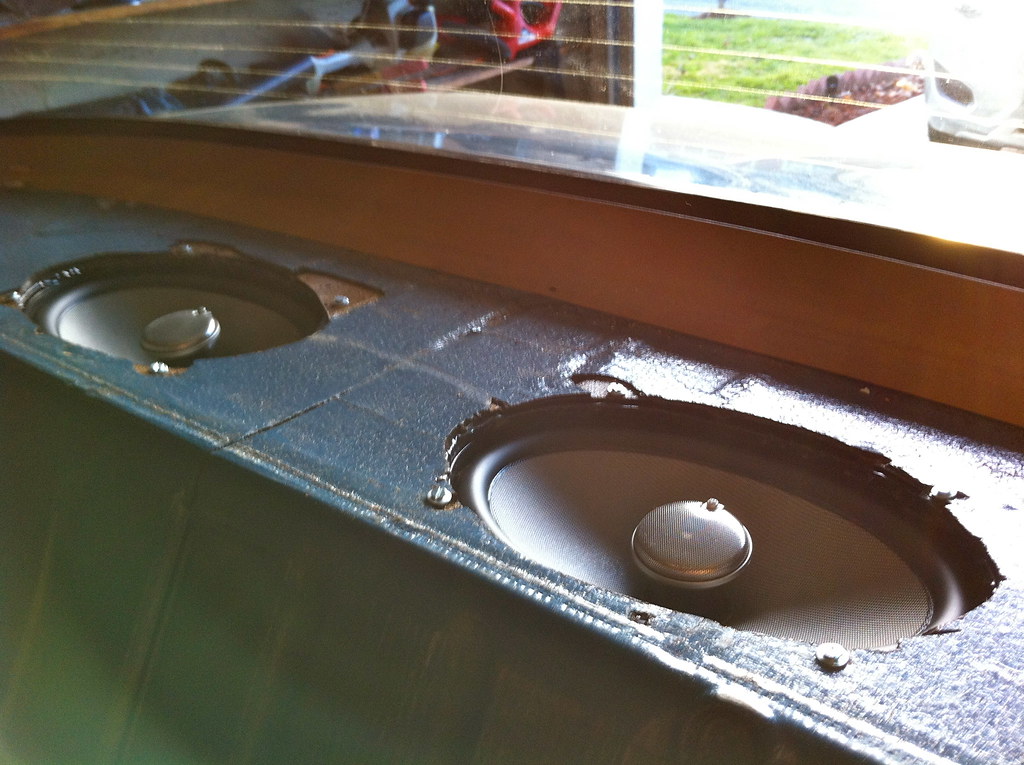 6. Next, I drew a rough outline of where the speakers were onto the particle board backing on the carpet and gently drilled holes to allow for air to move from the speakers outward. Initially, I didn't want to risk ruining the carpet this way. However, the sound was so muffled that it was a waste of even mounting the speakers to begin with. However, if you go slow it's entirely possible to drill the holes large and deep enough to remove the particle board, but not damage the carpet on the other side.  Notice that there's knockouts in the carpet for factory deck speakers. 7. Now you see them, now you don't. 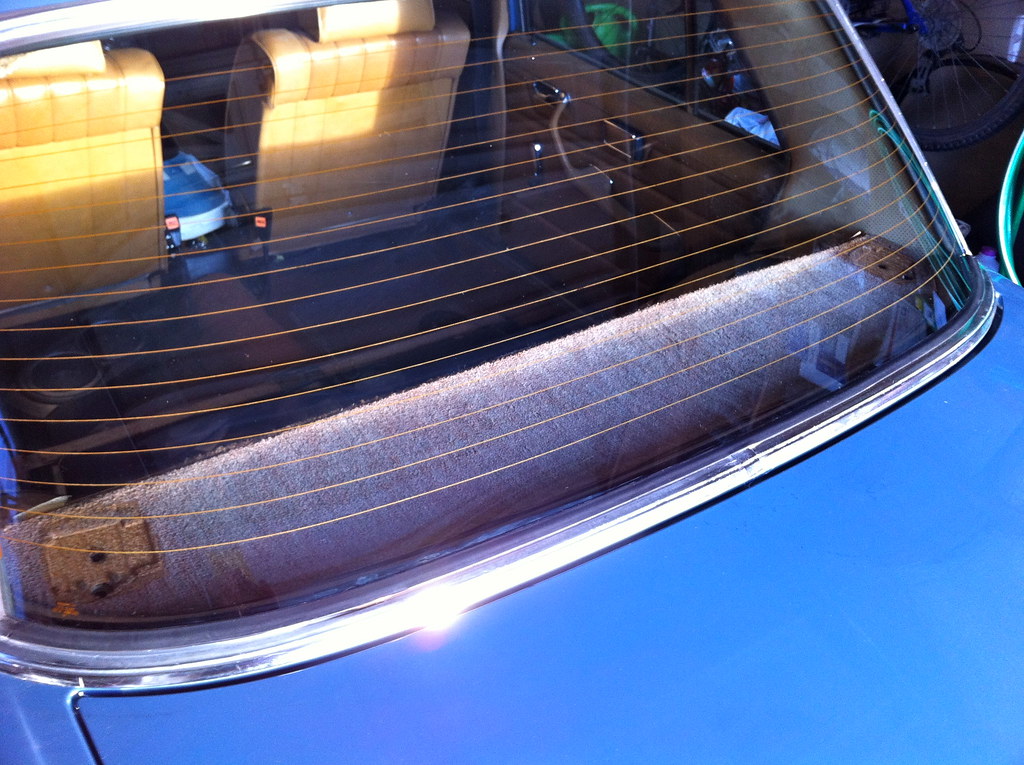 8. Up next were the speakers in the rear footwell. They were a breeze compared to the rear deck. As you can see, speaker selection is key here. Too large and the rear hump will interfere with mounting. There are 4" Infinity Reference Kappas. Even with a 1" spacer, they were a snug fit.  Even though these are 4" speakers, I only needed a 3 and 1/2" hole saw to cut into the metal. Make sure you read the manufacturer's tech specs for any speakers you might want to use...preferably before you purchase. These sorts of dimensions are vital to getting a good fit and minimizing headaches later. As a note, I could have went with 3 and 1/2" speakers, but it was difficult finding any that came with grille covers. That's important if you have passengers riding in the back. 9. Everything back in place.  I could have used my Drimmel tool to cut both the 6x9s and these 4" speakers. But that would have taken all day and I tend to break cutting disks. So it was cheaper for me to buy a hole saw bit. It also went much, much quicker. As a word of caution, however. Even though a hole saw can cut metal, they don't like to. My drill attempted to twist out of my hand with each pass. Also expect more shards of metal to fly everywhere. Eye protection is a must!!! Once the holes were cut out, I made my spacers. Because I felt that aesthetics were important here, I didn't use plywood or particle board to make them. Either of those will chip and splinter, leaving an unsightly finish. Instead, I cut them from solid pine with my jigsaw, then placed them in a vice. Using my 3 1/2" hole saw bit, I drilled out the centers. Because of the still rough edges, I used an orbital sander to polish the outsides until it was smooth. Once it was cleaned off, I coated each with some spray on rubberized undercoating. This gives is a professional look. Note that any roughness in the wood will be *very* noticeable after you apply the paint. Despite my best efforts there's a few flat spots in my spacers. I were to do it over, I would have bought a 5" hole saw and mandrel to create the rough spacers instead of using the jigsaw. It would have been much quicker and created a more circular spacer. Installing the spacers and speakers was pretty straightforward at this point. With assistance from my holder (read: wife), I used self taping metal screws to anchor the speakers to the spacer as it bit into the metal of the seat frame. I attached the grill covers and viola! Well...not quite. You'll still have to clean up.
__________________
1974 240D "Boldie" 170K.- New timing chain/freshly rebuilt IP/replaced valve seals/injectors/upgraded stereo/new Bilsteins with Yokohamas/fresh paint and rocker panels plus lots of welds.
|
 |
| Bookmarks |
|
|


 Linear Mode


