

|
|
|
|
|
|
#1
 02-21-2009, 04:44 AM
|
||||
|
||||
|
87 300D center vent pod replacement
I posted a writeup on the recirc and defrost pods - 87 300D recirc and defrost pod replacement
Here's my take on replacing an 87 300D center vent pod. I just replaced a perfectly good pod, but everyone says to replace the pods when the dash is off. Like a lemming, here's how I did it - 0) You'll note through the progression of pictures that the heater core fins take a beating through this job. The heater core remains intact despite liberal use of screwdrivers and other sharp objects. I strongly recommend cardboard or plastic card to protect the heater core while replacing the center vent pod. 1) I don't mean to pull a Haynes on you but you have to remove the dash. No two ways about that. I have a thread on that here - 87 300D dash replacement 2) Remove the top cover of the airbox. This documented later in this thread. Skip to post 15 - 87 300D center vent pod replacement. 3) Where is the center vent pod? It's inside the airbox, of course. Follow the upper red line from the right of this picture - 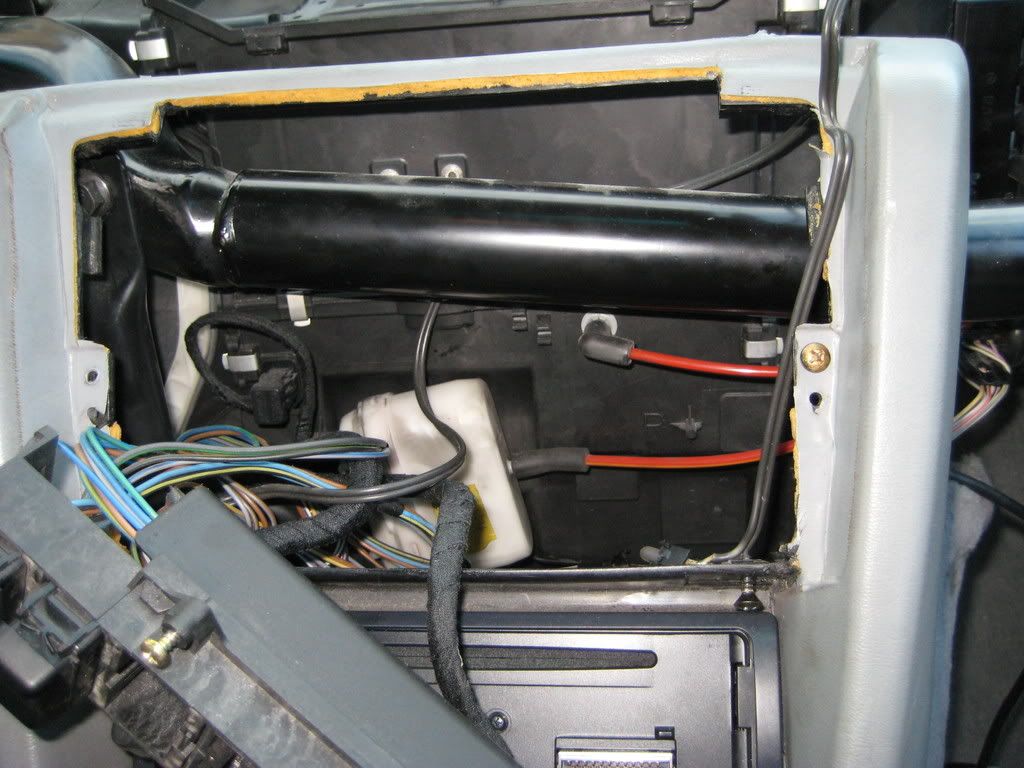 The elbow goes through the airbox wall to another eblow inside the airbox. The 2 rivets you see just above the black pipe going across the dash area hold a bracket that holds the center vent pod. Nothing to do in this step beyond getting oriented. Note the electrical connector with the looped pigtail to the upper left of the white plastic box (footwell pod). I had to do some work with that connector. If you find yourself in the same situation, there is a temp sensor at the other end of that connector. 4) Looking at the top of the airbox with the top cover off, you'll see a flap with a series of rubber rivets on the periphery. There is a white plastic pin holding an unseen actuator rod to the flap - 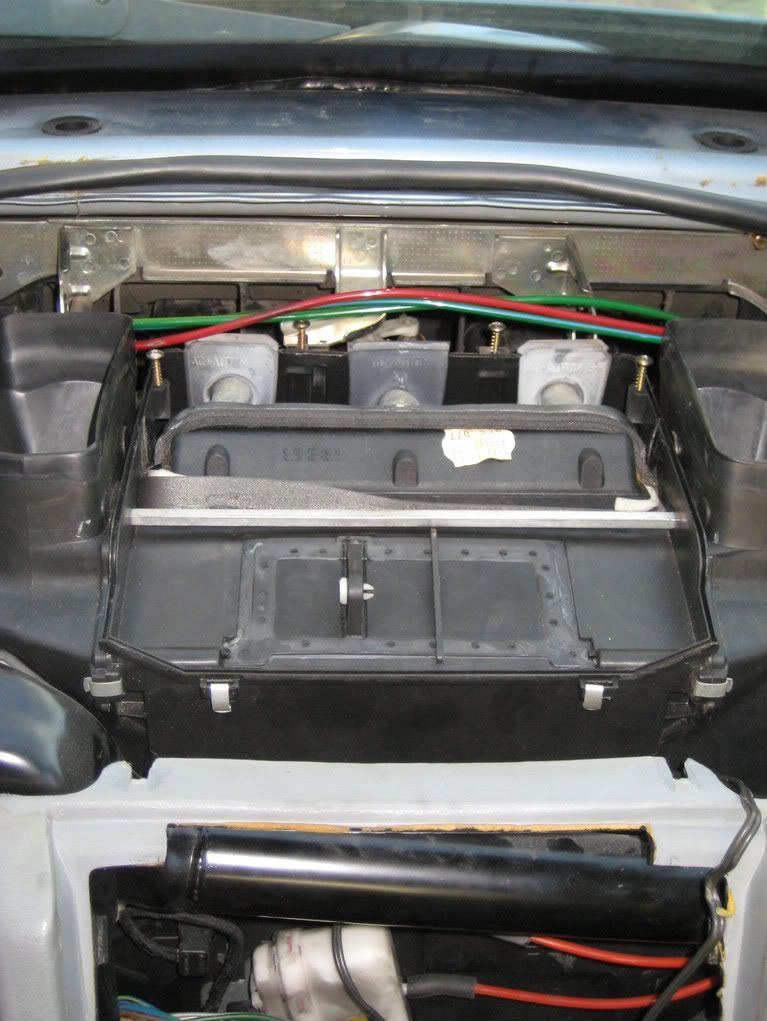 Push down on the flap to see the heater core and the center vent pod - 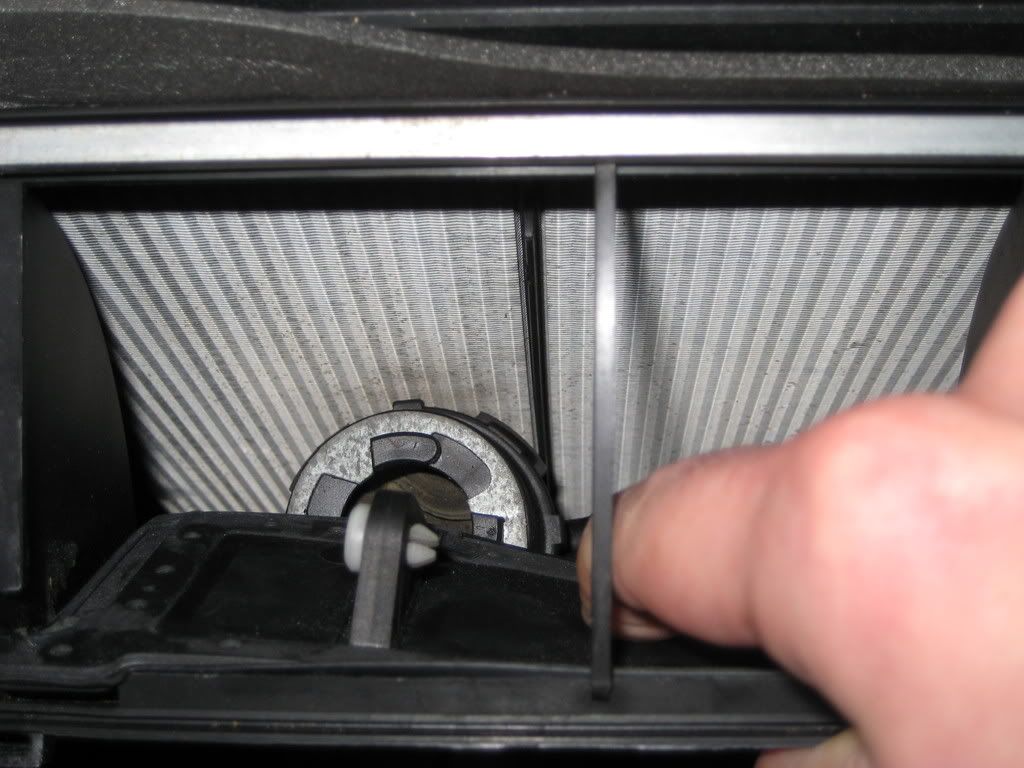 Fooled you, this is another orientation step  Now to work... Now to work...5) I used a small screwdriver to pry out and remove the pin as shown in this sequence - 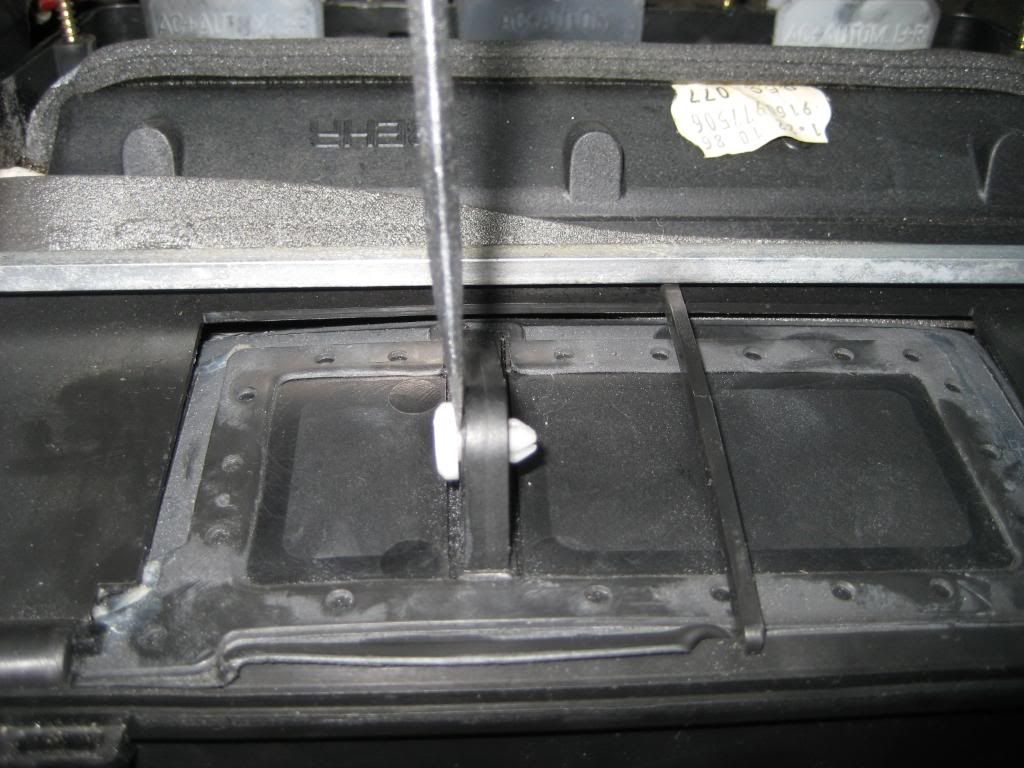 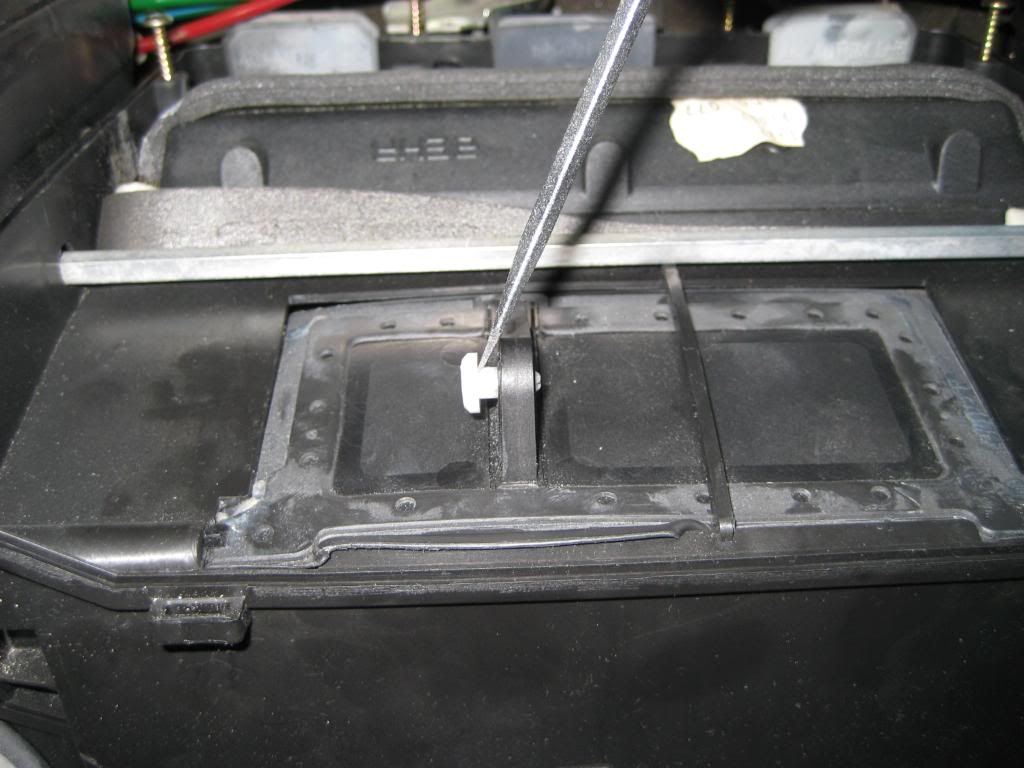 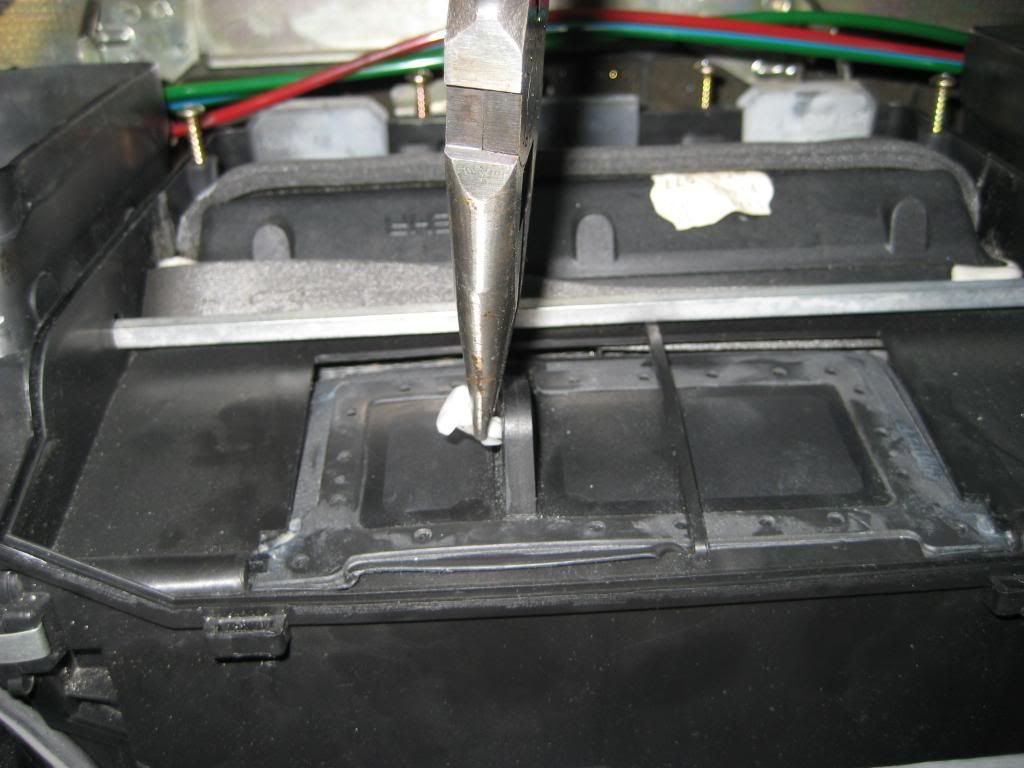 6) I used my hand to pry out and remove the center vent flap as shown in this sequence - 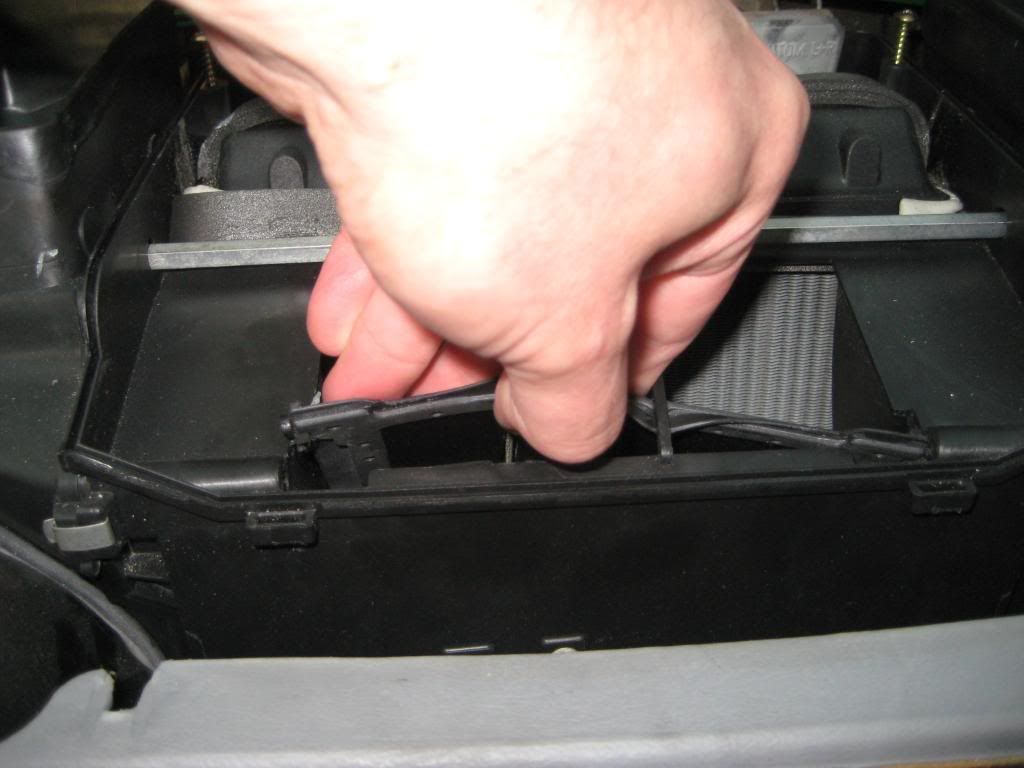 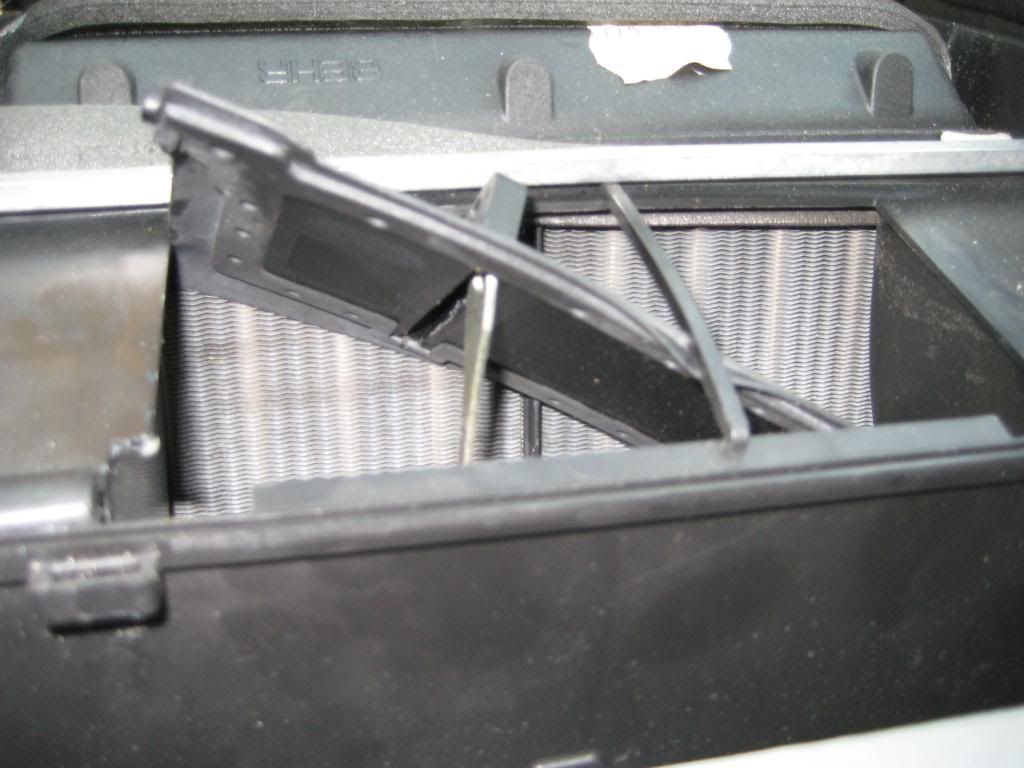 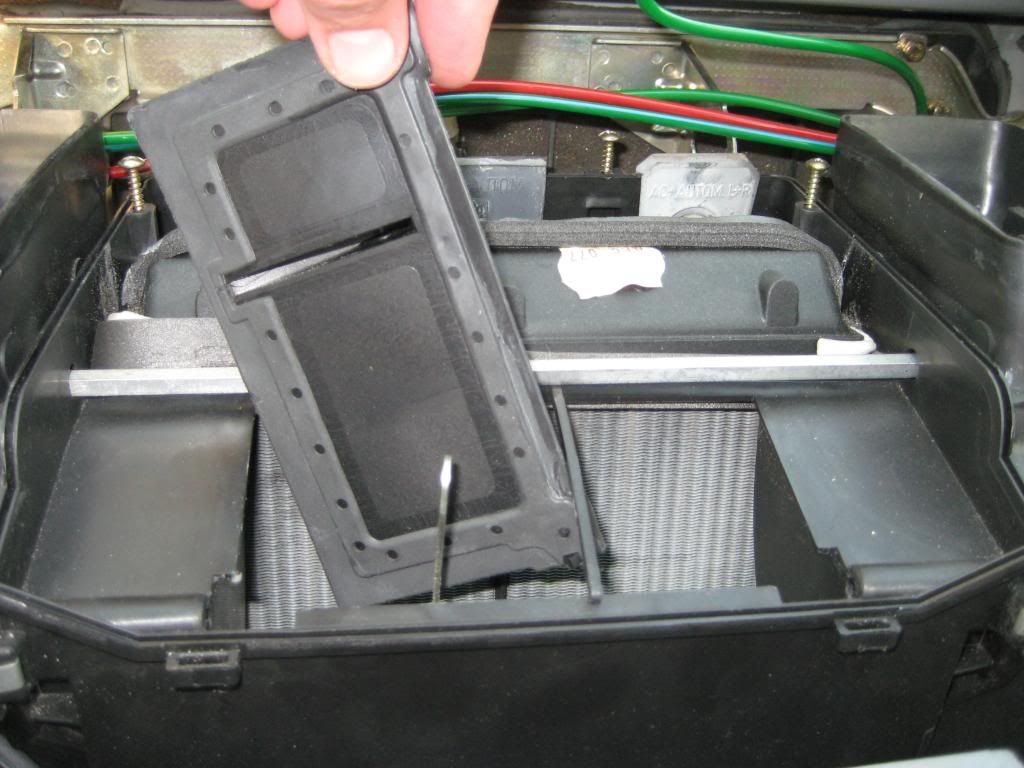 7) I used longnose pliers to remove the vacuum hose from the pod. Fortunately it didn't require twisting like the recirc and defrost pods did. Here's the sequence - 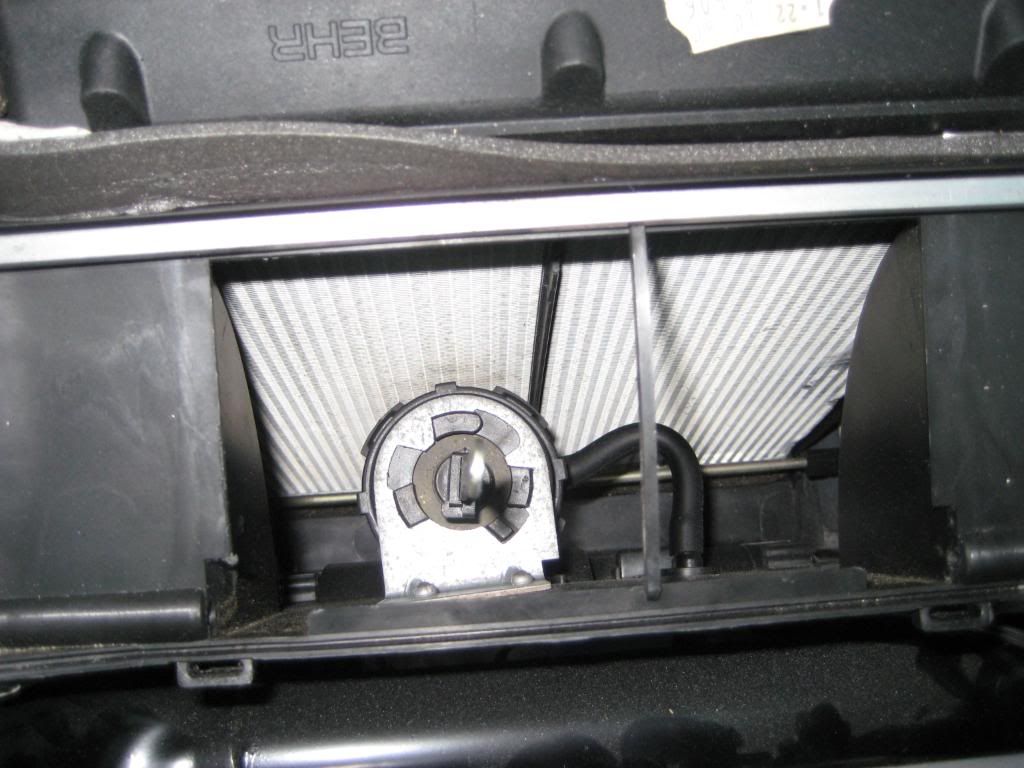 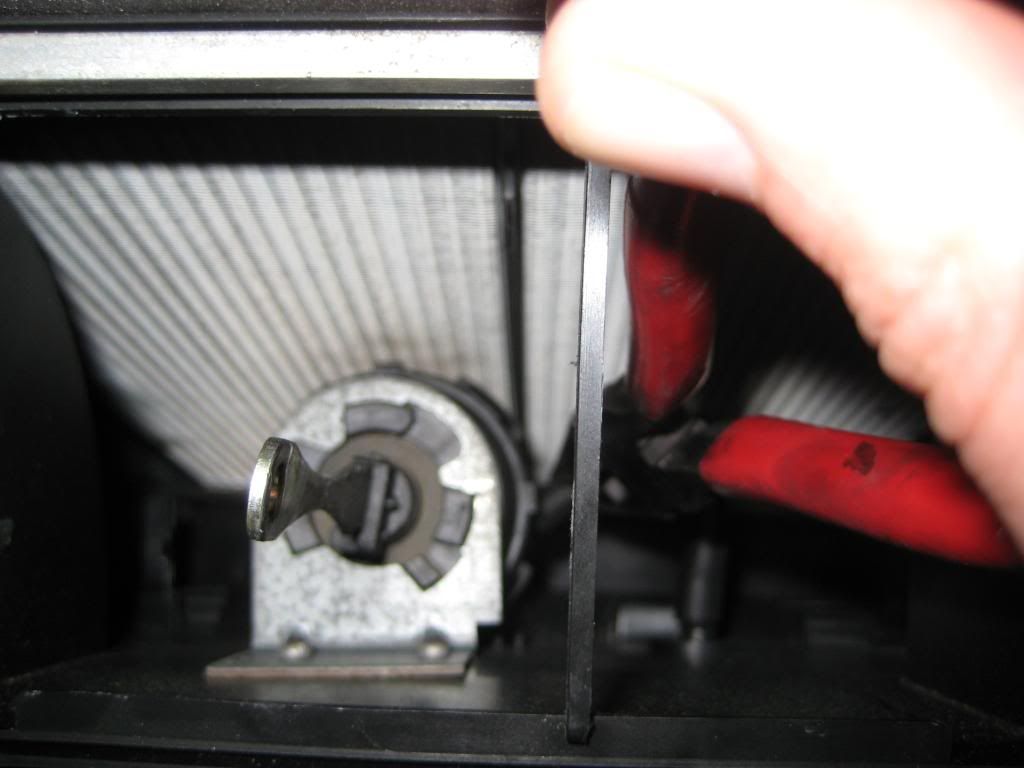 8) The pod is bayonet clipped to the bracket. A CW turn aligns the pod clips with slots in the bracket. Note an extra locking tab at the 5 o'clock position - Push down the locking tab then turn the pod clockwise so the tabs align with the slots. I used two screwdrivers simultaneously (but I couldn't hold 2 screwdrivers and a camera hence separate pictures); one to push down the locking tab, one to push on another tab to rotate the pod - 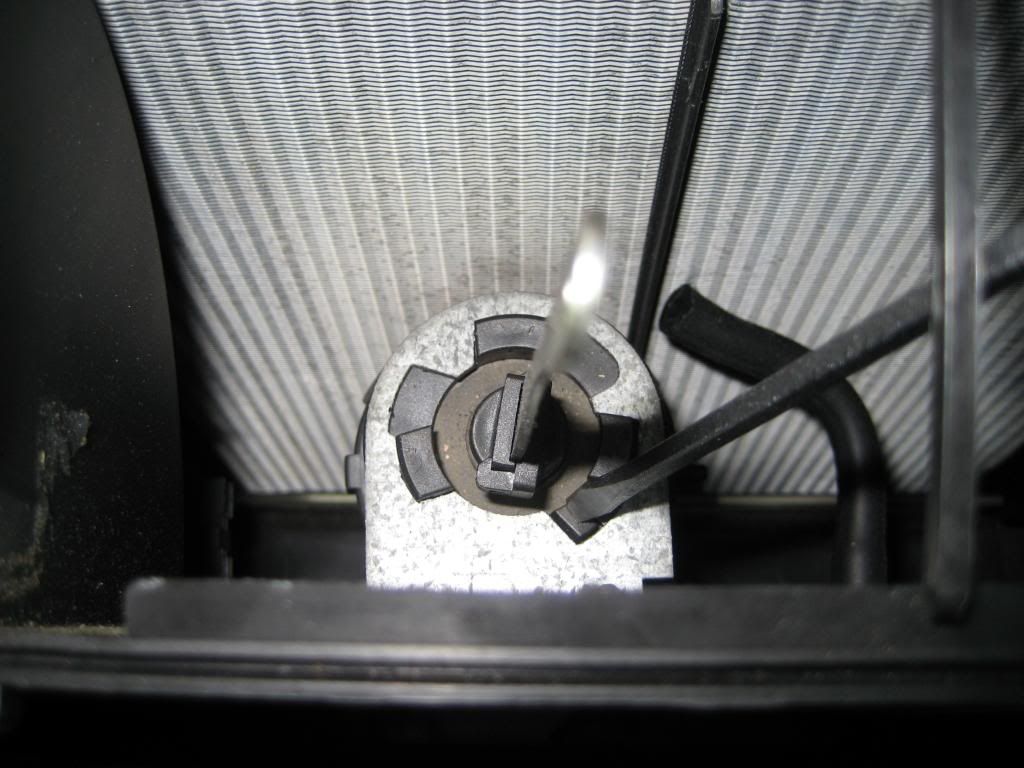 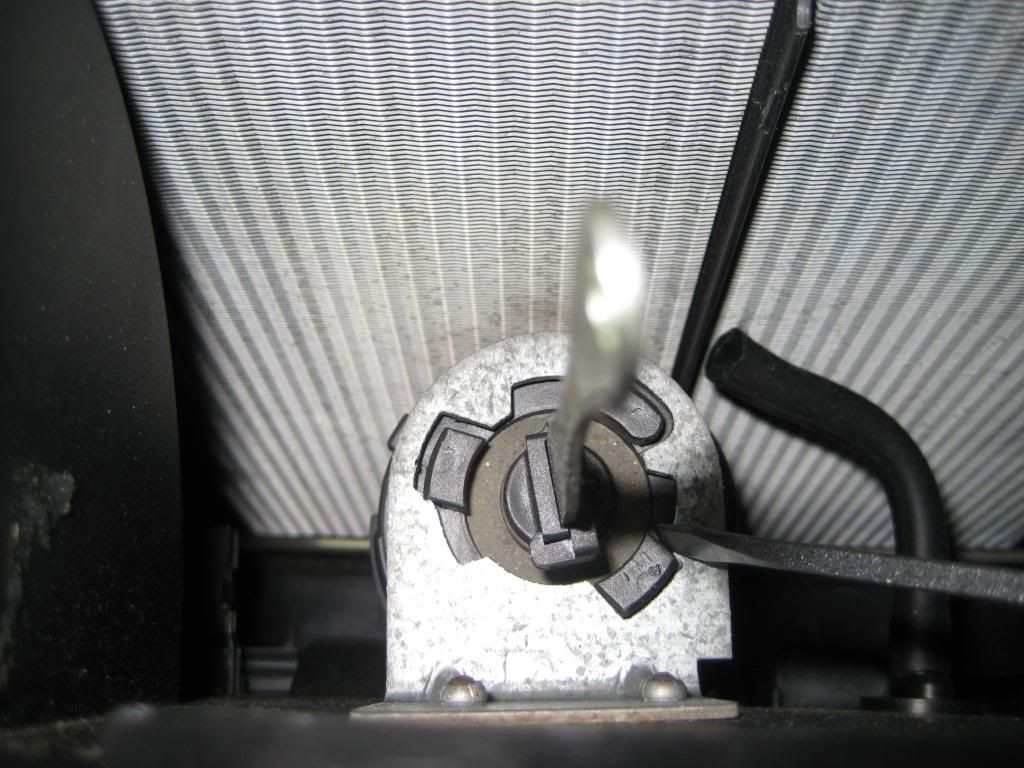 The pod should drop from the bracket on its own or with a little push. 9) I found it easier to maneuver the pod with the temp sensor described in step 3 out of the way. Removing the temp sensor is shown in this sequence. Key to removal was my custom Stanley flathead screwdriver prybar. I forget how I came to bend this screwdriver but it is an indispensible member of my toolbox as is - 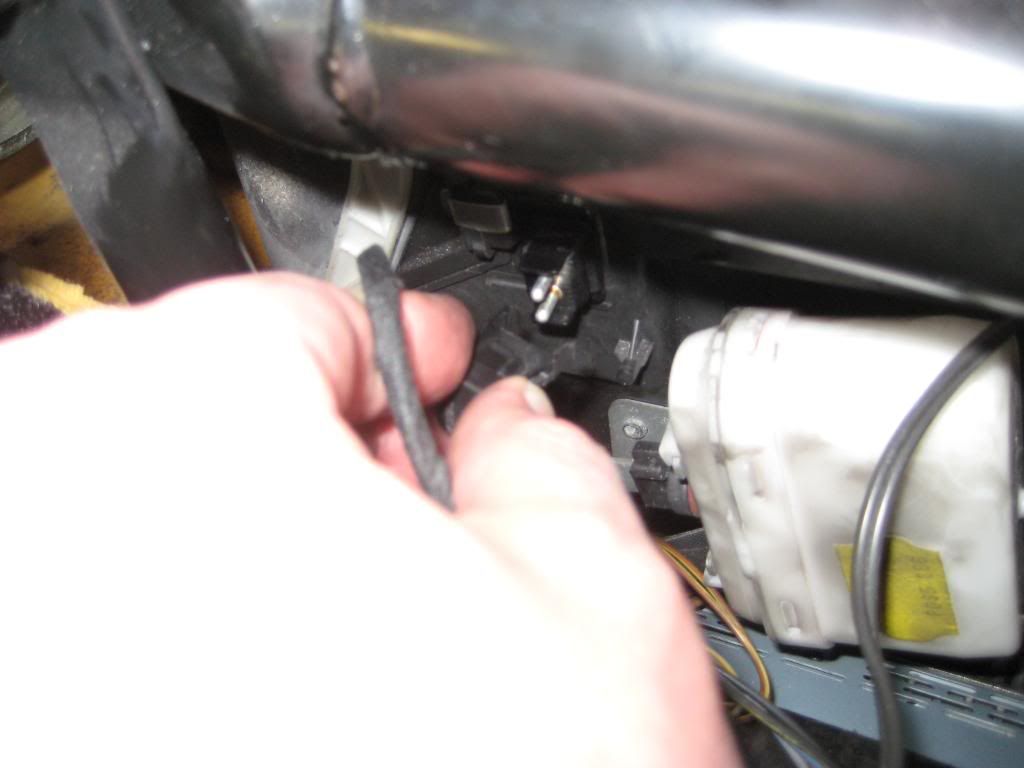 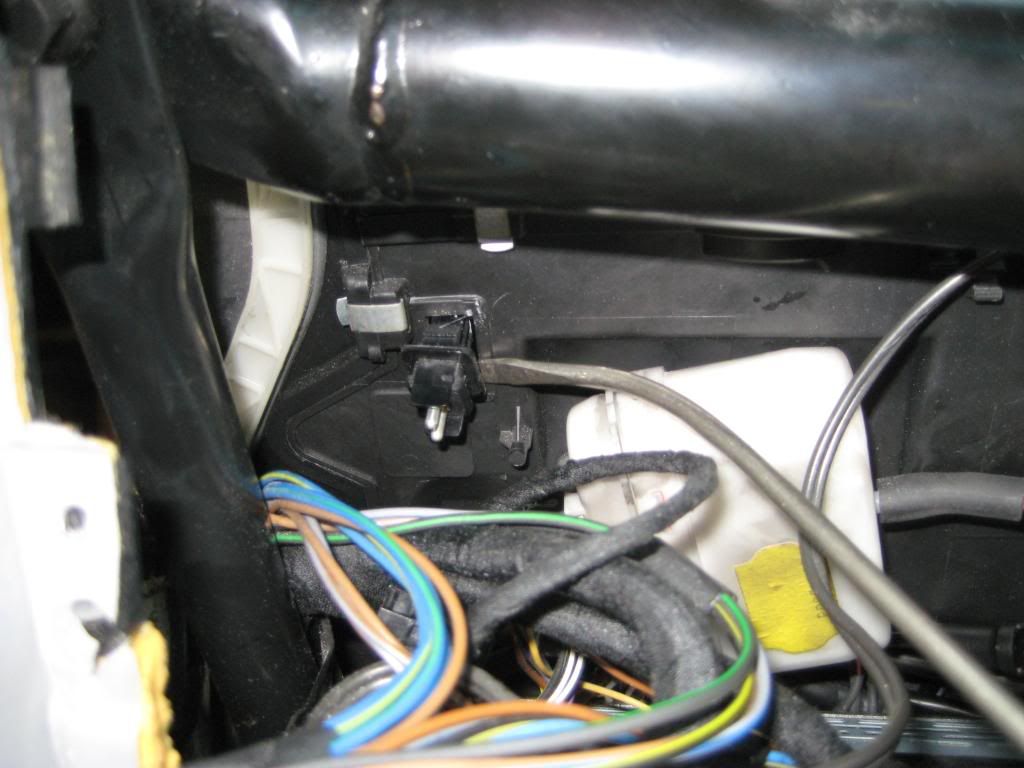 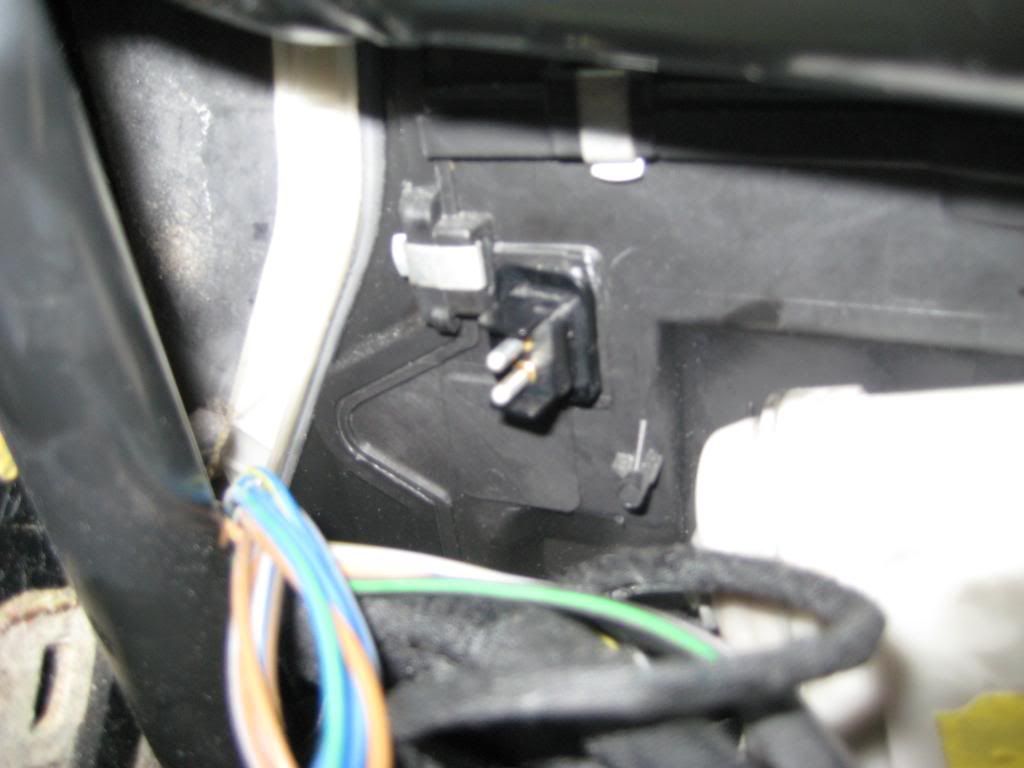 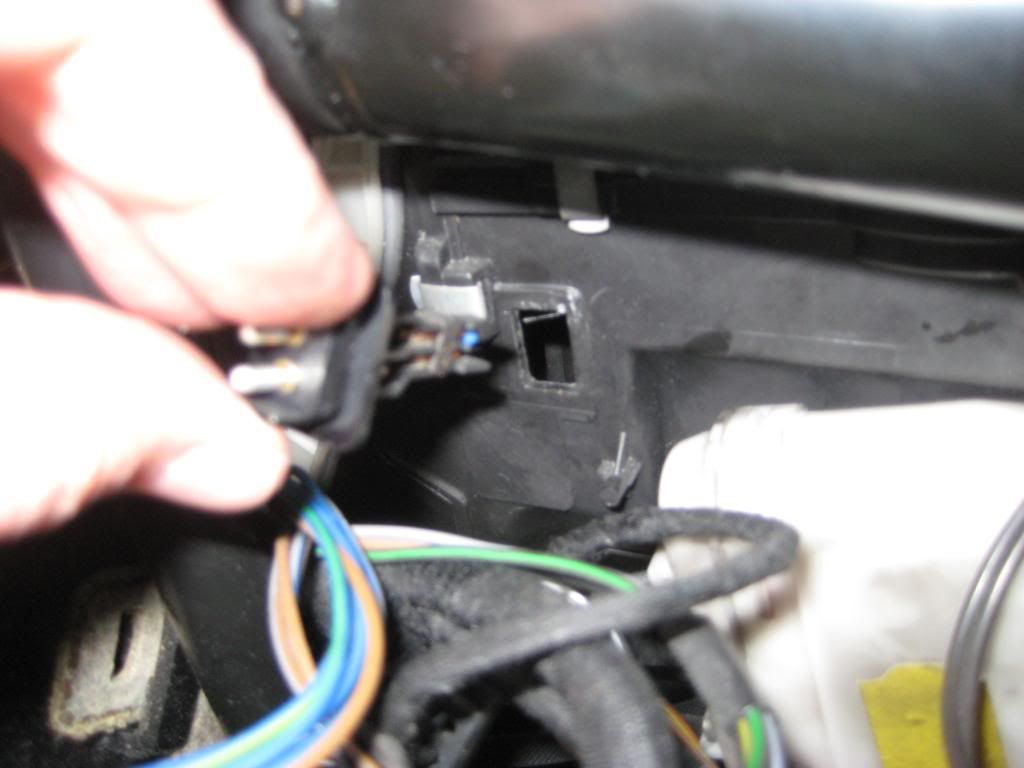 I don't remember how I noted the original orientation of the temp sensor but I know I put it back the way it was originally installed. 10) Words can't adequately describe how to remove the pod from the airbox and I'm sure there are lots of ways to do it. Here's what worked for me. I sent the pod into the cavity towards the driver side where the temp sensor used to be. I had to push the actuator rod into the pod at some point to clear the bracket - 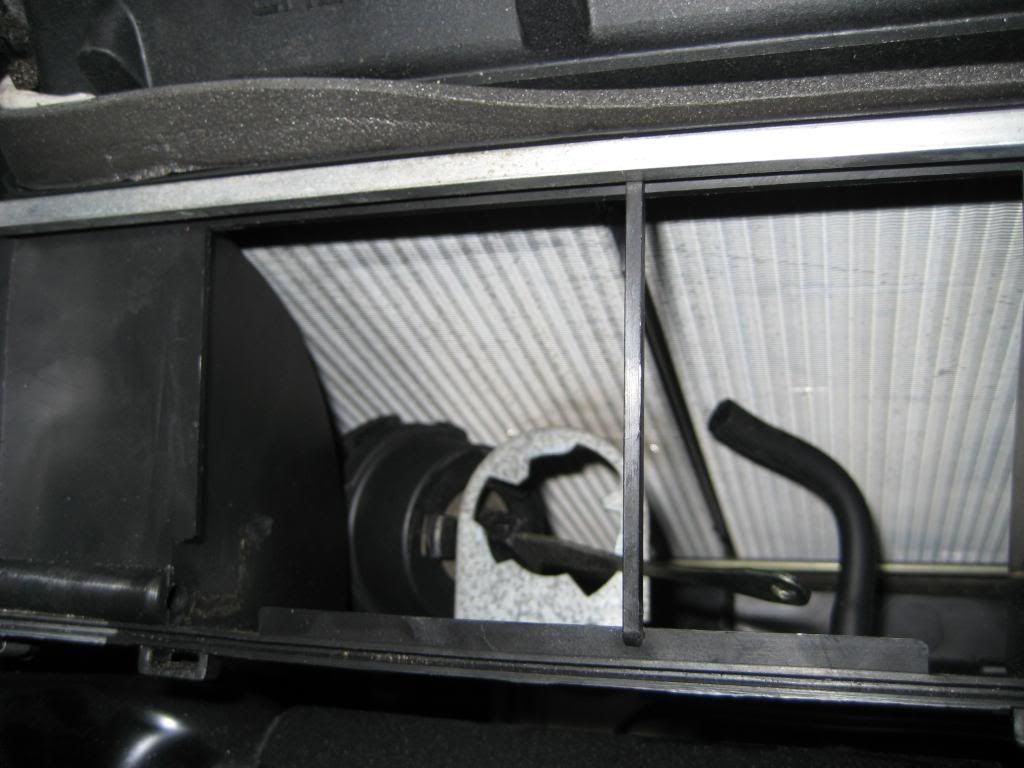 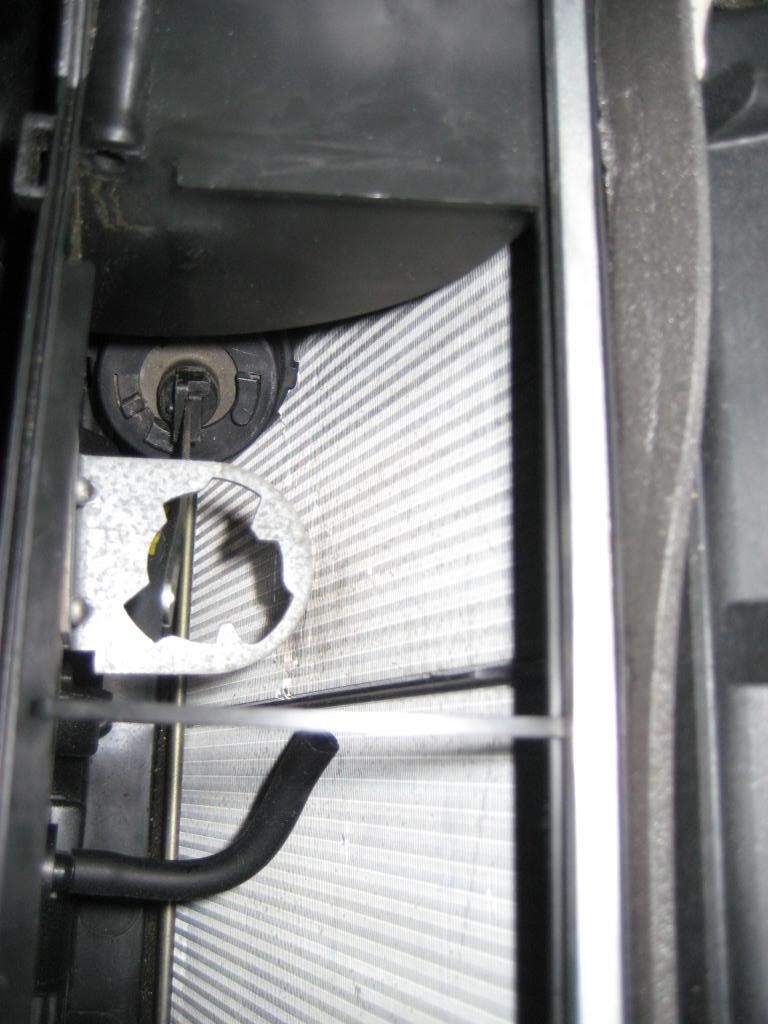 Then I drew the pod to the passenger side - 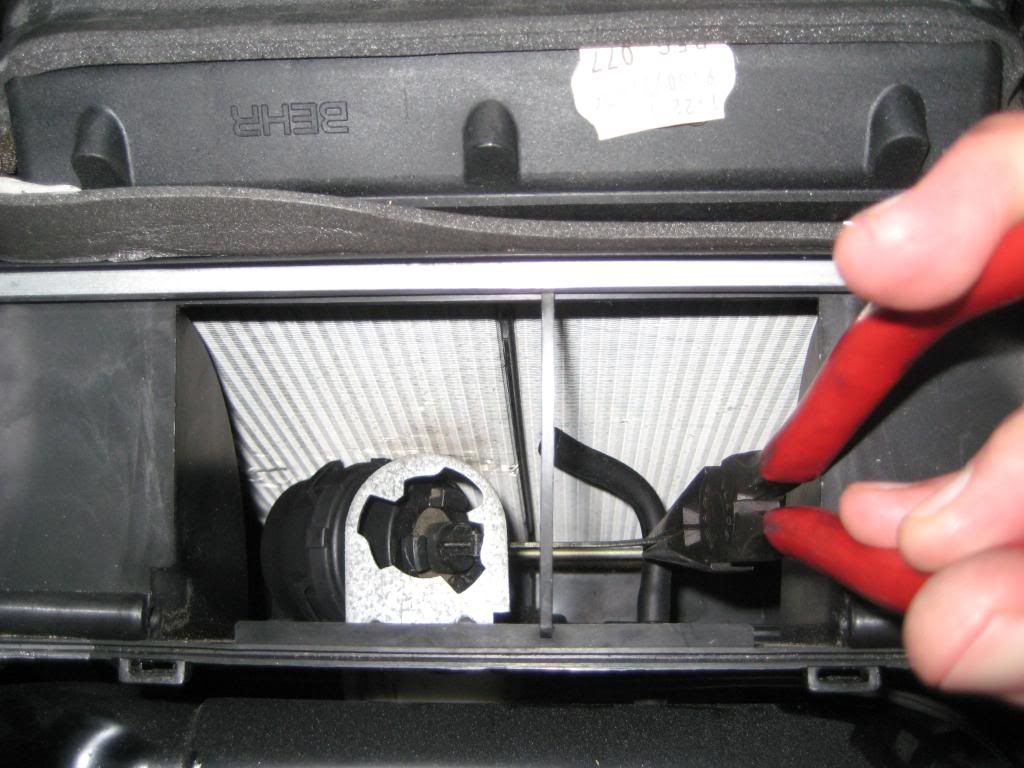 Then I got the pod over the bracket - 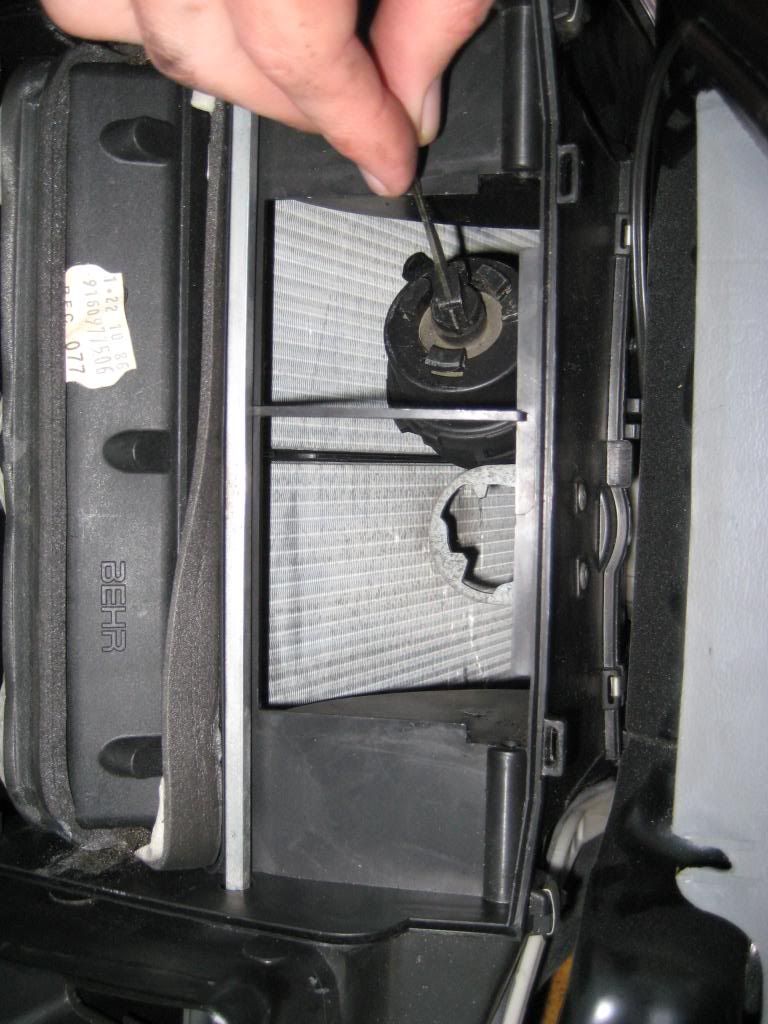 Then I got the pod right under the driver side of the flap opening - 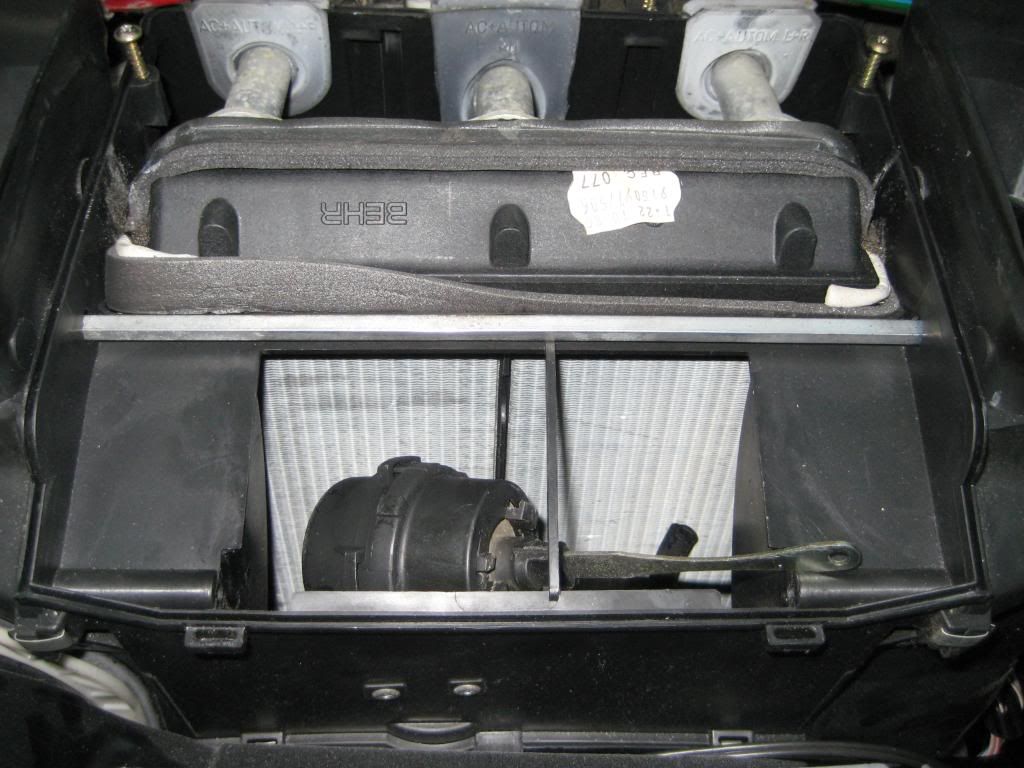 Then I pushed in the actuator rod again to extract the pod from the airbox vacuum chamber first. Voila -  To be continued... Sixto 87 300D Last edited by sixto; 03-01-2009 at 06:14 PM. 
|
| Bookmarks |
|
|


 Threaded Mode


