

|
|
|
|
|
|
#1
 01-15-2007, 02:49 PM
|
|||
|
|||
|
Replacing the brushes in a Bosch Alternator
...or how I fixed my alternator for dimes, literally. 1986 Mercedes-Benz 190E 2.3L 8V The car started acting up while driving, the ABS light illuminated, the radio reception became poor and the lights dimmed. Shortly thereafter the engine sputtered to a stall. After the car was towed home on a rollback, I found the battery was dead. The alternator must have stopped charging, forcing the car to drain the battery in order to run. If instead the battery had died while driving, the alternator probably would have kept the car running. Since my wife needed to use my truck now, I had to ride my bike on a 5-mile round trip to pick up the new brushes. Being low on cash, I raided the piggy bank for dimes and quarters, and paid for the new brushes with 22 dimes and got 8 cents change. The alternator appears to be the original 1986 equipment. To keep costs low, I decided to avoid replacing it if possible. I priced out voltage regulators, and did some research. I decided to just replace the brushes in the voltage regulator. Here is what I did: Disconnect the battery negative cable for safety. Start by removing the heat shield and then the plastic cover on the back of the alternator. 8mm bolts, 3 long and one short. Don't lose the spacer sleeves between the plastic cover and heat shield. There are three. 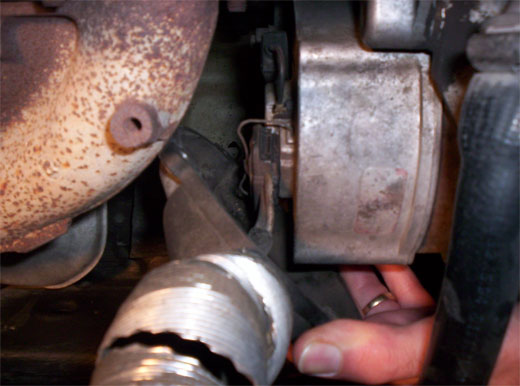 The regulator cannot be seen in the photo above, it is mounted on the bottom rear of the alternator, held by two flathead screws. You can unplug the connector on the alternator if needed (I wound up disconnecting it later during regulator reinstallation so I could see better). The connector is retained by a small wire which flips down once pried out slightly. Then carefully work the connector off, prying with screwdrivers or small prybar to help get the connector off. 3 spade type terminals hold the connector on. Here is the regulator removed and cleaned up a bit: 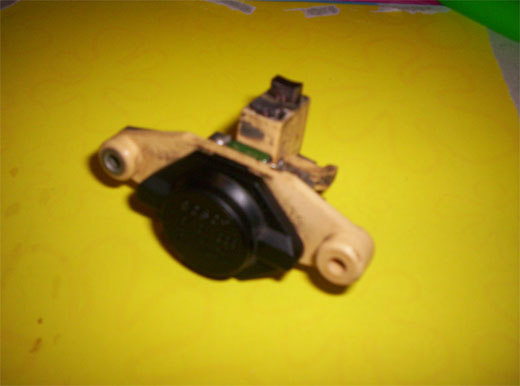 Note the brush length, no longer able to contact the slip rings of the rotor.  The part number is 1197 311 009 (cross references to F4010-39368 new Bosch part #) 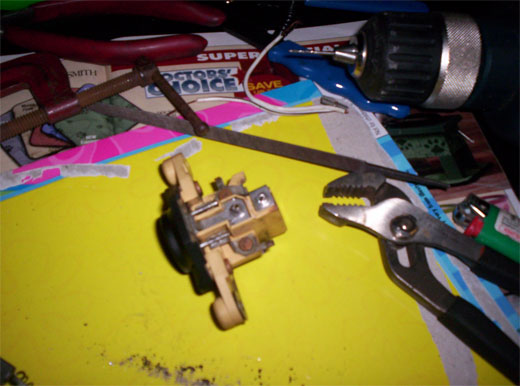 Here you can see the other side where the brushes attach. The wires of the brushes come through the two square tabs and are held in place by crimped sleeves and solder. To remove the old brushes, file the tips of the crimp sleeves flat then make a punch mark carefully to help center the drill. On mine, I tried two methods. First I tried breaking off the crimp sleeve, but found I still had to drill. So the second one I just drilled all the way through. A sharp drill bit would have made it easier, but my broken, poorly resharpened bit worked with some patience. 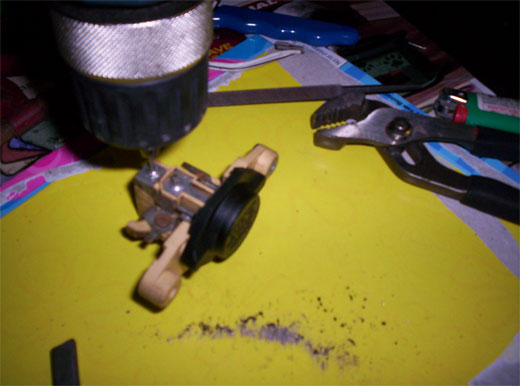 Drill out the old using 1/16 or smaller bit. I used 1/16 because it was all I had. It worked and left the holes slightly larger than necessary. A smaller hole will make it trickier to thread the wire of the new brush into place.. Remove the old brushes once the drilling is complete. A residual amount of solder might hold it in place, just pull it out. Then transfer the little white sleeves and the springs onto the new brushes. Last edited by bbarcher; 01-15-2007 at 03:01 PM. 
|
| Bookmarks |
|
|


 Threaded Mode


