The Padding Project on Power Seats:
This project is not at all difficult. You will need a few things to do this:
1) a #3 Philips head screw driver
2) some padding (I used carpet padding)
3) some 22ga picture wire (to make a grid to hold the padding in place
4) some electrical tape (to help secure the grid to the springs so that it doesnt go all over the place)
----
Step 1) Remove the Seat
Step 2) Put the seat on a suitable work space.
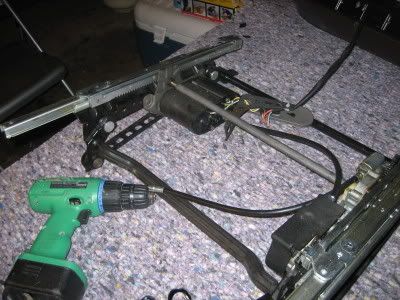
Step 3) There are three sets of large philips head screws that secure the rails to the bottom of the chair. In order to remove these you will need to be able to move the bottom of the chair up and down. This can be achieved by either powering up the chair [I am not sure specifically which pins are responsibe for what] or by attaching a drill to the end of the cable that runs to the gears. The cable that is responsible for adjusting this is the cable nearest the electical connector. You will need to remove the metal plate that holds all three cables into the motor. Once that is done u may slide the metal plate and remove the cable. Then put the end of the cable into your drill and run it until the first set of screws is visible. Be gentle with the cable do not run your drill too hard on it and do not apply too muc force on it when you put it into the drill. There is a set of screws at the top, in the middle (it will appear in a hole next to a green painted bolt) and one at the bottom.
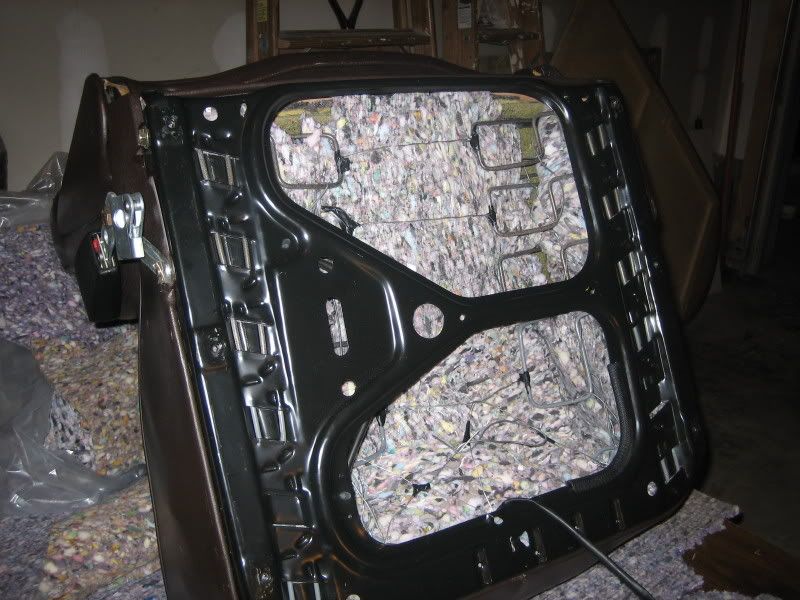
Step 4) Now that you have the power motors off the bottom of the seat you can begin to stuff your seat with the padding of your choosing. I used carpet padding because we had just installed carpet and there was plenty left over.
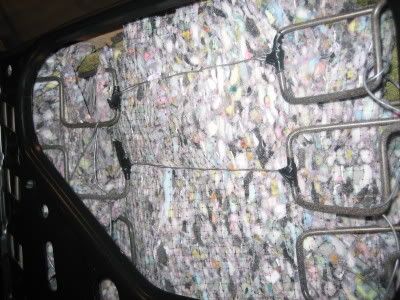
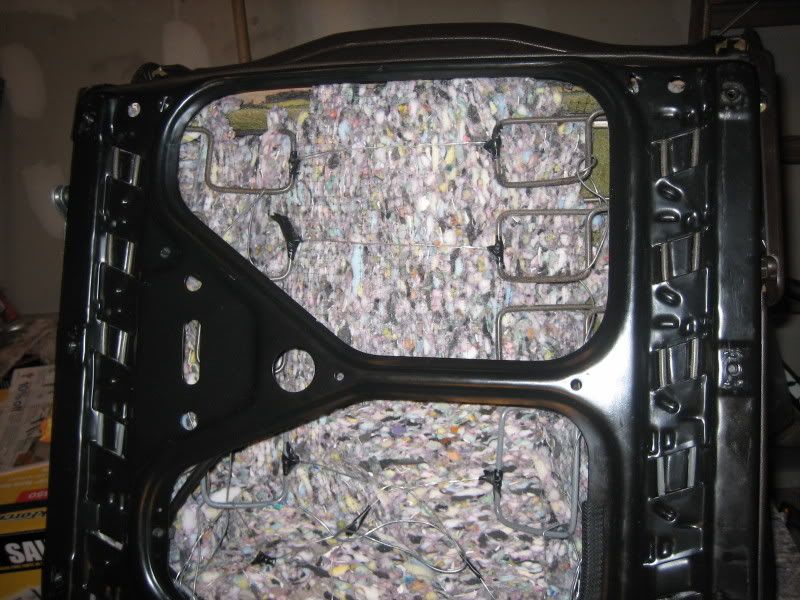
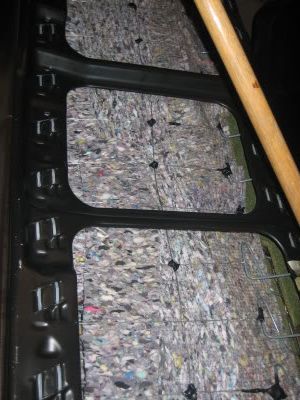
Step 5) Once you have padded you seat to your comfort you can secure the padding by making a wire grid with the 22ga. picture wire. I don't reccommend anything thicker than 22ga. It becomes difficult to work with and doesn't get quite as tight as 22ga. I ran out of 22ga and was forced to use 16ga on 1 line of my grid. It wasn't easy.
Step 6) Reinstall your power motor apparatus in the same fashion that you removed it.
Step 7) Remount the seat in you benz and enjoy.
This same process can be repeated for the back bench seat too. Only skip the motor-removal part as it does not have one.
Now you can enjoy a firmer ride in your "new" seats.
kris