11) I'll pull another Haynes on you and say replacement is the opposite of removal. Do backwards whatever you did to remove the old pod to get the new pod in place. Keep track of the nipple so it's clocked properly when the pod is set in the bracket, but more importantly so you don't push or pull on the nipple or get it caught while wrestling the new pod into place. There shouldn't be too much wrestling.
It was easy to push on the locking tab then turn the pod CW to get it off the bracket. It's quite another matter to align the tabs for installation and turn it CCW against the locking tab pushing against the bracket. The actuator rod is free to rotate so you can't use is to clock the pod. I used longnose pliers on the pod clips to get them just started on the bracket then used a screwdriver to engage the clips enough that the pod would stay in place. Mind you don't damage the new pod's diaphragm! -
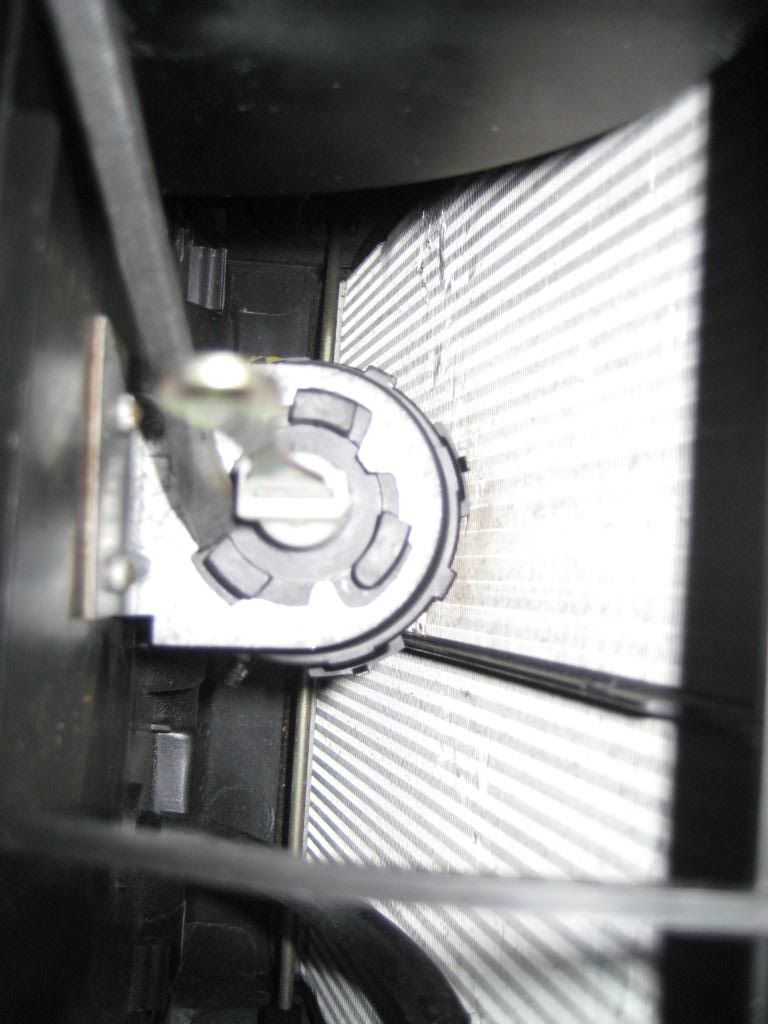
Then I used longnose pliers like snapring pliers to rotate the clips into full engagement confirmed by the locking tab popping into place -
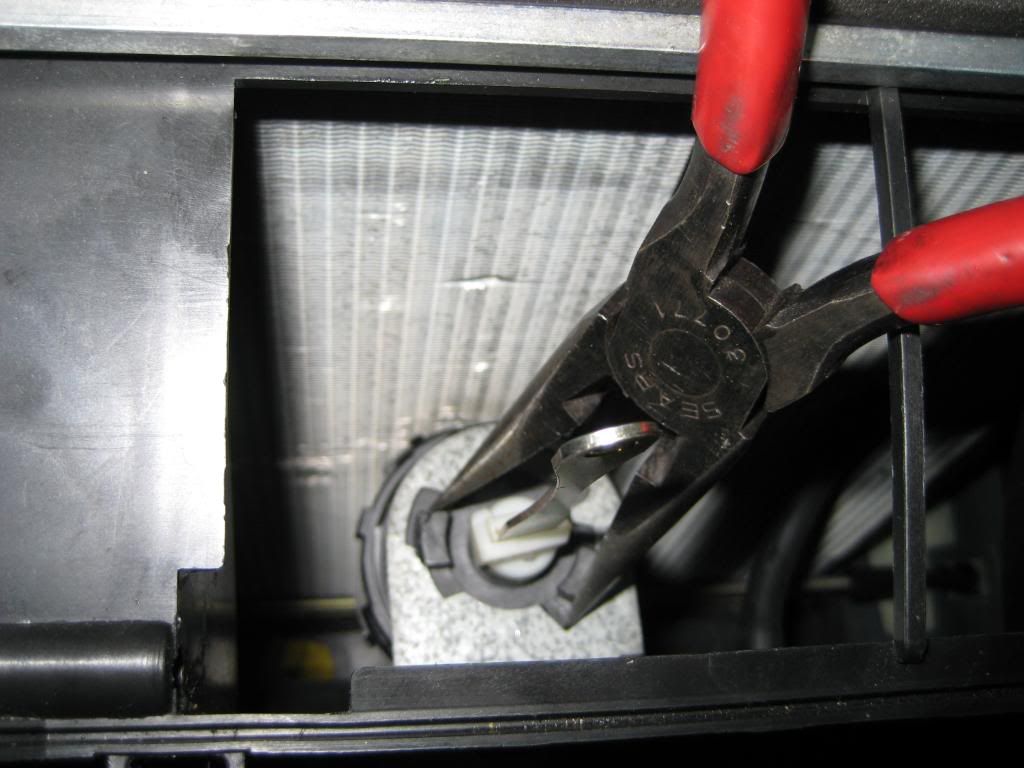
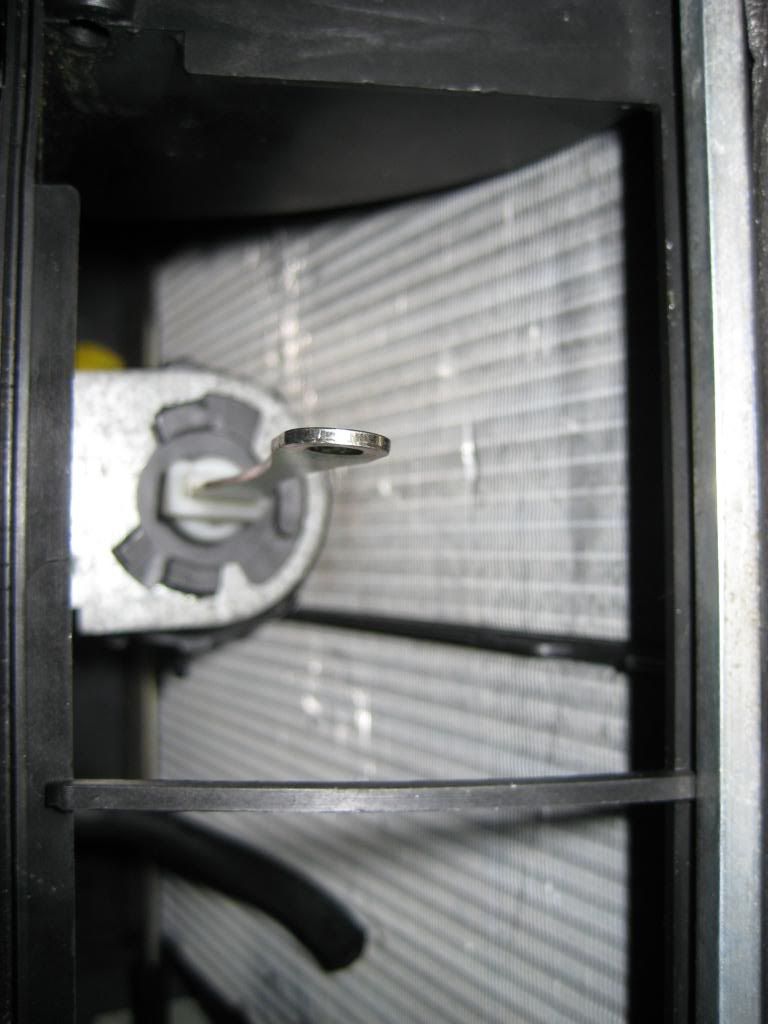
I didn't recognize any clocking to the actuator rod other than the obvious left-right orientation of the pin hole. Why is it always orientation but never occidentation?
12) The center vent flap went back on by hand with the help of a screwdriver on the right hinge as shown in this sequence -
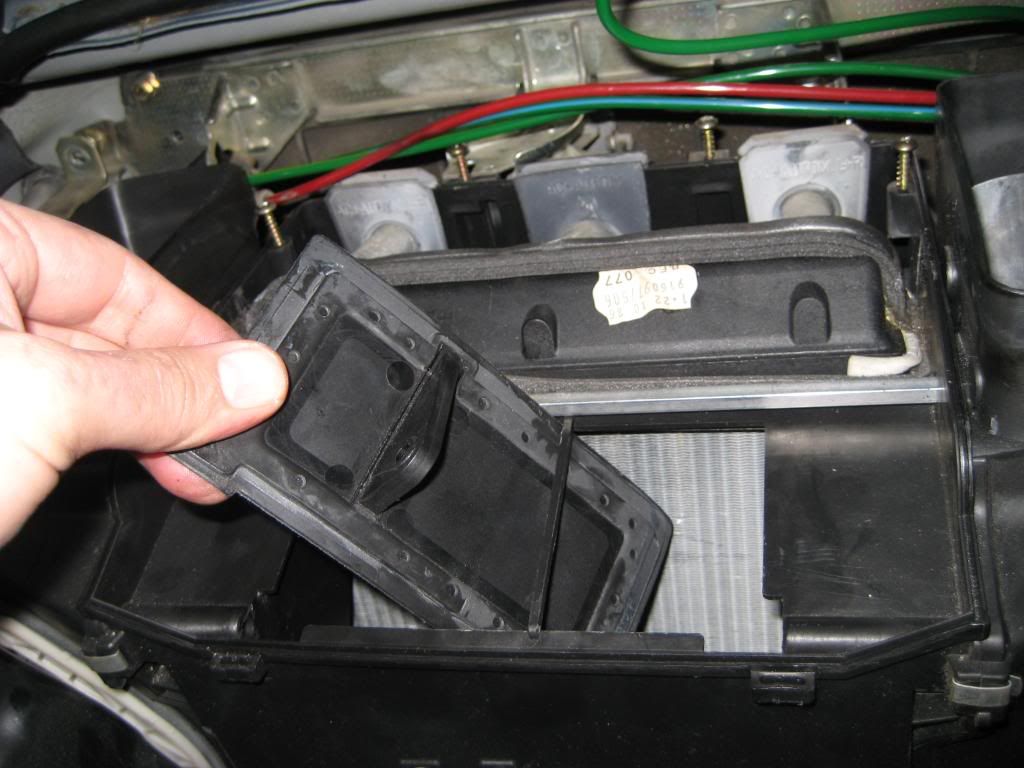
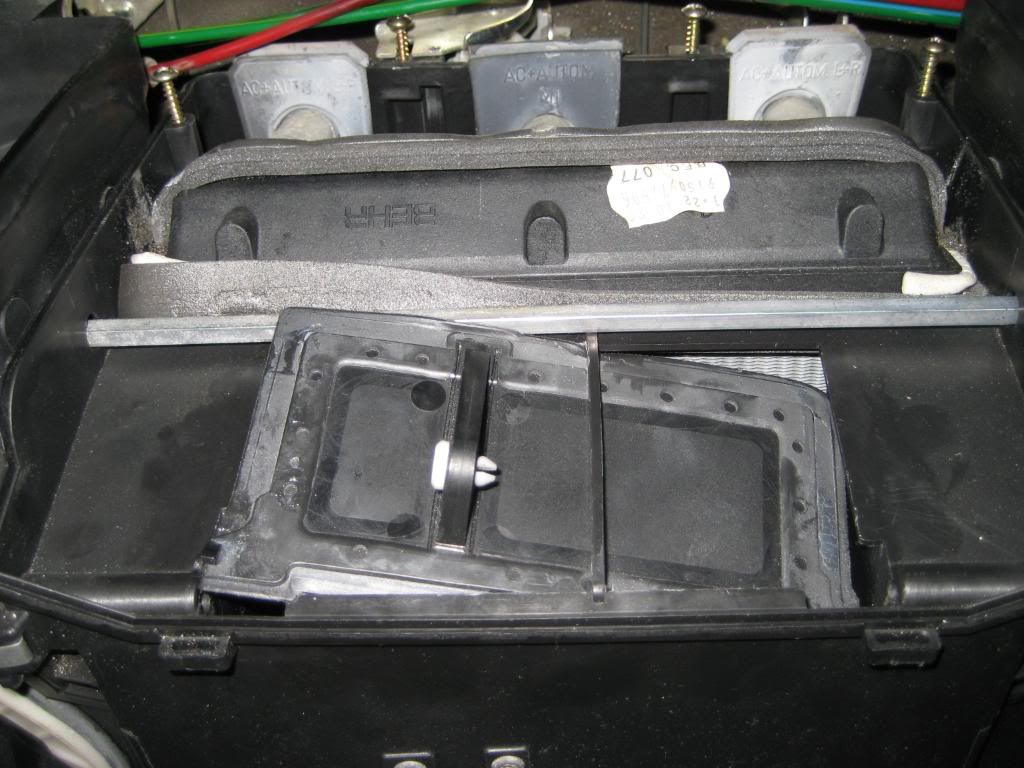
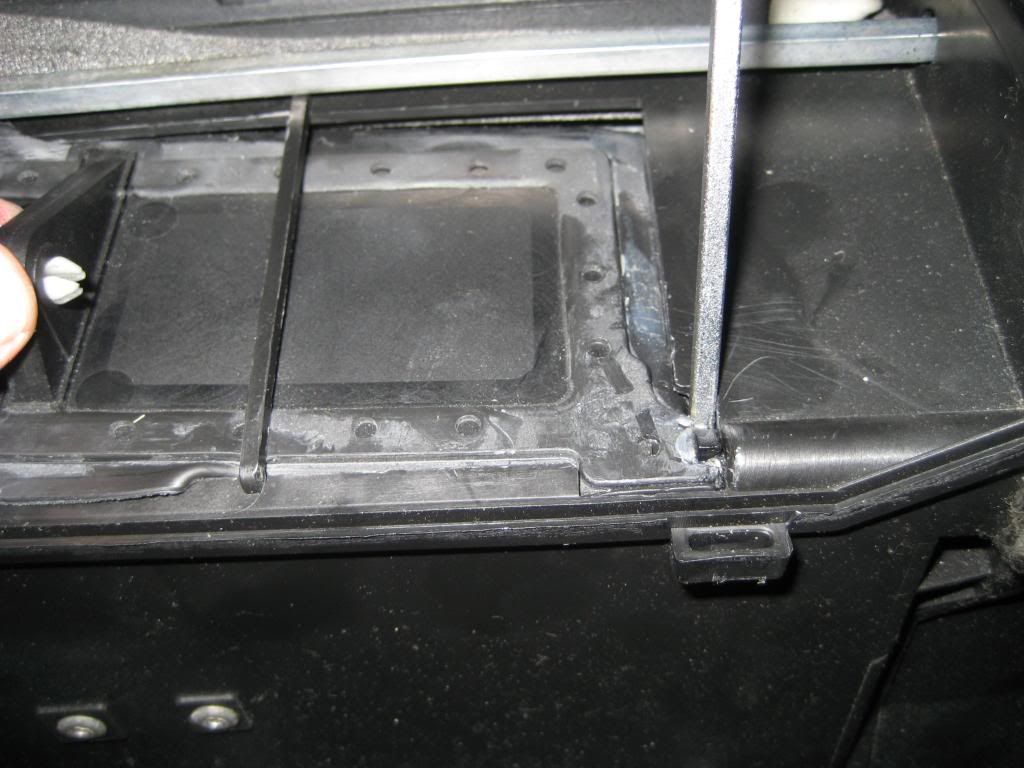
Before engaging the left hinge, engage the actuator rod end into the clevis slot in the center vent flap -
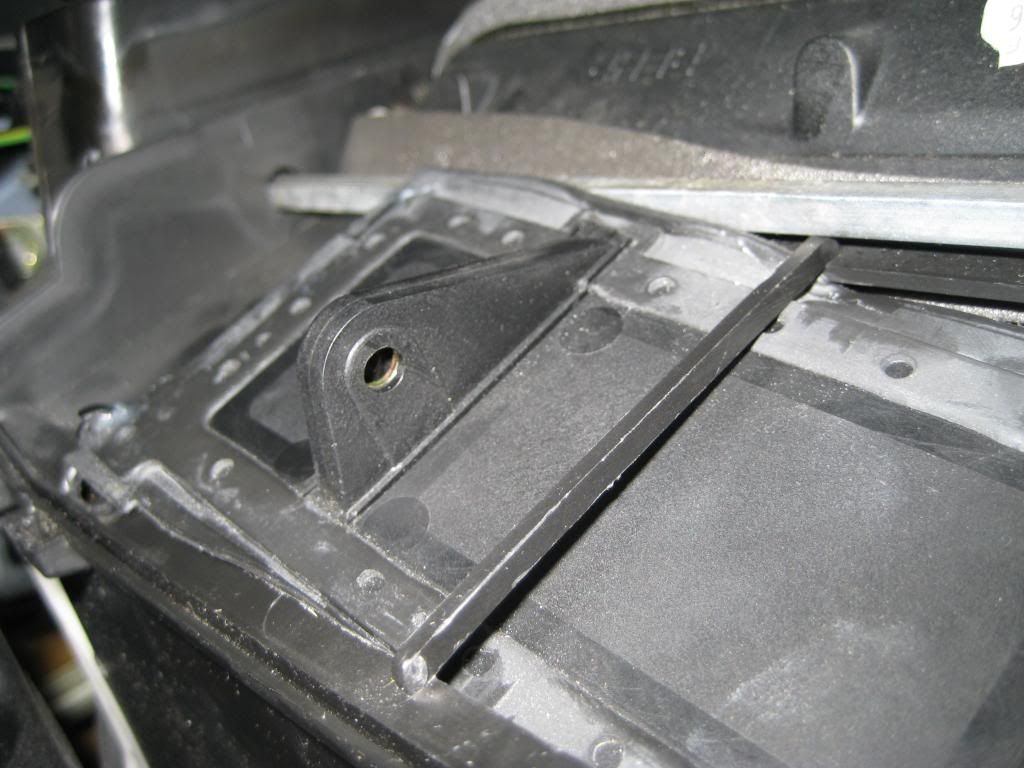
Then fit the pin -
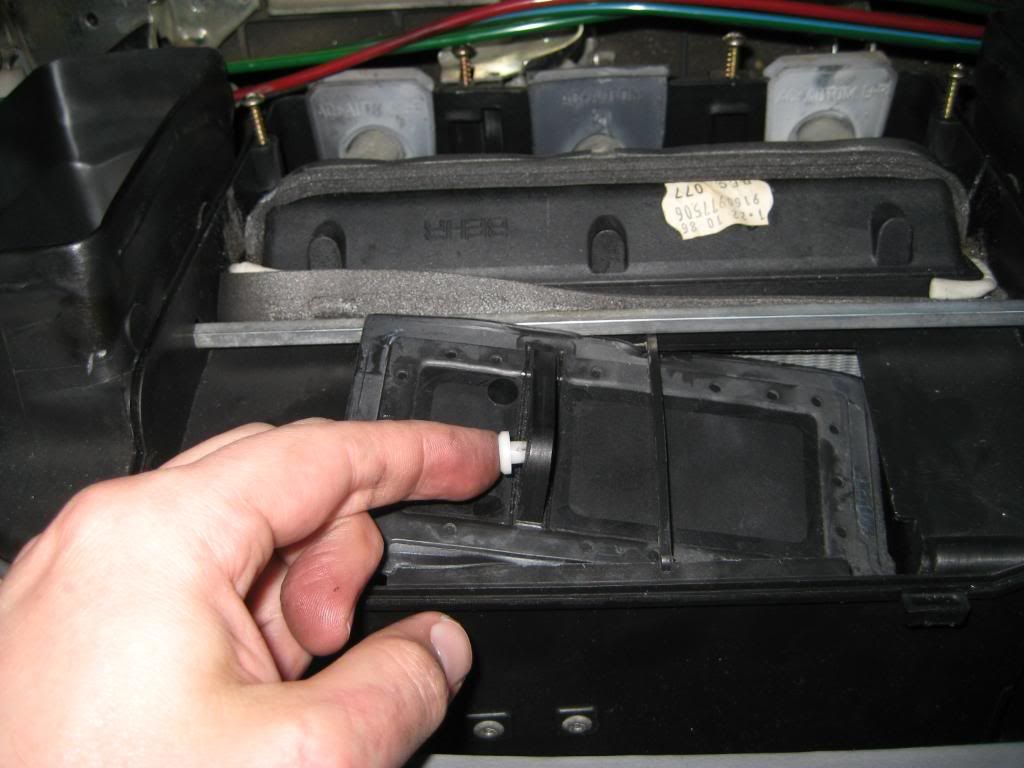
It took some bending to get the left pin into the hinge hole -
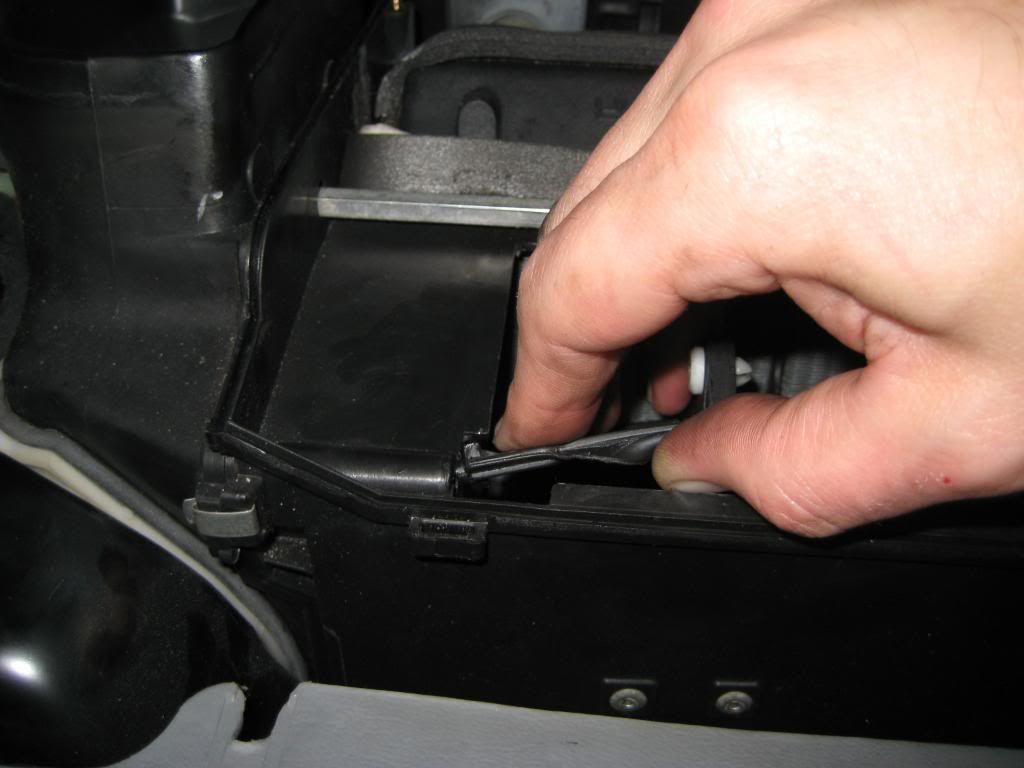
Make sure the loose rubber skirt around the center vent flap is seated neatly around the airbox opening. Actuating the flap by hand a couple of times should seat the flap.
Almost there!
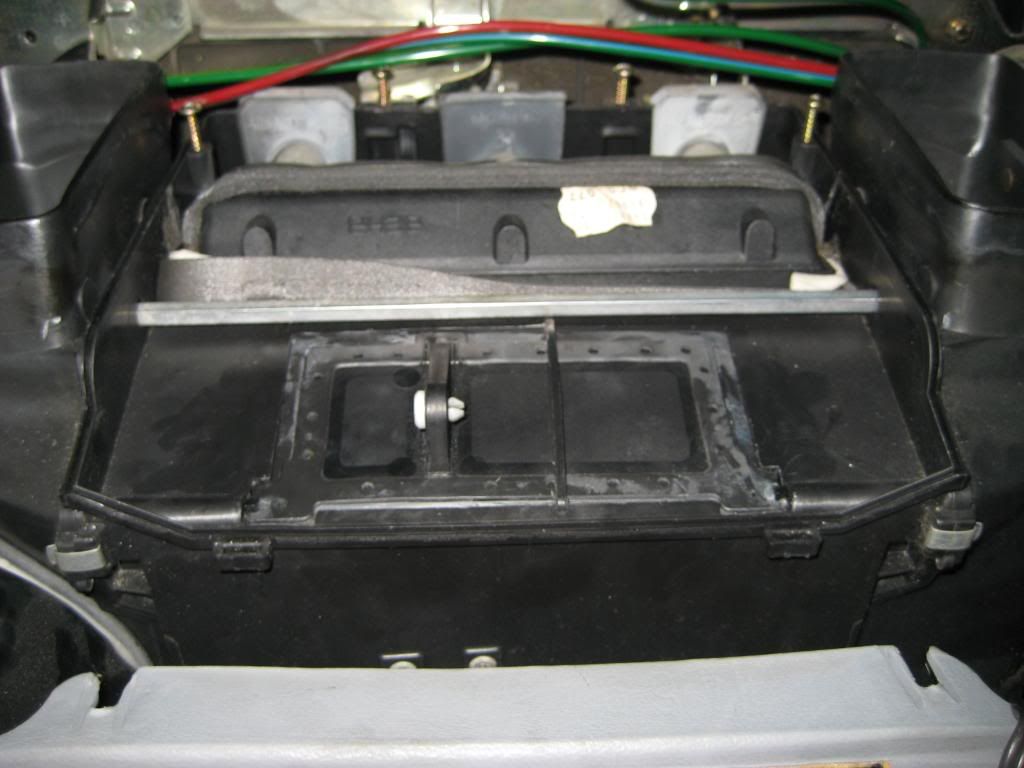
13) The last step in this job is to reinstall the temp sensor. I didn't mention in step 9 how I noted the orientation of the temp sensor. I don't know that it matters but I put it back in the same way it was originally installed.
14) I should have said, test the new pod with a MityVac before installation! Then test it again with a MityVac once installed.
Aside from a writeup for removing and installing the dash, I have writeups for the recirc, defrost and diverter pods. I'll add the links as I submit the writeups. The defrost pod can be replaced through the glovebox cavity with the dash in place so the writeup covers that perspective.
The footwell pod is in plain view with the ACC PBU removed and the one in my car is good so I'll save the money and not touch it. I'd do a writeup for the heck of it but I can't figure out how to remove it

Sixto
87 300D