Hey - I'll answer my own post.
A spring compressor is NOT needed for the front axle replacement on a 4matic. The spring assembly is held together by the shock.
Repair is actually fairly easy but some appropriate tools help.
Here is a summary;
Jack up car and remove front wheel - pop out center cap and put wheel back on, lower car and undo bolt in center, (early models have 12 point collard nut later have a bolt, which is what I have). You need a breaker bar for this as its torqued to 270Nm. Also it is a 27mm (larger than most people have on hand) a 1 1/16 works fine as well (26.988mm) which I had on hand. Take wheel back off.
Remove lower engine cover
Remove brake hose bracket - 5mm hex key SHCS - in my case I will get replacements for these later as they have a fair amount of corrosion in the dead space - I believe they are M6
Remove torsion brackets from both sides (2 bots ea) - remove torsion bar bushings.
Press out tie rod joint - I have a set of KDK pullers, use the correct tool will keep you from mangling the boot, In my case I was replacing the tie rod arm as there was play there- the reason the car failed inspection).
Press supporting joint out of steering knuckle - this is the lower ball joint. The pullers I have would not fit as access with the disk and shield in place is limited, also the lower joint has a integral alignment pin that gets in the way of the puller. However a few smart raps with a small 3-5lb mini-sledge and it comes free.
At this point you can actually pull the axle joint out of the wheel spline but there is more to go.
Undo the shock from the lower wishbone - one bolt.
You can loosen the bolts on the lower wishbone mount per the instructions - I did. The caution is that you should not tighten those without the wheels being on the ground and access is limited at that point.
Push the torsion bar over the lower wishbone (this will be obvious when you see it).
Pull axle from steering knuckle, a chunk of 2x4 placed between the top of the spring and the knuckle liinkage will hold the knuckle up,
Pry the inboard shaft out - the manual indicates driving it out for the left side and I was able to pry it most of the way out, with a final rap to get it past the circlip ring.
Remove axle by pushing down on the wishbone to get it out.
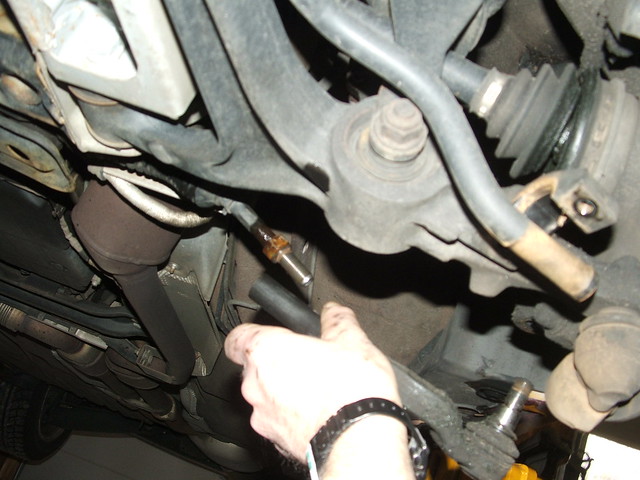
A couple of pictures that may help someone.
First you can see sway bracket removed, tie rod removed (I was replaceing you do not need to take it off completely for the axle job. Split axle boot is visible.
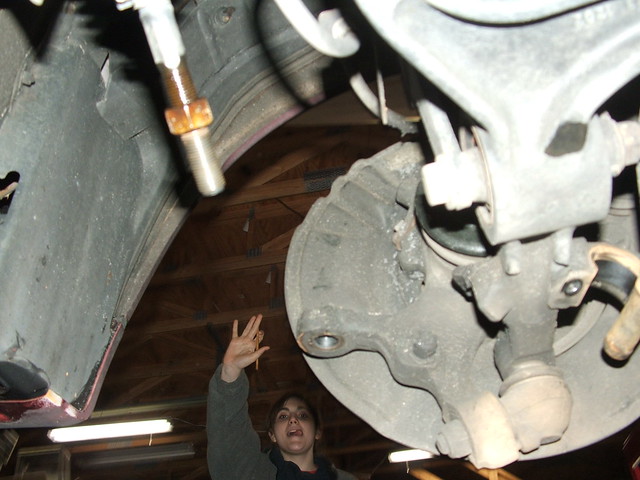
Another view - you can see the lower ball joint that needs to come undone (also my helper in the background)
[IMG]
[/IMG]
As they say reassembly is the reverse.
A few notes on reassembly
Inserting the inner drive shaft spline first (wrap plastic around the outter spline to keep it clean) - a good shove should seat it and you should hear a click when the circlip seats.
Install the shaft in the knuckle next and hold it in place with the bolt finger tight.
Torques per my DVD (all in Nm)
Tie rod - yellow - 60 silver or blue 70
lower ball joint 105
shock absorber bolt yellow 185 silver or blue 170
Lower wishbone 110 - but I don't see how you would get a torque wrench in there with the wheels on the ground.
Front axle bolt 270
Hope this helps someone.