Remove your old antenna.
From the trunk, remove the floor liner, upper liner, and side liner. The side liner has a plastic rivet and is otherwise just press fit into place, it requires a little wrestling to get it out.
There is one screw in the trunk through the sheet metal into the antenna housing, remove that.
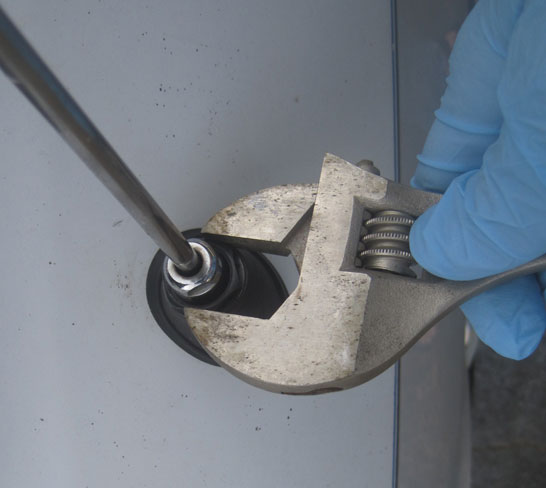
Remove the large black nut from the outside of the car, as seen above, and slide it and the black plastic part and rubber grommet off the antenna. (The silver nut is for removing the antenna mast itself from the old antenna, we won't be using the old mast.)
Lower the antenna assembly into the trunk, detach the wire connectors (or cut if necessary if melted) and unscrew the coax connector.
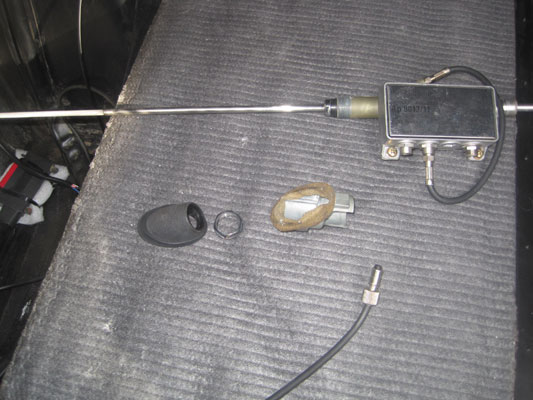
In the photo above, the coax connector (bottom of photo) attached to a splitter box (top of photo) which then went to the antenna box (not shown... melted mess). If your car has a splitter box, it is for an old-style in-car cell phone and is not needed. The black nut is also no longer needed.
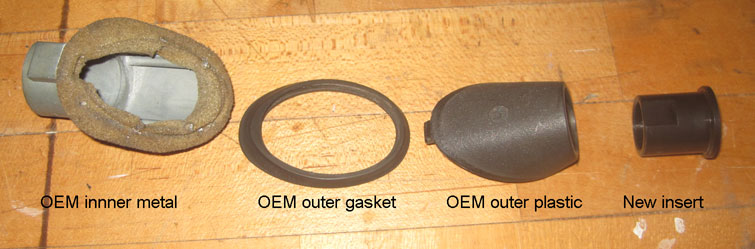
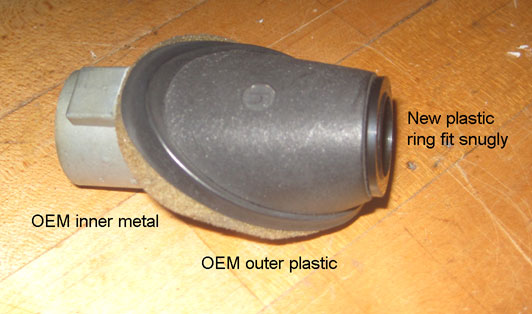
We want to reuse the OEM parts where they contact the sheet metal since they fit exactly, rather than the universal parts that come with the new antenna. Shown above are the 3 OEM parts, plus the plastic insert that came with the new antenna.
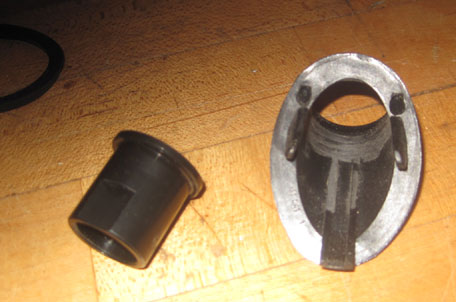
The new plastic insert is slightly large to fit in the OEM part. Use a Dremel tool and sanding drum or half-round file to enlarge the interior of the OEM part. Remove just enough for a snug fit. You can see the sanding marks in the photo.
The above four parts now fit together nicely.