
New antenna parts shown. We need only the silver nut. The antenna shaft slides through the customized OEM inner metal part, through the sheet metal, then through the OEM outer plastic part and new plastic spacer, and is then attached with the silver nut.
Get a helper to thread the nut on from the outside while you hold the lower unit in place from below. Tighten it snugly but not all the way until you have the lower unit rotated into position and secured.

Here's what the antenna will look like from the inside. I used crimp-on wire connectors (twist-on should not be used due to vibration loosening them).
The two car red wires should both be attached to the antenna red wire (one of these is power in, the other is power out to the trunk light, which goes through here for some reason).
The car blue wire is the control wire (+12V when the radio is turned on). This connects to the antenna white wire.
The car brown wire is ground. This should connect to the antenna black wire (antenna directions say to connect it to chassis, but the brown wire is a cleaner ground).
There is a separately shrouded single wire that went somewhere into the melted mess of my old antenna that doesn't seem to have any necessary use and I left it disconnected.
The car coax cable screws directly into the new antenna (not shown attached in this photo).

I scraped away some of the label on the housing and applied a double-thick layer of Scotch outdoor mounting tape as padding. This part of the housing will be pressed against the inner sheet metal wall.
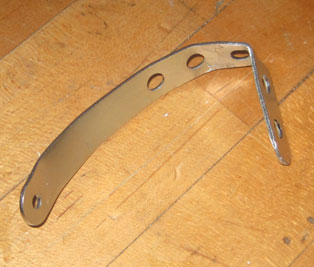
Antenna is supplied with a metal strap that attaches to the motor housing and to sheet metal in your car. Photo shows it cut to length and formed to fit. I tried to make the strap as short as possible for best support. I drilled a new 3/16" hole in the inner sheet metal wall and used the supplied screw.
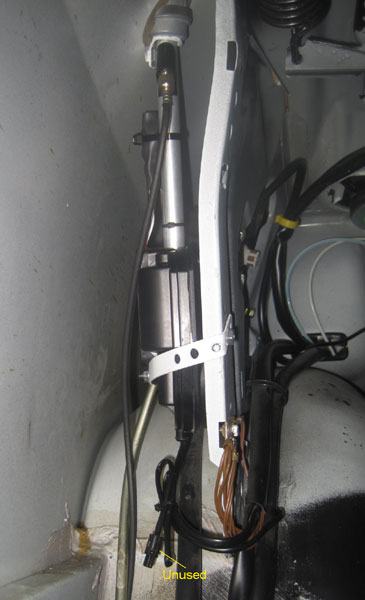
Photo showing final antenna mounting with strap.
Also shows the wiring connections covered with a big diameter piece of shrink tubing and tie-wrapped and tidy.
Bottom of photo shows the unused wire previously mentioned, tied up out of the way.
Final step is attaching the drain tube. My old antenna didn't have a drain port, but this one does, and comes with a short piece of tubing.
I have no idea how much water would ever be expected to leak in and drain through the hole, but it would probably be sufficient to attach the short tubing to direct any water onto the inner fender where it would then run down to the drain hole in the wheel well and/or evaporate.

But since I'm hopeless retentive, I attached an extension to the drain tube made out of 1/2" shrink tubing. I used a dowel inside the tubing while shrinking it to prevent it from fully collapsing, and kept moving the dowel down as I shrunk it.
(An easier solution would be to buy a length of appropriate tubing, but the hardware store was closed at the time.)
Attach the tube to the antenna housing and route it down the wheel wheel to near the car's drain hole.
Give the outer nut a final tighten and you're ready to rock.