So, this is no longer a rolling restoration really ...

... found some spring perch rust ("some") and a little in the floorboard and just decided to do everything else while it's apart. So far I haven't even finished one spring perch, having a tough time and trying to deal with a new career so I don't have as much time as I'd like. When I am done that I will do the rockers, floorboard (small area where the bracket holding up the exhaust shield goes, worst part the get to!), couple bits on the wheel well, replace front suspension, clean up the interior while it's out (redye some parts) and then probably do the A/C (yuck but while I've got the console out ...).
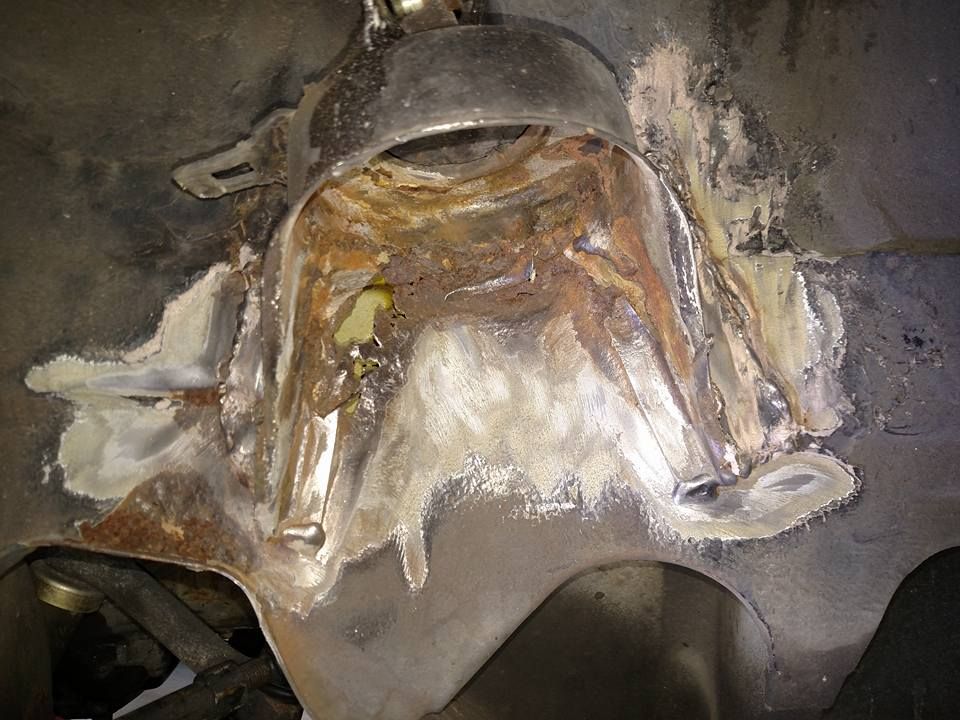
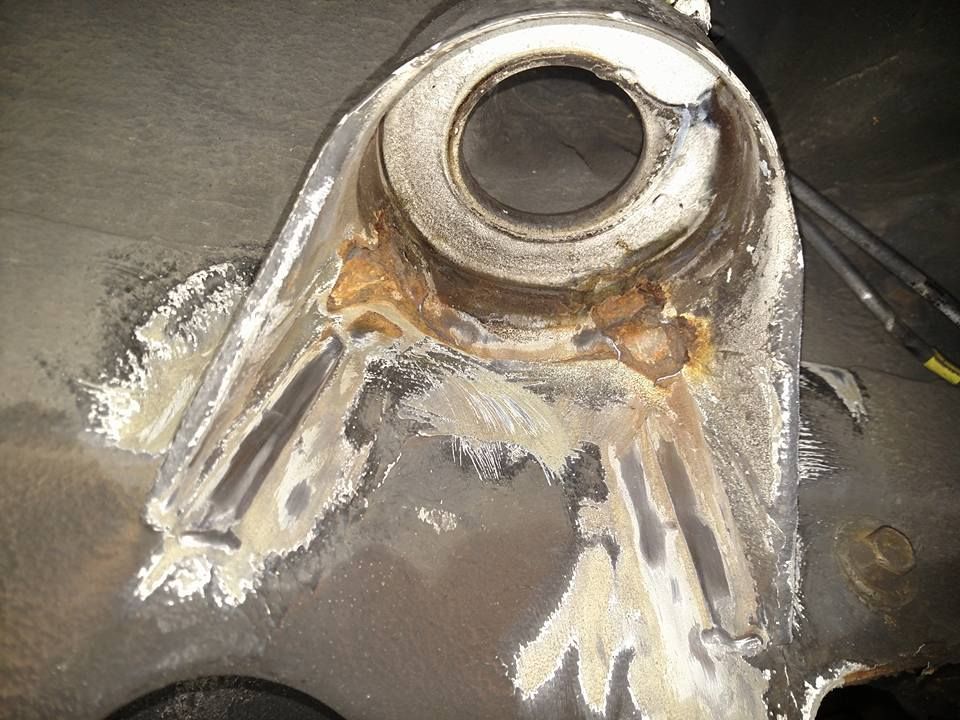
Here are some pics of the passenger spring perch job. It's really bad. I wouldn't likely try this is if the car weren't so special to me. I hope I'm doing this right, I think it will be strong enough but I'm worried how the alignment will end up. There was really nothing left to mark off for the new cup. I made a jig out of cardboard and it's not really working. I cut the whole area out of a parts car and then dismantled it to make the area the cup mounts to. I bought both cups from the dealer. In hindsight I probably could have used the cup from the parts car, but it turns out I was right to assume it had a little rust too (why not start fresh).

It didn't look as bad as it is (especially with the spring hiding much of that inside rust) because 10 years ago when I took it to a shop for brakes, they welded in three brackets around it and apparently just welded them right over existing rust and undercoating, and covered it up with more undercoating. To be fair, it did hold up and probably would have for a while more. But it was a nightmare to get apart.

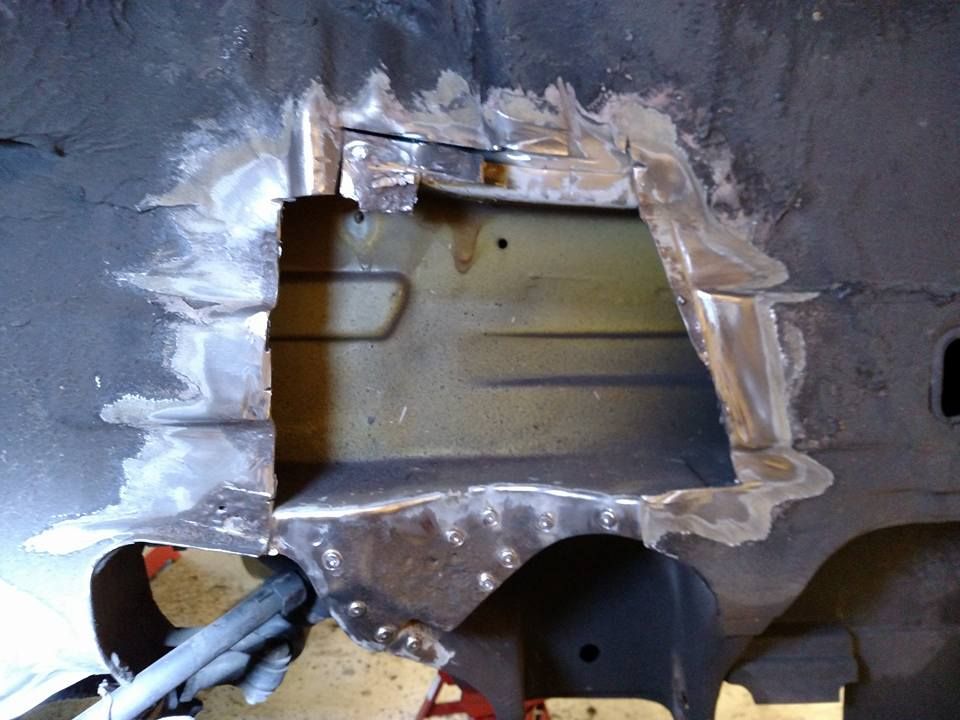
This is not the easiest area to cut because it attached to the frame rail on the back and I didn't want to damage that. Fortunately I was able to learn how to get it off when I took the parts car chunk apart. As you can see there are some spot welds at the bottom.
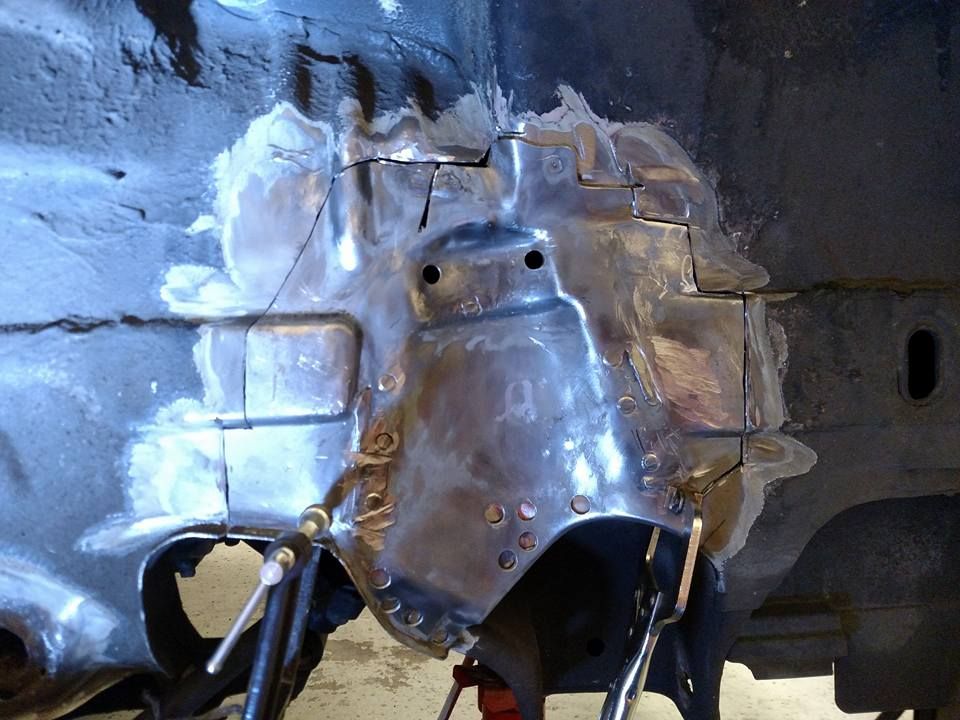
The new piece fitted in. As you can imagine fitting this was a bear. I chose the butt weld fitment rather than a lap with plug welds because I did not want to spring to end up too far outward. I also was concerned about additional rust opportunity on a lap weld I can't put seam sealer on (backside is enclosed). I hope this is the right choice. There will be several plug welds at the bottom and two at the top, as well as the butt welds all around the piece. The cup gets plug welded in and then a couple welds along the bottom seams. Fingers crossed the alignment works out and I don't end up with a funky ride.
The other side was not as bad. I will replace the cup and have to replace the area behind the cup, but most of the panel is clean.
I will try to keep this updated, though I won't know the success of this job until I finish all the others and get it on the road. I hope it will be helpful to others eventually, as I had a hard time finding a lot about this job for the W124 since it doesn't seem like a common failure.