

|
|
|
|
|
|
#16
 02-13-2017, 06:57 PM
|
||||
|
||||
|
OK. Went out and looked at the pump. Do I first remove the bolts at the white arrow, then pull off the fan blade, and then remove the bolts at the red arrow? Do not see how removing the white arrow bolts would release the fan blades; maybe so but I do not see it.
Second question - started to grind a 10mm closed end wrench for bolts at red arrow. But when I tried a 10mm wrench it was sloppy. A 9mm is too small and a 3/8 is too small. I used my 50 year old Craftsman wrench 10mm and also used a brand new 10mm wrench; both were sloppy. That bolt just does not look like a 10mm. And I assume it cannot be SAE. They are not rounded off either. 

|
|
#17
02-13-2017, 07:49 PM
|
|||
|
|||
|
You don't need to touch the bolts indicted by the white arrow.
Remove the radiator shroud. IIRC It does come off with the fan in place. Use some penetrant on the bolts (red arrow), and let it in soak overnight. The bolts are 10 mm, but yours may be a little rounded, or the wrench didn't full seat on the bolt. Clean off any oily residue from the bolt heads and your wrench. Prevent the wrench from slipping off, and further rounding the bolt heads, by using one or two fingers to hold the wrench in place while you pull CCW on the wrench. Crack all four bolts loose before remove them completely. Use your 27 mm deep socket on the main pulley crankshaft bolt to rotate the engine CW and thus re-position the bolts on the water pump pulley for easy access. One trick to get a better grip is to use some layers of heavy duty aluminum foil on the head of the rounded bolt before putting your ground down 10 mm closed end wrench on the head of the bolt. Use new bolts with anti-seize to make disassembly easier next time around.
__________________
78 W116 300SD 'Desert Rose' new as of 01/26/2014 79 W116 300SD 'Stormcloud' RIP 04/11/2022 Last edited by Alec300SD; 02-13-2017 at 08:11 PM. Reason: Added: , or the wrench didn't full seat on the bolt
|
|
#18
02-13-2017, 08:15 PM
|
||||
|
||||
|
Great; thanks.
|
|
#19
02-15-2017, 04:16 PM
|
|||
|
|||
|
Hello - if anyone is still looking for a guide on replacing the water pump in their W126 platform, please check out the below link to our site's DIY tech article on this fix. If you have any additional questions, feel free to post a Comment just below the article and someone will get back to you with more details.
Installing a New Water Pump on your Mercedes-Benz -Dmitry
|
|
#20
02-16-2017, 09:39 PM
|
||||
|
||||
|
Finally got around to working on the water pump today. Got it installed but did not have time to put the fan back on. Maybe tomorrow.
The 10mm bolts on the pulley were pristine; had never been off before. Looked like new. They were quite snug but could be removed with effort from one hand with a small 4" closed end wrench; I did grind down the wrench a bit. Actually you grind it thinner not slimmer as I had thought; there was room above the wrench but it would not fully seat around the bolt without a bit of grinding. After all the trepidation from watching Kent Bergsma remove the steel bolts from the aluminum housing behind the water pump, it was absolutely no problem. The bolts were tight but they again looked pristine and came out like they had been installed yesterday. The water pump itself - I had to knock it for about ten minutes with a 2x4 until it finally broke the seal and came off. The gasket came off cleanly and there was no need to clean the mating surface. So I dry installed the new gasket and pump. There was no guidance about how to tighten it up so I did it in a star pattern like you used to do wheels. As opposed to just tightening them in a circle. Who knows? Then I forgot to line up the pulley holes with the water pump holes when I tightened up the belts. Had to untighten, align and install the bolts temporarily and retighten the alternator belts. That was enough for one day. Will remove the bolts and try to get the fan back on maybe tomorrow. One question about the alternator belts. Not happy that they did not seem to tighten enough. Earlier I loosened the pivot bolt underneath the alternator and removed the nut on the bolt which (at the other end) held the belt tightner. By unscrewing the deep well bolt up front, I was able to loosen the two alternator belts and get them off. But when I reinstalled I screwed the tightner down (before tightening the two bolts underneath) really a long way until it looked like the heavy metal support into which it is inserted - well it looked like it was going to bend. But the alternator belts were not tight enough to in my mind. Did I miss something with the belts; is there another bolt that I should have loosened or removed? Five hours of fun so far. If I were to do it again, maybe 1-2 hours max. Learning experience. Last edited by tyl604; 02-19-2017 at 05:03 PM.
|
|
#21
02-16-2017, 10:08 PM
|
|||
|
|||
|
You need to loosen the nut and two bolts shown in figure 1 of the FSM job # 13-340 before you adjust the belt tension.
The V-Belt tension gauge is readily available. I got my KR1 from NAPA (UPC # 029769352151)
__________________
78 W116 300SD 'Desert Rose' new as of 01/26/2014 79 W116 300SD 'Stormcloud' RIP 04/11/2022
|
|
#22
02-16-2017, 10:24 PM
|
||||
|
||||
|
Yep; I must have missed one of those bolts. Will look at the FSM tomorrow - good old Netscape Navigator 4.0.
Thanks for your help. Could not have gotten it done with it. Better take another look at the belt situation. Fan goes back on tomorrow. Did not remove shroud or upper water hose; no need. Actually enough room to work. Not a lot but enough. My tension guide is otherwise known as a thumb. Last edited by tyl604; 02-17-2017 at 10:27 AM.
|
|
#23
02-17-2017, 10:28 AM
|
||||
|
||||
|
Here is a pic of the radiator drain plug. As you can see it looks brand new.
What the heck is the crooked end wire for - is it so the plug will not fall off into the drain bucket? Cannot think of any other use???
|
|
#24
02-17-2017, 10:54 AM
|
|||
|
|||
|
Yes, the hook is to prevent the plug from falling out.
Don't over-tighten the plug when you reinstall it.
__________________
78 W116 300SD 'Desert Rose' new as of 01/26/2014 79 W116 300SD 'Stormcloud' RIP 04/11/2022
|
|
#25
02-17-2017, 12:00 PM
|
||||
|
||||
|
Alec - looked at the FSM as you suggested and sure enough I missed one bolt. Also did not tighten it correctly. Those MB engineers really had everything figured out in those days and MB's were a dream to work on for a mechanic. I should have figured out that I was missing something because it should not have been that loose at maximum tightening.
Thanks for the heads up.
|
|
#26
02-17-2017, 05:26 PM
|
||||
|
||||
|
OK. Success; all complete. The only problem I had was with the third bolt that Alec identified in the FSM to loosen the alternator. When Pep Boys installed the new alternator about a year ago, they must have tightened this bolt to about 1000 ft pounds of torque. And of course it was the one on top and near the center of the engine so it was hidden. Thought I was never going to break it loose.
Does not seem to be leaking and I noticed that on the multi-language installation directions included, it said use no sealant on the gasket. Pump is made by Graf which I was told is a German firm. One of the few that I did not buy from Pelican; think Pelican had a pump from Cardone and I was not sure about the quality. Of course the MB pump is over $200. This one was $55 delivered. Last edited by tyl604; 02-17-2017 at 07:03 PM.
|
|
#27
02-17-2017, 06:09 PM
|
|||
|
|||
|
Congrats on mission being accomplished.
 I had installed a Graf water pump in my 78 W116 300SD when I had the radiator re-cored. It lasted until the crank bolt came loose and tore up the harmonic balancer and bent the shaft of the water pump. My independent mechanic fixed it and installed another Graf pump. What's next on your maintenance agenda?
__________________
78 W116 300SD 'Desert Rose' new as of 01/26/2014 79 W116 300SD 'Stormcloud' RIP 04/11/2022
|
|
#28
02-17-2017, 07:00 PM
|
||||
|
||||
|
I may finally look at my tail lights. They all work but I am told that a bad connection back there will stop your cruise control from working. Mine has been surging for quite some time, then it developed a mind of its own and only worked when it felt like it, then no work. I bought a new something rebuilt by James Dean and inserted it in the black round screw top box under the hood (the one that you stuff with cigarette filters first to see if it will make it work) but did not wake up my cruise.
Just a minor annoyance but I like everything to work. Alec, thanks again for you help on the water pump.
|
|
#29
02-18-2017, 03:02 AM
|
|||
|
|||
|
From your description it sounds like your cruise control amplifier died...it probably has some bad capacitors.
JamesDean does cruise control repairs of the amplifiers and also the actuators. https://sites.google.com/site/mbcruisecontrolrepair/ The cruise control amplifier is a rectanguar aluminum box located in the left hand DS footwell next to the warning buzzer on our W126's. The plastic plug on mine is of the orange style. My cruise control doesn't work...but I would rarely be able to use it in the SF Bay area even if it did work. Best of luck in troubleshooting and getting your cruise control system up to snuff. The tach amplifier is located under the hood on the DS fender. Did you install one of the solid state tach amplifiers made by techguy512? I considered buying one, but I was able to fix my flaky tach with a good used junkyard tach amplifier for about $7. 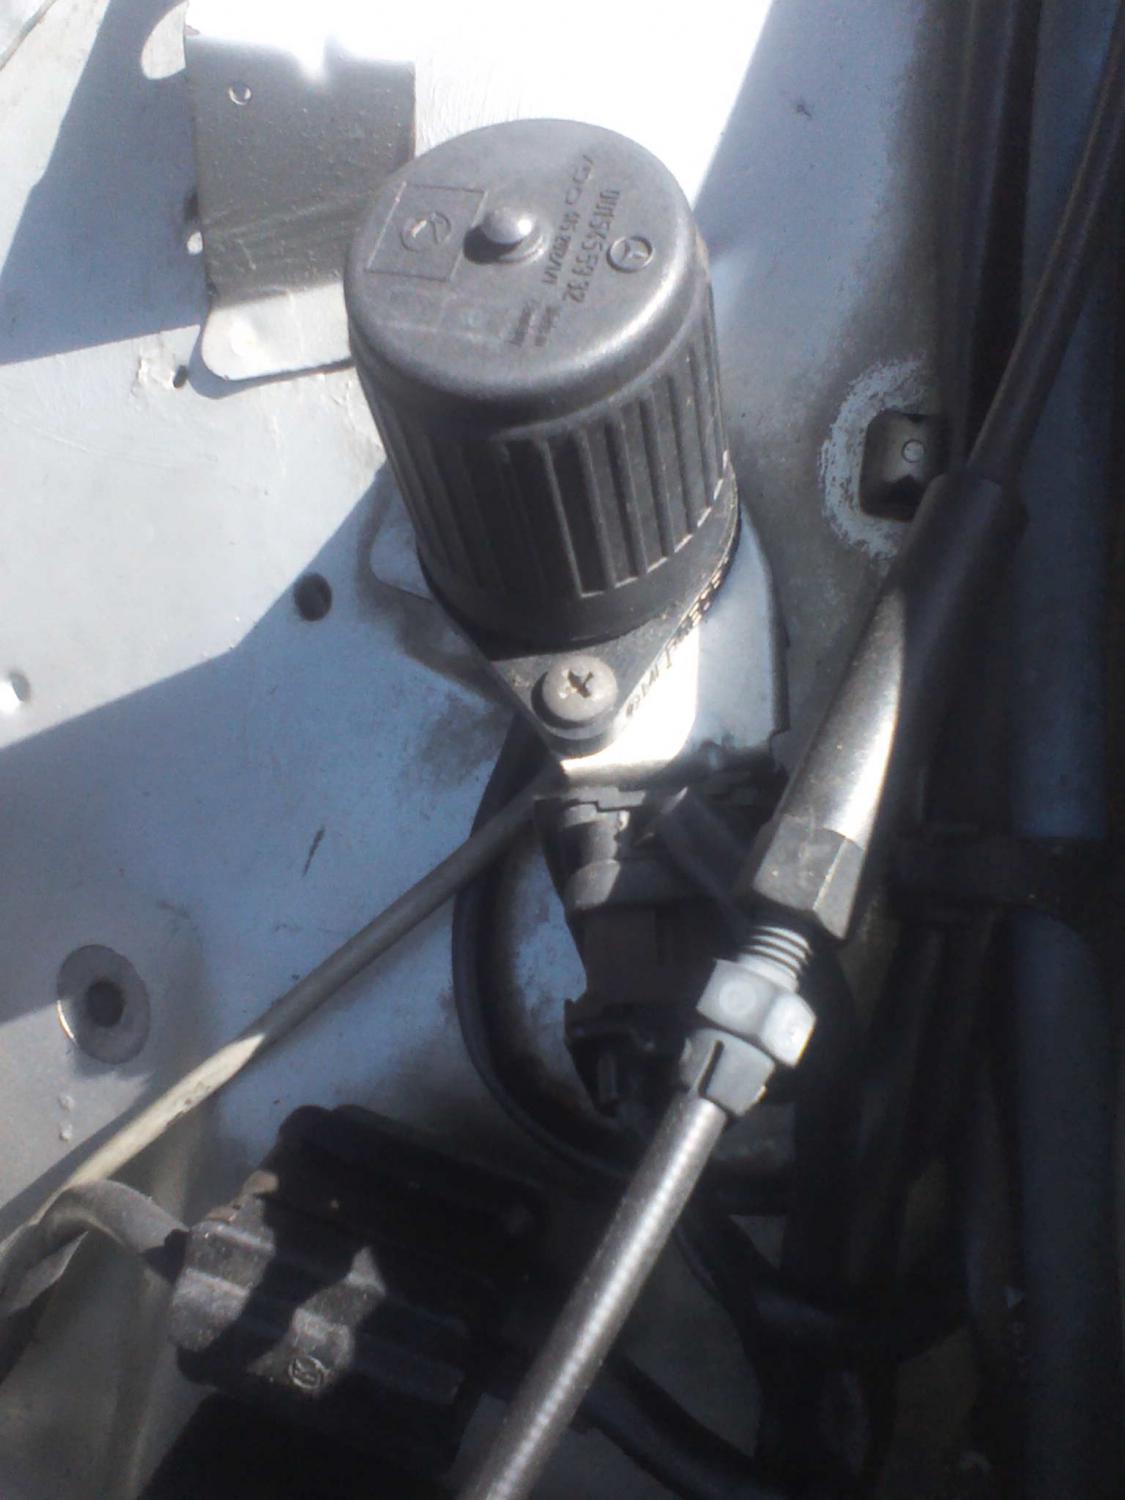
__________________
78 W116 300SD 'Desert Rose' new as of 01/26/2014 79 W116 300SD 'Stormcloud' RIP 04/11/2022
|
|
#30
02-18-2017, 07:48 AM
|
||||
|
||||
|
You are right; it was my tach gizmo that I purchased and replaced. The tach sometimes just decides to work for a few minutes but mostly does not; at times when it is working it actually responds to the heater/ac fan and when I turn the fan on max, the tach will max out. Very odd.
But I do intend to look at the tail lights in regard to the cruise which has just stopped working. Does anyone repair the cruise gizmo?
|
 |
| Bookmarks |
|
|


 Linear Mode


