Flashing Sidemarker Lamp Modification
on the 1986 560SL (R107)
by Jack M
9/13/09
Have you ever considered having your side marker lights work as turn signals?
Here is the procedure I used.
The cost less than $20.00
THE PROCEDURE IS COURTESY OF DANIEL STERN. LOOK AT THE DIAGRAM BEFORE YOU START.
The practicality is that you can reach ground by going through the filament of a lamp.
I would do one side at a time.
1. Read the instructions and look at the Photos to give yourself a mental picture of what you are going to do.
2. OK Now go to the auto parts store and buy the following items:
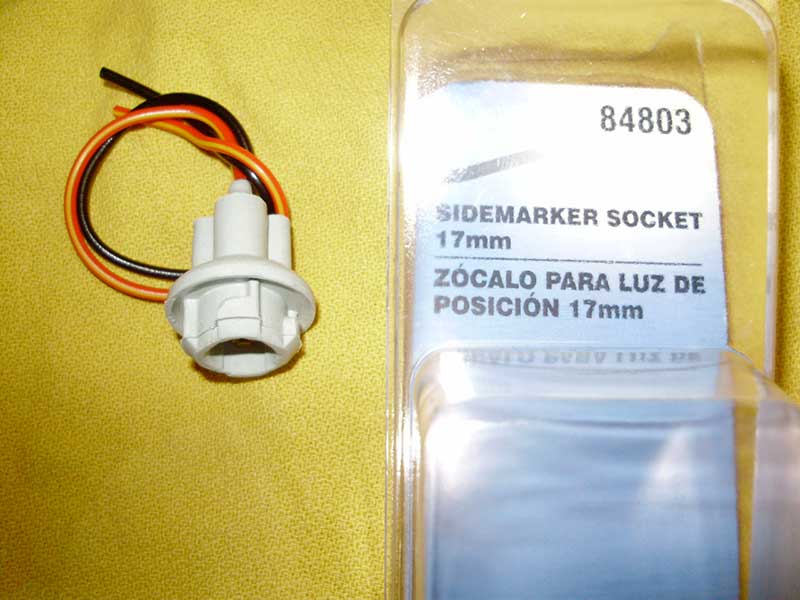
You will need Two sockets, 84803, They are two wire rubber sockets ( no ground). fits perfectly no glue etc. Don’t buy any other one!!!!!!!
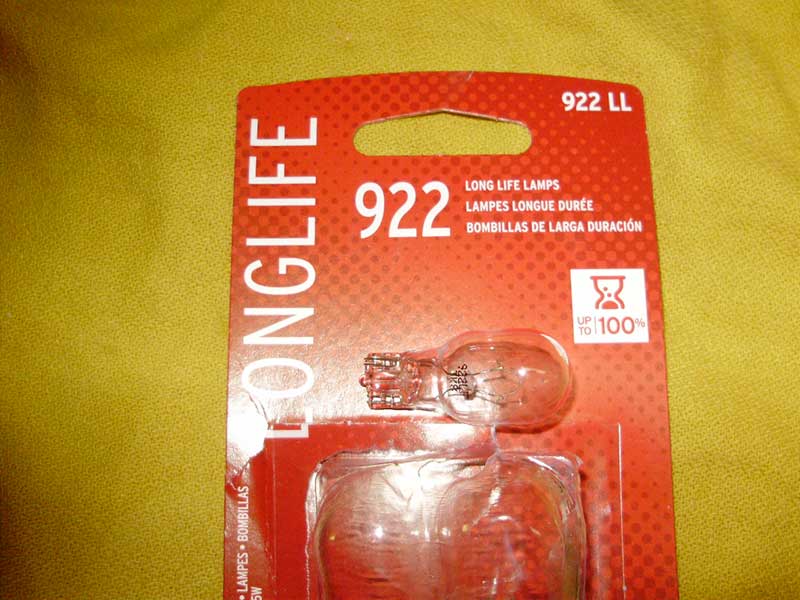
Two lamps #922LL
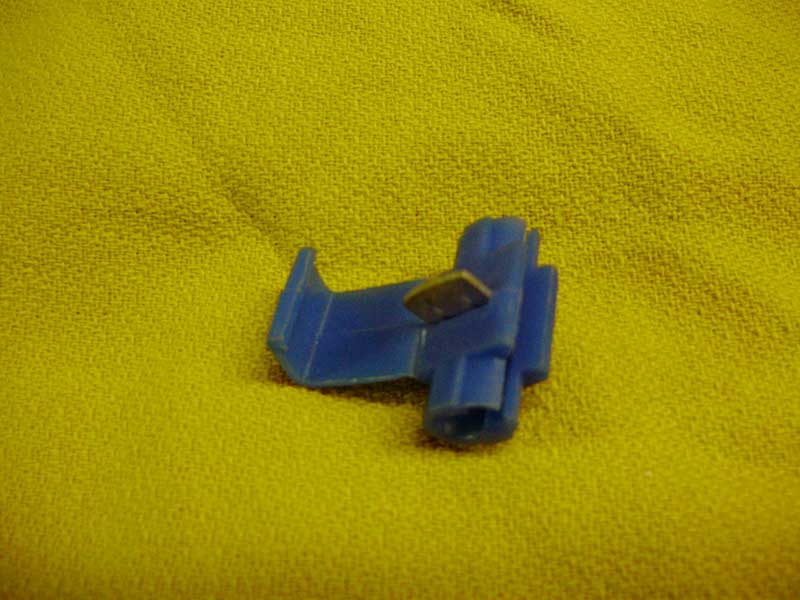
Four Scotchlok connectors. You can strip and solder. but this way is just fine.
Now Giving credit to DANIEL STERN the auto lighting expert we are going to use his diagram and information.
If you have some alligator clip test leads you can try this all out before you make permanent connections.
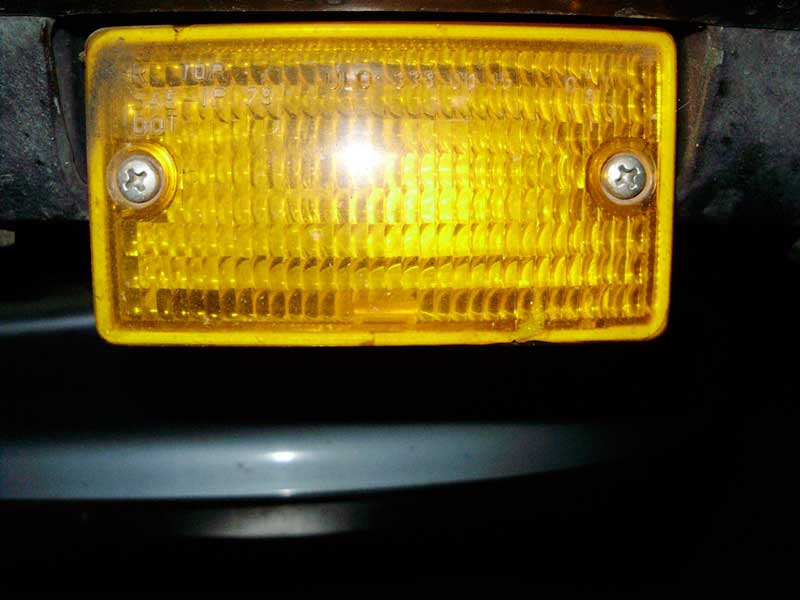
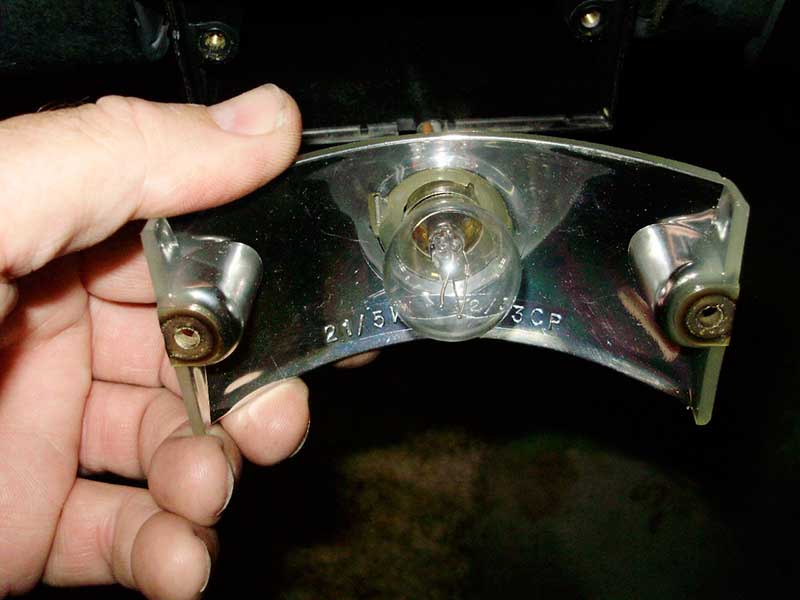
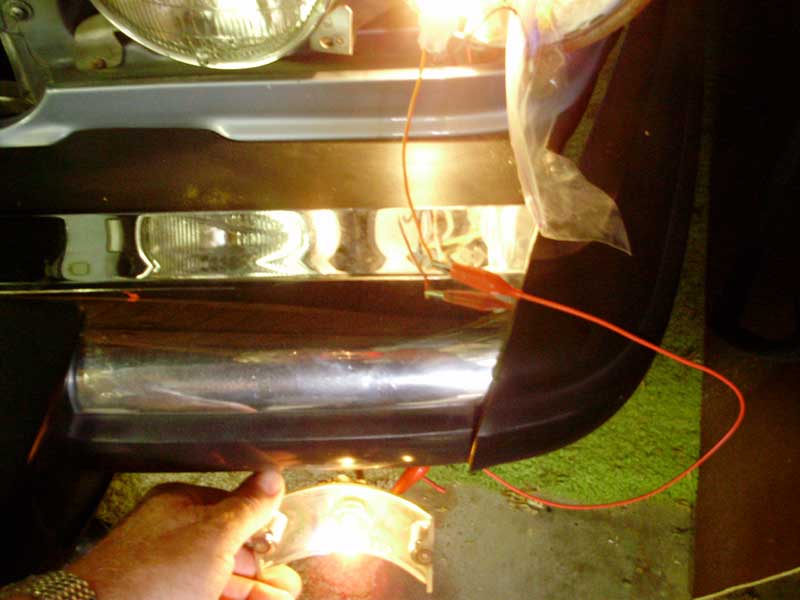
3. Remove the turn signal lens. Push on the wire from the rear and the reflector and lamp will move forward so you will have working space and not damage the reflector.
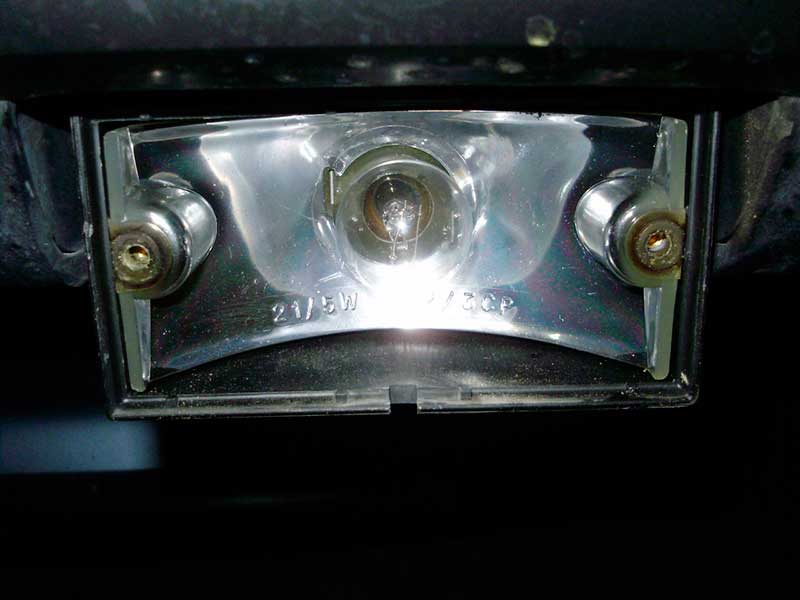
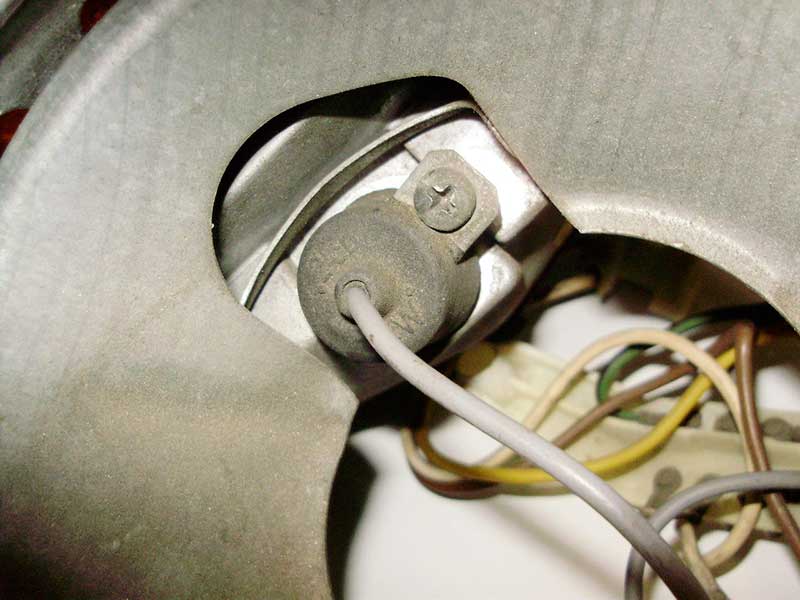
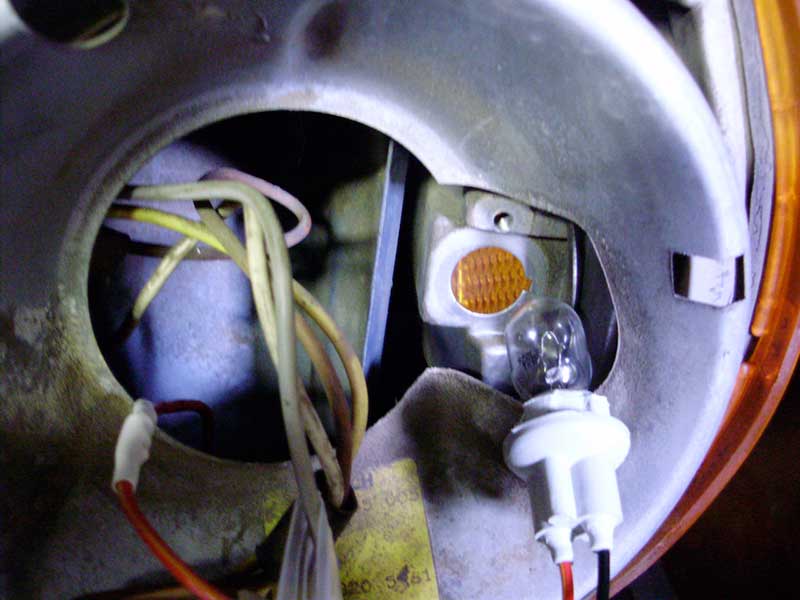
4. Remove the Headlight door, the Stainless lamp trim from the low beam and remove the low beam light from its socket. Do not move any of the lamp adjustments.

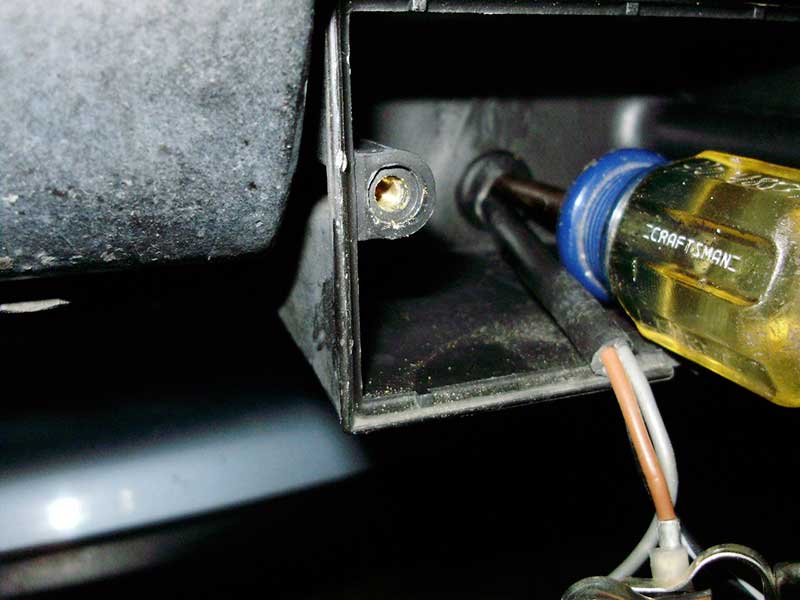
5. You are going to run a 3 ft. piece of stranded automotive electrical wire (18 GA) from the turn signal up to the low beam headlight area. To do this take an awl and force open the grommet at the back of the turn signal to allow you to push this wire through. This is the hardest part of the procedure. It might help to use a piece of coat hanger to help get this wire through as a lead. start with about 3 feet. This will maintain a water tight condition. Dress this wire up to the area behind the low beam.
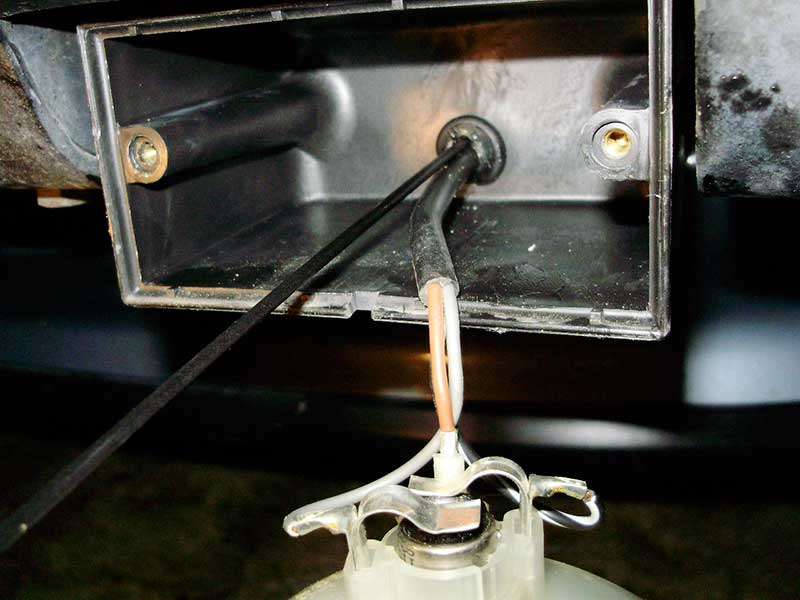
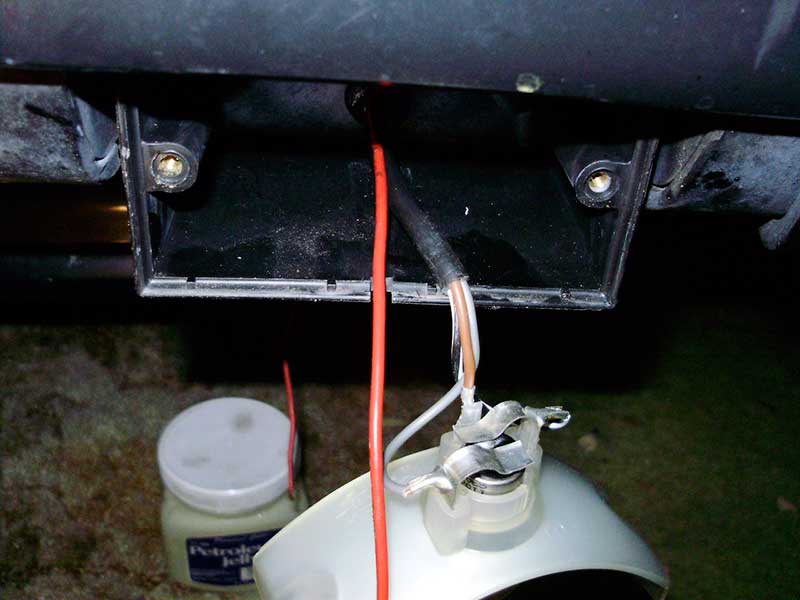
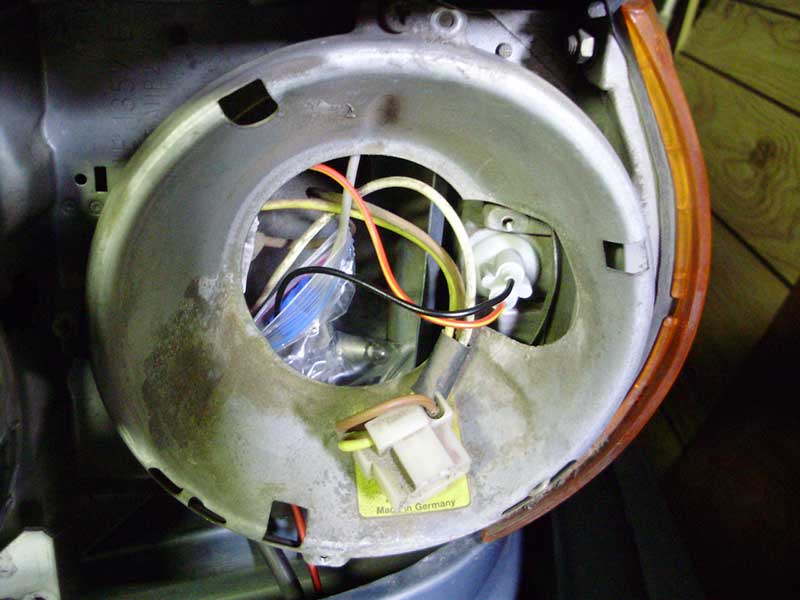
6. Unscrew original side maker socket and remove the original side marker lamp from its location behind the low beam. Remove the lamp but, do not cut off the socket. Connect the Gray Wire of the original side marker socket to the black wire of the new socket. Either scotchlok or strip off a bit of insulation and solder. Put the original lamp and the socket in a baggie tape it all together and push it to the space behind the low beam just in case someone has the desire to return it to factory original)?
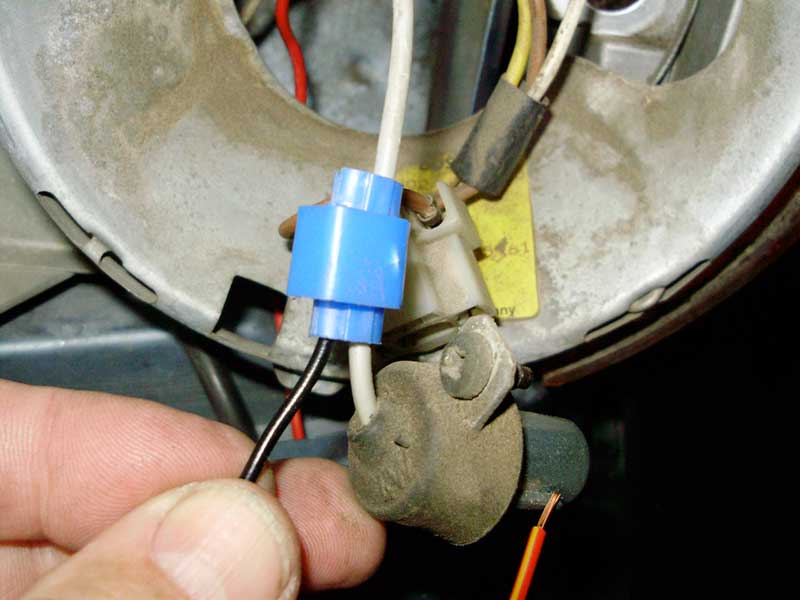

7. Connect the red/yellow wire of the new socket to the new wire coming from the turn signal. Crimp, solder,or scotchlok

8. Connect the new wire to the black /wire at the turn signal. Solder works best.
9. Put the #922 lamp into the socket. Push the socket into the hole where the original side marker socket was. Work it in and it will fit fine. No Ground. If you test it now it will flash faster and the light on the instrument panel will come on.
Not to worry, this will all work correctly after you do the other side. To get the turn signal reflector back in place, gently pull on the wires coming out of the back of the housing as you guide the reflector back into place. Reinstall the lens.
10. Do the same on the other side.
11. If you have some alligator clip test leads you can try this all out before you make permanent connections.
12. NOW IF ALL WENT WELL YOU WILL HAVE SIDE MARKER TURN SIGNALS AS WELL AS THE SIDE MARKER RUNNING LIGHTS.
Good Luck and Have Fun.
Discuss this DIY here.
-Jack M
CategoryDiy