Instrument Cluster Bulb Replacement
on the 2002 SLK 230 (R170 Chassis)
by GerdH
10/29/06
I love my SLK 230, but several bulbs that light up the speedometer, tach and other instruments have gone out. The first two times, the car was still on warrantee, but now I'm on my own. So, it was time to figure out how to replace these dashboard bulbs. I looked on the web and noticed that there is a special Mercedes Instrument Cluster Removal tool. I saw the article by Chris W at Mercedes Shop, which shows how to build one out of a coat hanger. But, it turns out nothing special is needed to access the SLK instrument cluster bulbs.
Here's how I did it:
Start by pulling the steering wheel all the way toward you. Then remove the screw that's just below the steering column.
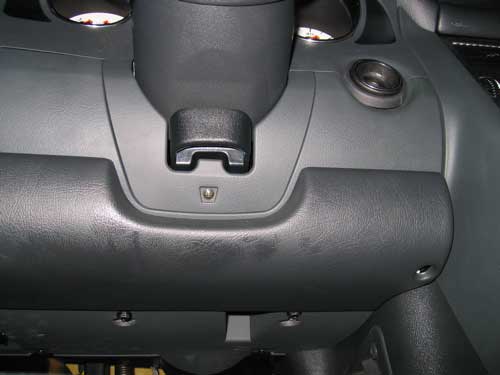
Also remove the two hex screws shown here and the long phillips screw in the hole on the bottom-right of this picture.
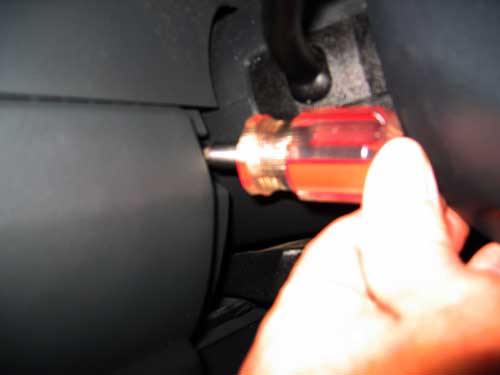
Once the cover is removed, you'll find two more phillips screws that need to be removed -- one on each side of the steering column. A short screwdriver works best here.
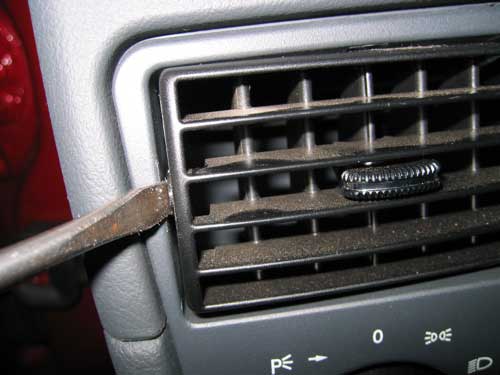
Next, carefully pry out the left air vent with a small flat screwdriver.
This reveals another phillips screw (shown in the next picture). Now remove the fuse panel cover and the phillips screw shown at the top-center of the next picture.
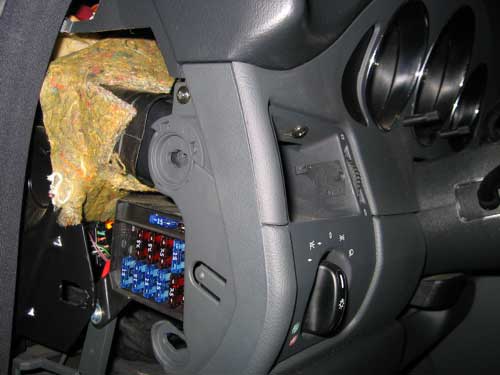
At this point, you can pull the lower dashboard cover down enough to reveal one more phillips screw that needs to be removed:

Also, pull out the ignition key trim.
Now, gently push up on the upper dashboard trim. This allows you to carefully pull out the top of the instrument cluster trim. I used a large flat bladed screw driver.
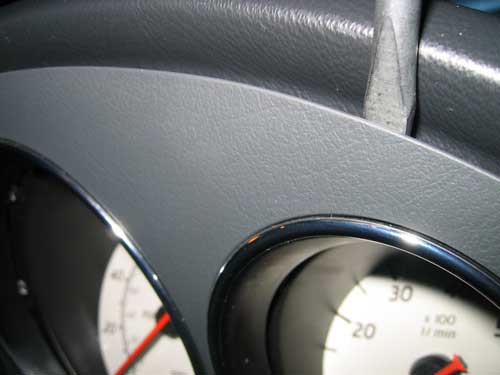
This needs to be done at the center, left and right to free three tabs that look like this:
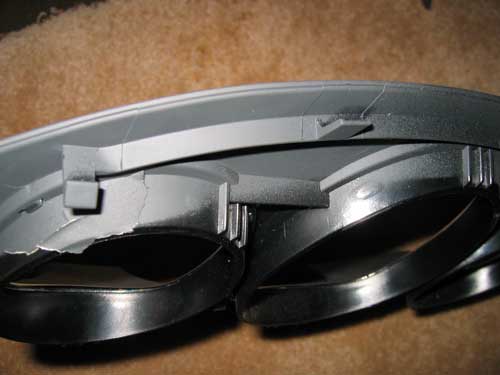
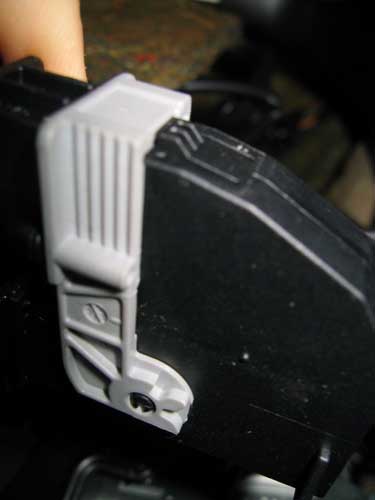
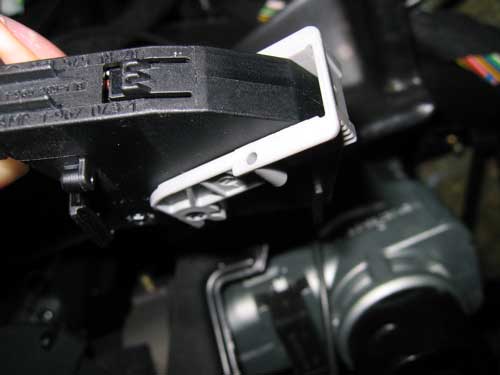
Once the three tabs are free, you can remove the instrument cluster trim. The instrument cluster itself is held in place by four obvious screws. Once you've removed them, pull out the cluster enough to remove the two electrical connectors on the back. These connectors have a gray leaver that needs to be pulled away from the wires. This is done by pushing a small button that holds the leaver in its locked position. Here are pictures of the connector in the locked and unlocked position:
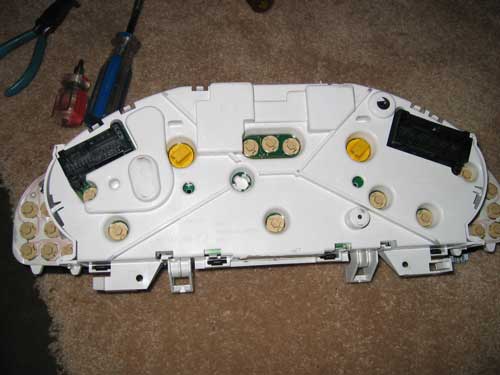
You can now remove the instrument cluster (if you remembered to pull the steering wheel all the way out). All the bulbs are easily accessible from the rear. The two yellow bulb connectors are larger bulbs and the rest are tiny grain of wheat bulbs.
One of the larger bulbs was out on mine (behind the speedometer). I tried replacing it with a standard #194 bulb from Car Quest. This works fine, but they are just a tiny bit brighter than the ones from Mercedes. If you are a perfectionist, like me, you'll have to pay $5.75 per bulb at the Mercedes parts counter for the illumination to be correct (Mercedes part A 001 544 55 94). But, enjoy the free latte while you are there!
Assembly is the reverse. I recommend turning the ignition on once you've installed the instrument cluster. That's to make sure everything lights up the way it's supposed to. You'll have to reset the clock and trip odometer.
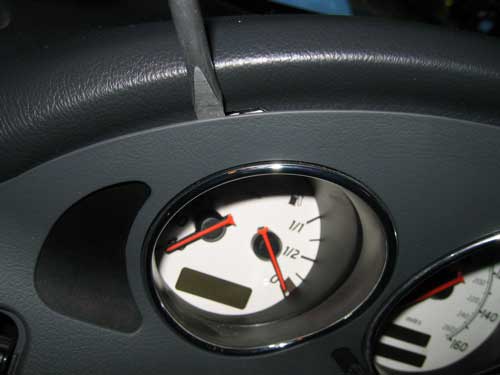
It took a little bit of fiddling to get the heat vent on the left side connected correctly and to get the two parking light indicators lined up. The easiest way to do this is to pull off the cover around the light switch and get everything lined up. You don't need to remove the knob.
Good luck and enjoy your new instrument cluster lights!
-Gerd
CategoryDiy