Revision [585]
This is an old revision of W123BlowerBrush made by WebMaster on 2008-05-30 15:41:40.
Replacing the Blower Motor Brushes
on the 1982 300D (W123)
by bgkast
5/30/08
This procedure is for the replacement of the brushes in blower motors from W123s with the late-type CCU. W116s and W123s with other types of climate controls use similar motors, but the removal of the fan motor may be different.
1) Remove passenger knee panel
2) Unplug blower motor cord and remove screws that hold the blower motor bracket in place
3) Remove the blower motor from the car
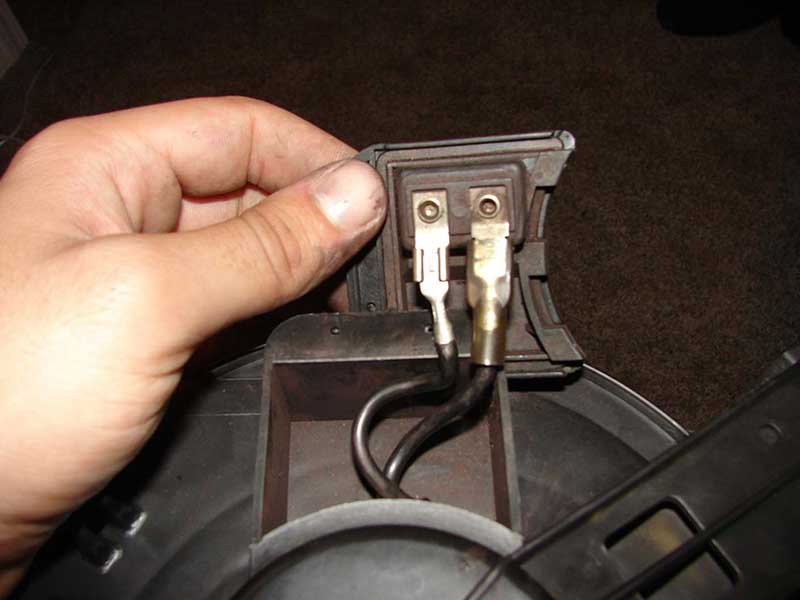
4) Remove snap clip from electrical connector panel

5) Unplug motor wires from electrical connector. One wire has a male end and one has a female end to prevent mixing up of the two wires.
6) Remove the 7mm bolt that holds the motor to the bracket
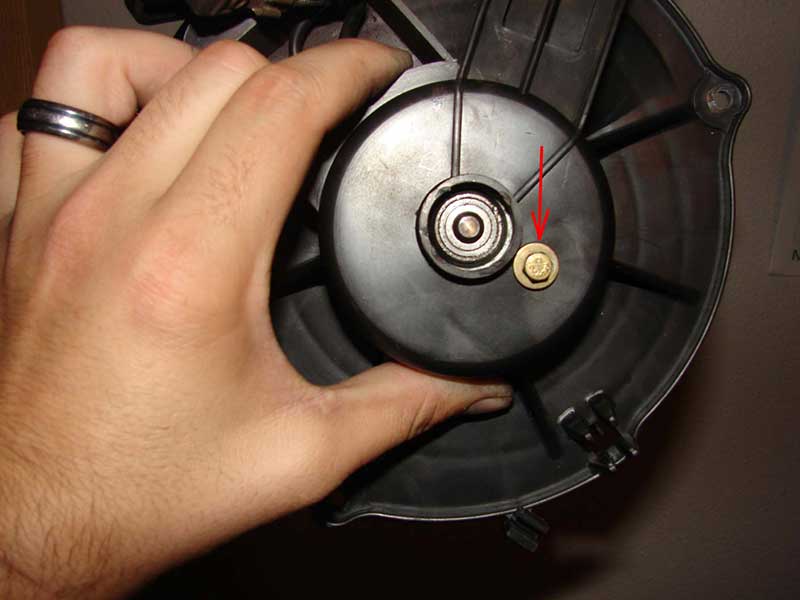
7) Using your thumb through the hole in the center of the bracket press the motor out of the bracket
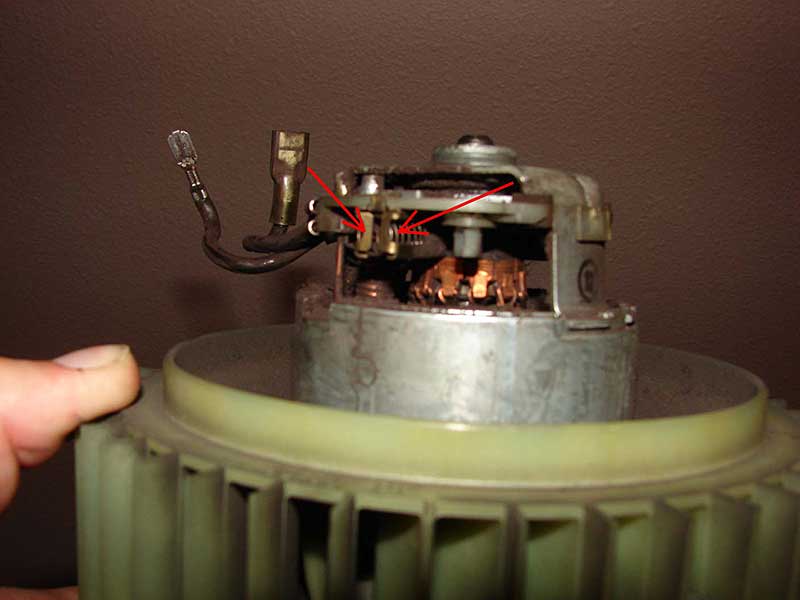
8) Carefully bend the tabs that hold the brushes and springs in place back and remove the Springs and brushes. Clip the brush wire as close to the brush as you can.
9) Locate similar brushes with attached wires at ACE or other hardware store. My hardware store had some with attached wires that were slightly taller and more narrow in cross section than the old brushes. Remove the disc and spring from the new brushes if necessary. Use a bench grinder to create a chisel tip in the brushes, and to slim them down (if necessary) so that they slide freely in the brush holders.
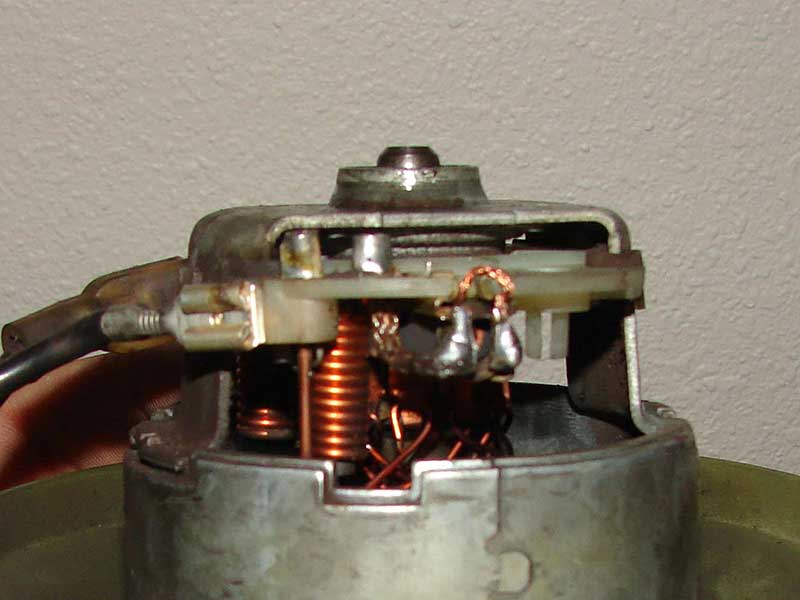
10) Install the brush and spring in the holder and carefully bend the tabs back into place. Be sure that the wire from the brush is free and will allow the brush to travel as it wears.
11) Solder the wire from the motor that used to lead to the brush to the wire from the new brush. I chose to solder the wires to the tabs on the brush holder for a more solid connection.
12) Be careful if you test the motor when it is not mounted in the car, the motor has a lot of torque and will try to twist out of your hand.
13) Reinstall the motor into the bracket, and install the motor back in the car.
14) Enjoy the ability to defrost.
Discuss this DIY here.
-bgkast
CategoryDiy