View Single Post
  #4  
Old 02-24-2011, 04:37 AM
Stretch's Avatar
Stretch Stretch is offline
...like a shield of steel
 
Join Date: Sep 2009
Location: Somewhere in the Netherlands
Posts: 14,461
Taking it apart (3)

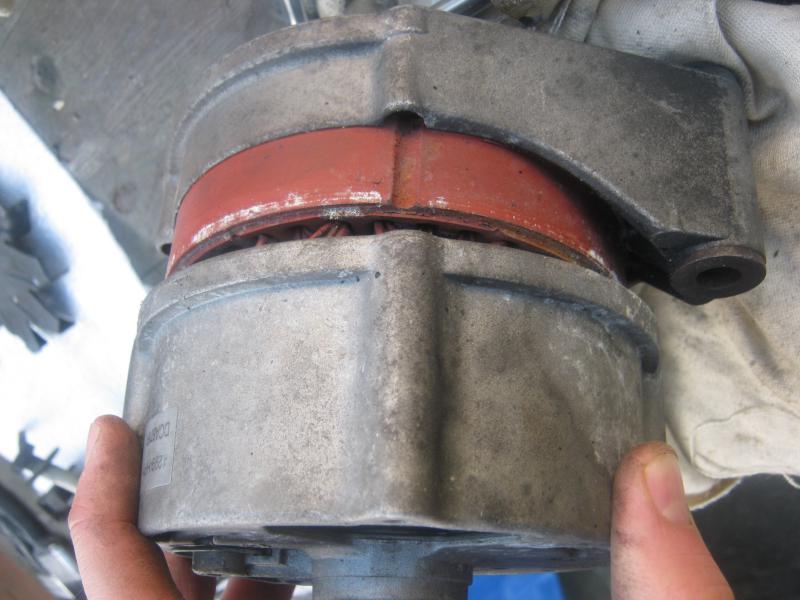
Take your time splitting the casing once you've removed the screws. If you need to pry the casing apart please be careful with how you use your screw drivers! Start by taking off the casing at the front (pulley end)...


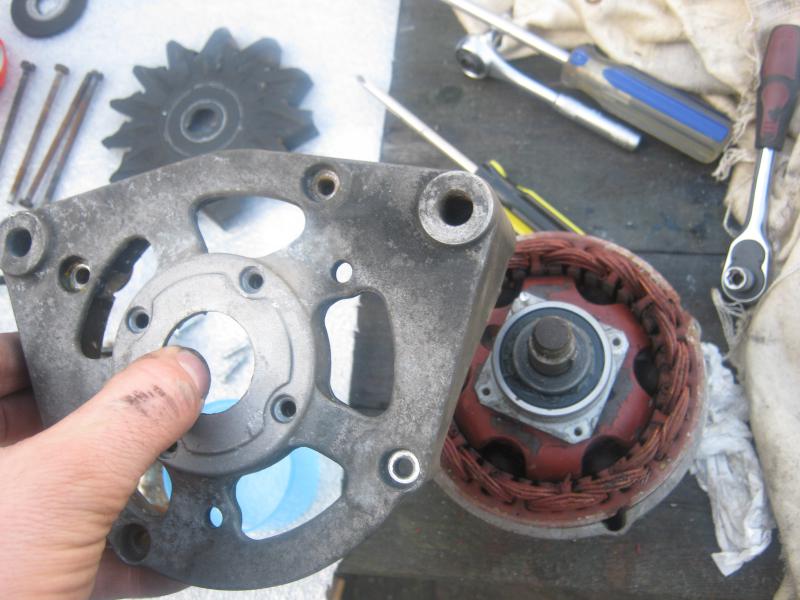
...and you should be able to see the rotor inside. If you can, lift the rotor out. Mine was a bit stuck so I had a little bit more trouble removing the back part of the casing. With care you can “ping” the stator away from the back casing...


...and access four 7mm hex head screws that hold the plastic electrical assembly housing (which contains the diodes etc) in the back cover.


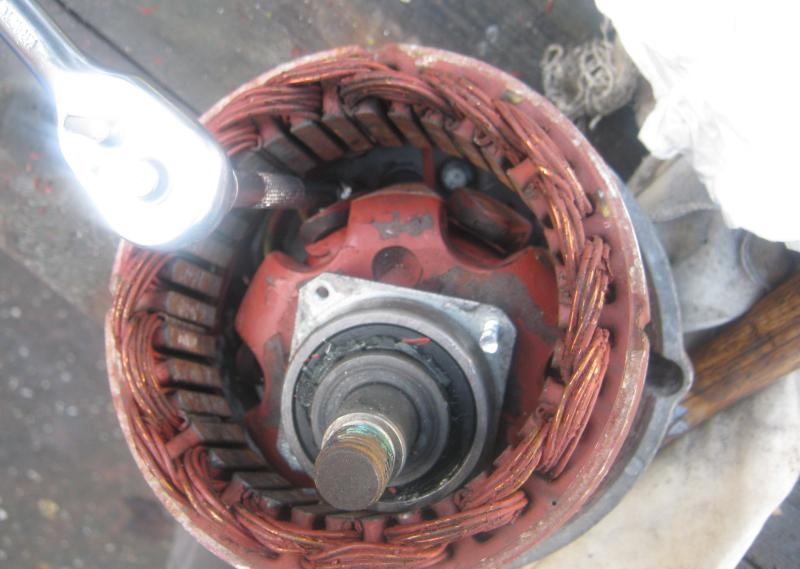
You need to be careful at this stage otherwise you'll have to do some soldering! Three wires run from the armature to this electrical assembly – don't break them!

You should now be able to pull the stator (and rotor if it was stuck) away from the back casing.

Attached Thumbnails
Refreshing the alternator on an OM617-alternator-split-body1.jpg   Refreshing the alternator on an OM617-alternator-split-bidy2.jpg   Refreshing the alternator on an OM617-alternator-gently-pull-up-stator.jpg   Refreshing the alternator on an OM617-alternator-reposition-stator-reach-bolts-underside.jpg   Refreshing the alternator on an OM617-alternator-rotor-stator.jpg  

__________________
1992 W201 190E 1.8 171,000 km - Daily driver
1981 W123 300D ~ 100,000 miles / 160,000 km - project car stripped to the bone
1965 Land Rover Series 2a Station Wagon CIS recovery therapy!
1961 Volvo PV544 Bare metal rat rod-ish thing

I'm here to chat about cars and to help others - I'm not here "to always be right" like an internet warrior


Don't leave that there - I'll take it to bits!

Last edited by Stretch; 02-24-2011 at 04:57 AM.
Reply With Quote