

|
|
|
|
|
|
#1
 09-05-2013, 03:44 PM
|
||||
|
||||
|
w123 Wagon - Adding Rear Headrests - DIY
I added head rests to the rear (60/40) seat backs on my friend's 1984 300TD.
I purchased the complete seat backs with head rests from another car but they weren't perfect. The covers on the seats had a double stitch on the seat ribs and the carpet on the backs was dark brown. I disassembled both sets of seat backs so I could take the head rest receiving hardware from the one set of seats and swap them into the car's current seats. This way I keep the original look and just add the head rests. First I removed all the hardware from each seat back. 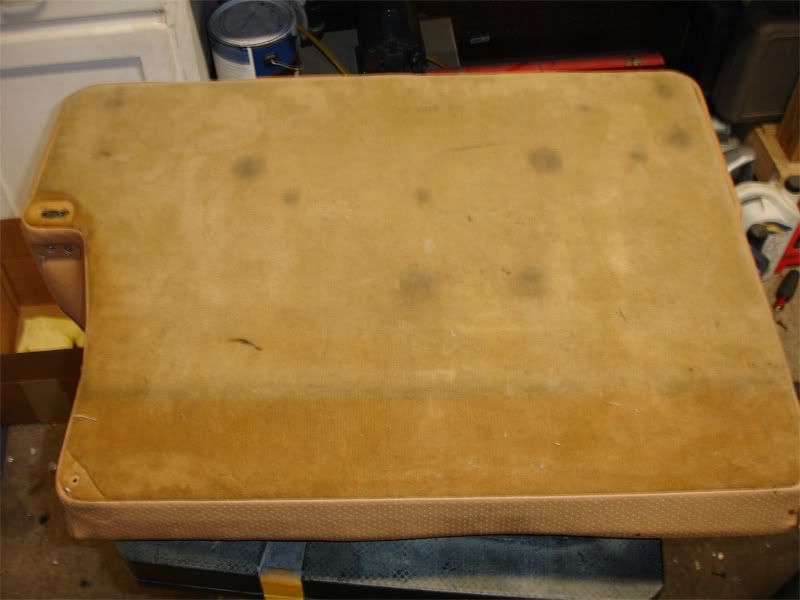 It's easiest to start in this corner to begin pulling the seat cover off. 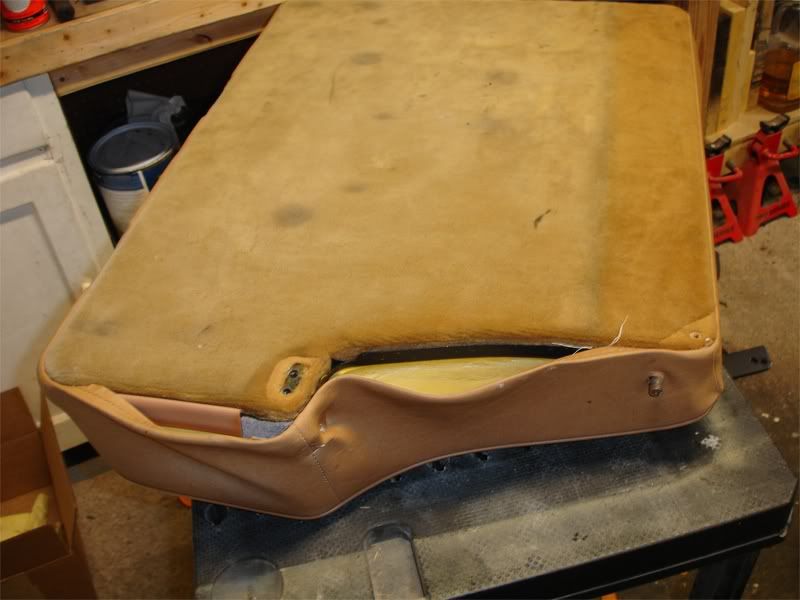 The edge is folded over and stitched to a plastic band. That band and the edge need to be pulled out of the lip on the seat back. You need to compress the seat foam to give enough slack in the cover to remove it all the way around. 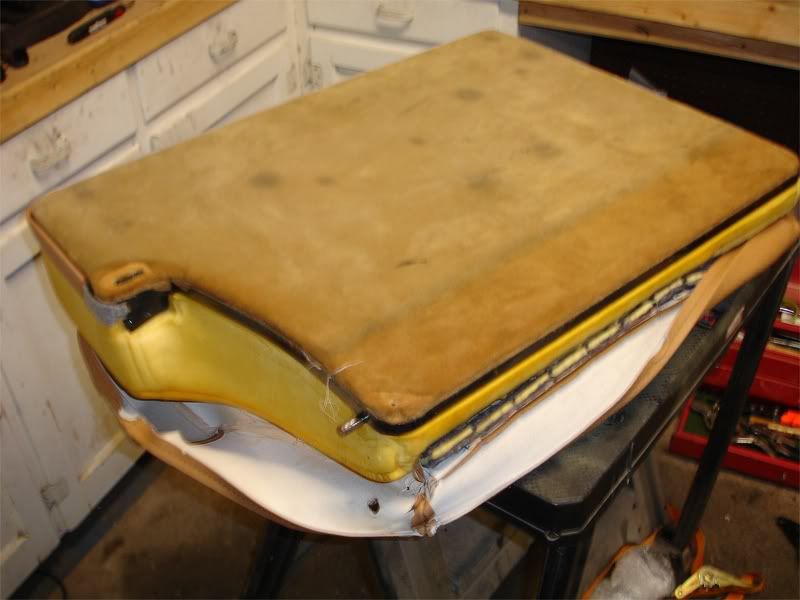 Once the edge of the cover is released completely, you can lift the cover off enough to see a metal rod in the seat cover clipped to a metal rod in the seat foam. The clips need to be pushed down and pried to the side with a screwdriver to release the cover from the foam. 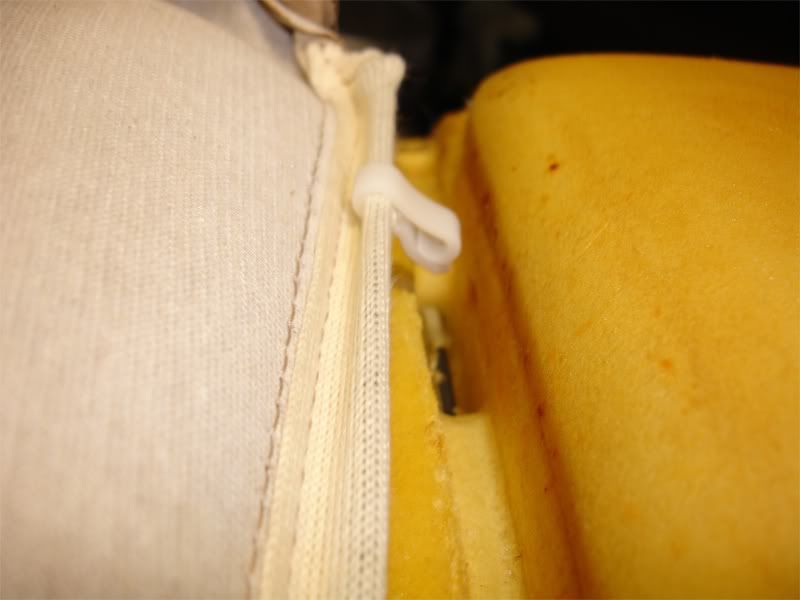 Now that the cover is off, you need to push the seat belt retaining bands through the foam so you don't rip them off. 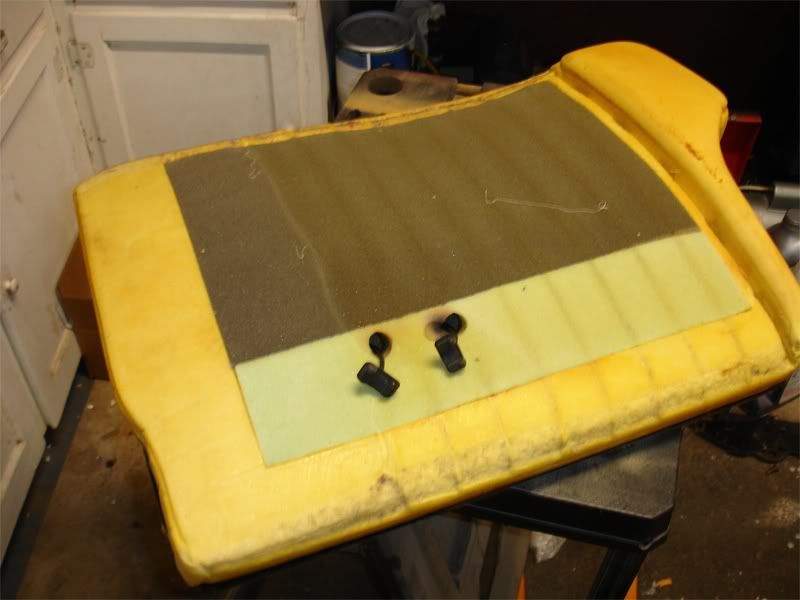 Then you can lift off the foam. 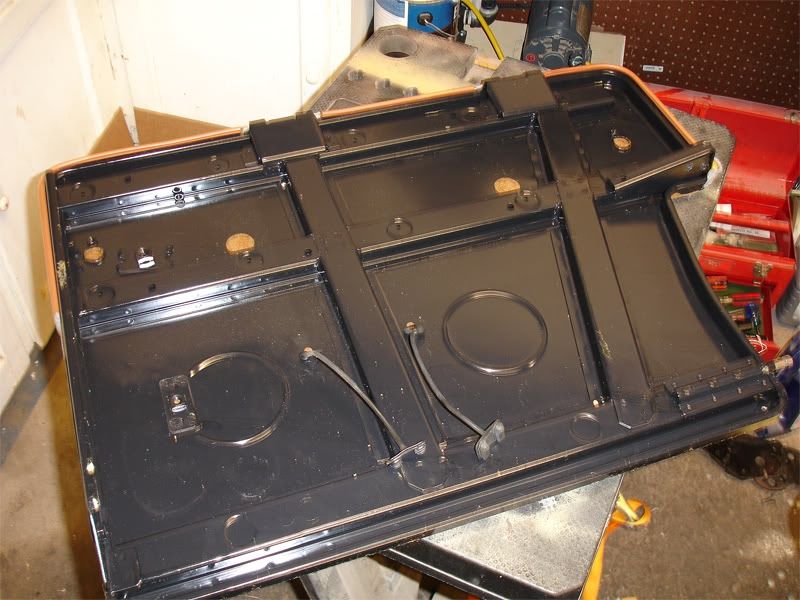 Here's the bracket in the donor seat. Each head rest has a set of brackets like this. The two silver clips need to be pushed off so the chipboard cover can be removed. 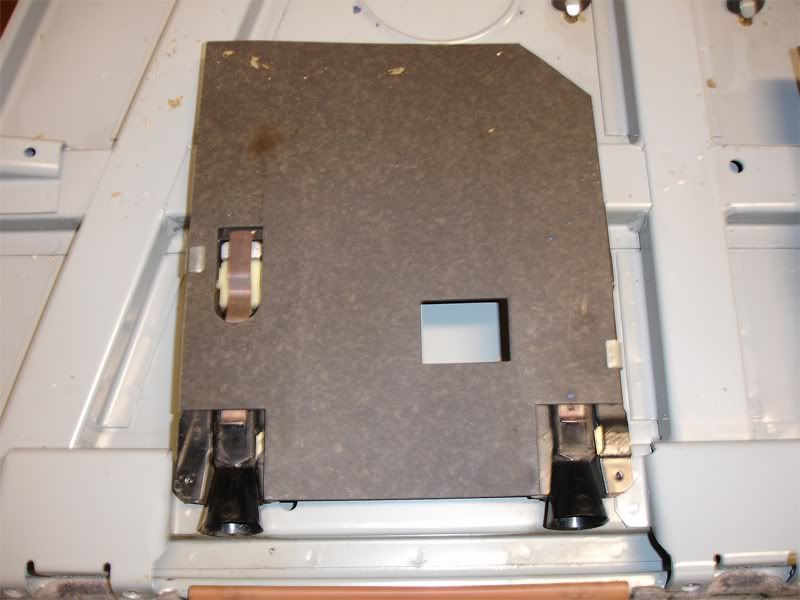 The two flat springs hold the post cups and the white nylon post bushings in place. On the left side it also holds the post lock button down. 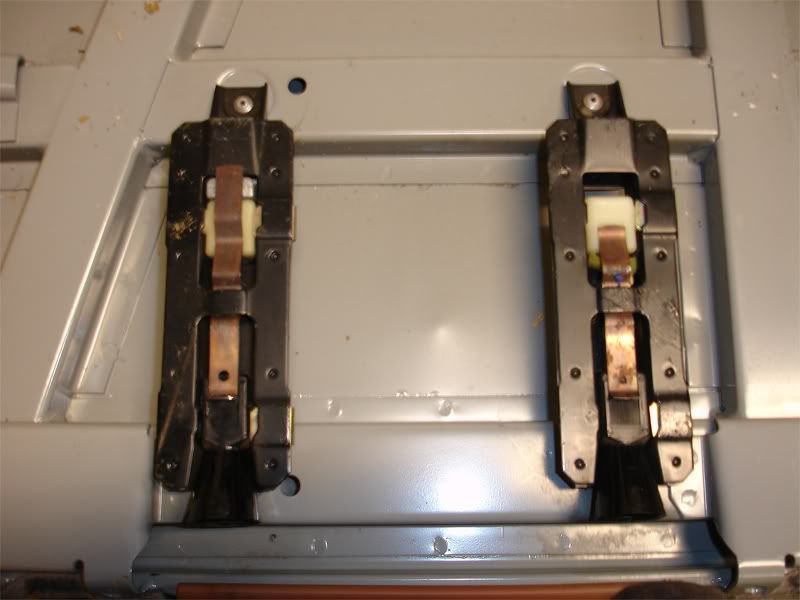 Remove both of the flat springs by pulling them through so you can remove the post cups and expose the pop rivets. 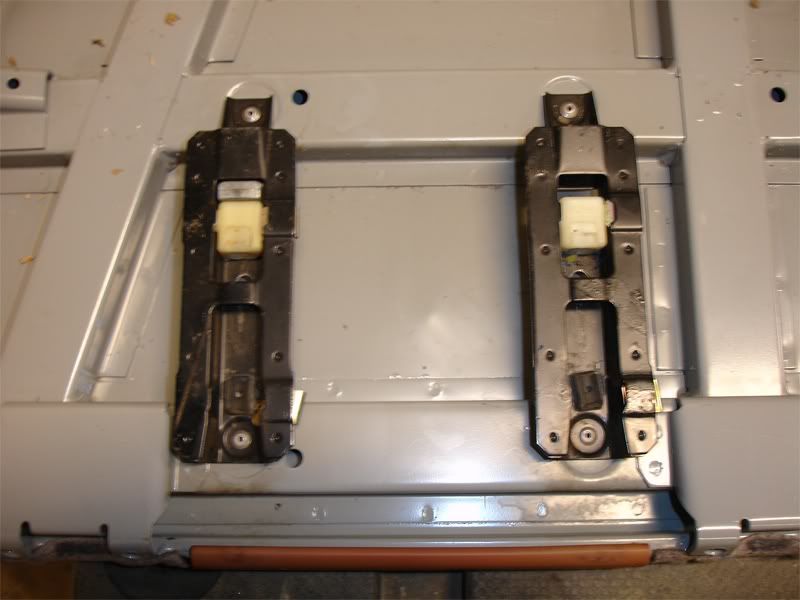 I drilled out the rivets and removed all the brackets. Here is the car's seat waiting for the brackets. All the holes are already there. 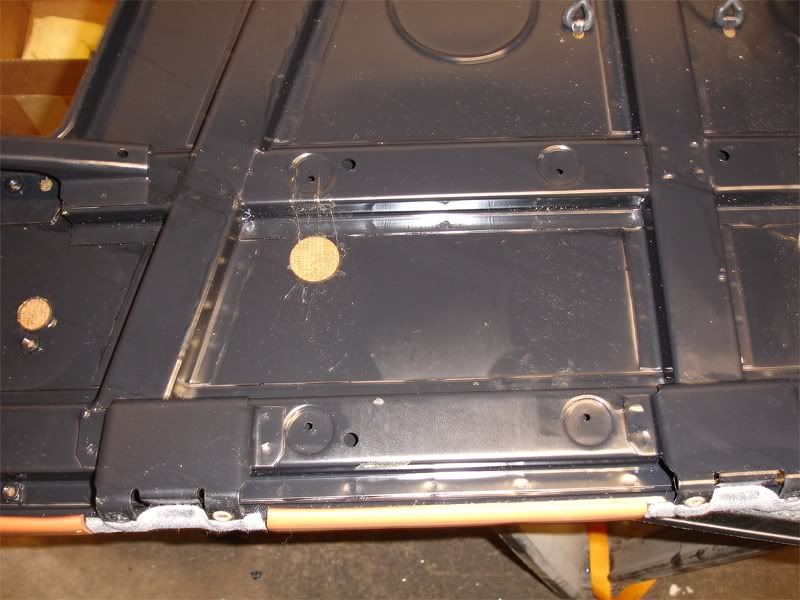 I pop riveted the brackets into the car's seats. 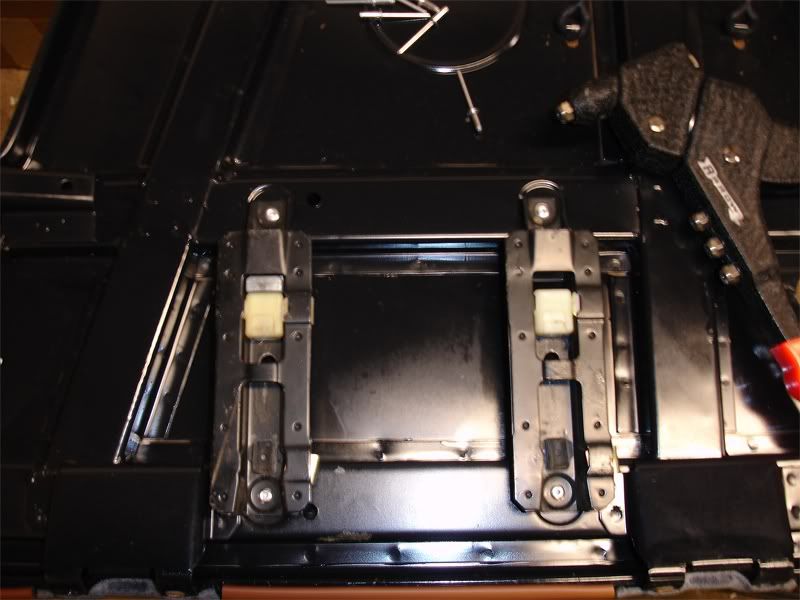 Then I replaced the post cups and flat springs. 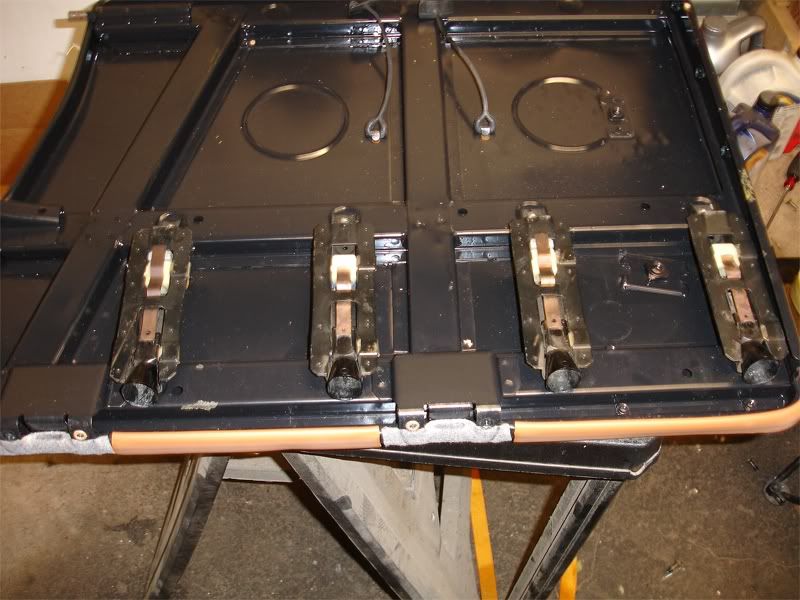 The chipboard covers got clipped back on. 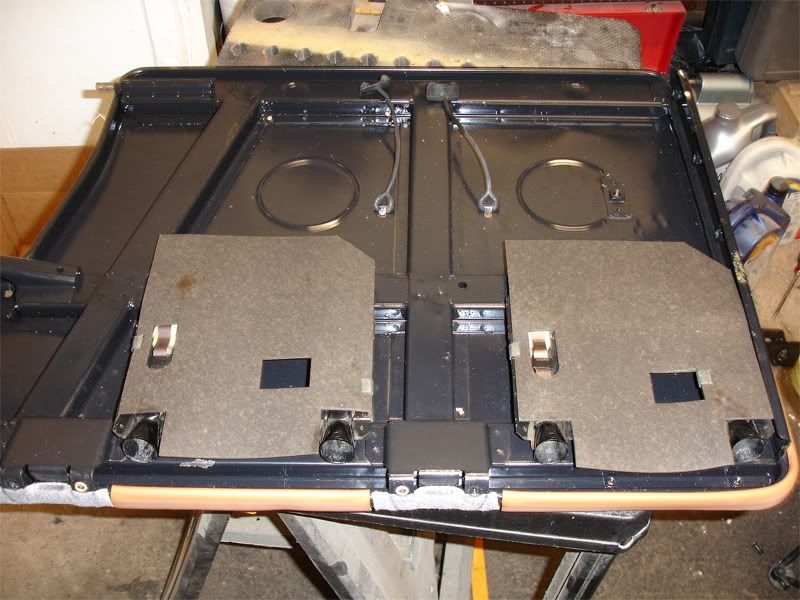 I needed to trim the seat's foam to allow for the new hardware in the seats. Here's all that needs to be removed.  Here is the foam all trimmed and ready.  I lined up the covers from both seats to transcribe the location for the post hole trim rings and installed them on the car's seat covers before doing the reverse of the above steps and putting the seats back together. Here's the car with the rear head rests complete. 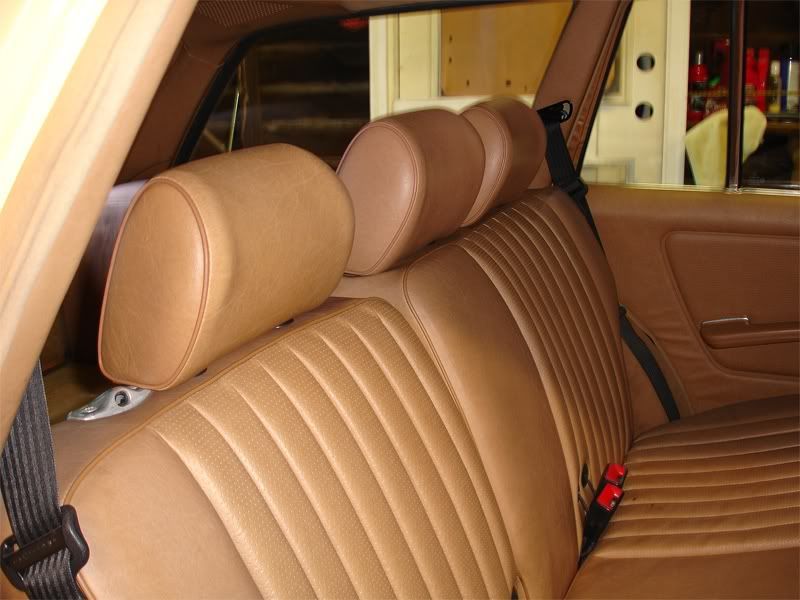
__________________
Chad 2013 Jeep Unlimited Rubicon OBK#44 "Pleasure in the job puts perfection in the work." - Aristotle (384-322 B.C.) SOLD 1985 300TD - Red Dragon 1986 300SDL - Coda 1991 - 300TE 1995 - E320 1985 300CD - Gladys 2006 Nissan Pathfinder LE 1998 Acura 3.0 CL 
|
| Bookmarks |
|
|


 Threaded Mode


