

|
|
|
|
|
|
#1
 08-19-2012, 04:39 PM
|
||||
|
||||
|
W126 Dual Airbag Retrofit Project
W126 Dual Airbag Retrofit Project
I just spent the last week and a half of a blissful vacation retrofitting dual airbags into my 1985 300SD. I used components pick and pulled from 1989-1991 U.S. models, to include the knee bolsters with oddments trays. I figured that since Mercedes adapted the later model W126 cars to work with dual airbags using the same platform as my earlier car by just creating new parts to facilitate the change I should be able to do the same through retrofitting these same parts myself. This is similar to the single to dual airbag retrofit project I did on my first W124 ( Passenger airbag retrofit project completed - Pics - Benzworld.org - Mercedes-Benz Discussion Forum ) ( W124 Passenger Airbag Retrofit Project Completed (with pics) ). So for the last few years I have been gathering parts and illustrative pictures needed to complete the task. My intent has been to use only OE parts as they were used on the newer models, and I have been for the most part successful. I did the work at my parents vacation place in the Adirondacks Park in upstate New York and as a consequence I had only what tools and spares I packed with me. 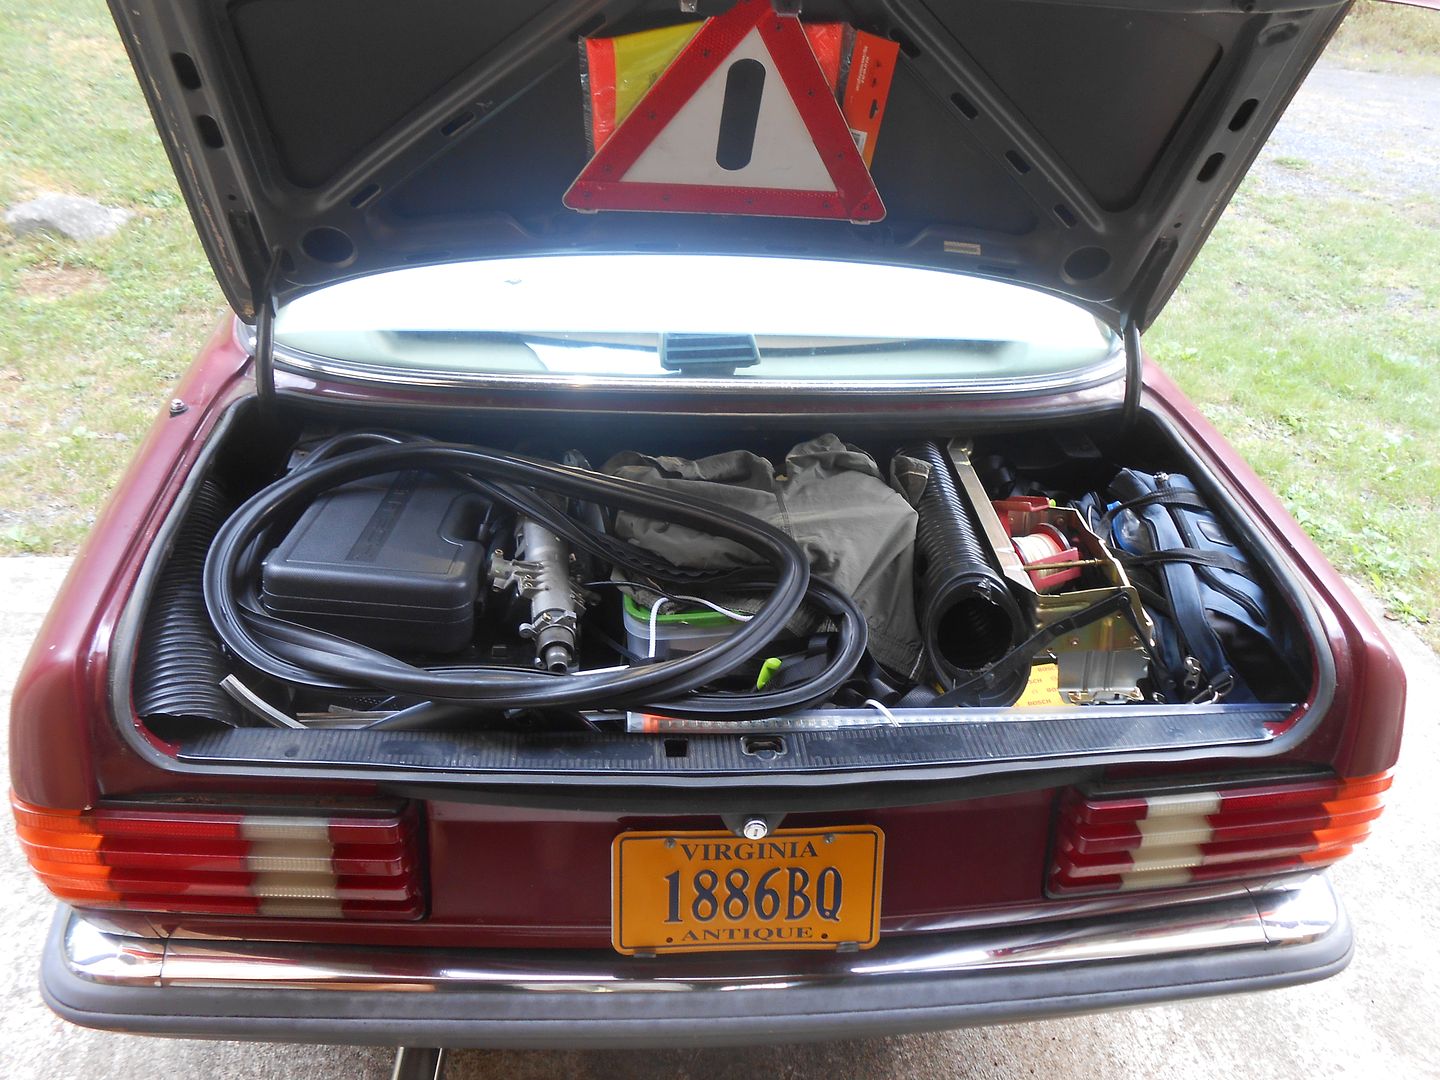 For the most part I brought everything I needed with me. The only exceptions to that was the need to locally purchase a hack saw blade to trim some lower portion of the dash and some contact cement to reafix two carpet pieces at the front of the rockers. Additionally, I did not anticipate that I would need to replace certain of the climate control ventilation tubing that I discovered is sized differently to fit past the knee bolster and the increased volume of the passenger airbag into the dash. Because of this I ended up reassembling the car without this ventilation tubing in place, but I will install it all once I get the parts upon subsequent pick and pull yard trips as it is available. The project is a little more complicated than what would be appropriate for a DIY write-up. Nevertheless, I took, as many pictures as necessary to enable someone else to replicate the effort without having to take the missteps through which I had to work. Below are a smattering of pictures of the various steps I had taken. Here is a link to the album should you want simply look through that; however, keep in mind that not all pictures are of the way I finally worked things in and there are a number of sample pictures. Also, I completed an number of other projects while I was at it (e.g. run cabling for in-trunk CD changer, evaporator drain tube, scrub carpets, better armrest, retrofit in a generation II dome light, replace cracked center brake light, replace rear window seal, etc. . .). Airbag Retrofit pictures by pwogaman - Photobucket First I needed to completely remove all seats and carpeting for access to the cable trays (I had already removed the rear seat to make addition room for and prevent damage from my 75 pound dog). My helper. 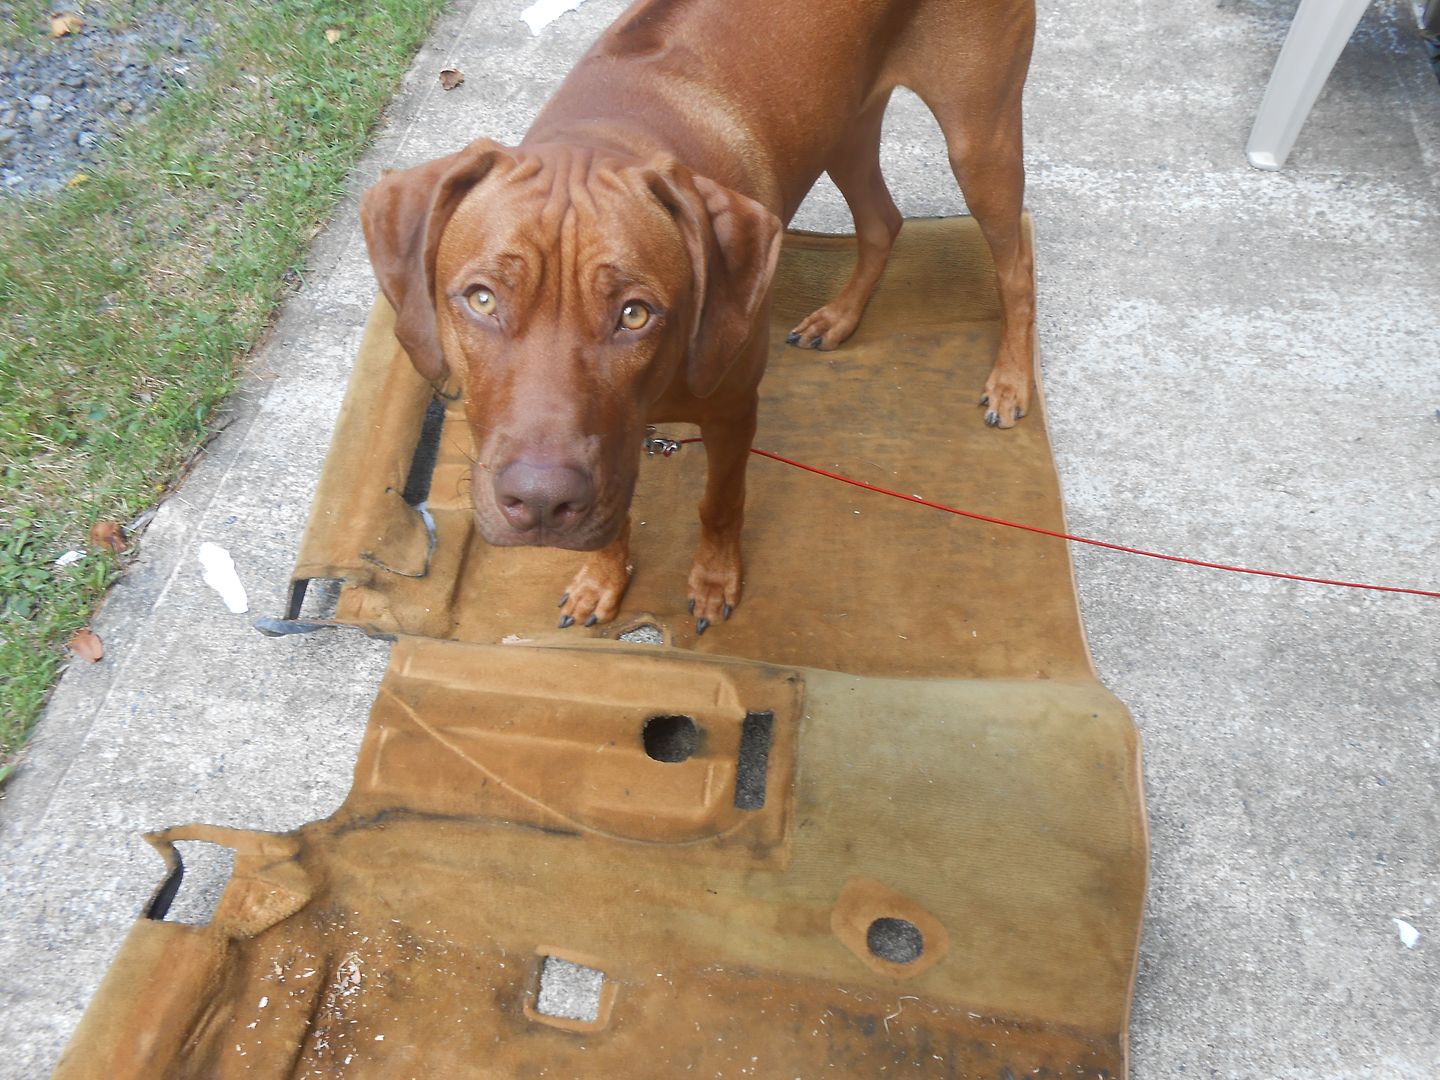  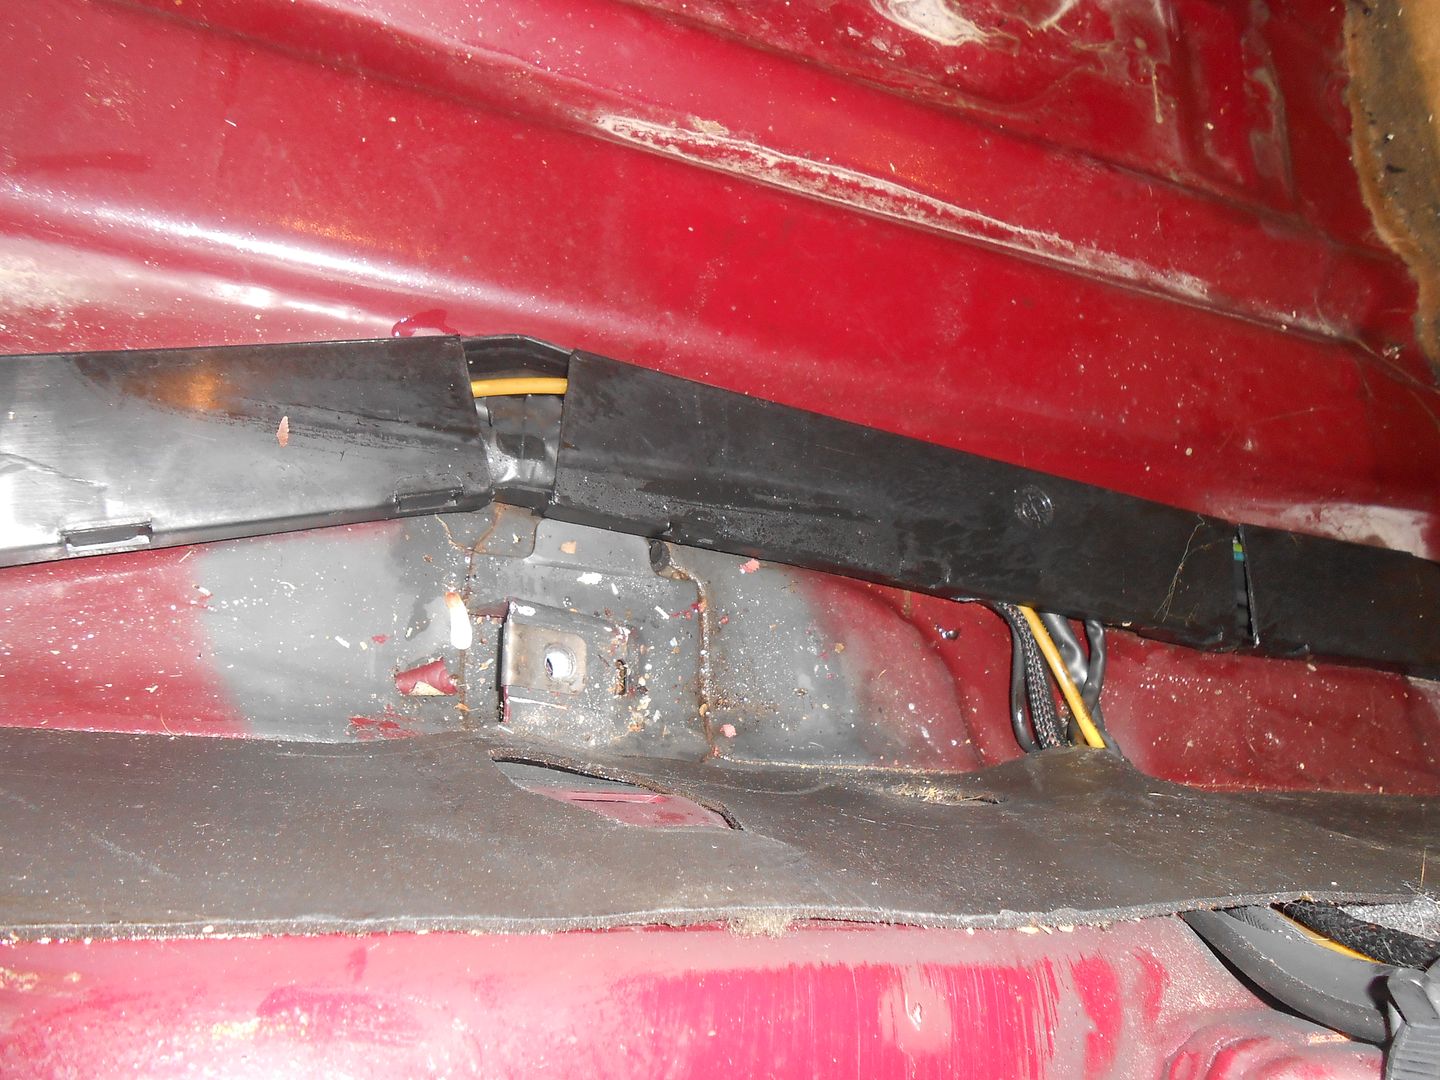 I then needed to lay in the new wiring harness and control module. As with my W124 project, I taped the new cables with green tape. I found there was no W12 grounding point on my 85', so I tapped in with the control module mounting. The 85' module grounded in behind the instrument cluster so I also spliced that in to the grounding point I used at the control module. For the power line, I taped into the 85's line by soldering it into the newer plug. 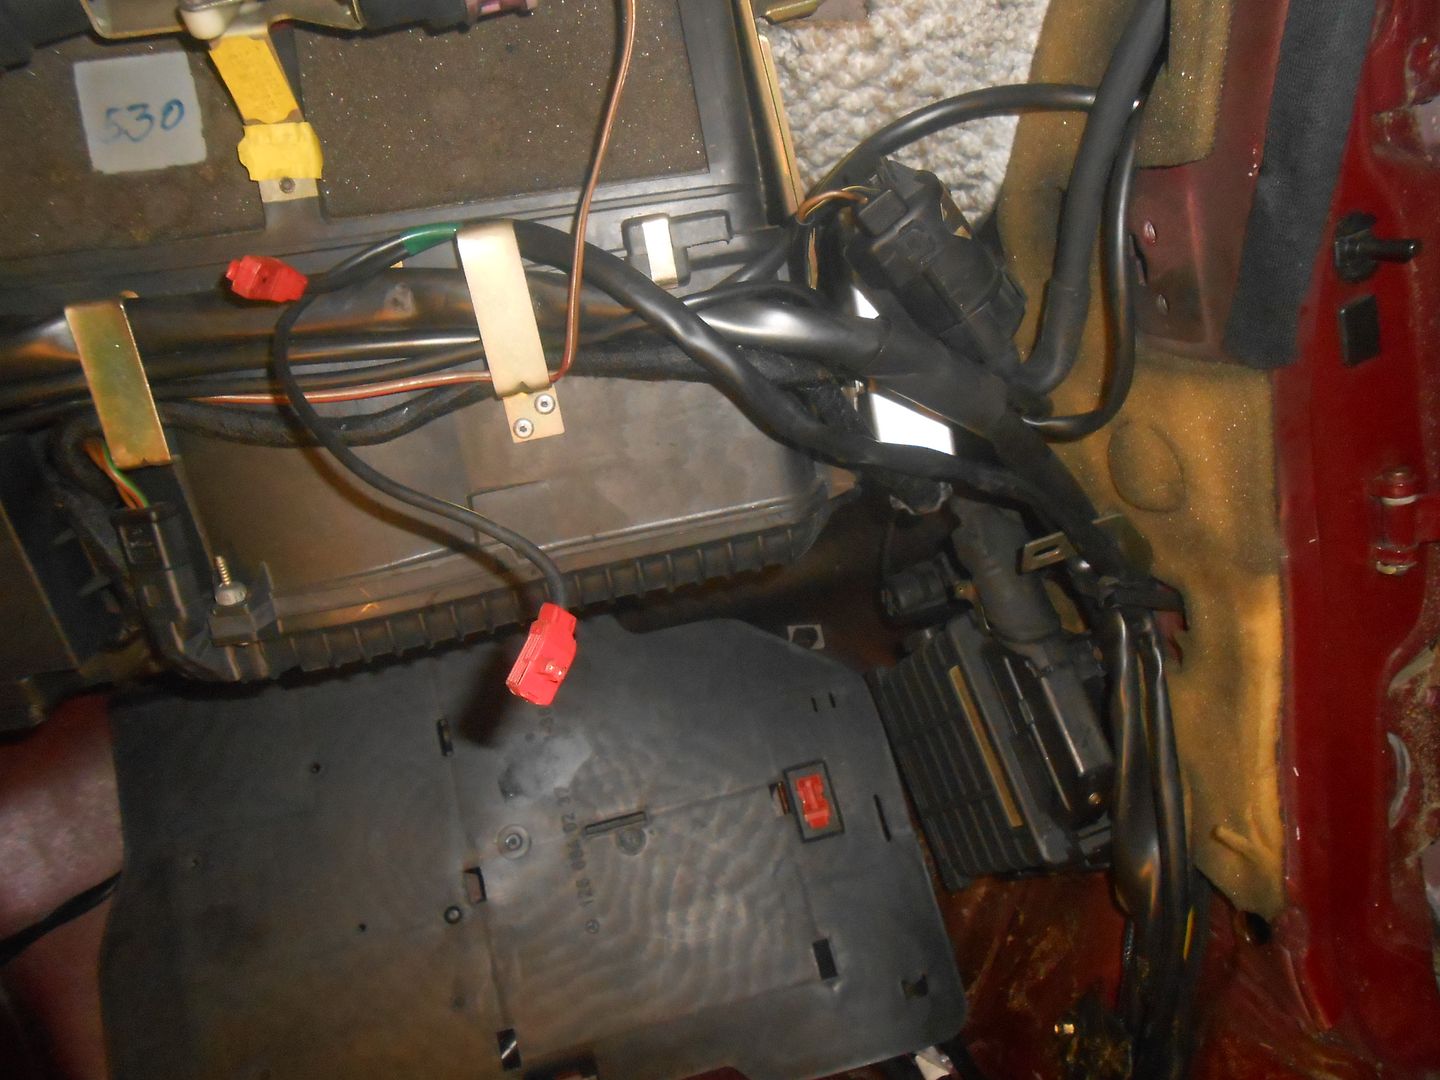 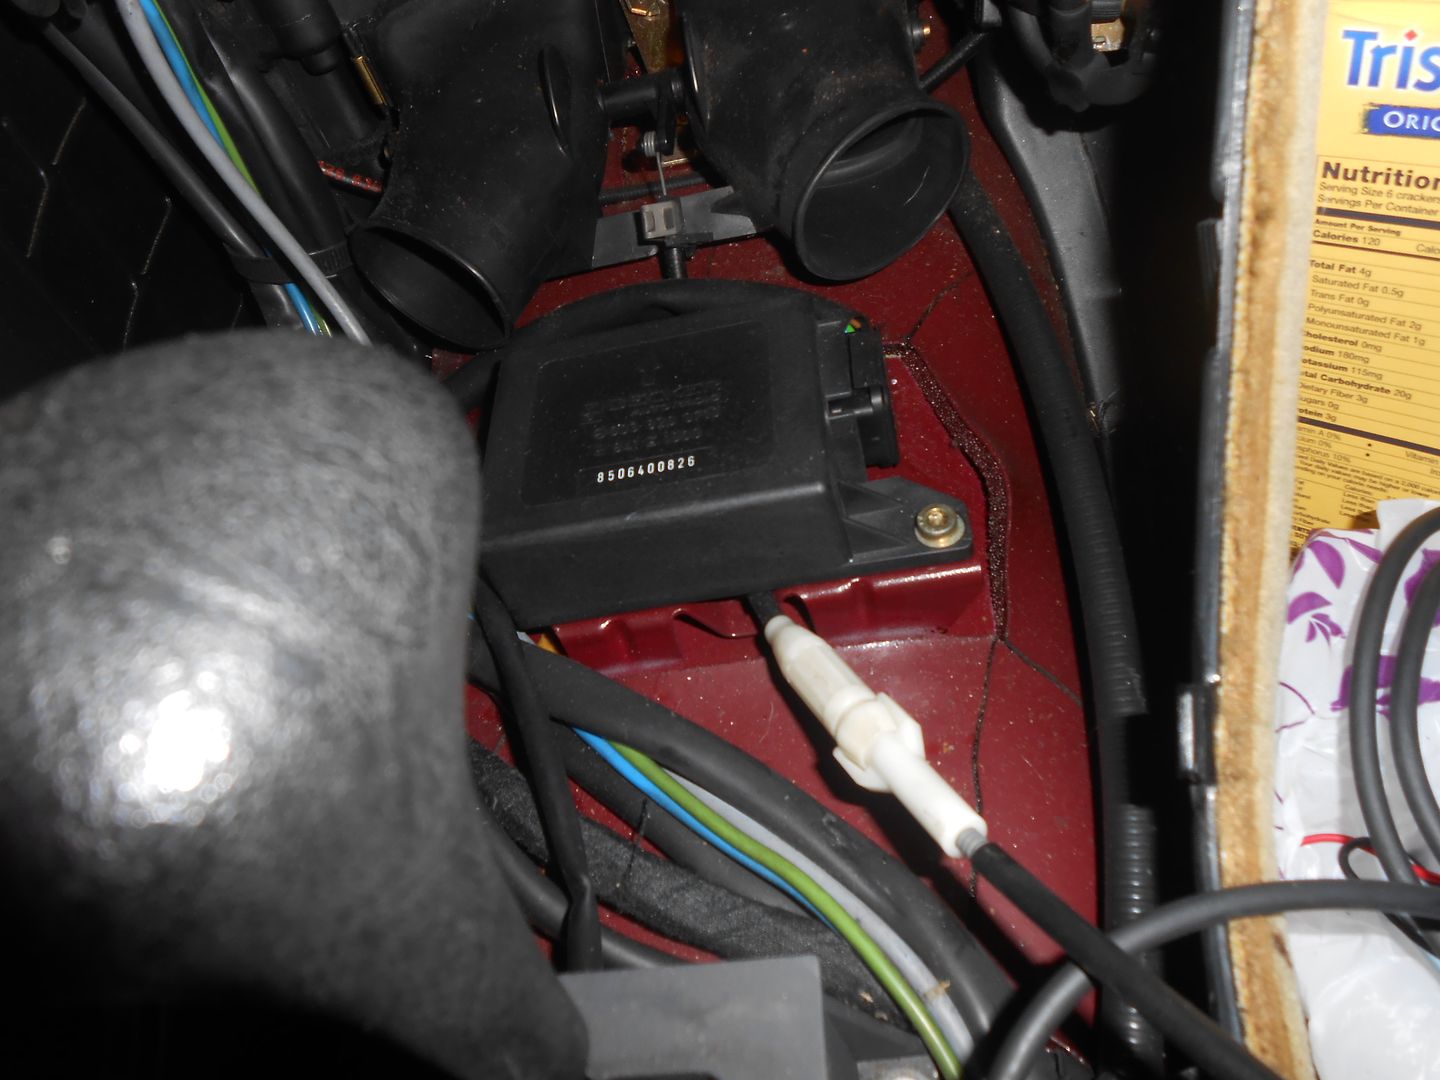 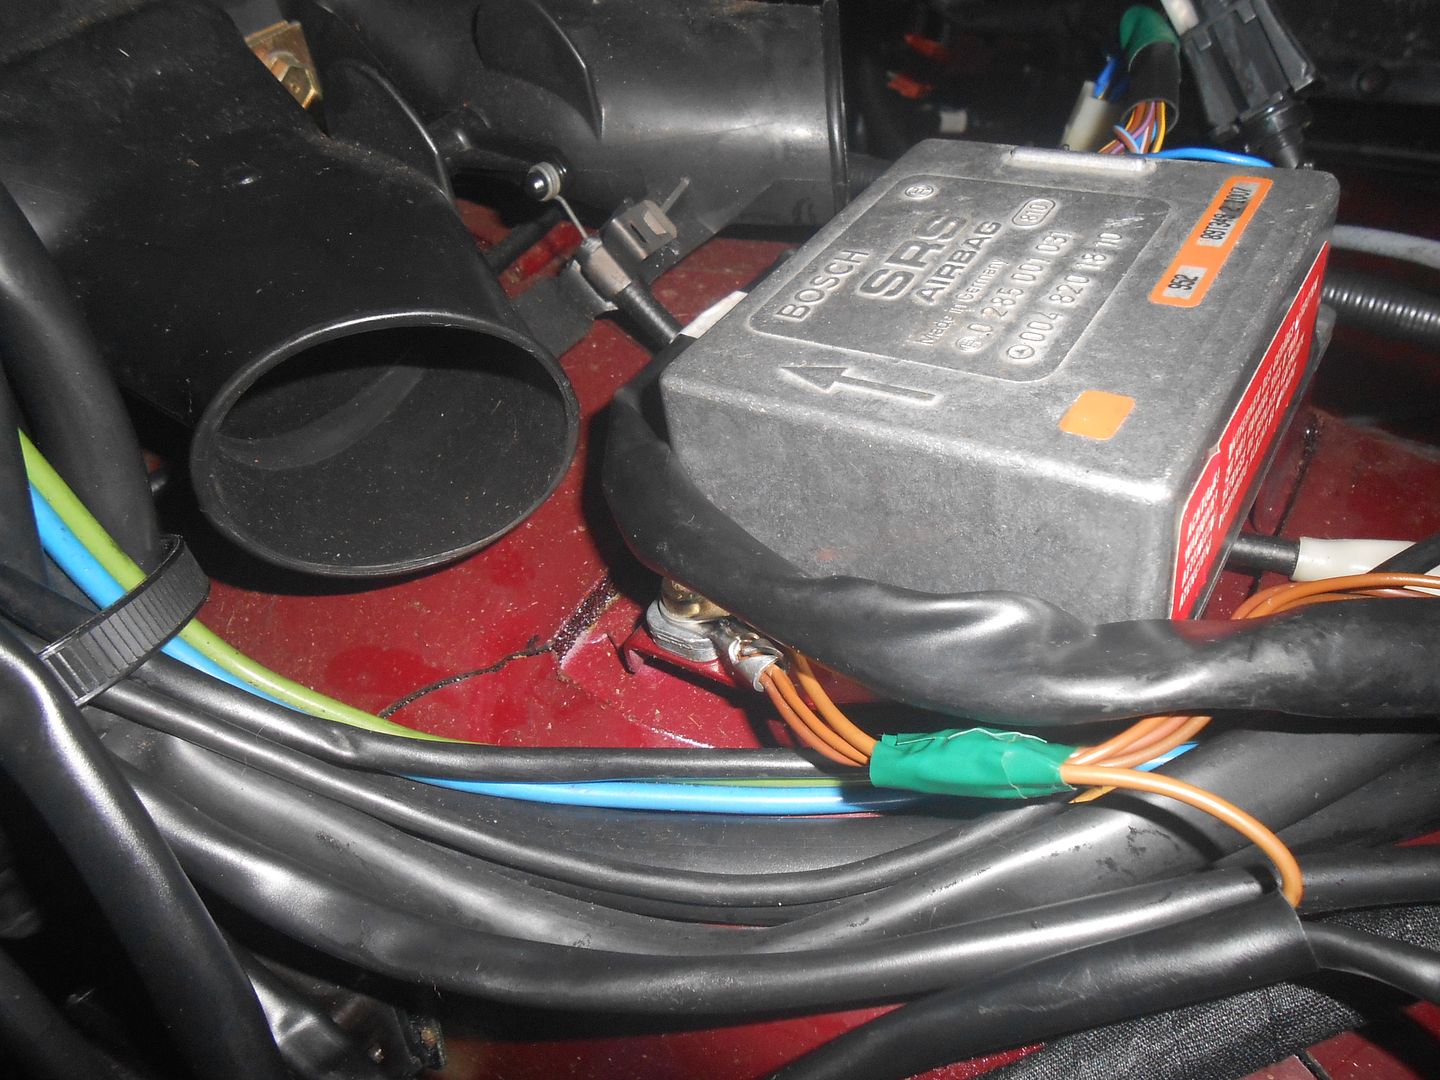 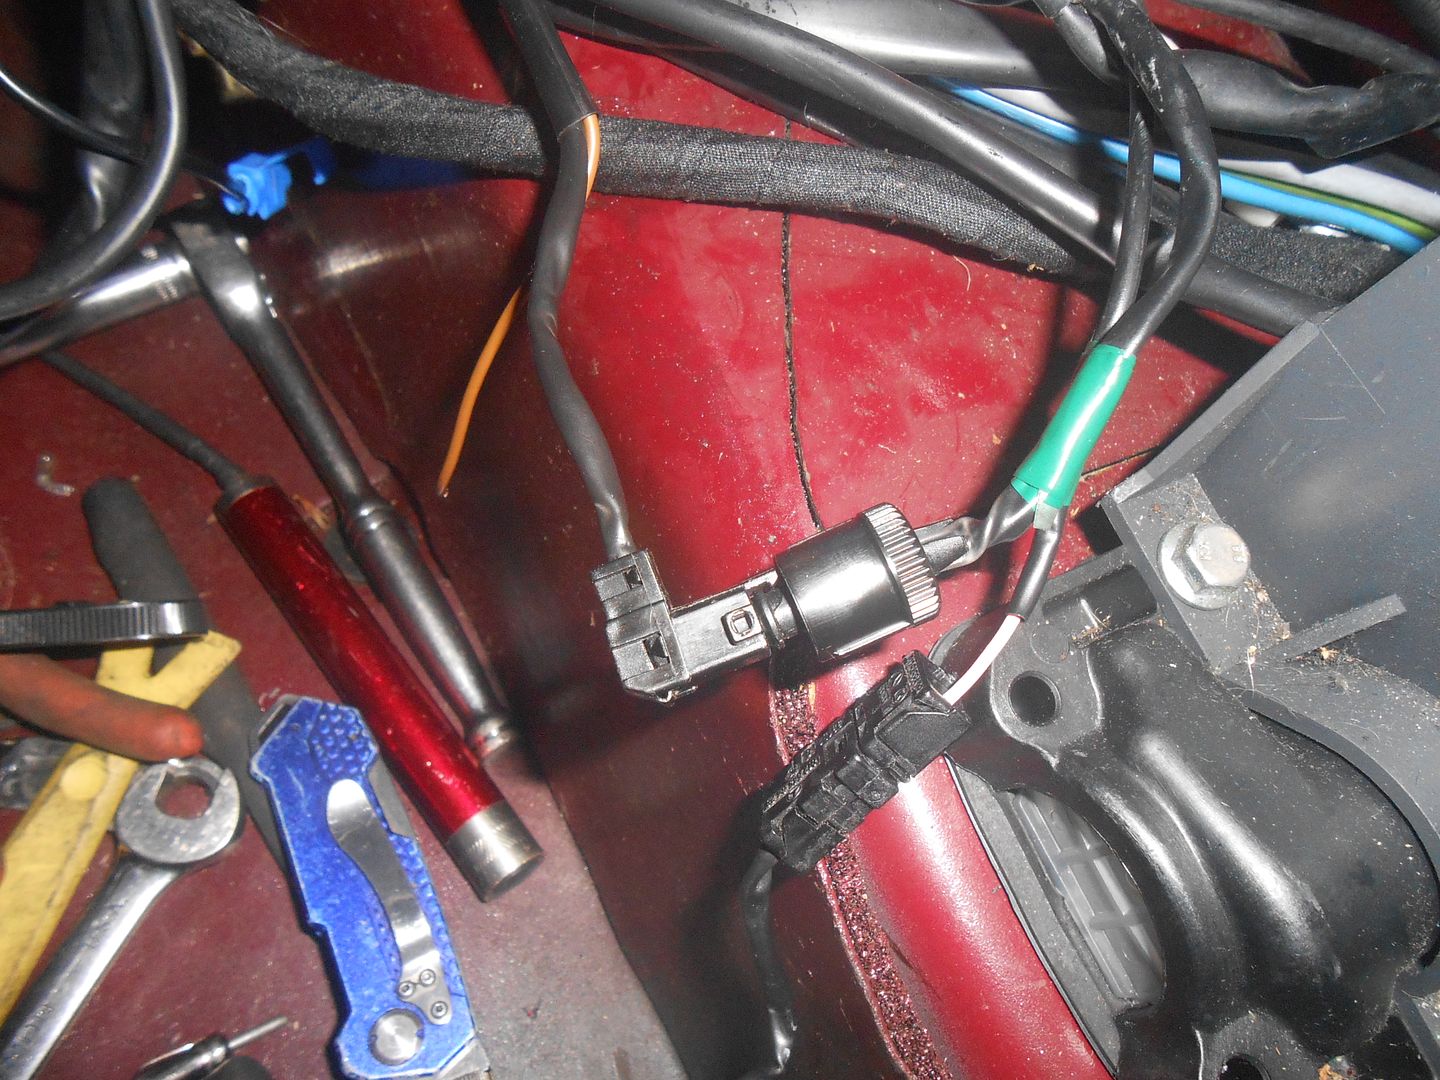 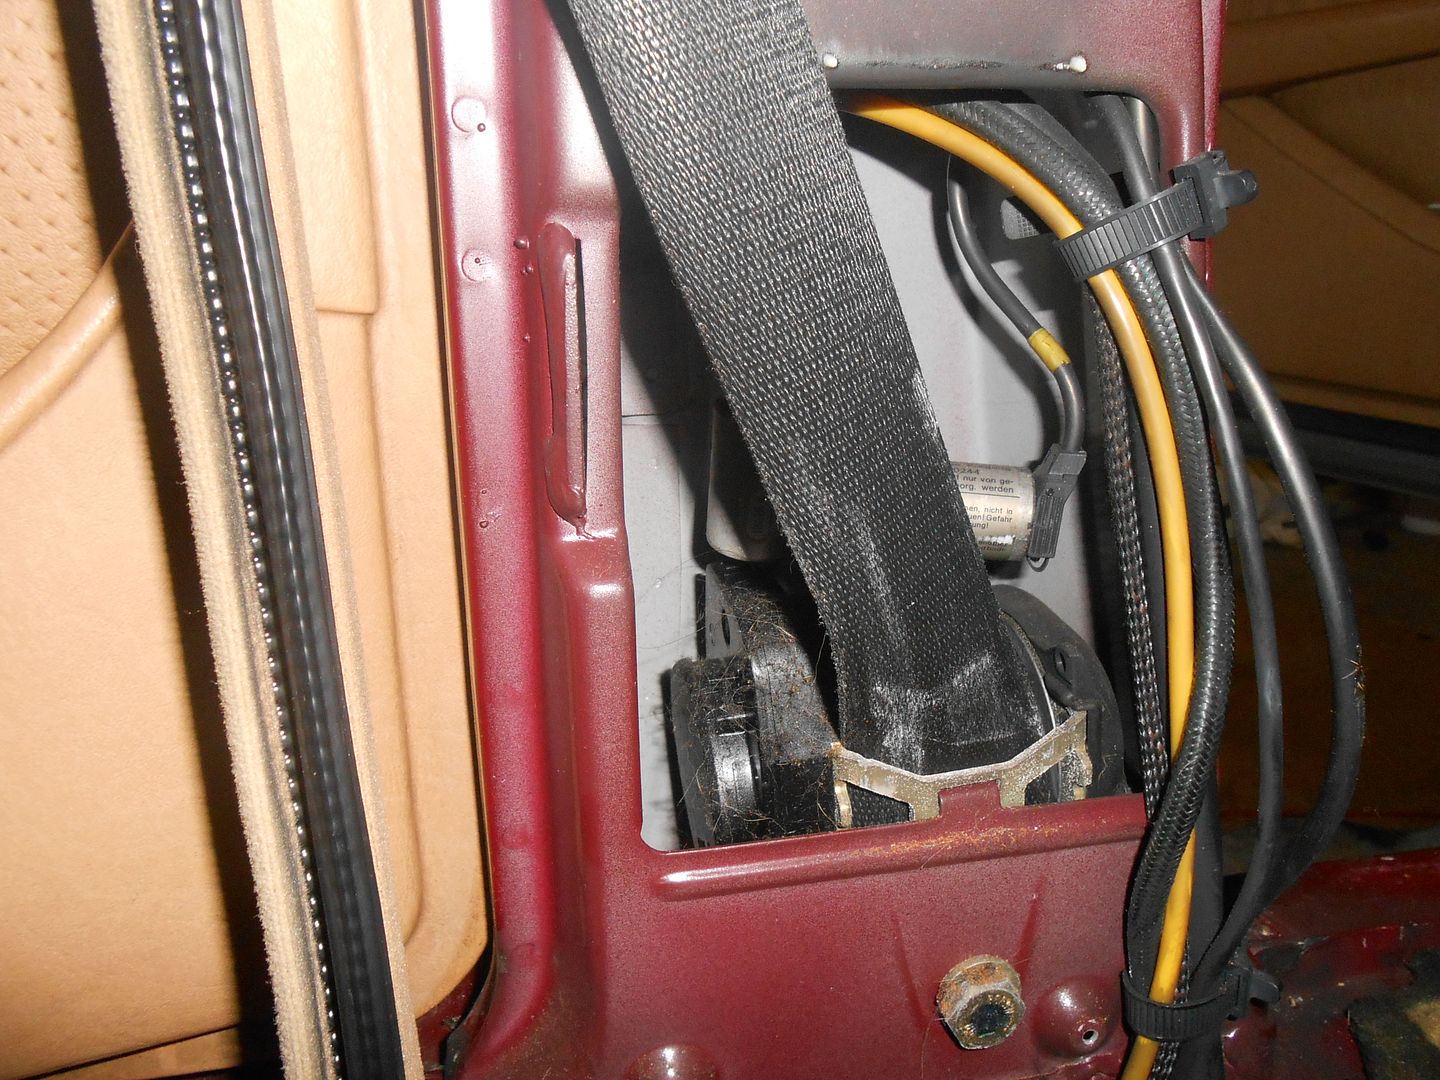 There is an enhanced support for the steering column. First pick is the old and the new together. 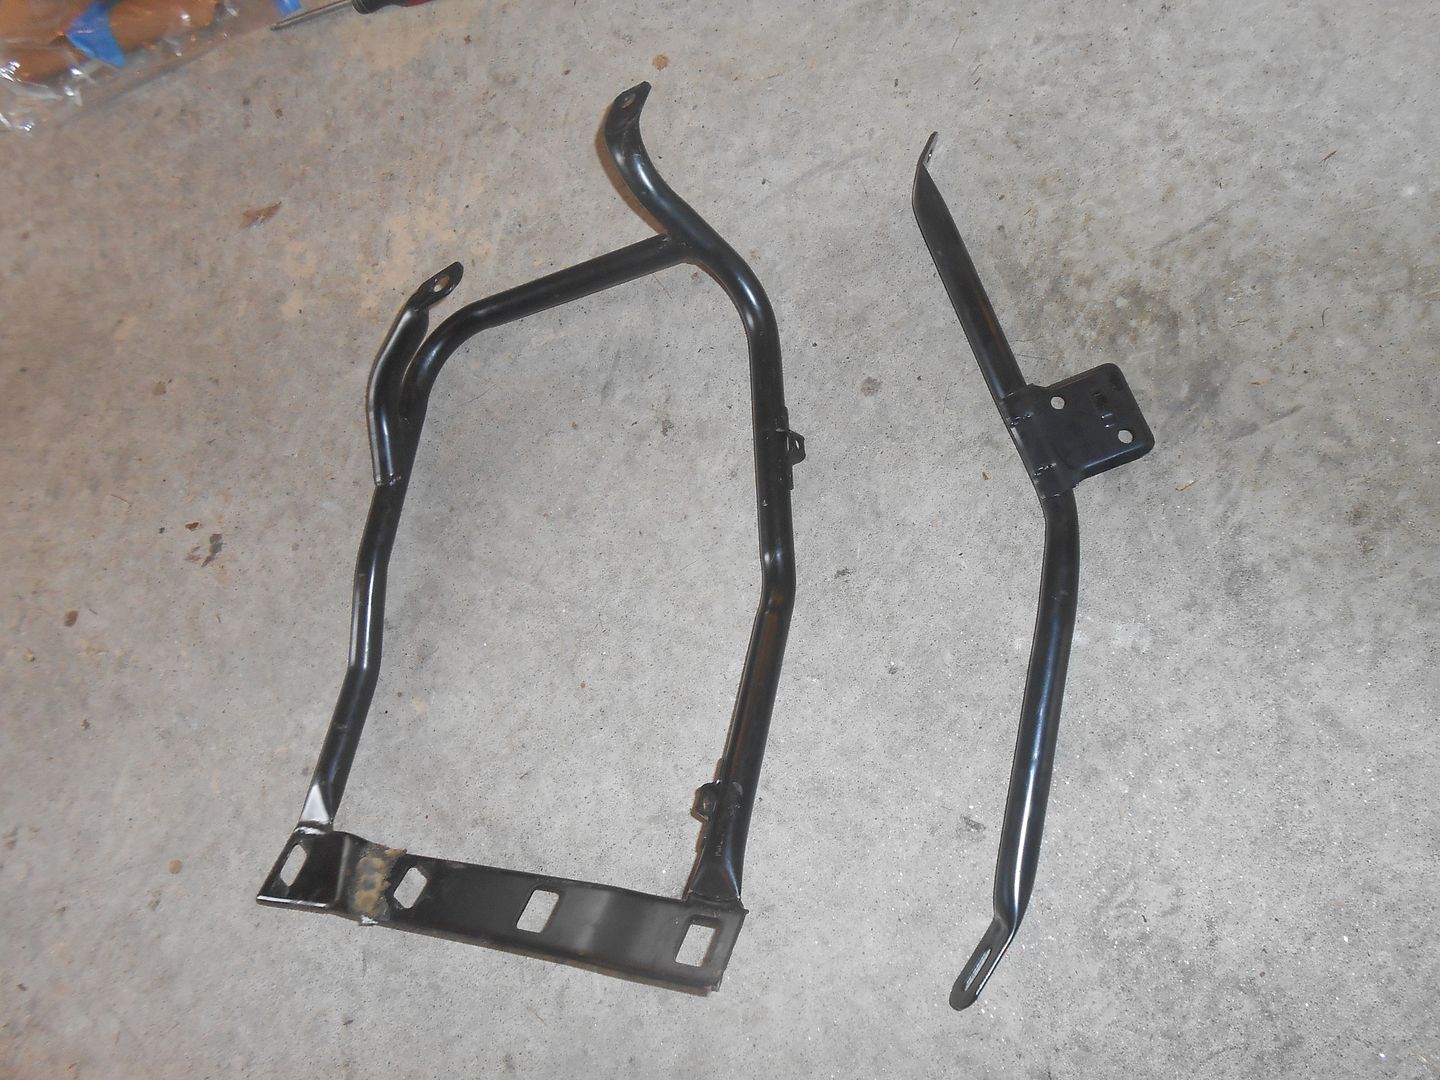 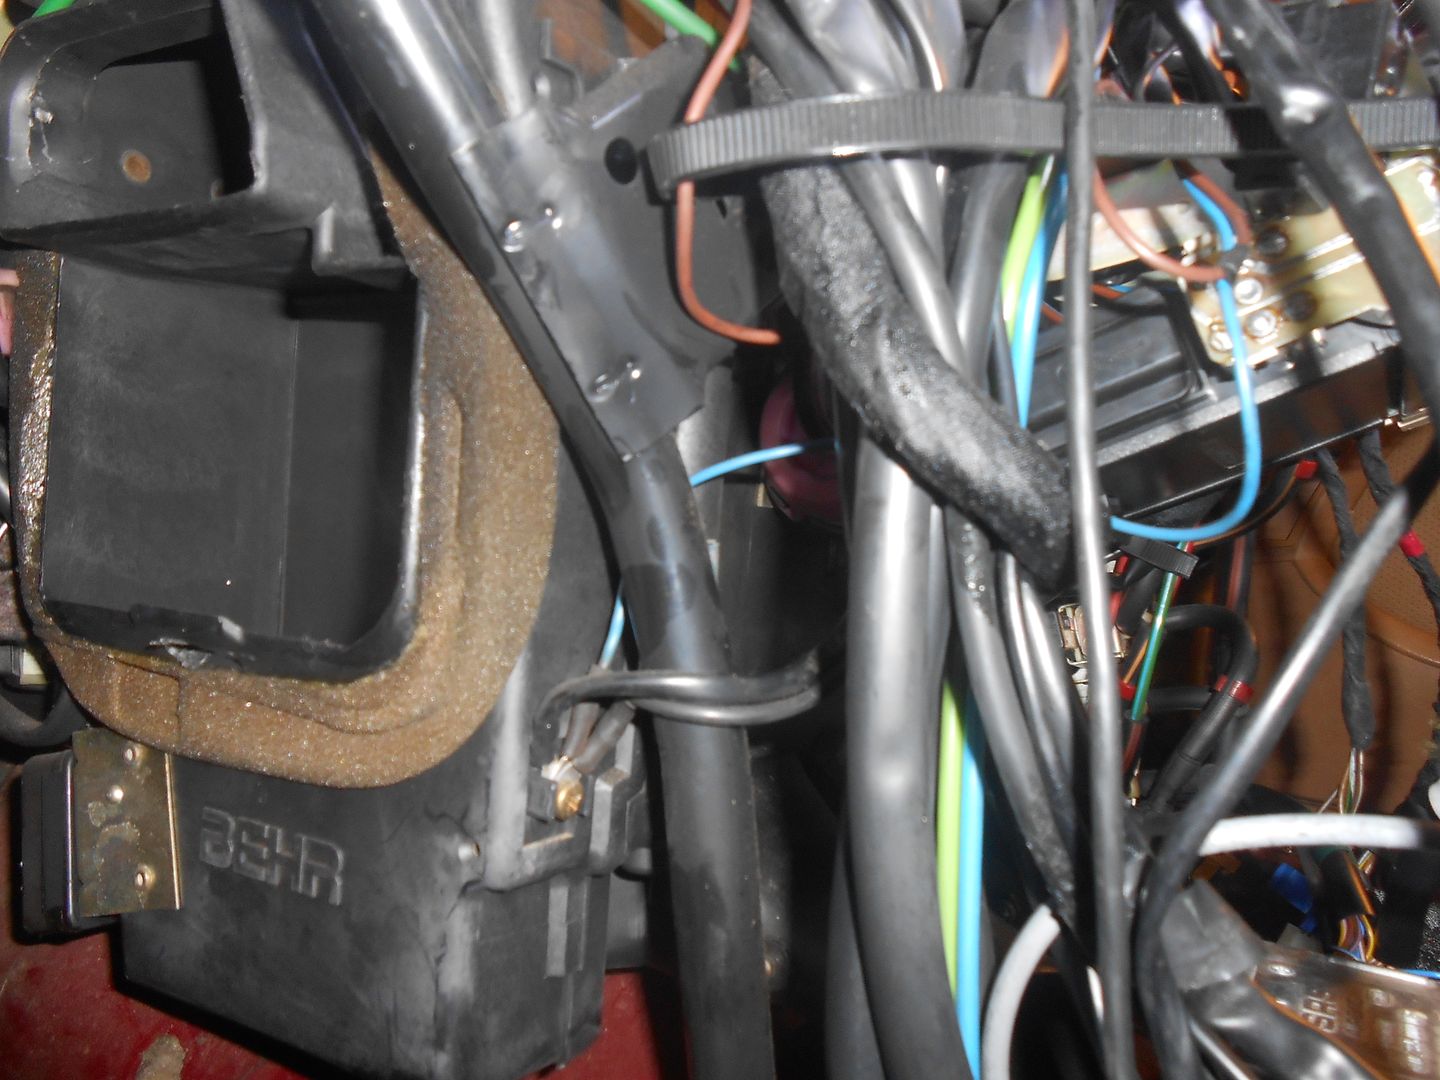 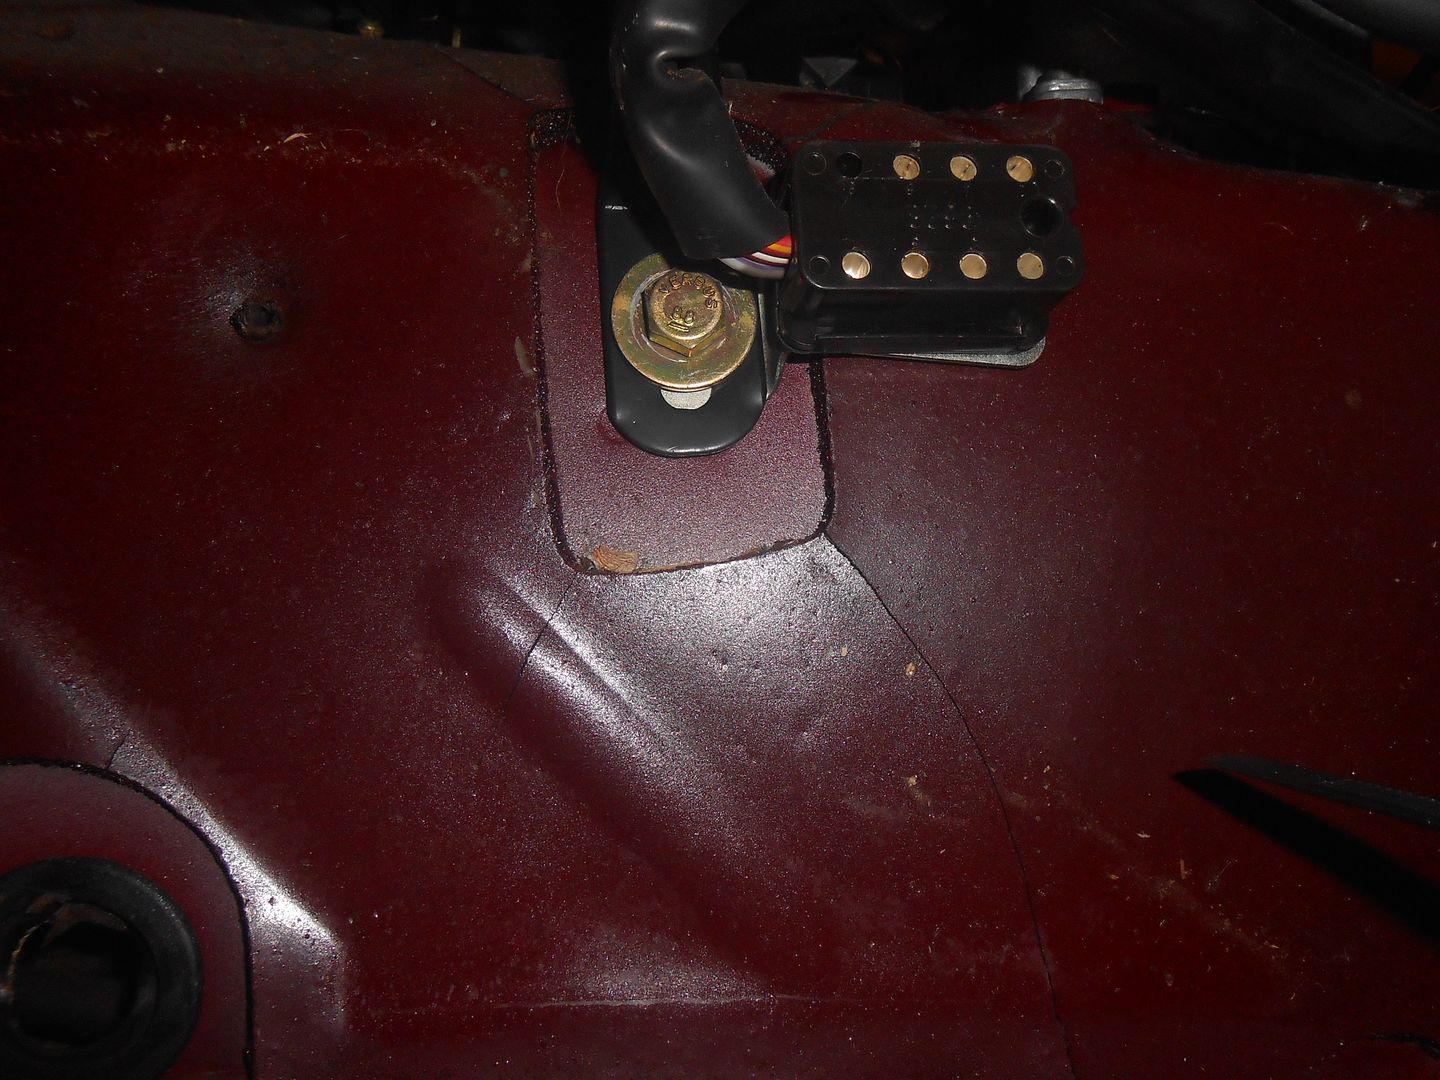 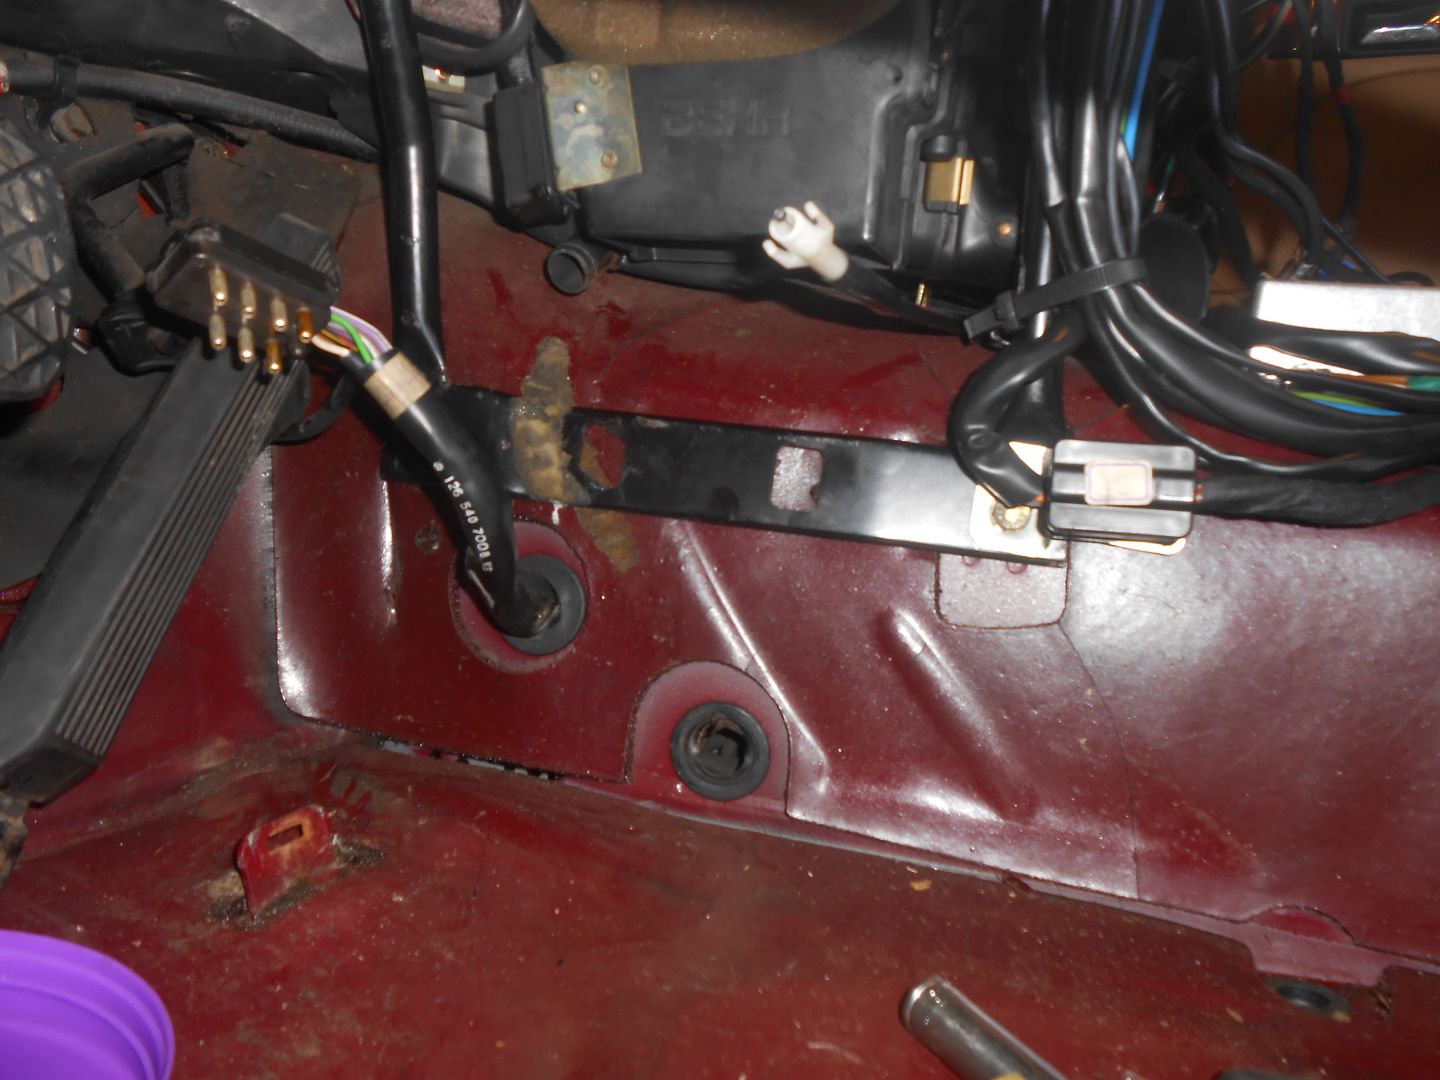 The knee bolsters also serve as ventilation shafts. They pretty much bolt in. Drivers side: 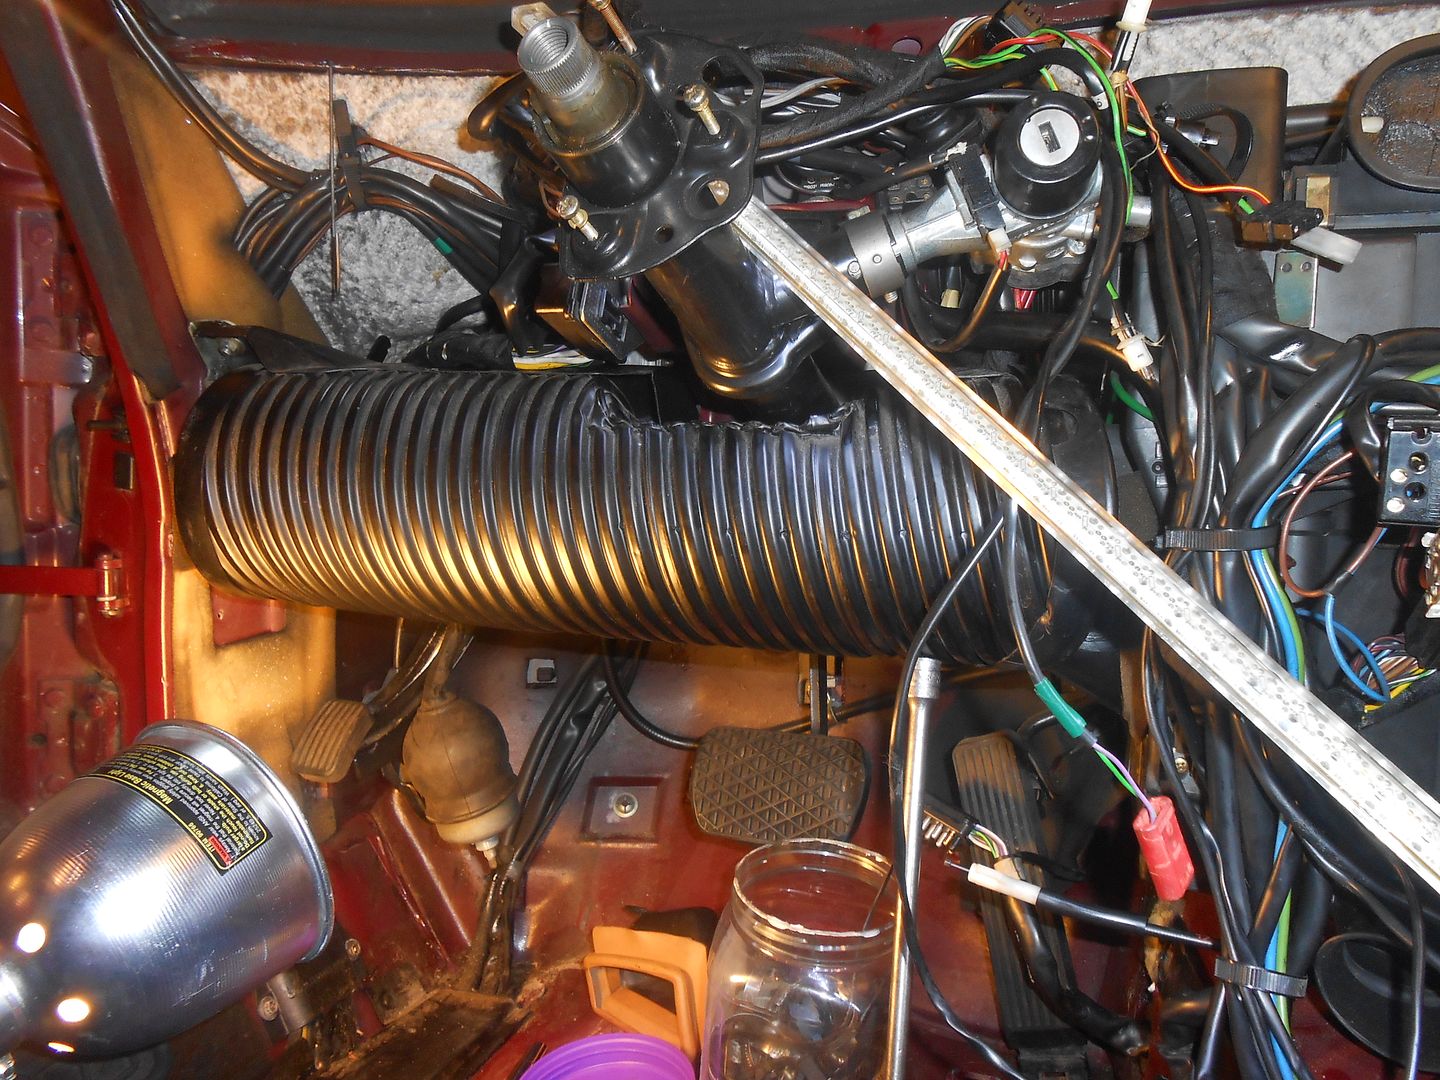 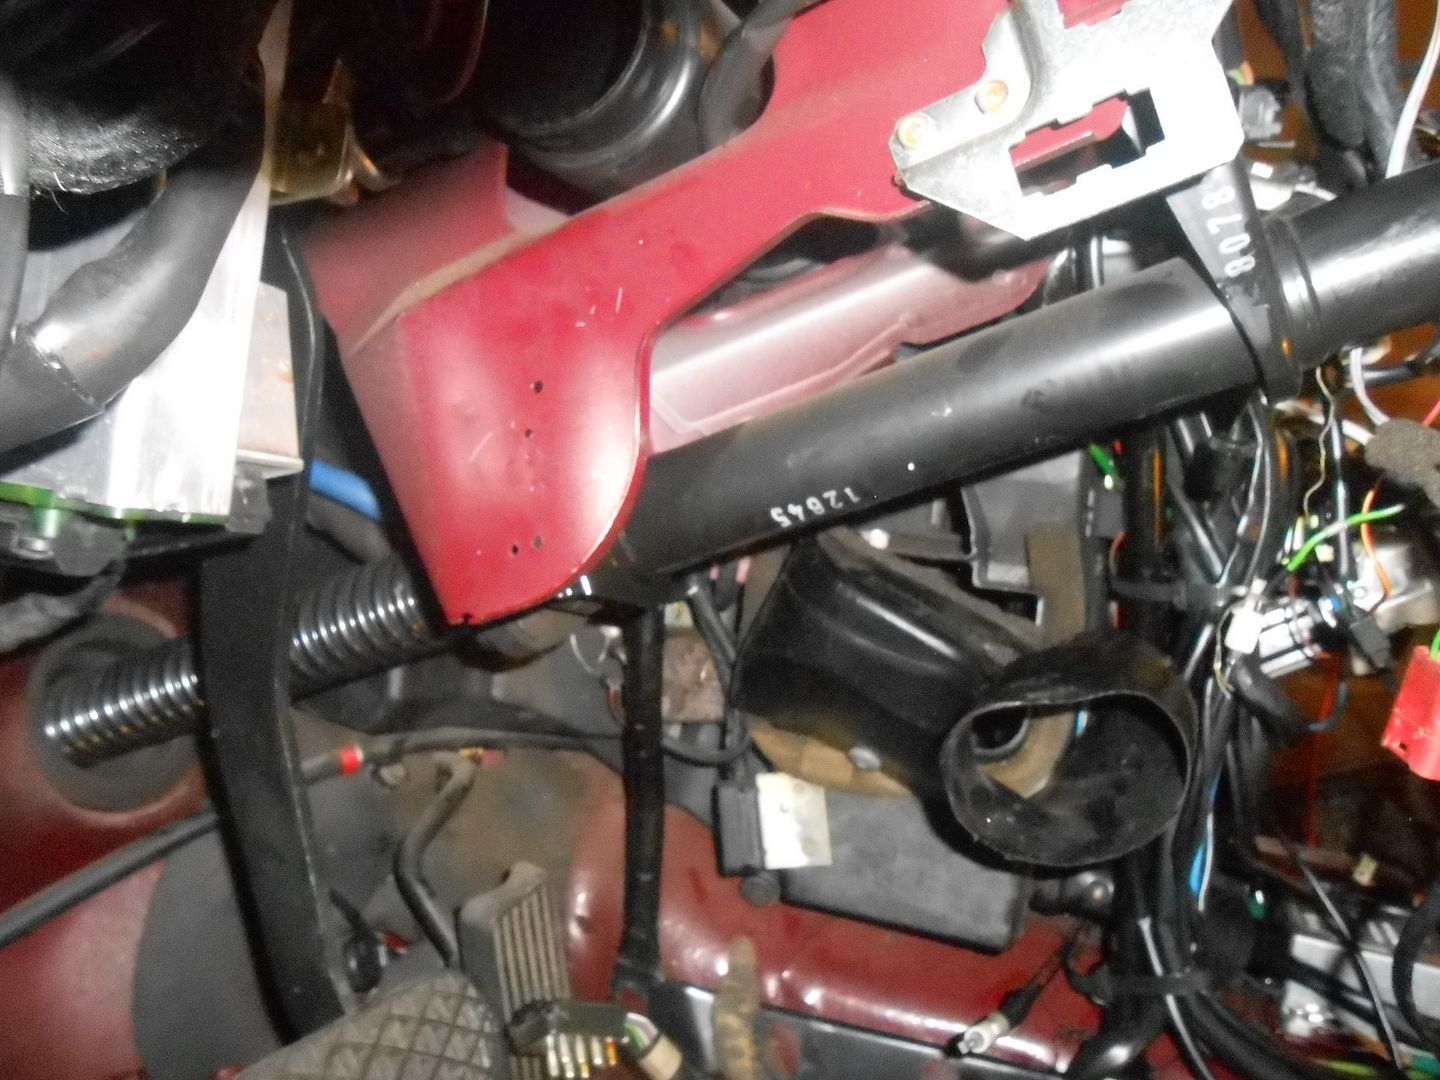 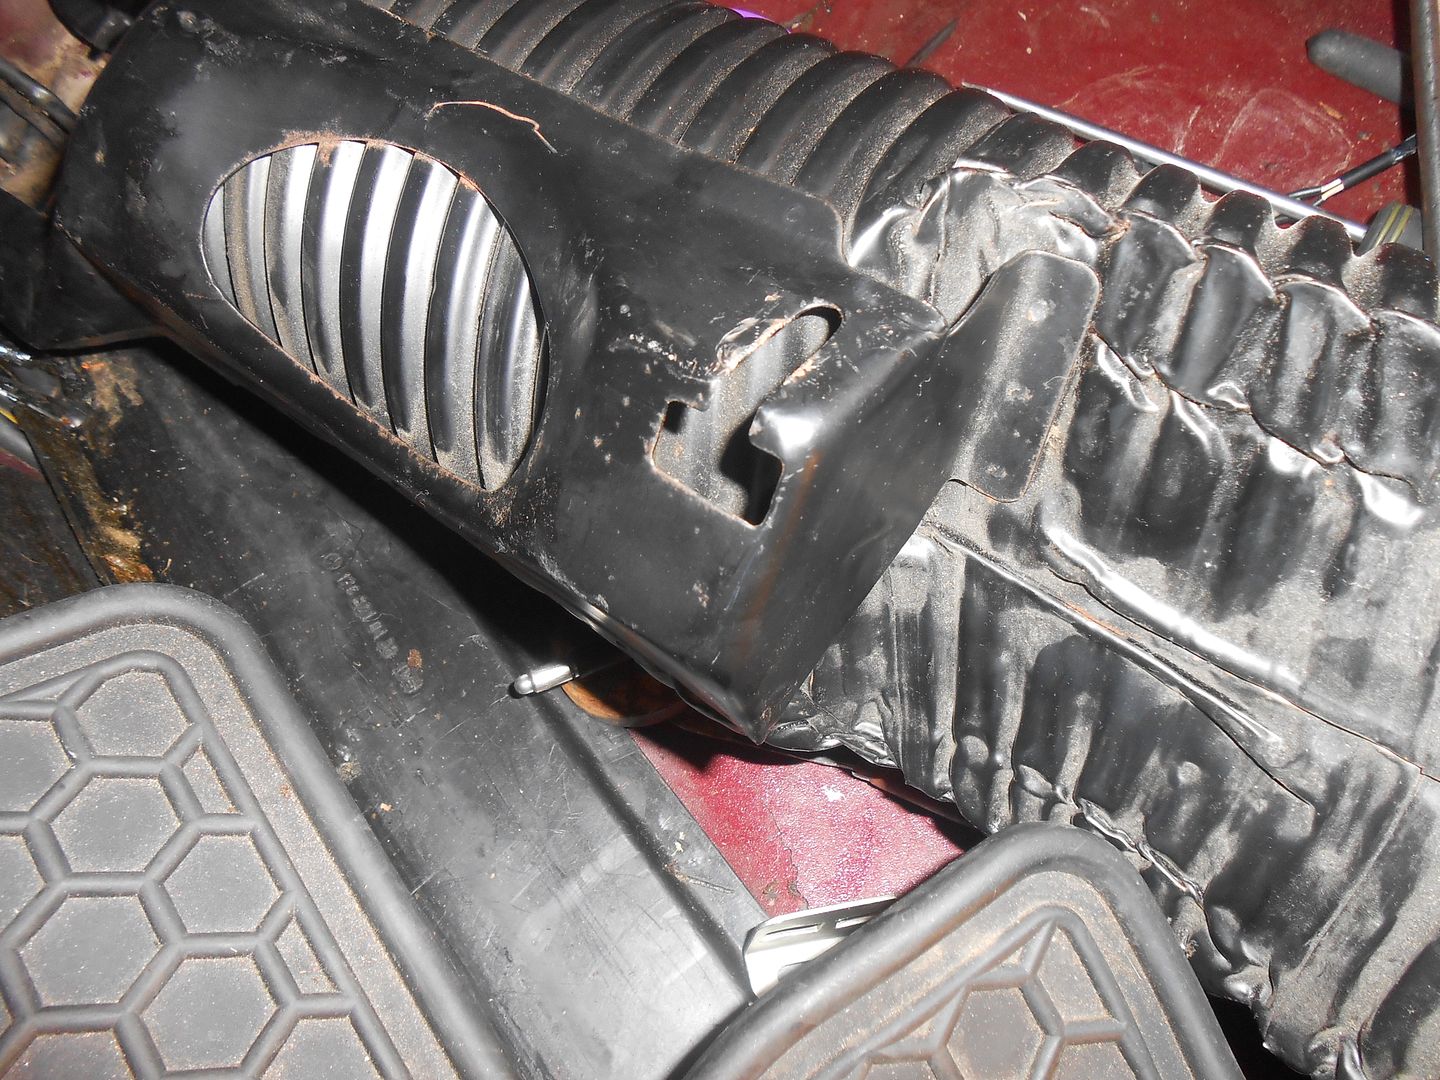 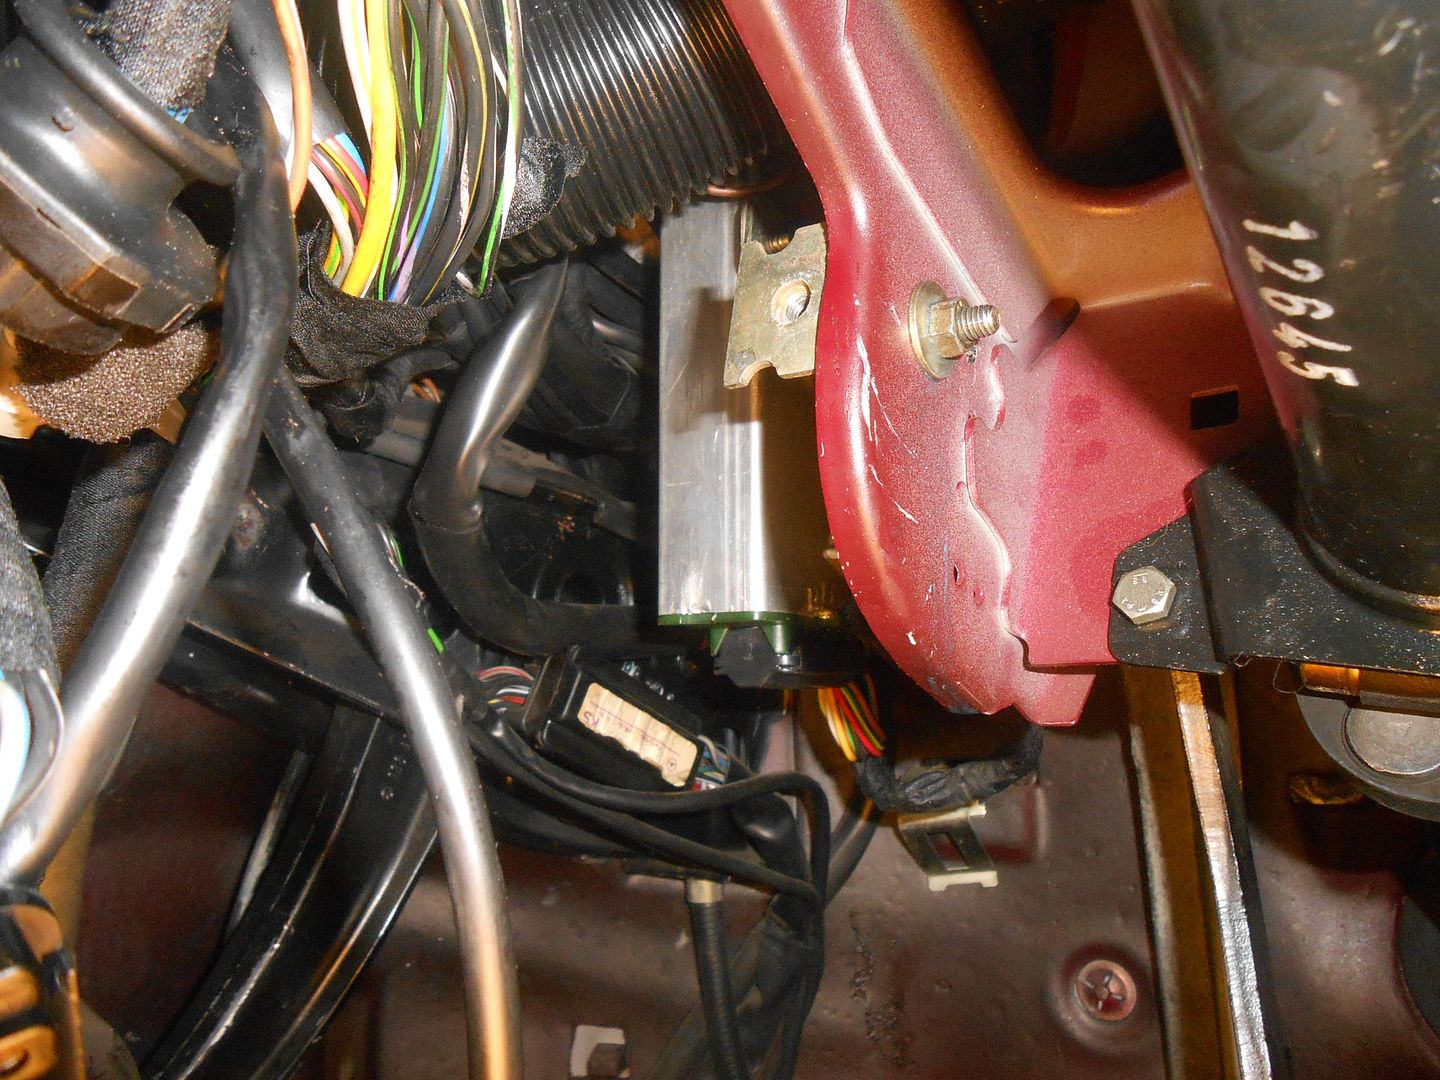  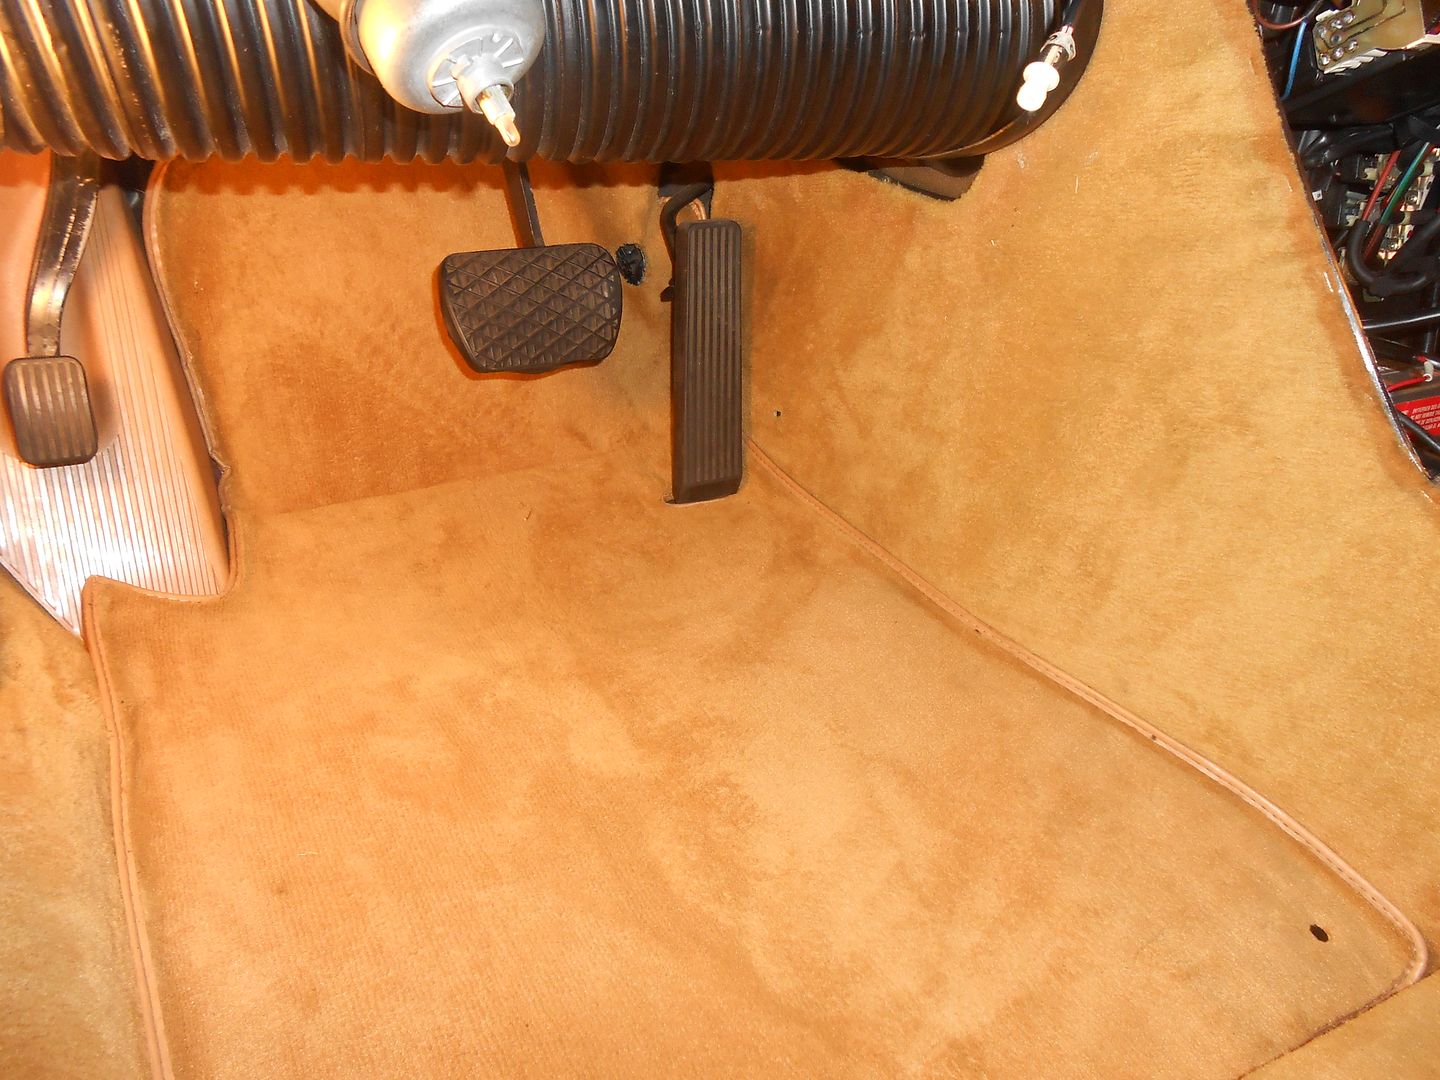 There is an additional diagonal bar on the passengers side. It required drilling two holes into the center tunnel. On originally installed models there is a small plated welded to the frame. But, as I did not bring my welder with me, that will have to wait. 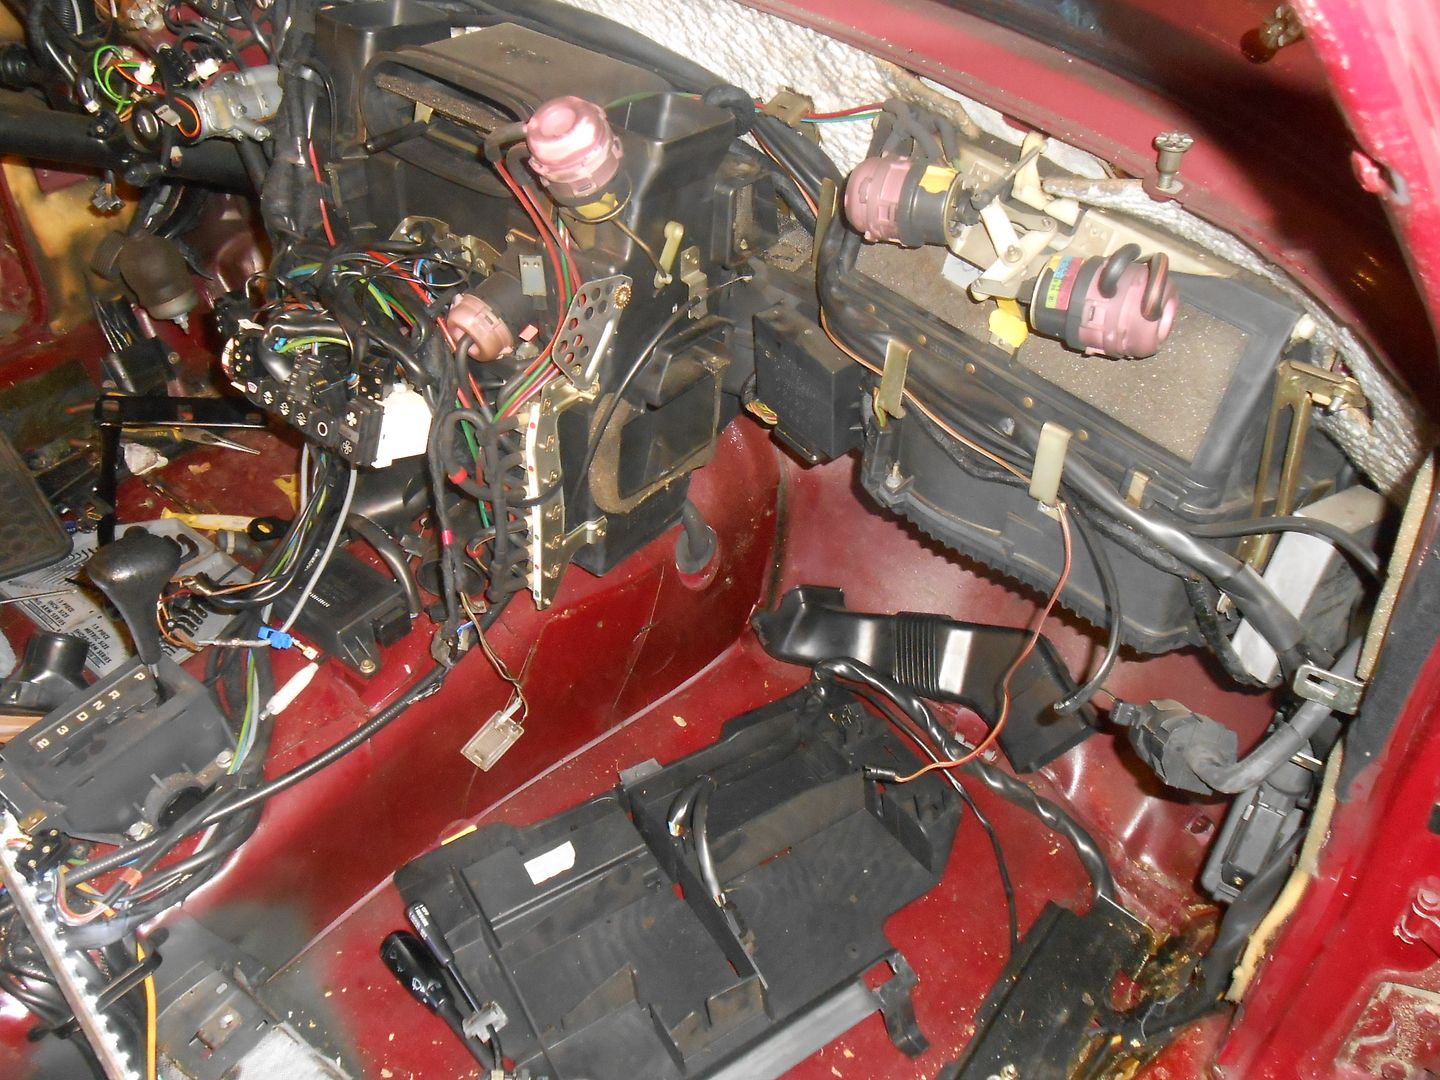 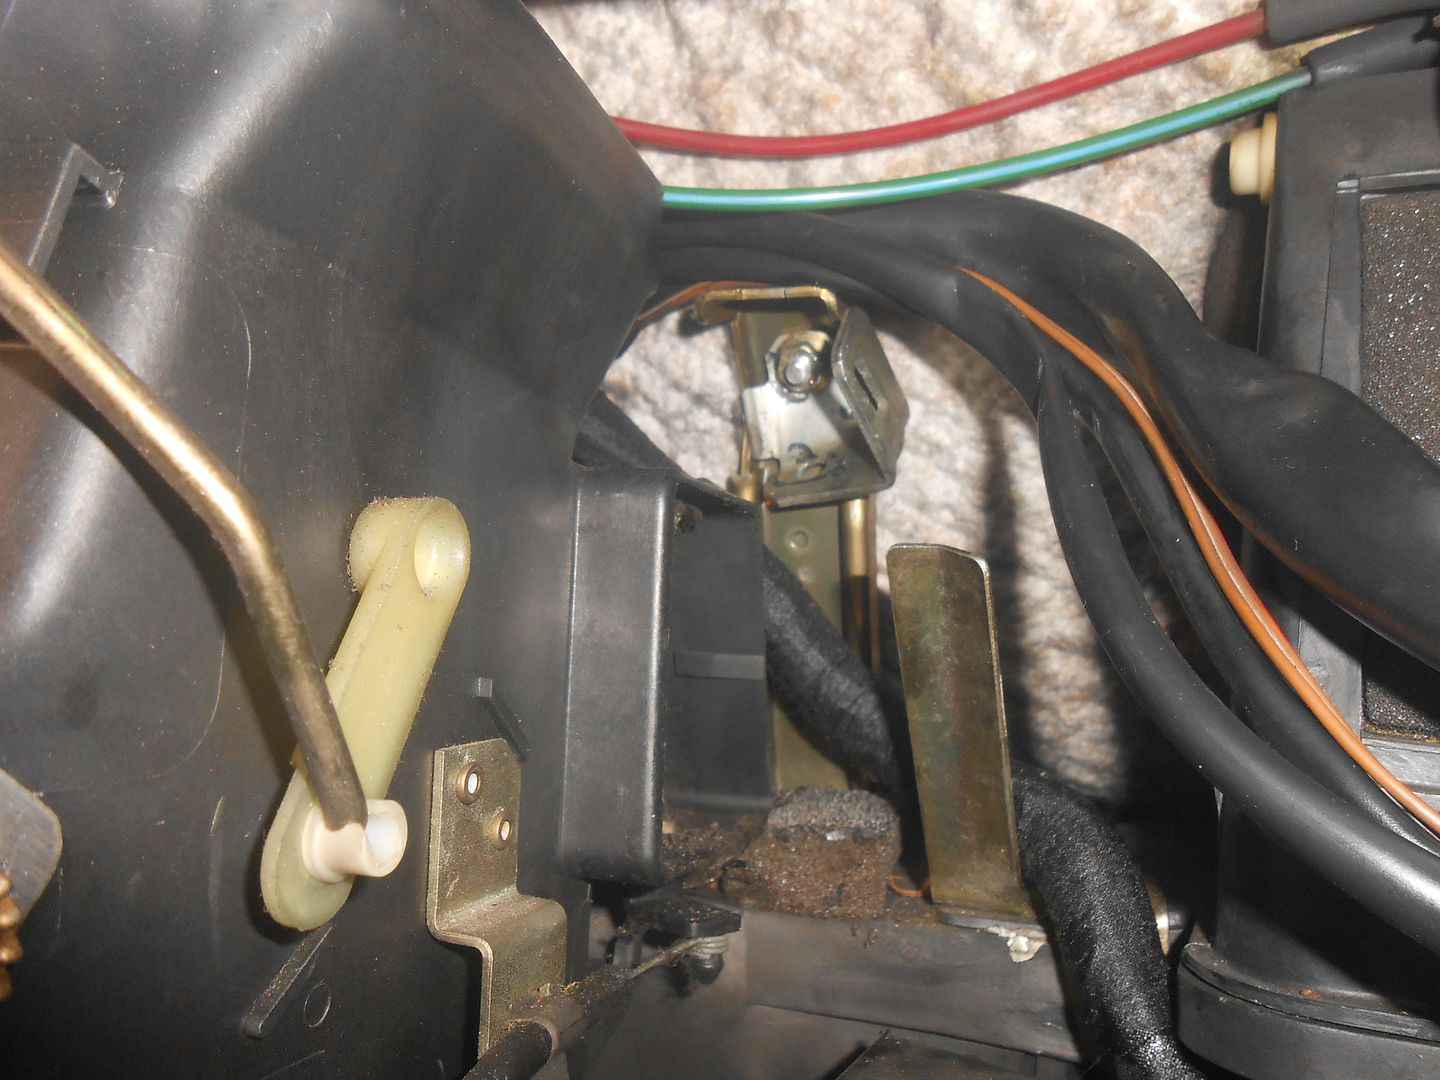 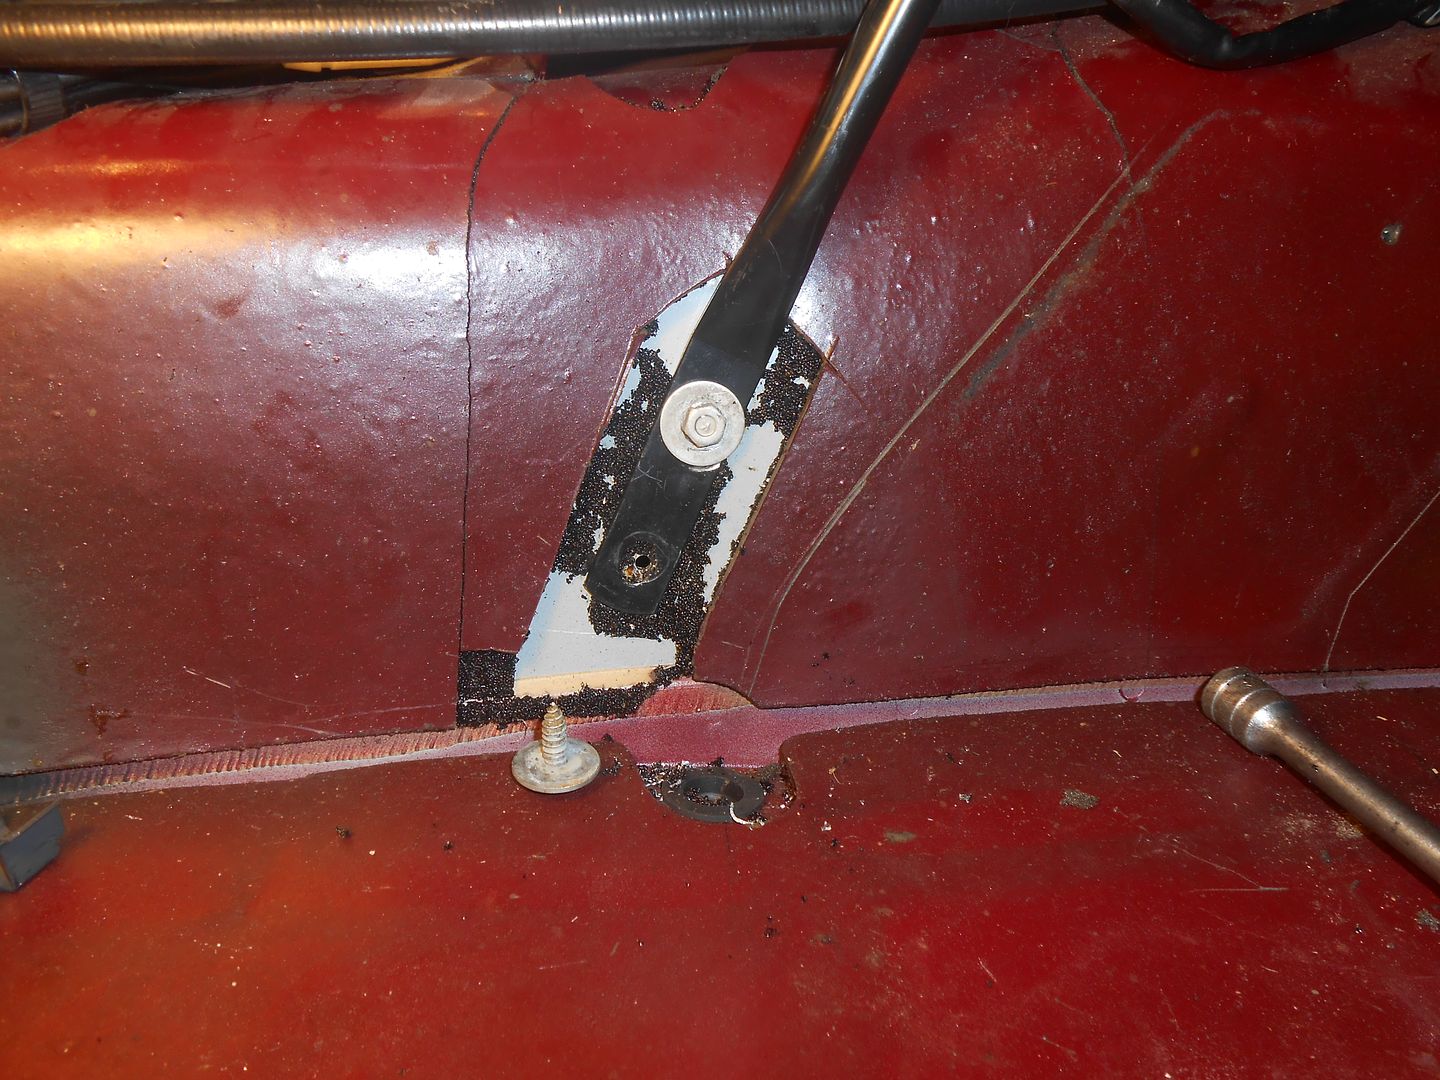 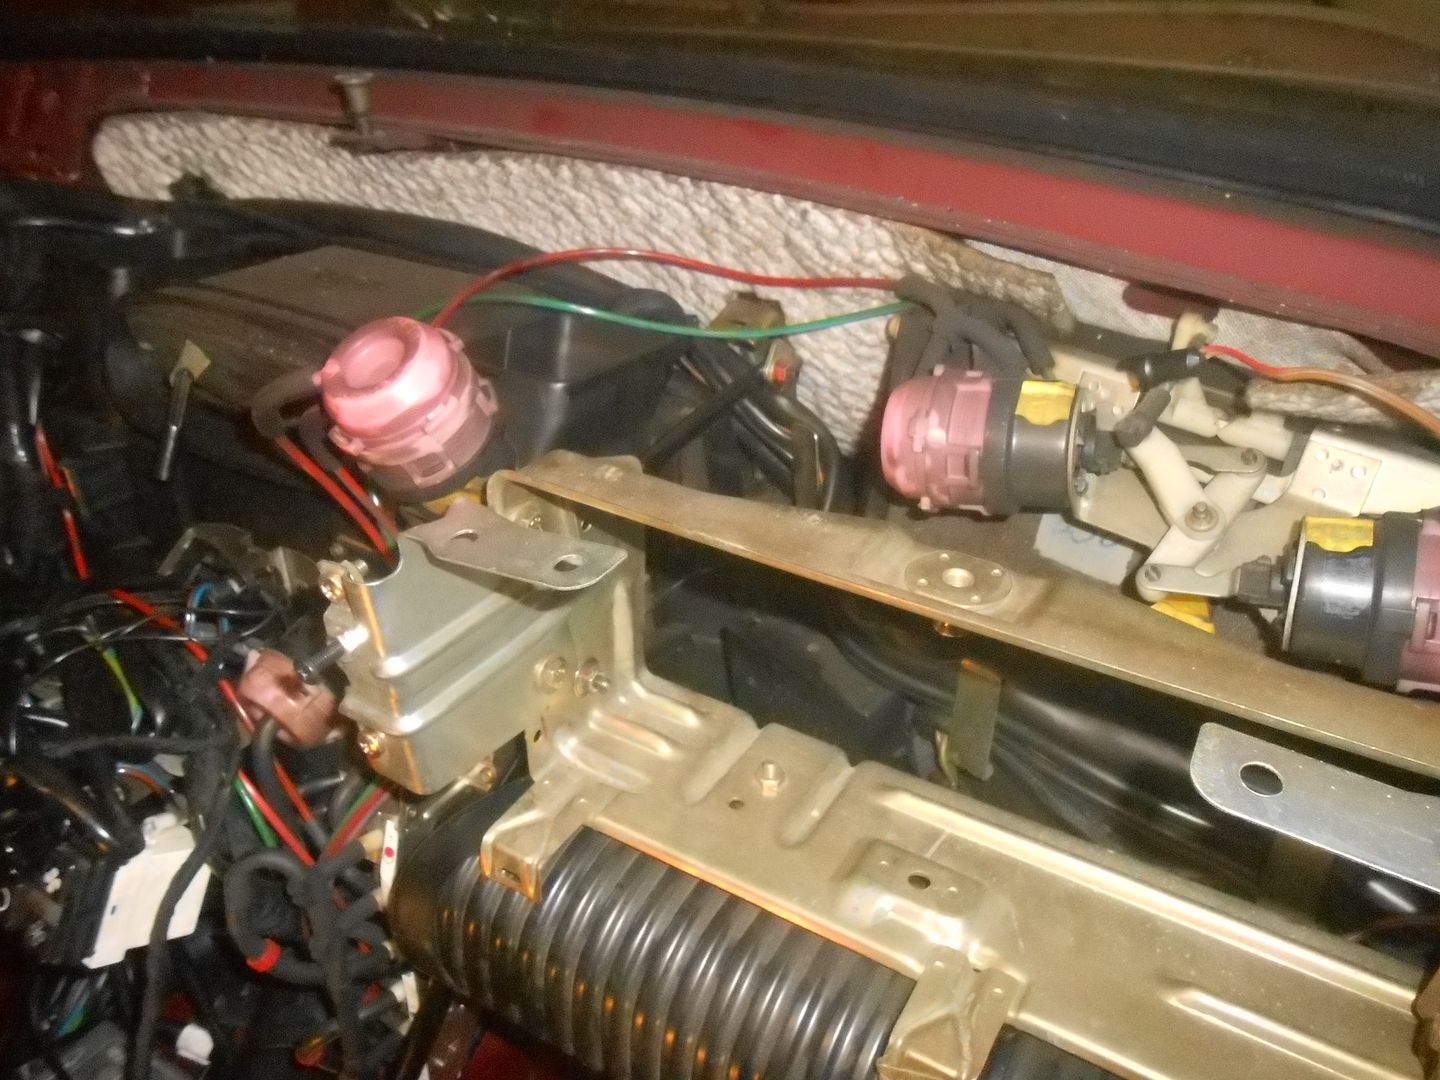 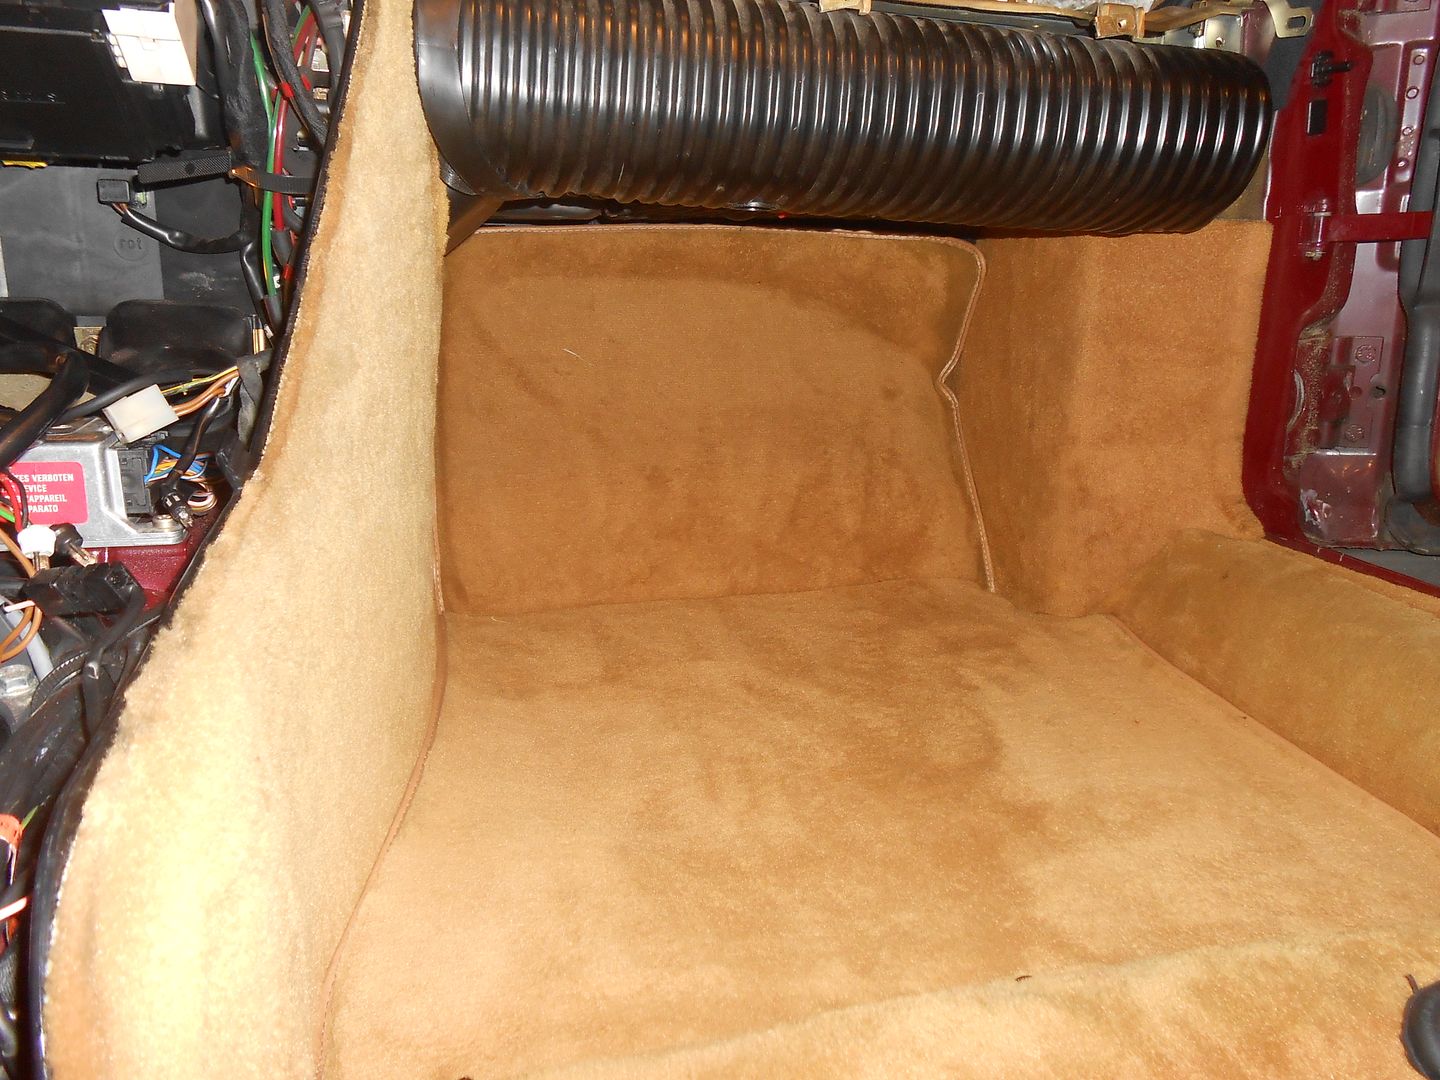 Aligning the dash to the bolsters was time consuming. Moving one part meant moving another, and so on. It was just tedious. As mentioned above, I needed to cut the bottom of the glove box door opening and then take about an inch off the rest of the passenger side bottom.   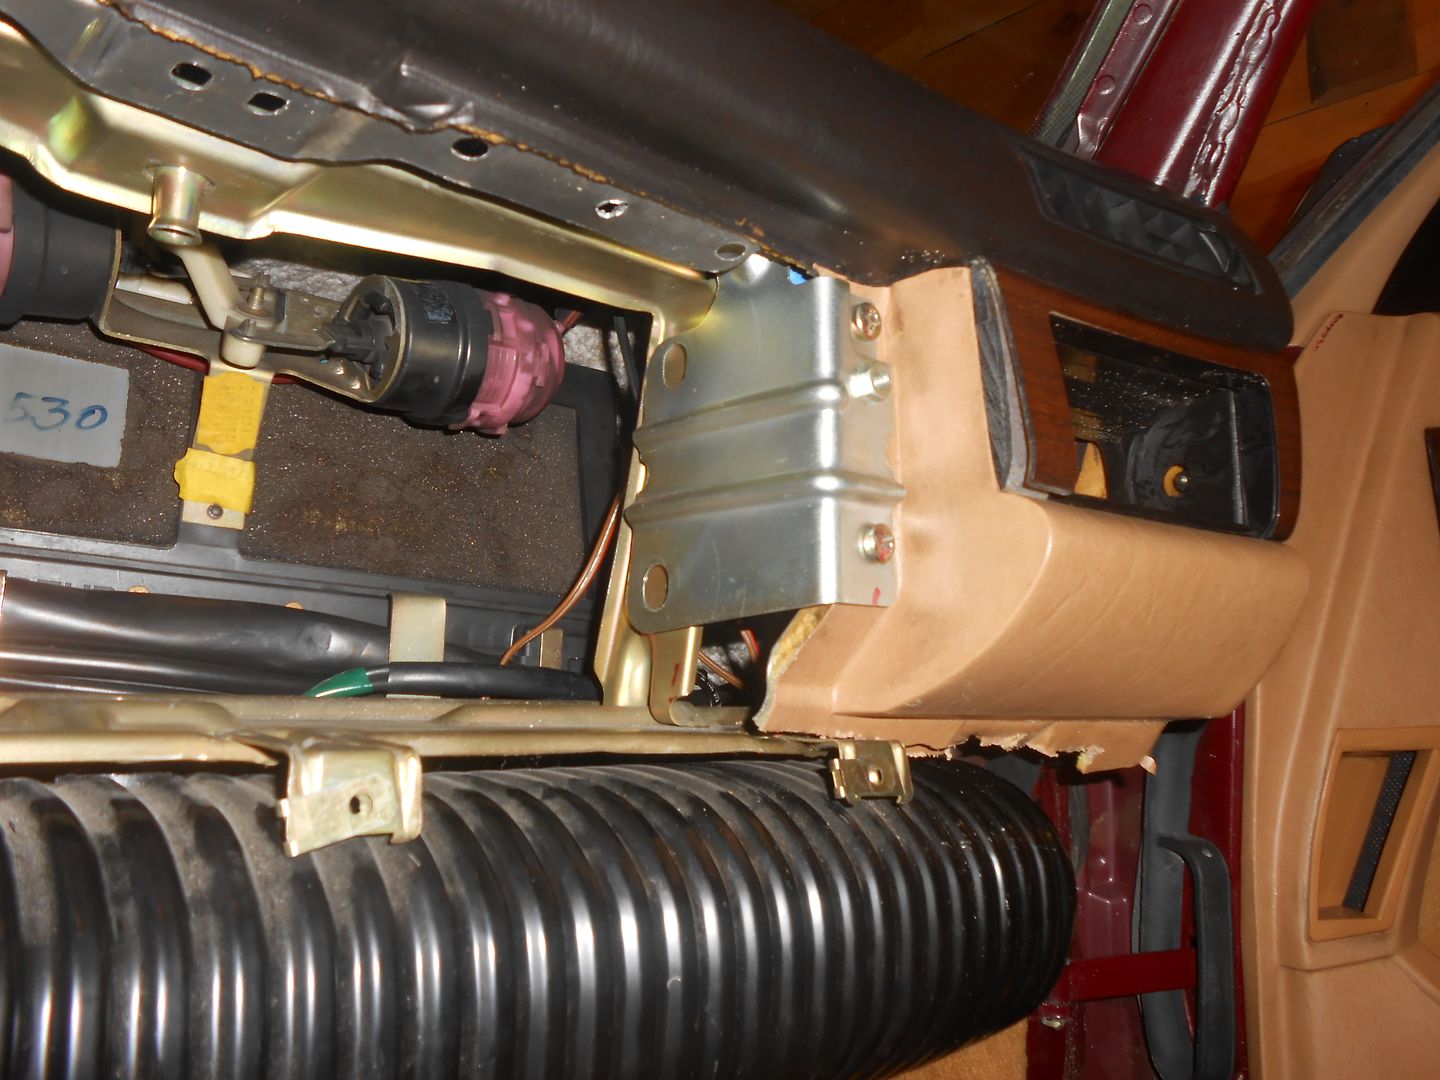 The seat belt buckles have sensors so they had to be replaced as well. 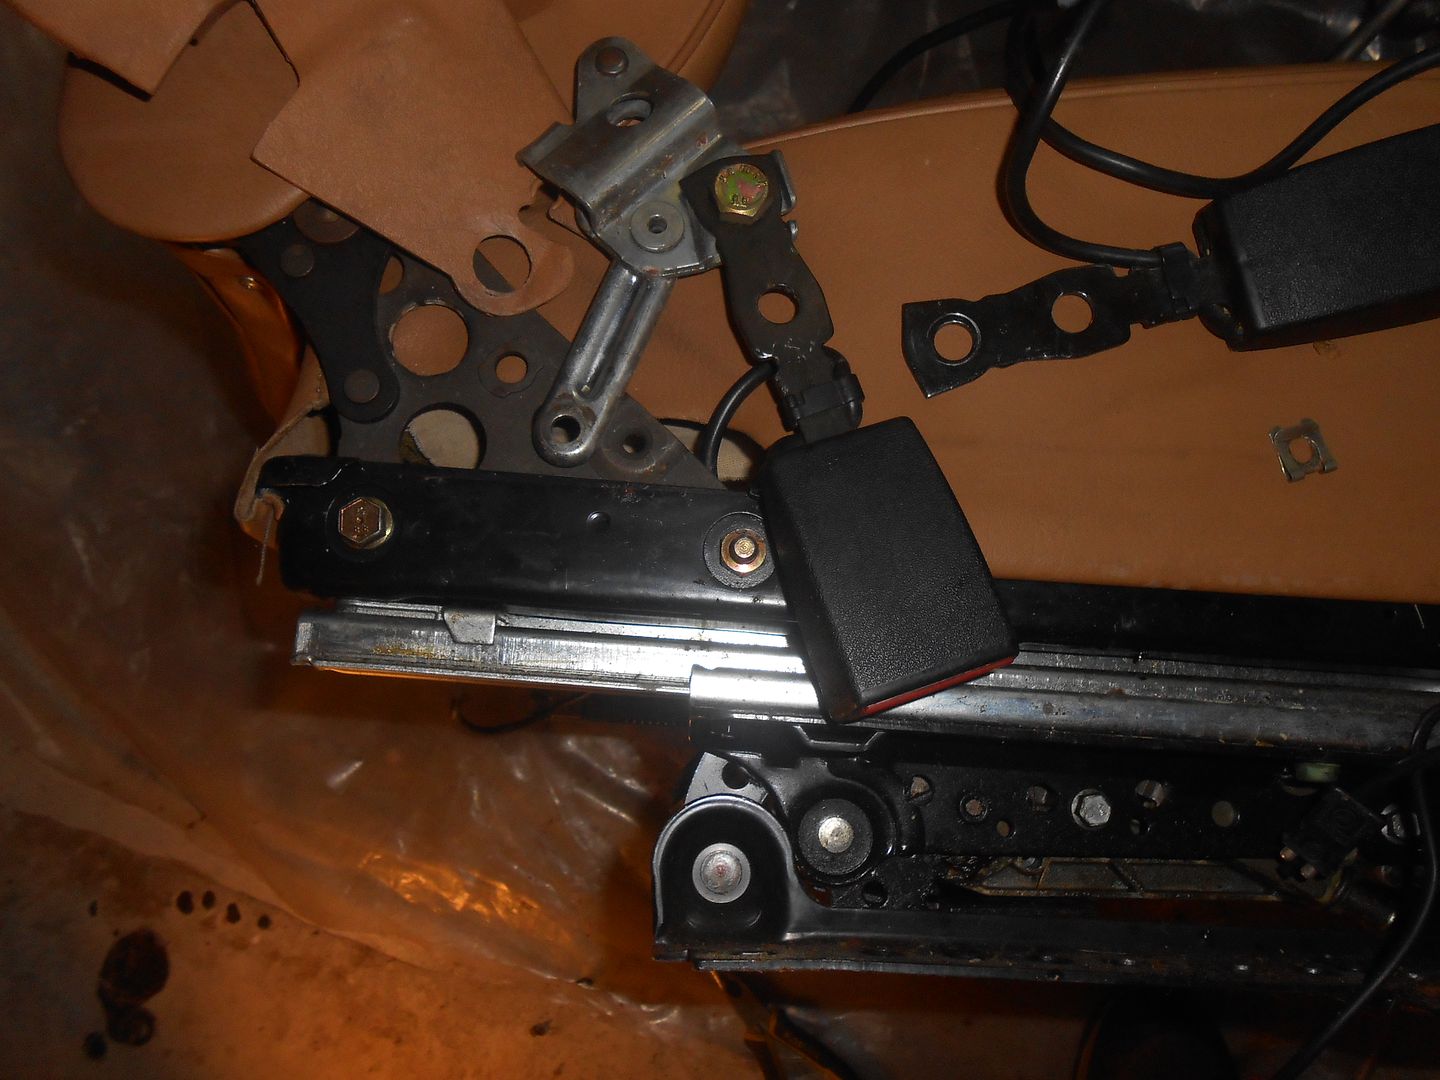 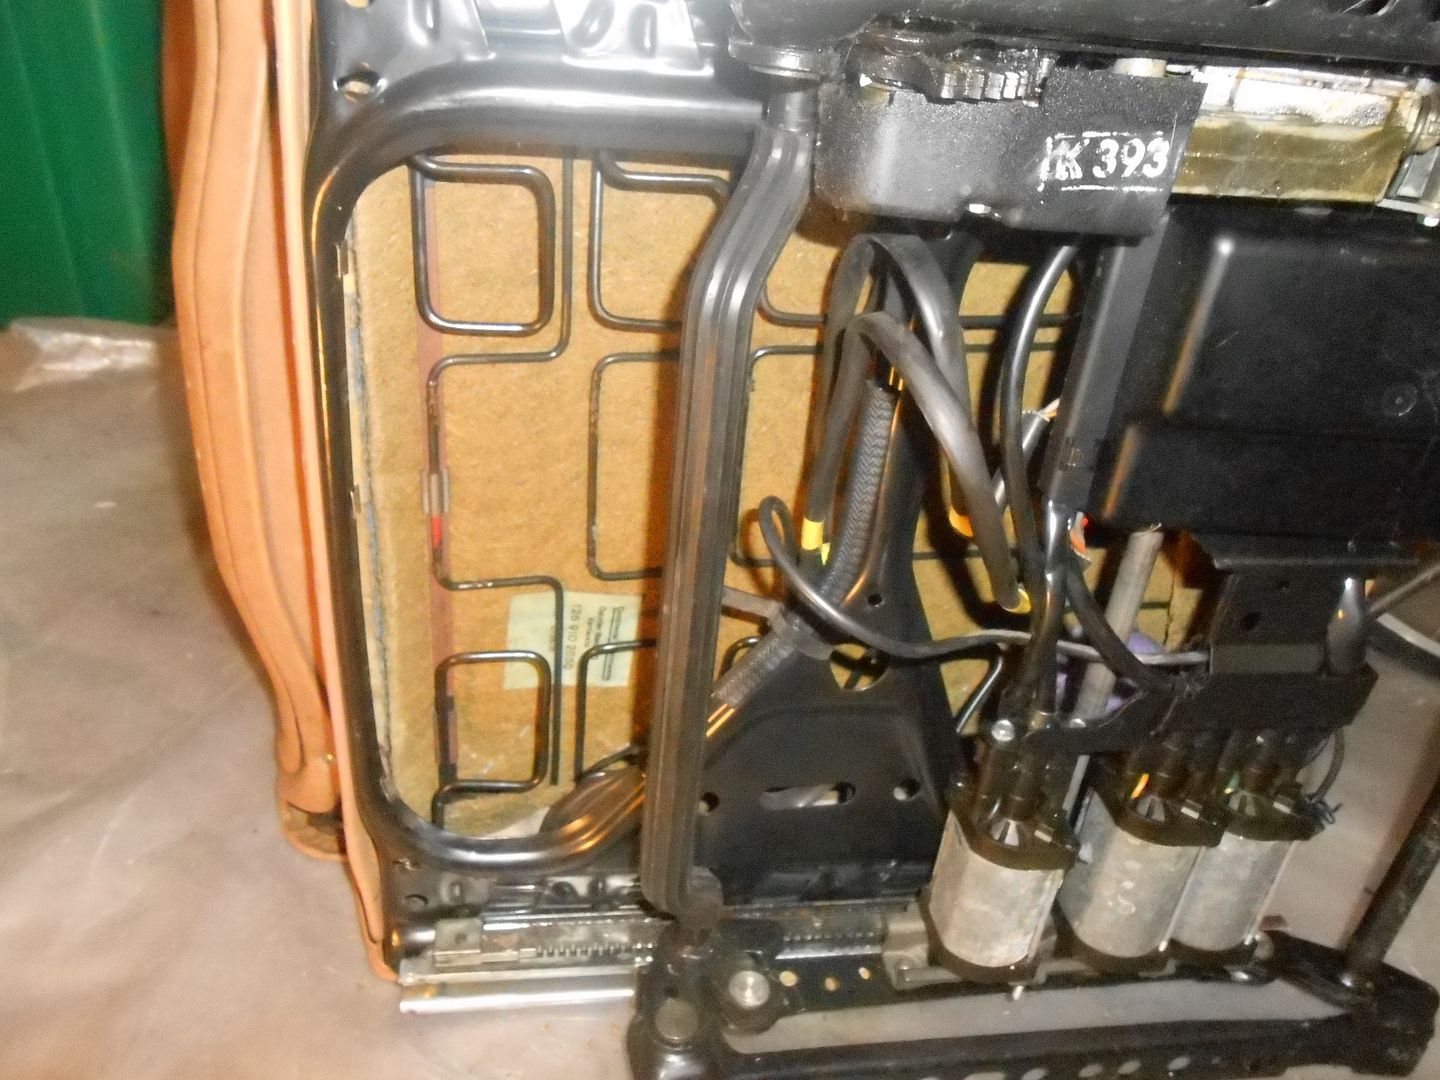 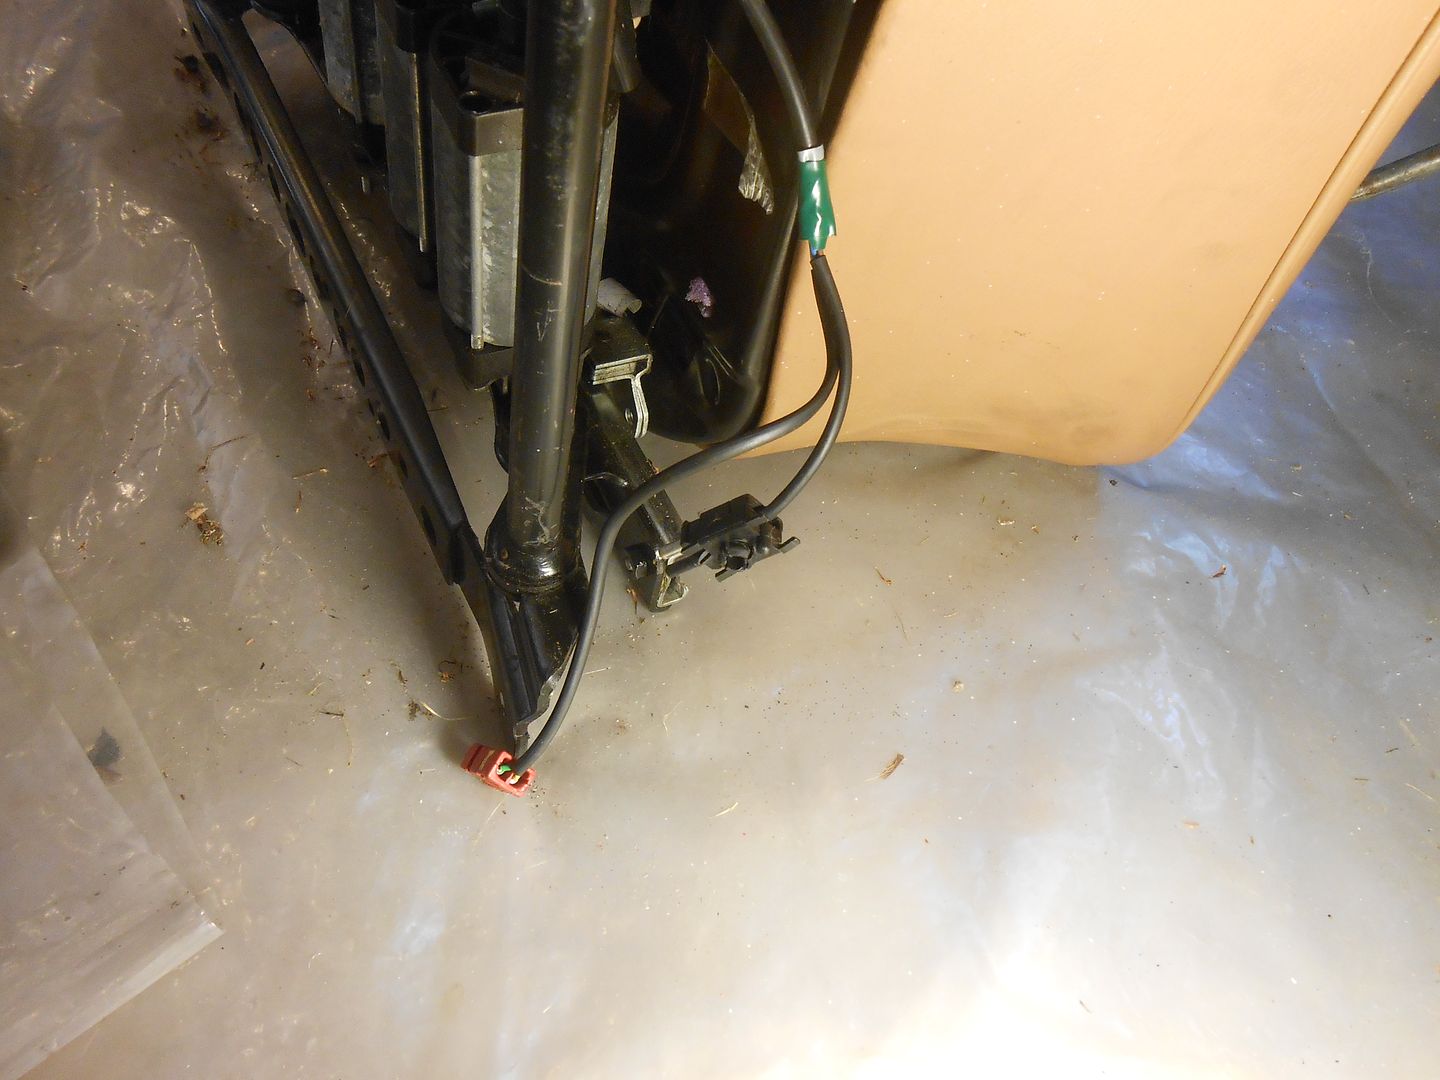 Things I still need to do include at least the following. (1) install SRS label over #3 warning light socket in instrument cluster; (2) weld passenger side diagonal bracket plate to center tunnel; (3) acquire and install ventilation tubing; (4) refine passenger airbag alignment; (5) warning labels for sun visor; (6) perform crash test - any volunteers to try the passenger side?
__________________
http://i284.photobucket.com/albums/l...aman/Fleet.jpg Peach Parts W124.128 User Group. 80 280SL 85 300SD 87 300TD 92 300D 2.5 Turbo 92 300TE 4Matic 
|
| Bookmarks |
|
|


 Threaded Mode


