

|
|
|
|
|
|
|||||||
|
|
LinkBack | Thread Tools | Display Modes |
|
#1
 01-26-2014, 04:31 AM
|
||||
|
||||
|
Resistor spark plug converted into a non-resistor spark plug (with pictures)
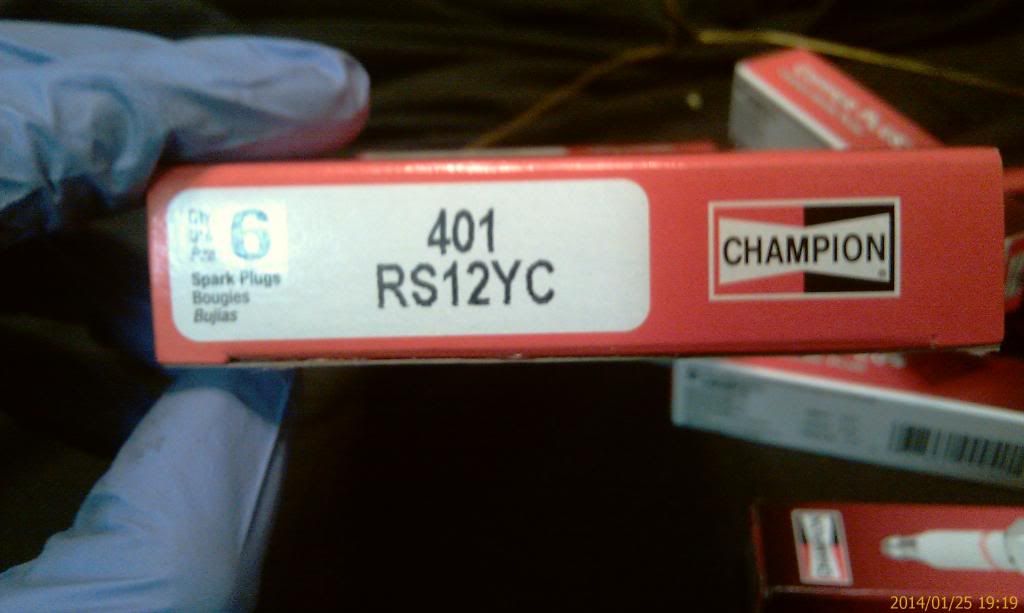
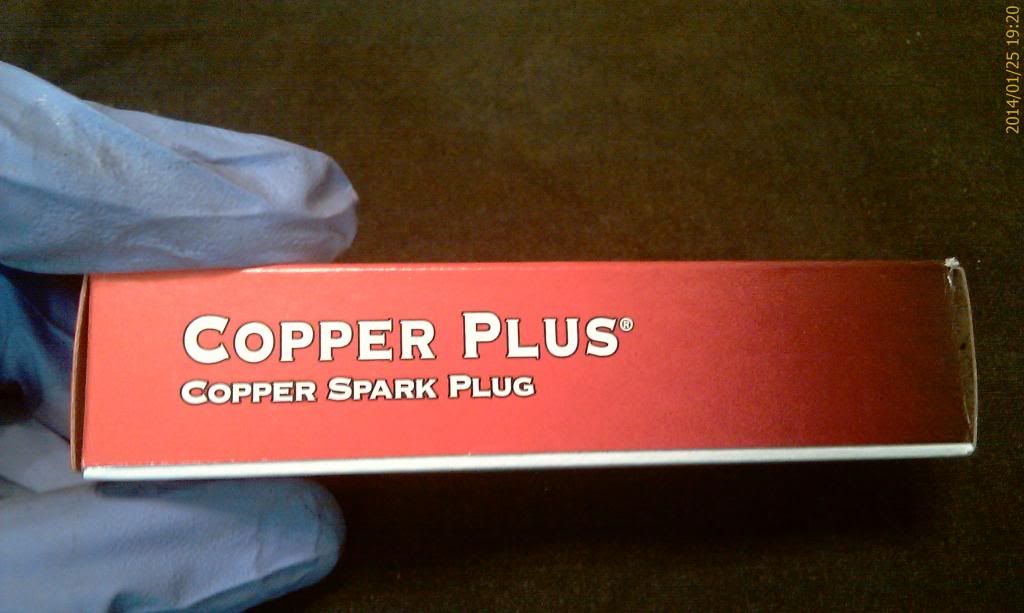
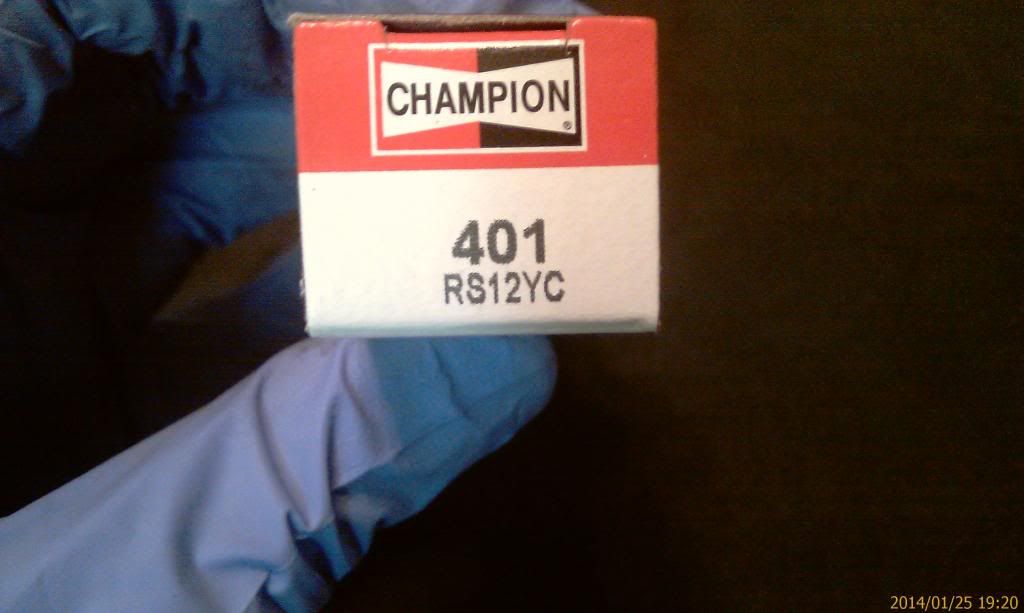
Well I have done it. I have converted resistor spark plugs to non-resistor plugs. I did this because non-resistor plugs are so hard to come across despite what anyone on here says, you can not walk into any local autozone and buy non-resistor plugs without either going to the dealership or ordering them online. The plugs that I have are Champion RS12YC #401. The recommended plug is S12YC, no R. These plugs are only $2.09 at autozone and they almost always have them in stock.
   Using my multimeter I set the dial for resistance and short the 2 leads together to get a 0 resistance. 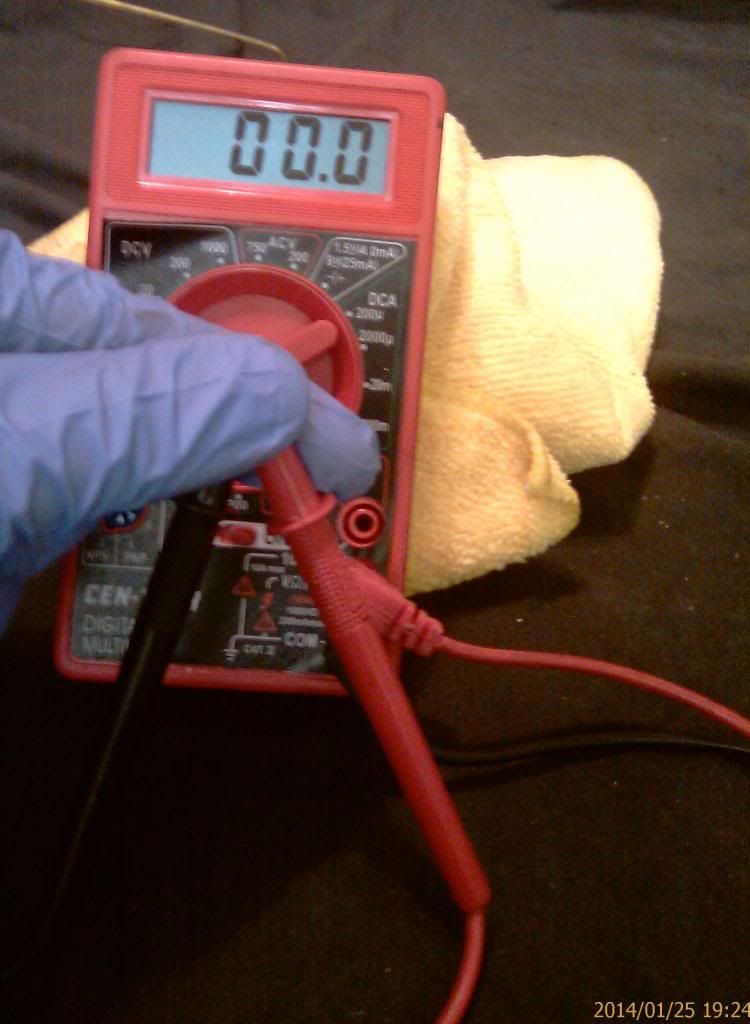 Next I connected the leads to either end of the spark plug, I'm not sure what the resistance is supposed to be, but the multimeter dial is set at 200k and the plug is showing 22.3 resistance. I guess if I moved the dial to 2000k It would be 223 resistance. This may not be the exact resistance of the plug because its kind of hard to take the pictures and hold the leads in place to get a solid connection. Either way the resistance is there. 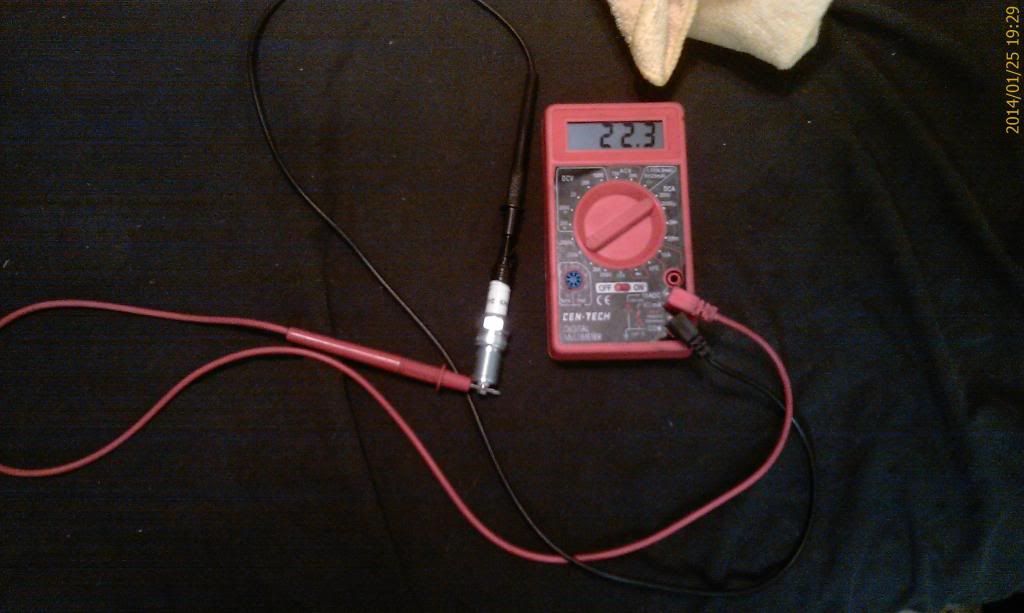 Next take the spark plug and unscrew the cap. This step you need to be careful as the tip seems to be threaded into the porcelain with thread lock. Use visegrips to get a firm grip on the tip and a regular crescent wrence on the body. 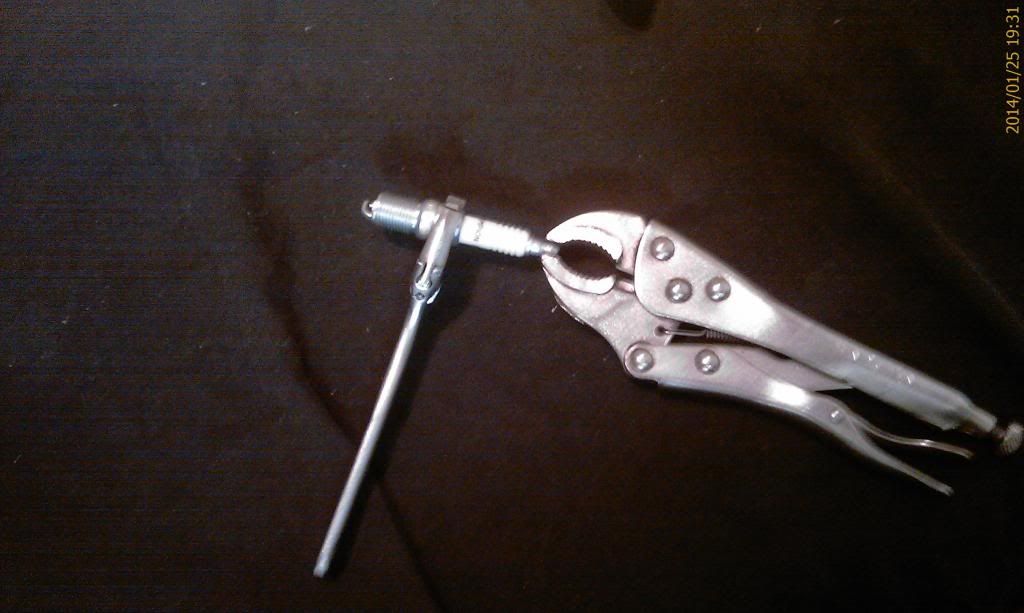 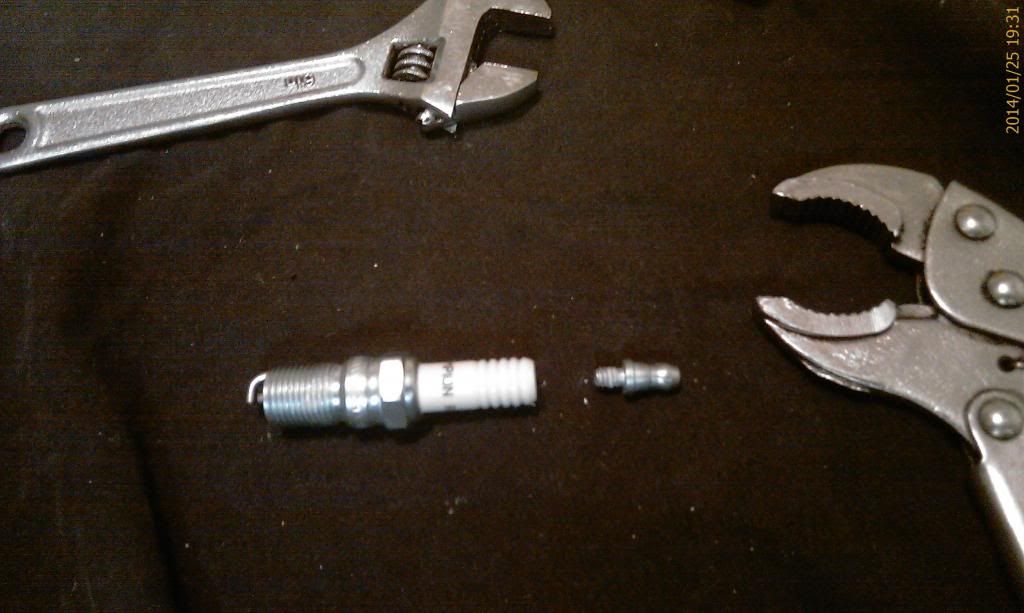 If you look down into the plug with the tip out you can see that it is hollowed out. 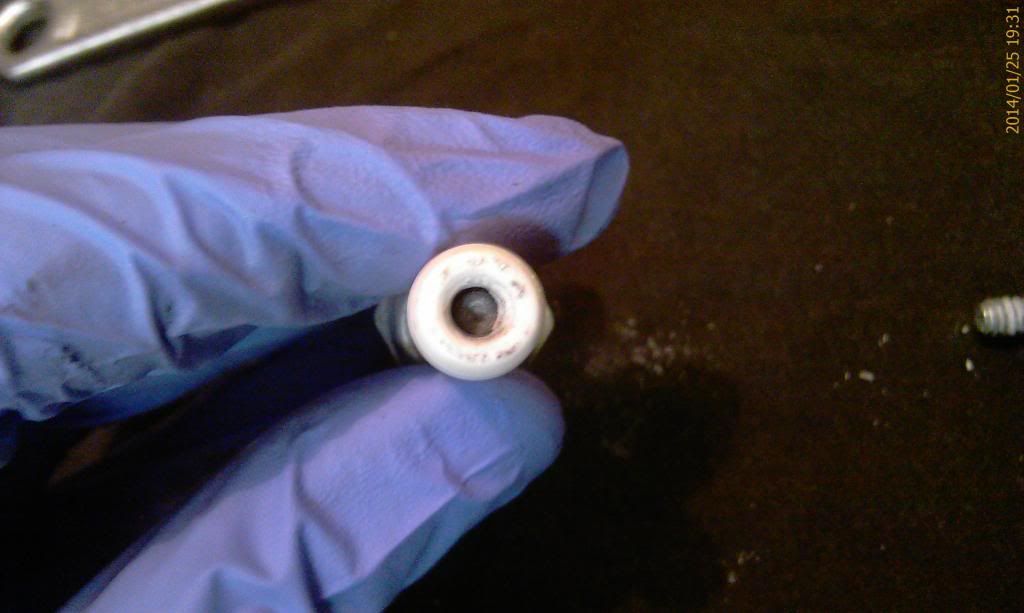 Next empty the contents of the spark plug which will be a smal cylinder-shaped piece about <1 cm and a small spring. the cylinder-shaped piece is the resistor.  Next I take the resistor (just to make sure it actually is the resistor and I test it against my multimeter. 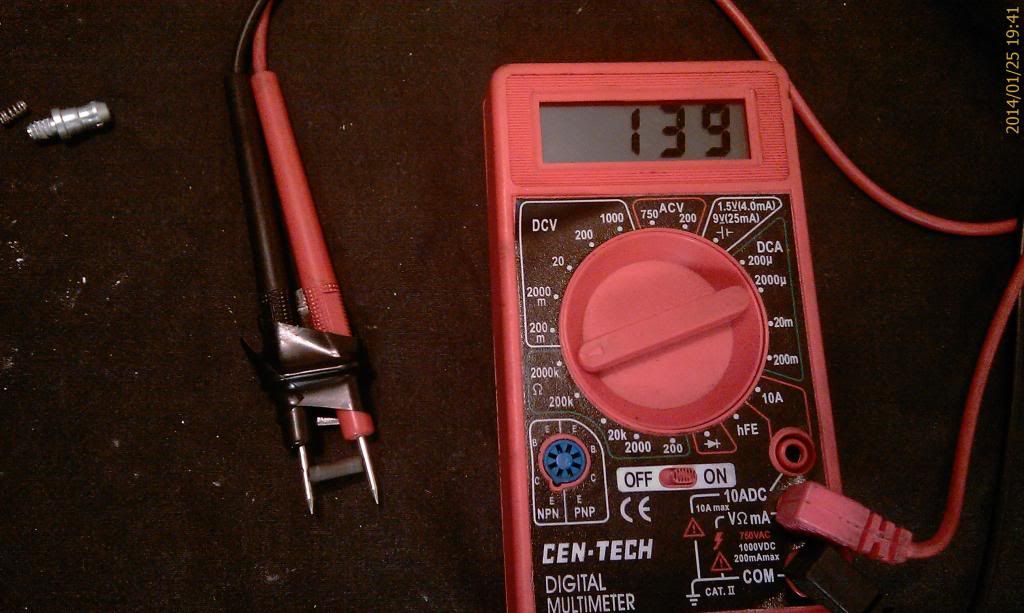 Now this is the part that varies, I was originally going to use a 10 gauge unsheathed wire cut the length of the resistor, but then I wanted something solid so I grabbed a coat hanger. After realizing the coat hanger was not made of copper, I decided to grab my old Bosch H9DC plugs and crack them open and cut out the copper core. I guess you can use any type of metal that carries a current, especially since there is a spring in the plug that is probably just steel or some alloy, but since this is new to me, I chose to play it safe. 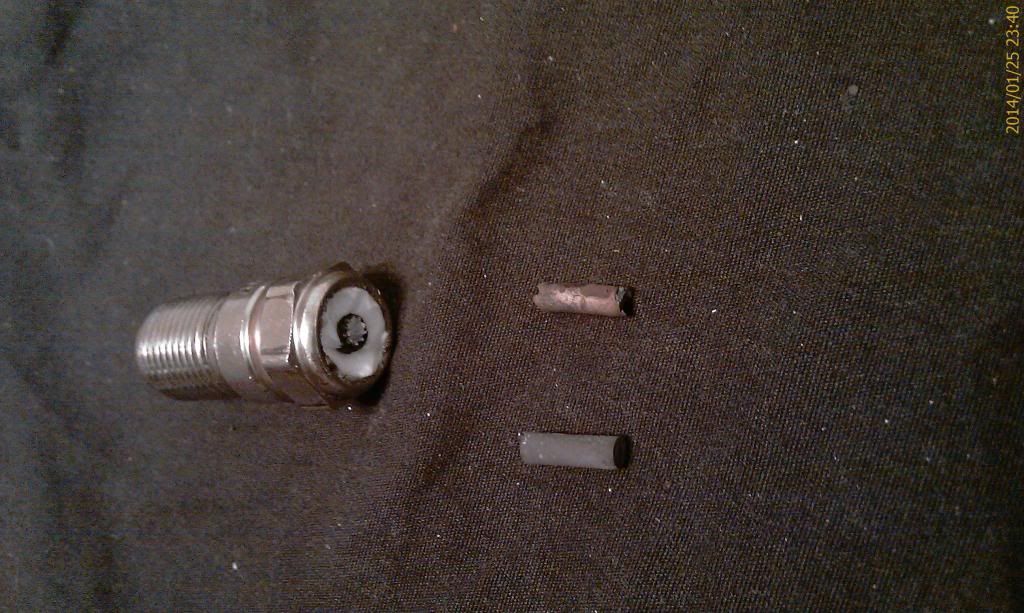 Finally put everything back together, minus the resistor and then hook the plug up to the multimeter leads and you should now have a non-resistor plug  . *Note that the spring goes in first and then the legnth of copper. Another variable of this is to bypass the spring and just use a length of copper that will reach the plug's bottom, but not be too long on the top. . *Note that the spring goes in first and then the legnth of copper. Another variable of this is to bypass the spring and just use a length of copper that will reach the plug's bottom, but not be too long on the top.
__________________
 1990 190E 3.0L Last edited by lsmalley; 01-26-2014 at 10:34 AM. 
|
| Bookmarks |
|
|


 Threaded Mode


