 |
 |
 |
 |

|


|
|
|
|
|
|
#196
|
|||
|
|||
|
Yesterday was very frustrating. I spent most of the day trying to install the front seats with no success. I could get three bolts in but I could never get the fourth bolt to line up. I googled installing the seat and discovered one guy who spent five days installing one seat!!! I knew there had to be an answer.
I finally called my buddy Reese to see if a second set of eyes would help. I knew the problem was connected to the spring for raising and lowering the seat. My Google search came up with one guy who finally got his seat installed after removing the spring but he no longer had height adjustment. Which is why I resisted unhooking the spring. But after we both looked over the bottom of the seats, we could see no other way. I had the passenger seat in position and, after shining my light on the front edge, I could see that I could both see and reach the spring with the seat in place. By this time is was four o'clock. Besides being frustrated, I was worn out and called it a day. A few days ago, JMela sent me a digital copy of the service manual. I had thanked him but had saved the file to the Mercedes file without looking at it. After dinner, I found the section on removing the seat. The very first instruction was to release the spring tension!!! There is a Mercedes tool for this which I felt confident I could duplicate. I went to bed looking forward to finally having seats in the car. I was in the garage by eight. Earlier in this thread I used a tool made for installing the rubber exhaust hangers. When looking in my special tools drawer, I saw it and thought it would work. 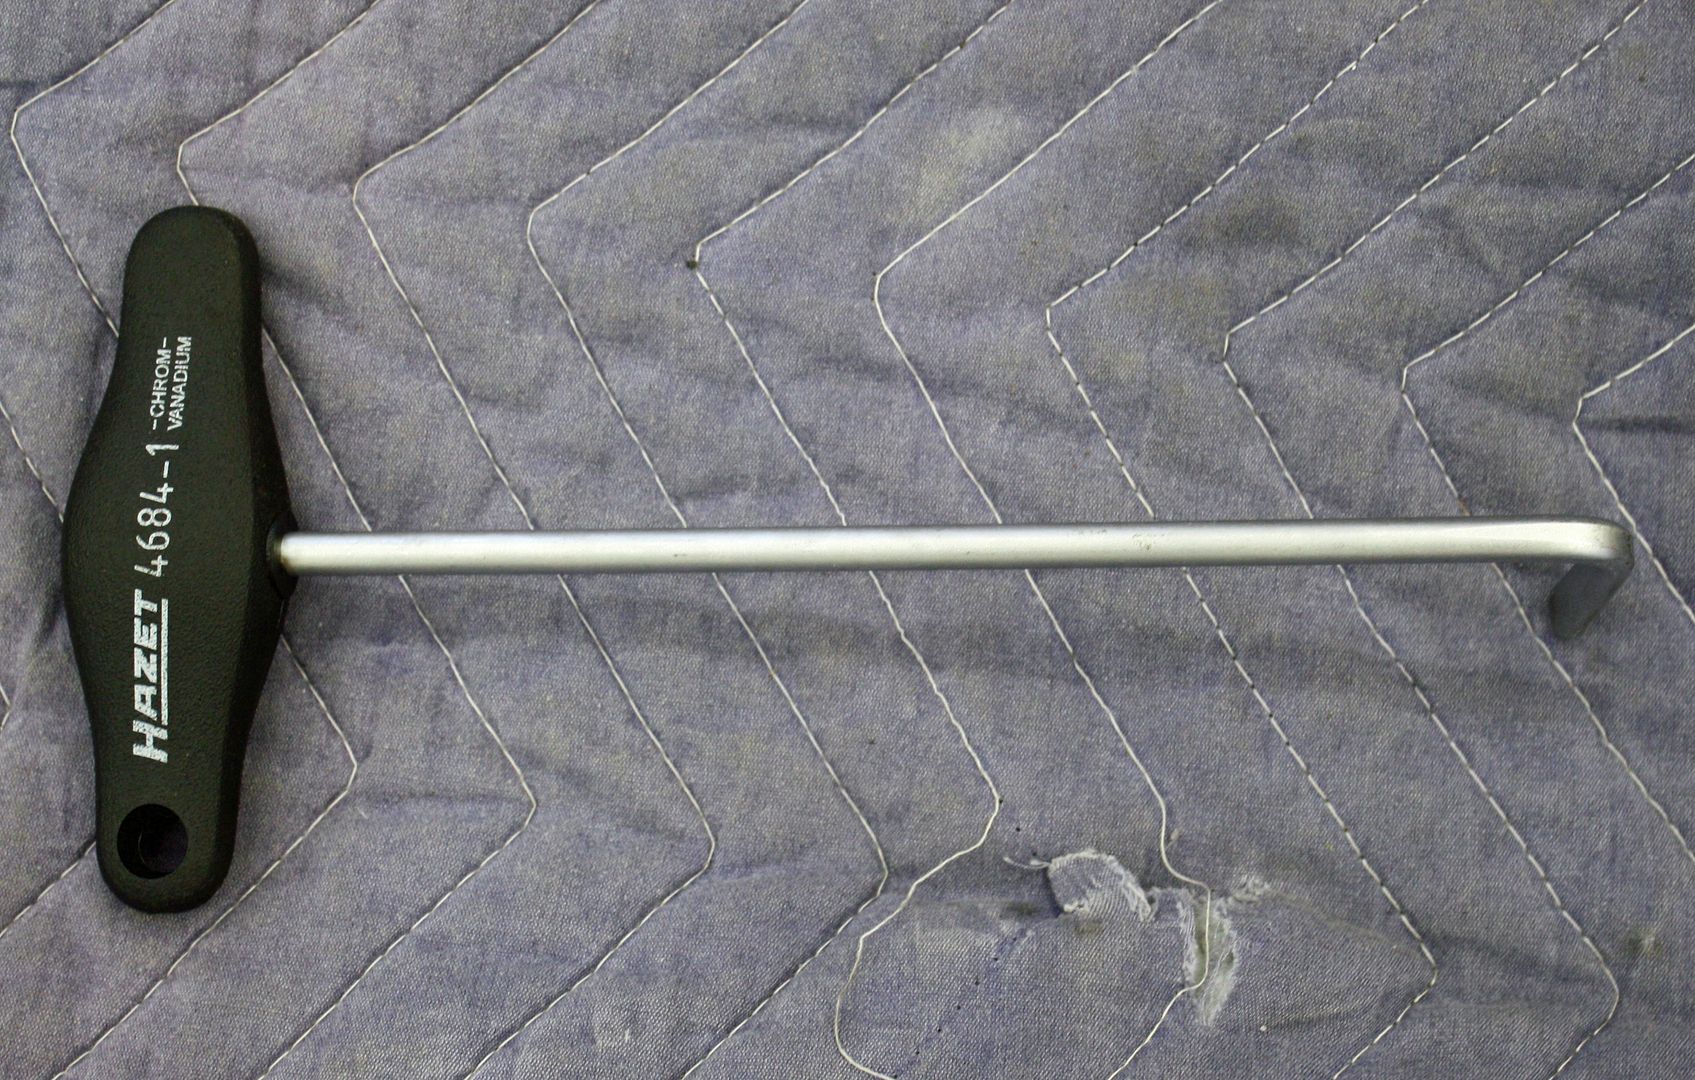 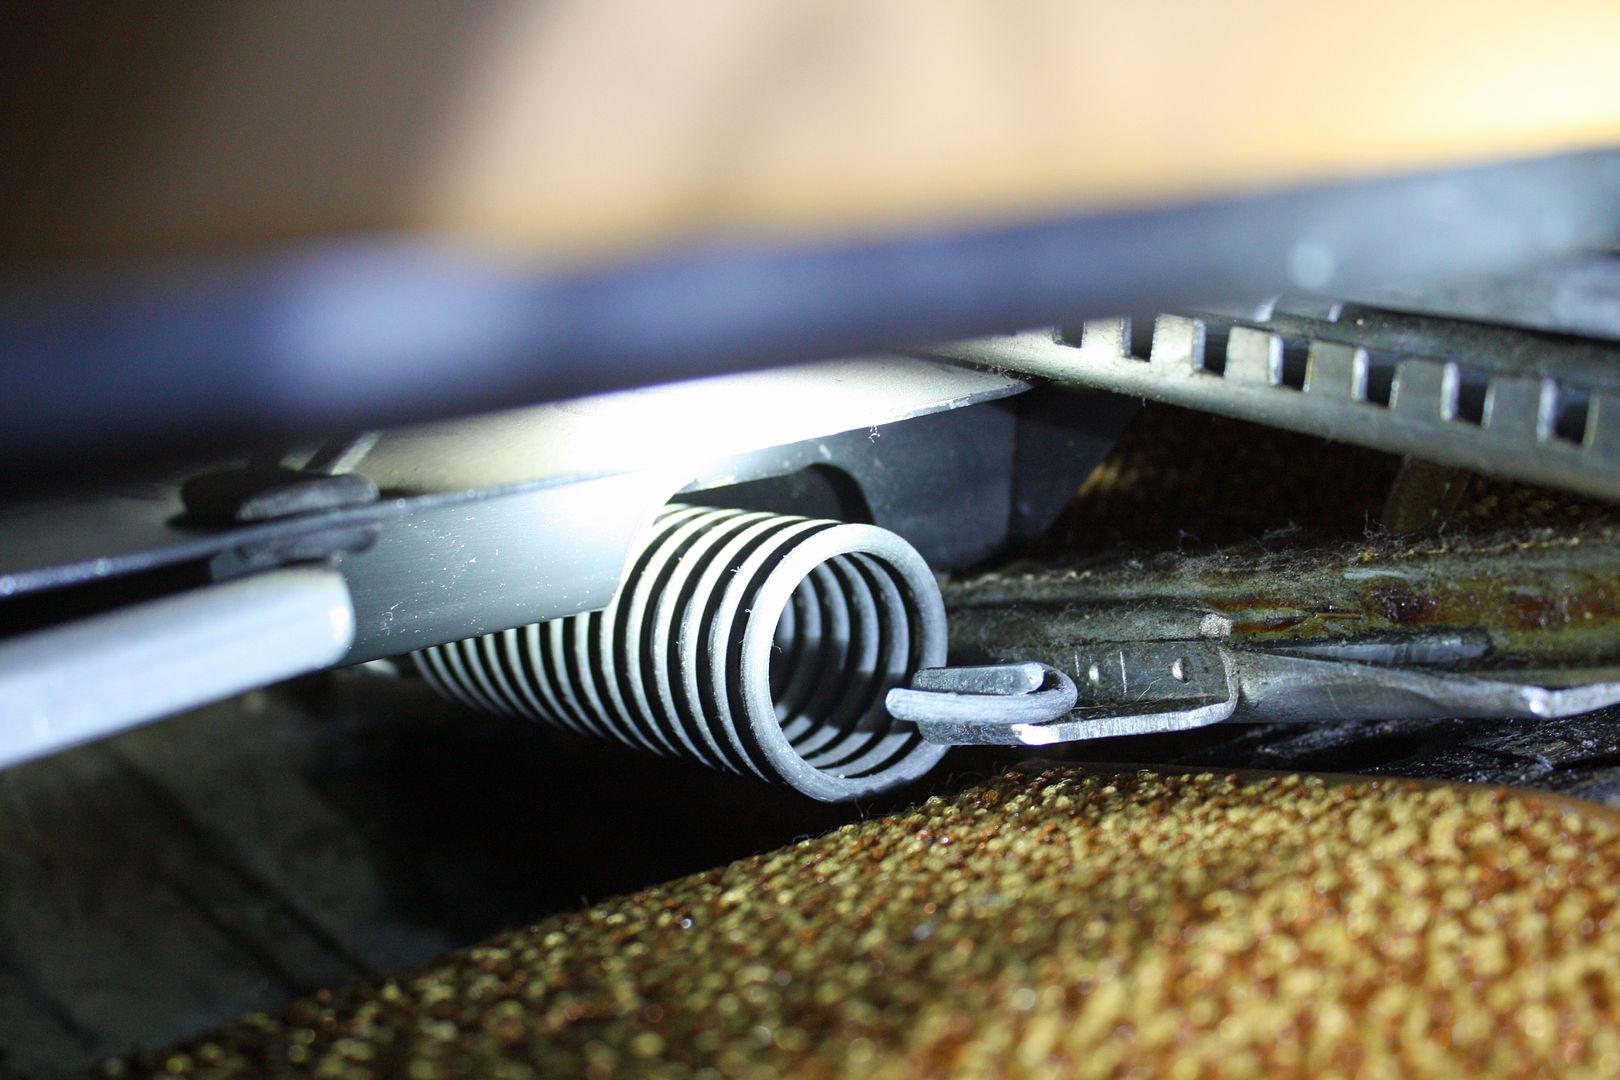 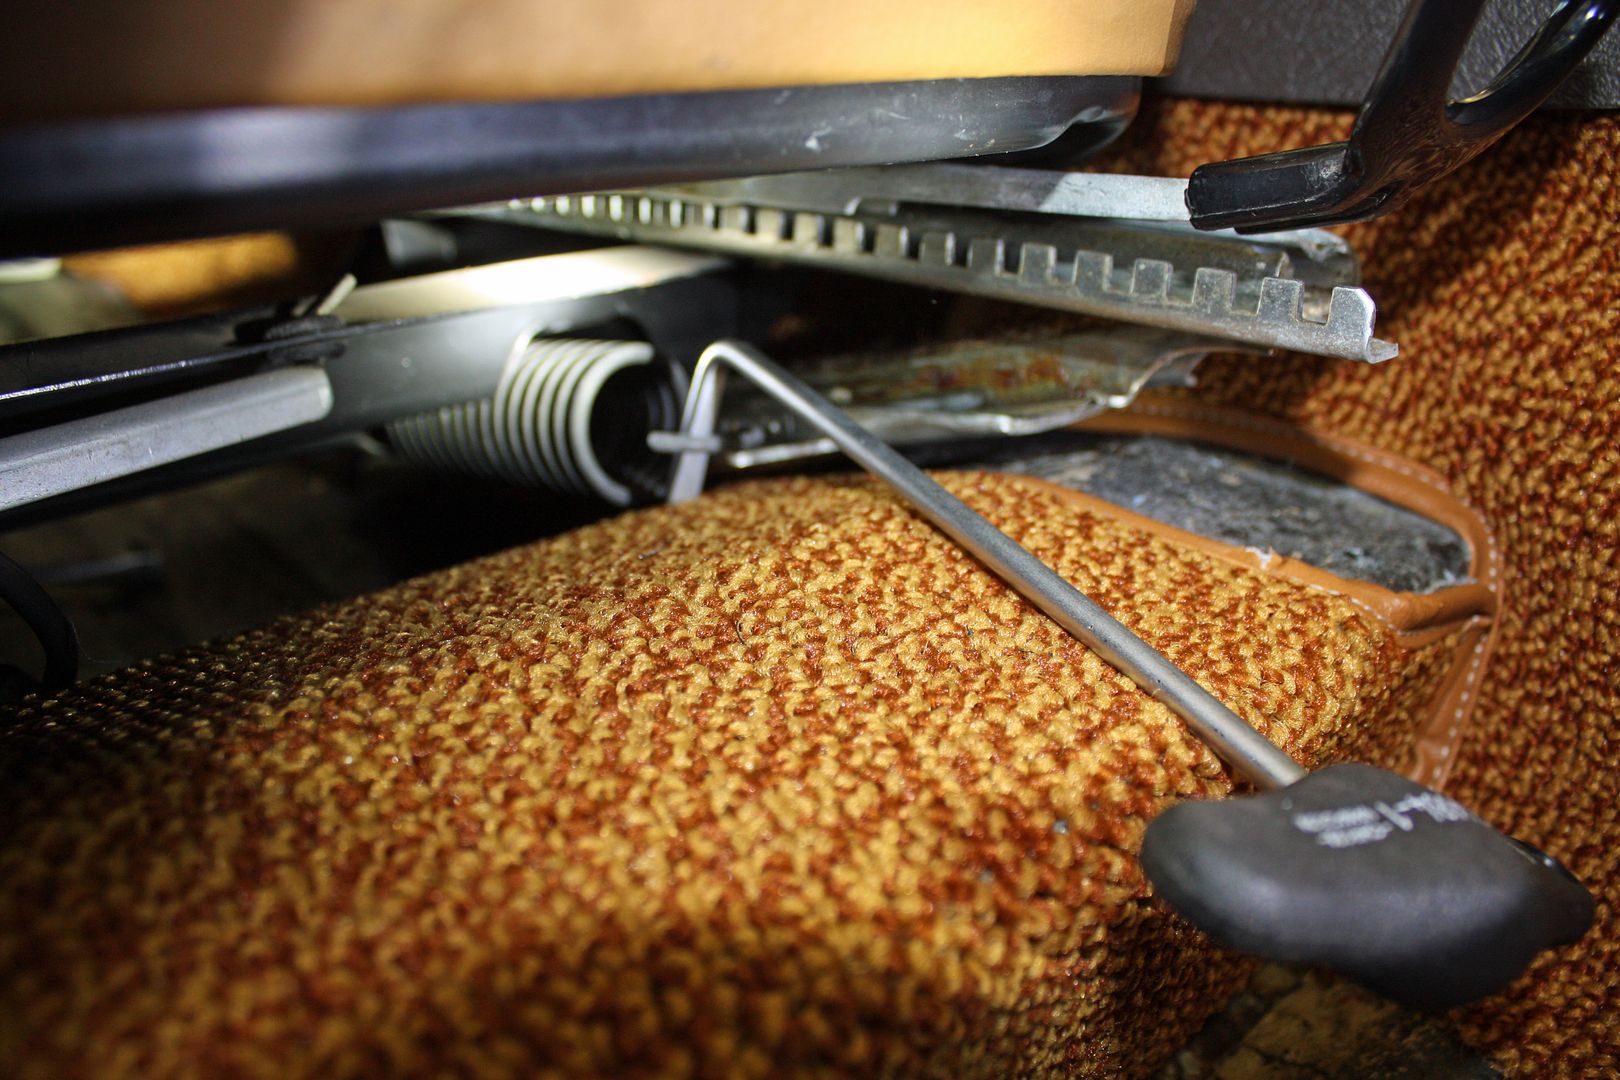 I tried it on the seat that was outside the car and it worked great. I had the three bolts in the seat in the car so I grabbed the spring with the tool and was easily able to remove it. In no time I had that fourth hole lined up and the seat was in!!! I tried to use the same tool to attach the spring but it did not work for that as it wanted to slip off and I could not guide it. So I rummaged through my junk metal collection to see what I could find. I found a piece that I thought would work with a little massaging. It had a loop on the end that was too wide so I cut part of it off on each side. There was also a piece on top that I cut off. I have no idea where I got it and what it came off of but it worked well. I taped the rear part of the spring to the bottom of the seat to make sure it would not accidentally come unhooked. 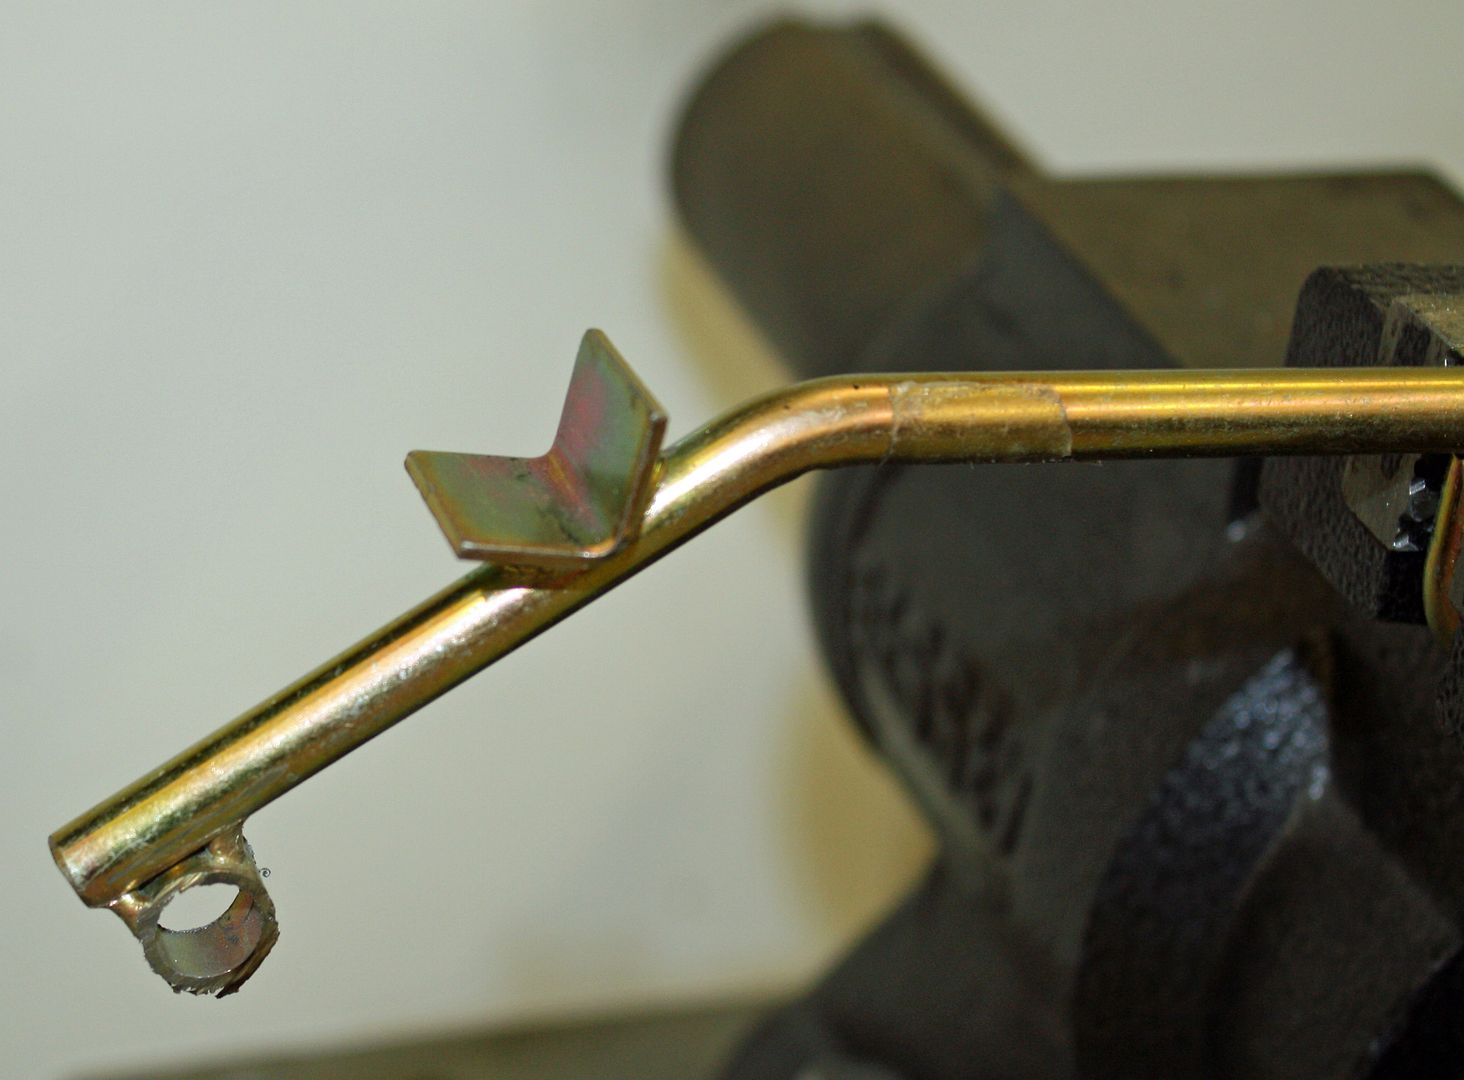 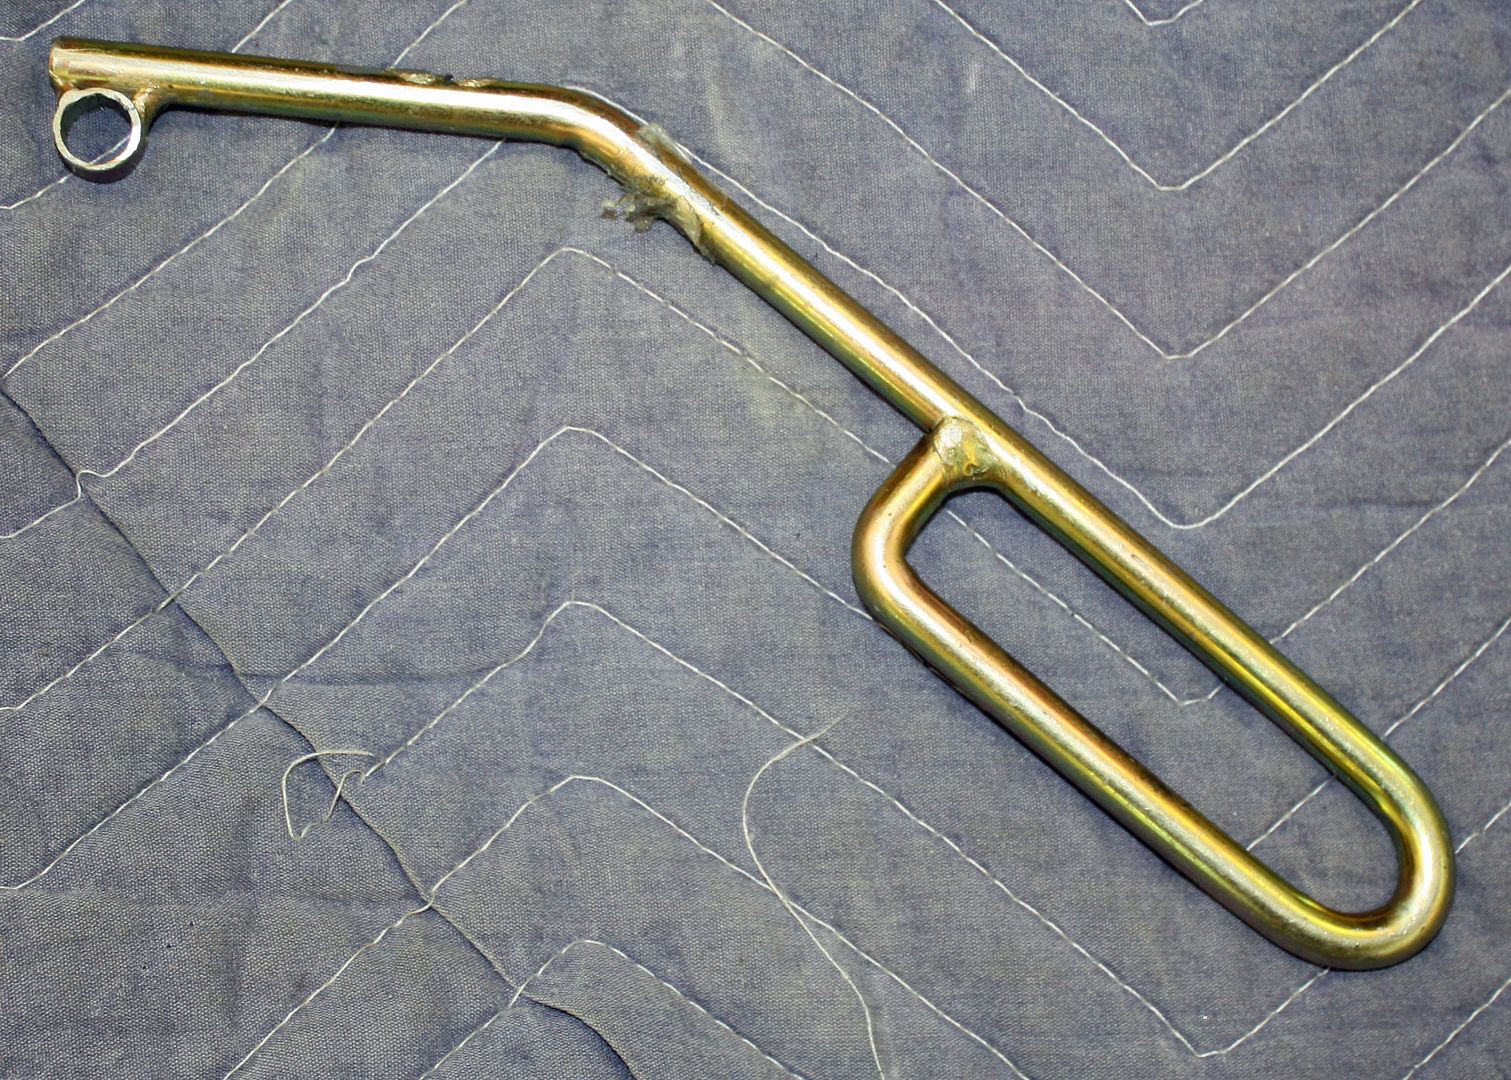 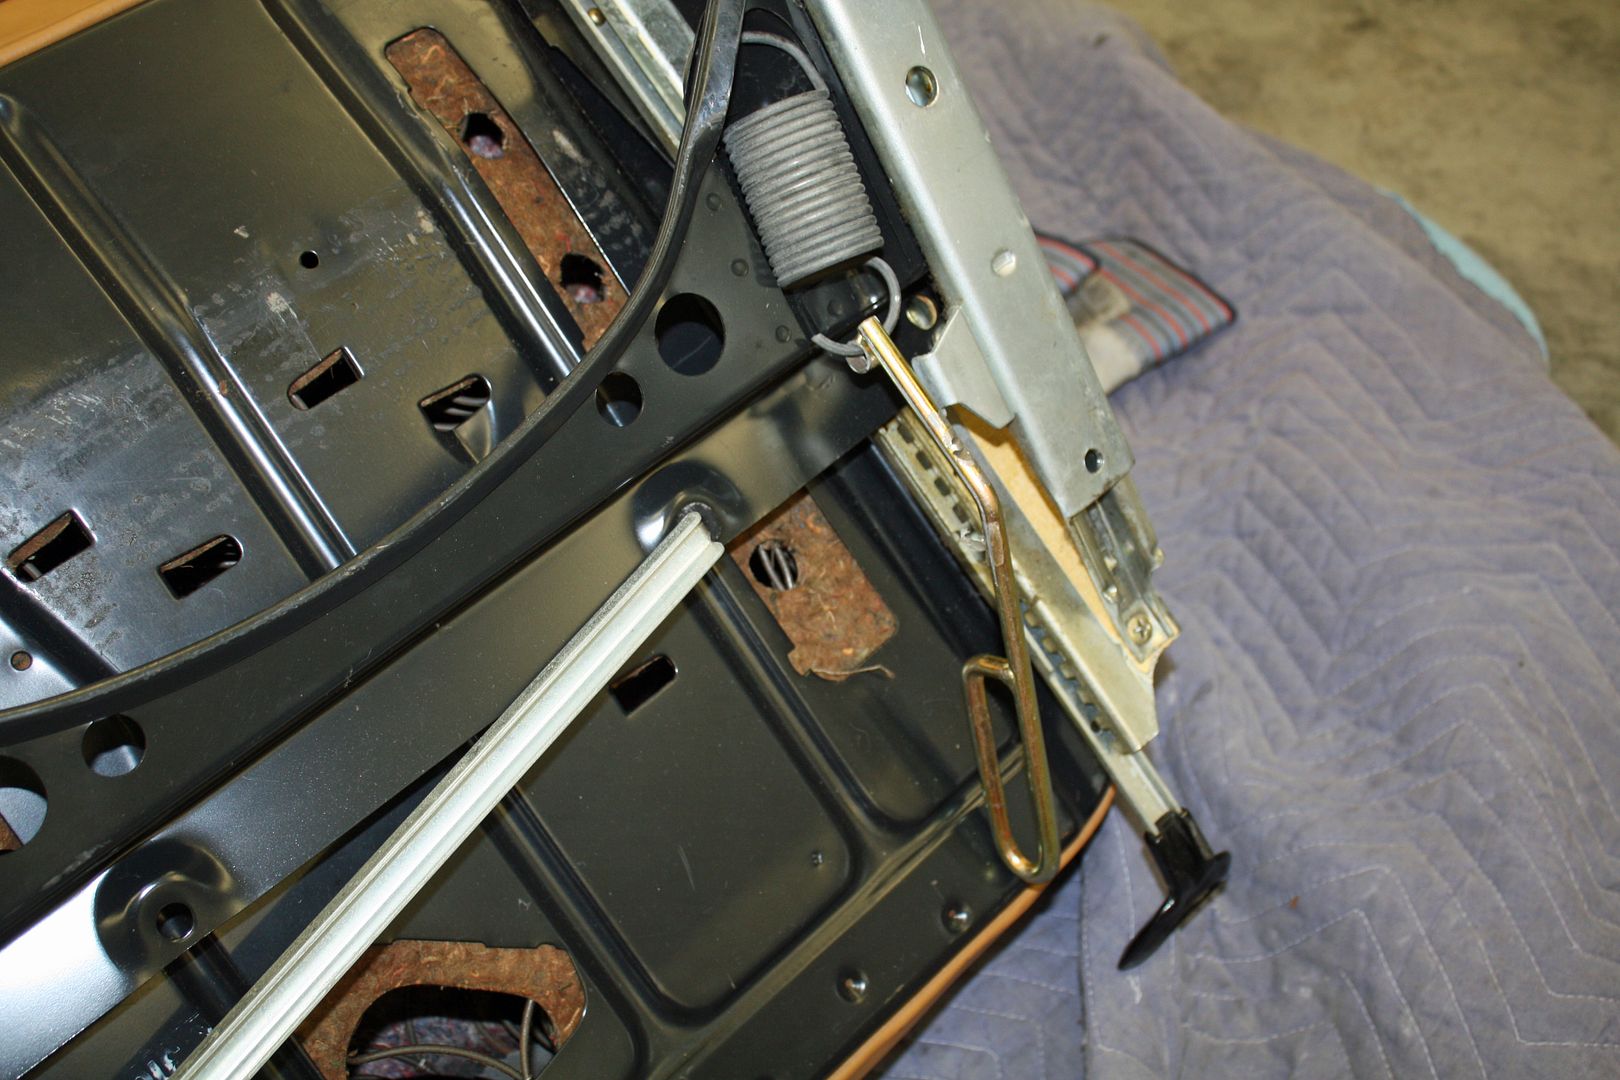 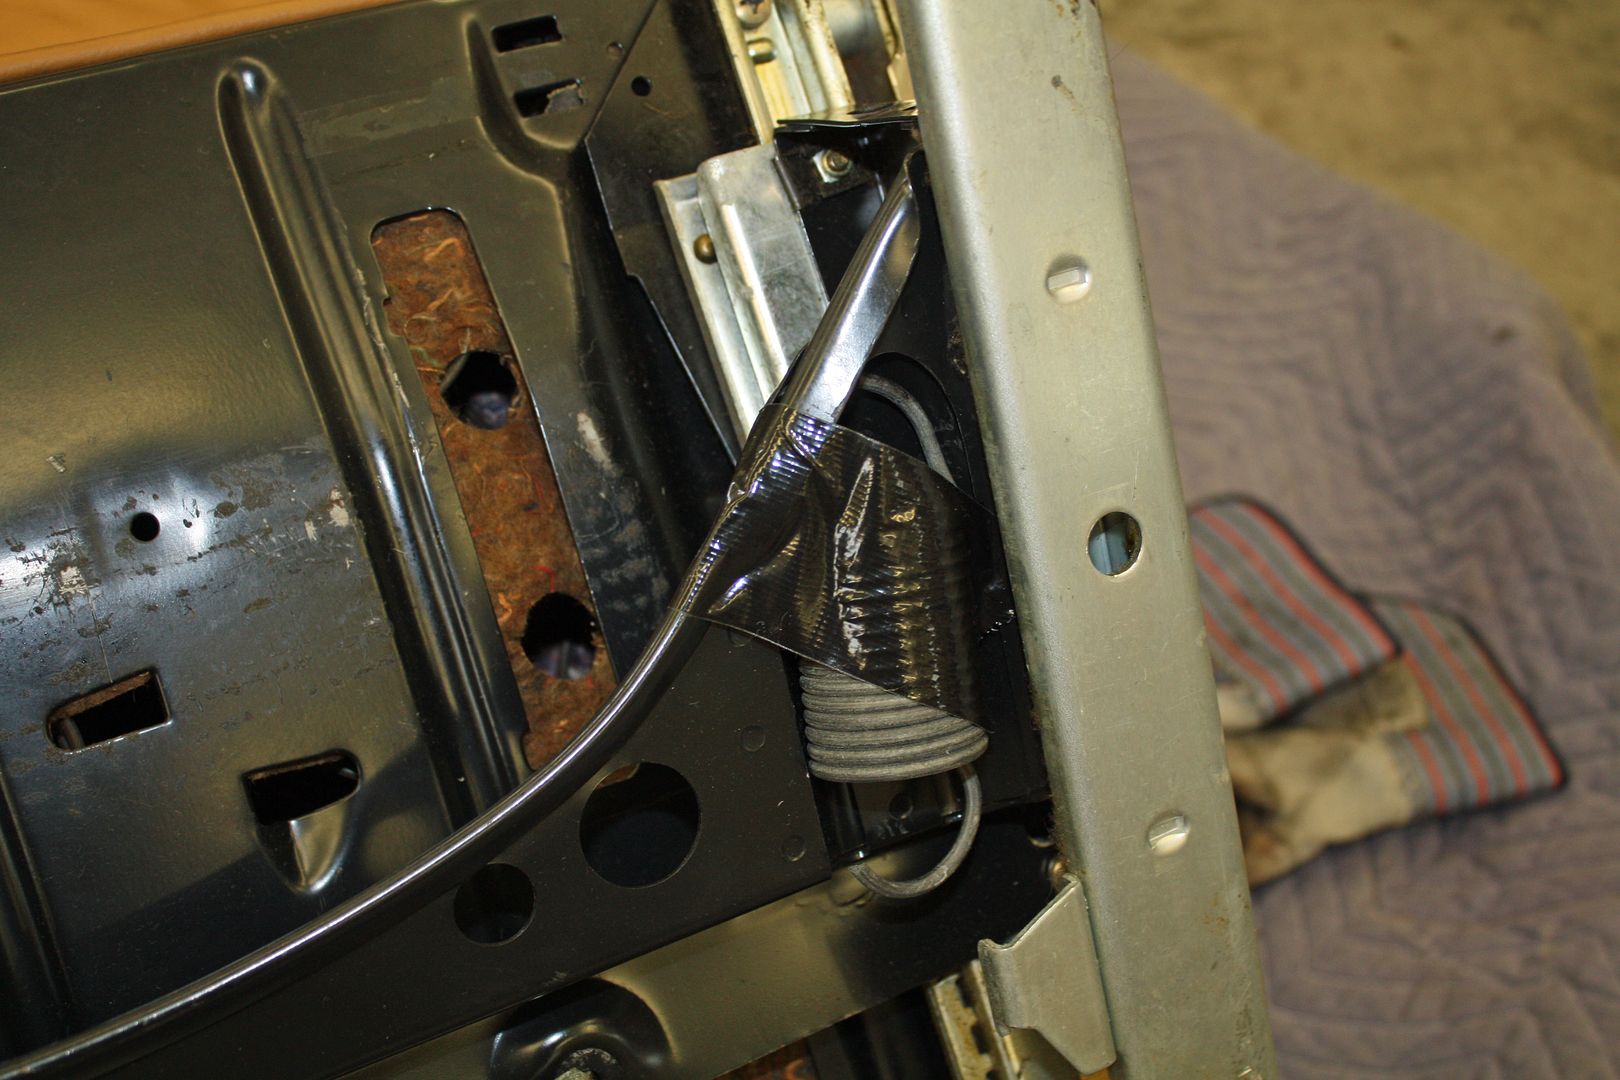 As you all saw earlier, the front rubber sill plate covers were in bad shape. I ordered a set but only get them in black instead of the original brown. More glueing ensued after I masked off the sill to keep from having glue everywhere. I purposely did not apply glue to the inner edge as I wanted to be able to slide the rubber under the plastic trim. After installing the front ones, I discovered that I had ordered a set for a SE rather than a SEL as the rears were 4" short. 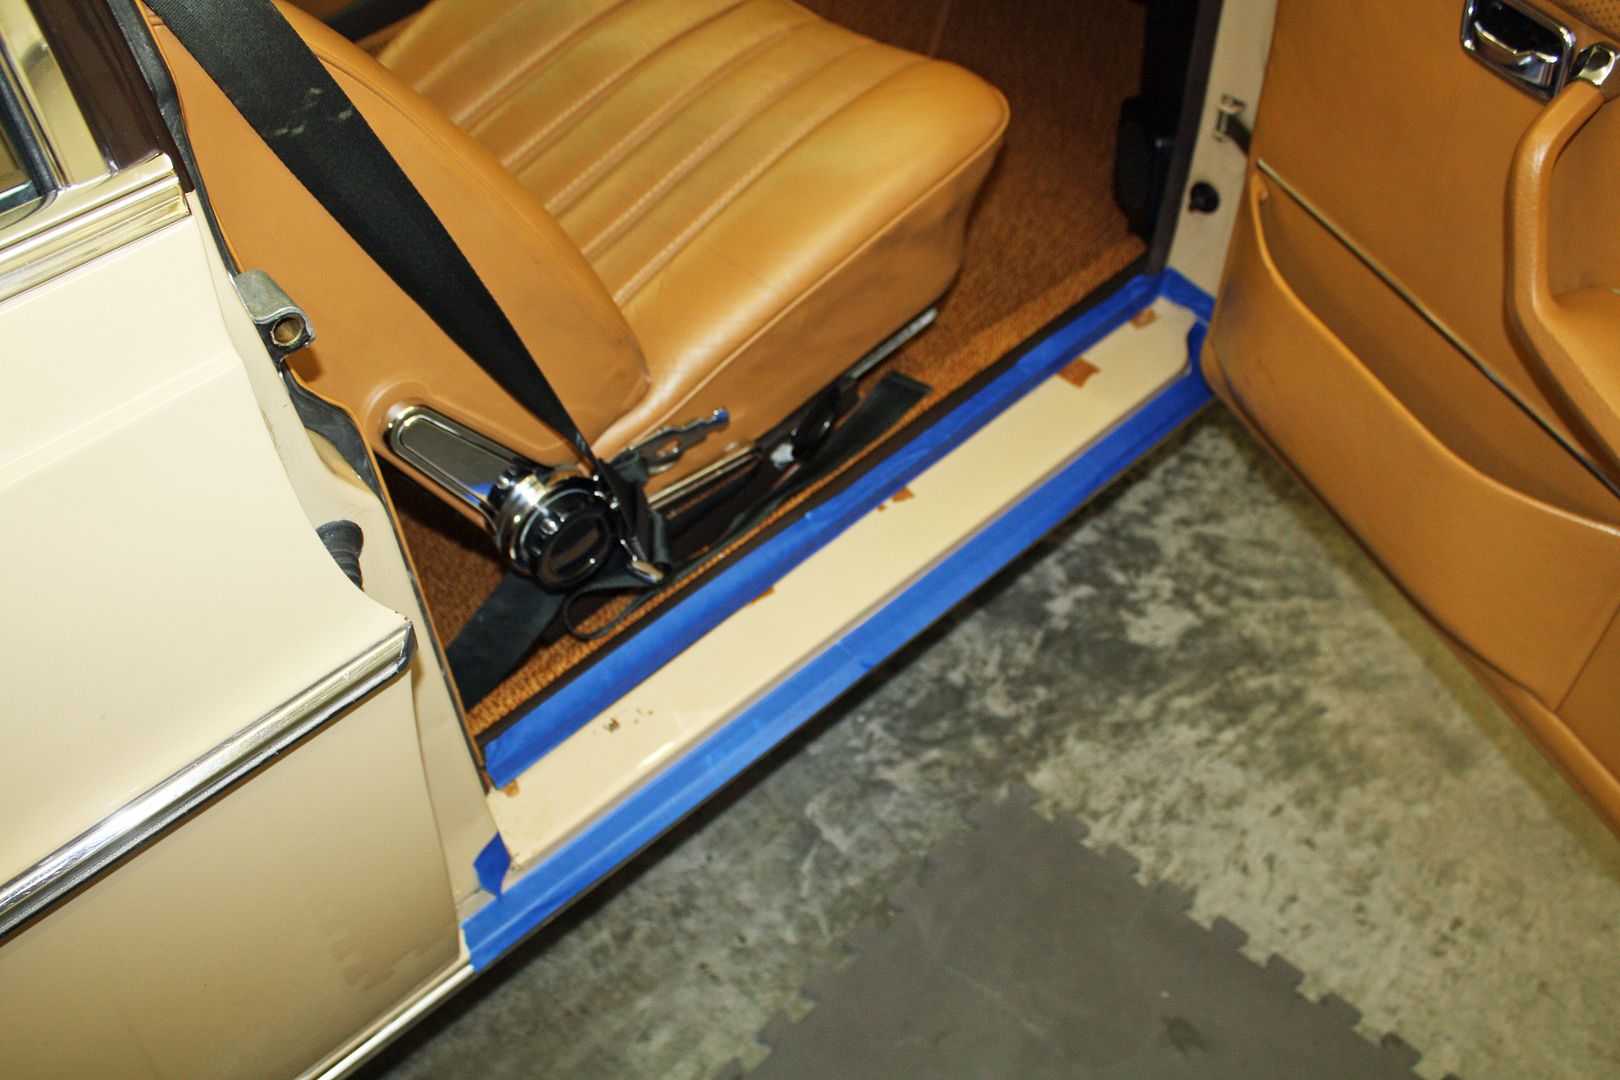 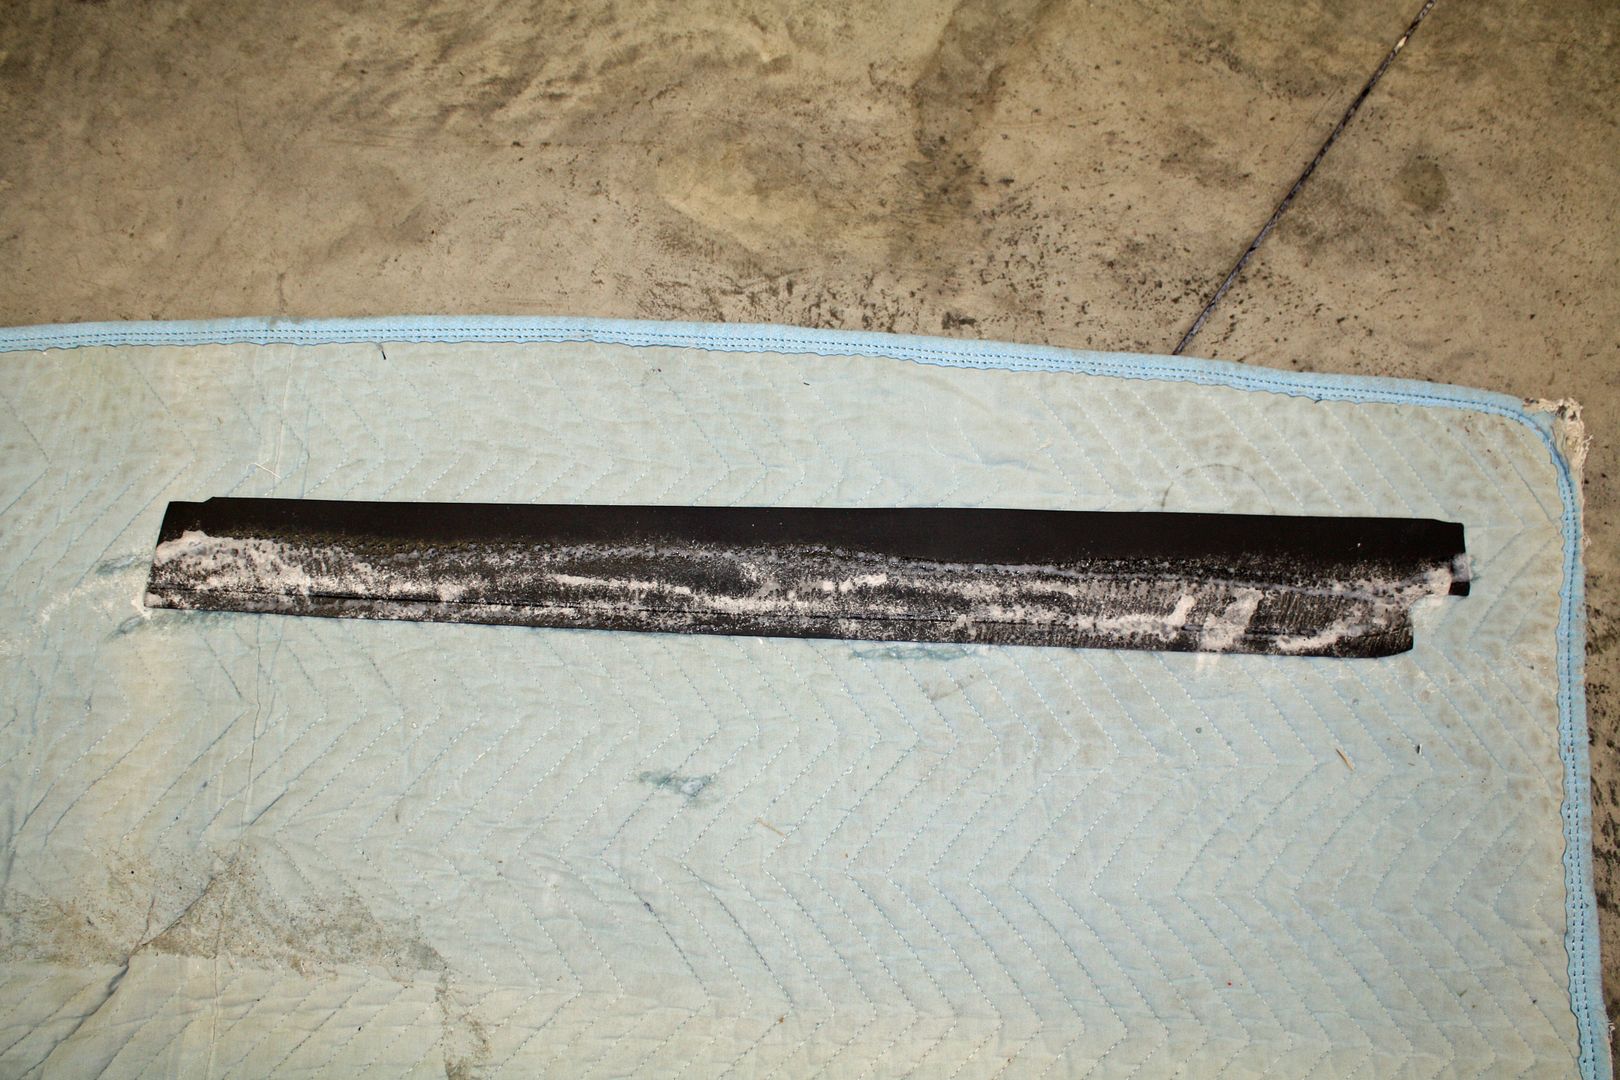 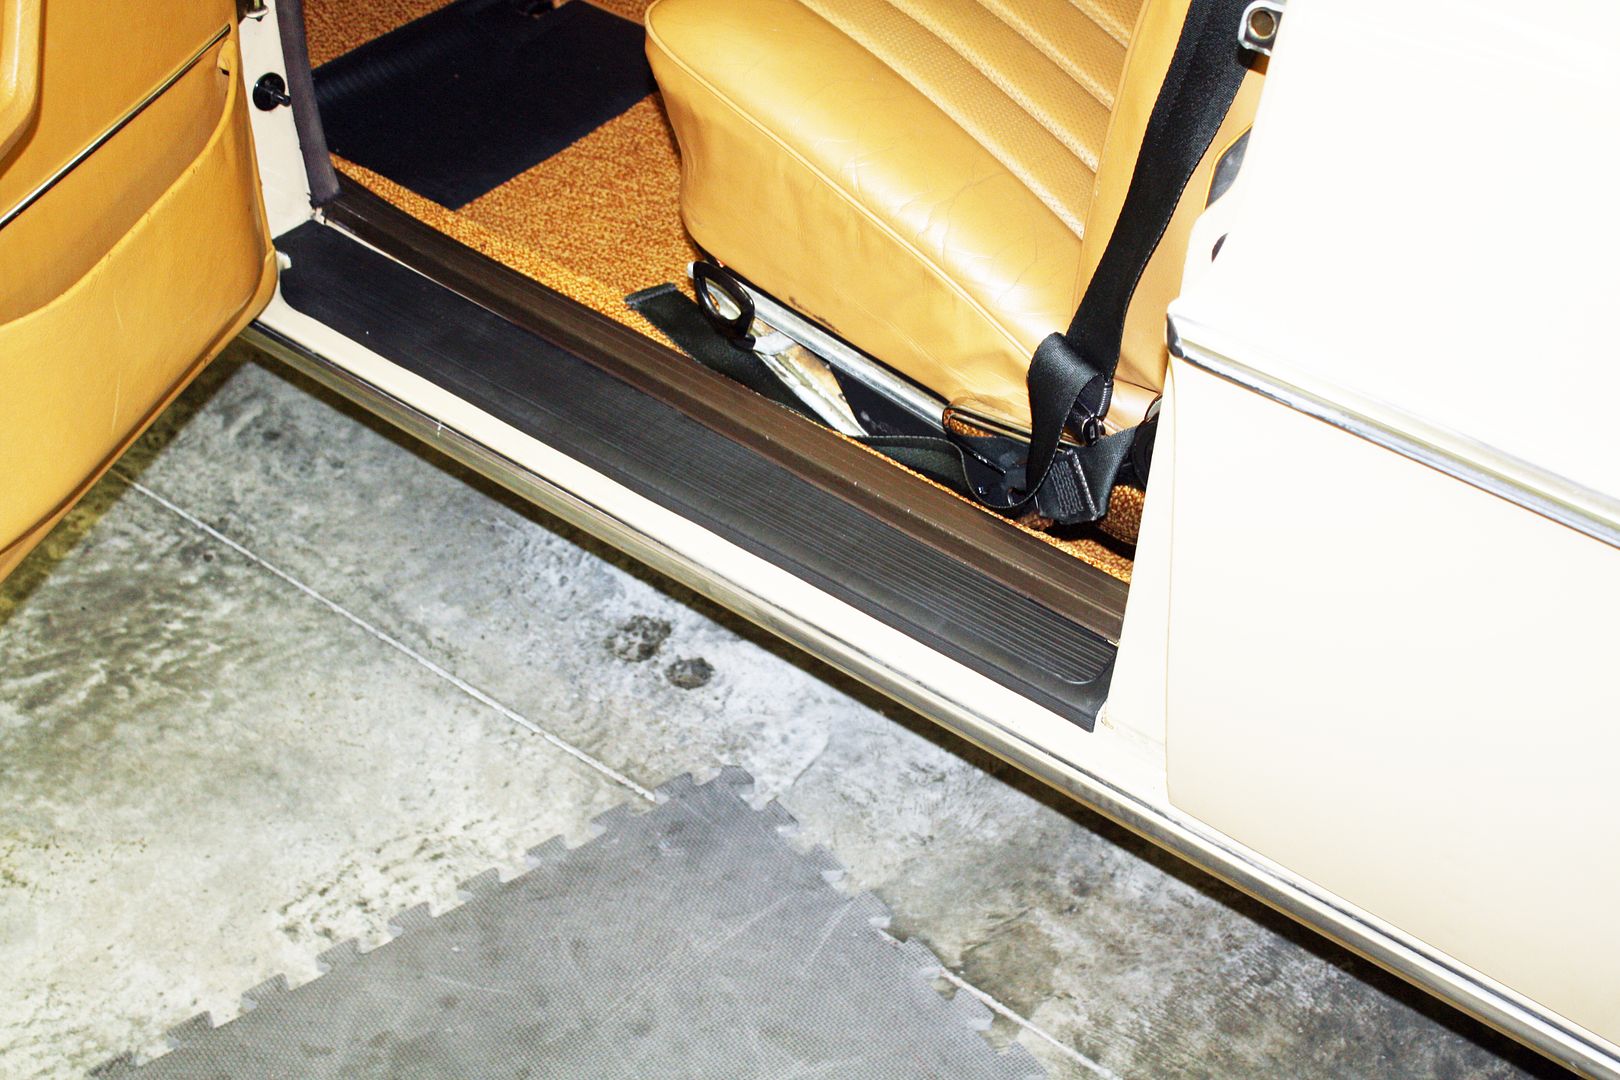 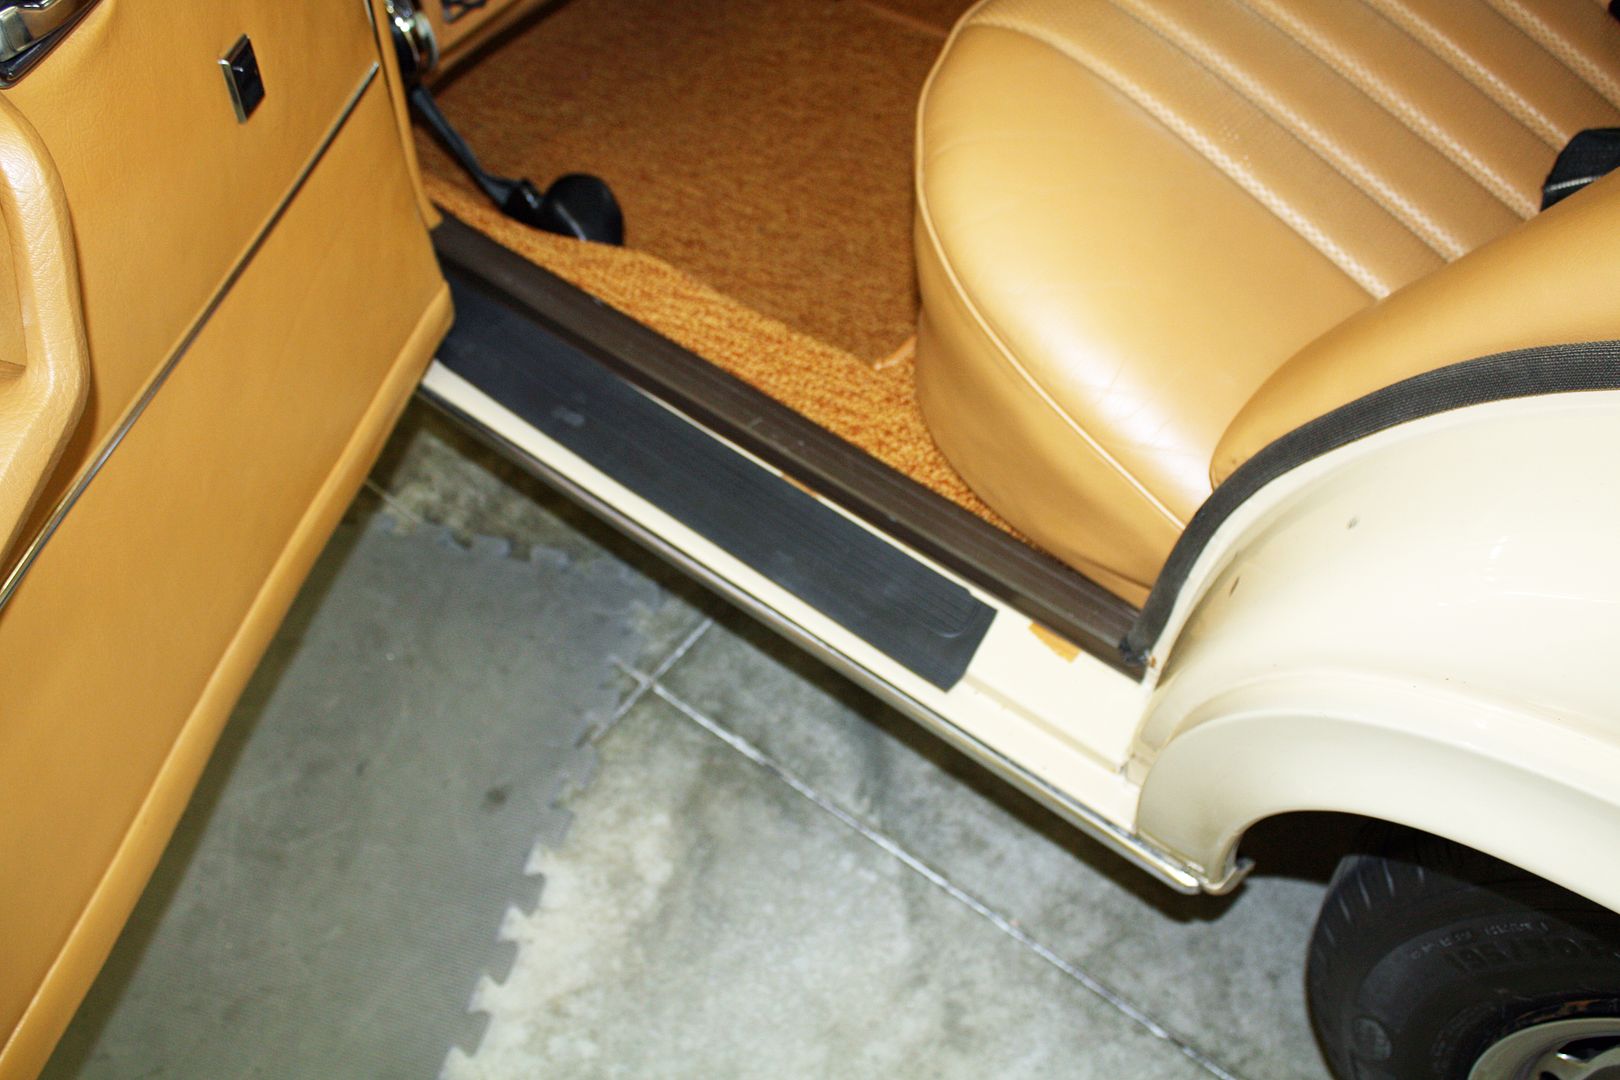 Other than the rear door sill rubber protectors, I am finished with the cosmetic work. Time for the beauty shots!! 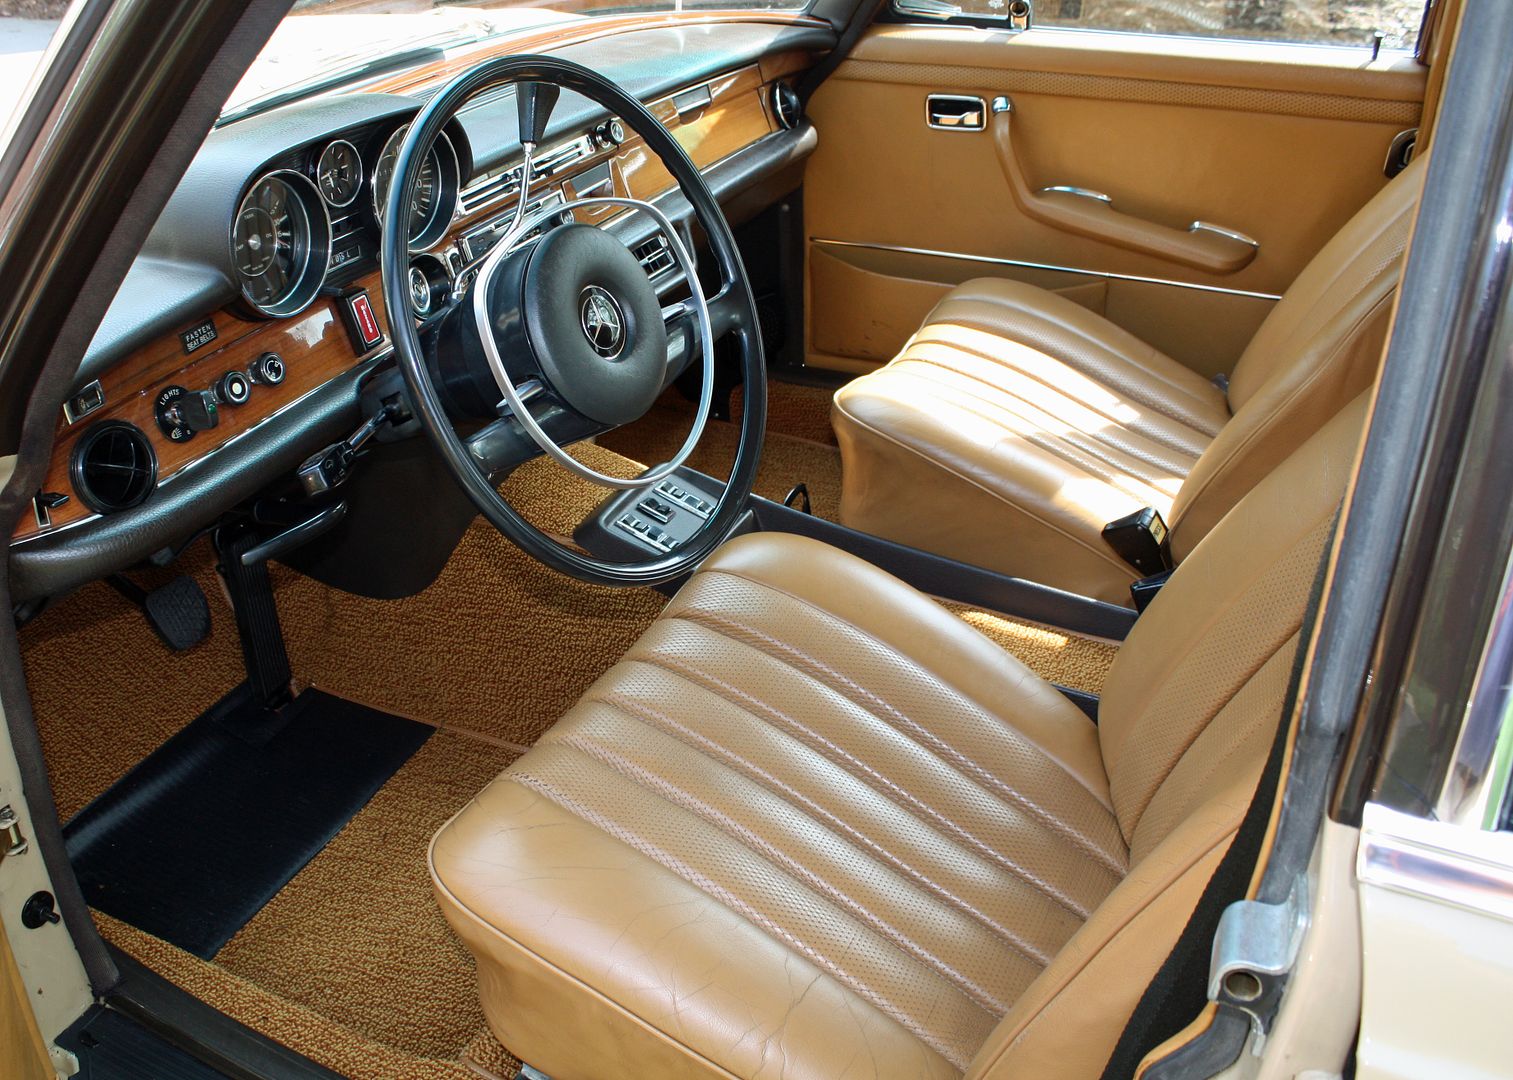 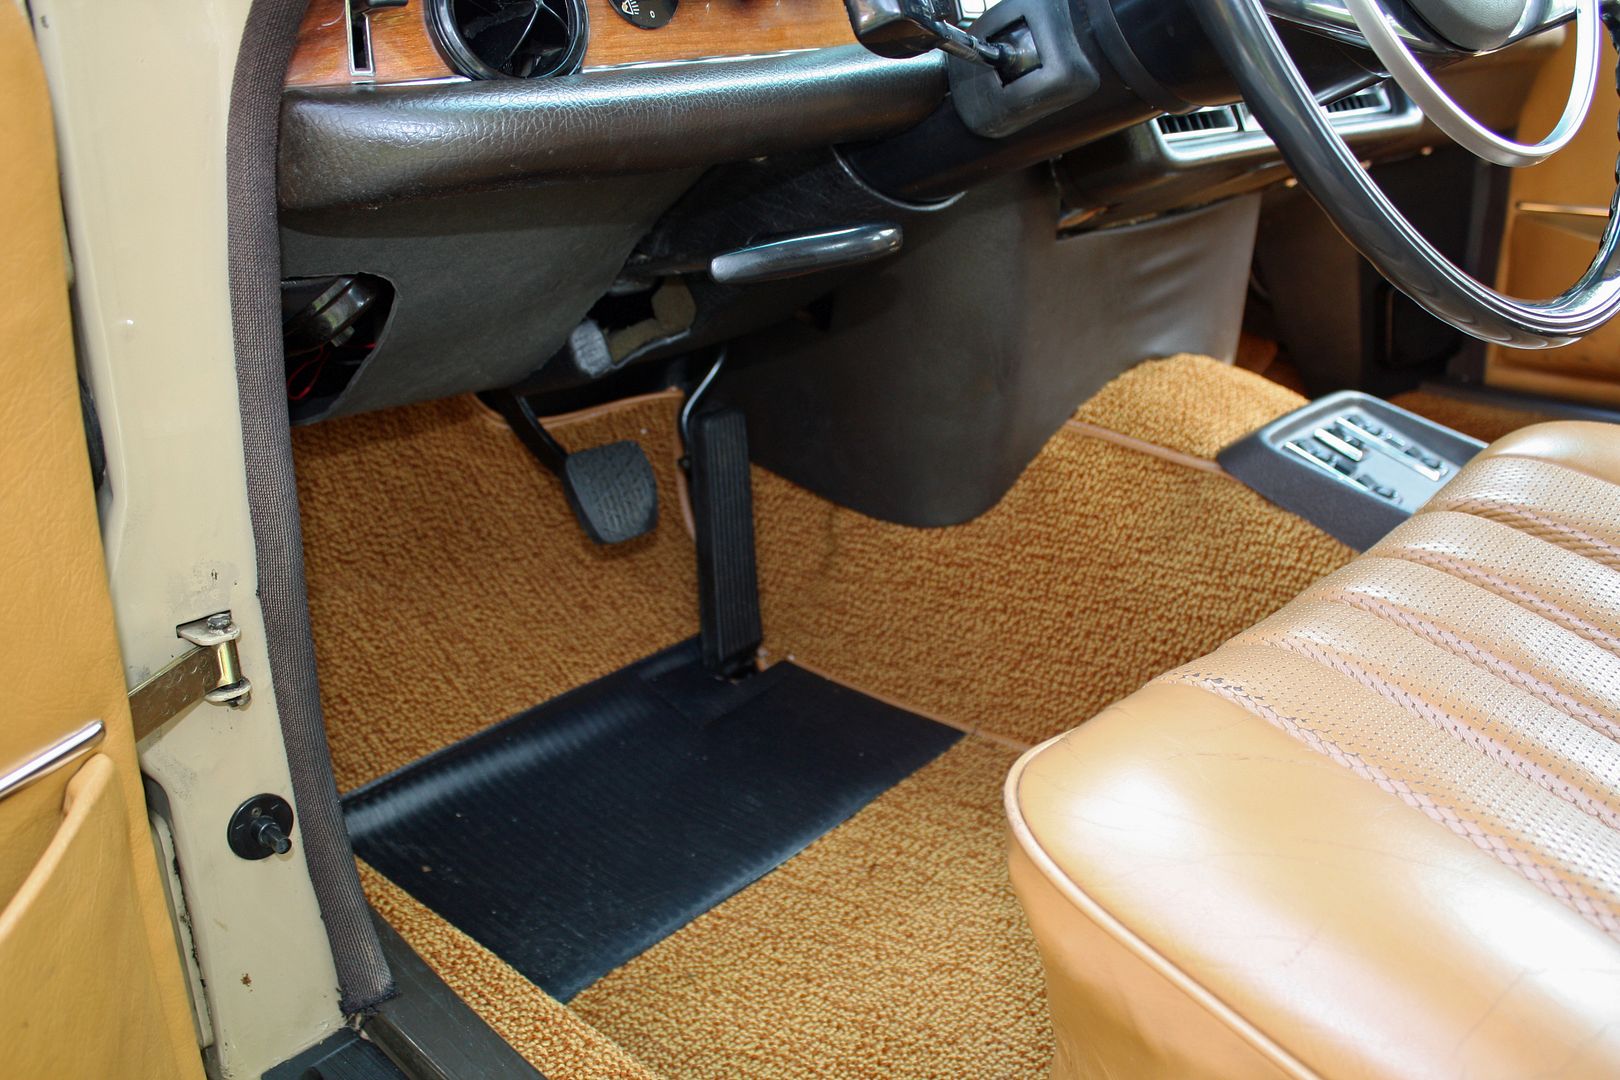 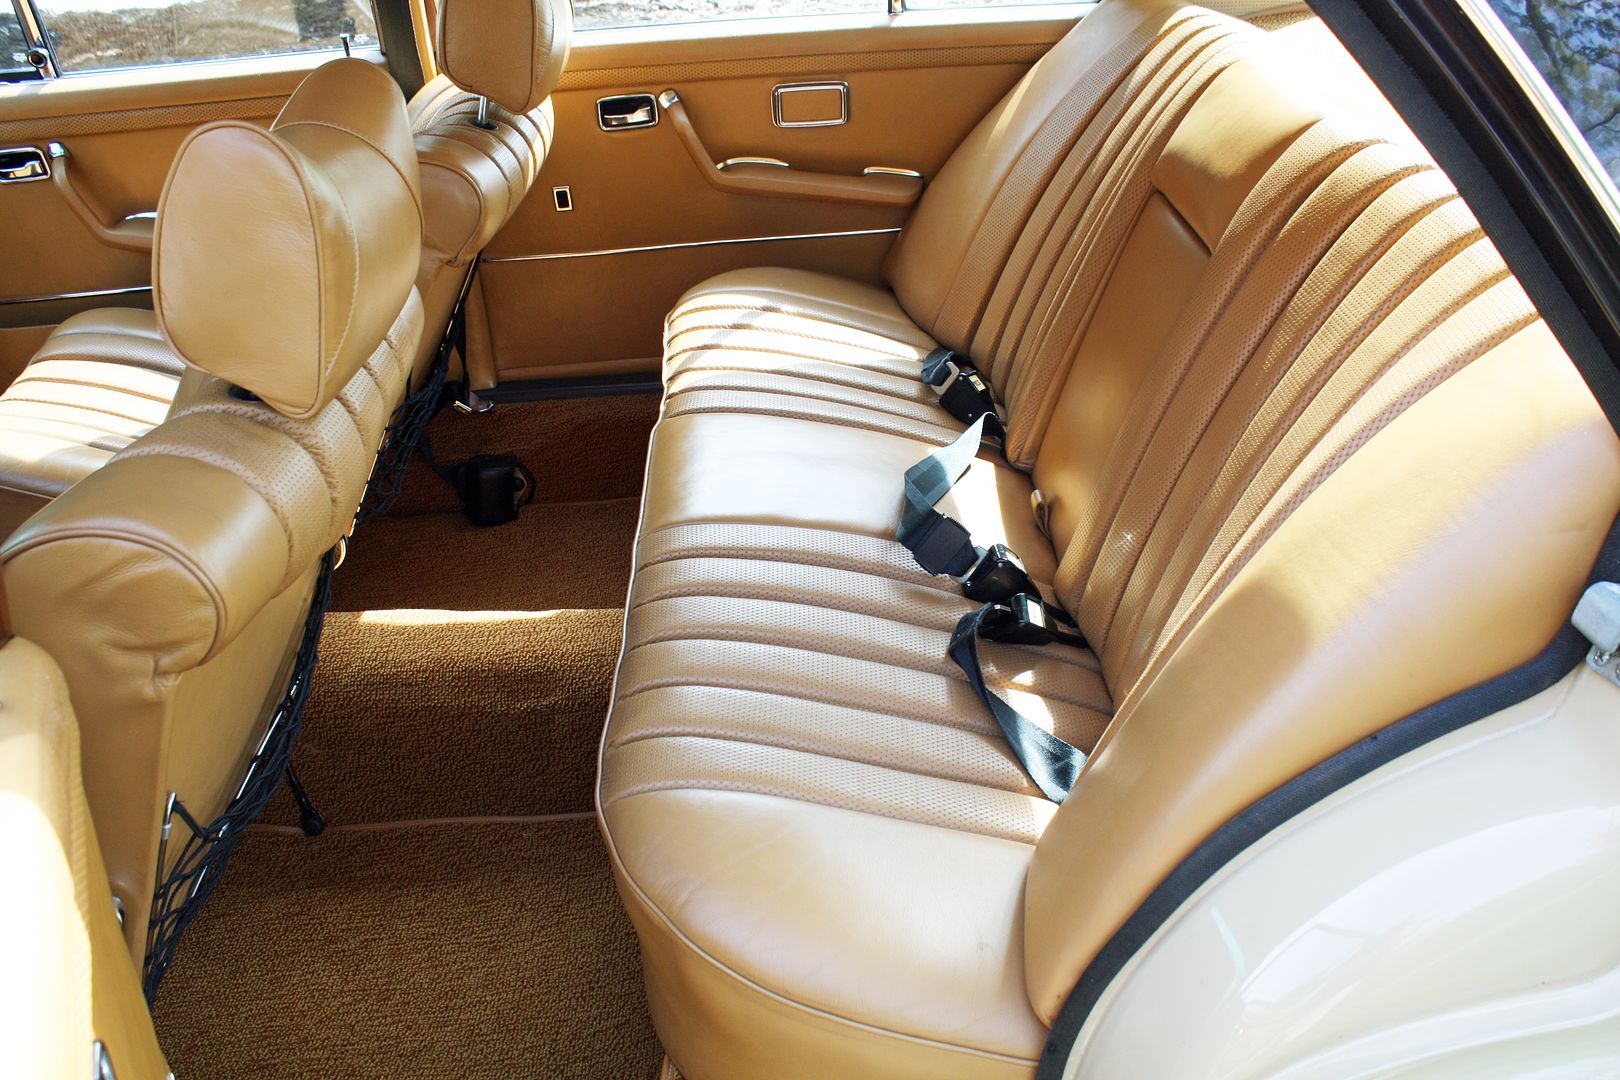 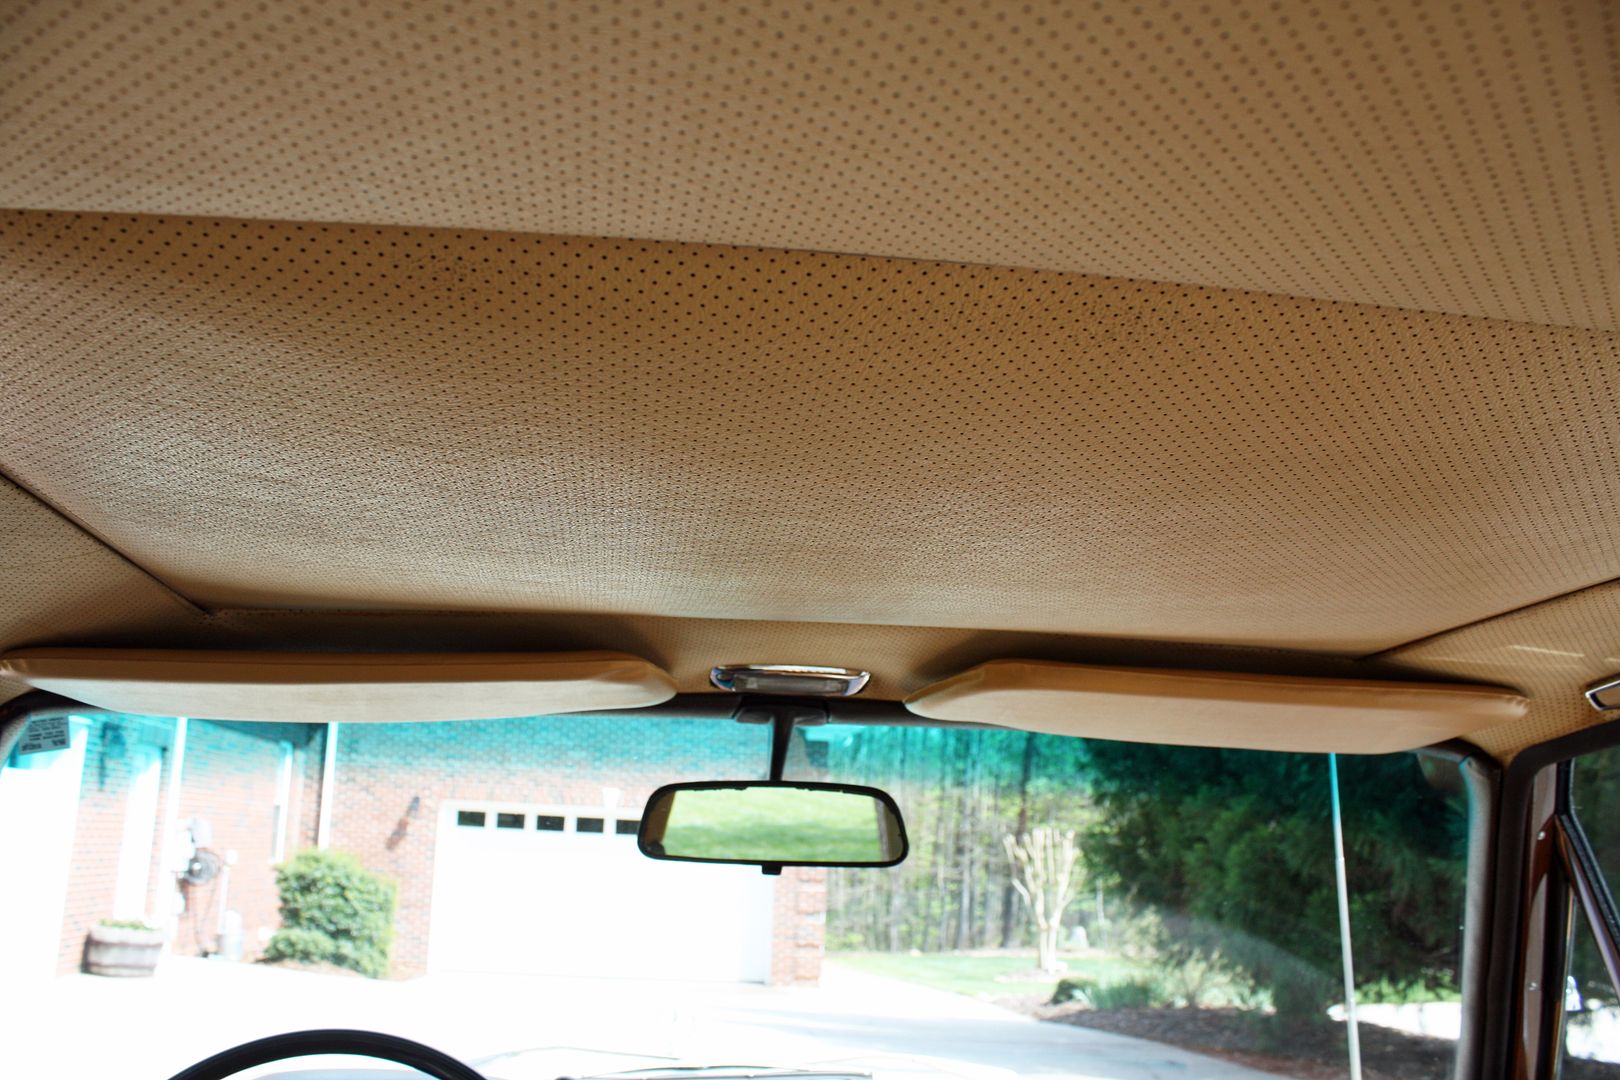 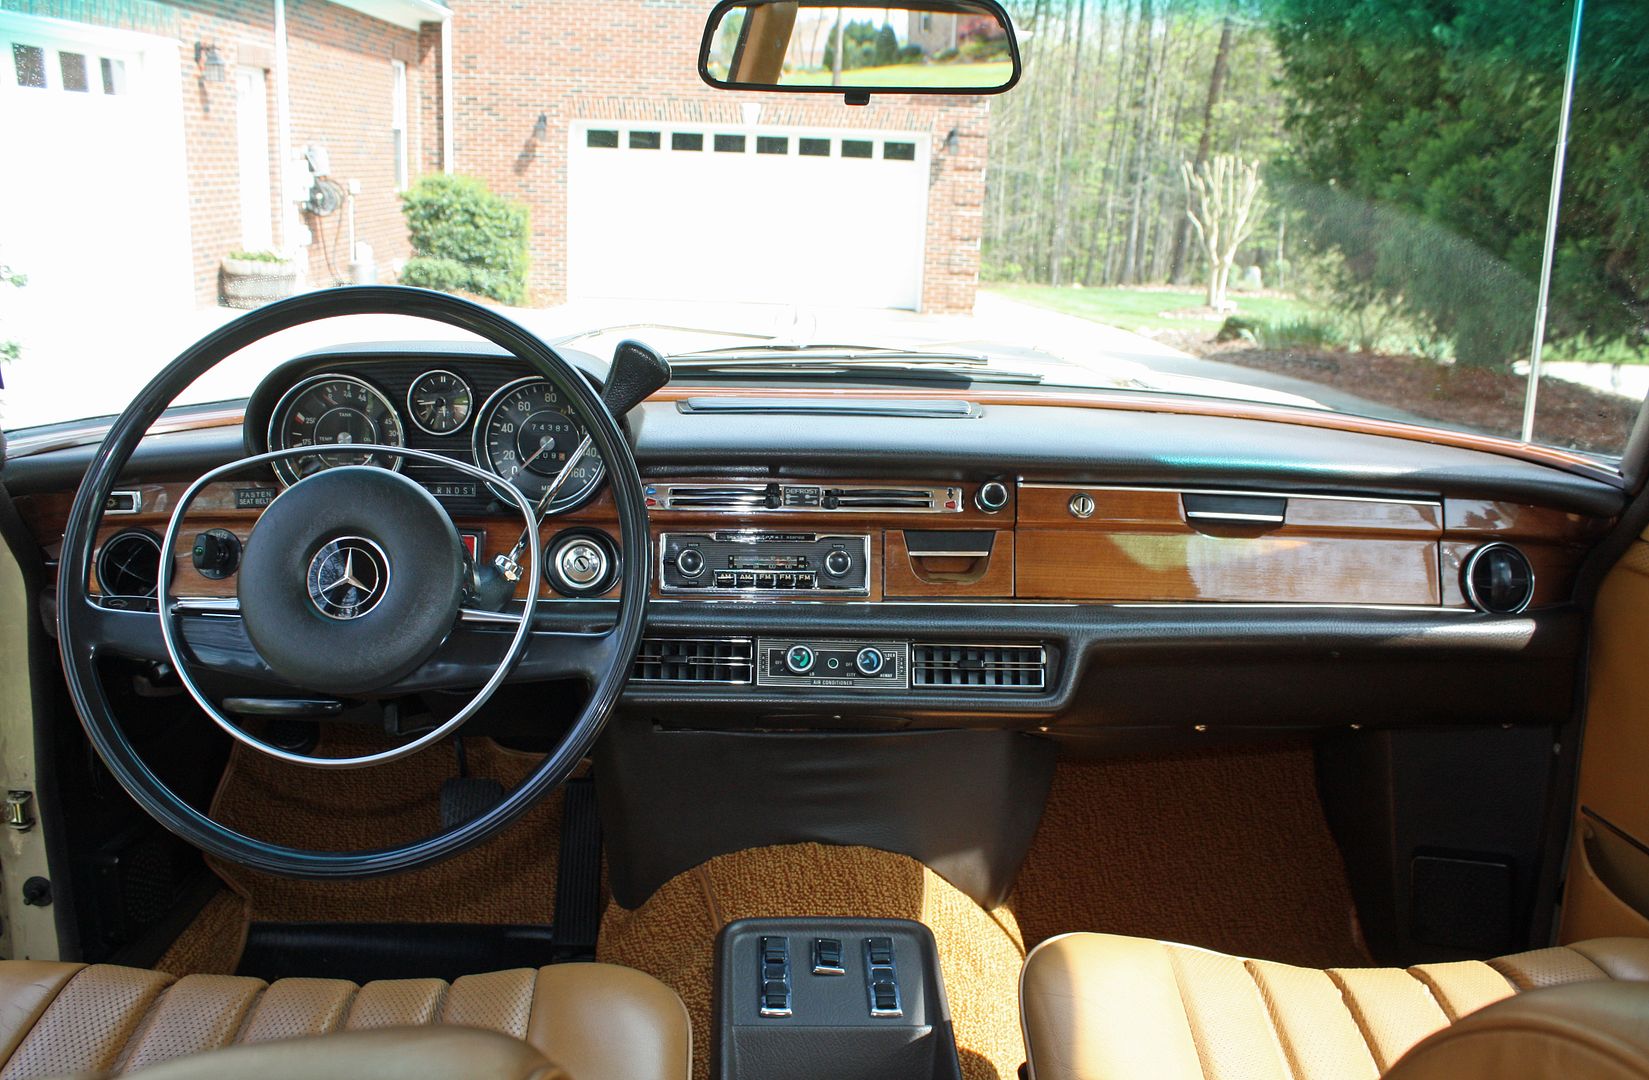 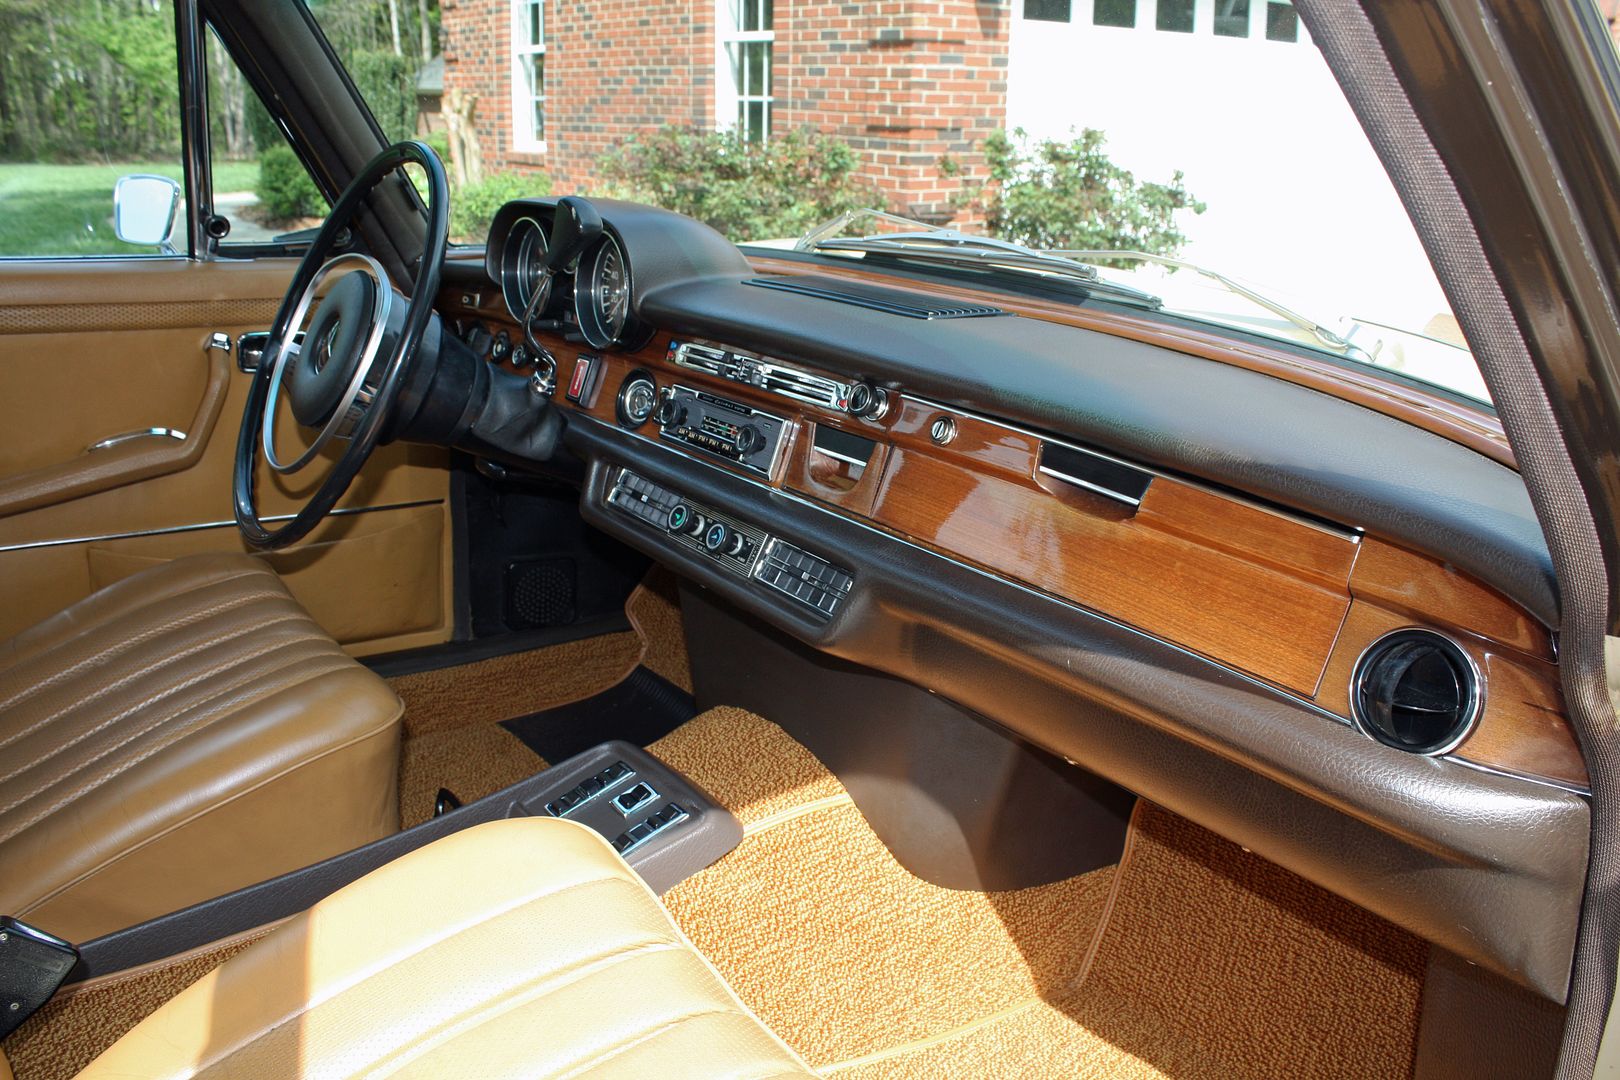 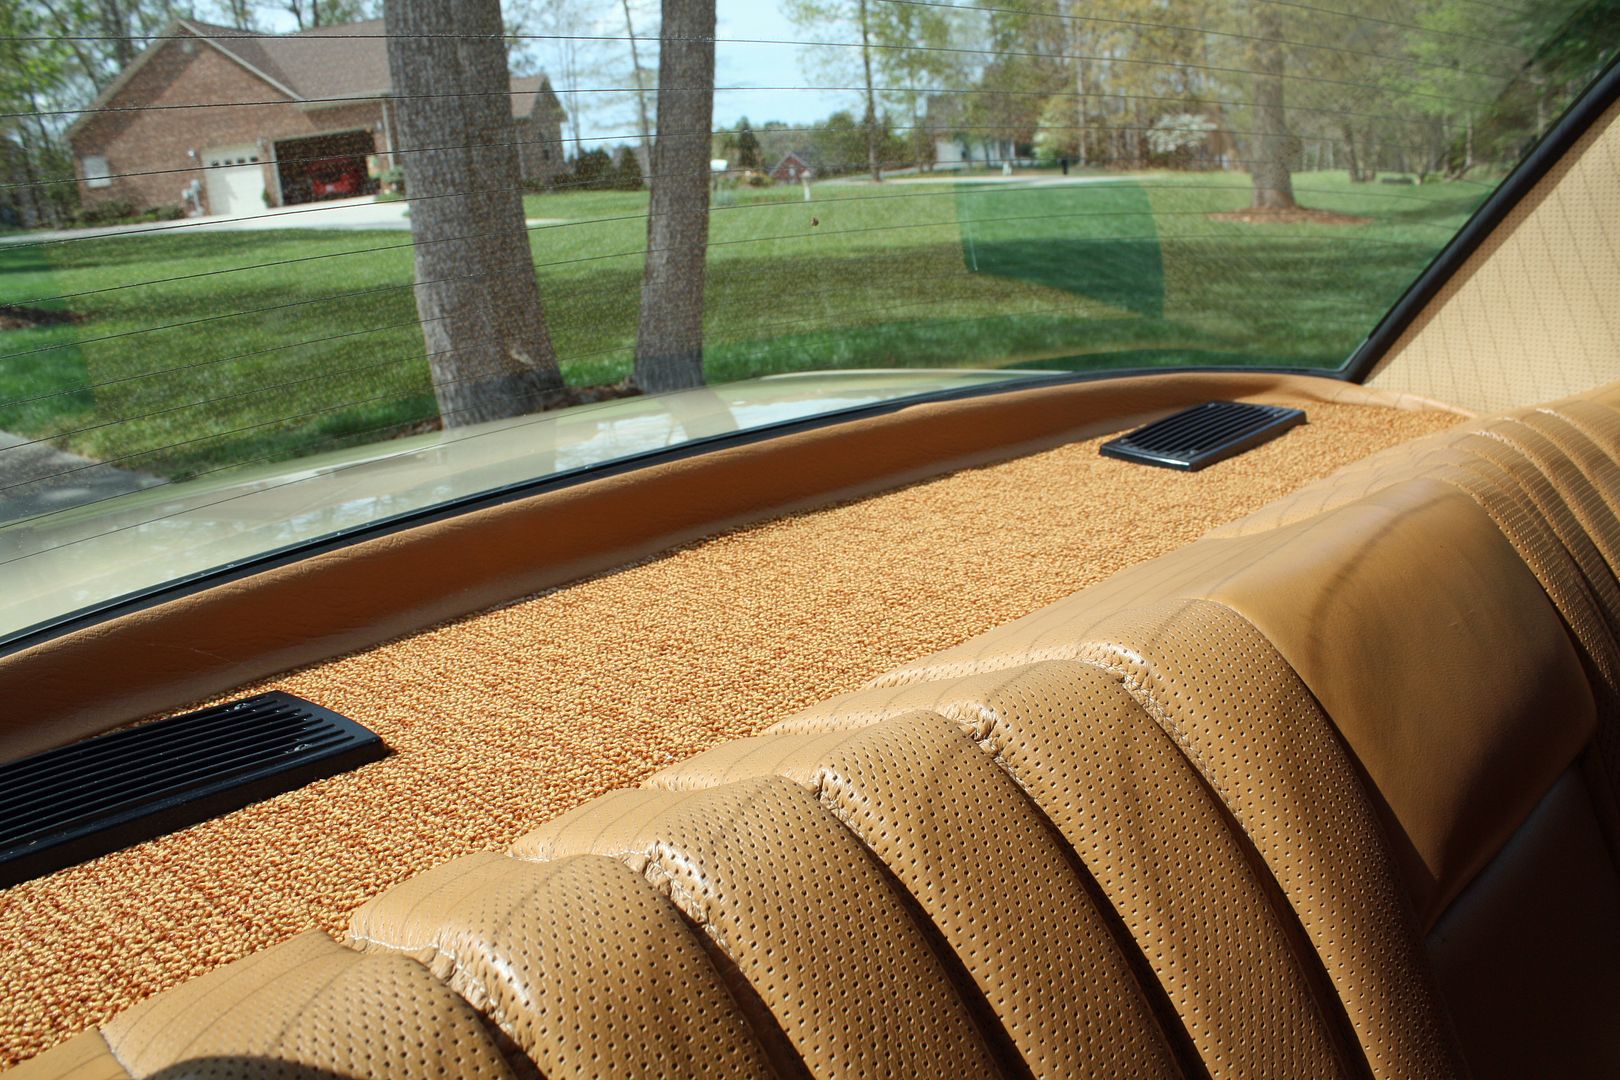 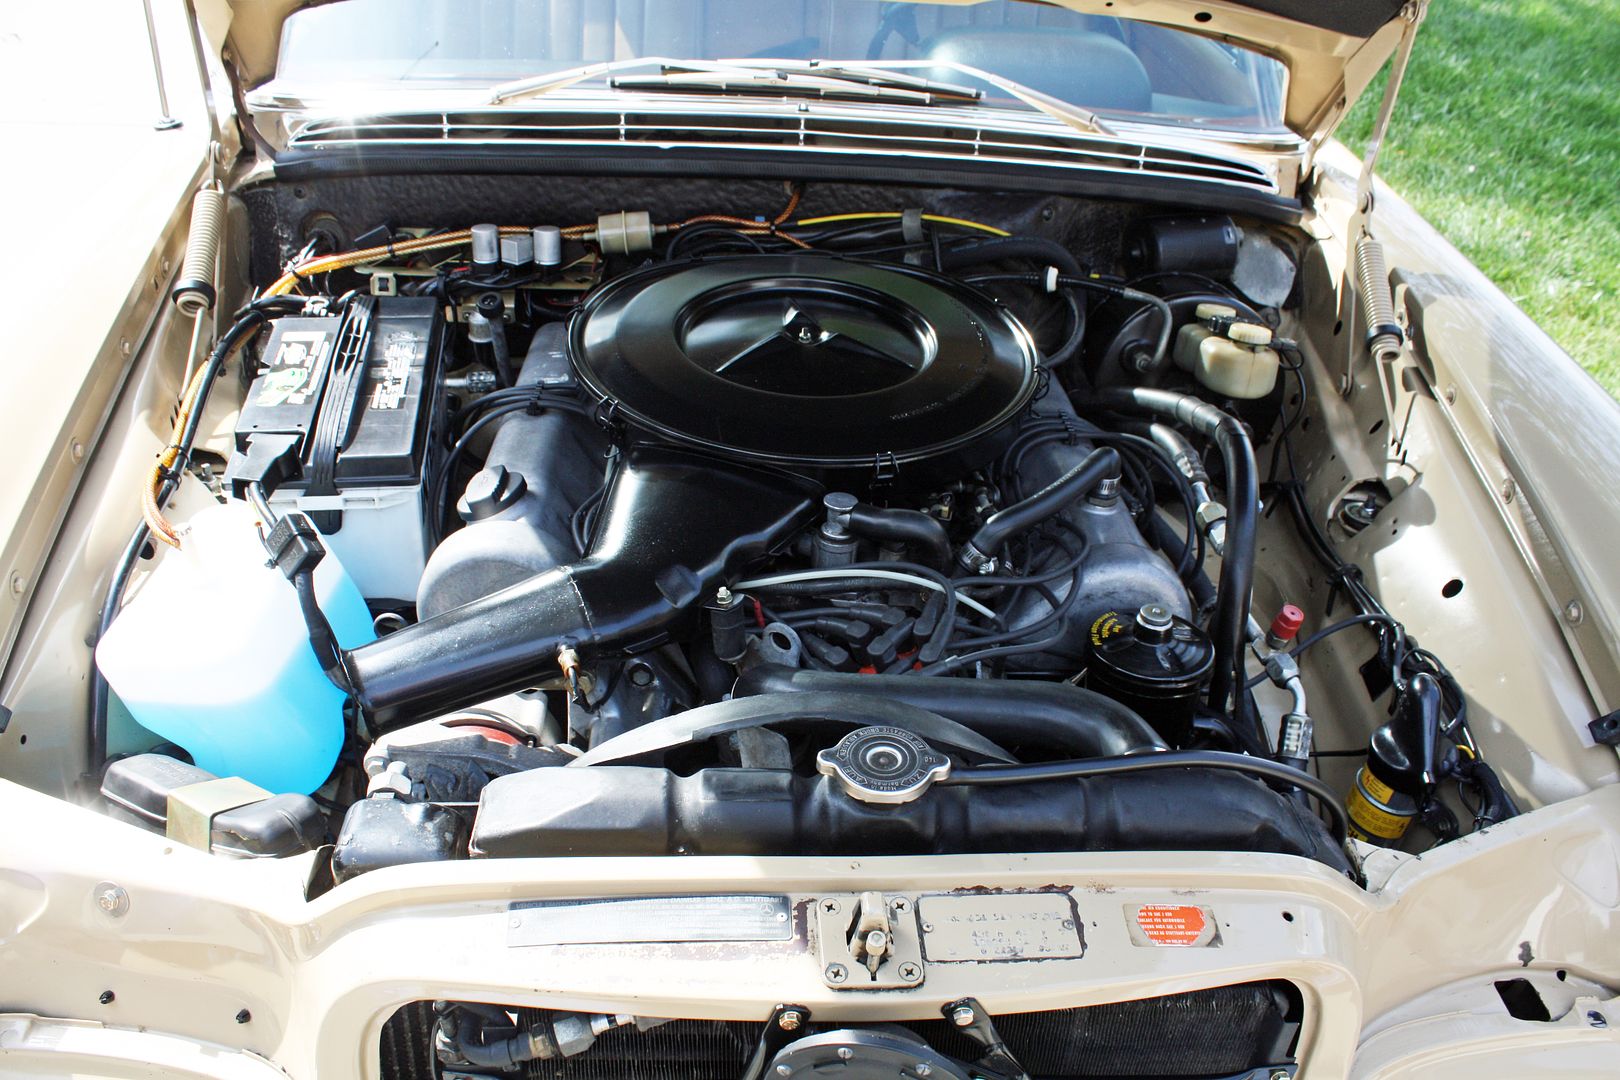 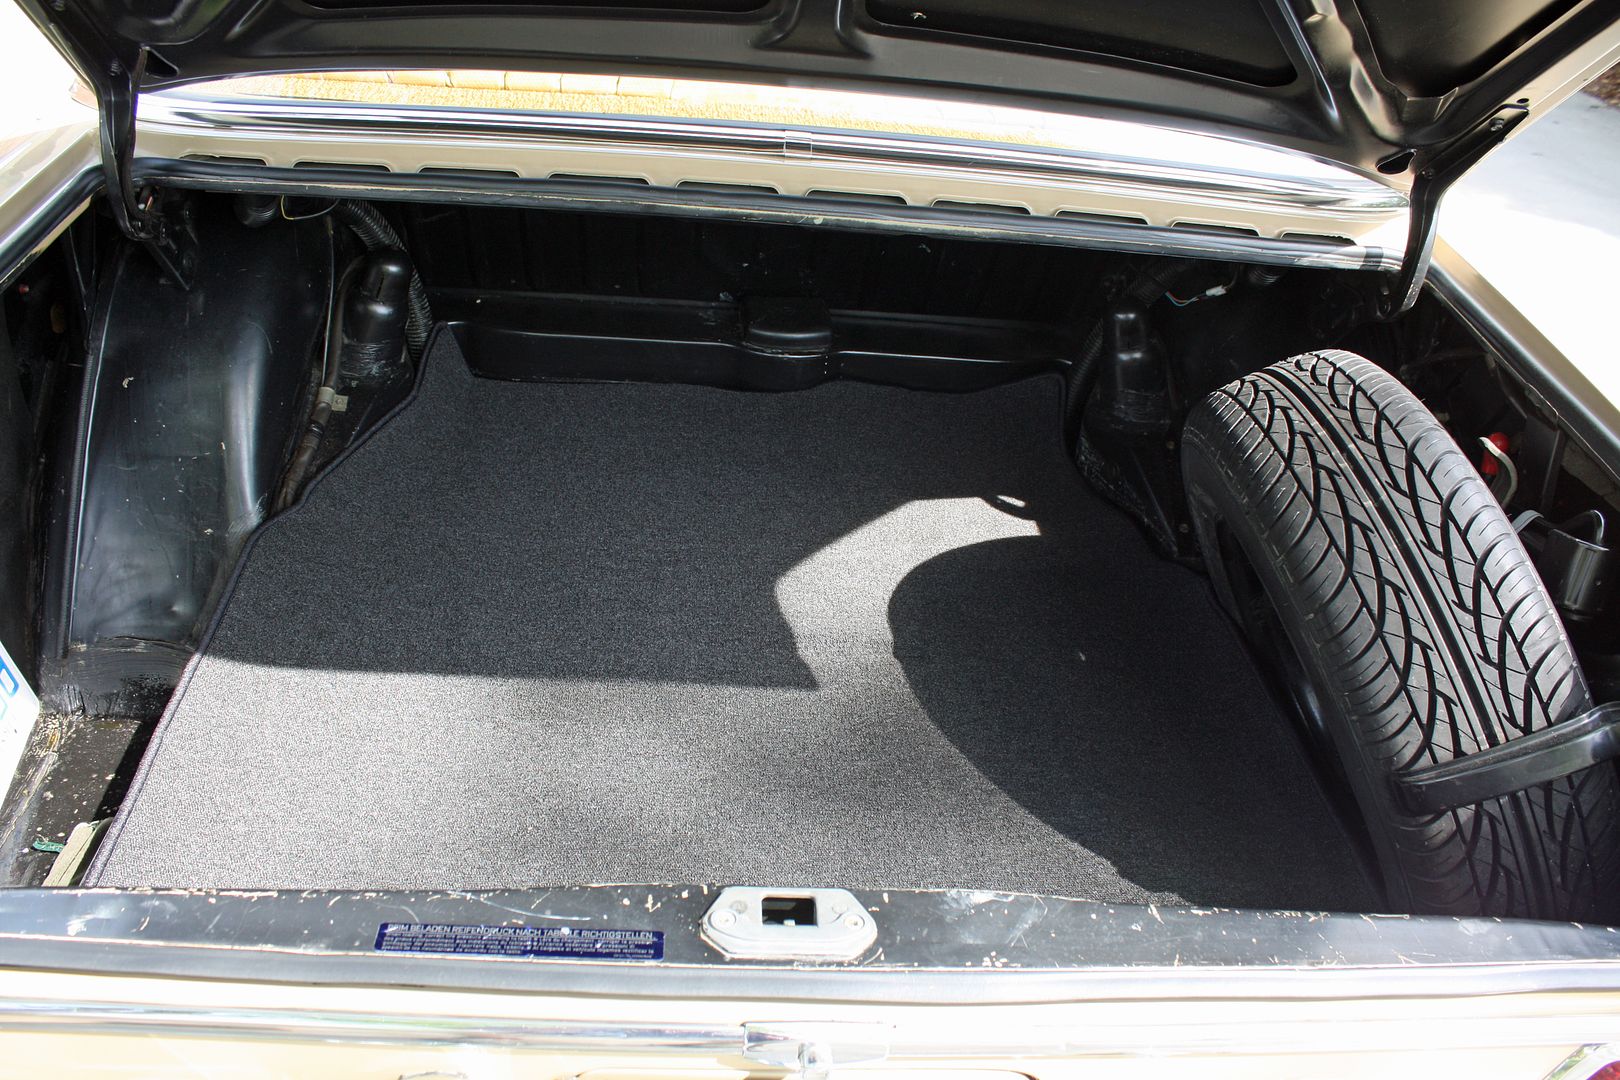 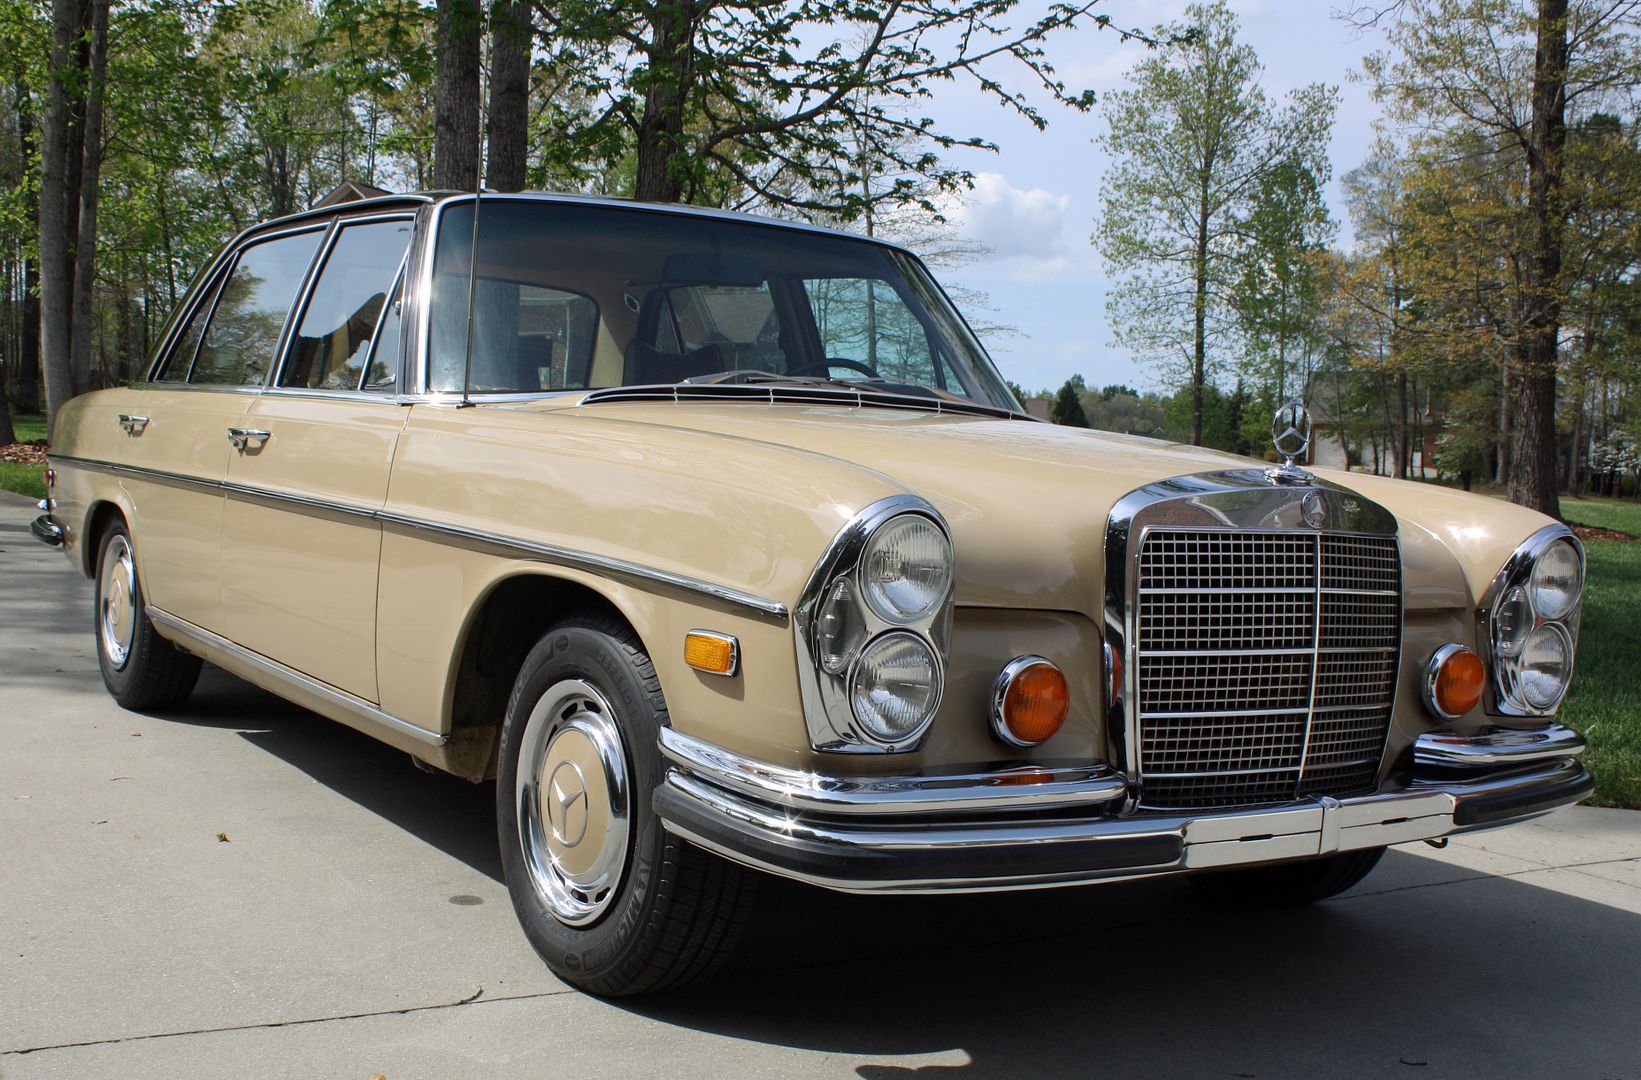 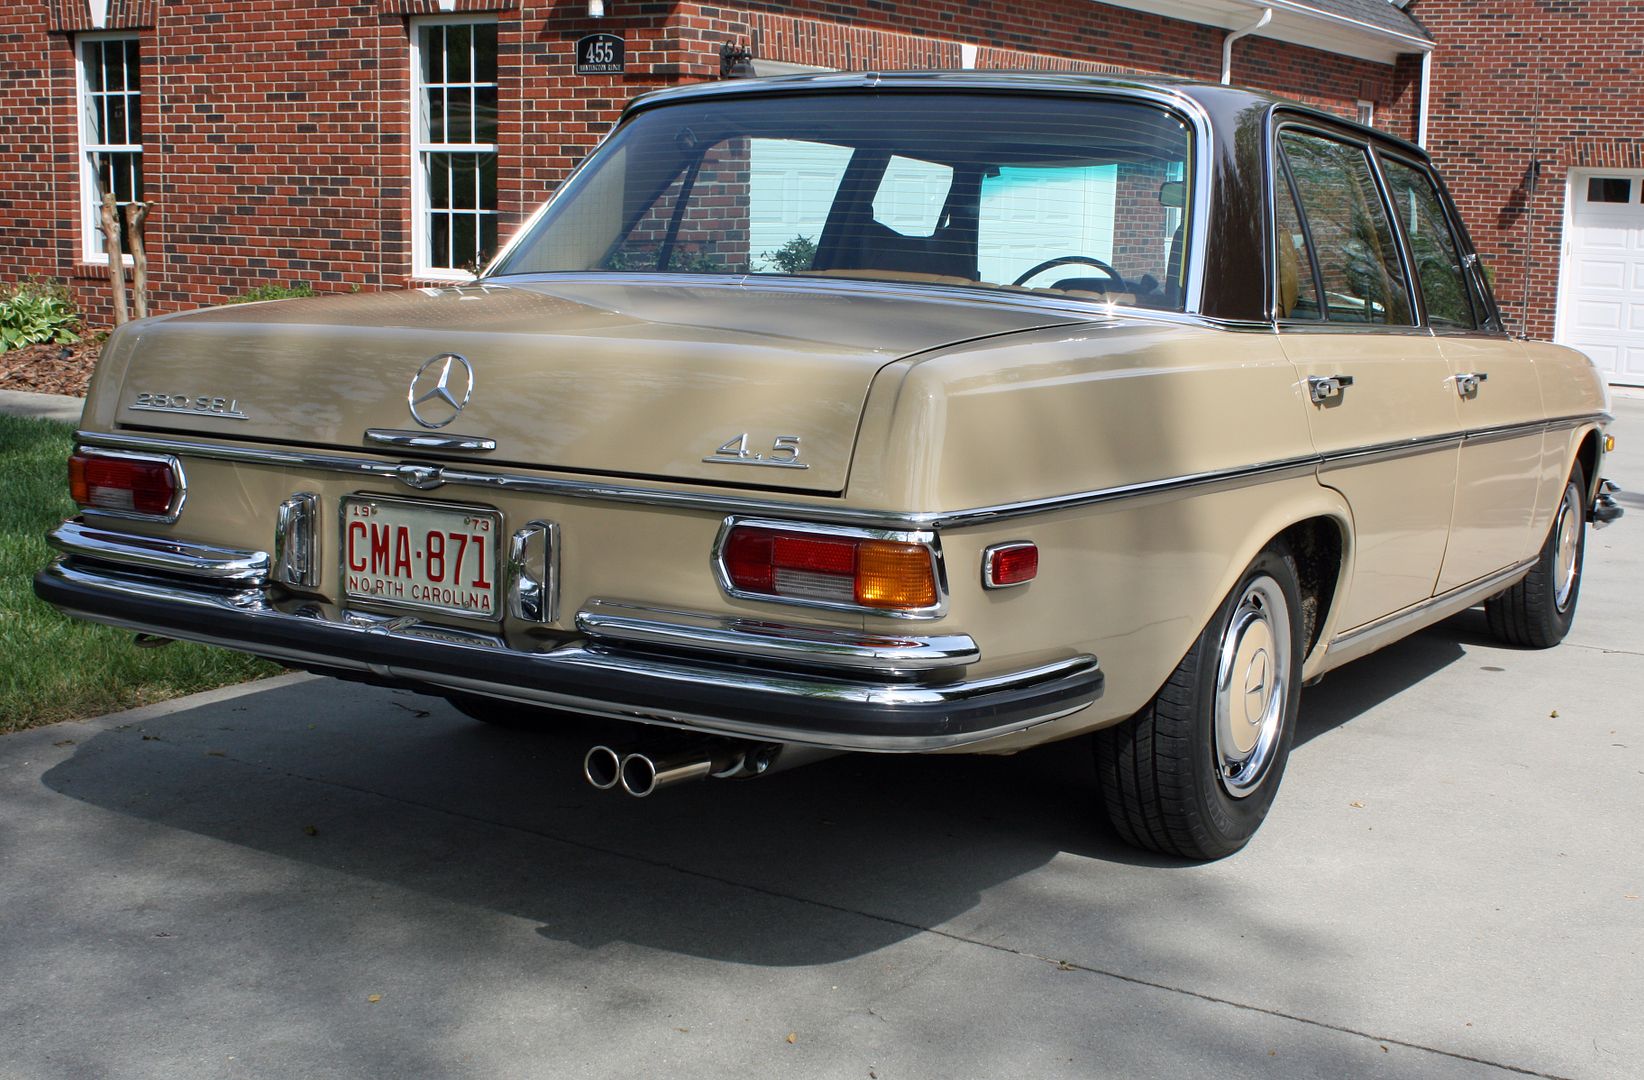
Last edited by jerhofer; 04-13-2017 at 12:15 AM. |
|
#197
|
||||
|
||||
|
Huge improvement. Anything left to fix besides the rear sill rubber?
|
|
#198
|
||||
|
||||
|
That car's a beauty! Definitely looks like it is ready to hit the road.
|
|
#199
|
|||
|
|||
|
Very enjoyable read, highly talented work indeed.
|
|
#200
|
|||
|
|||
|
Quote:
I have a leaky rear end and power steering line to address. Also, I want to figure out why the wedges are in the rear springs. I did buy a compensator spring to replace the pneumatic compensator to see what happens. I also have some new suspension bushings that need to be installed The car also has some small dents that don't show up in the photos. I have had good luck with paintless dent removal on other cars so I drove it about fifty miles to a shop I have used previously. I am going to take the car to him next week so he can do his magic. To make it easier I am going to remove all of the door cards, the plastic trim in the front wheelwells, the spare tire and the trunk side panels. That will save me some money and, even though he is a good guy, I feel more comfortable removing the panels myself. This will also give me the opportunity to lubricate the window mechanisms and seal up the door openings with plastic. But the big new news today was the I still have an engine running issue. I began with a full fuel tank and the car ran perfectly until I was within a mile of the guy's shop. There was an unusually long stop light at a major intersection. As the car sat there idling, I could hear and feel it running rougher and rougher. When the light turned and I gave it some fuel, it died. Knowing that I had had an issue with warm start, I had done some research last night. One of the things mentioned was that, once the car was started, pumping the accelerator to hopefully clean out the engine only made things worse. Another point mentioned was to let the fuel pump run for a bit before trying to start it. After letting the fuel pump run, it started but I could tell it wasn't idling correctly. So I gave it gas like there was an egg on the gas pedal and I oh so slowly edged away from the intersection, with tons of unhappy people behind me. There was another stop light within a half mile where I had to make a left turn. Fortunately, that light turned green as I was approaching and I was able to make the corner and into the shop's parking lot. But it wasn't running right. While the shop owner was going over the car, I explained to him that I might have a problem getting it to run since the car would not be cooling down. He asked if there was pressure build up in the tank so I took off the gas cap and there did not appear to be a build up with the tank still at three quarters full. It's a busy road in front of his business. As I prepared to leave, the car started but was running roughly. It died a couple times while I was waiting to pull out. Finally, I waited until there was an opening to start the car and basically let it idle out onto the street. I managed to make it around the right hand turn at the light but was now facing that long stop light at the major intersection. I had to go straight through that intersection and did not want to sit there in line. There was a gravel berm on the right so I drove onto it and made a right turn at the intersection without stopping. I then did a u-turn to go back to the main light where I now needed to make a right hand turn, which I successfully made. The car was running a bit better but still not like it should. I was now out in the country with the next stop sign about two miles away. By the time I reached that stop sign, the car was running fine. I continued on another five miles or so to a stop light where I had to make a left turn. As I slowed down, I could feel the engine beginning to run rough. There wasn't anything coming so I actually turned left while the light was red so I did not have to come to a complete stop. Further on I had various turns and stops to make with the car running fine until I slowed down. As I was entering a small town, I was third in line behind a very slow moving tractor. Not good but I even managed to pass the tractor when I had a chance. Each turn or stop after that had the same rough running as the engine neared idle. I had to nurse it after each of these situations until I was back in the garage. What was unusual was that in between these stops and slow downs, the car ran like a top. As I walked around to the rear of the car, I could smell gas fumes. I looked under the car and there were no leaks around the fuel pump and filter. I opened the license plate fuel door and the fumes were stronger. I released the gas cap and there was a ton of pressure. It actually sprayed a very small amount of gas on my hand. By now the gas tank was half full. Which is probably another related issue as it used a half tank to go about a hundred miles. I walked the dog up to my buddy's house and we did some speculation. He asked if the gas cap was vented and I told him it did not appear to be. The problem seems to worsen as the gas tank level goes down. Those readers of this thread know that I have installed a new fuel pump, two new filters and have had the gas tank cleaned. I have also installed new plug wires, distributor cap, rotor and a new coil. I did not replace the spark plugs as they have not been in the car very long but I did remove all of them and they showed that they were burning cleanly. The car did not appear to be running rich. However, running rich is what I am suspecting when the idle deteriorated while sitting there. Any suggestions would be appreciated. Last edited by jerhofer; 04-13-2017 at 03:01 PM. |
|
#201
|
||||
|
||||
|
Sounds like your fuel tank vent is plugged. The cap is not vented, but the tank is vented through a couple plastic hoses that run from the filler neck to a little plastic pod in the trunk.
There are two positive vent lines that go from the tank to the trunk pod, and one negative vent line that goes from the pod to someplace out on the back-end of the car (it was under the trunk behind the gas tank on fintails, and behind the rear bumper on W114s). If you blow a little bit of compressed air at low pressure (15 psi-ish) into the negative vent line, it should unclog the vent system. Until then, though, make sure to keep the gas cap off when you drive on long trips or your fuel tank may be crushed by atmospheric pressure! For your rear-end, check the pinion seal. They are a common problem item on the swing-axle rears. I just replaced the pinion seal, which was profusely leaking due to age-related rubber degradation, in my fintail (which has the same rear-end setup as the 108s) last weekend. |
|
#202
|
|||
|
|||
|
Quote:
I'll check than pinion seal. |
|
#203
|
|||
|
|||
|
I found this link to the tank venting system.
http://www.peachparts.com/shopforum/attachments/vintage-mercedes/123849d1408103379-w108-fuel-tank-vent-trunk-108-fuel-system.pdf |
|
#204
|
|||
|
|||
|
BTW, today was the first time I used the Becker Europa II radio. It works very well and sounds better than I thought it would. The new rear speakers probably helped the sound quality even though they are very basic speakers.
|
|
#205
|
|||
|
|||
|
The vent sytem PDF was evidently for an earlier car. On our cars those two lines that end at the fuel tank neck go inside the trunk curve back to the right side to a large plastic piece that mounts to the inner lining behind the spare tire. The two lines enter at the bottom right and the vent line exits at the upper left. From there it runs alongside the spare tire well and then through the trunk floor. From there it runs along the back of the tank over to the left side and ends at a piece of equipment that I had asked about earlier in the thread. I did not have the car on the lift to track it from there but I believe it goes back to the engine. I had unhooked the lines just prior to taking this first photo. They were hooked up when I was driving the car yesterday.
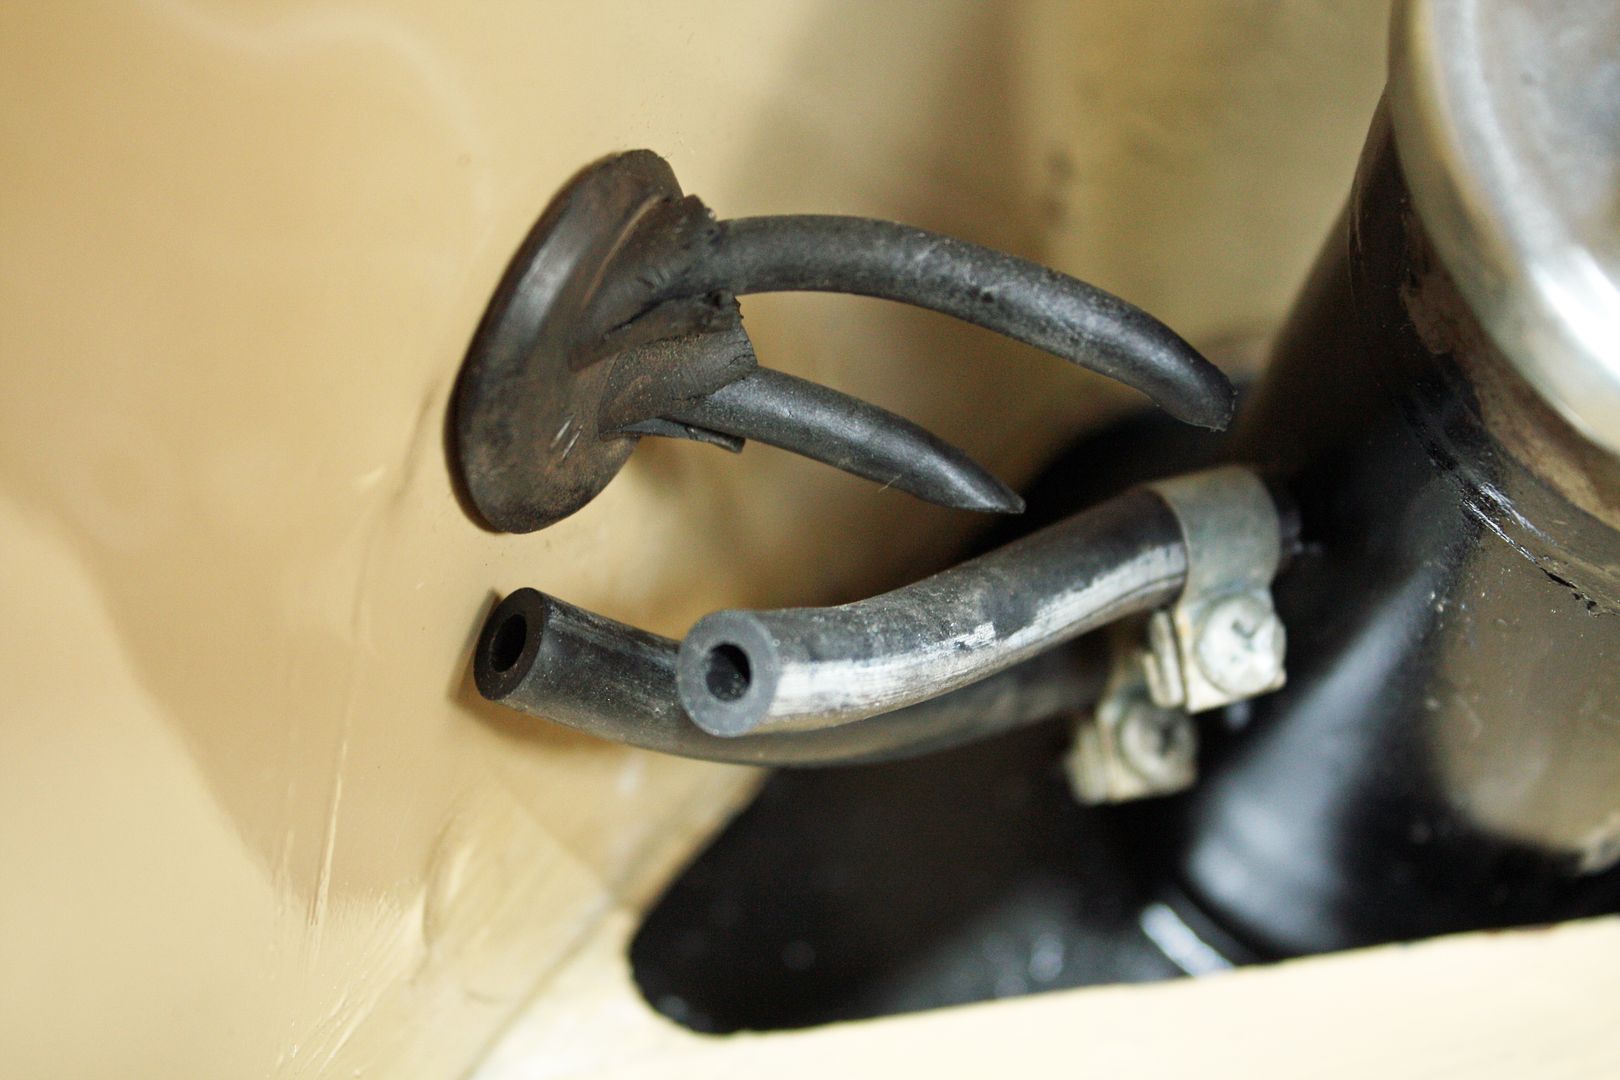 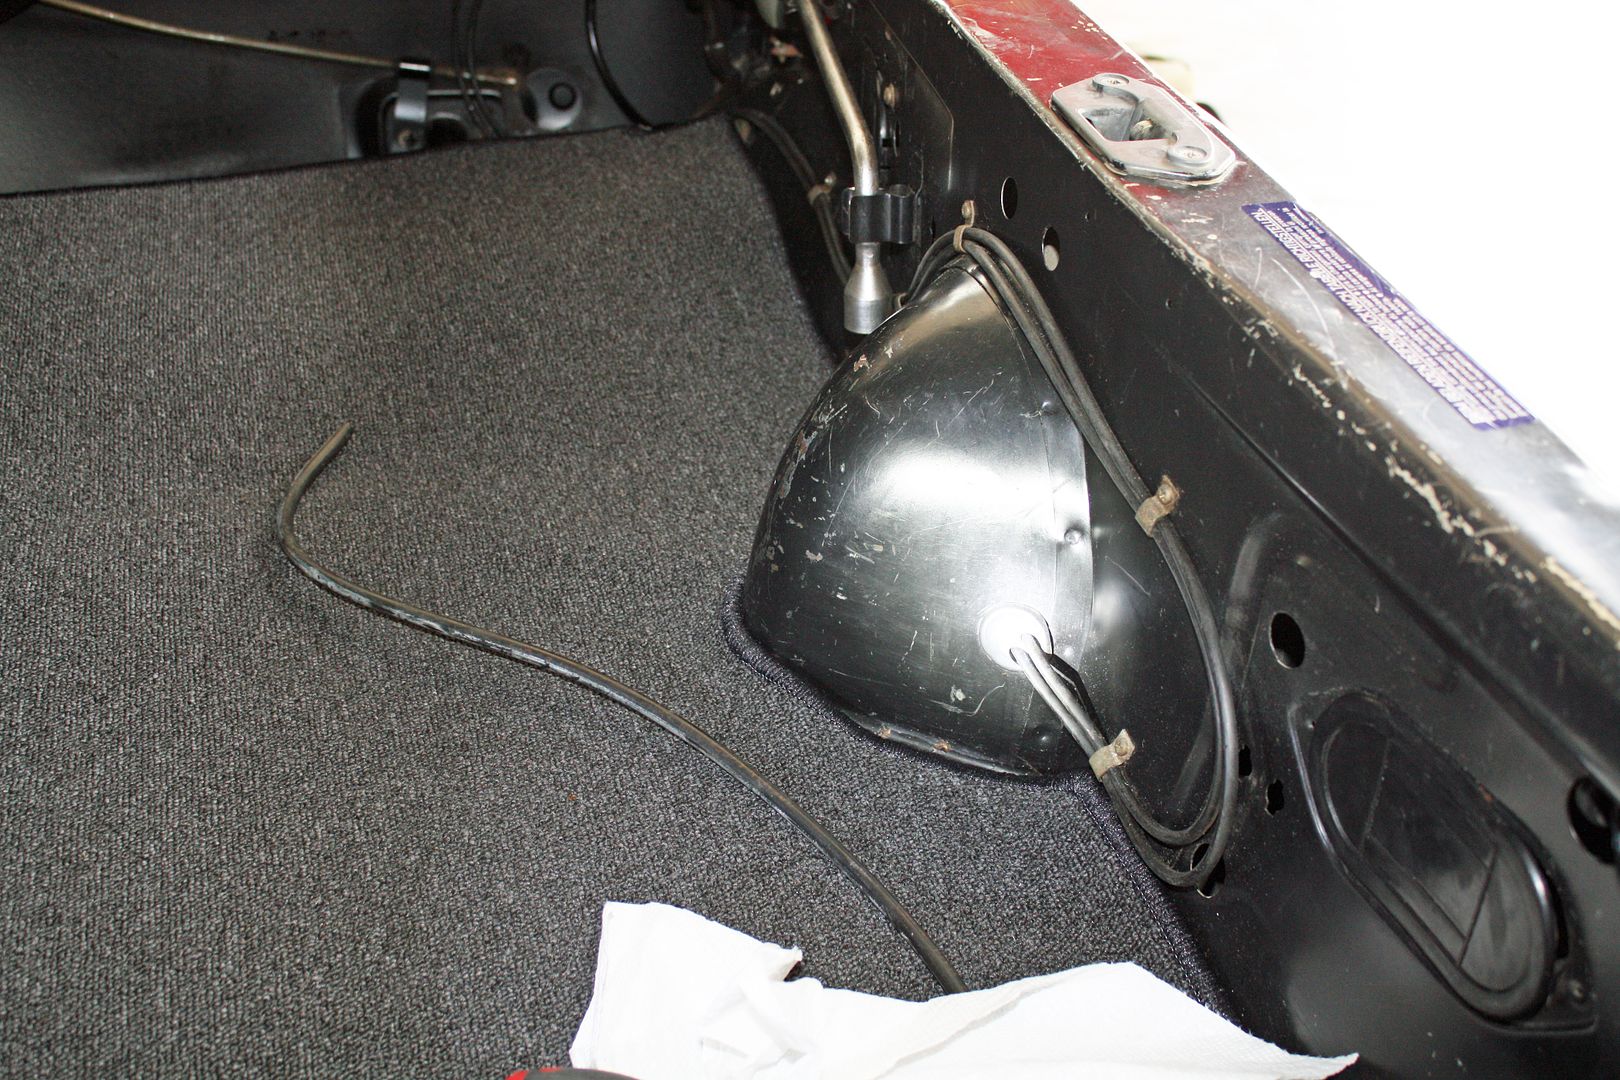  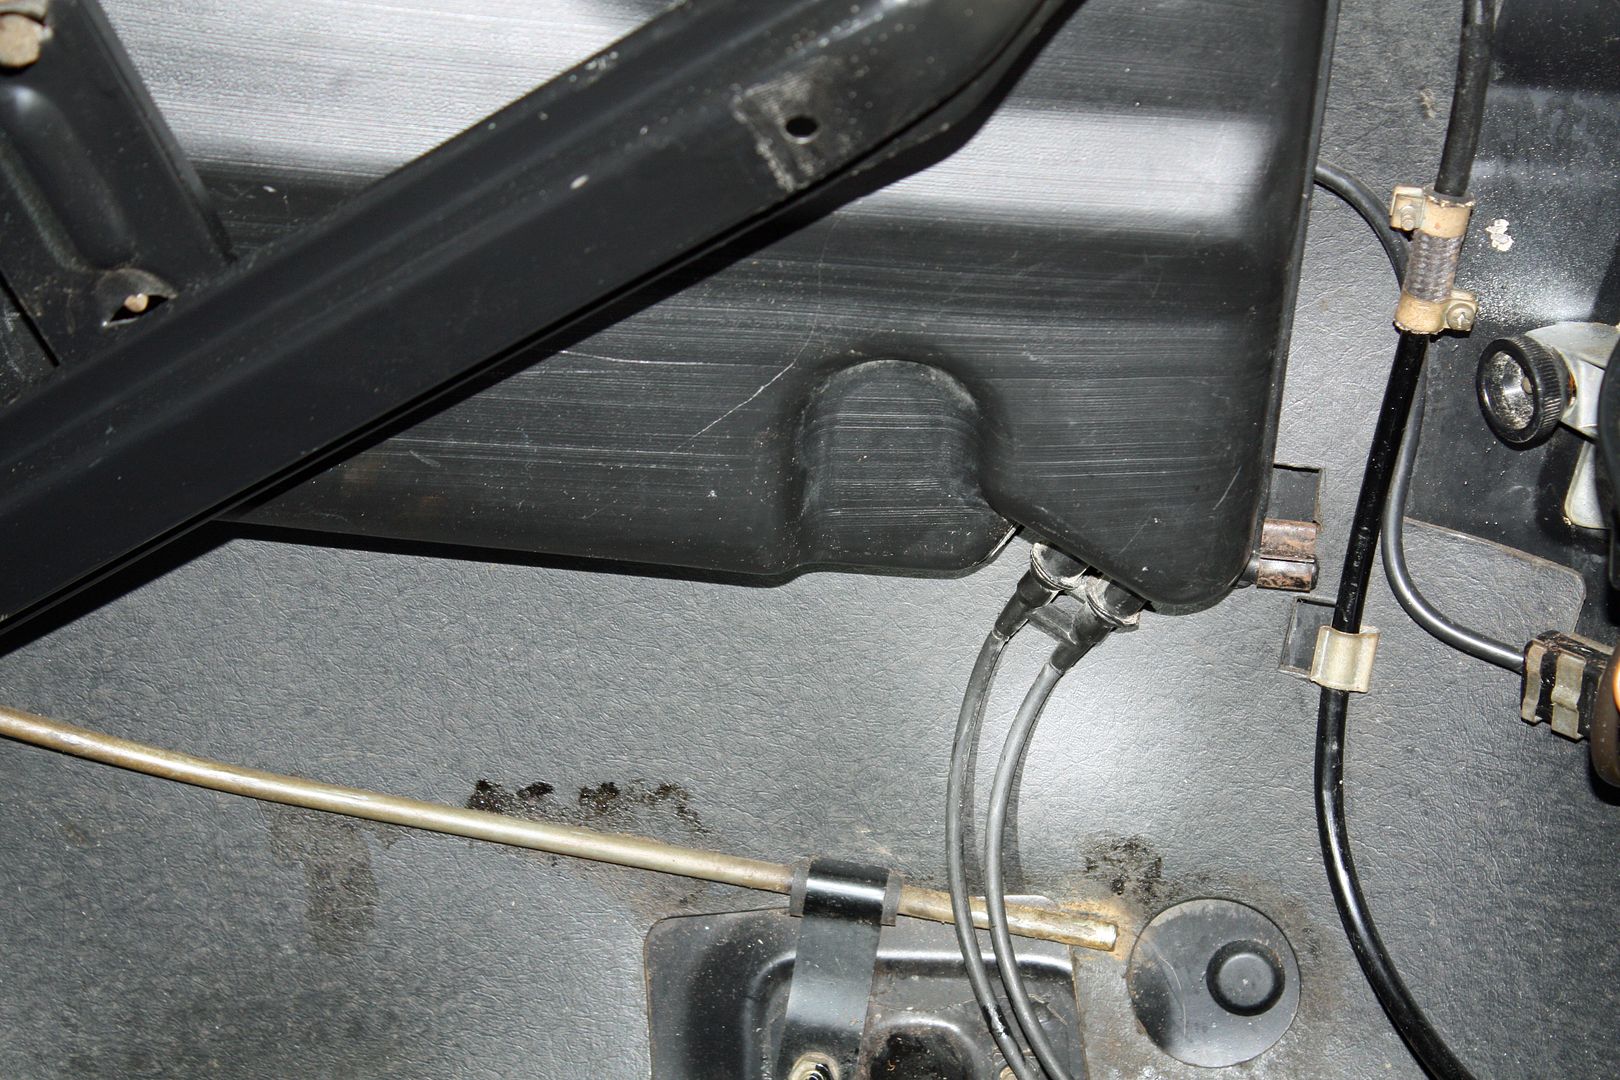 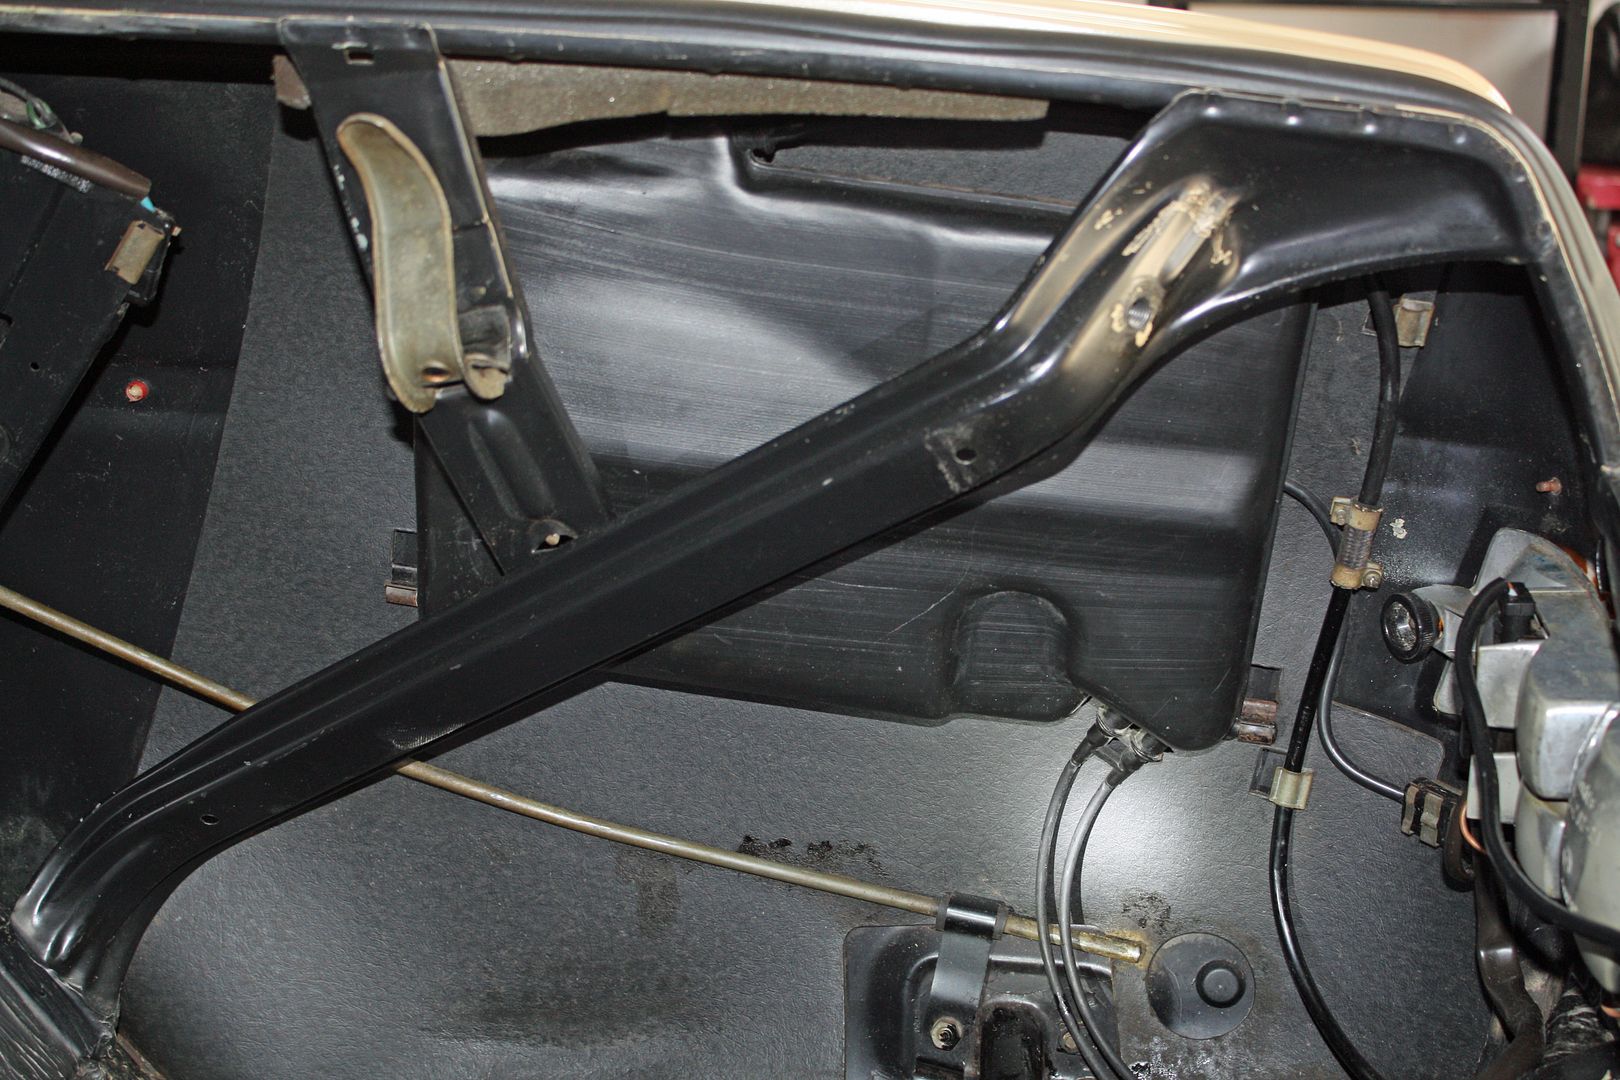 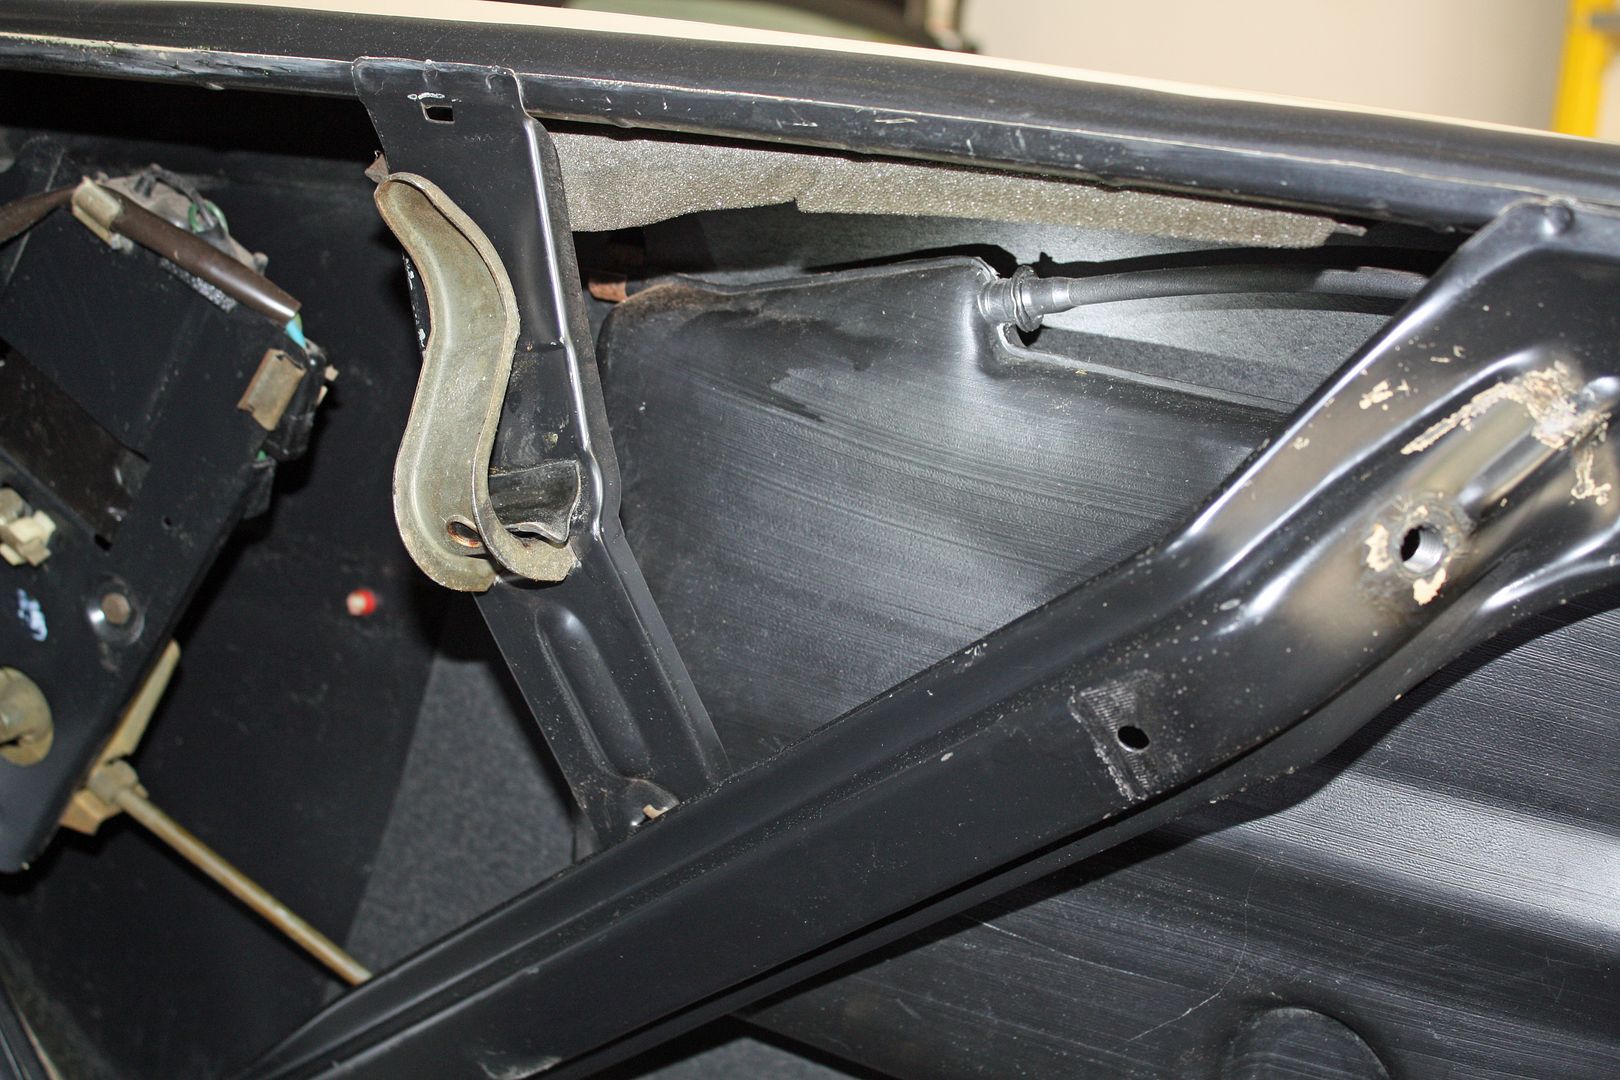 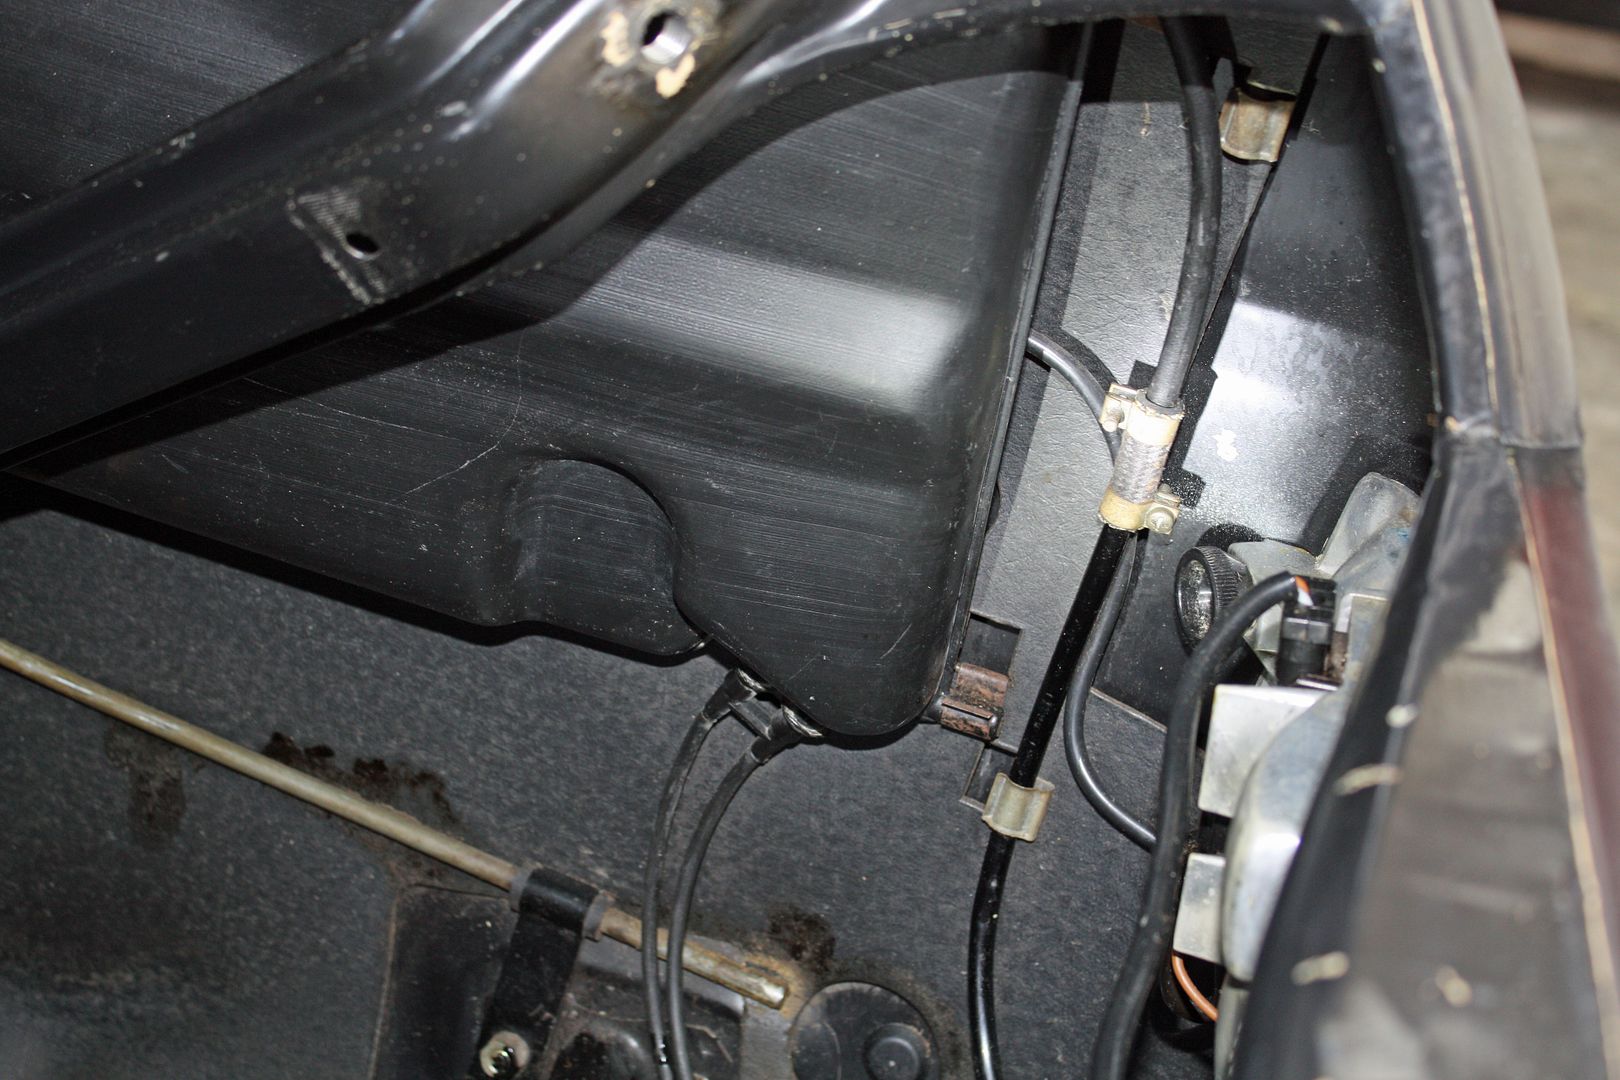 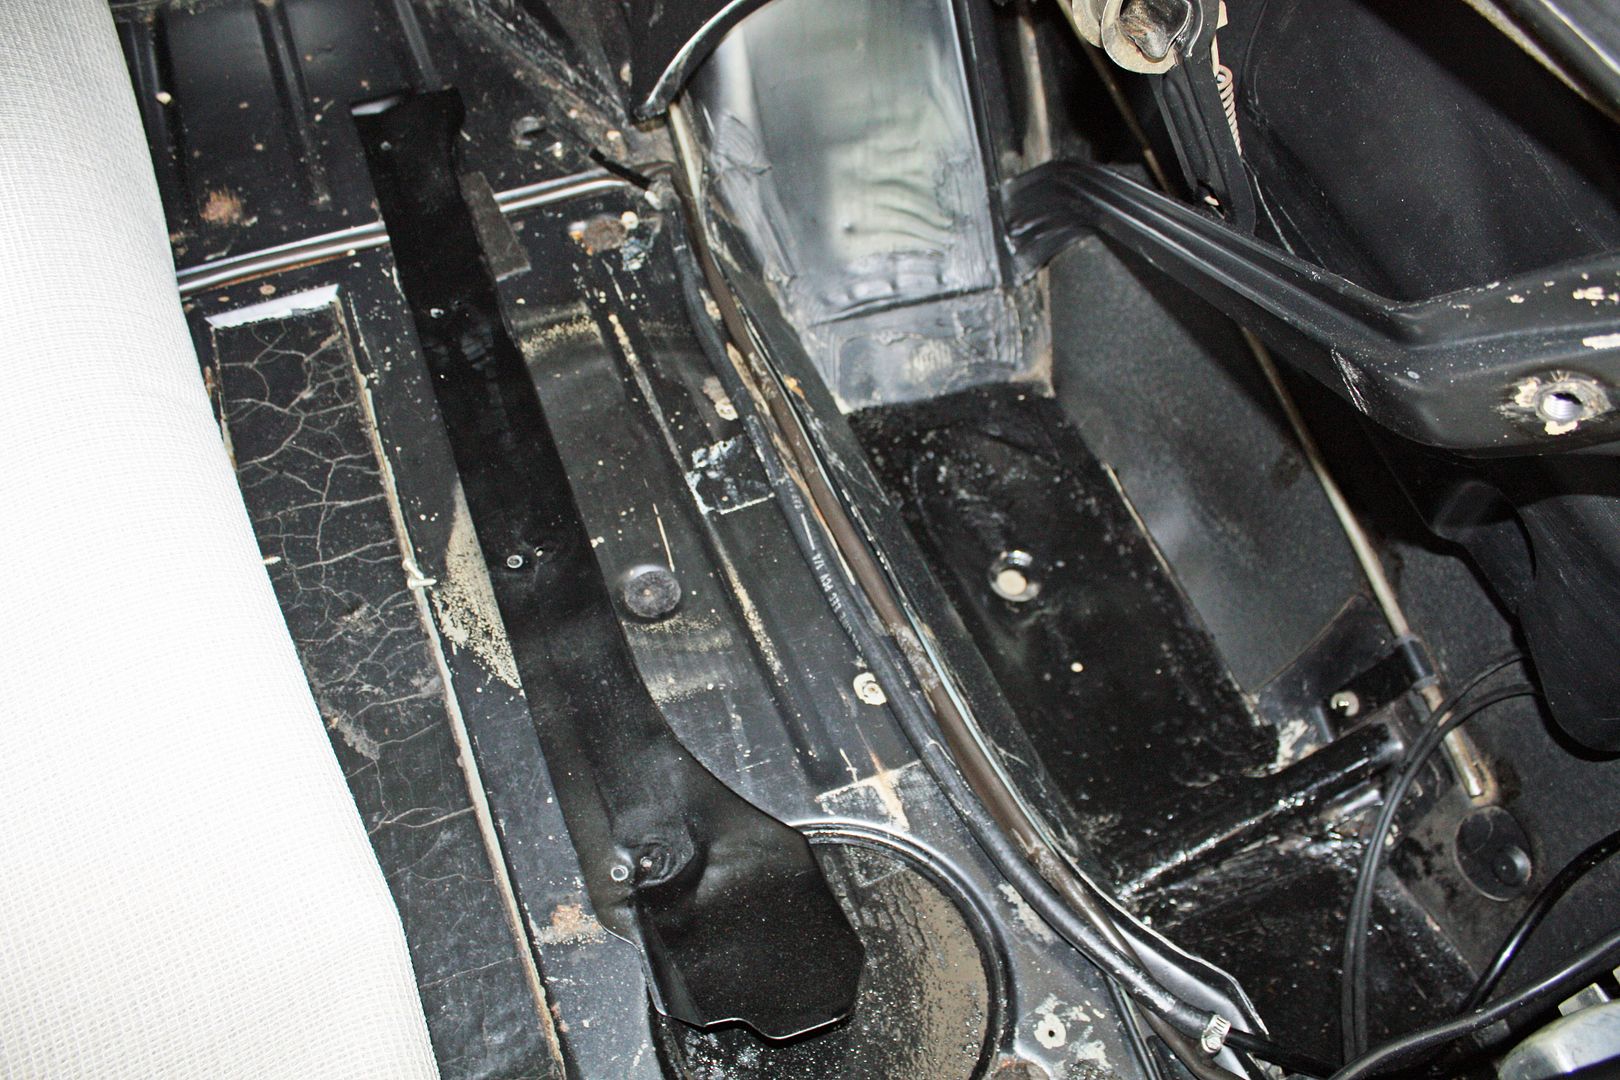 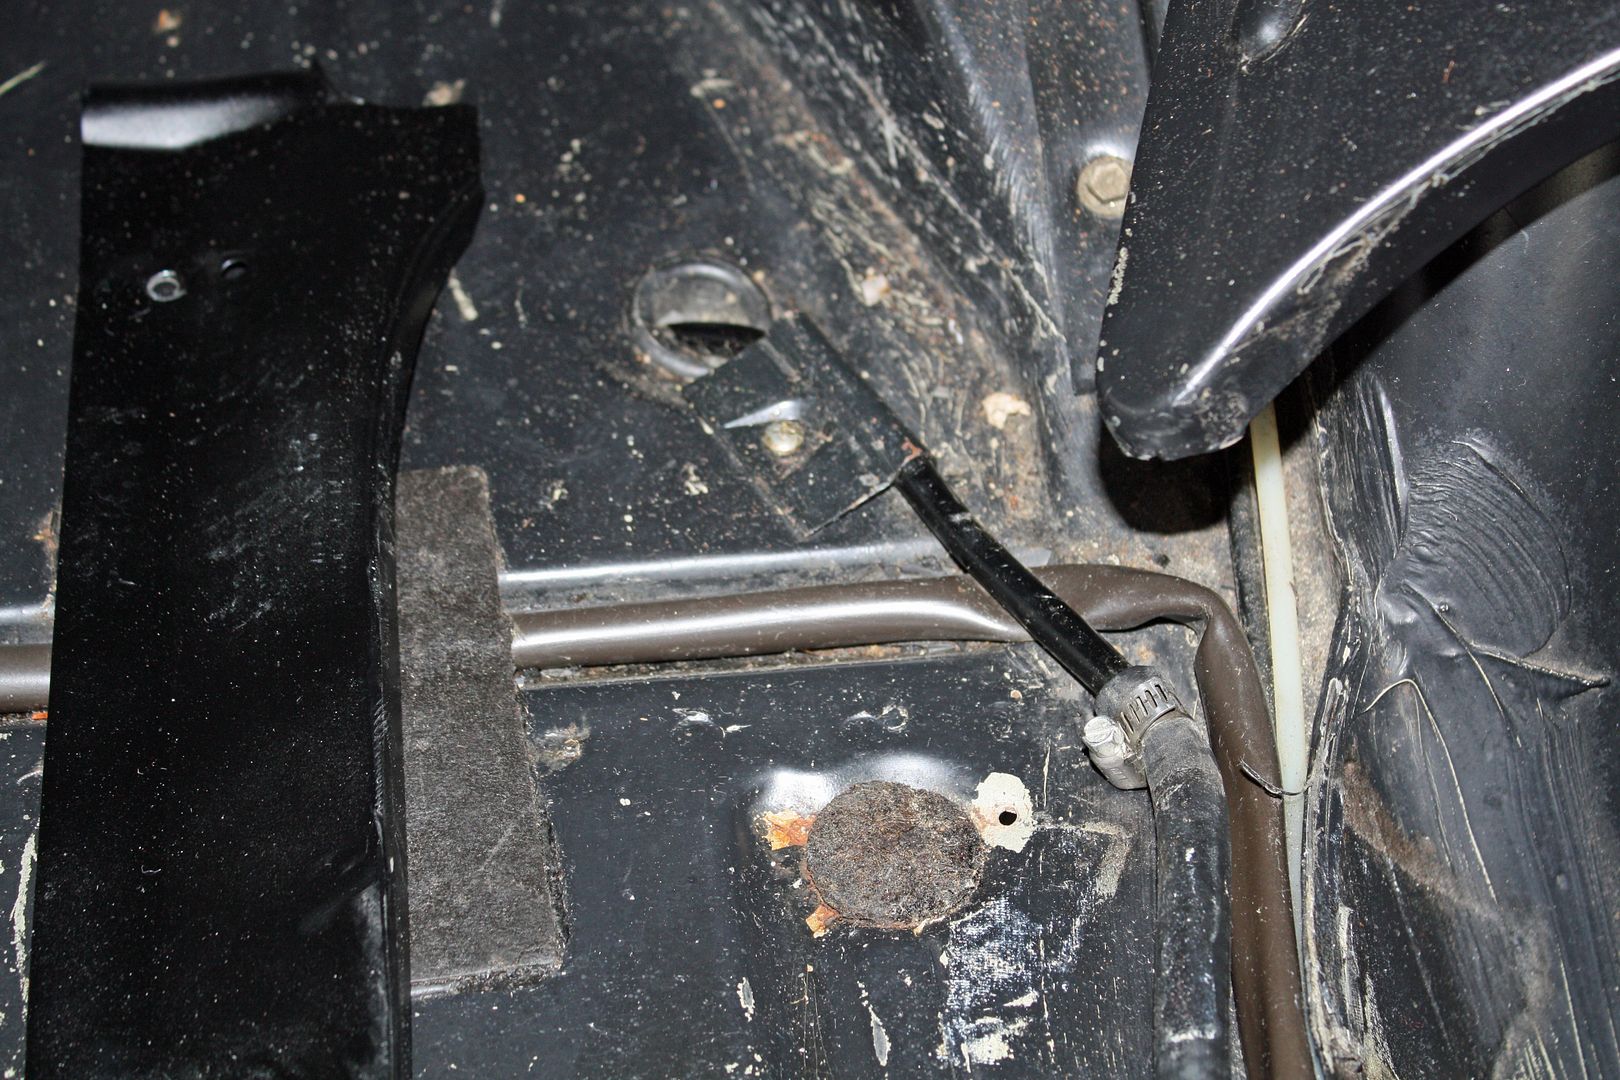 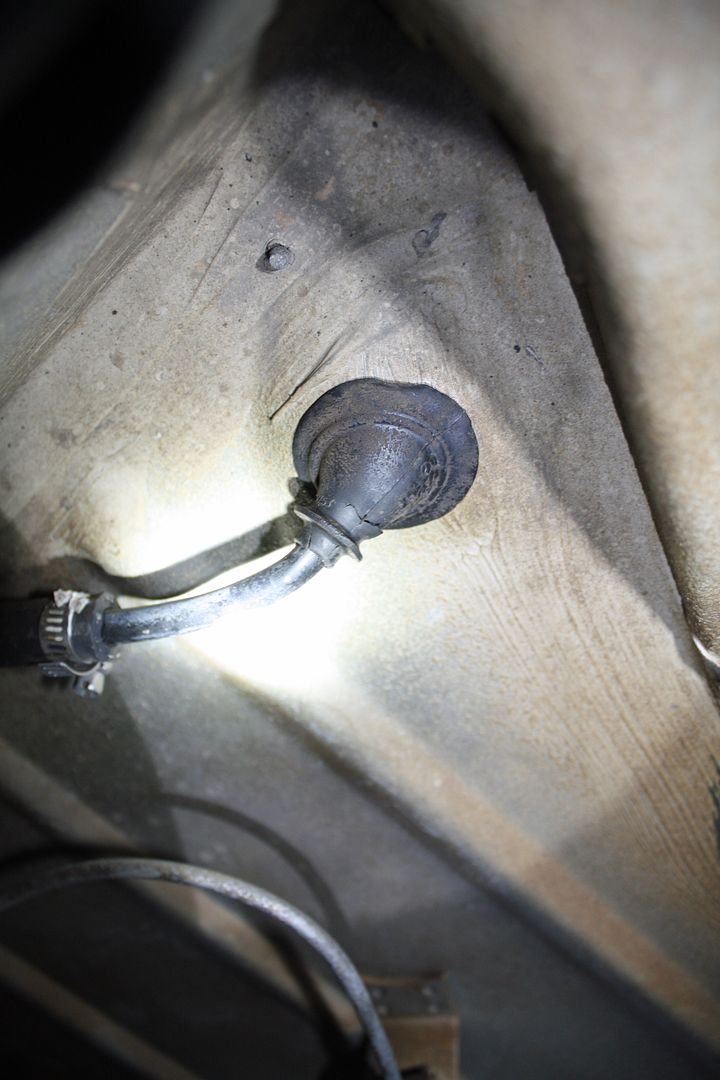 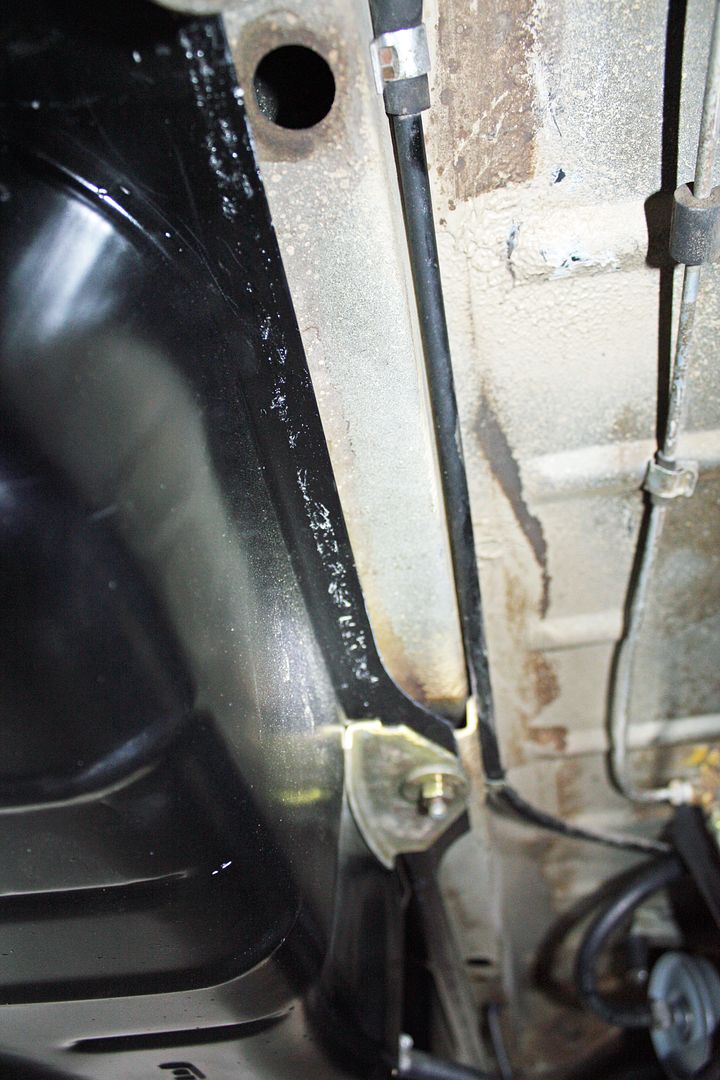 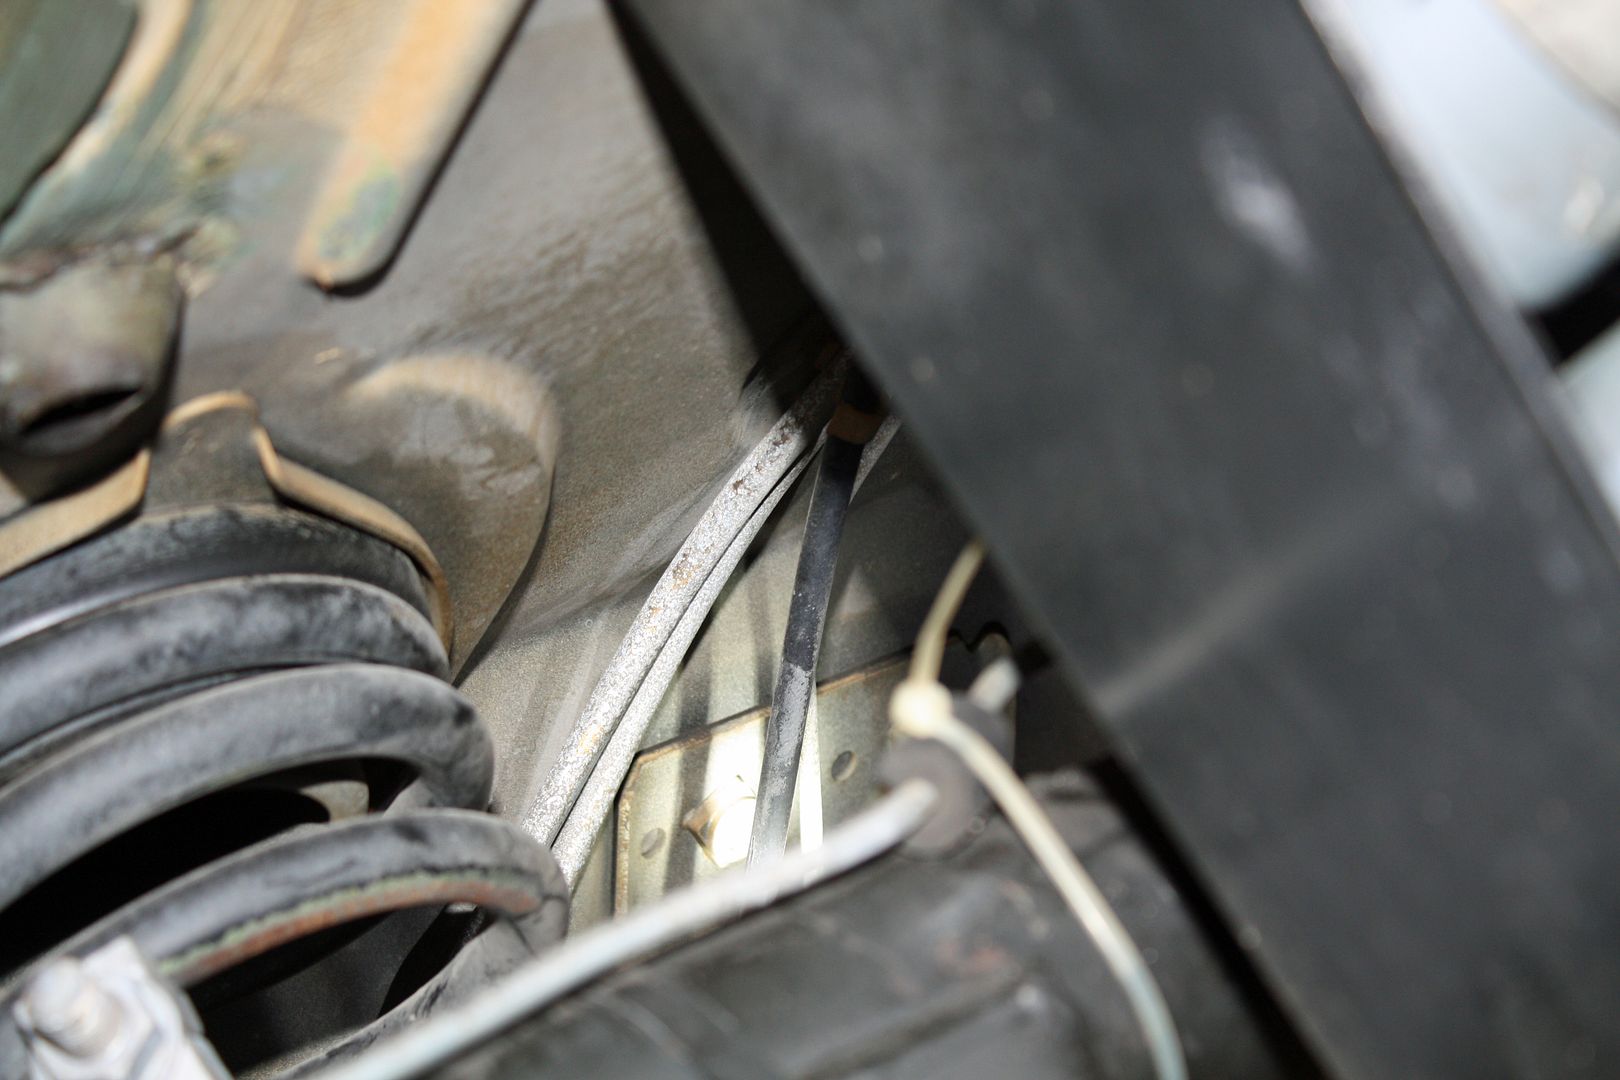 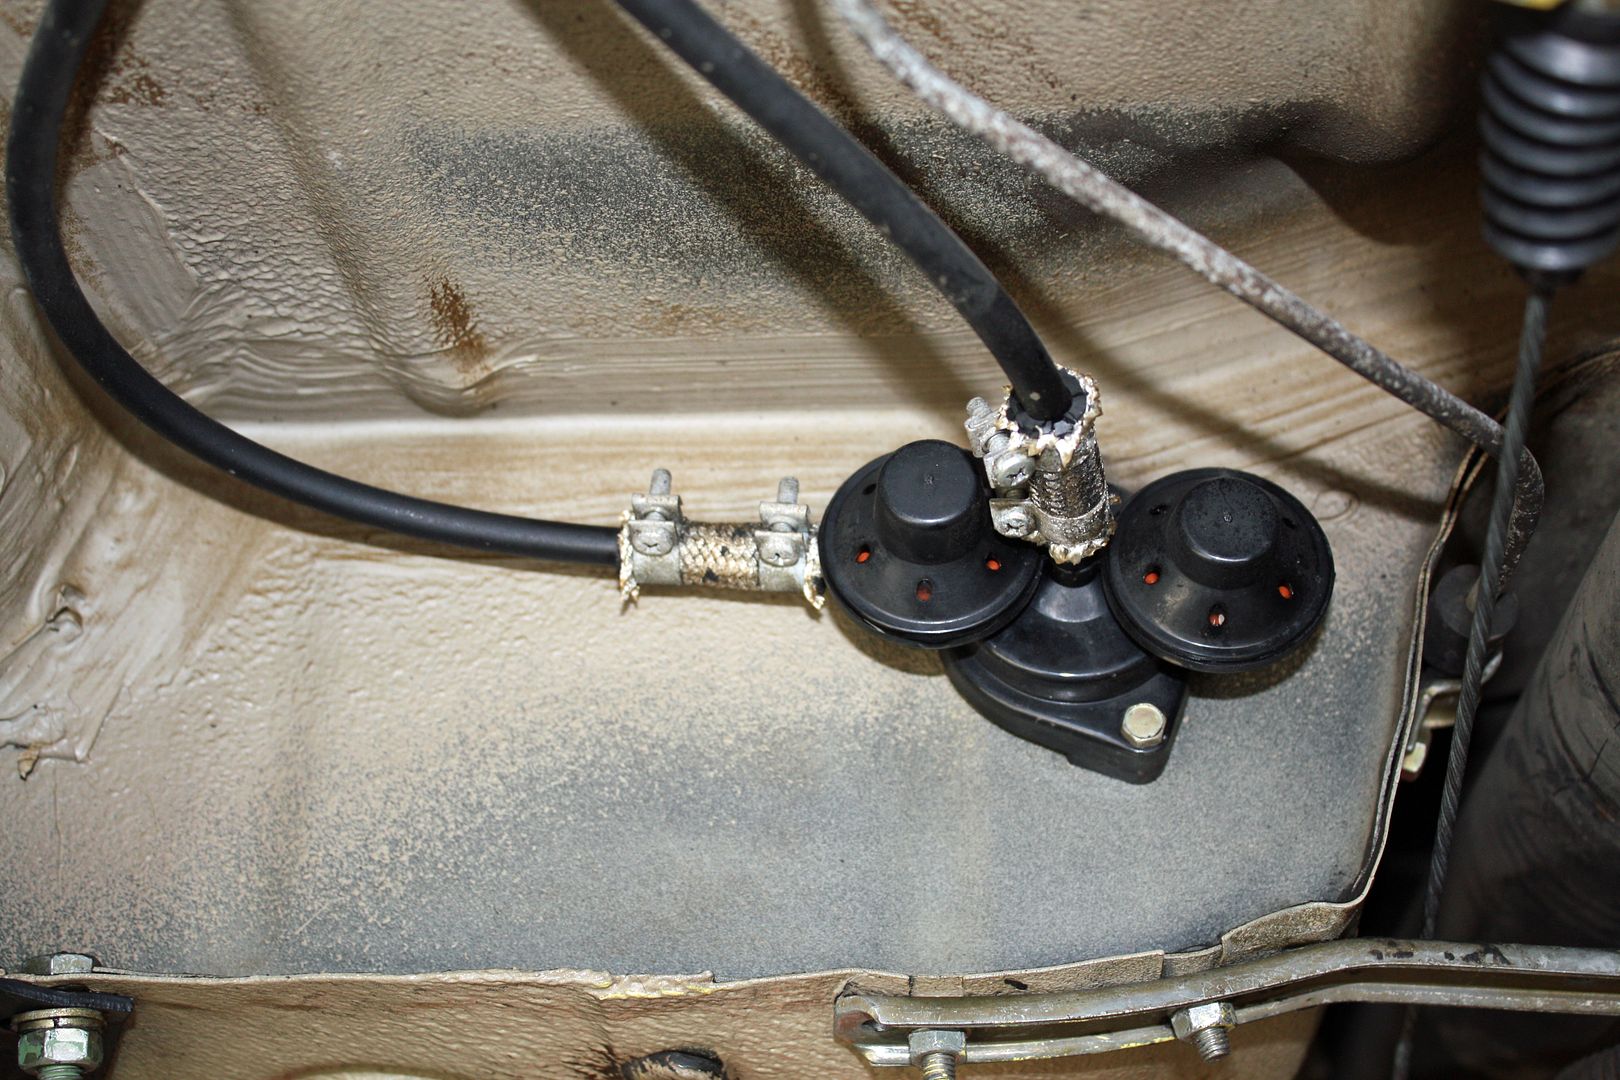 Here's what the box looks like. If you look closely at the closeup of the two connections on the bottom, you will see that the right one is pinched. There connectors appear to be molded into the box with the box and the lines coming as one piece. I haven't researched that yet. When I pulled this box out of the car, I was sprayed with some fuel from those lines. I pulled the box as it must come out if you want to remove the inner fender liner behind the spare. I removed both of them in the trunk in preparation for the paintless dent removal guy. 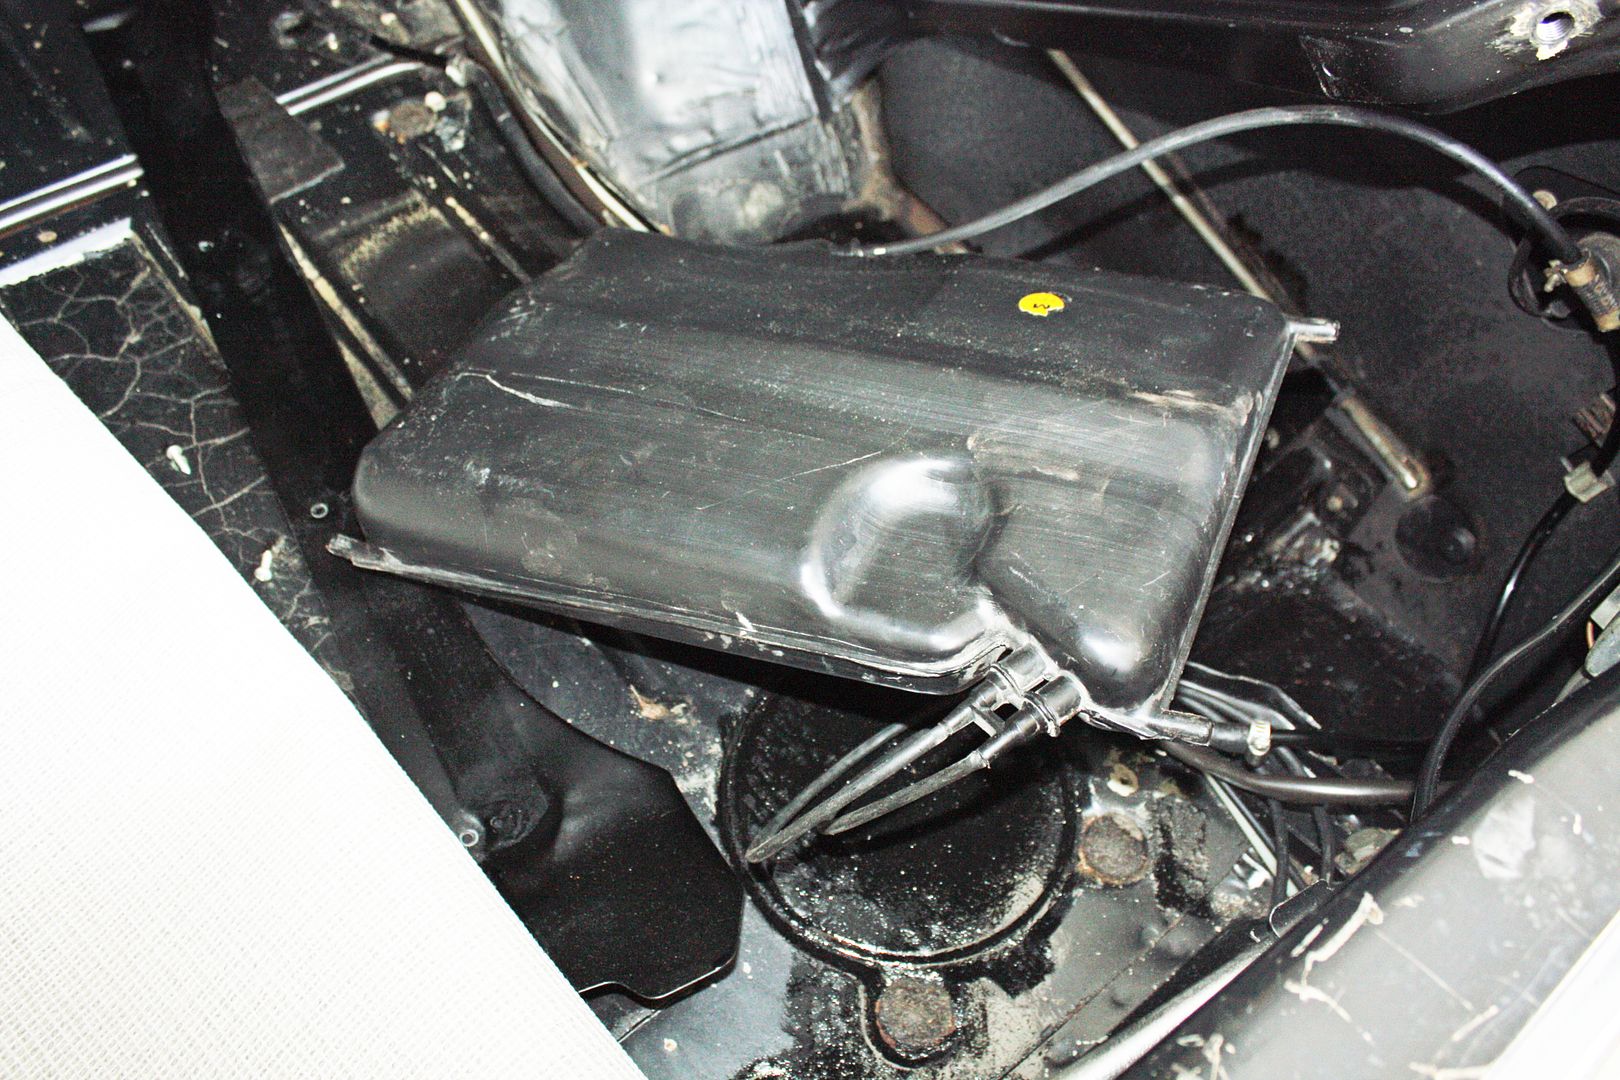 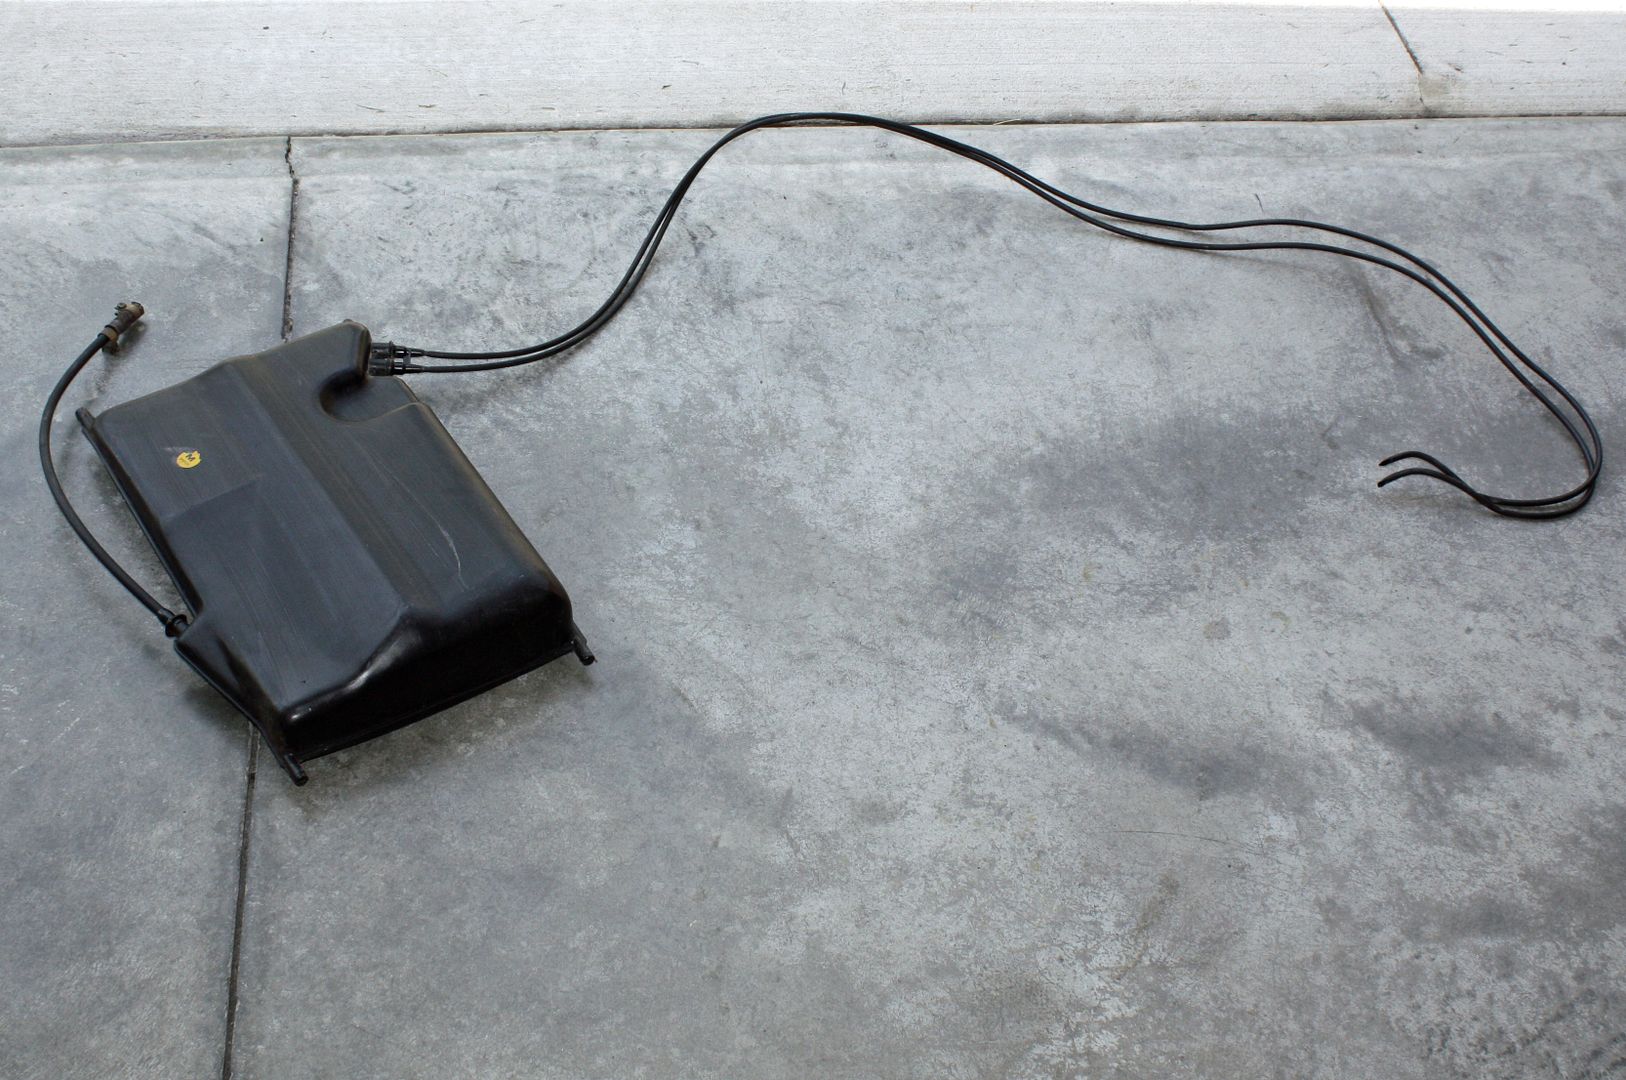 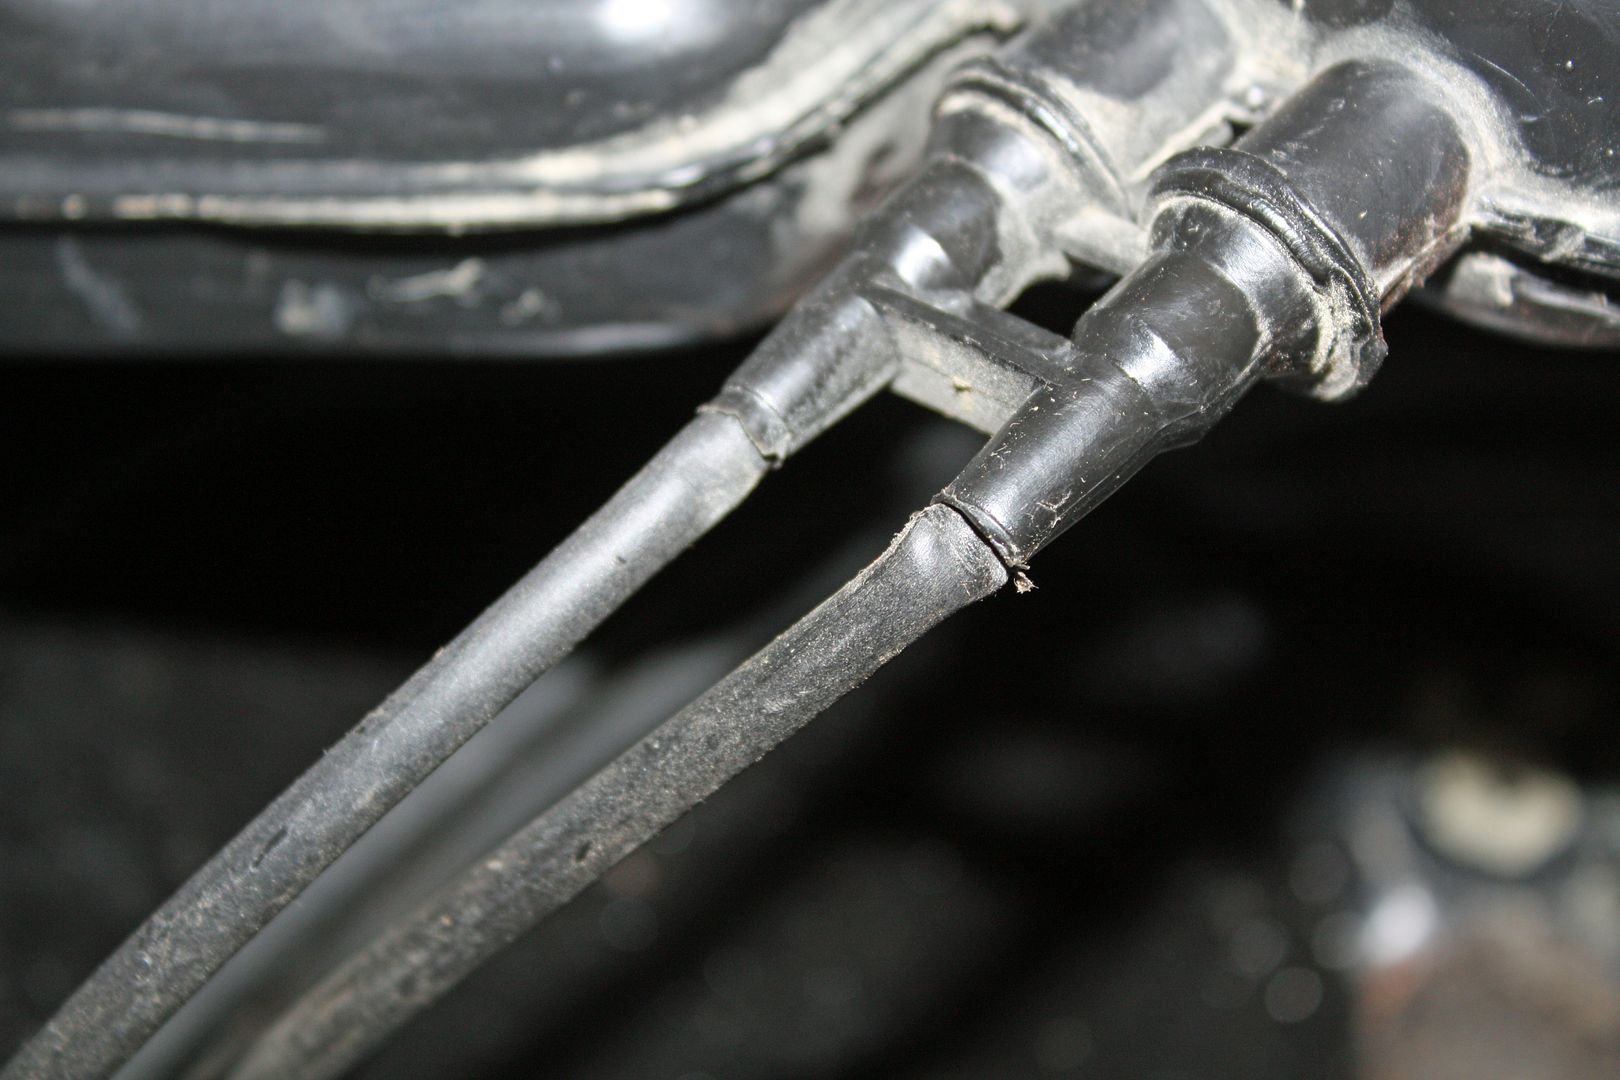 My temporary fix for now is to plug the hose on the bottom connection on the filler neck while adding a longer hose to the upper connection and letting it vent into the fuel filler area. After driving the car I noticed a gas smell in the trunk so I sealed that grommet where the two lines entered the trunk. I also sealed off the return line from the plastic box. 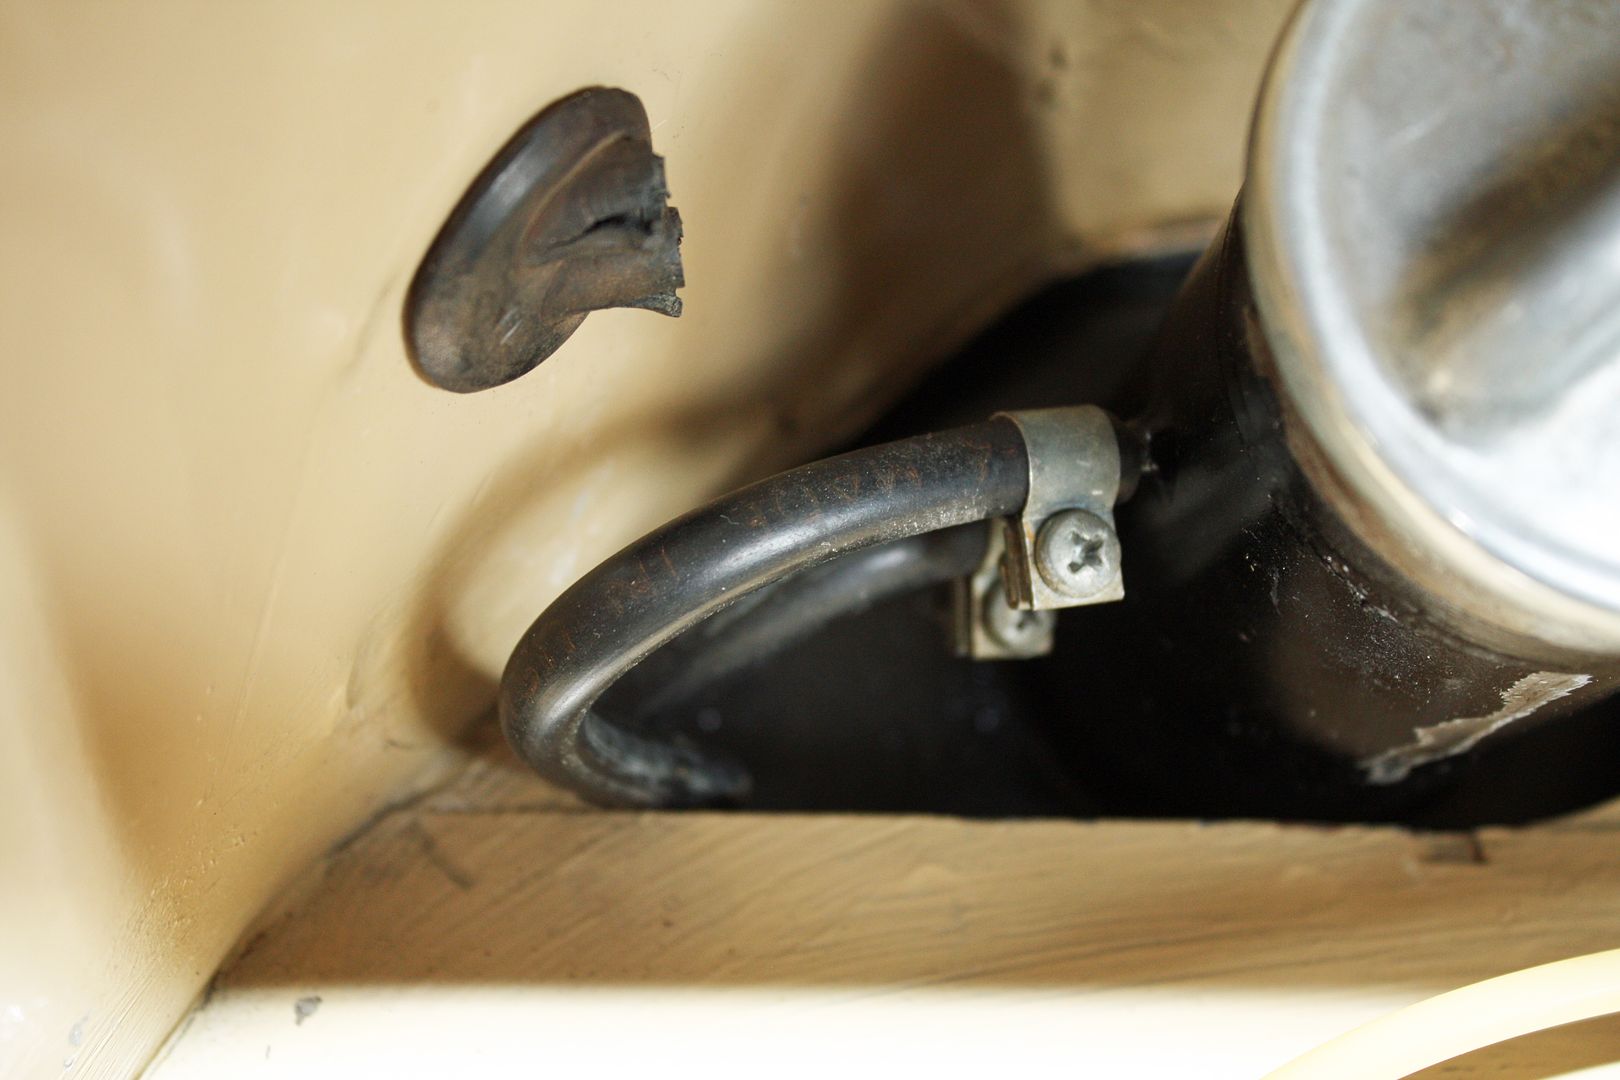 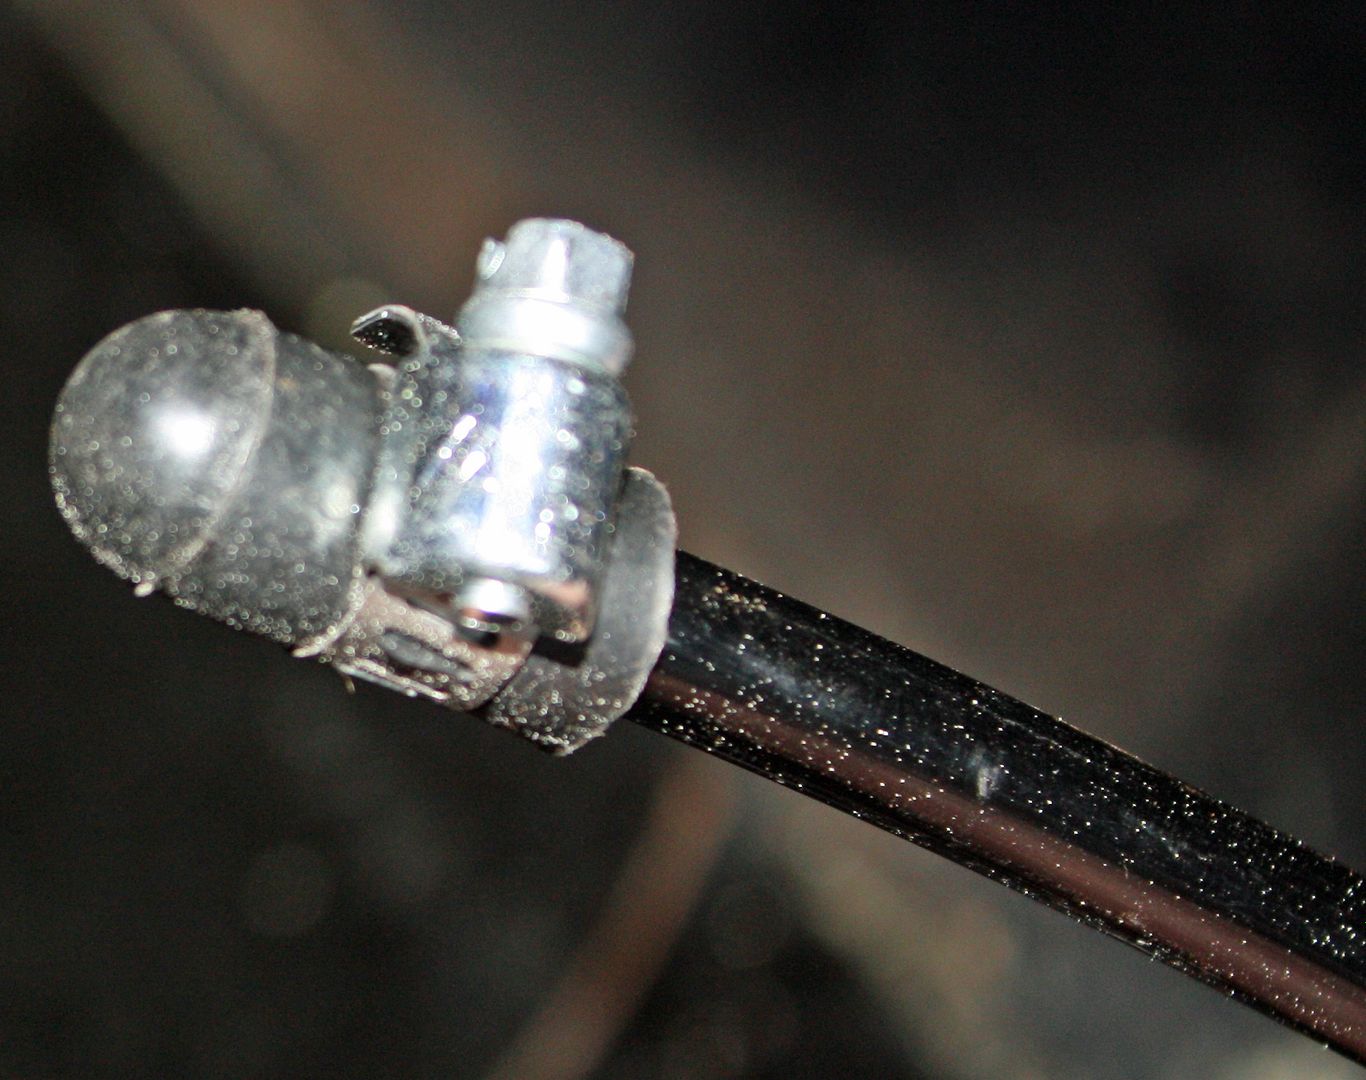 I drove the car for about 20 miles and it ran fine. Towards the end of the drive, I did notice the idle dropping when I slowed down. I saw my buddy in his yard and pulled into his driveway. We talked for about ten minutes. The engine was a hard start again but once I got it going, it ran fine down to my house. The owners manual has a section on starting the car. No gas is to be given when starting cold but it does recommend giving it gas when starting hot. I am not sure how much to give it before I would flood it. I will be experimenting here to find the right amount. There are a number of threads about hard starting when warm but the only definitive solution seemed to be by one respondent who said all of his issues went away after he installed new injectors. That is an expensive option at this point but I do want to fix this if I can. The conjecture in the thread was that some injectors may have been leaking causing the car to run rich at low idle and startup. We are taking the car to the shop in Monday so I should have a better idea if the tank venting helped. |
|
#206
|
|||
|
|||
|
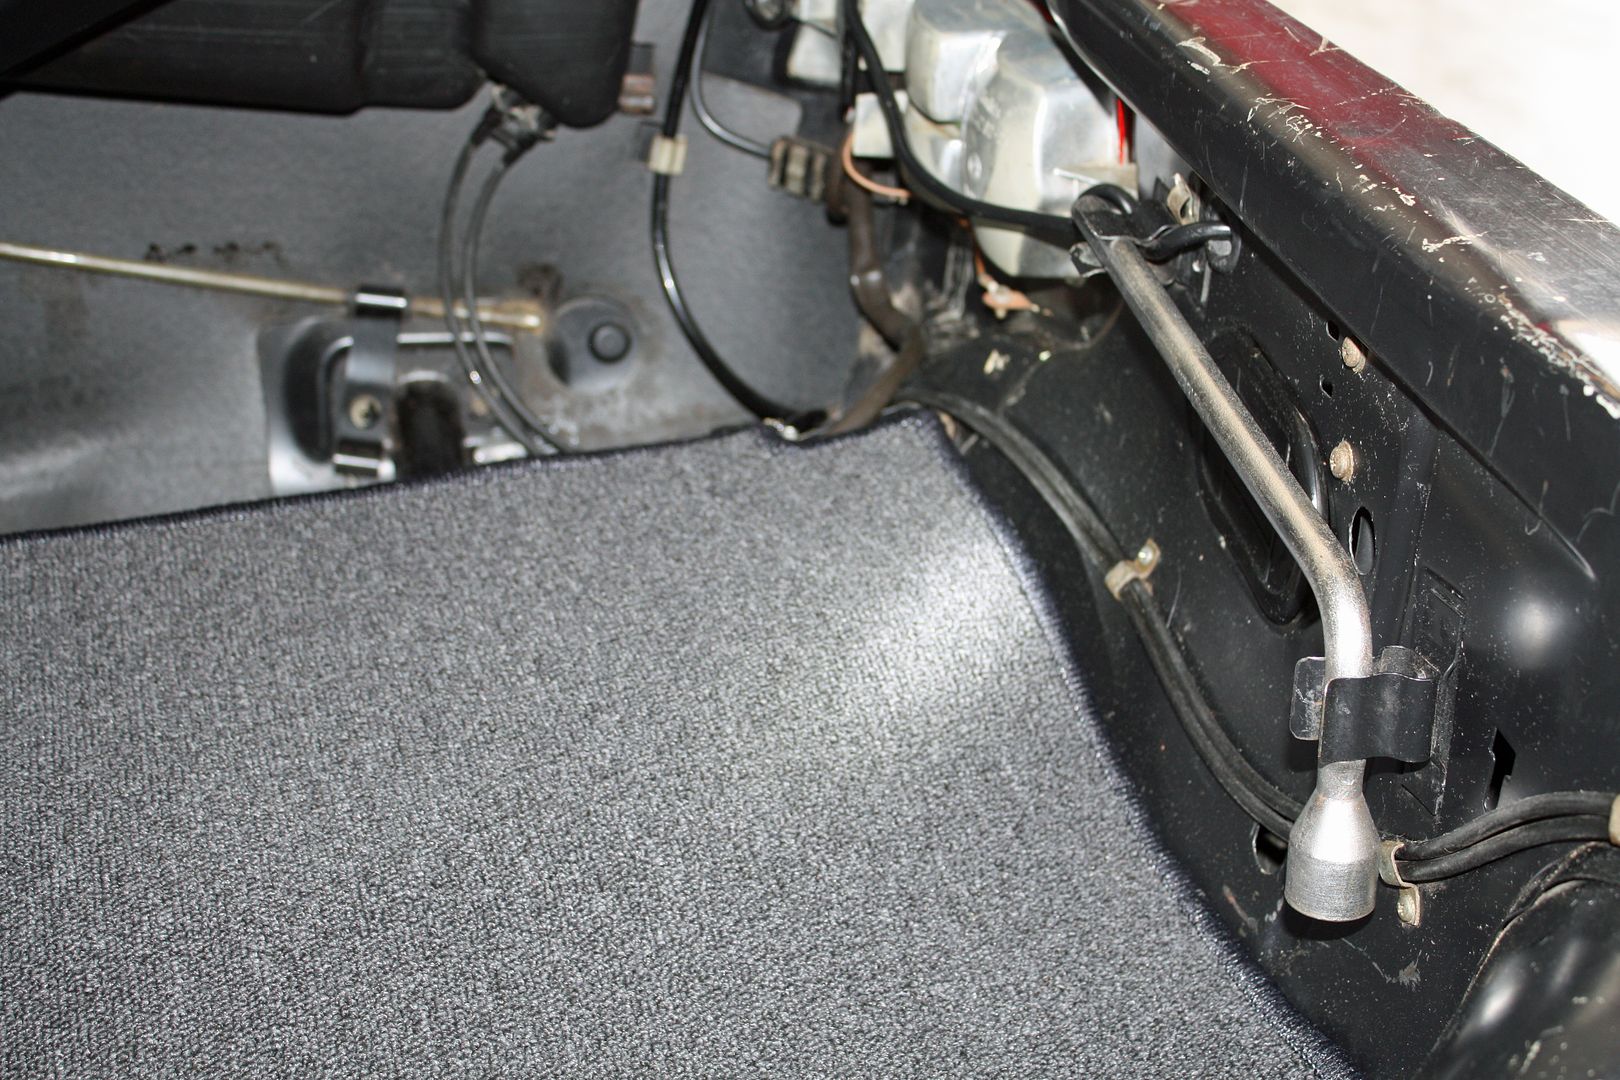
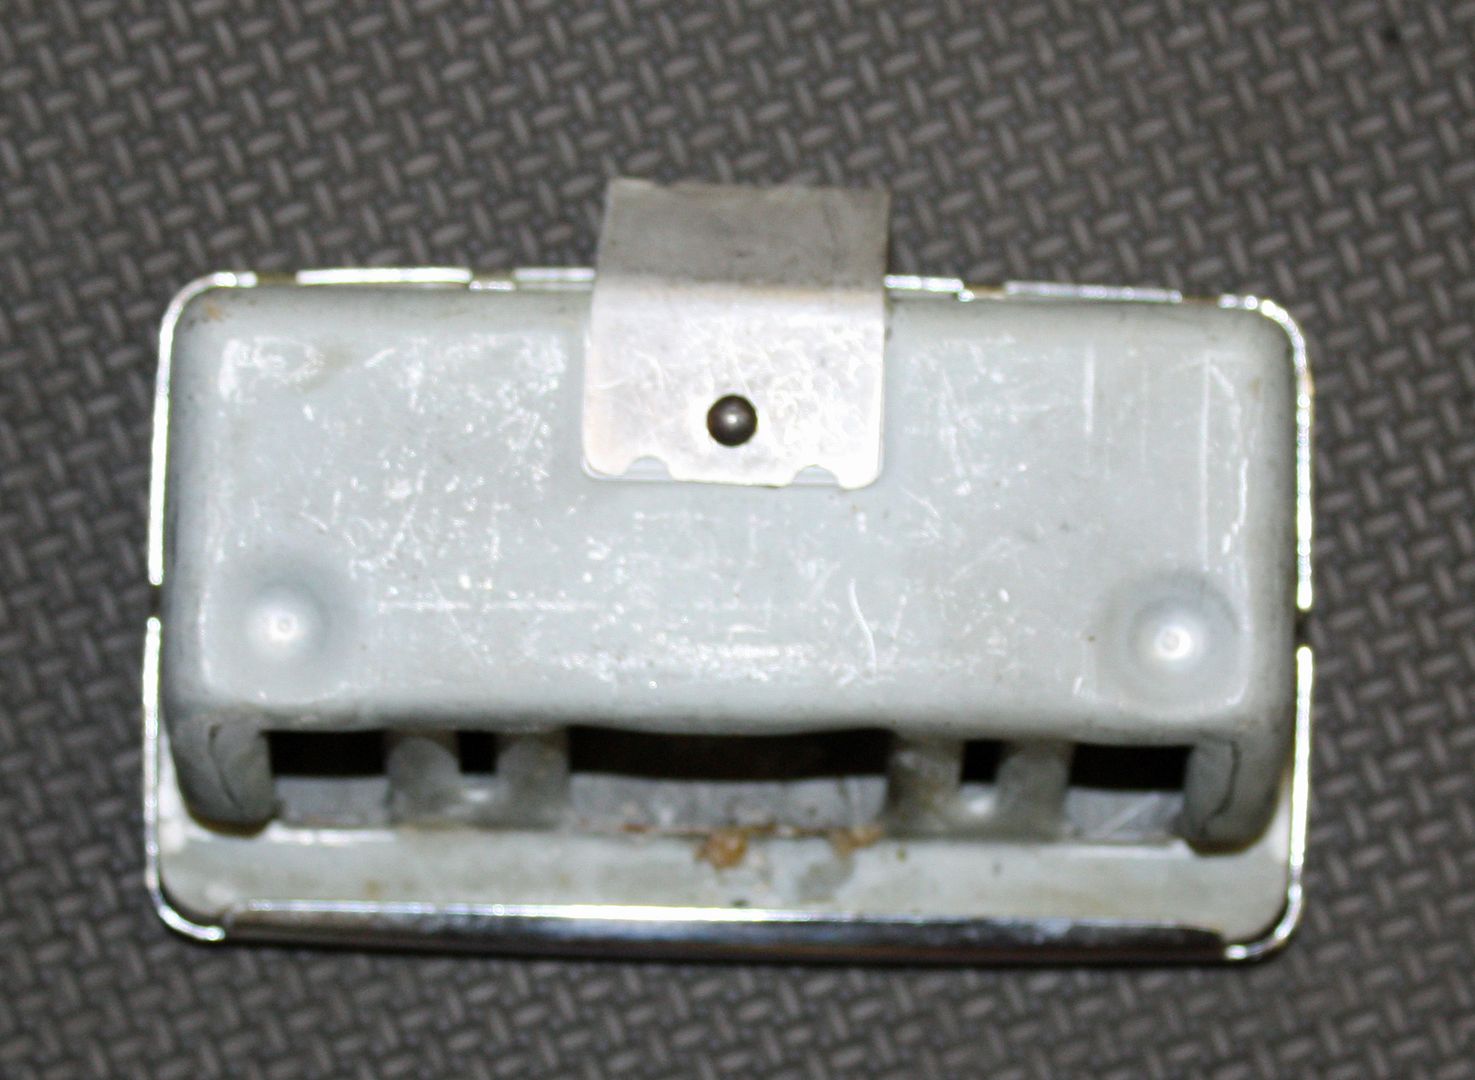
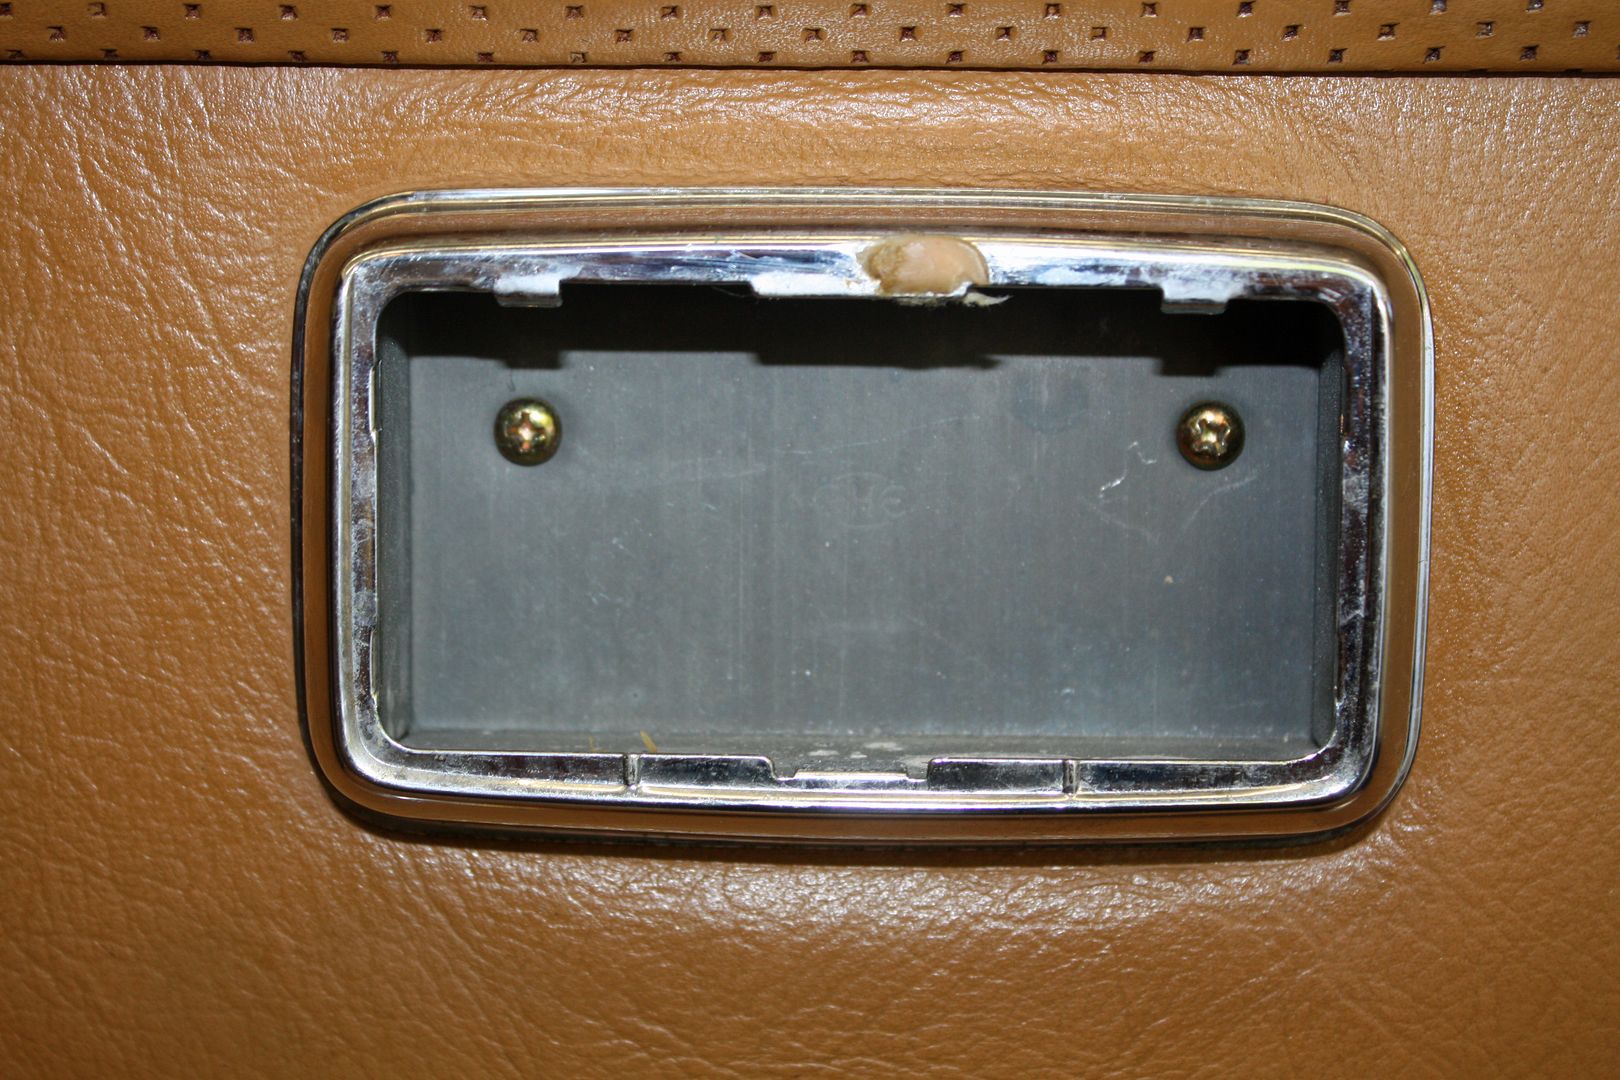
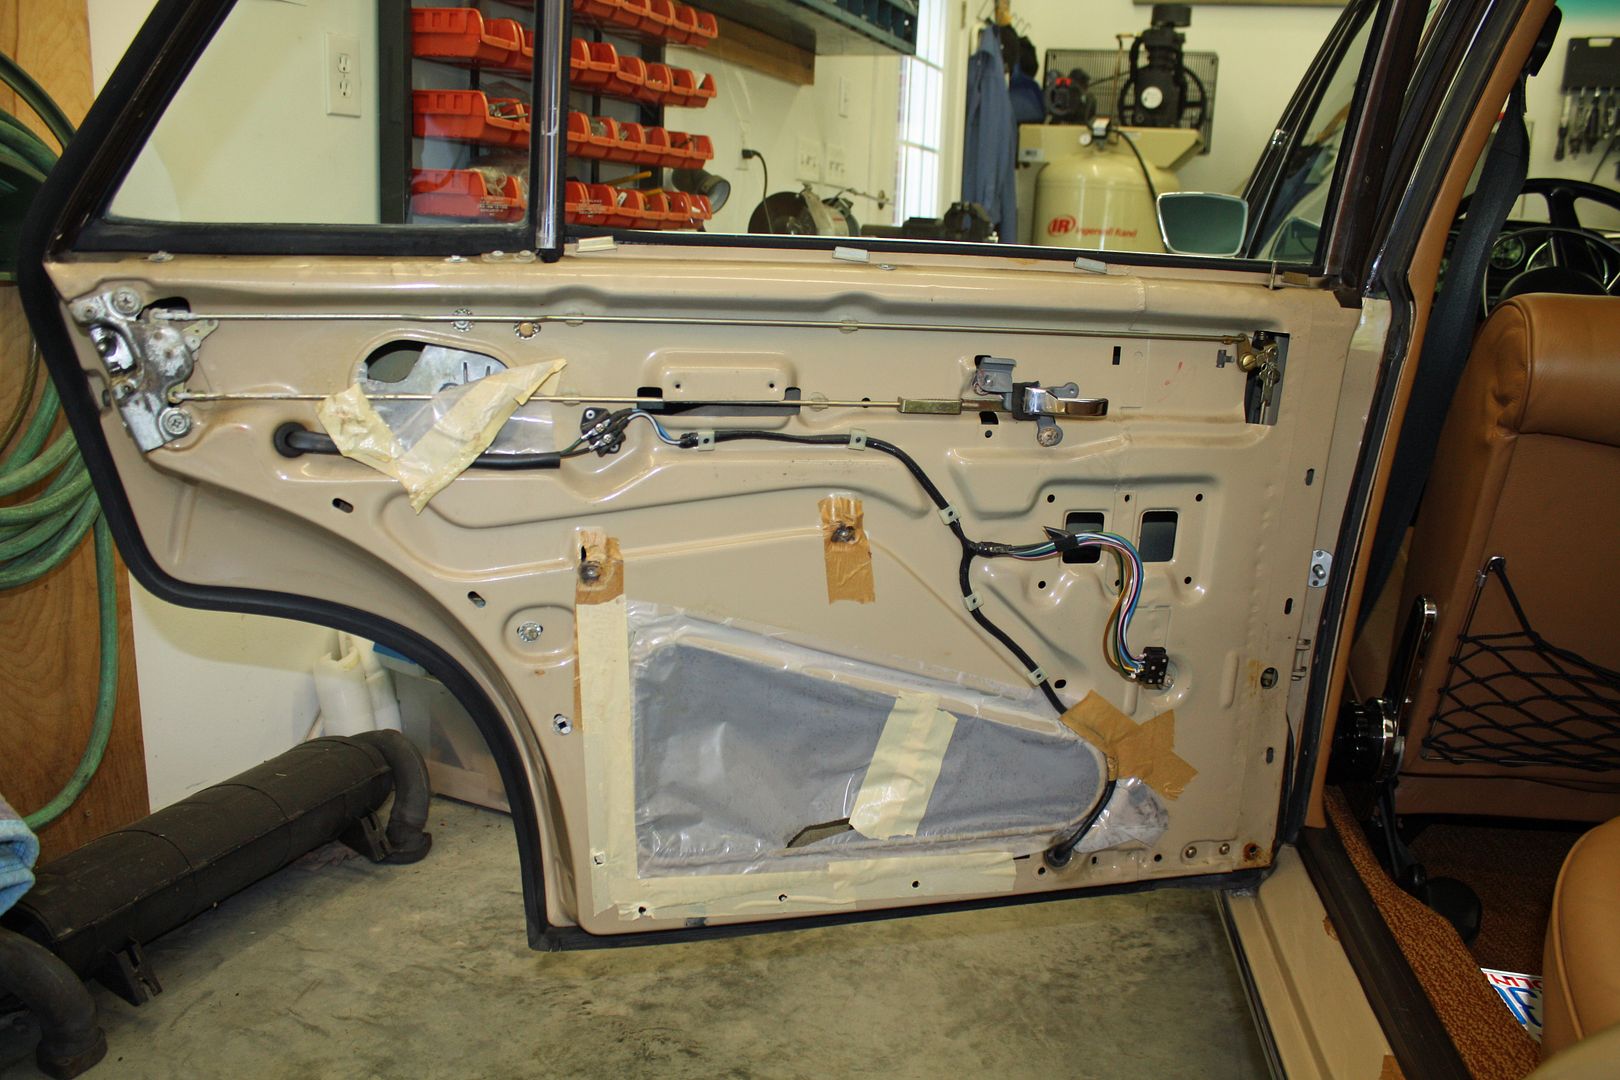
In preparation for the paintless dent repair, I removed all of the door cards. I had shown how to remove the front ones. The only difference on the rear door cards is that the ashtray must be removed to expose the two screws. To remove the ash tray, open it slightly and push down. It is spring loaded.
   To remove the metal shields at the rear of both front wheel wells, two screws in the wheel well and two in the engine bay have to be removed. I had to remove the battery to reach the right side bottom screw in the engine bay. 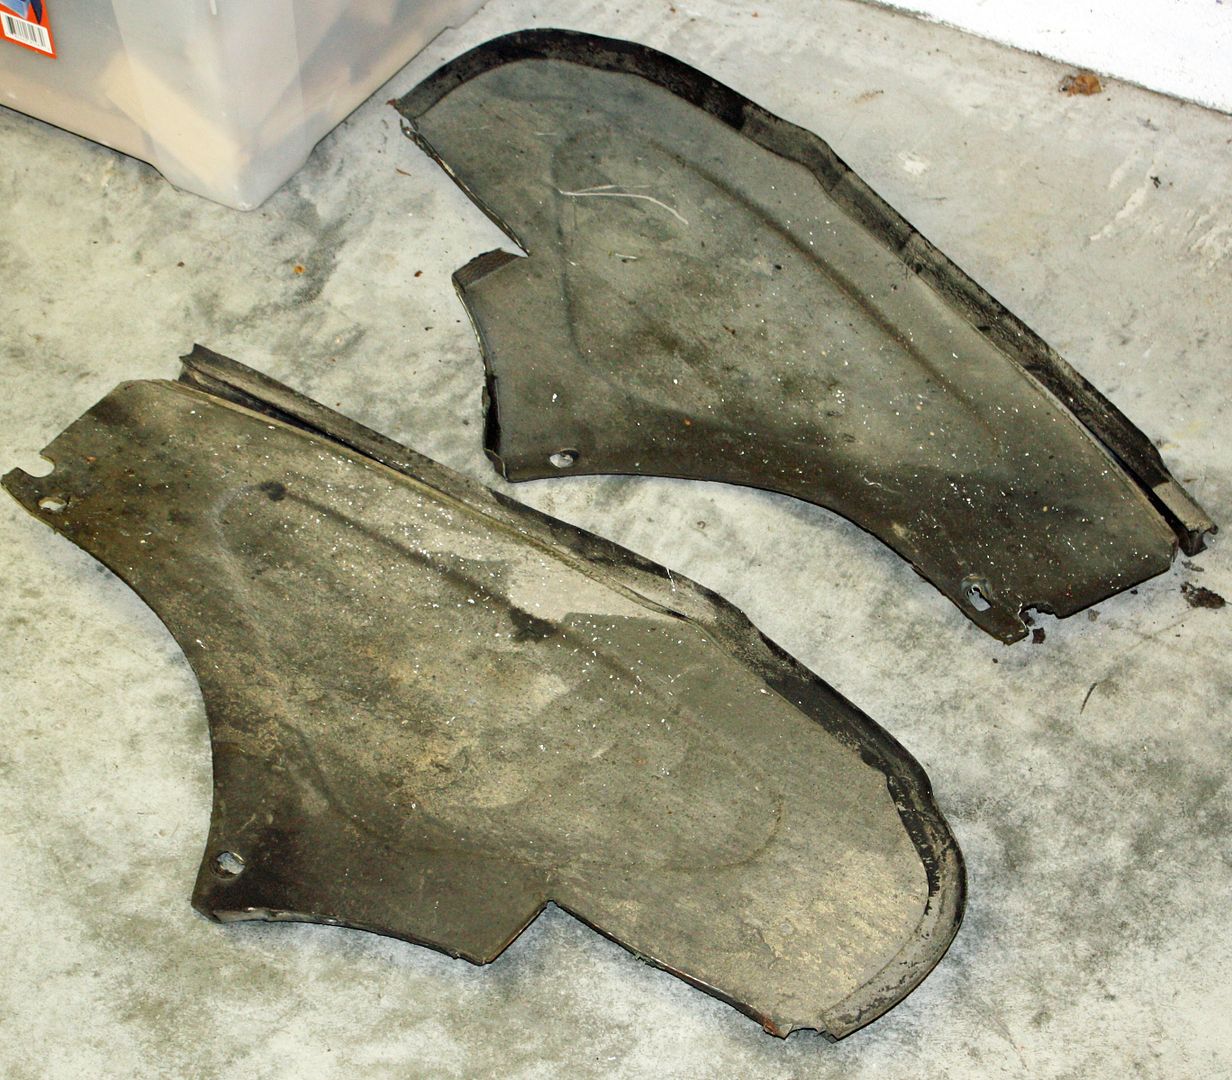 The left shield protects the vacuum accumulator while the right one protects a blower motor and the power antenna. While there was a bunch of dirt that fell out when the shields were removed, there is no rust. 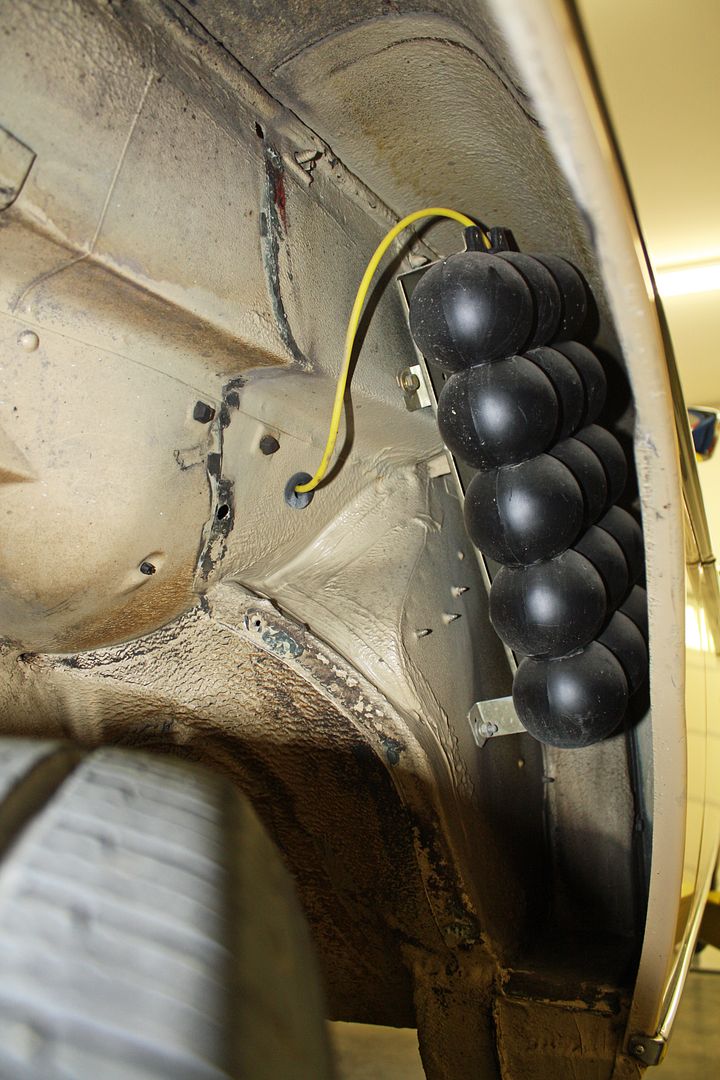 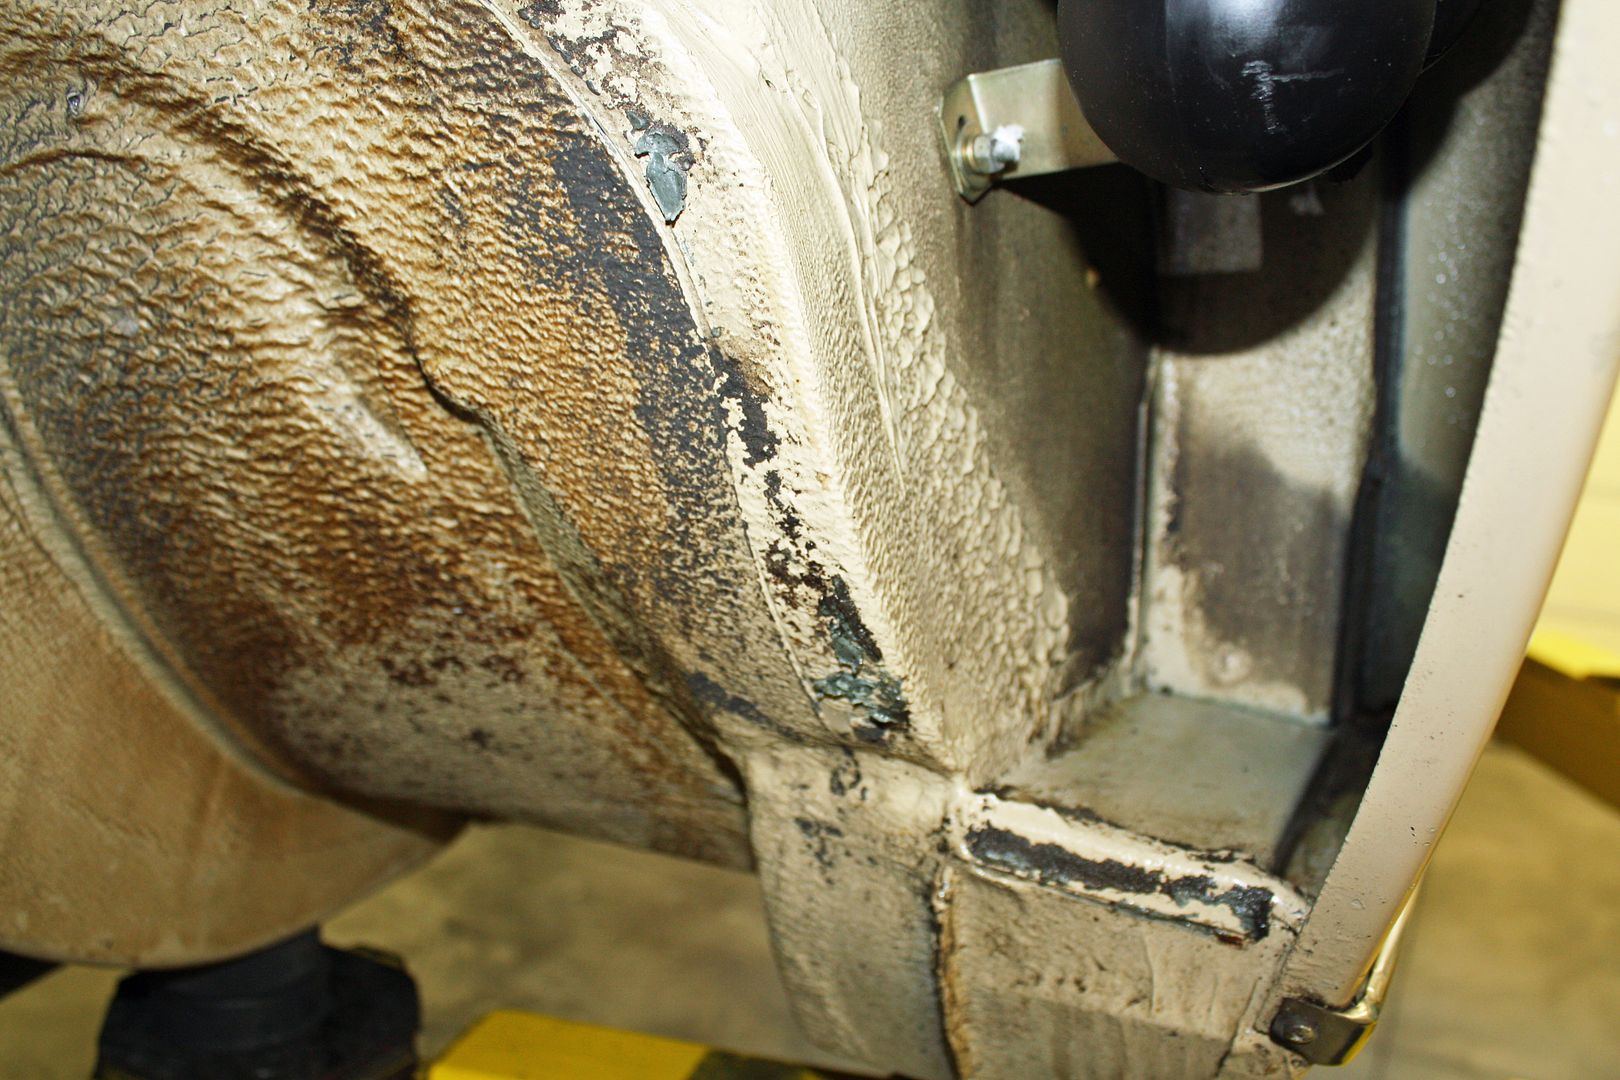 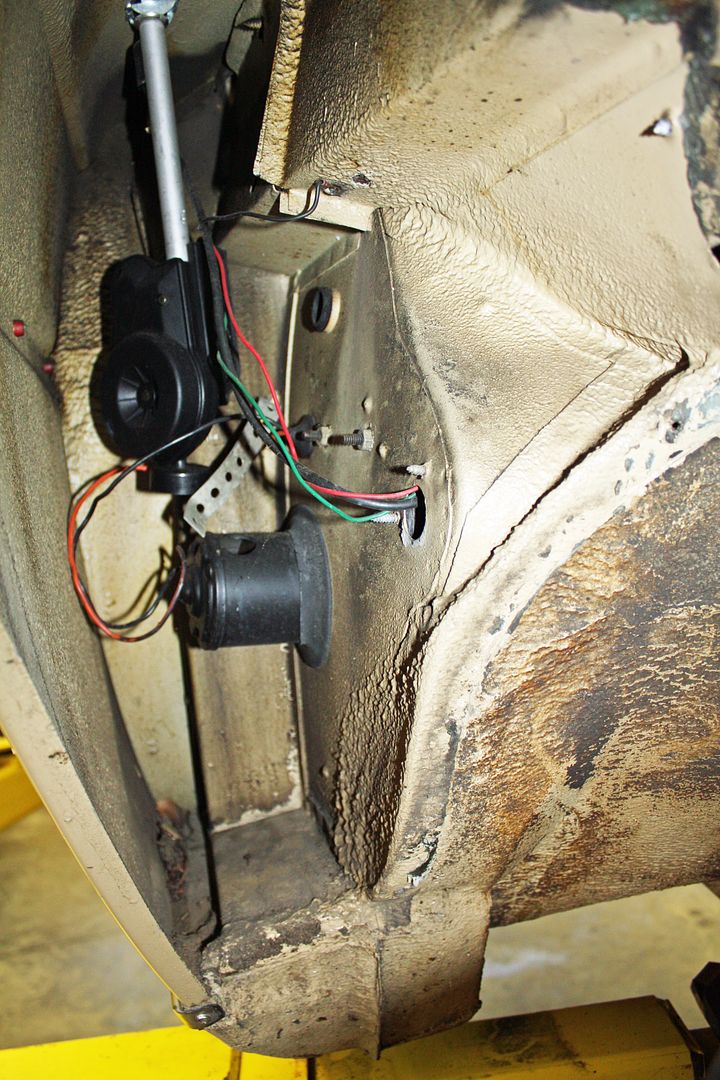 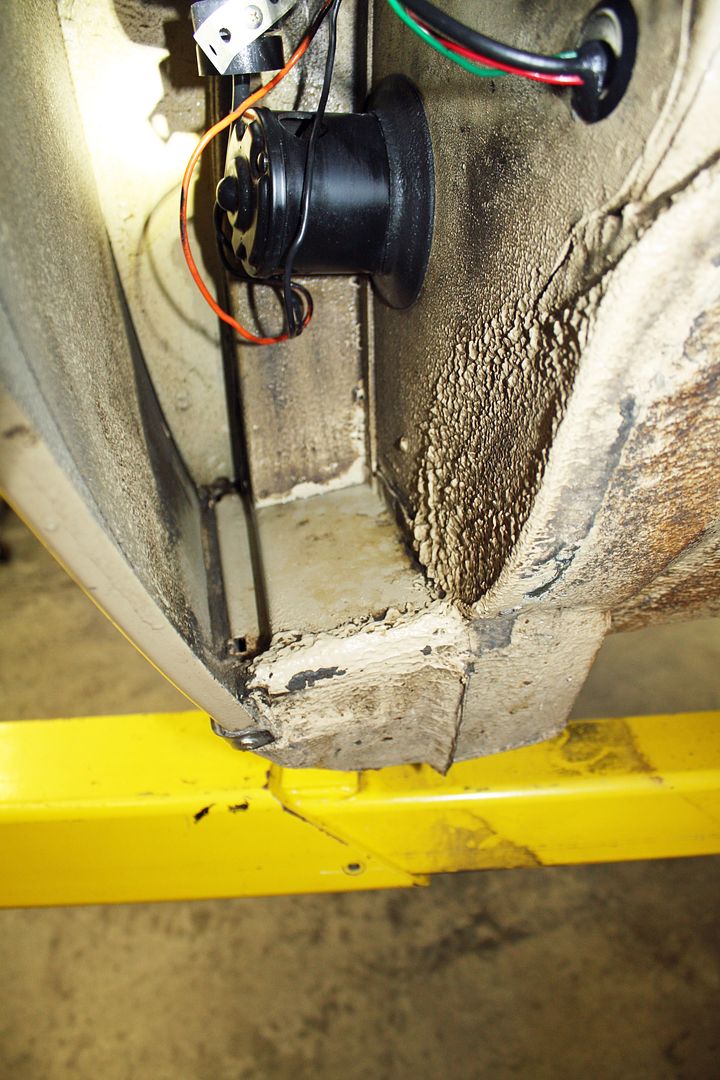 The antenna needed some attention. There was strapping there to secure the bottom of the antenna but it was not screwed to the antenna base. 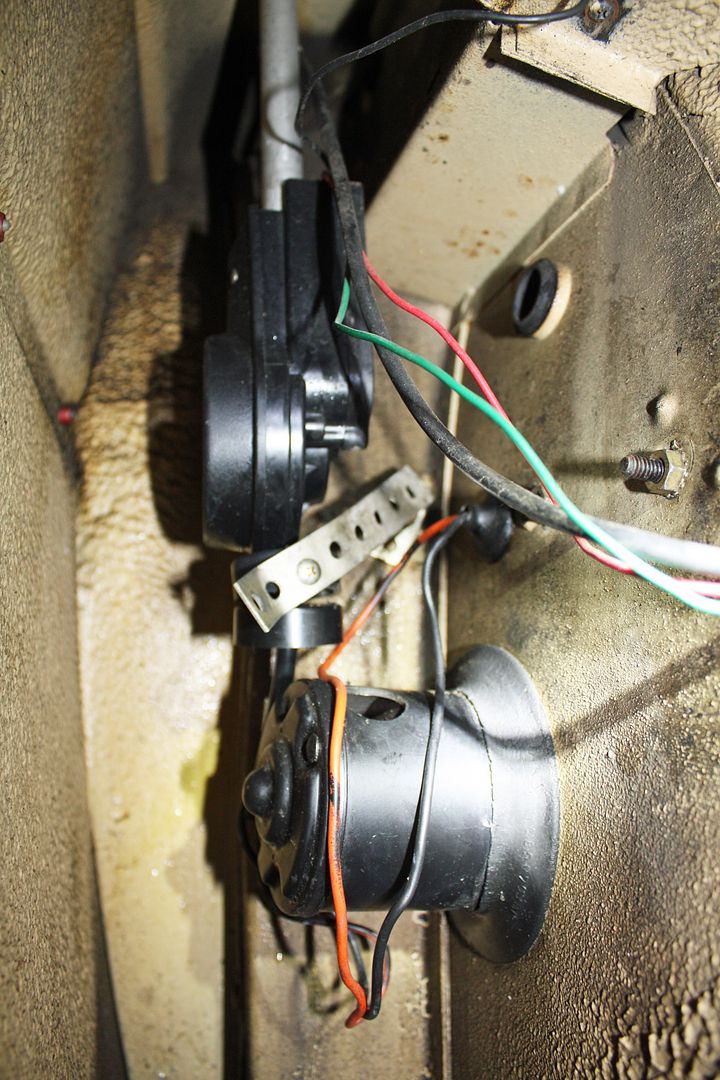 After securing the antenna, I addressed the missing grommet for the antenna wires from the interior. I had purchased a number of plastic caps for European cars. I had one that perfectly fit that hole. To make it work, I first cut a slot to the center of the cap. I then drilled a hole in the center. Now I could slip the cap over the wires. Once I had the cap snapped into the hole, I used putty to seal the center hole and the slit. 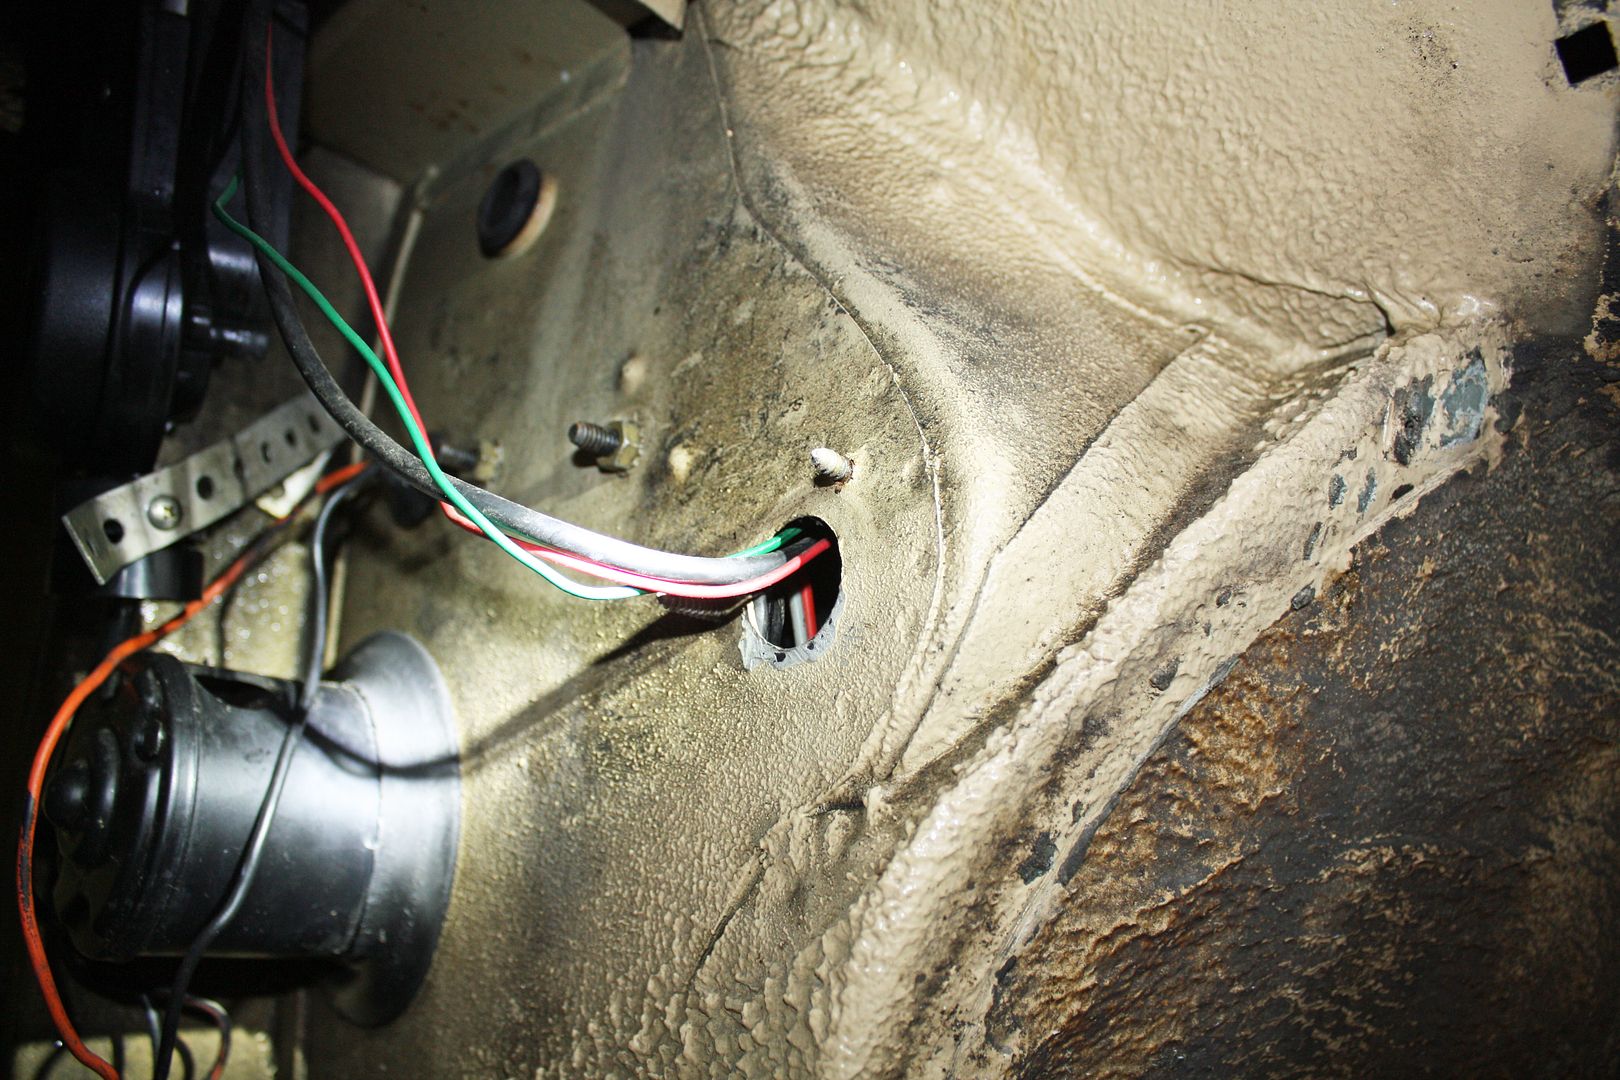 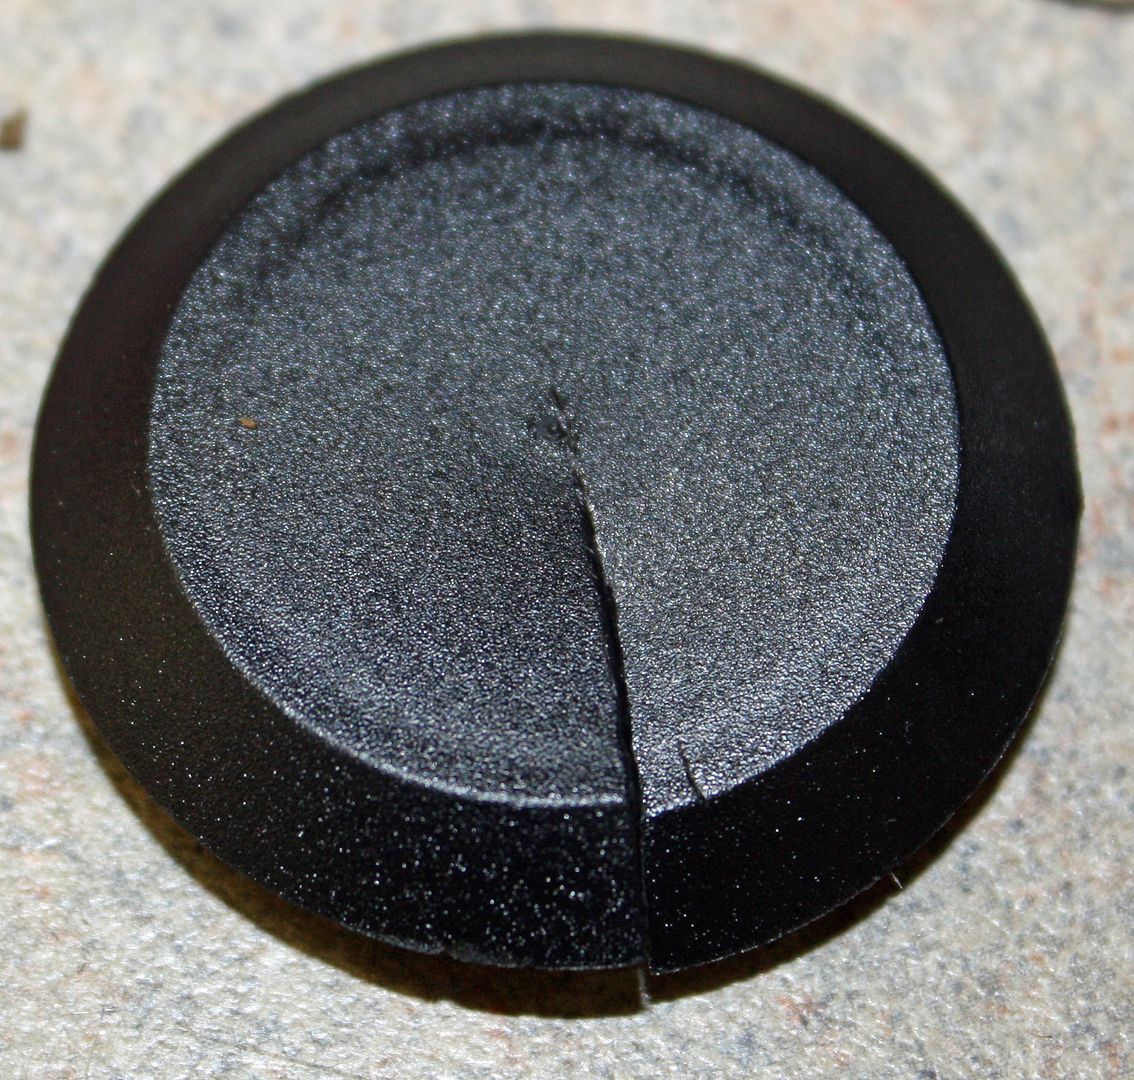 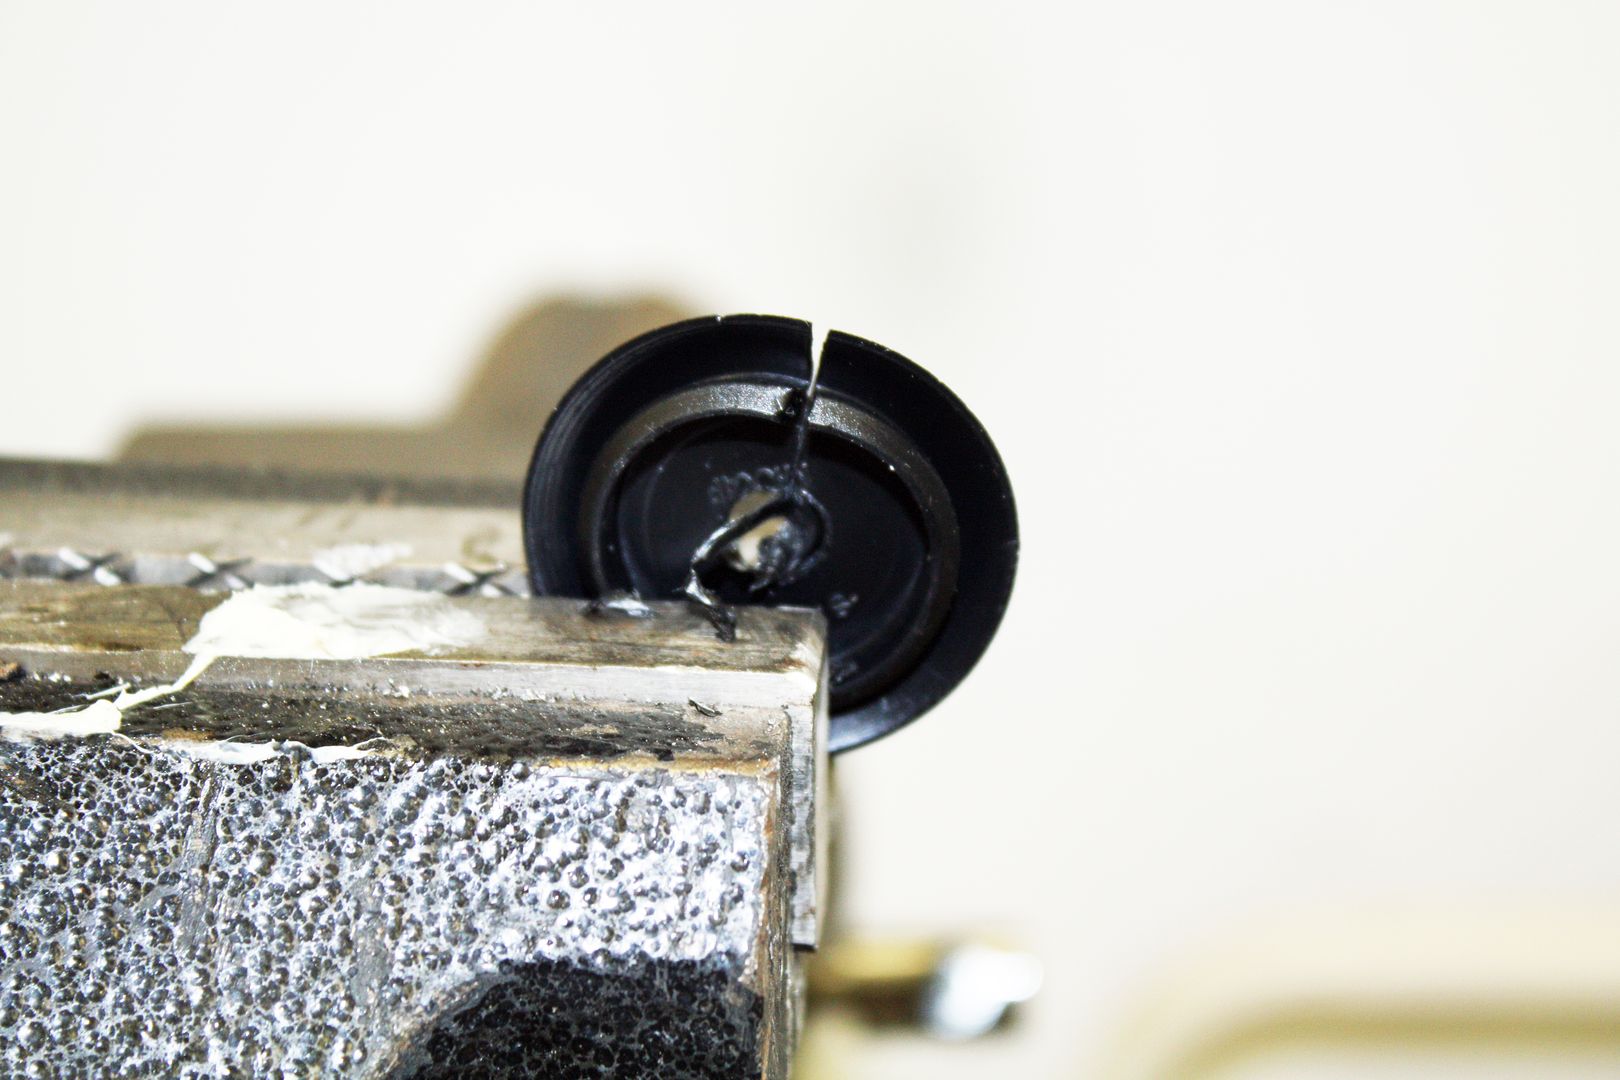 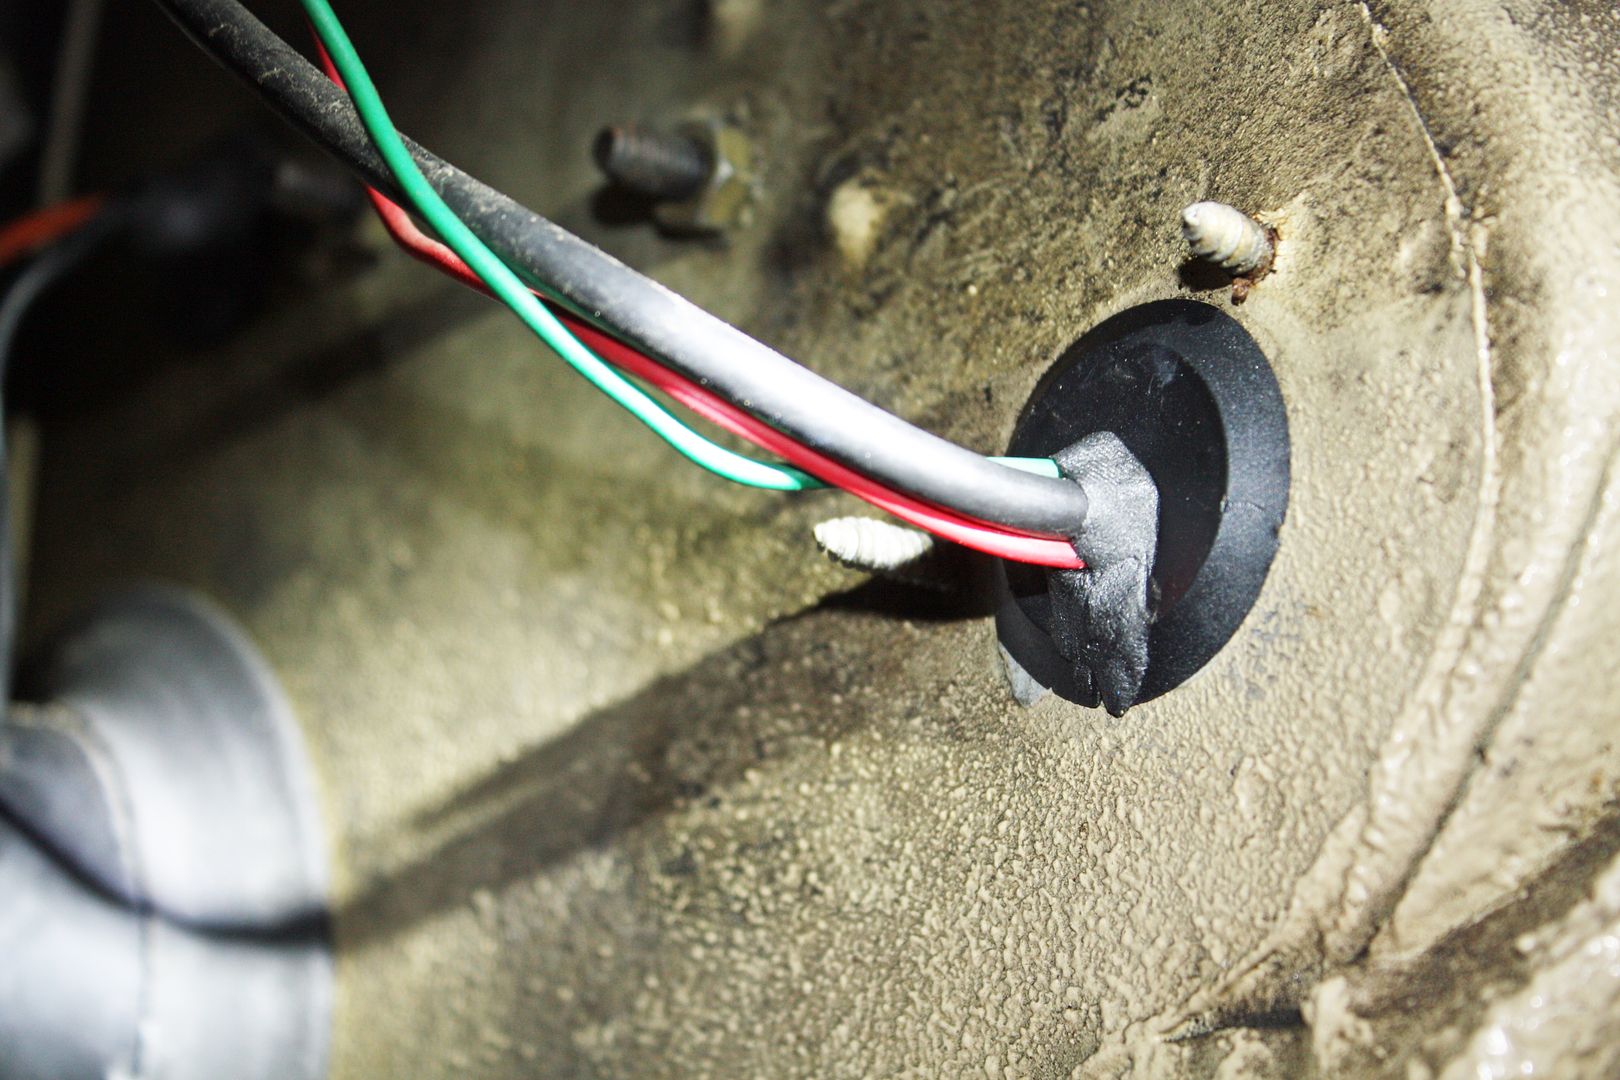
|
|
#207
|
||||
|
||||
|
Isn't it nice when there isn't any rust behind those fender dirt shields?
|
|
#208
|
|||
|
|||
|
I think I solved the running issue today. The third owner had driven the car from Sacramento to Raleigh, NC. I had driven the car for two hours to get it home from Raleigh. Neither of us had a running issue on those drives. This got me to thinking about any part that I had changed that could have a heat related issue. The only part that came to mind was the coil.
This morning I re-installed the old coil. I drove it about 70 miles and it ran like it should . We then took the car to lunch after it had sat in the driveway for a while. It then sat at the restaurant parking lot while we ate and went through numerous stops, starts, slow downs, etc. It still ran just the way it should with no idle or dying issues. Because the coil was new I hadn't even considered that it could be the problem. Until today! I bought the coil from Pelican and sent them a message about it today. I haven't probably put 400 miles on the car since I drove it home that day in January. As you all well know, I have been working on it most of the time. I replaced the coil as a precaution since the original coil appeared to be old. Turns out it still has some life left. |
|
#209
|
||||
|
||||
|
Can you tell if the new coil was made in India or China?
|
|
#210
|
|||
|
|||
|
Good question. It was made in Brazil. Interestingly, the Becker Europa II was made in Japan. So this outsourcing is nothing new.
|
 |
| Bookmarks |
|
|