

|
|
|
|
|
|
#11
 12-15-2012, 07:31 PM
|
|||
|
|||
|
update...
I went through the valve adjustment, great DIY write ups here, makes things really easy. Yet, I thought "I don't need no stinking special wrenches", I can do this my standard wrenches. After the second valve, I knew there had to be a better way. Went to the local Northern Tool, picked up a couple 14mm stubby wrenches, cut off the box end, welded up some stock steel I had laying around, holy crap, that makes the job a WHOLE bunch easier. I had one "stuck" valve (intake #3) that I couldn't adjust. I lightly clamped a vice-grip to the spring cap and it broke free. I got everything adjusted back to spec, everything was very tight, taking what I would consider significant adjustments to get back into spec. While I had the valve cover off, I gave the "quick" timing chain stretch check, using the timing marks, pics below. I was also advised to do the "loose cap" blow-by test also, and I've linked that also. Looks good to me, just dancing on the valve cover. Note the leak in the #1 return line, cracked when I took the valve cover off. Many of the lines are very brittle and I can see I'll be replacing most of them. I picked up the Harbor Freight compression test kit, had the 20% coupon, it was on sale for $149, under $120 for it. I'm going to run compression on it cold and warm, just for *****s and grins. Thanks again to this site and the DIY articles, sure helps knuckleheads like me get through things... Shot of the timing marks lined up... 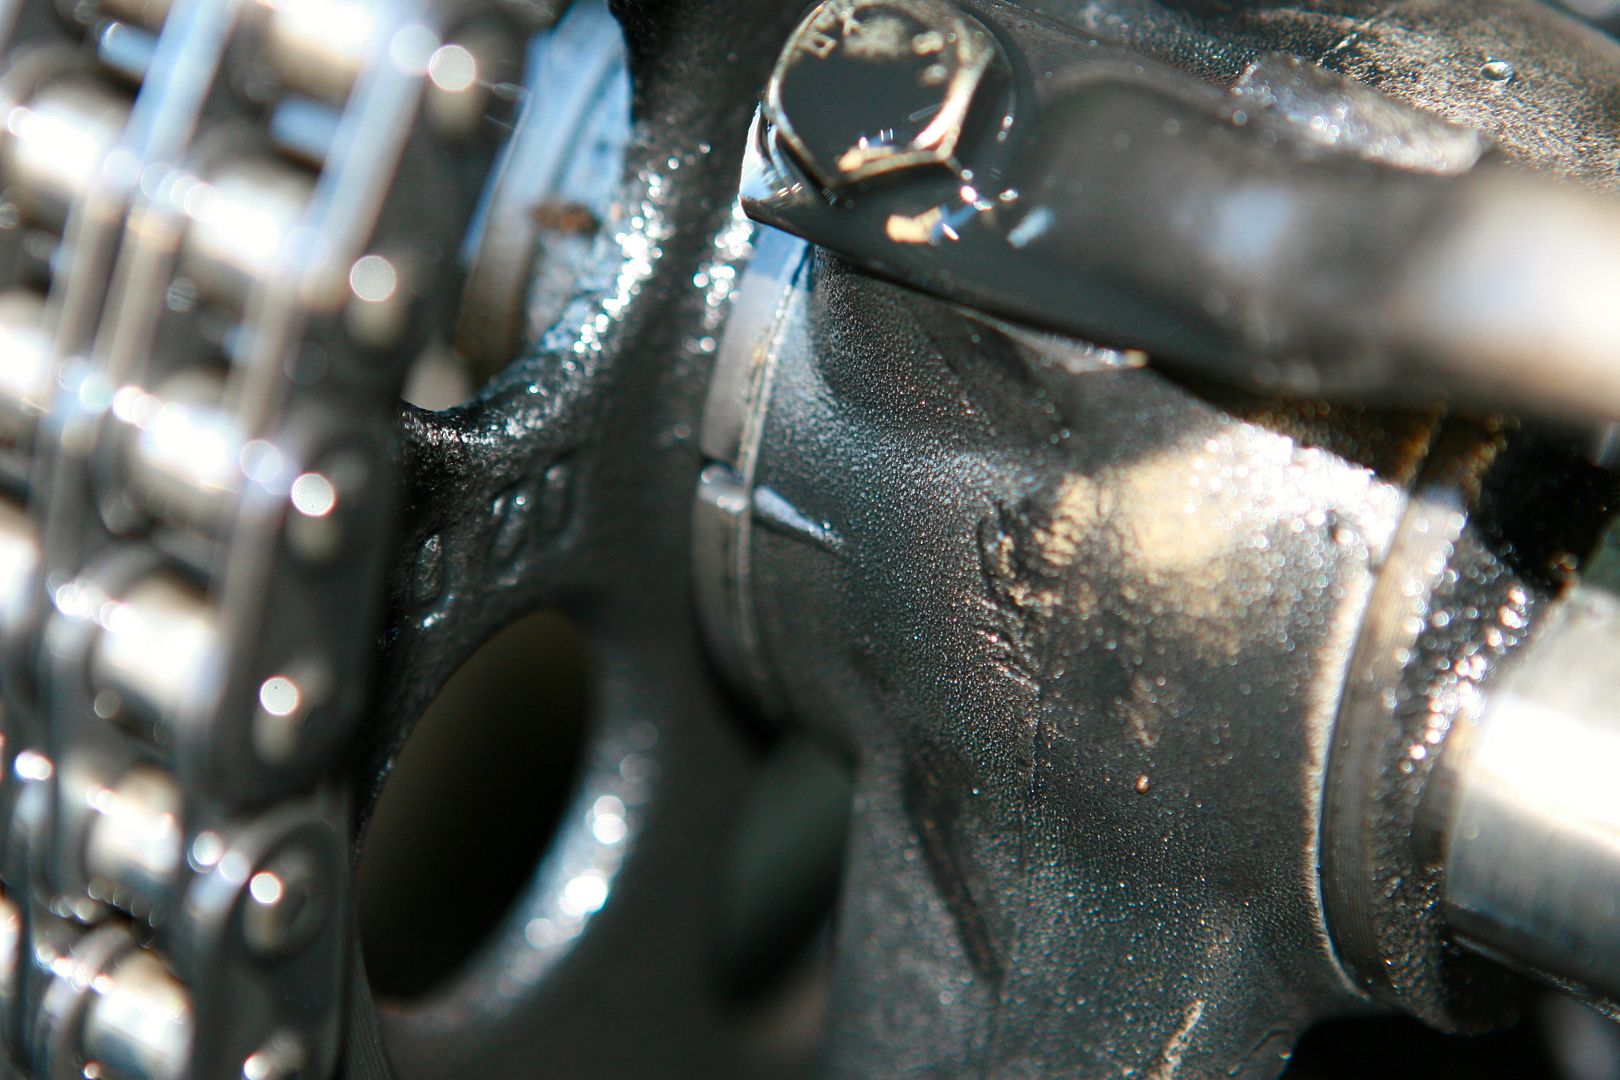 Looks like 5 degrees to me, right?... 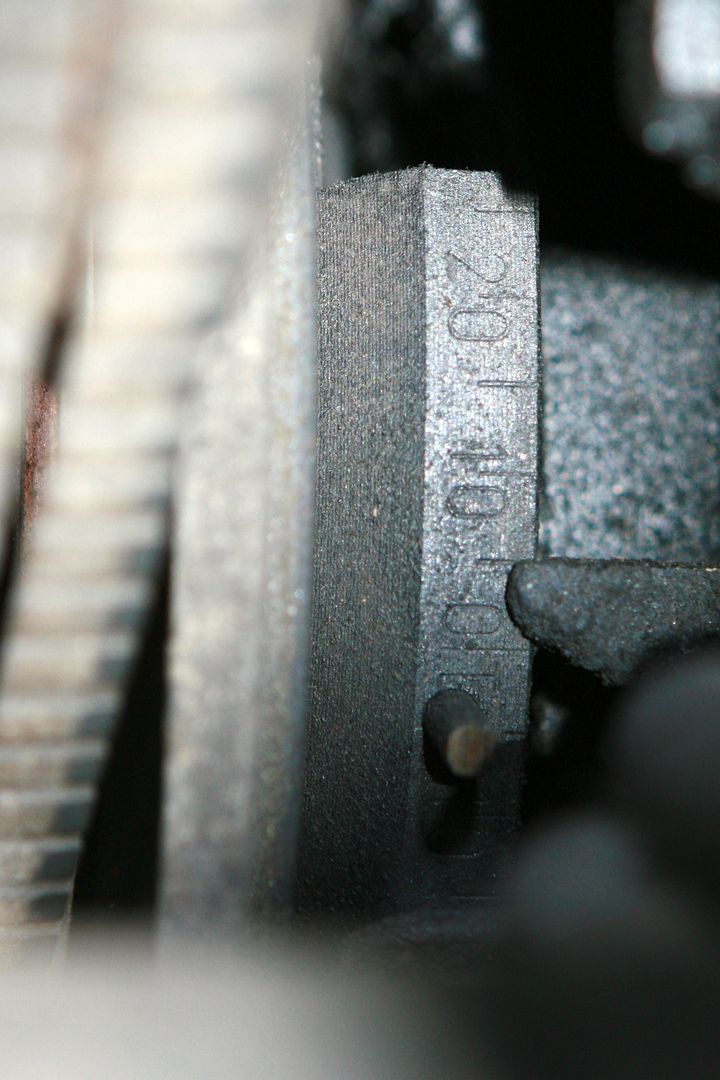 Youtube link to vid of "loose cap" blow-by test... 300sd blowby2 - YouTube I'm happy with how it runs, even better after the valve adjustment. I'm going to make a list of preventative maintancence I should do to it before I take it out of the car. Last edited by mtbcoach; 12-15-2012 at 10:42 PM. 
|
| Bookmarks |
|
|


 Threaded Mode


