 |
 |
 |
 |

|


|
|
|
|
|
|
#166
|
||||
|
||||
|
Nice Vantage!
Think your windshield seal is leaking and causing this delamination? Might be time to replace - use mb seal only, aftermarket isn't up to snuff. You don't want to do any major sanding on this wood. The exposed surface is thin veneer that can be sanded through easily. The refinished wood can look quite nice. The CA outfit below specializes in restoration w great results (but significant cost). NC is/ was furniture-making country - there must be a similar outfit in your neck of the woods. http://www.maderaconcepts.com/NewSite/VehiclePages/mercedes_benz.htm#MB_1963to1971_230_250_280_SL Last edited by JMela; 03-02-2017 at 11:27 AM. |
|
#167
|
||||
|
||||
|
[QUOTE=jerhofer;3687927]
After looking at the most preserved finish on one of the window trim pieces, my buddy said he would recommend painting all of the trim a matching brown color.[Quote] Not a good idea. |
|
#168
|
||||
|
||||
|
Quote:

|
|
#169
|
||||
|
||||
|
Is that where the spare goes or does it go under the mat? My '81 300SD has the spare under the mat. Had a 1970 6.3 years ago and I absolutely cannot remember where the spare went.
|
|
#170
|
||||
|
||||
|
Spare is parked in the RS wheel well, as is the case in the pic above.
|
|
#171
|
|||
|
|||
|
Quote:
There are two Mercedes restoration specialists in the area. I called both of them and the local wood guy they had been using died. The second place I called said they used Madera Concepts for the first time recently and the results were outstanding. And expensive!! Plus I would have to ship everything to California. So I began doing Google searches for wood refinishers, cabinet makers, etc. Then it hit me that a place that restored wooden boats would be ideal. They would use finishes that were weather resistant. A search turned up a place I had forgotten about in Mooresville, NC, about 35 miles from here. Four years ago when I was doing the Corvette restoration, I bought a set of chrome ignition shields from this guy who restored wooden boats. I took the pieces to him this afternoon. Judging by the appearance of the boats he had in the shop, my trim should look great. He's a couple weeks or so out which will work great for me as we are leaving soon for a three week trip in our motorhome. I need to be concentrating on getting the motorhome ready this next week. |
|
#172
|
|||
|
|||
|
Only small remnants of that rubber mat were in the car when I bought it. They are now in the shop vac. I looked for a rubber mat and, if you can find one, they begin at around $500. The carpet seemed like a good alternative. It does look good.
|
|
#173
|
||||
|
||||
|
My rubber mat was in about 3 or 4 pieces. I replaced it with carpet too, it really makes the trunk look a lot nicer. To the point where I thought it should have come that way from MB! My thought is that they probably decided on rubber because suitcases and whatnot are less likely to slide on it, but it doesn't stand up after 30-40 years.
__________________
Current: 2021 Charger Scat Pack Widebody "Sinabee" 2018 Durango R/T Previous: 1972 280SE 4.5 2014 Jeep Grand Cherokee Limited "Hefe", 1992 Jeep Cherokee Laredo "Jeepy", 2006 Charger R/T "Hemi" 1999 Chrysler 300M - RIP @ 221k |
|
#174
|
|||
|
|||
|
I spent all day removing the threshold carpet and rubber. The carpet did not come out easily. I was able to remove the plastic threshold covers on both sides without damaging them. I inserted a heavy duty scraper under the plastic cover and gently pried up to release it. I also had to pry the door trim away at the bottom to allow the plastic threshold piece to come out. Earlier I had removed the trim on the door pillar where the front and rear doors meet as it also is in the way.
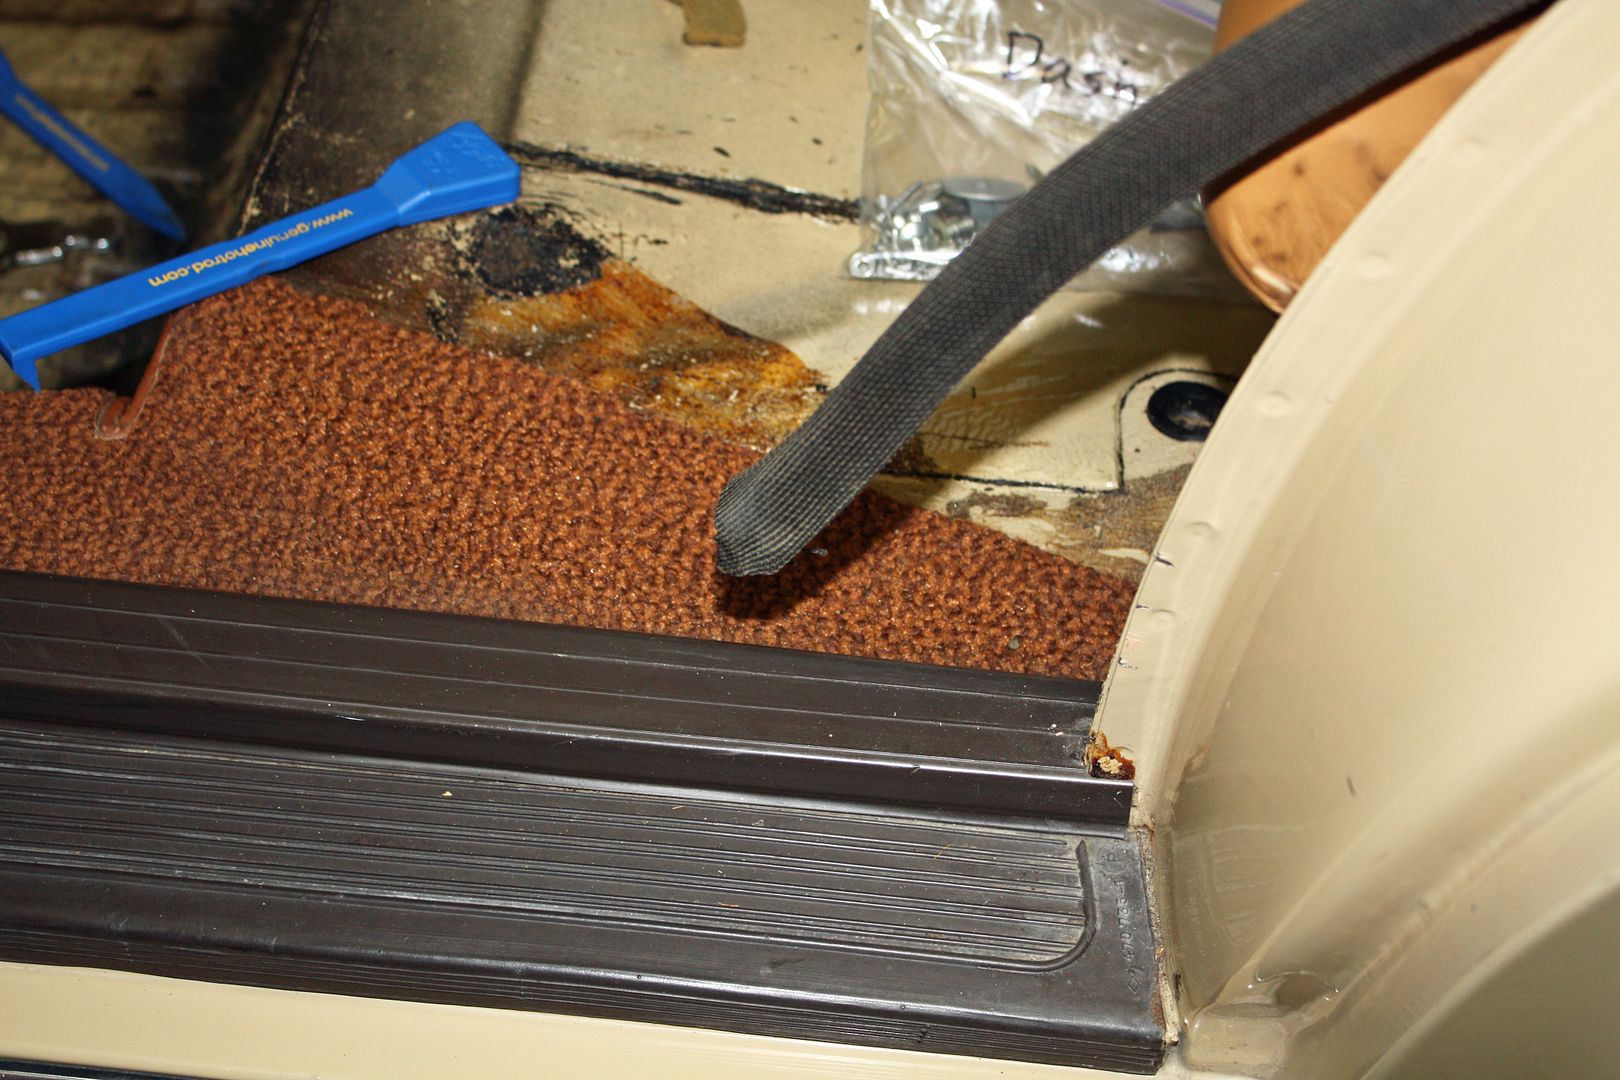 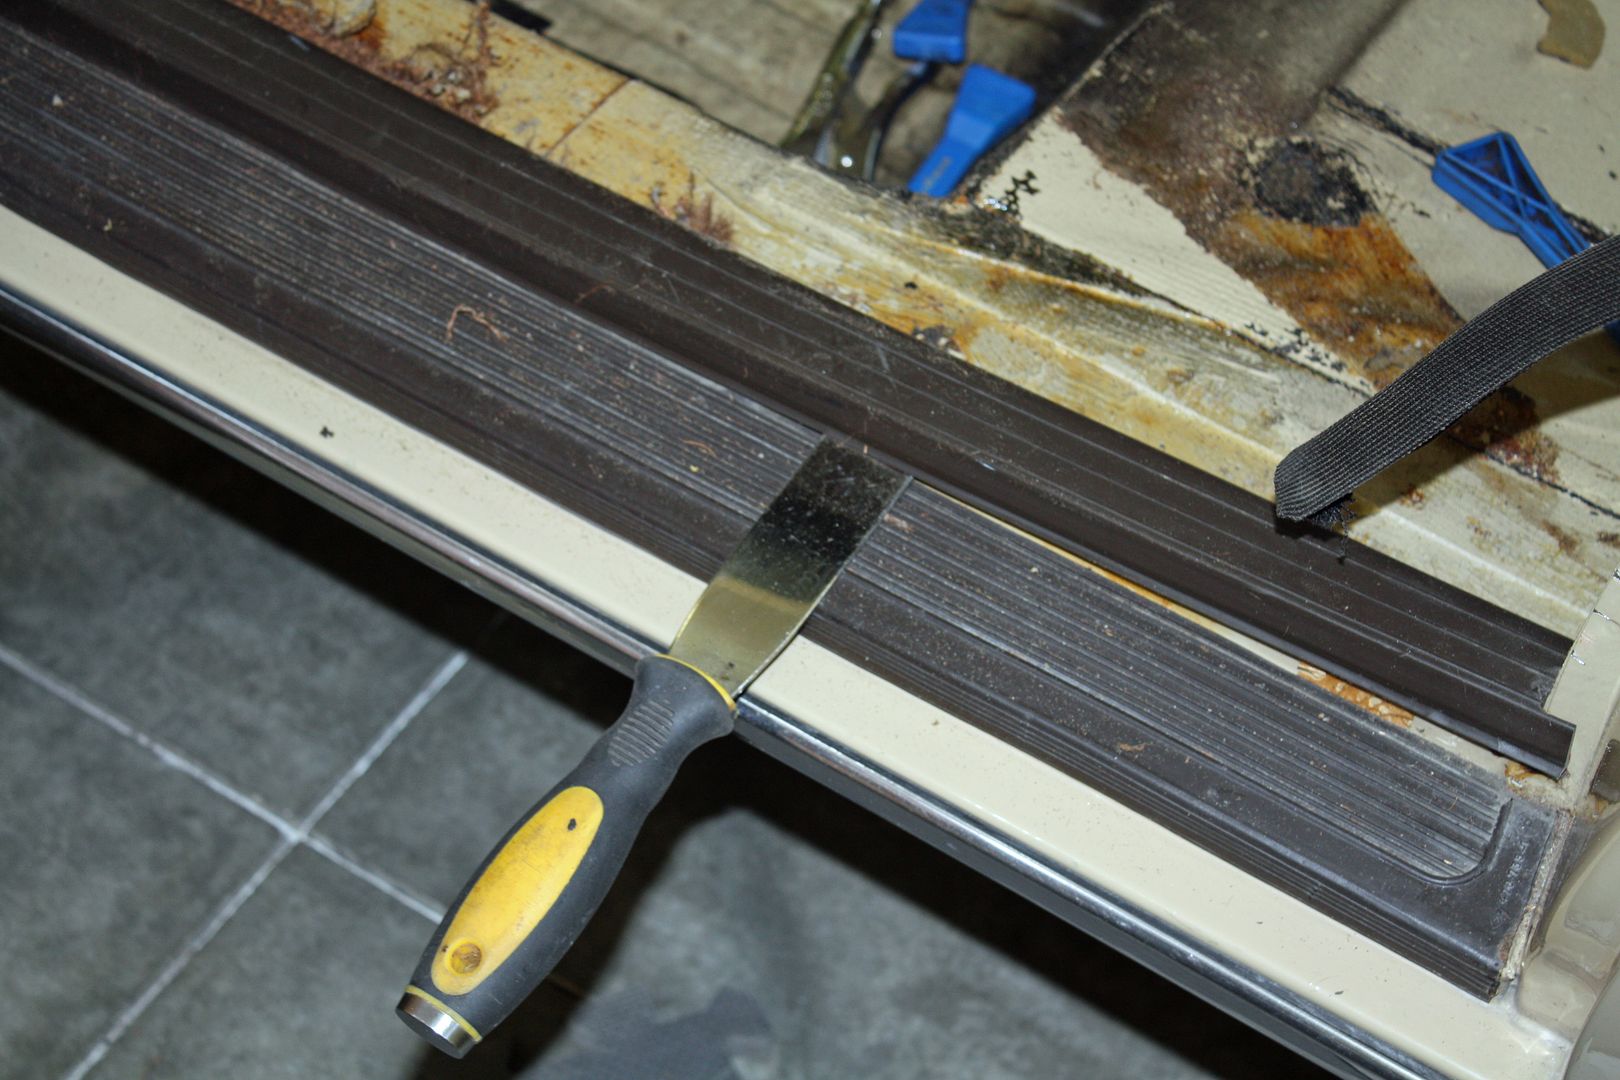 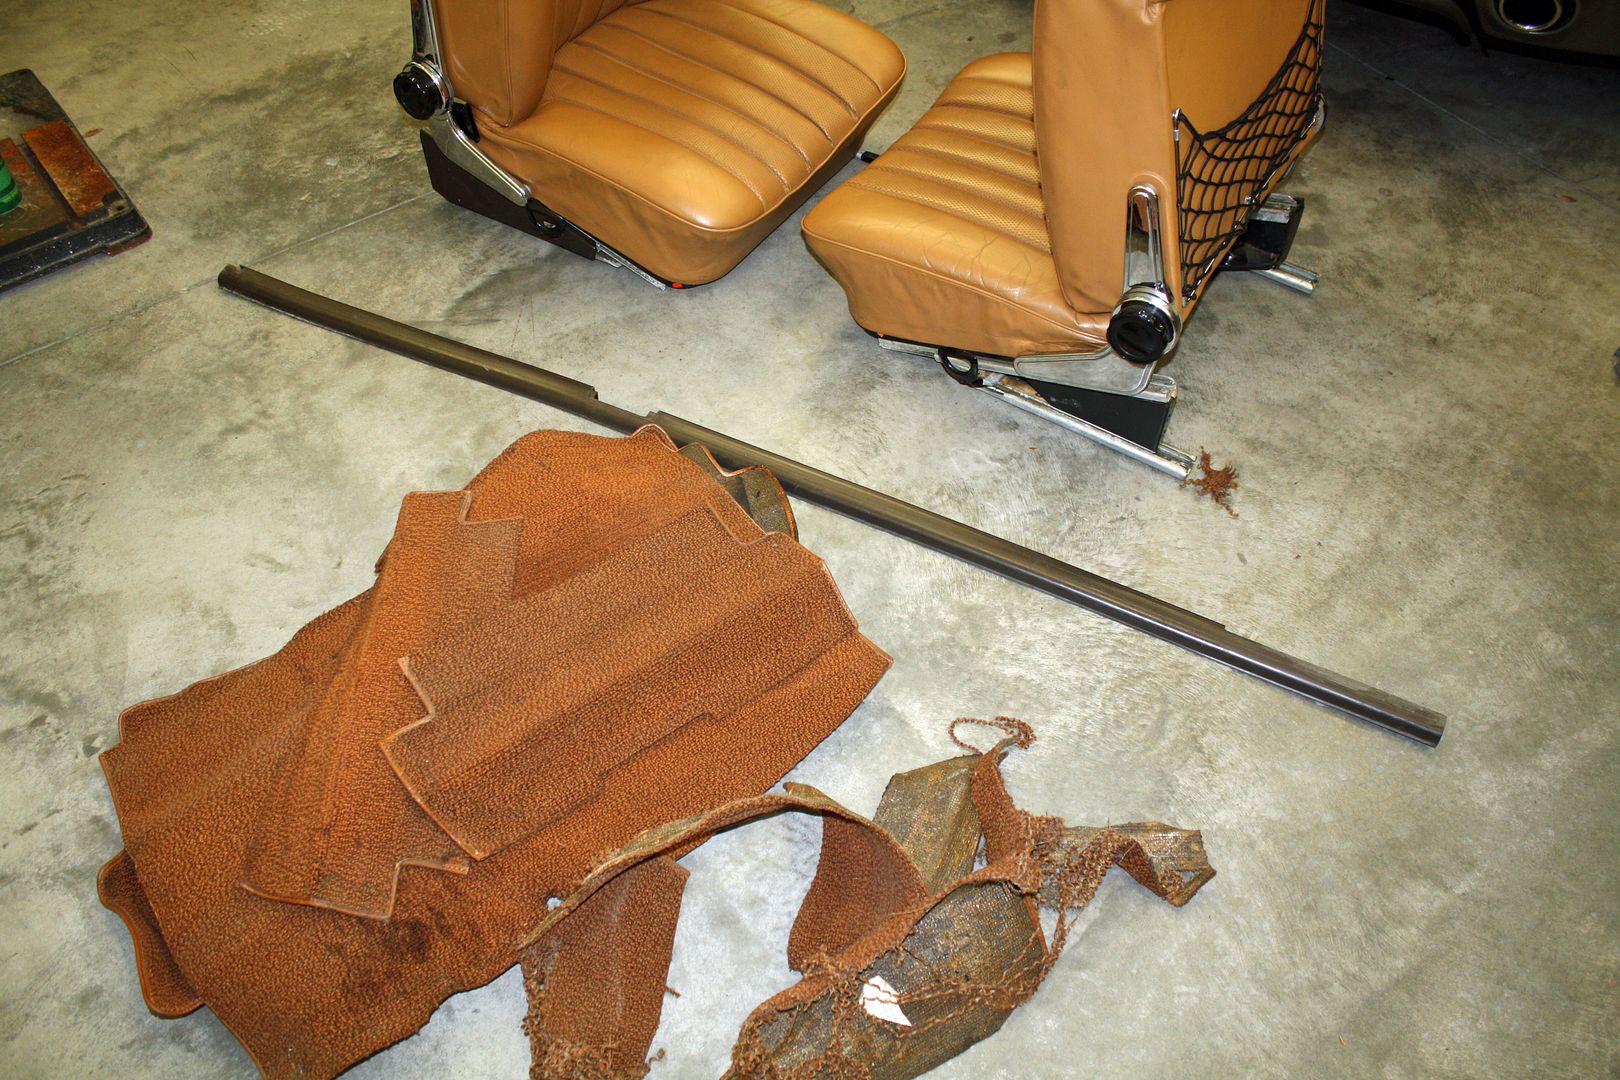 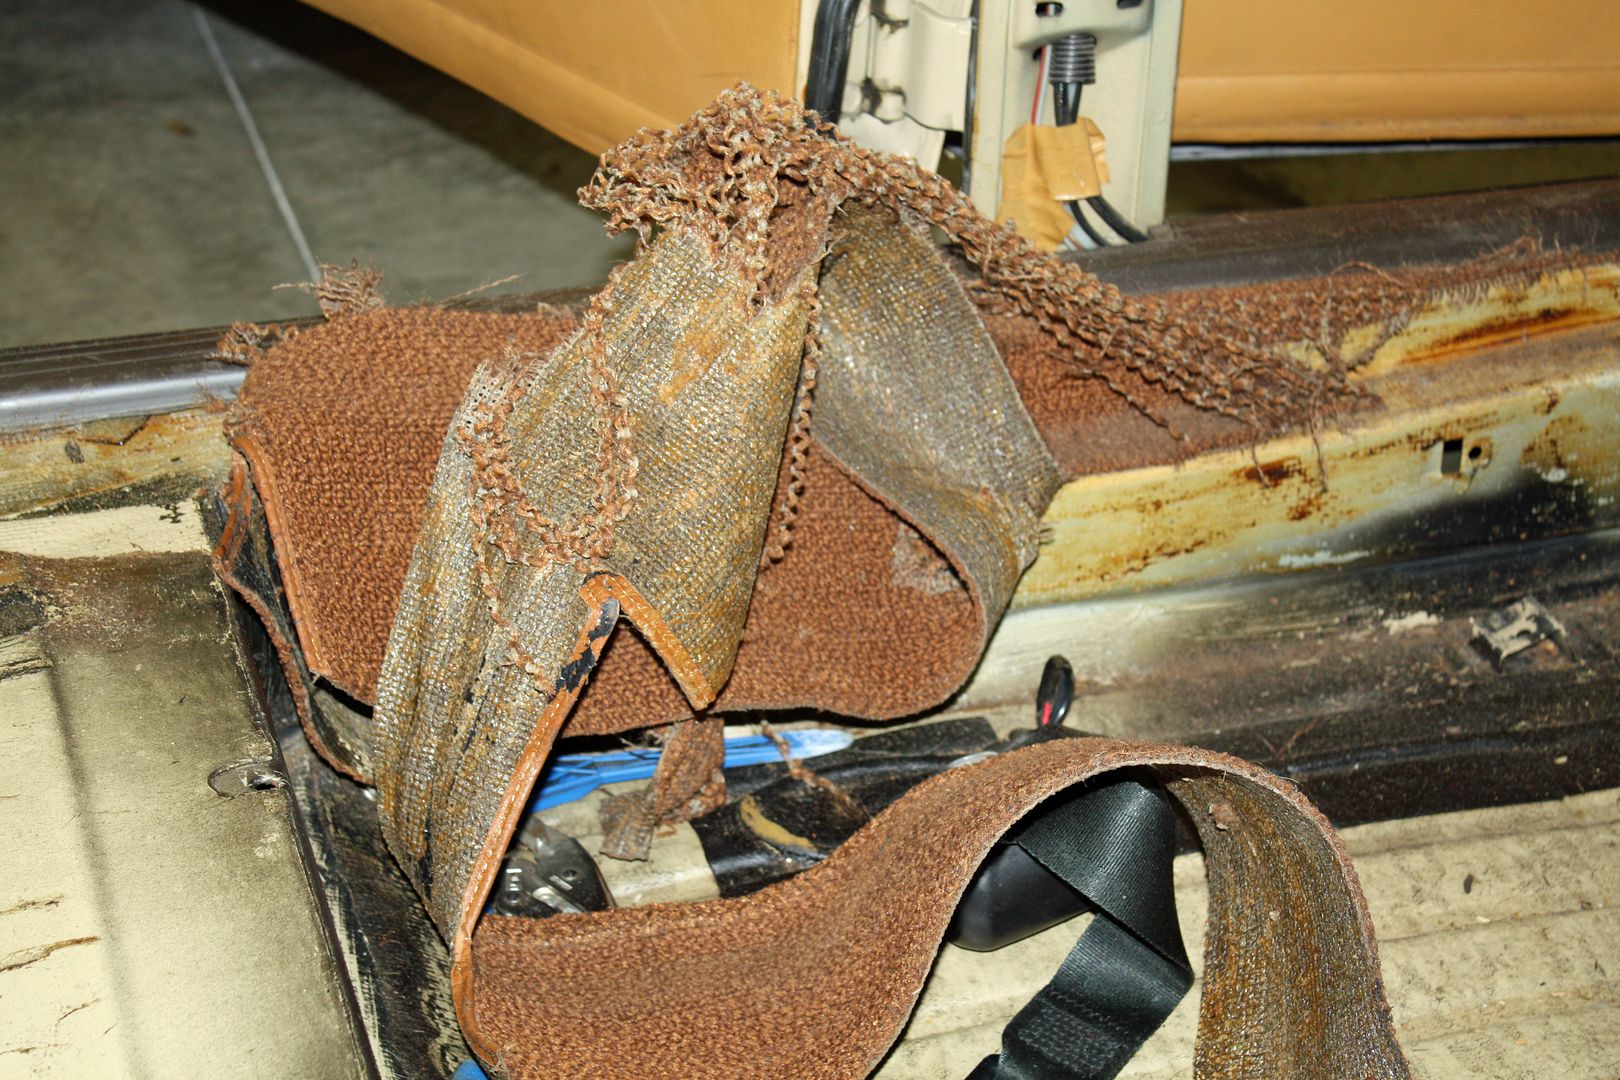 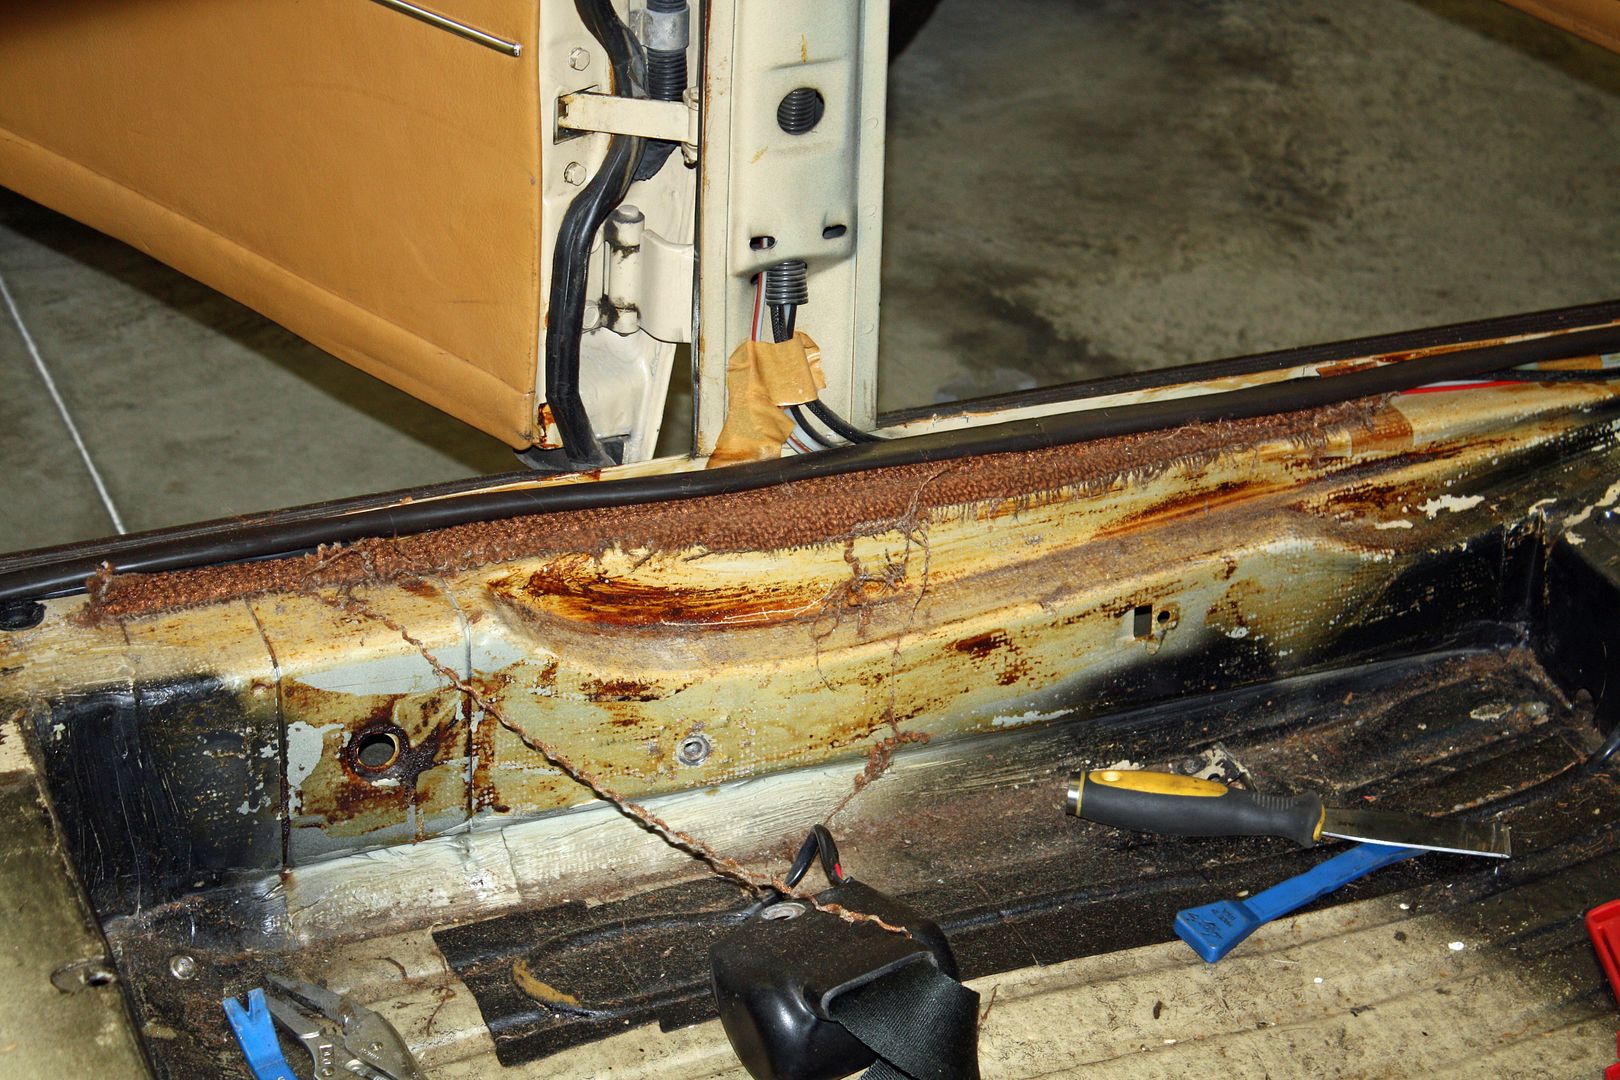 Both front rubber thresholds were damaged towards the rear. I am assuming the culprit here was the seat belt ends being caught in the door as there was no similar damage on the rear door threshold pieces. The front door threshold rubber was very brittle and was removed in pieces by using a plastic scraper and a small hammer. I would place the scraper against the edge of the moulding and then tap the scraper with the hammer. The rear door rubber was not as brittle and came off much easier. 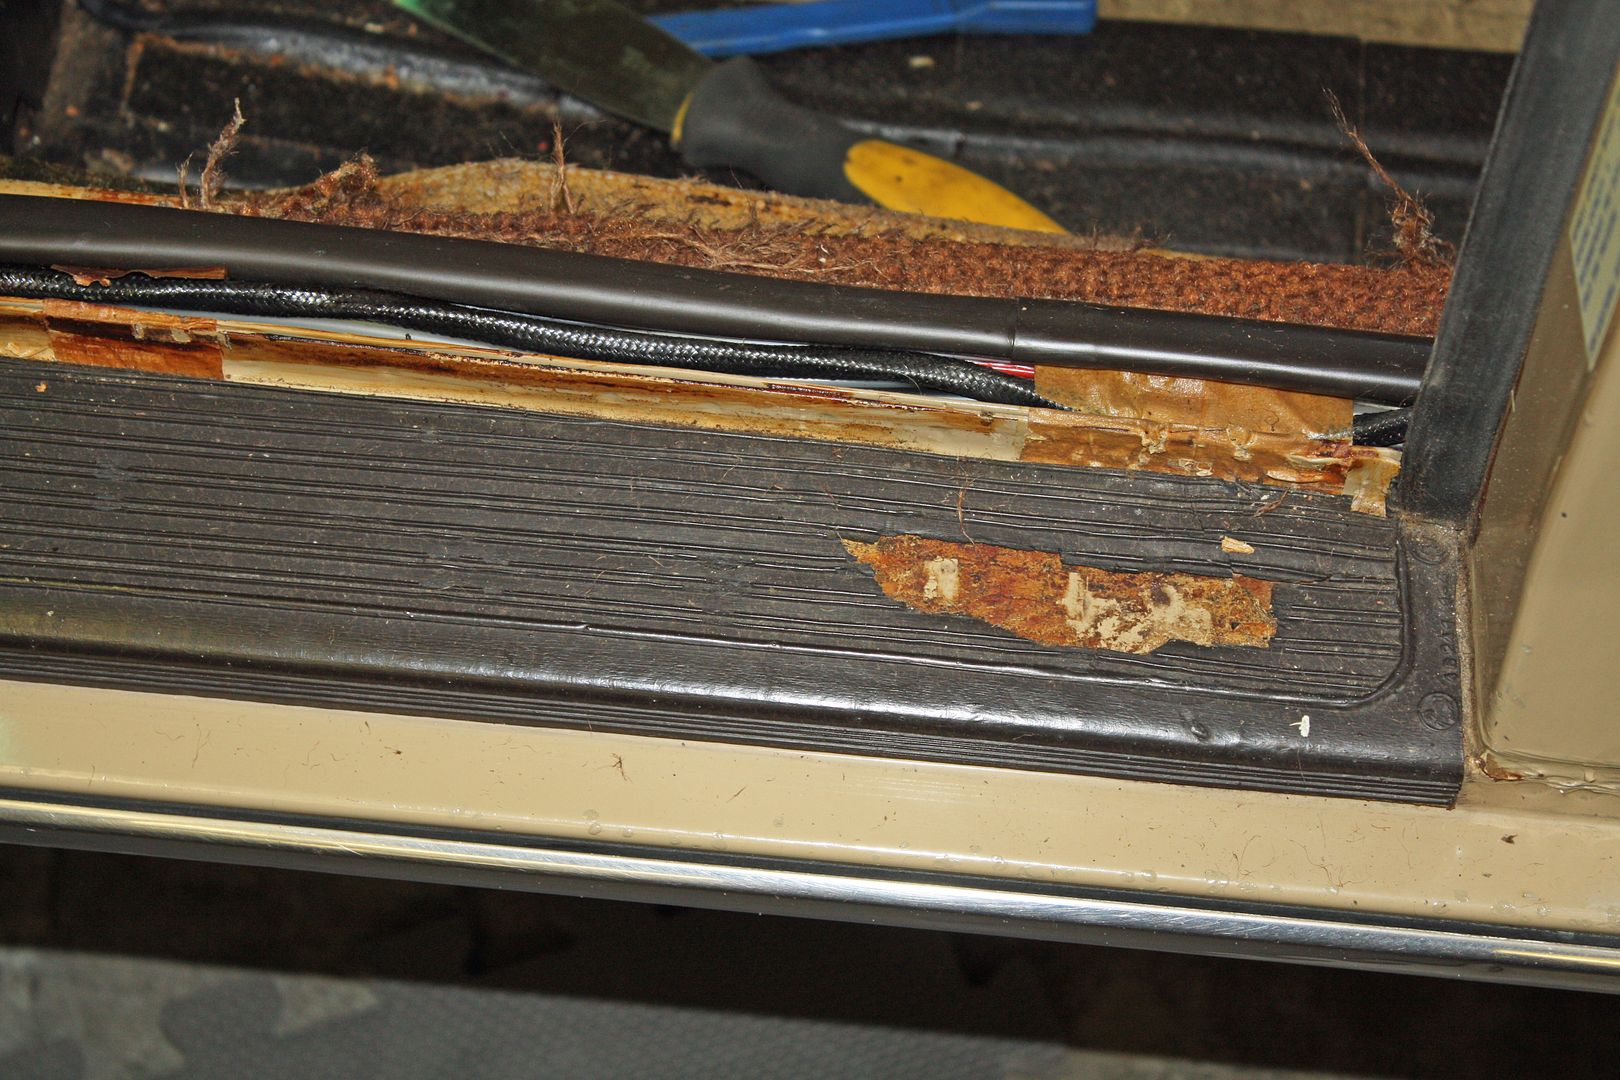 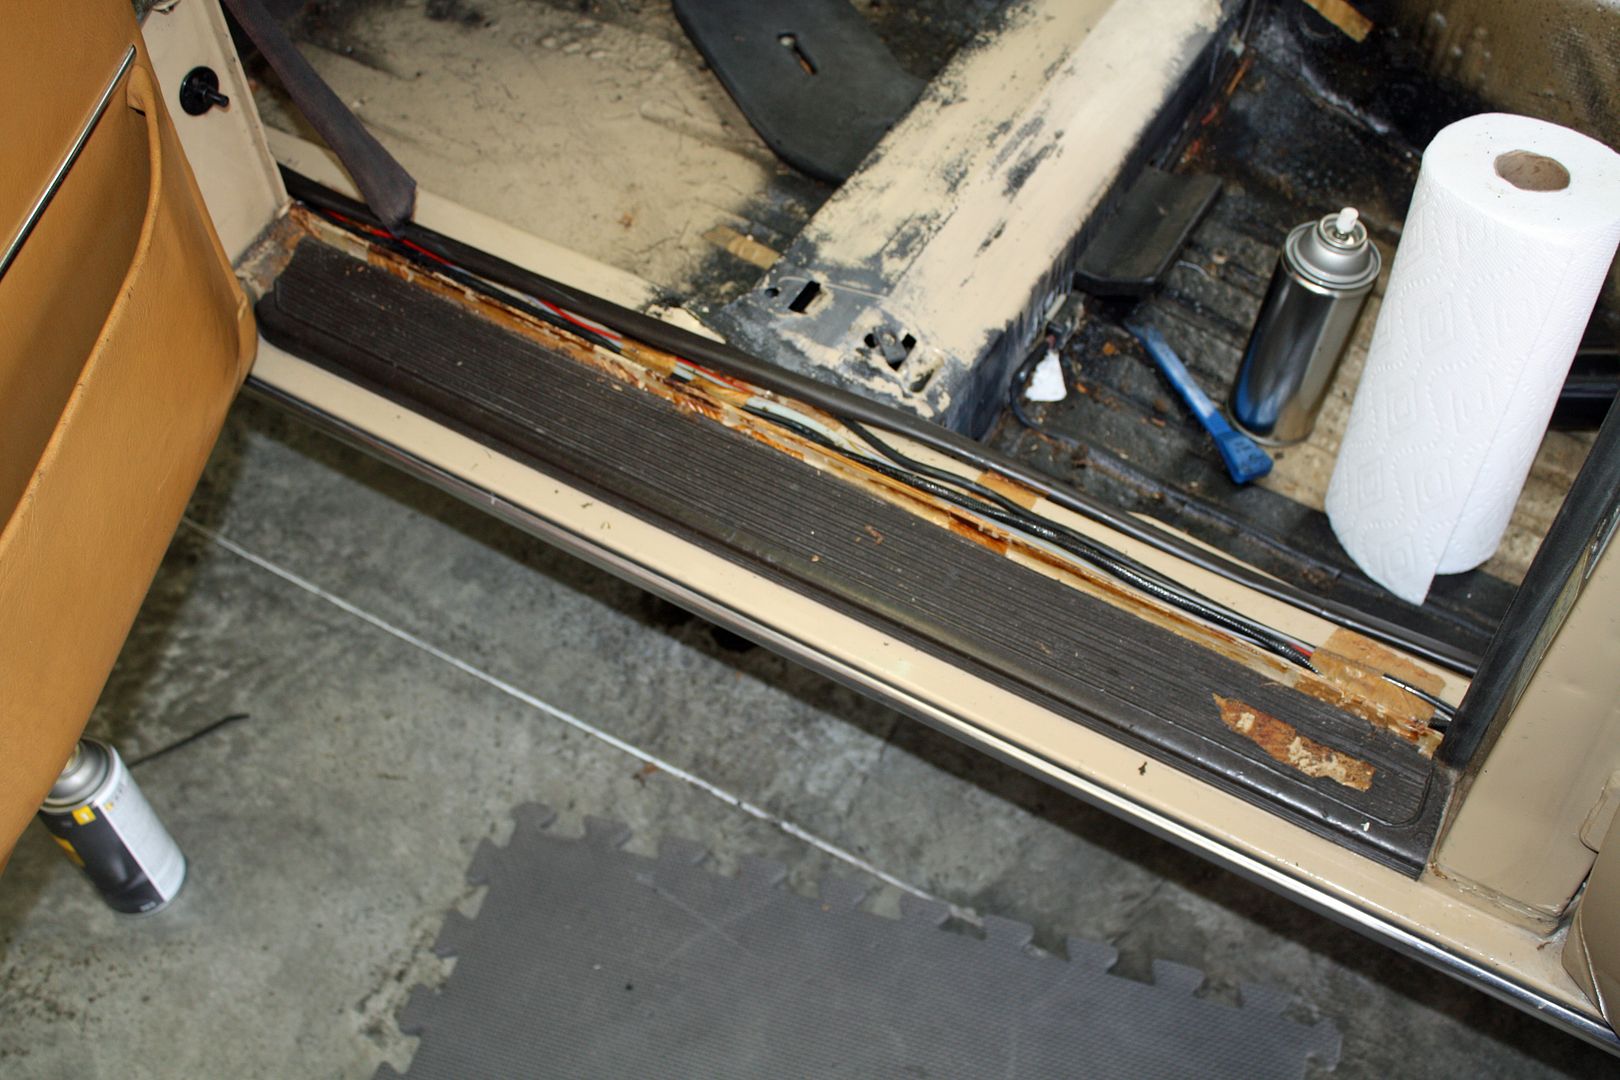 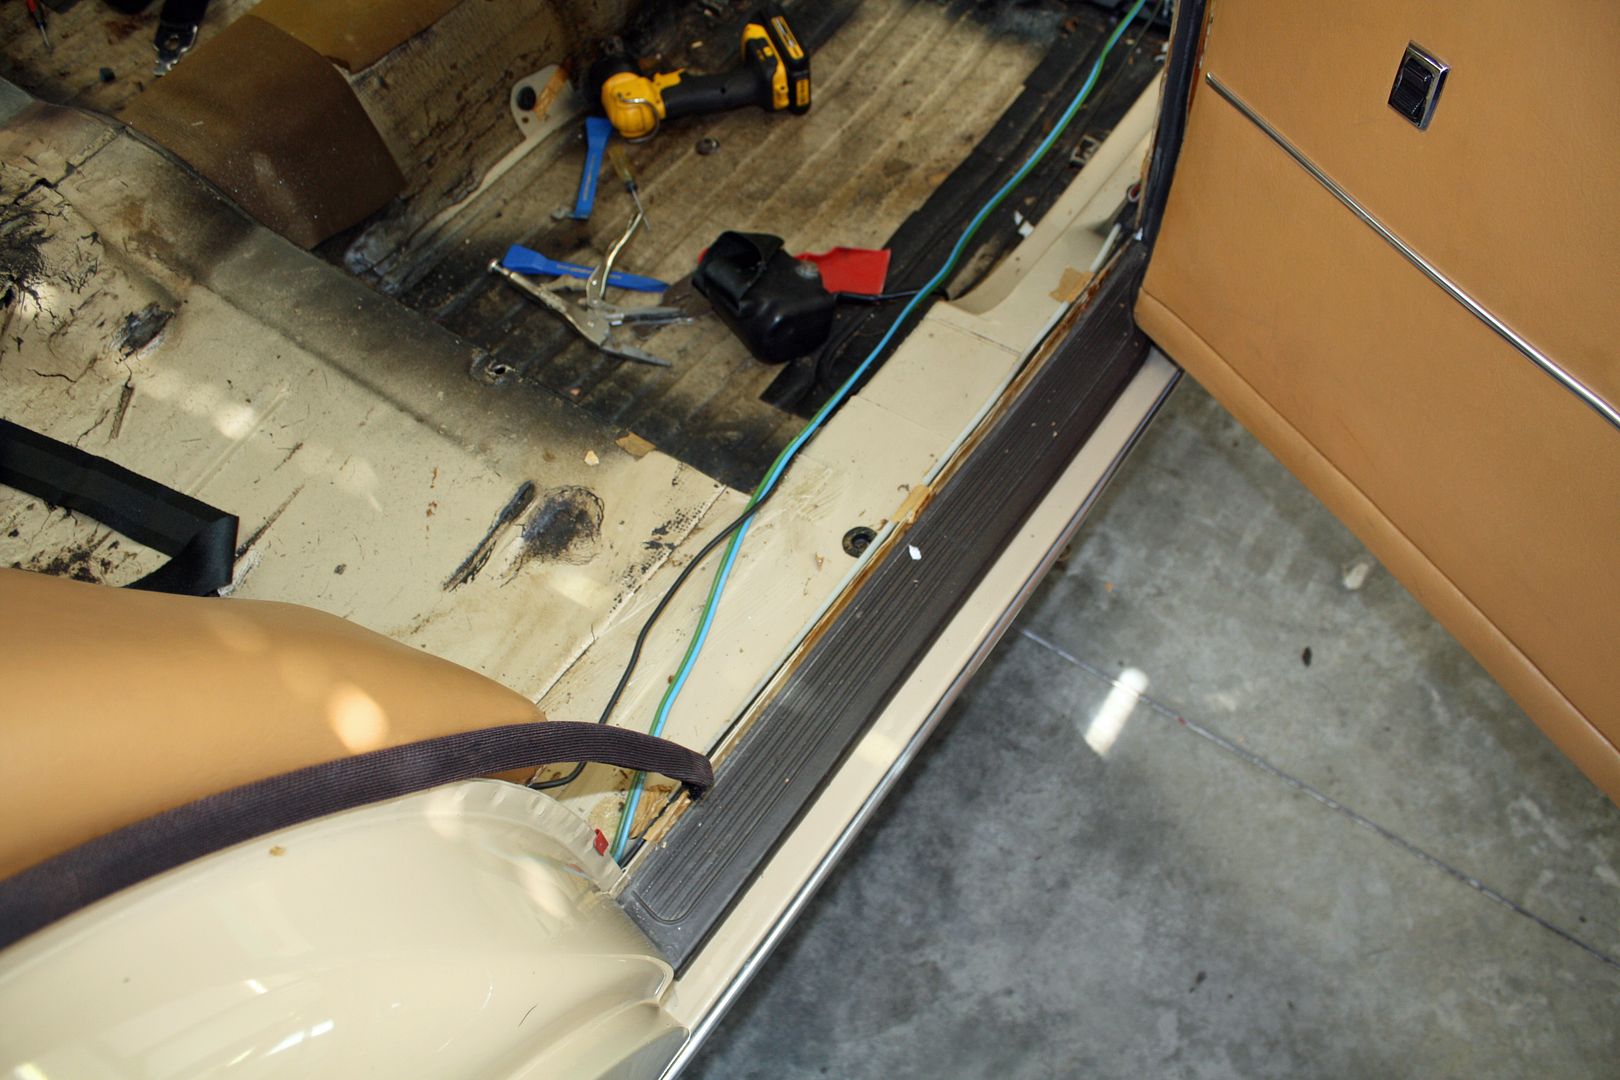 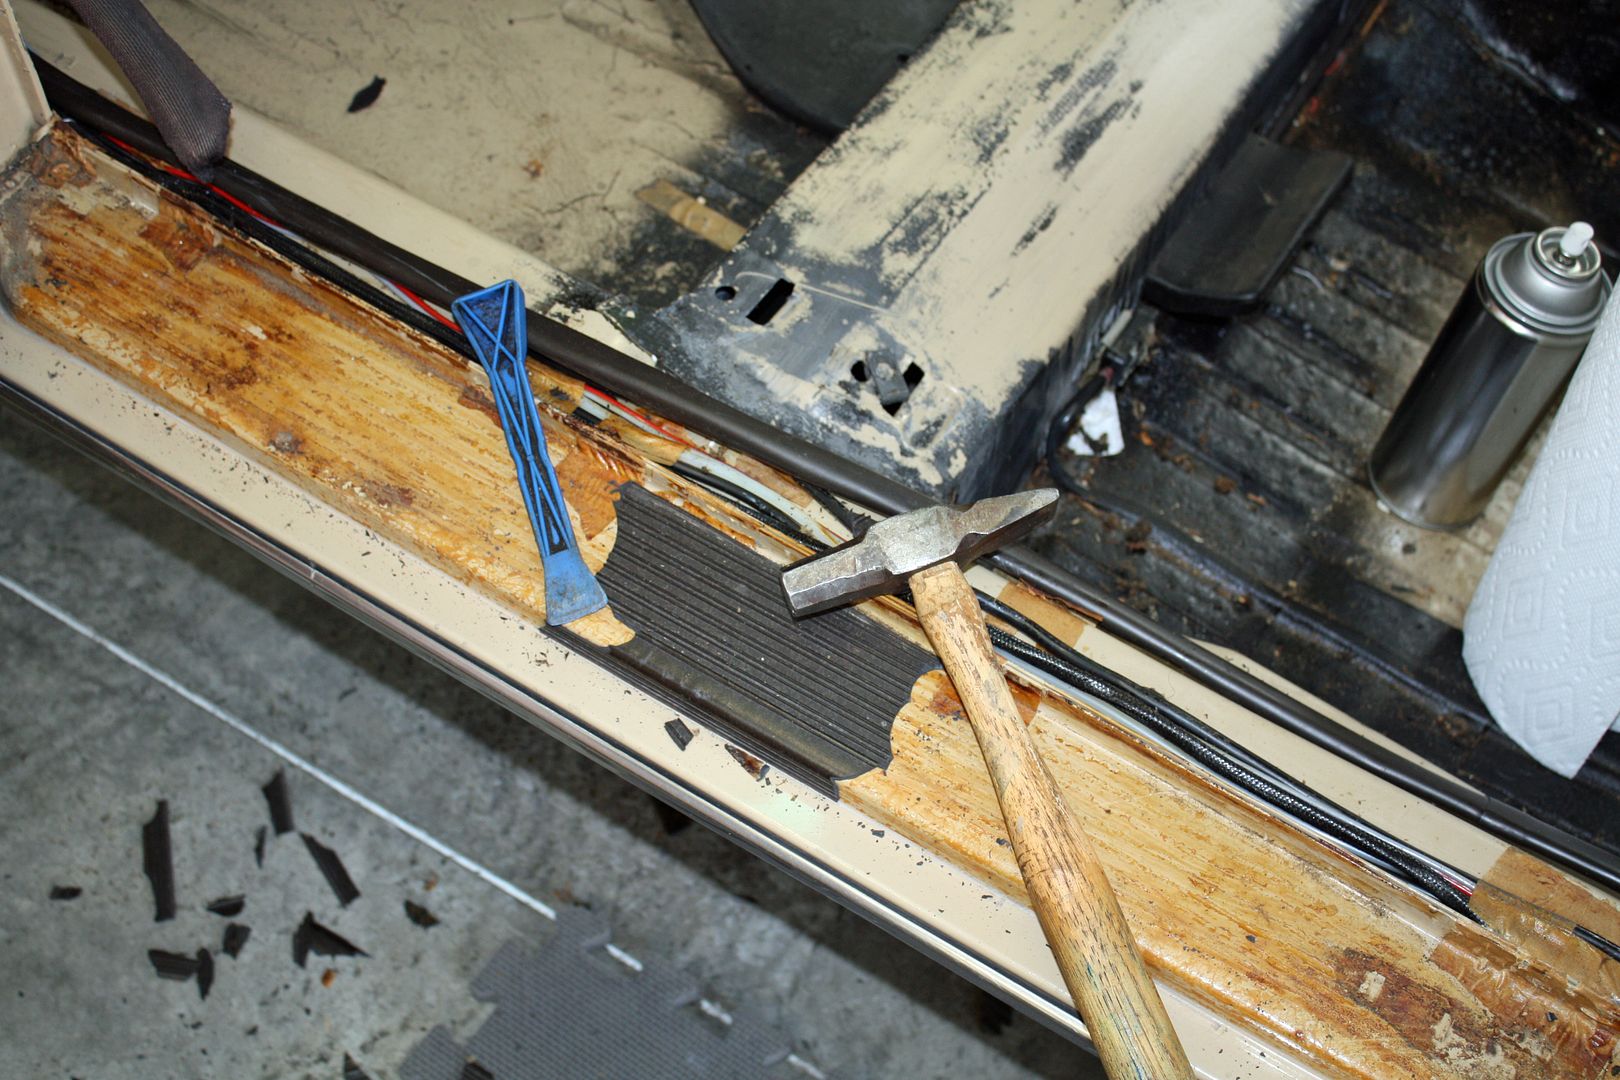 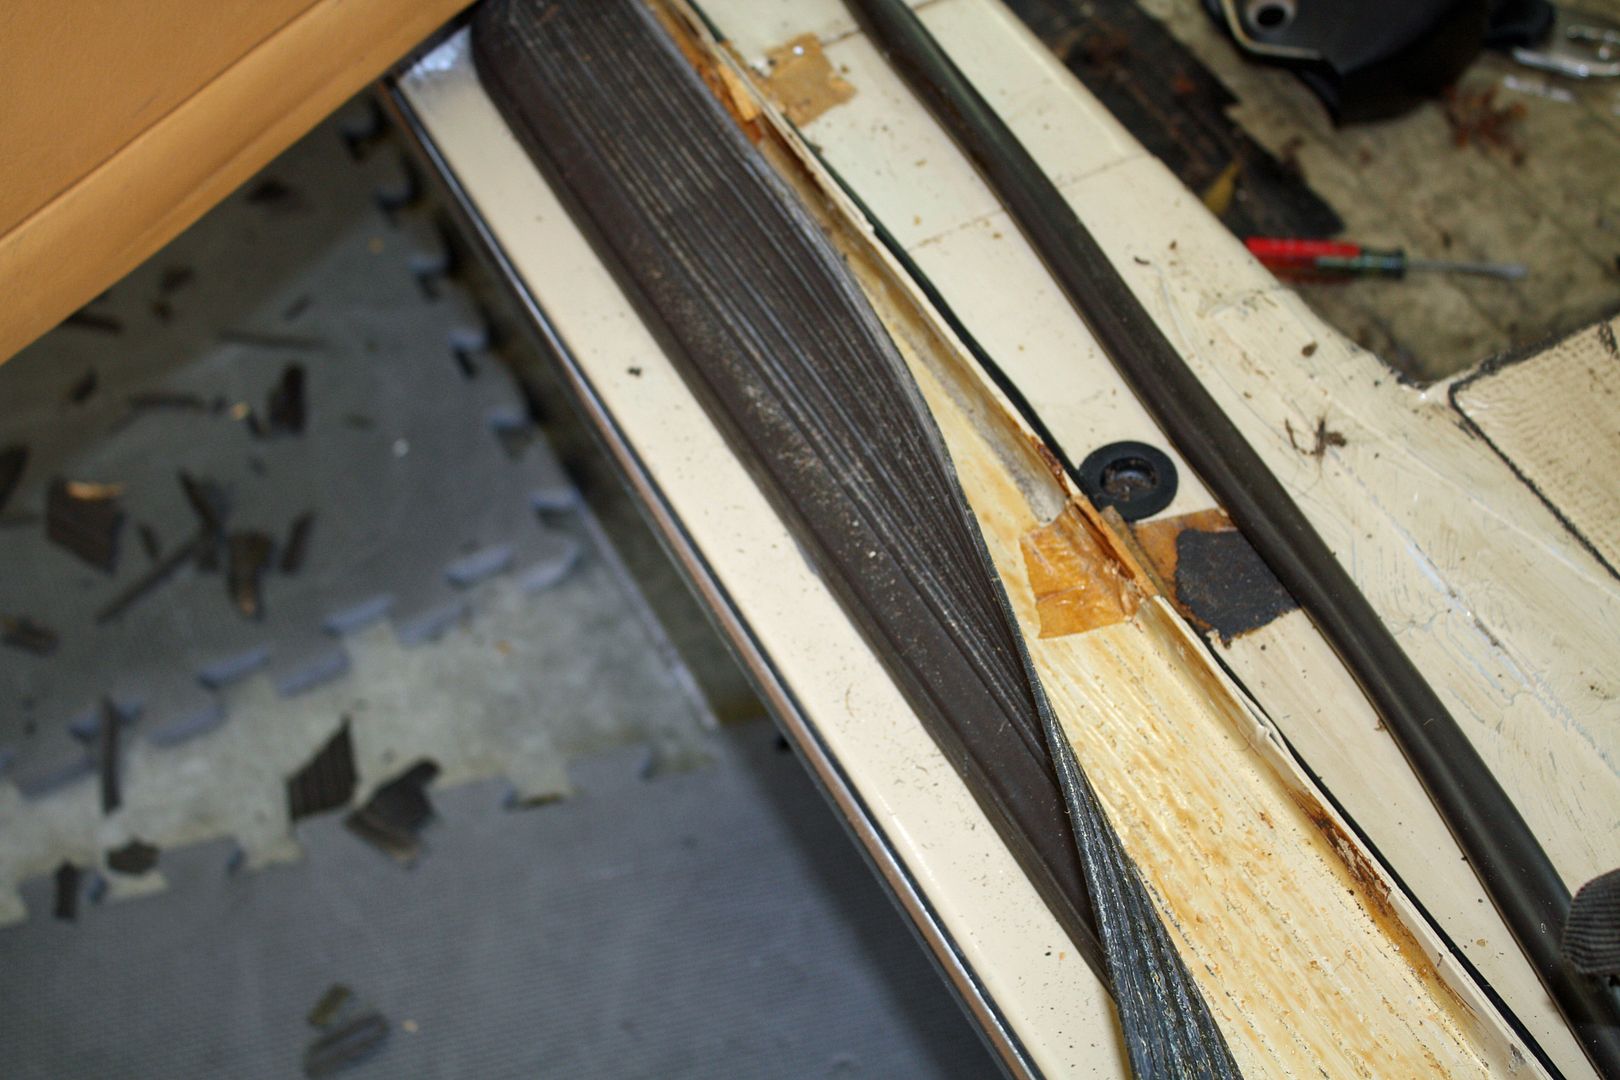 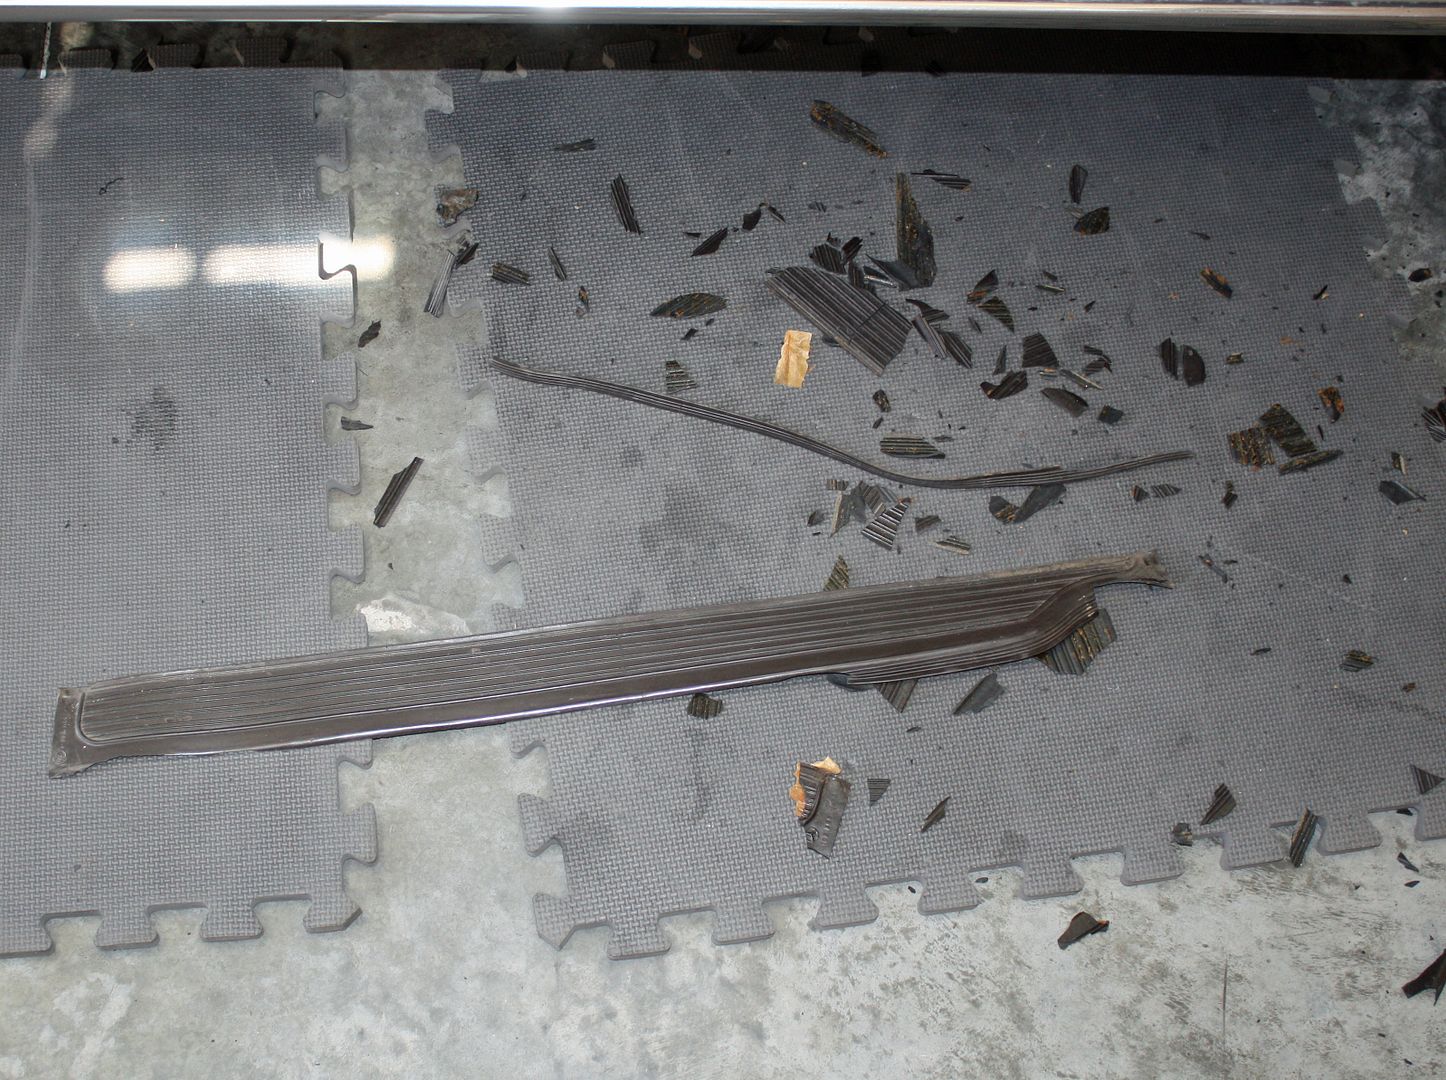 With the carpet and rubber removed, I spent the rest of the day removing the glue with the 3M adhesive remover. 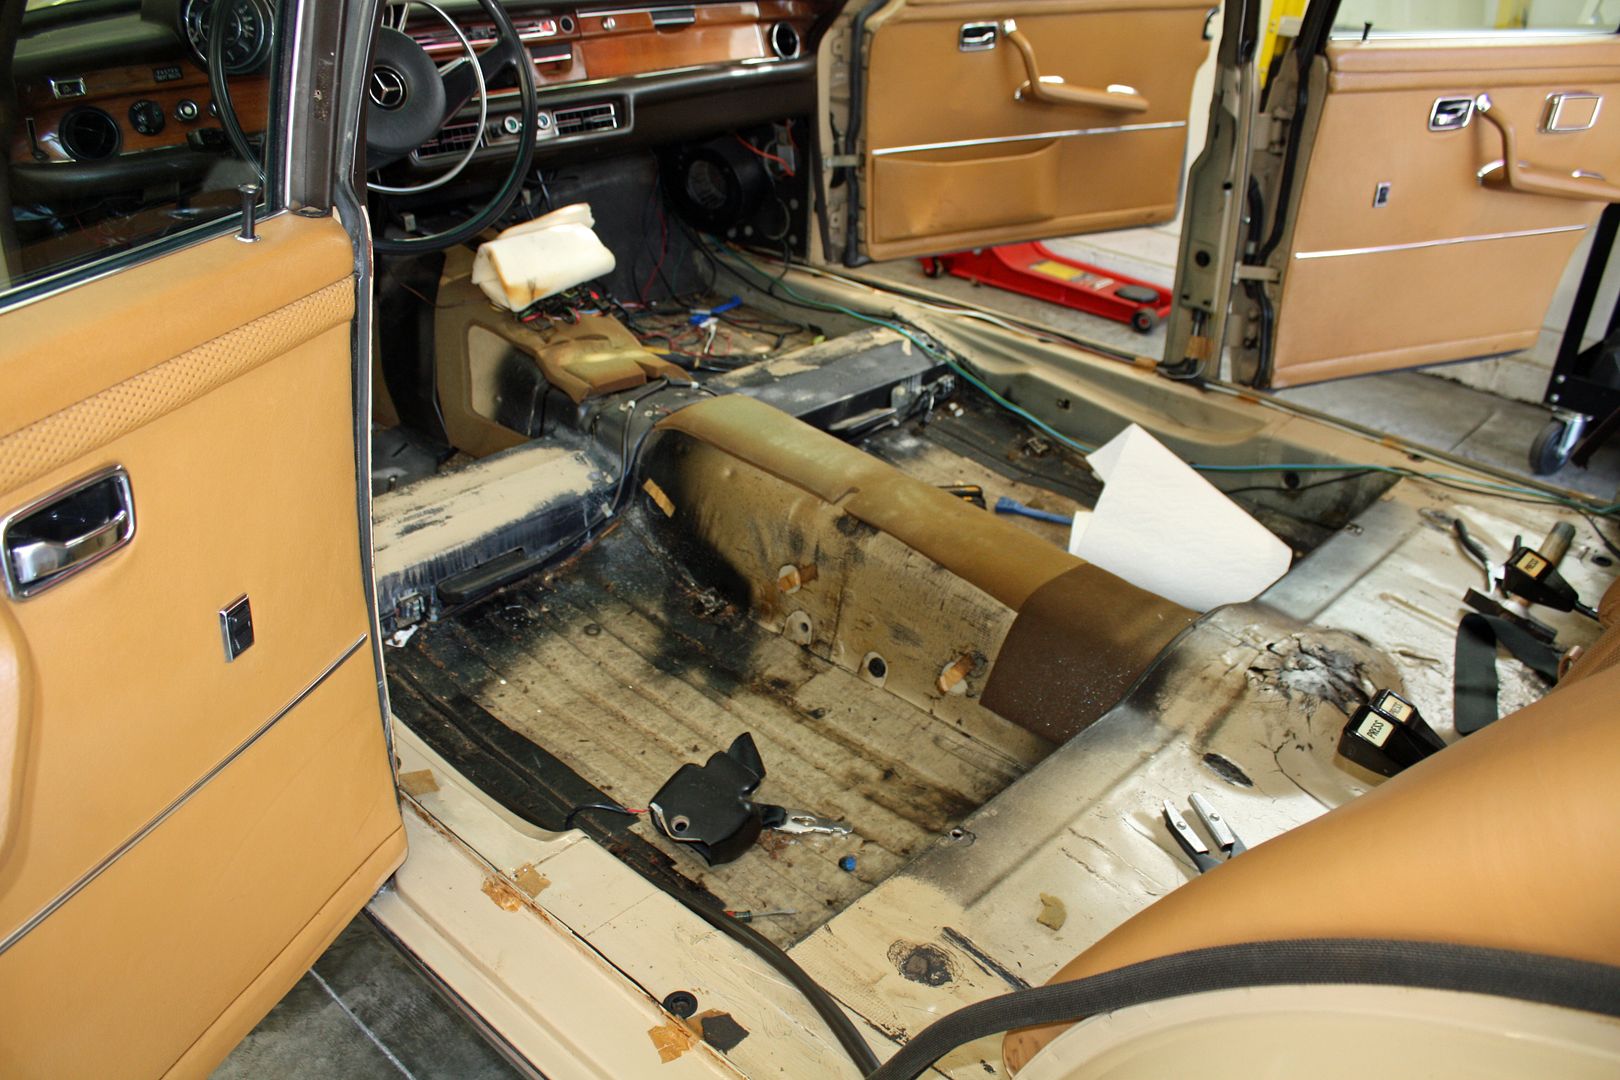 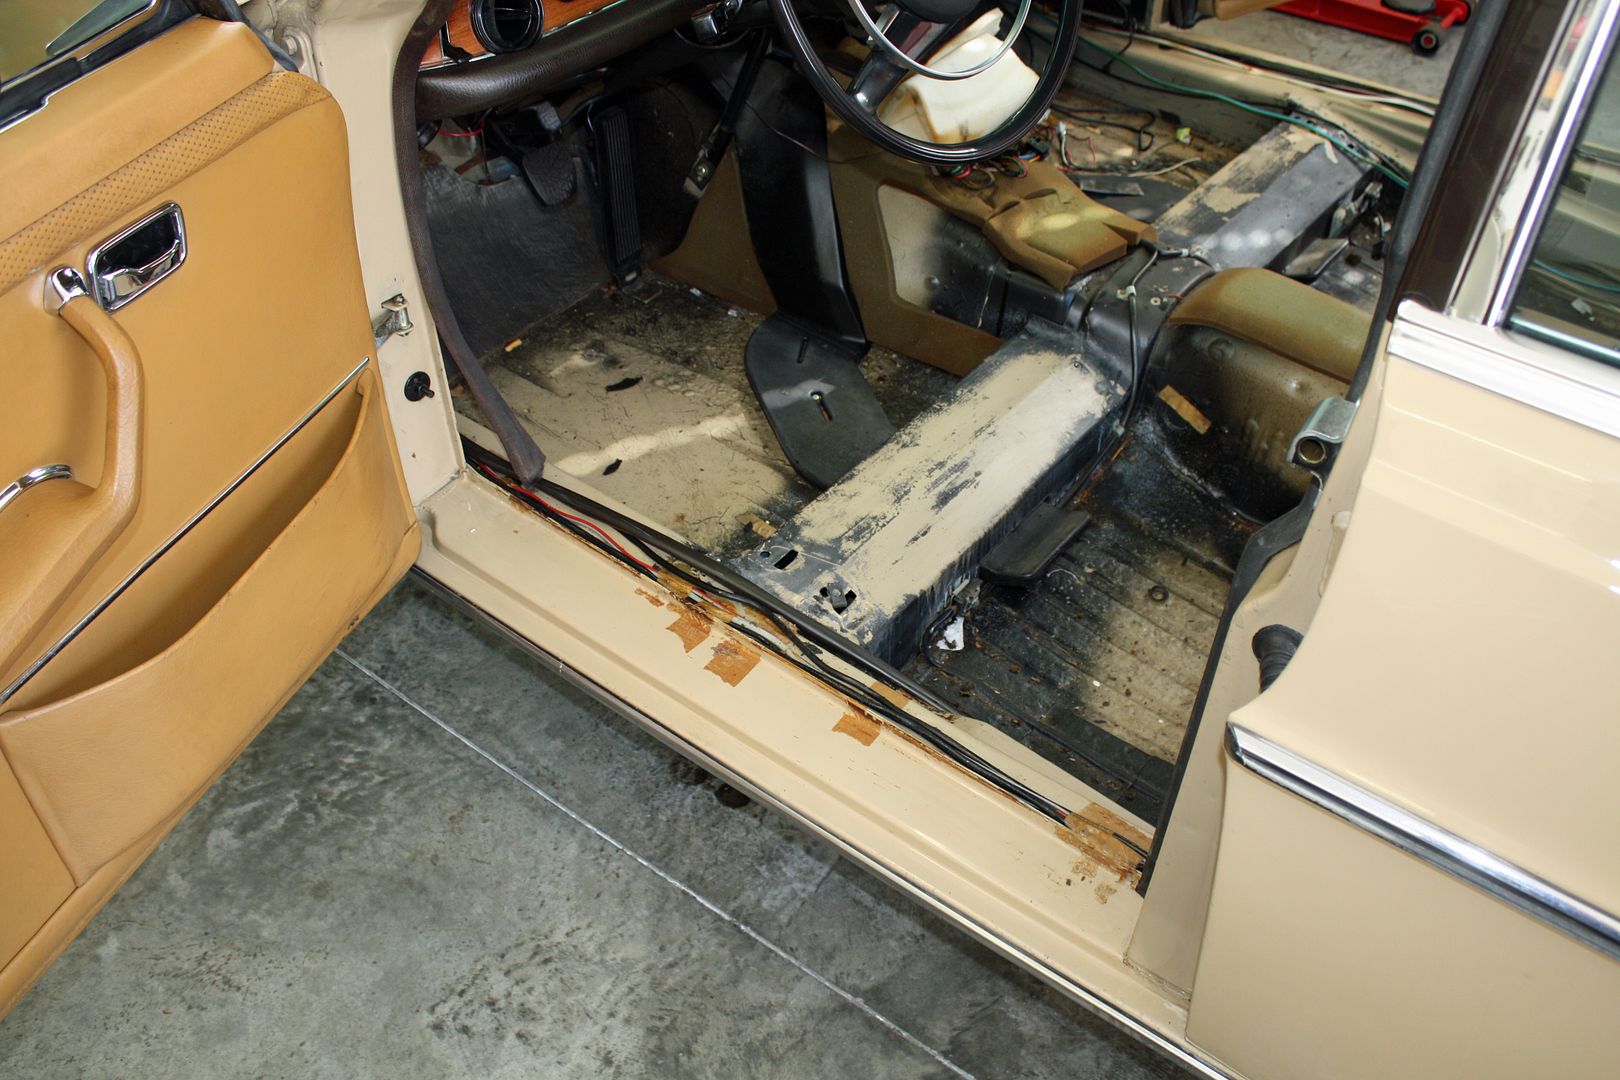 I ran out of time to clean up the rest of the interior floor. Once it is cleaned up I will be ready to install the carpet. One more nasty job done!!! |
|
#175
|
||||
|
||||
|
It's interesting looking at the floor structure of this W 108. The 108 chassis seems to share a lot in common with the earlier 111 and 110 vehicles! Makes me wonder if seats are interchangeable between 108s and 110/111s.
|
|
#176
|
|||
|
|||
|
My goal was to clean the interior in anticipation of beginning to install the carpet. I began by wiping down the headliner. As I worked my way to the rear, I decided to remove the speaker grills to clean them. I was surprised to see the carpet color under the grill. I had no idea that the carpet on the parcel shelf was originally the same color as the floor. Having looked at the carpet kit prior to going to the garage, I now knew where this one piece went that I had a question about.
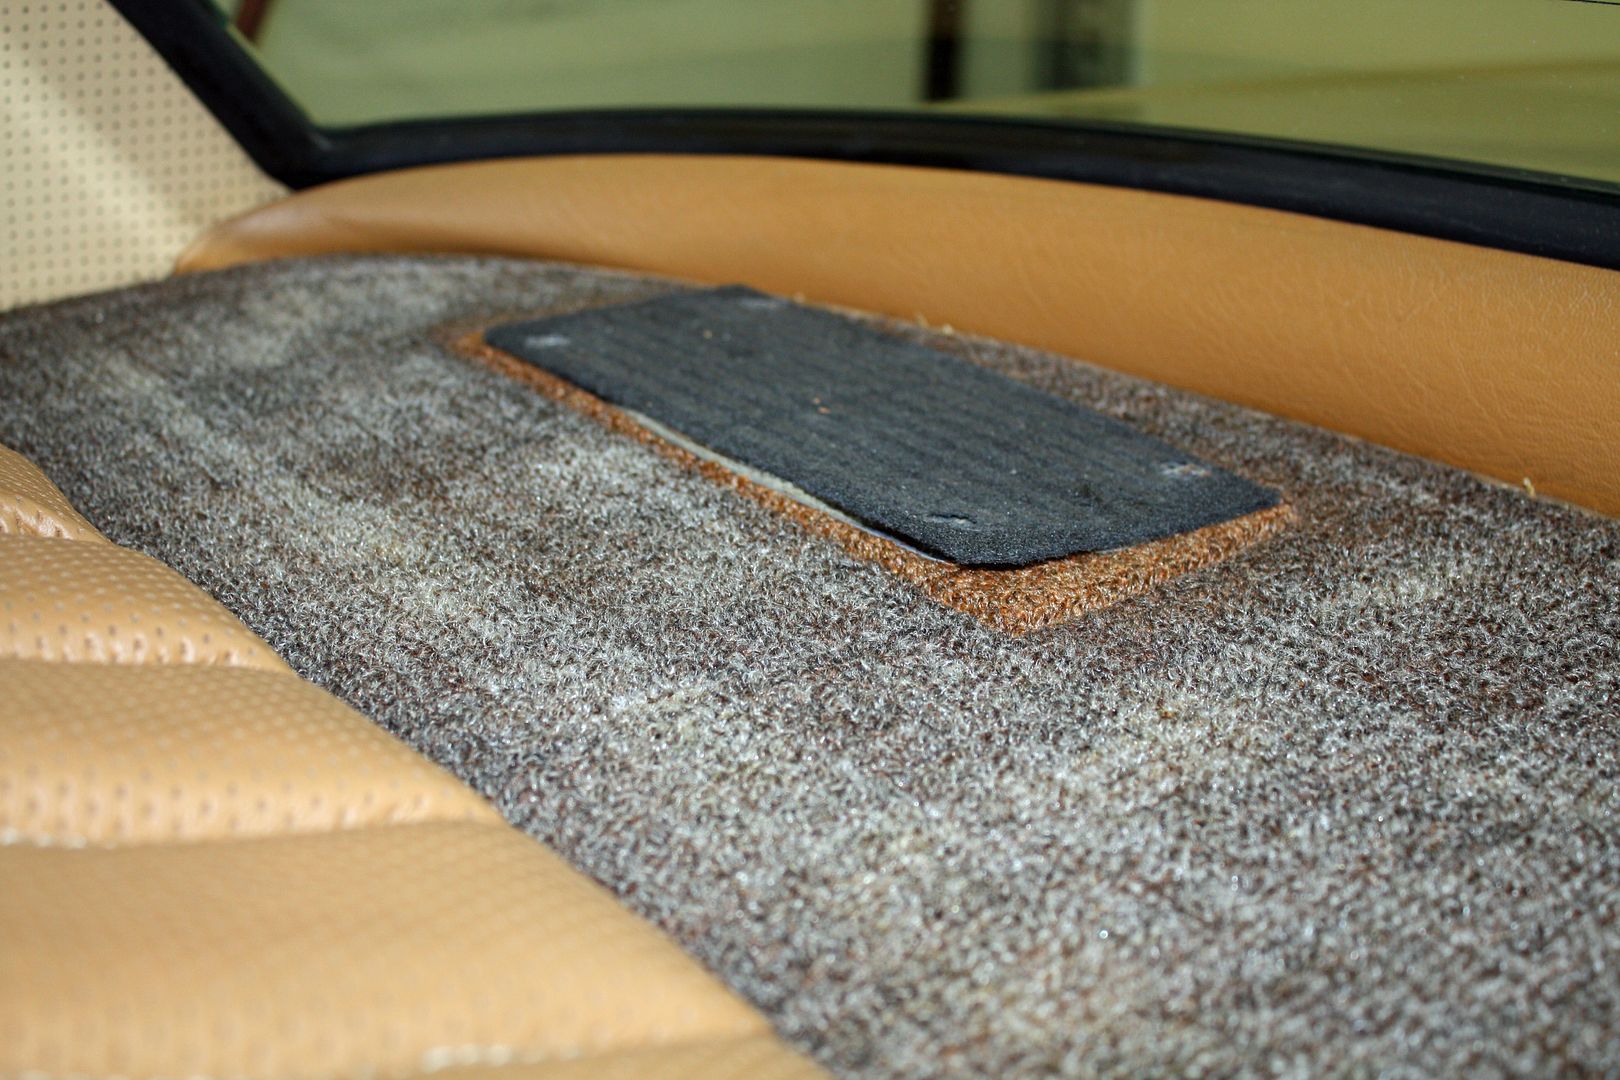 This meant the back part of the rear seat had to come out. I had fussed with this previously to no avail. This time I did a Google search and discovered that there are two 10mm nuts in the trunk that have to be removed. With those nuts removed, pull out at the top and then lift up to release the seat back. 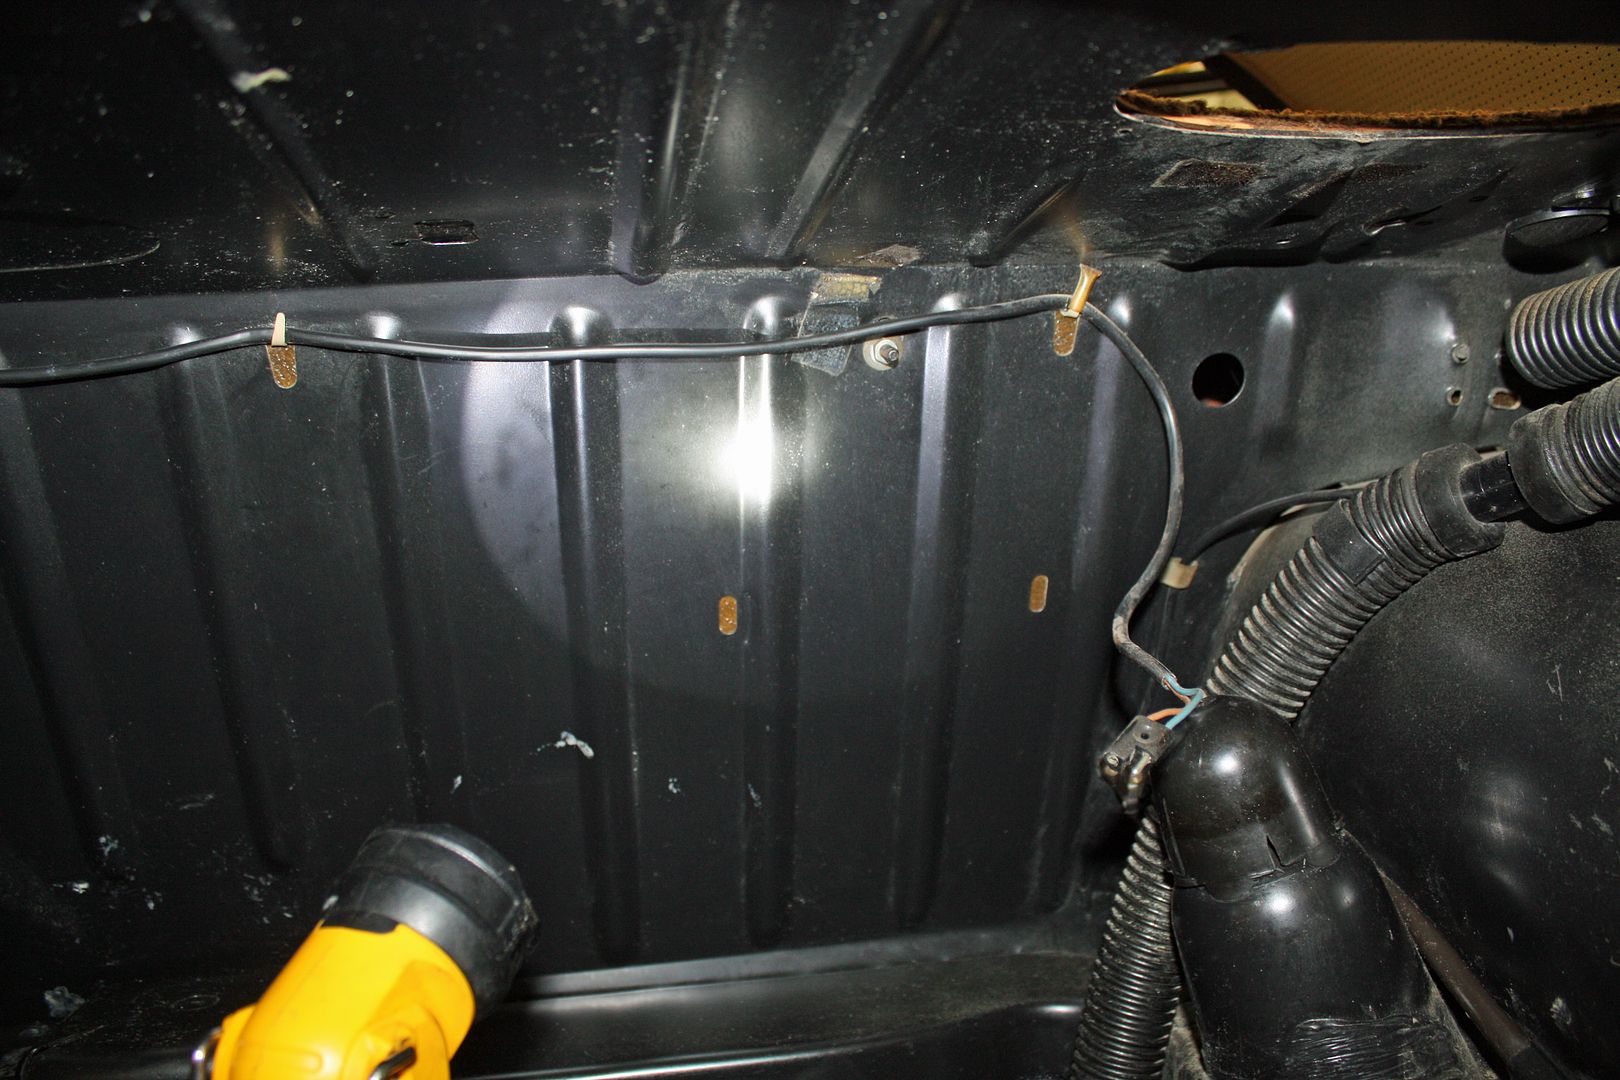 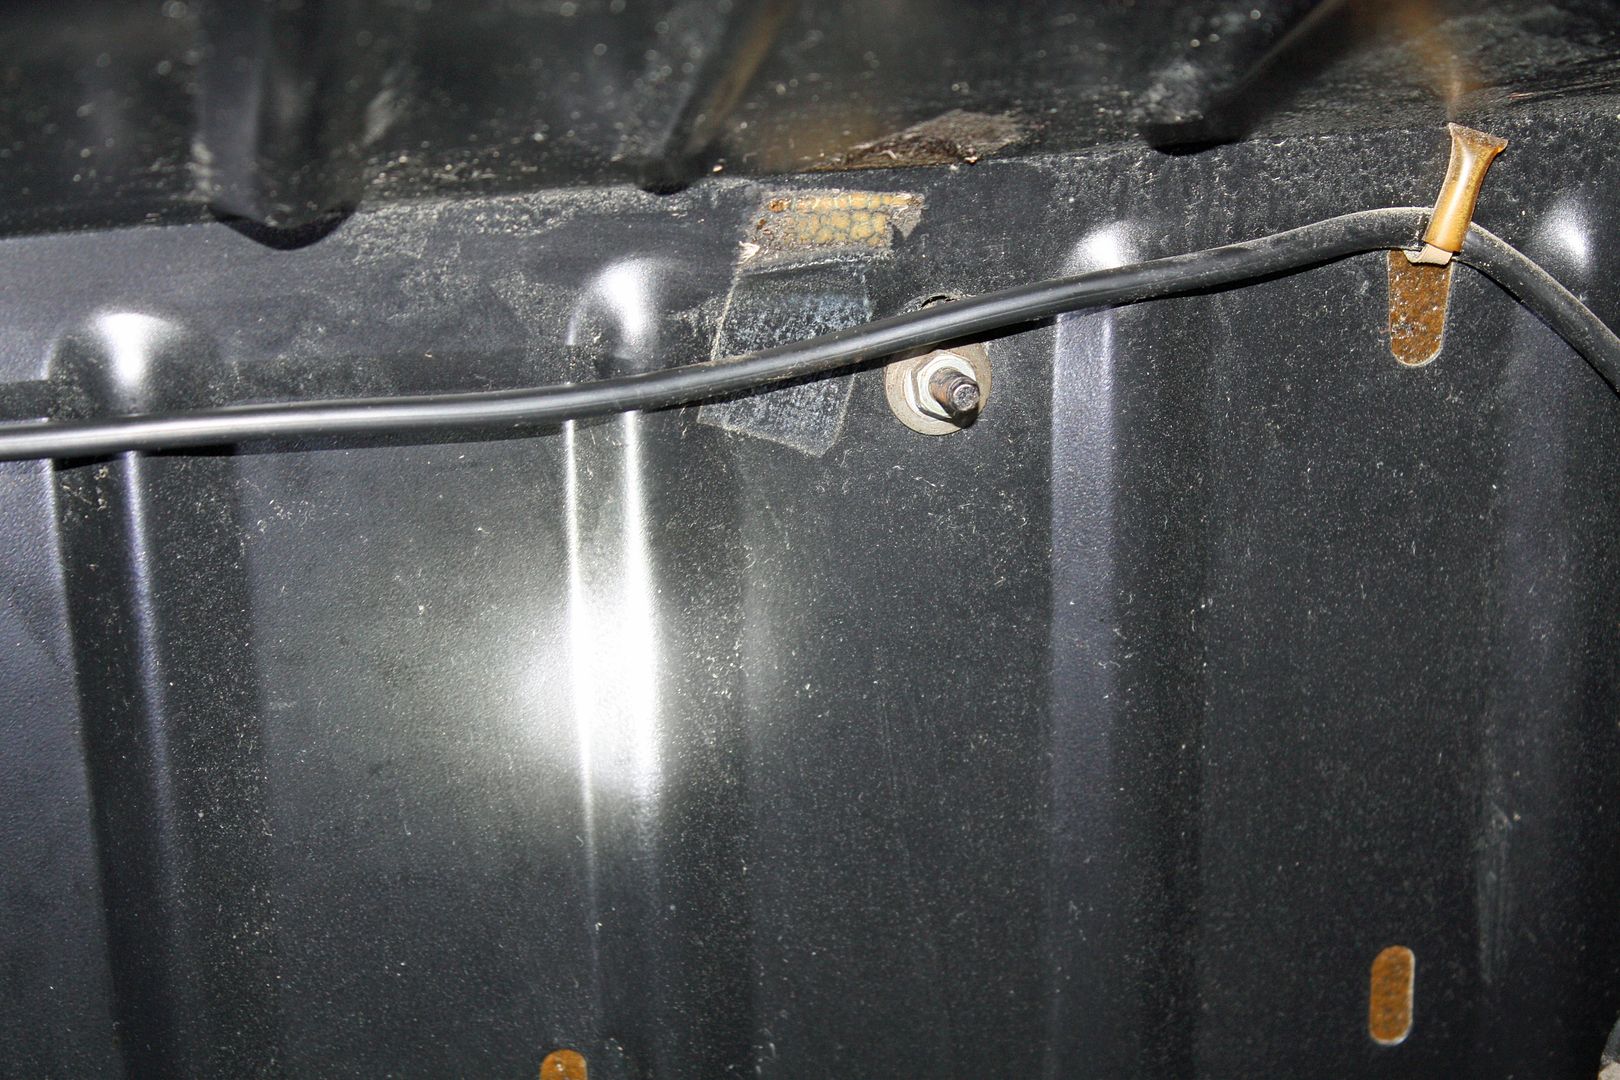 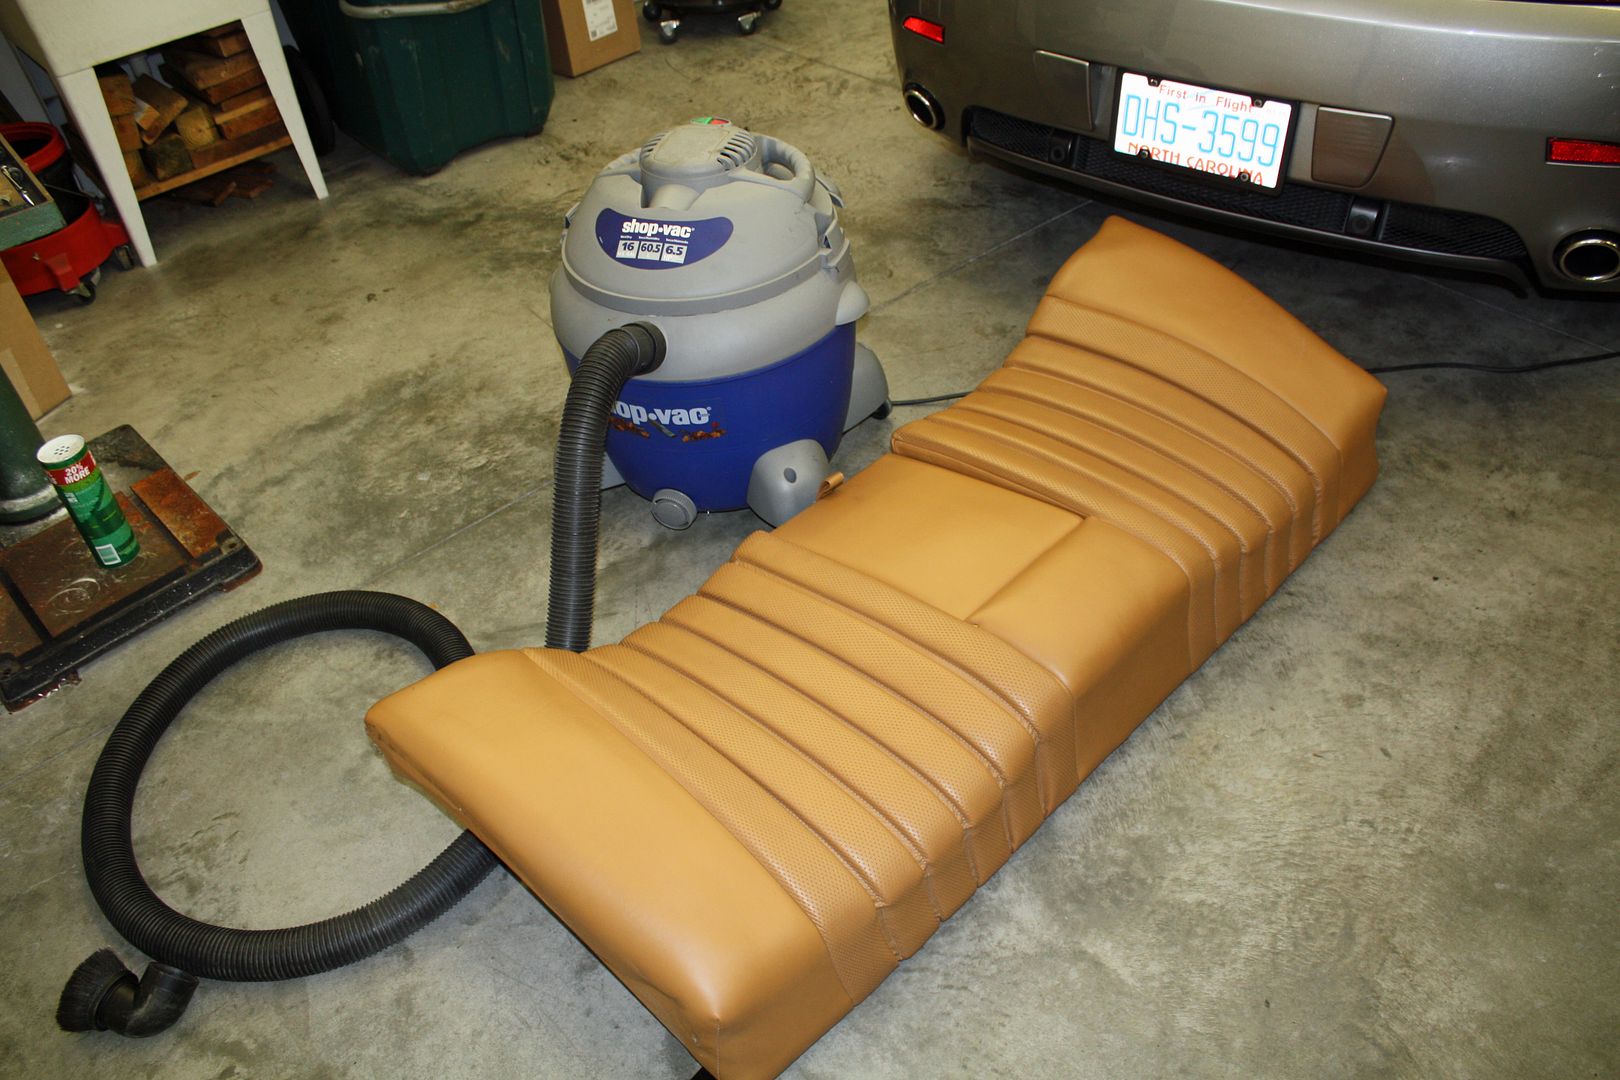 Now I could remove the carpeted piece which also includes a piece of vinyl that covers a surround at the rear. The speakers lift out from the top and need to be unplugged. There are two blue plastic nuts in the trunk that hold this panel in place. 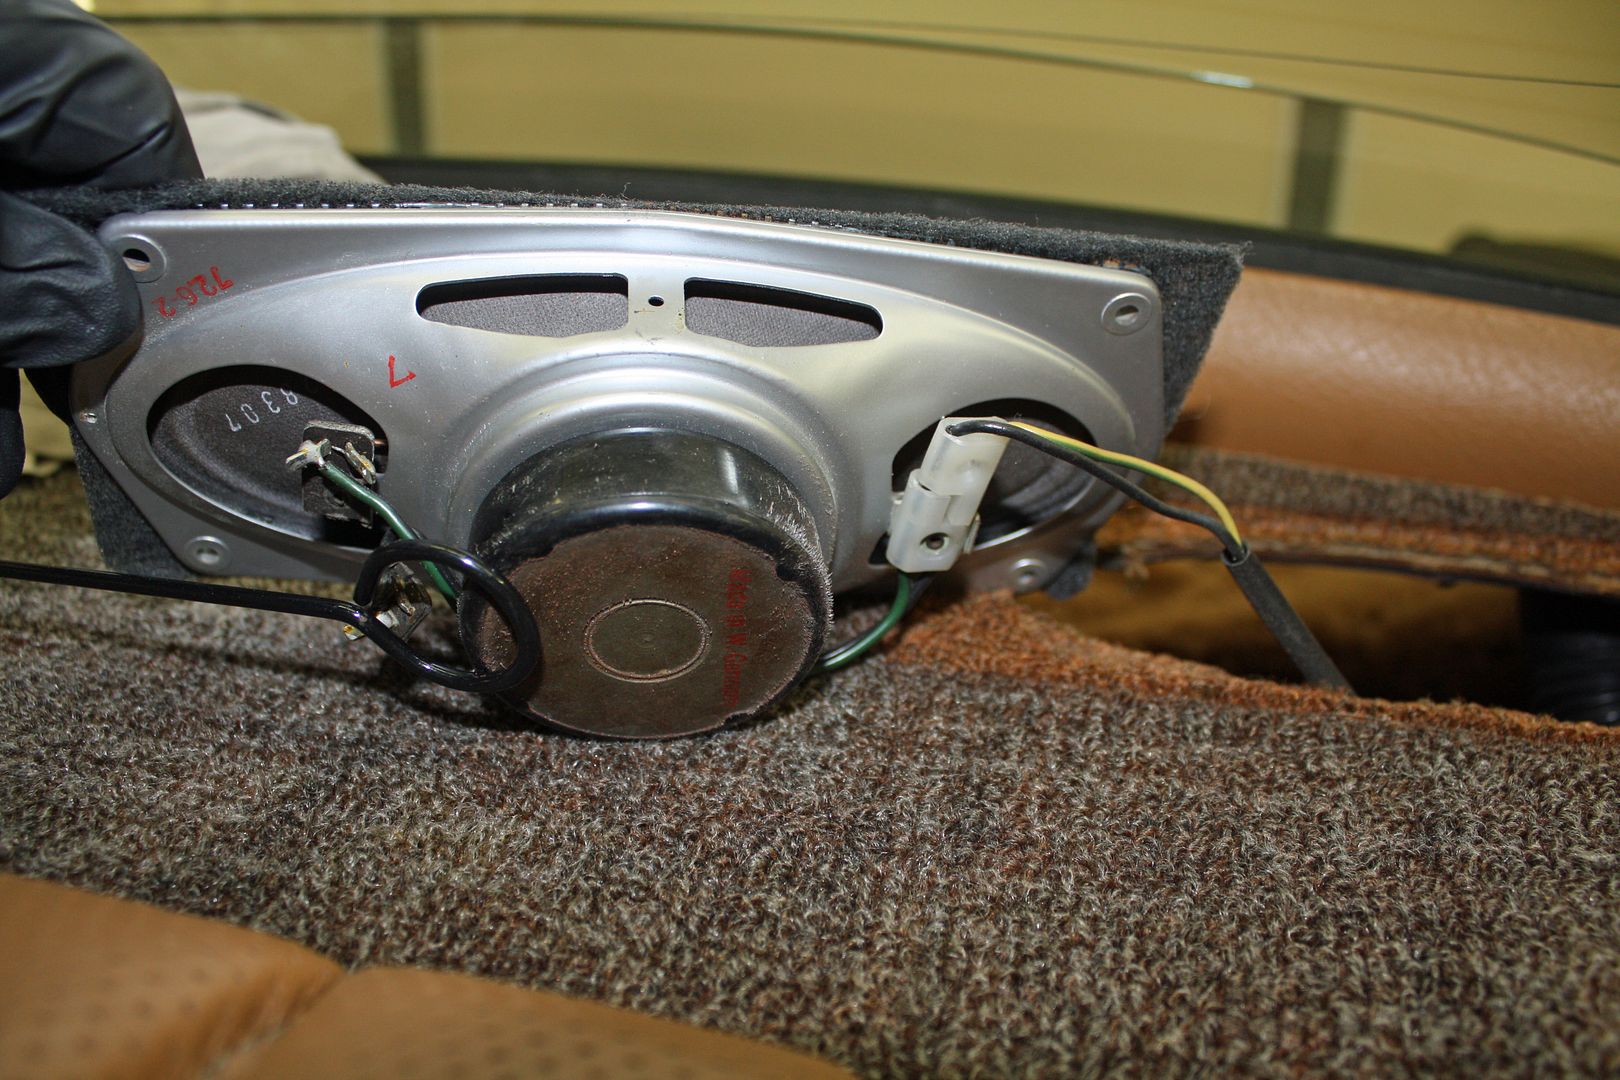 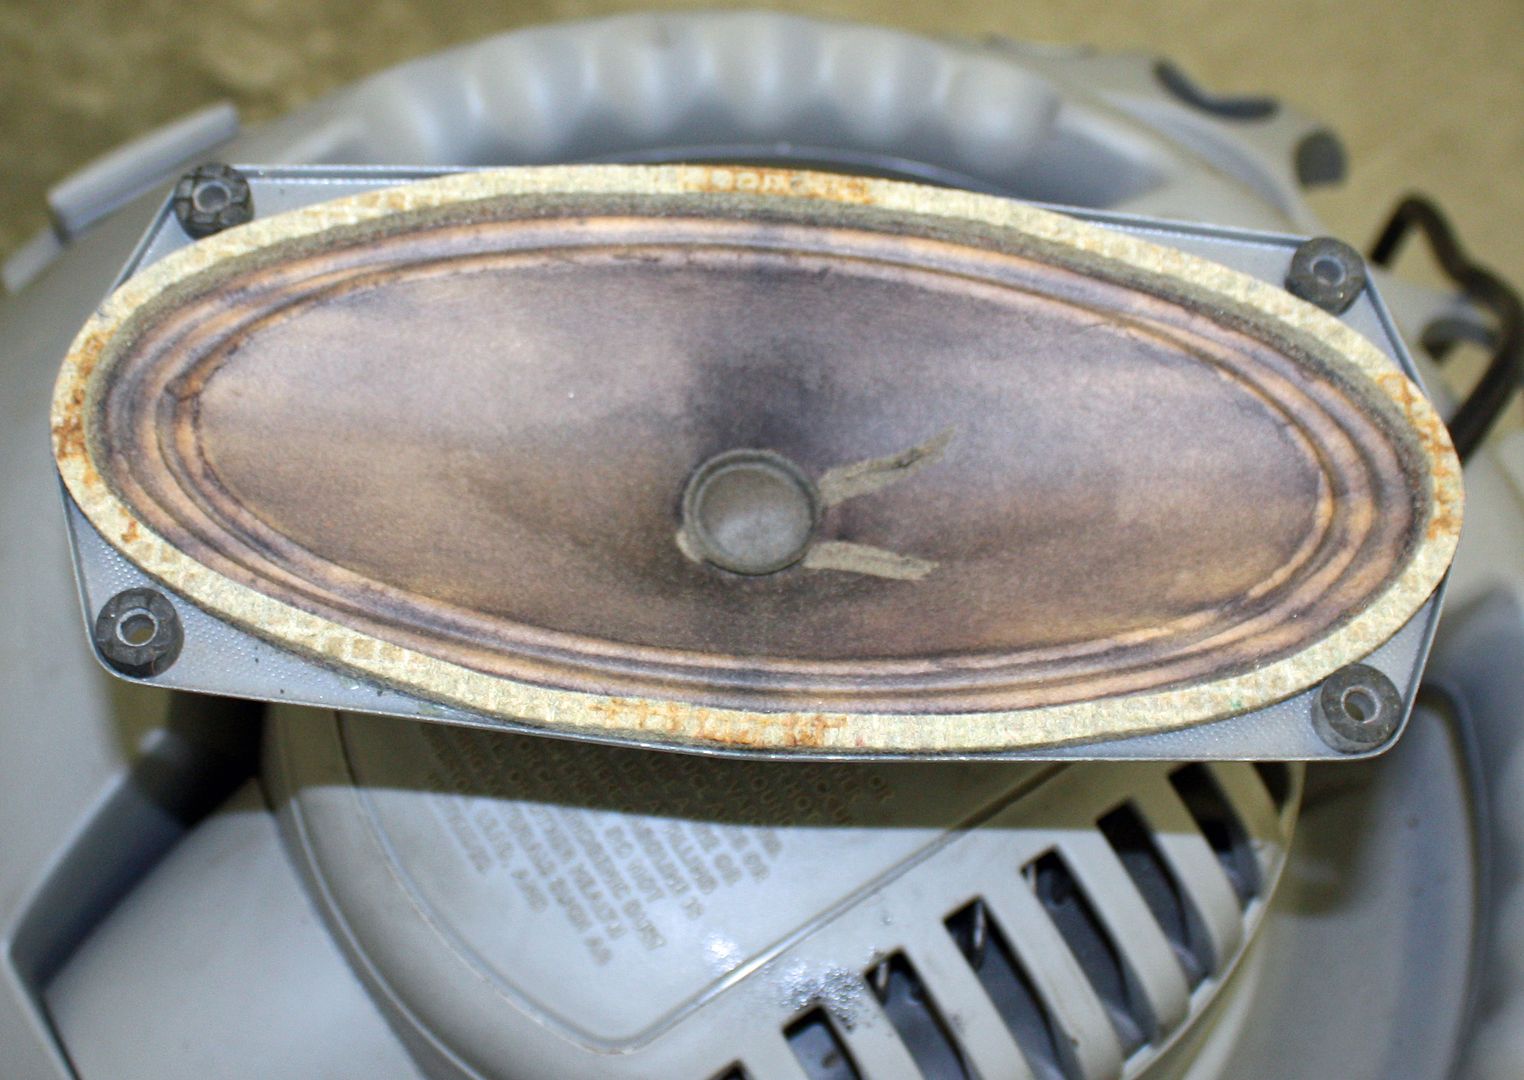 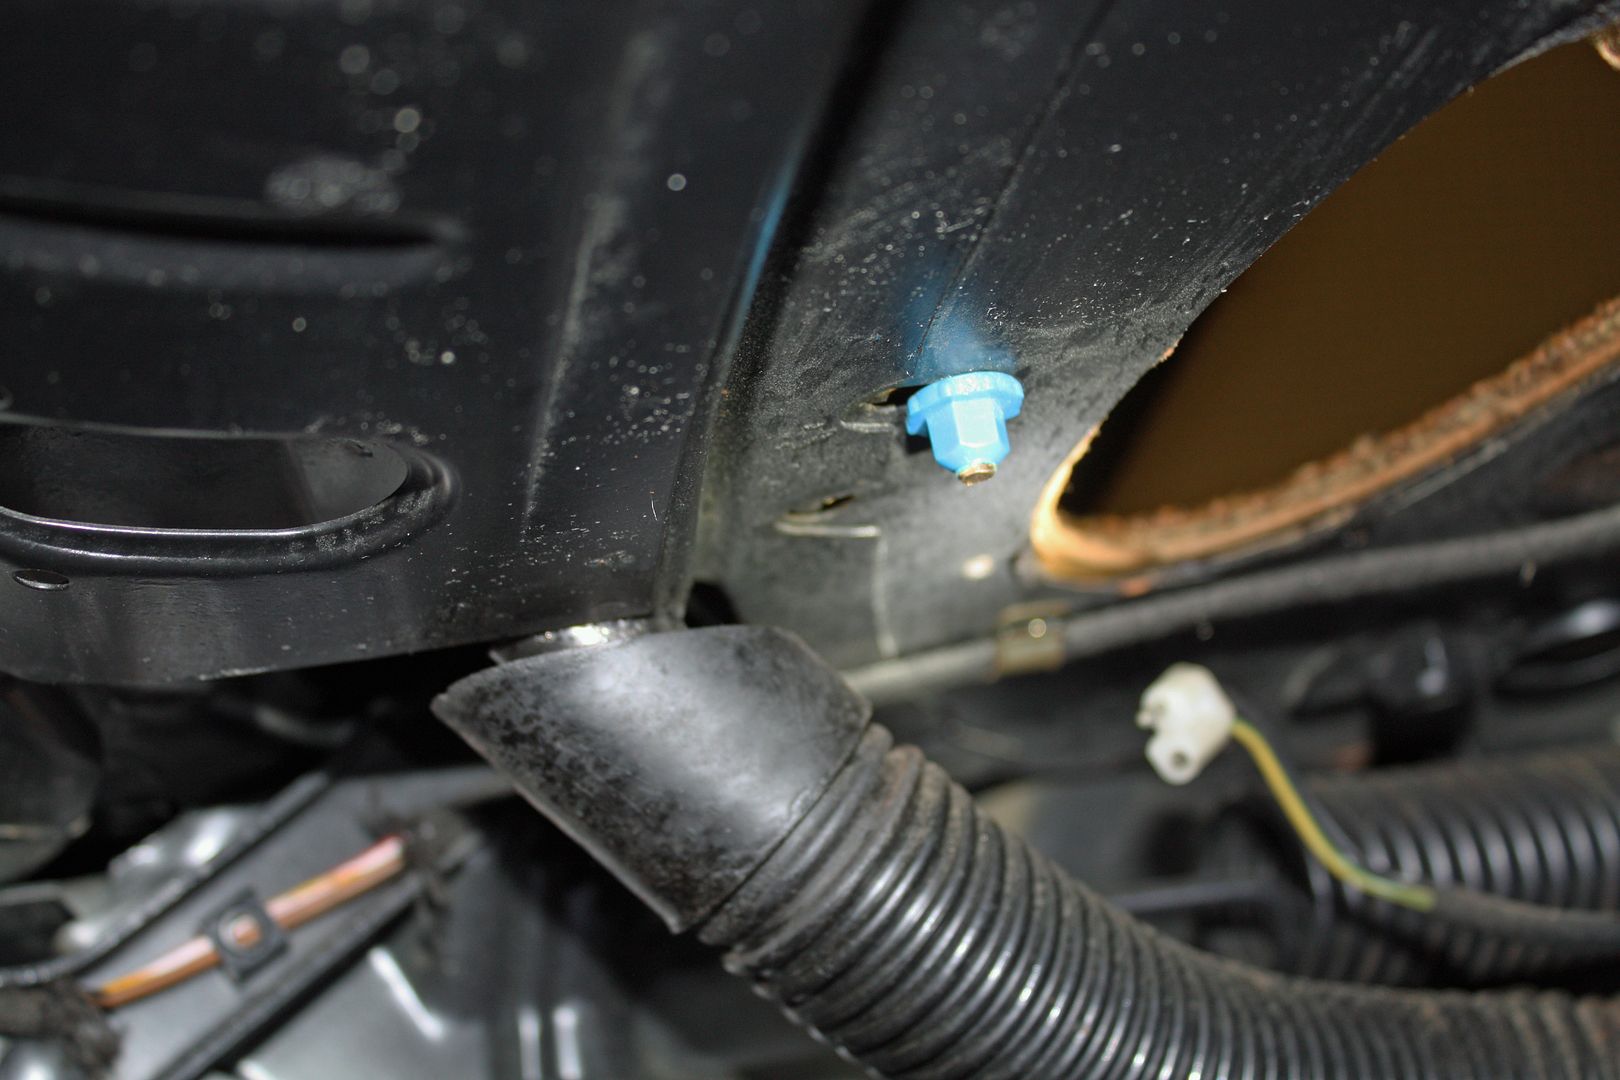 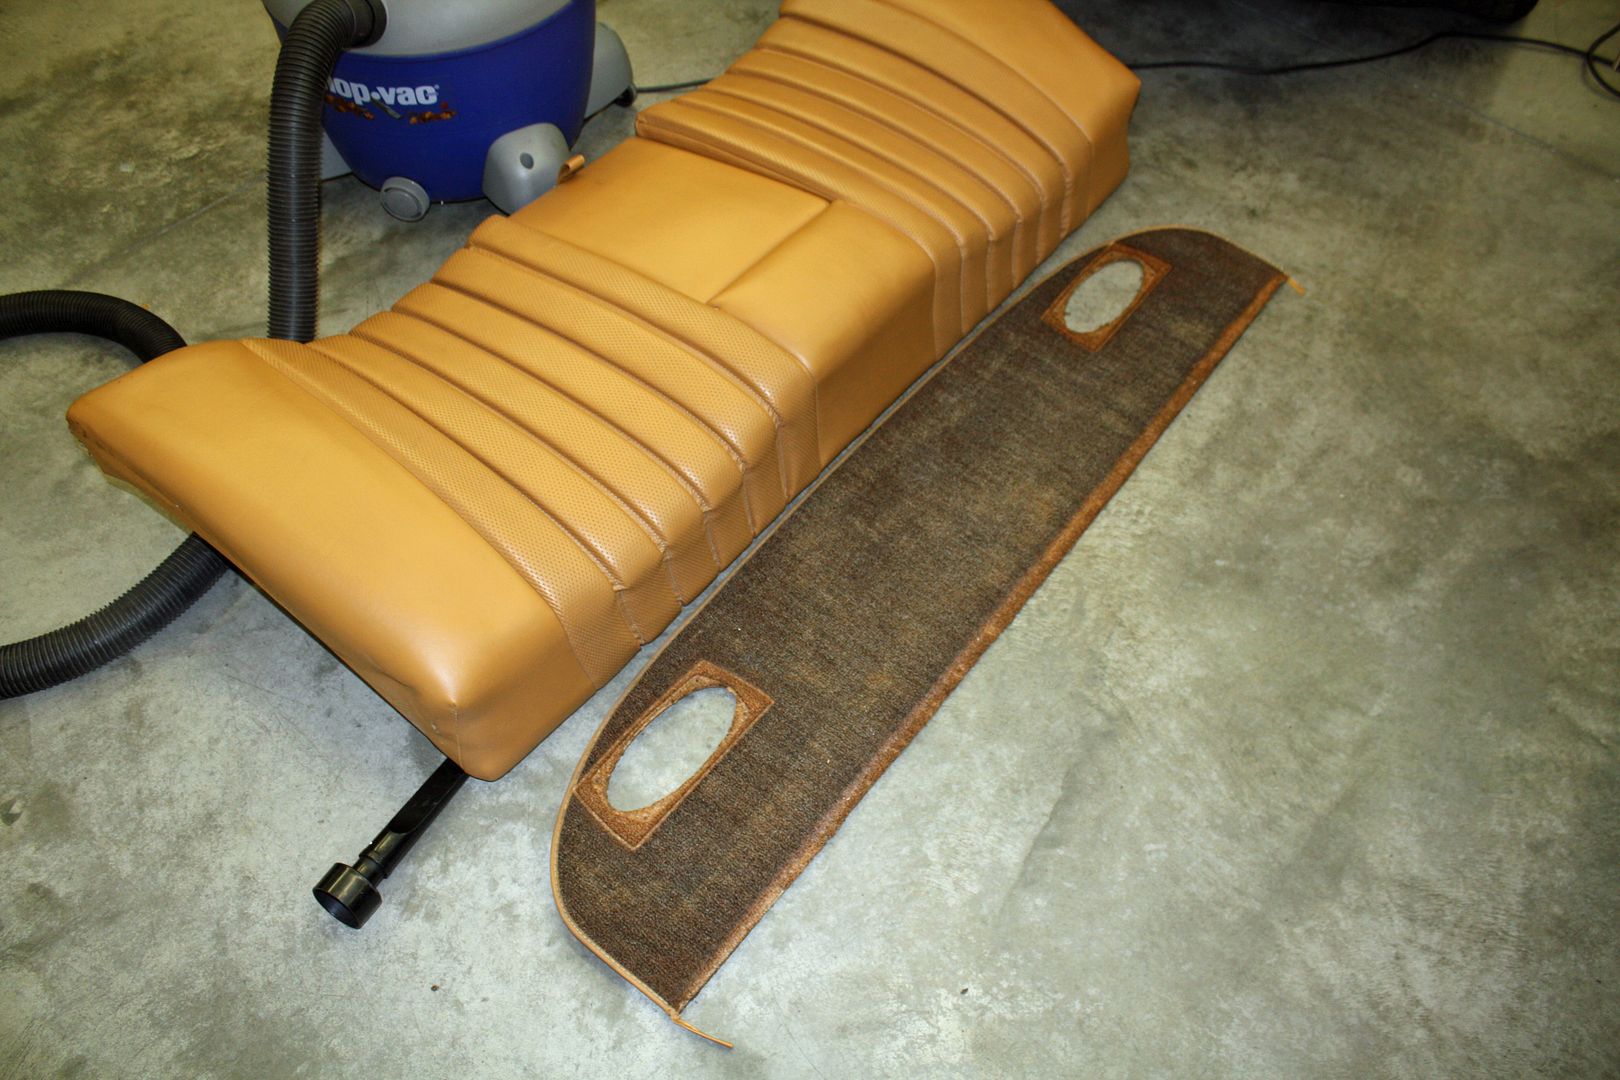 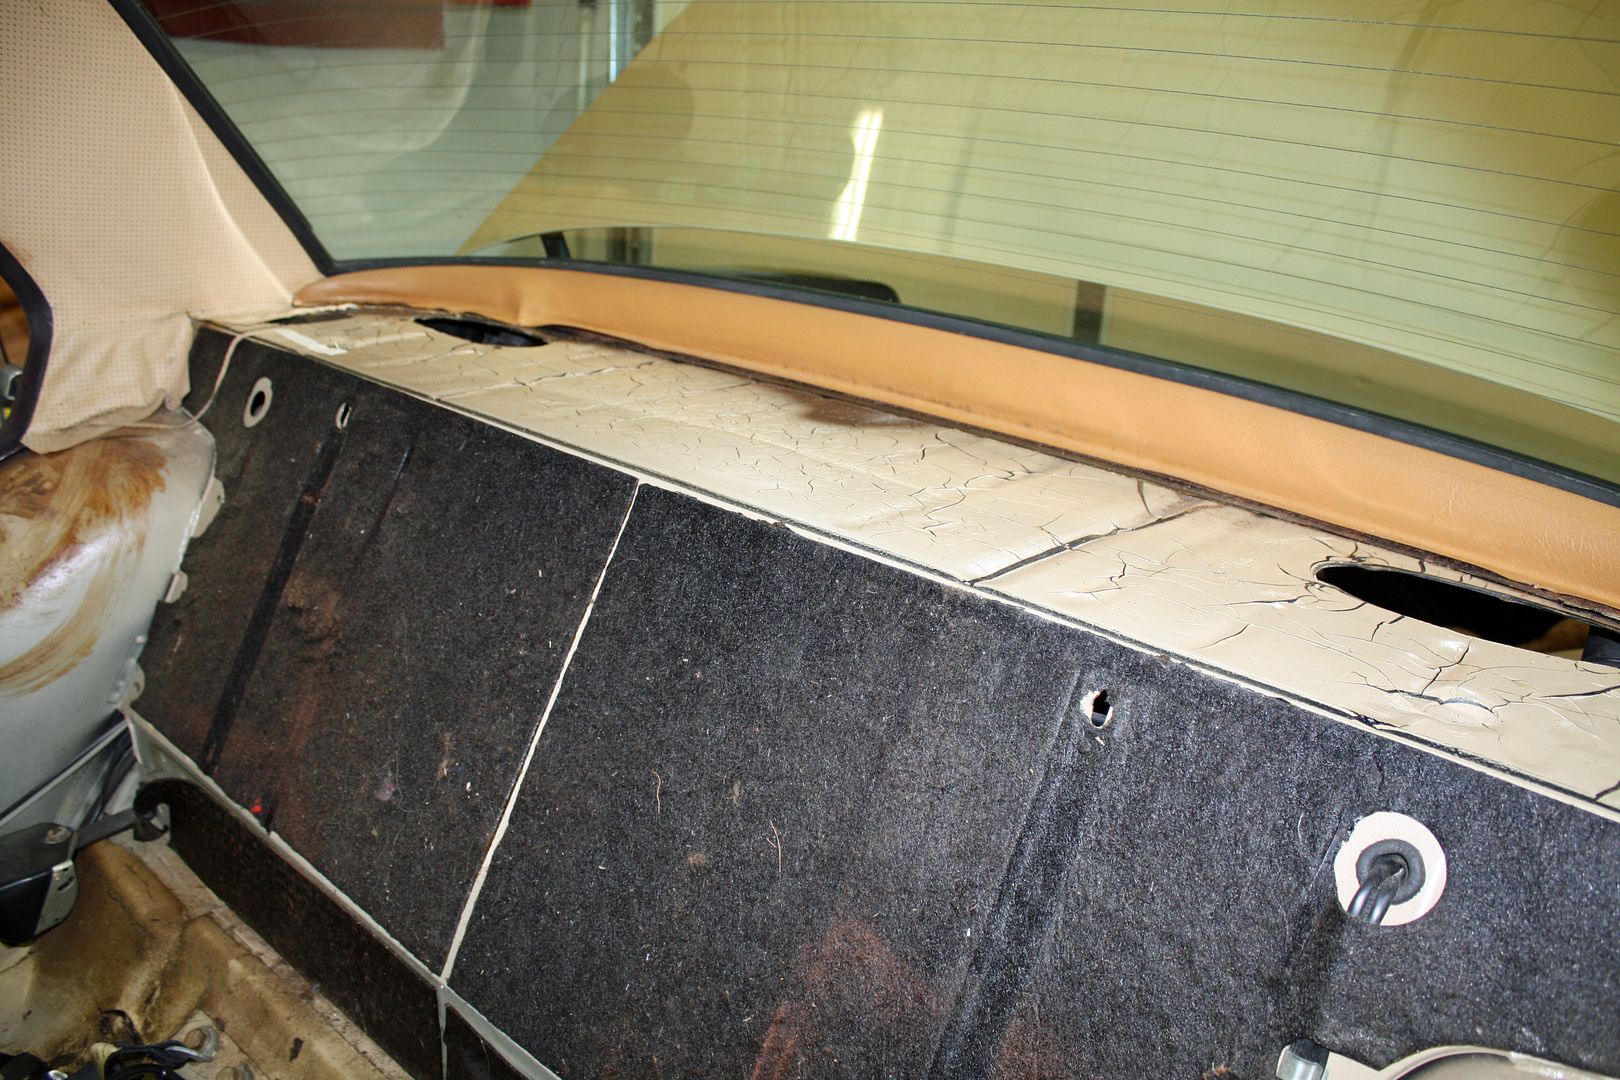 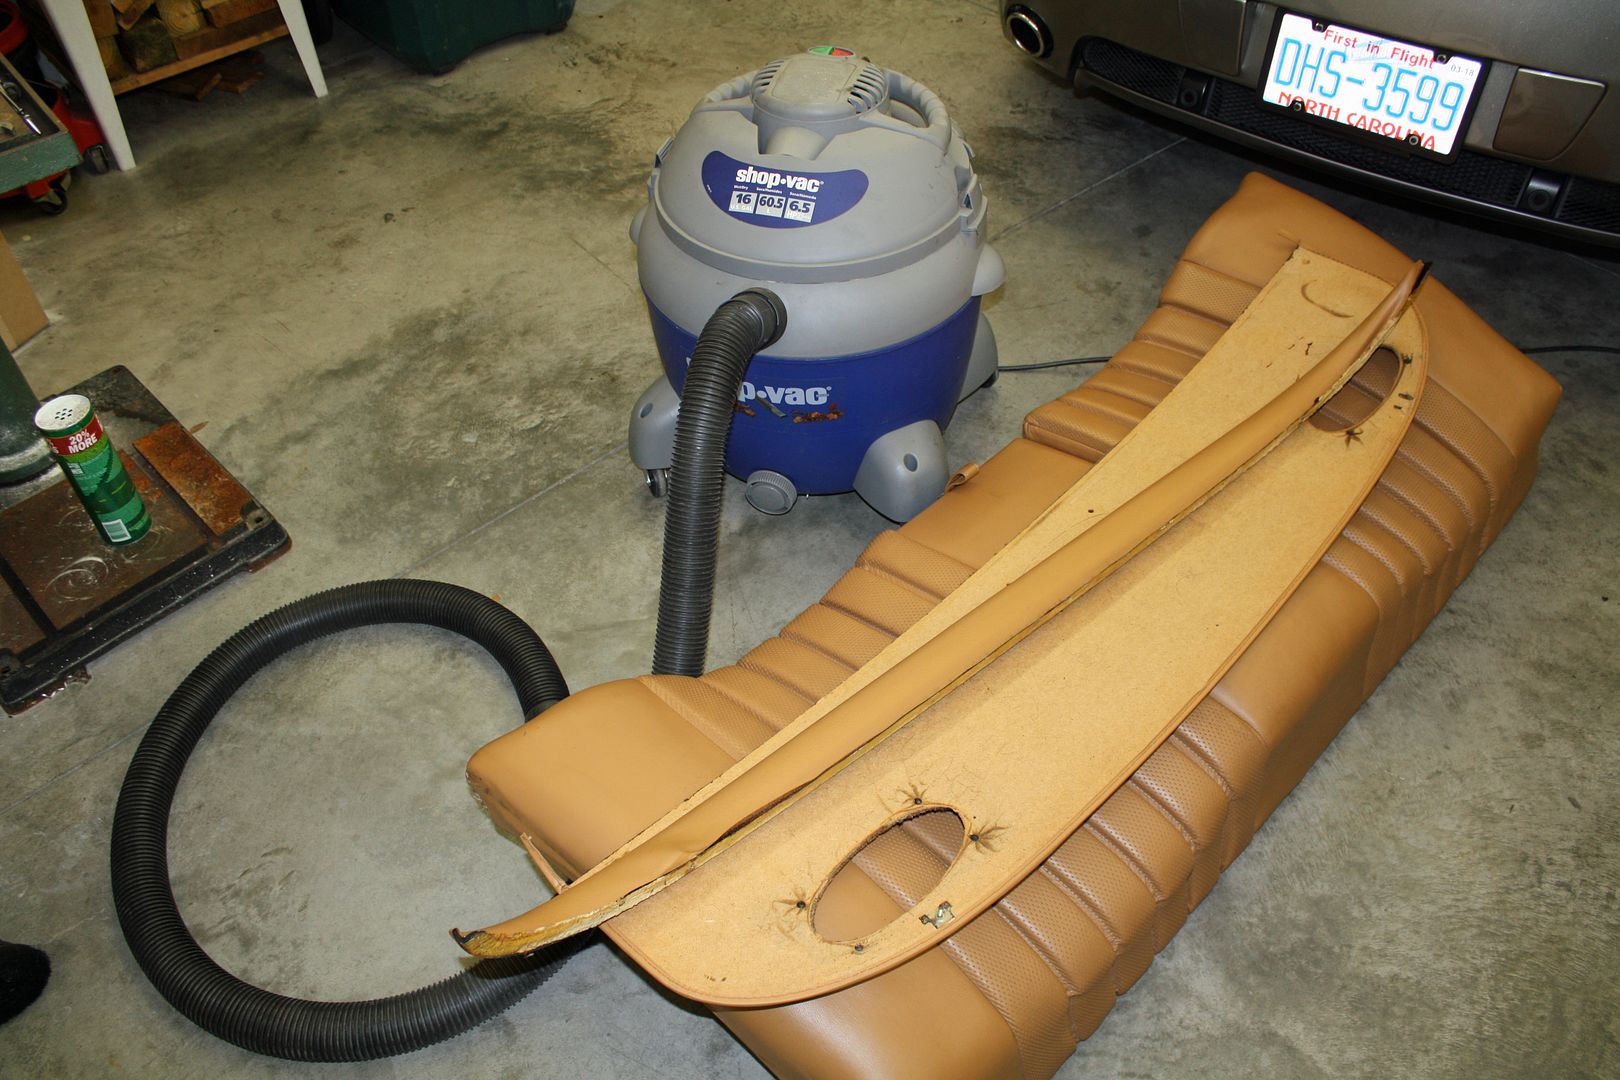 When I lifted that panel of the seat back, the seat back was covered in a find brown dust. Which is what the carpet had reverted to. When I placed the panel on the bench to remove the old carpet, I was surprised to find that the binding had been sewn to the fiberboard. So I had to raid my wife's sewing machine for her thread cutter. 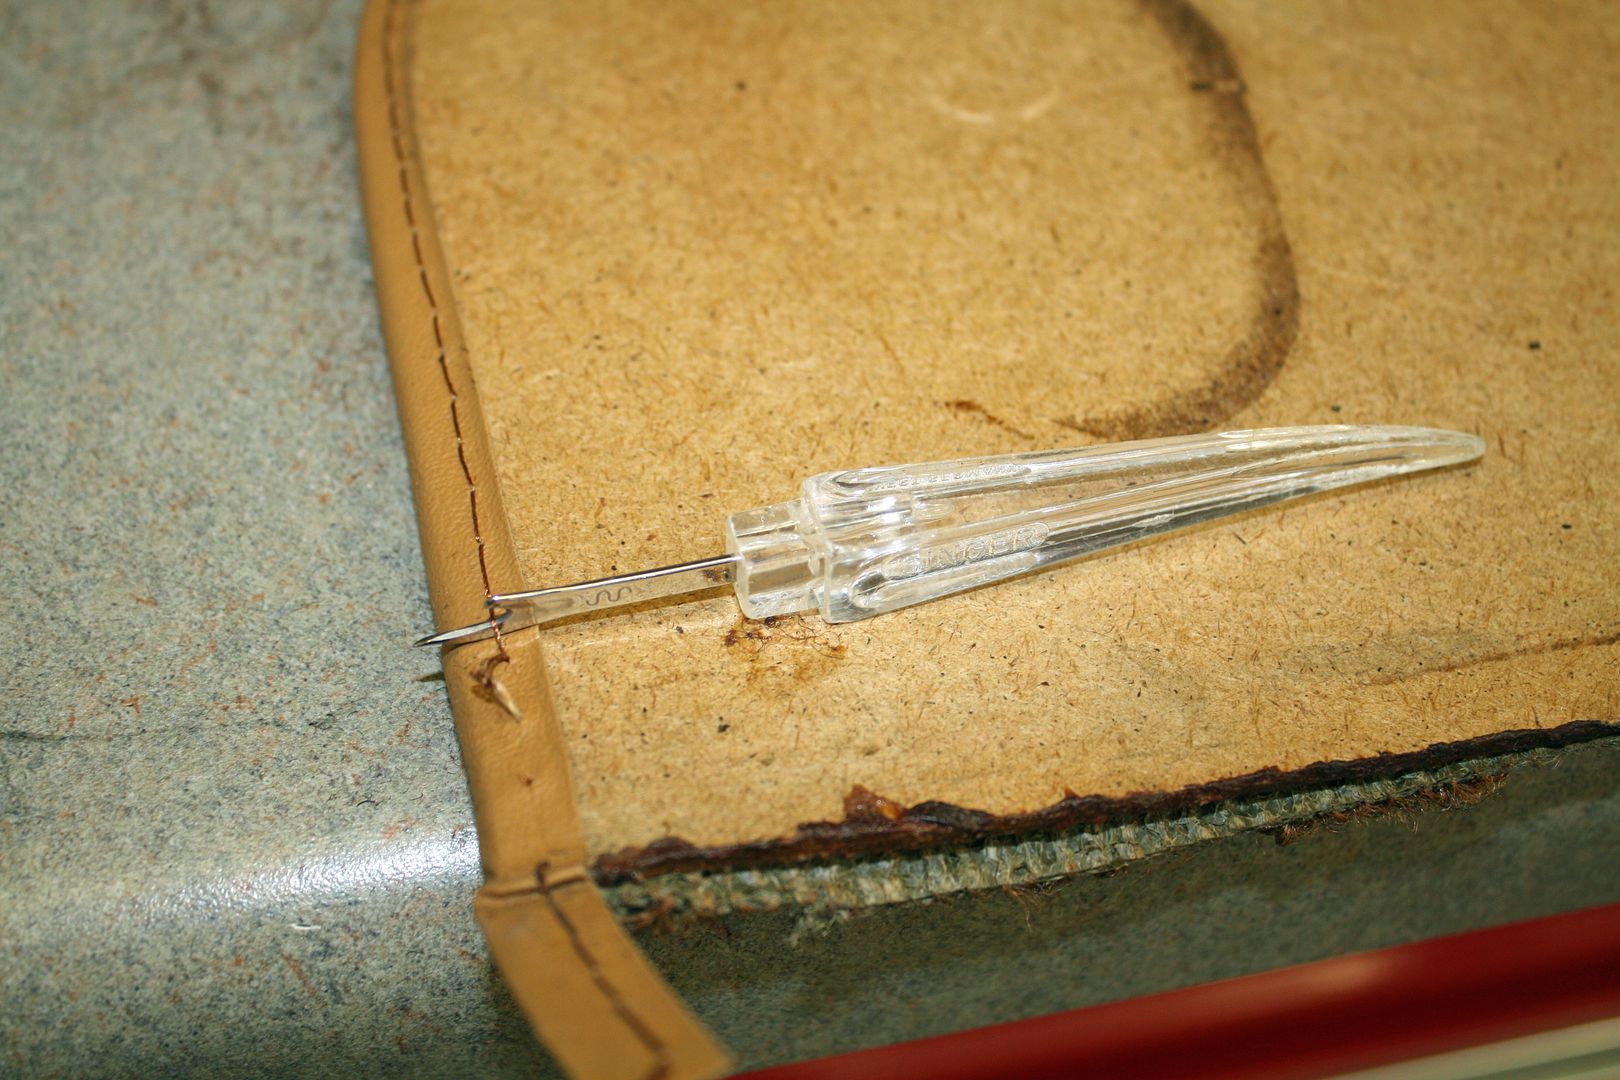 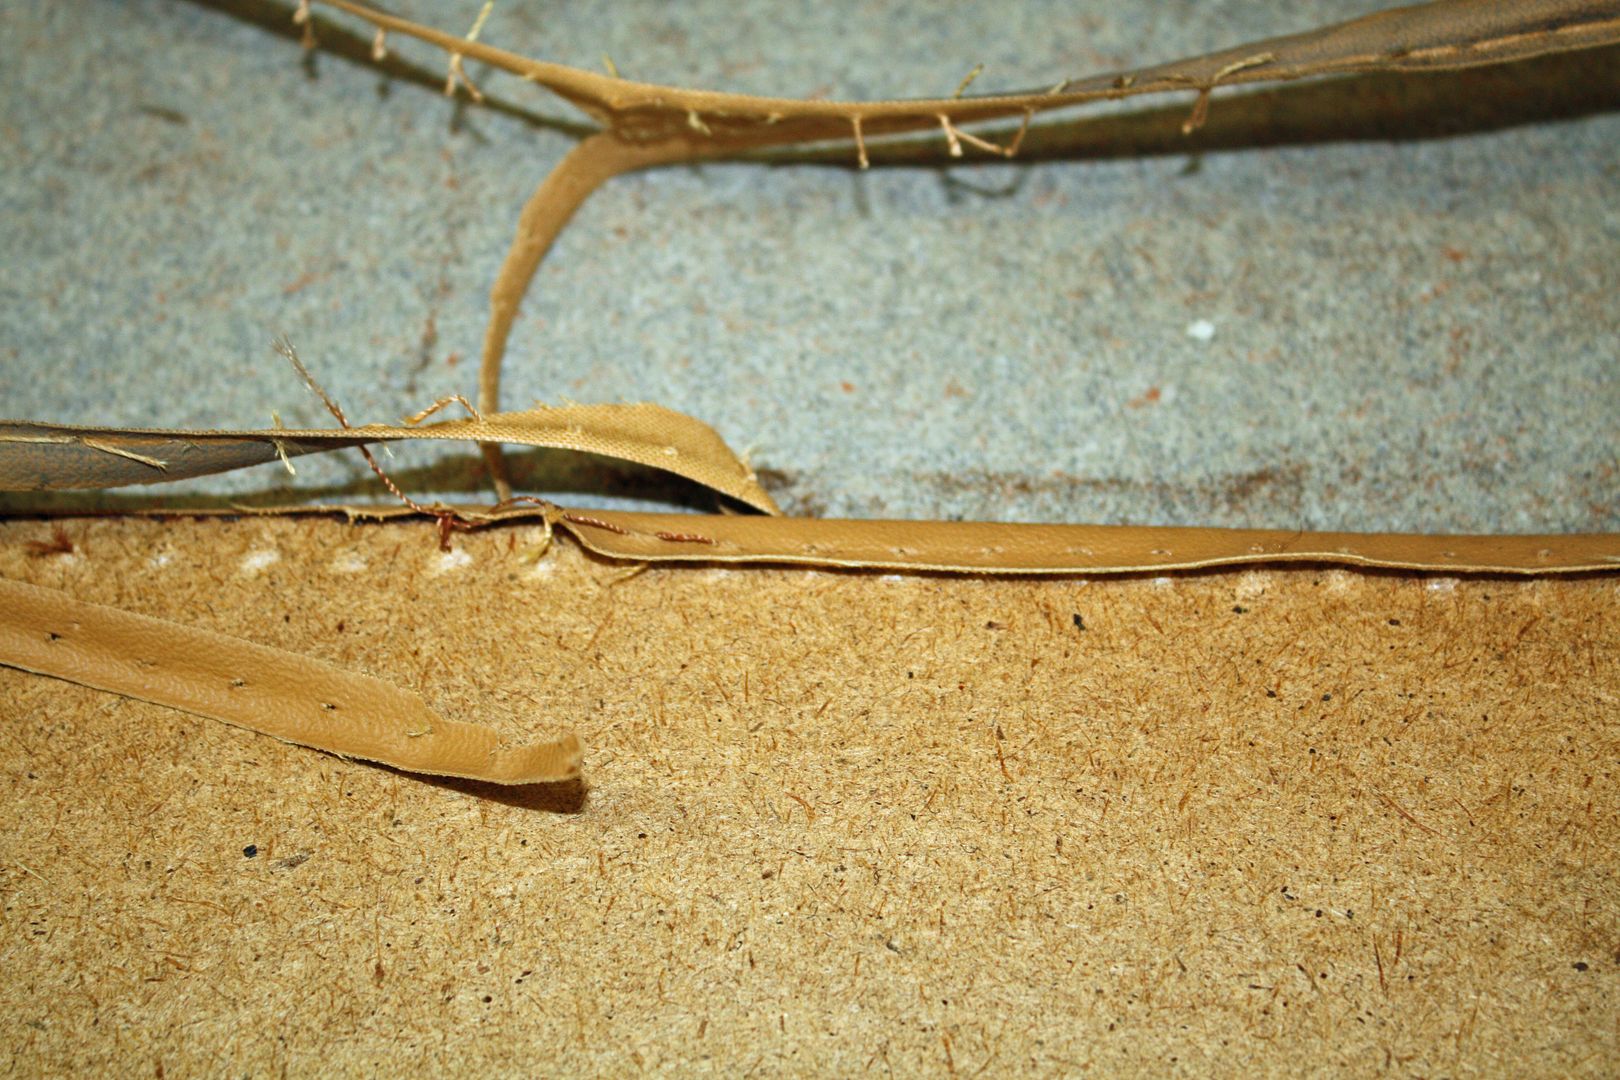 The carpet came off in little dusty pieces. My plastic scraper came in handy again. I did not use the adhesive remover as the board is fragile. The vinyl trim came off the metal trim easily. There was a thin tape on the bottom of the trim. I did remove the glue on that trim. No rust on anything so the rear window seems to have been sealed well. 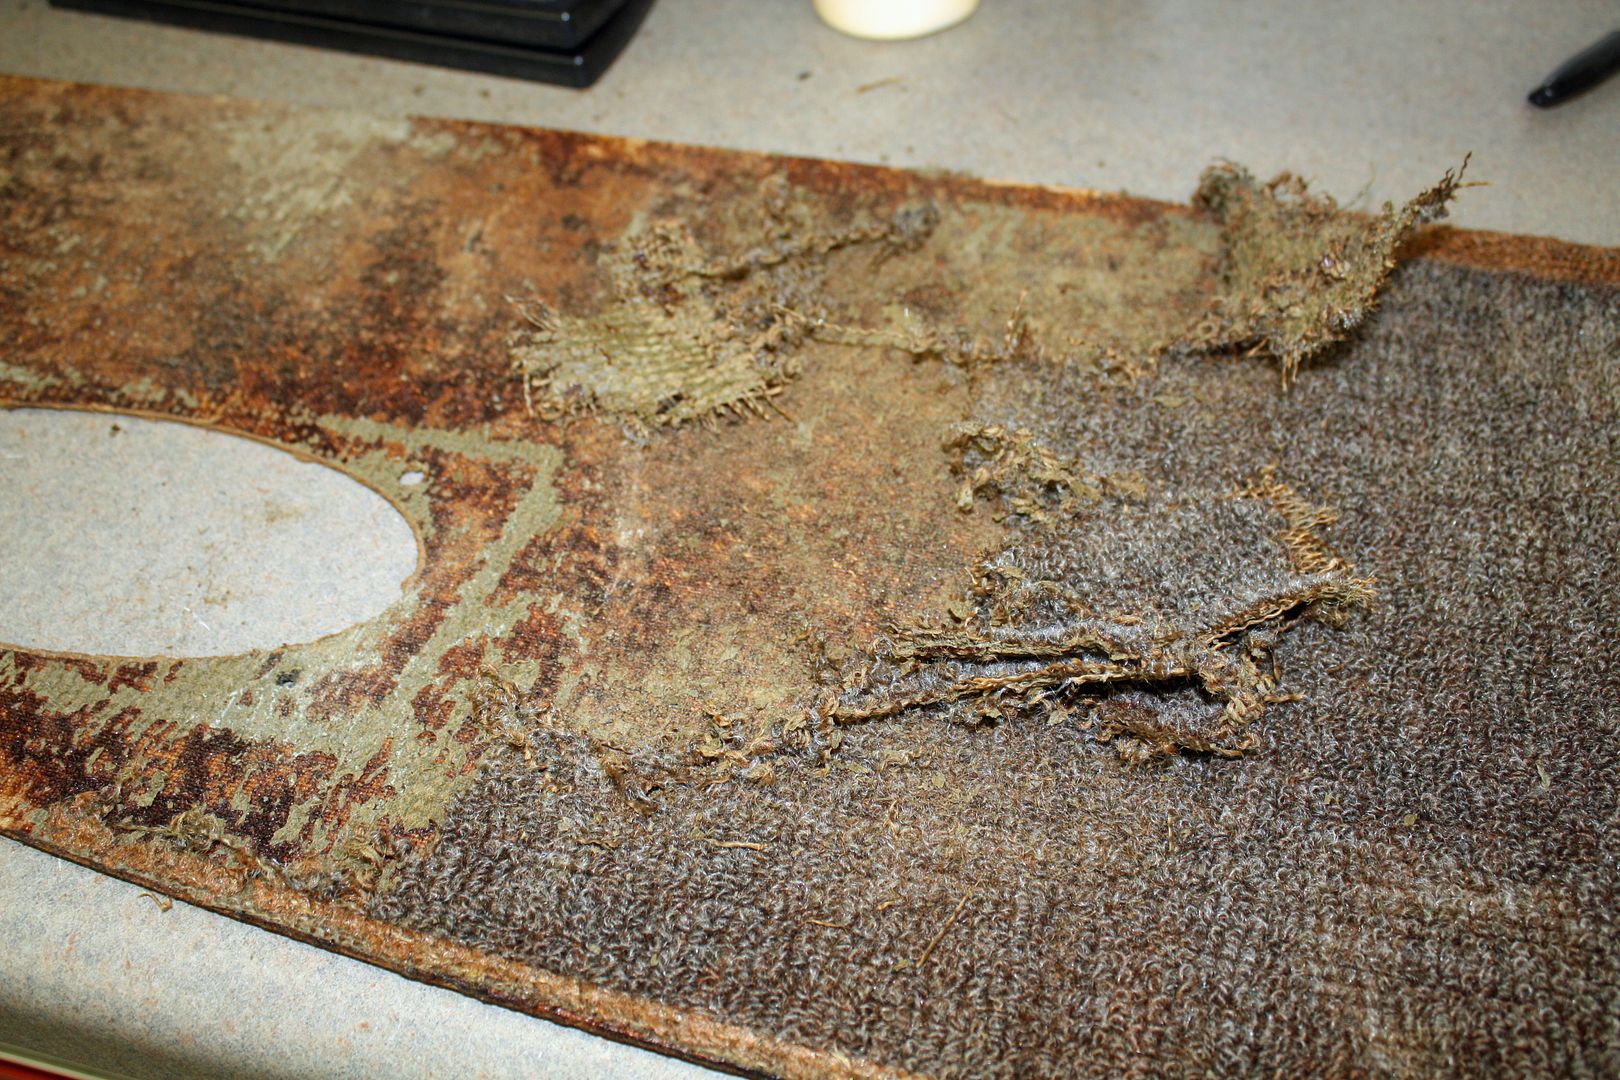 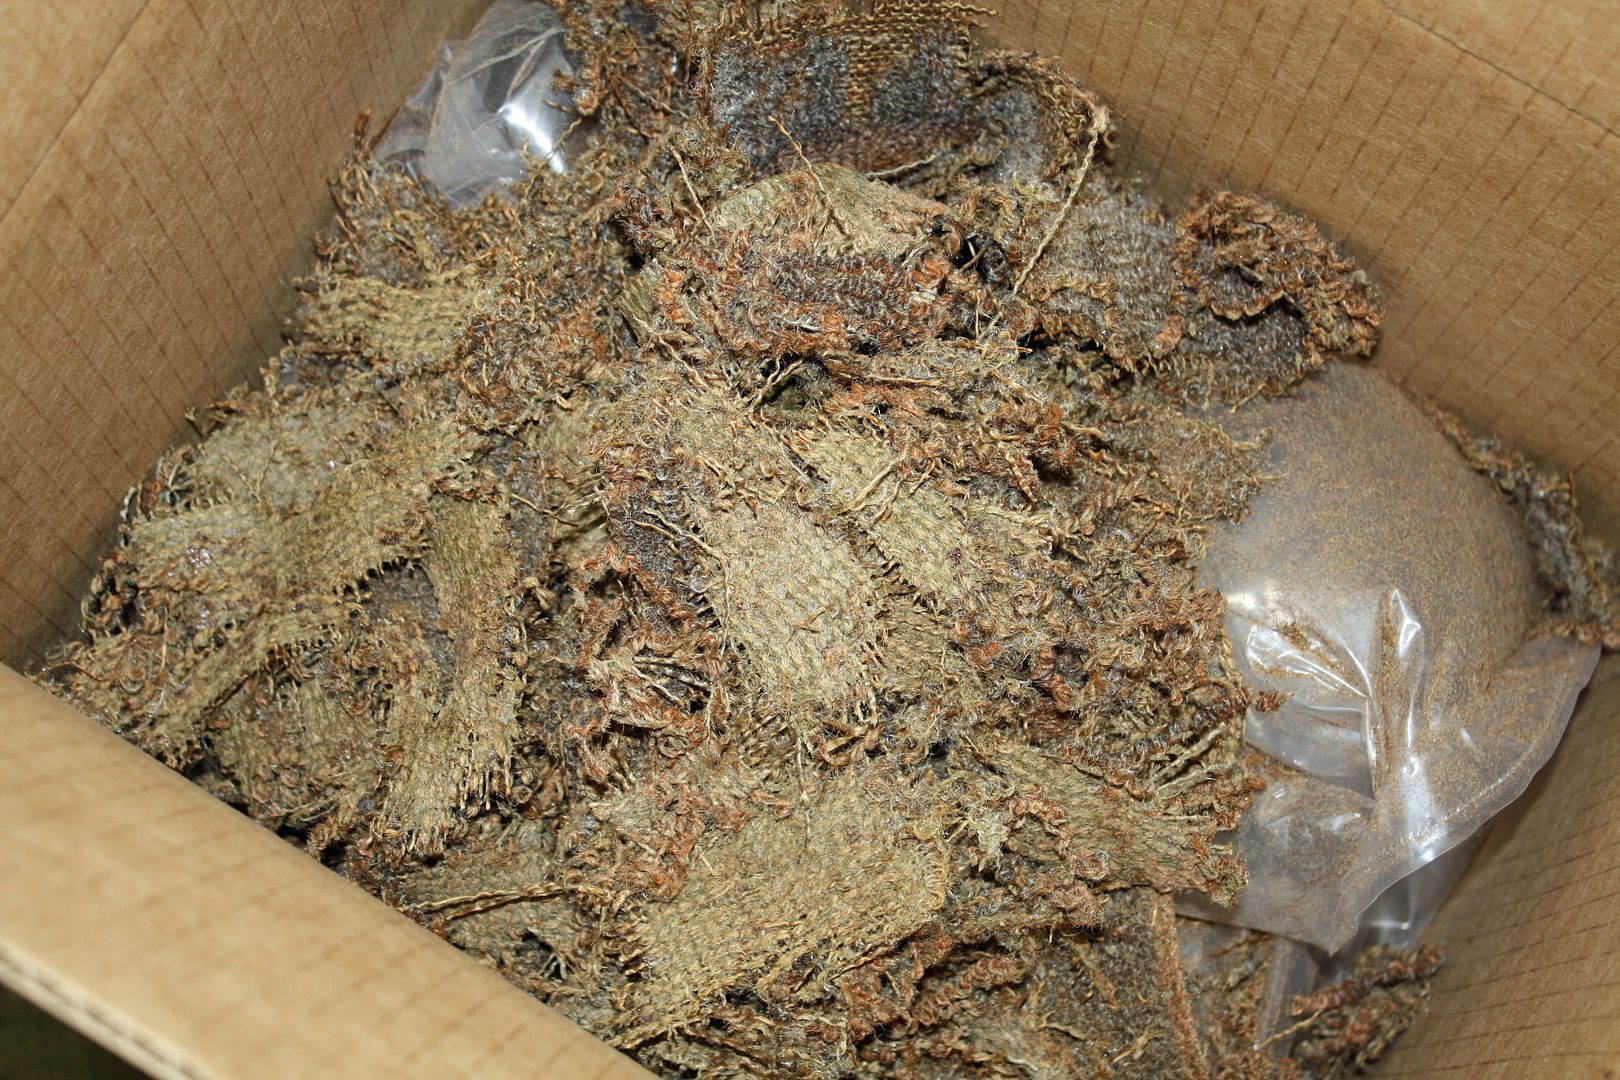 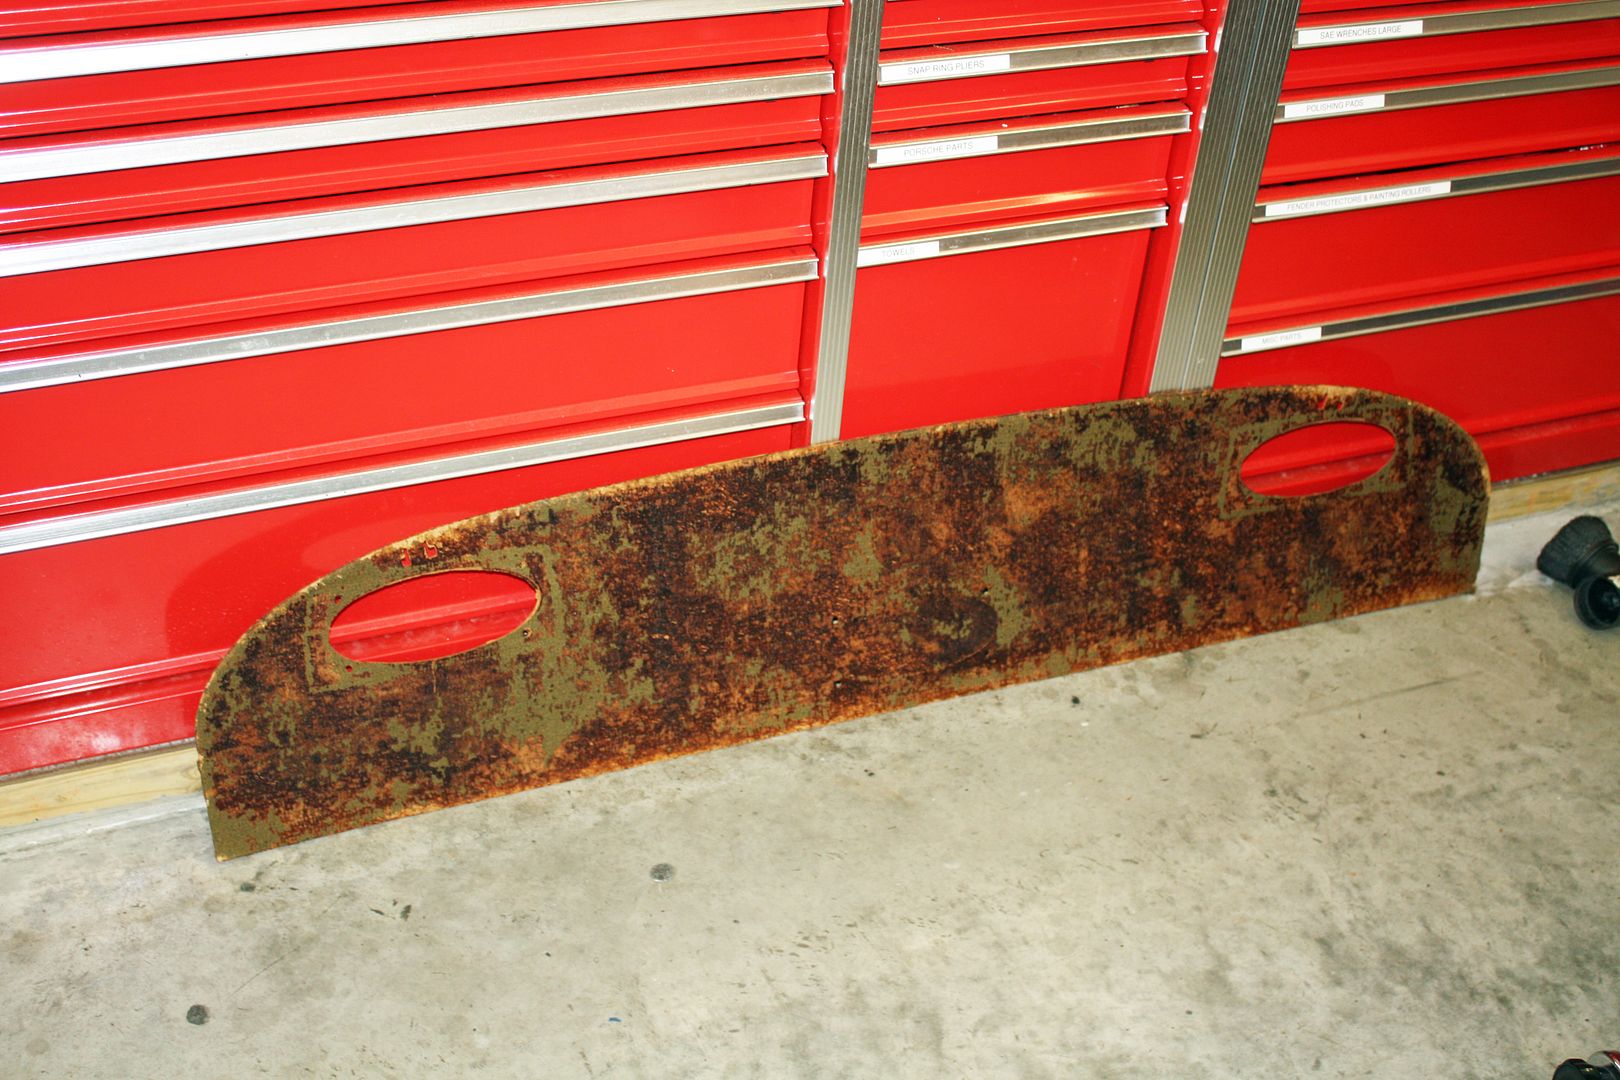 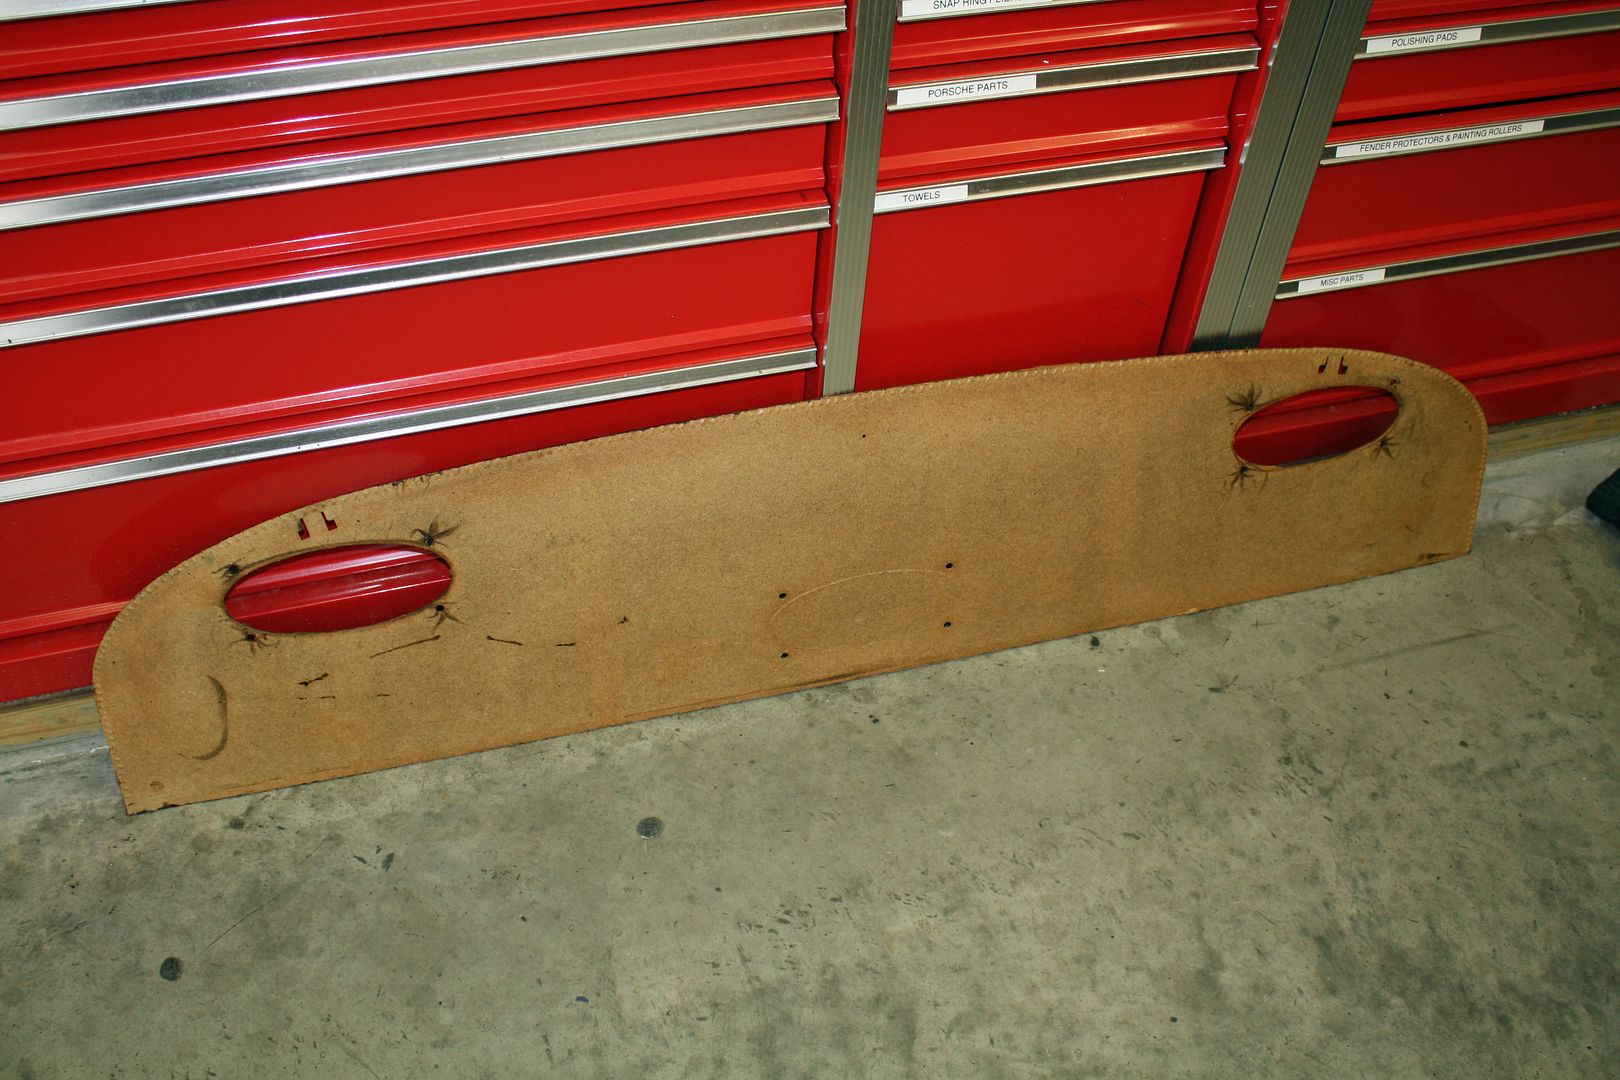 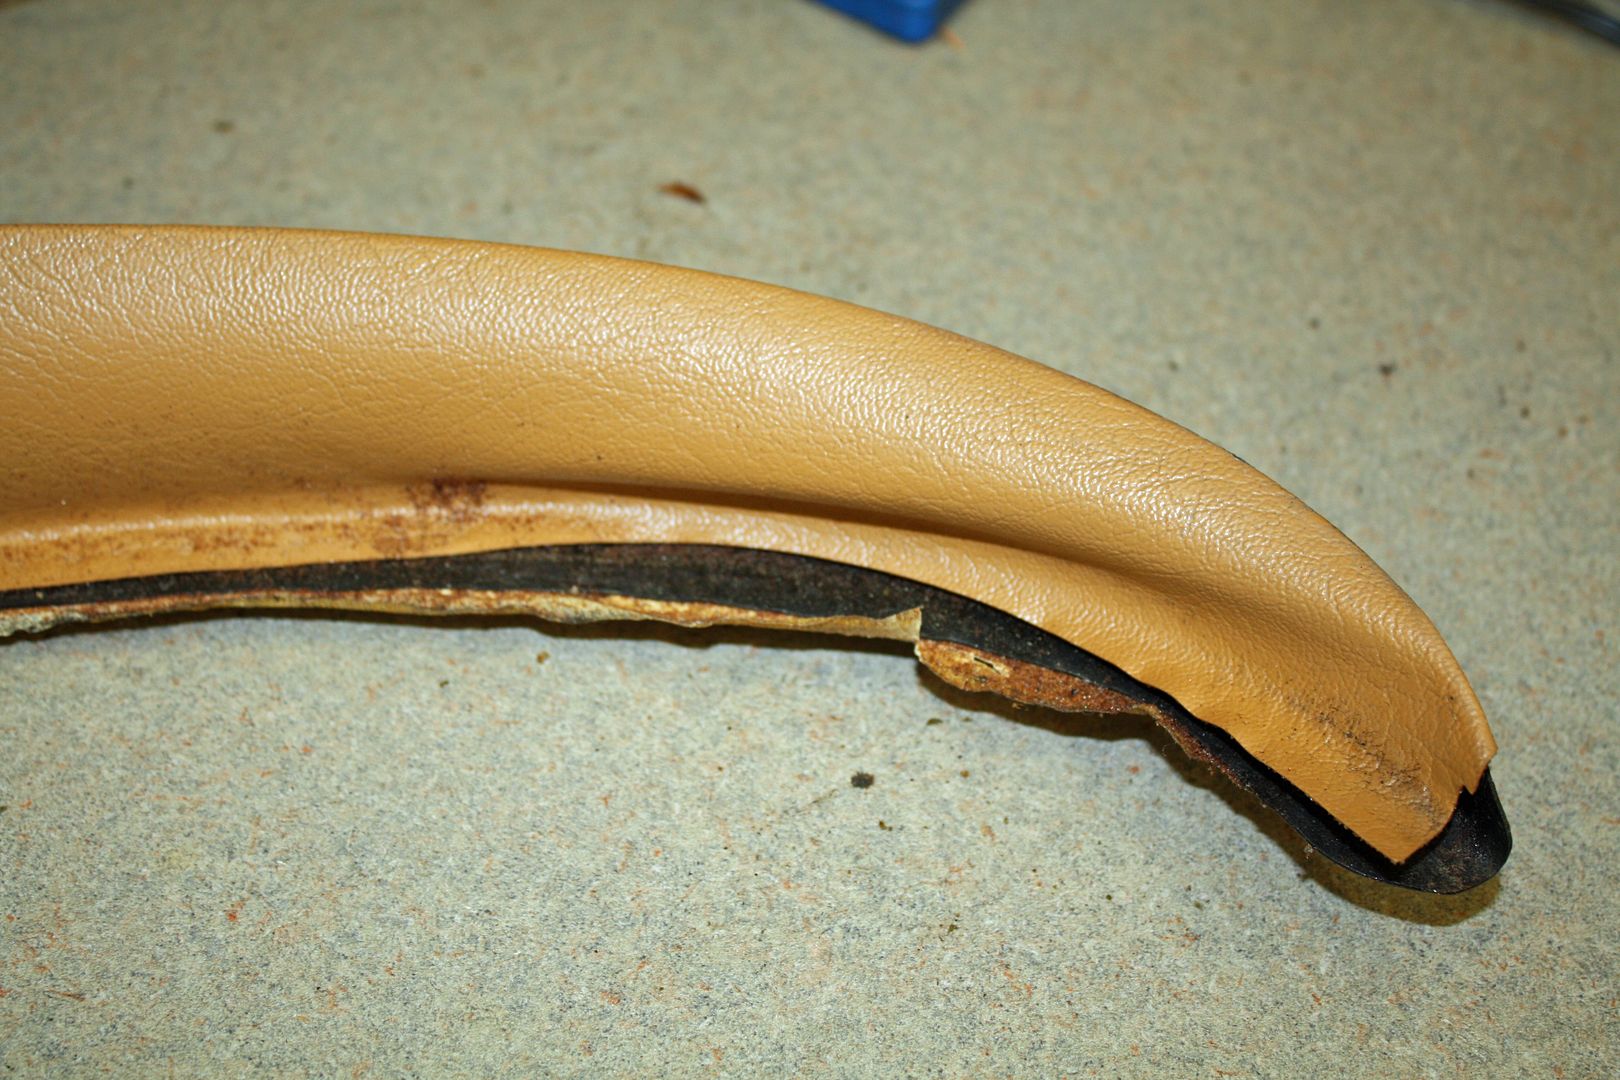 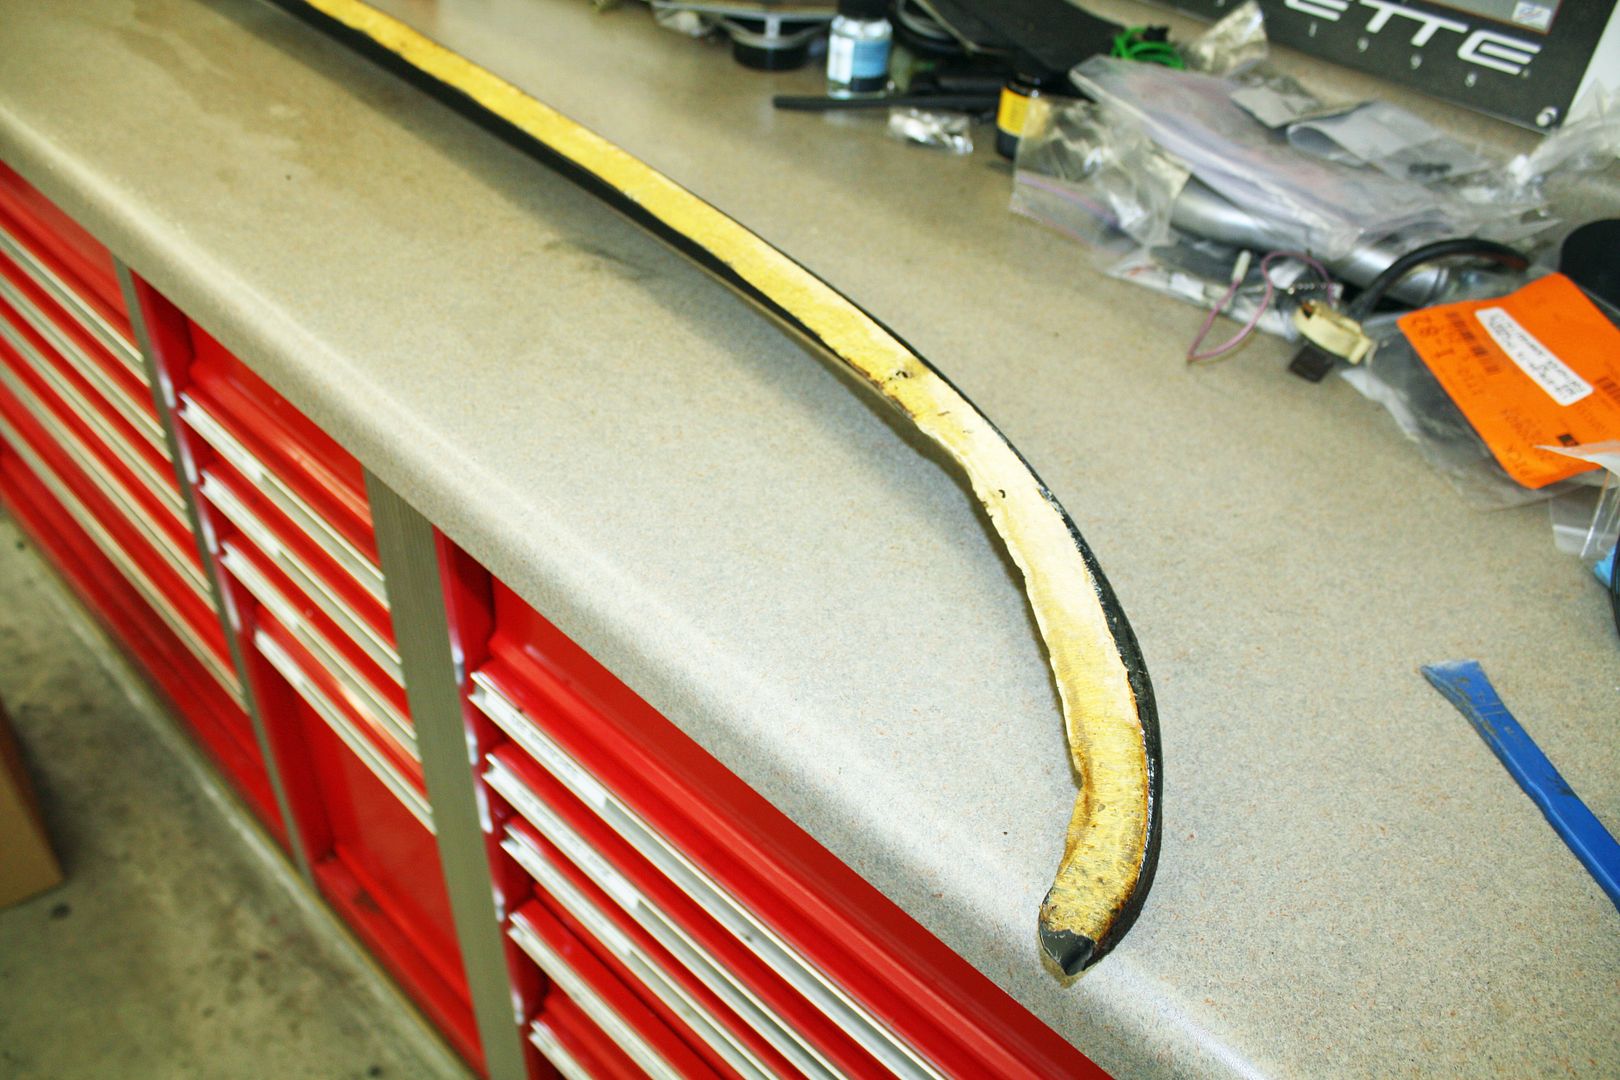 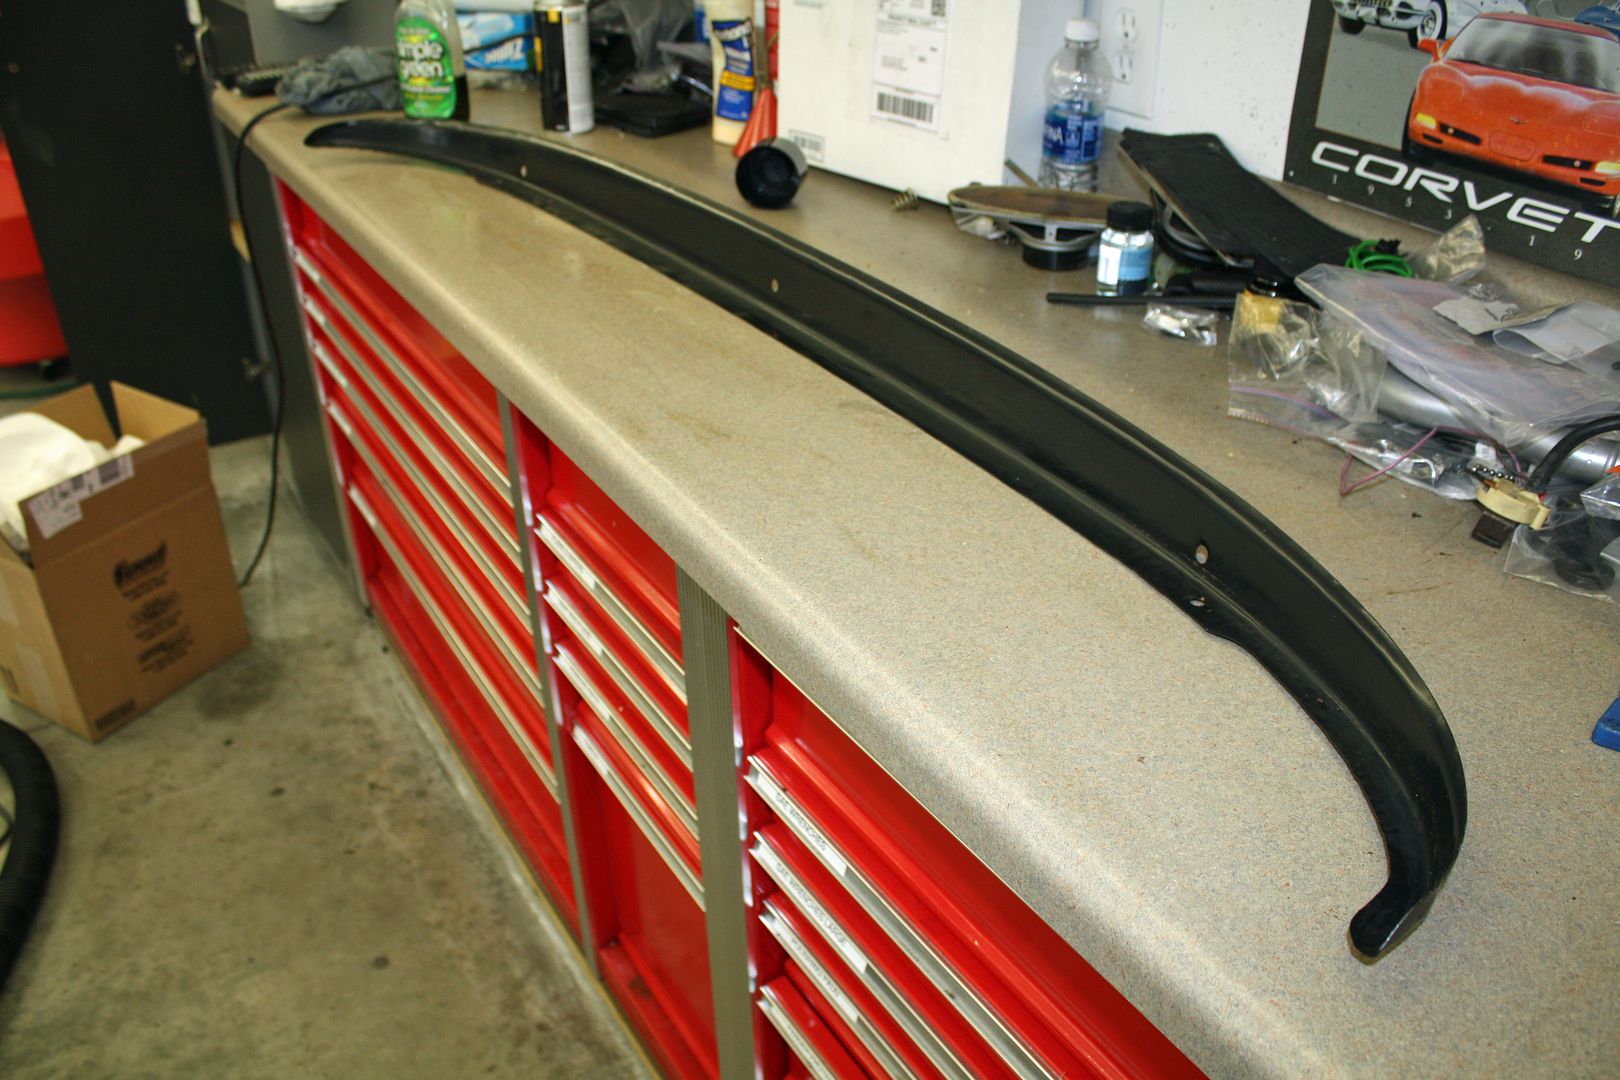 I finished cleaning up the speaker grills, the right front speaker, and the floor of the car. I thought ducting air to the rear seats was a fairly recent invention so I was surprised to see the AC ductwork. The W108 was ahead of its time. 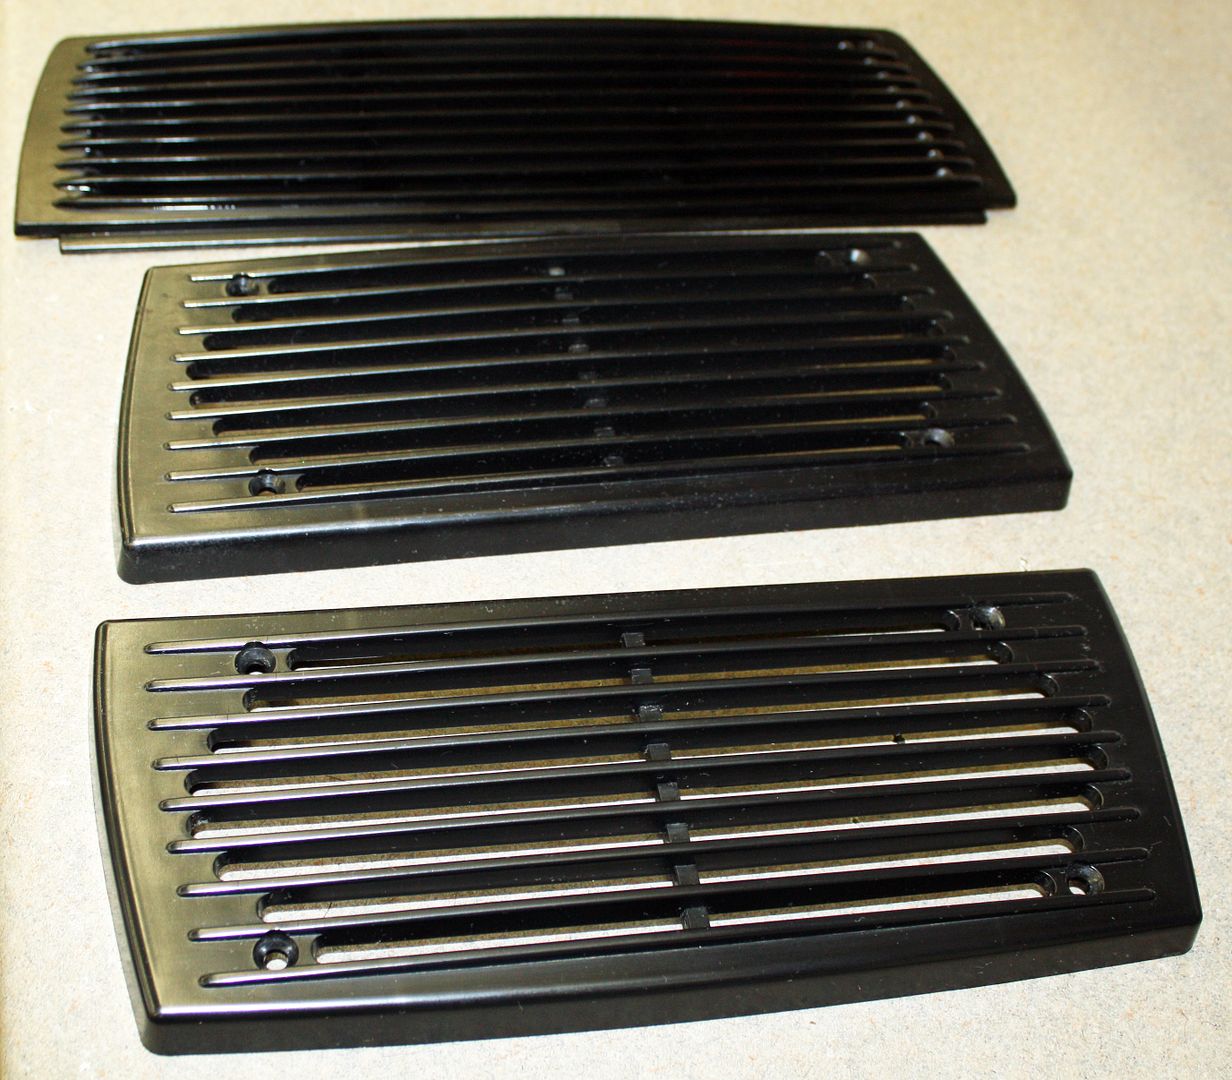 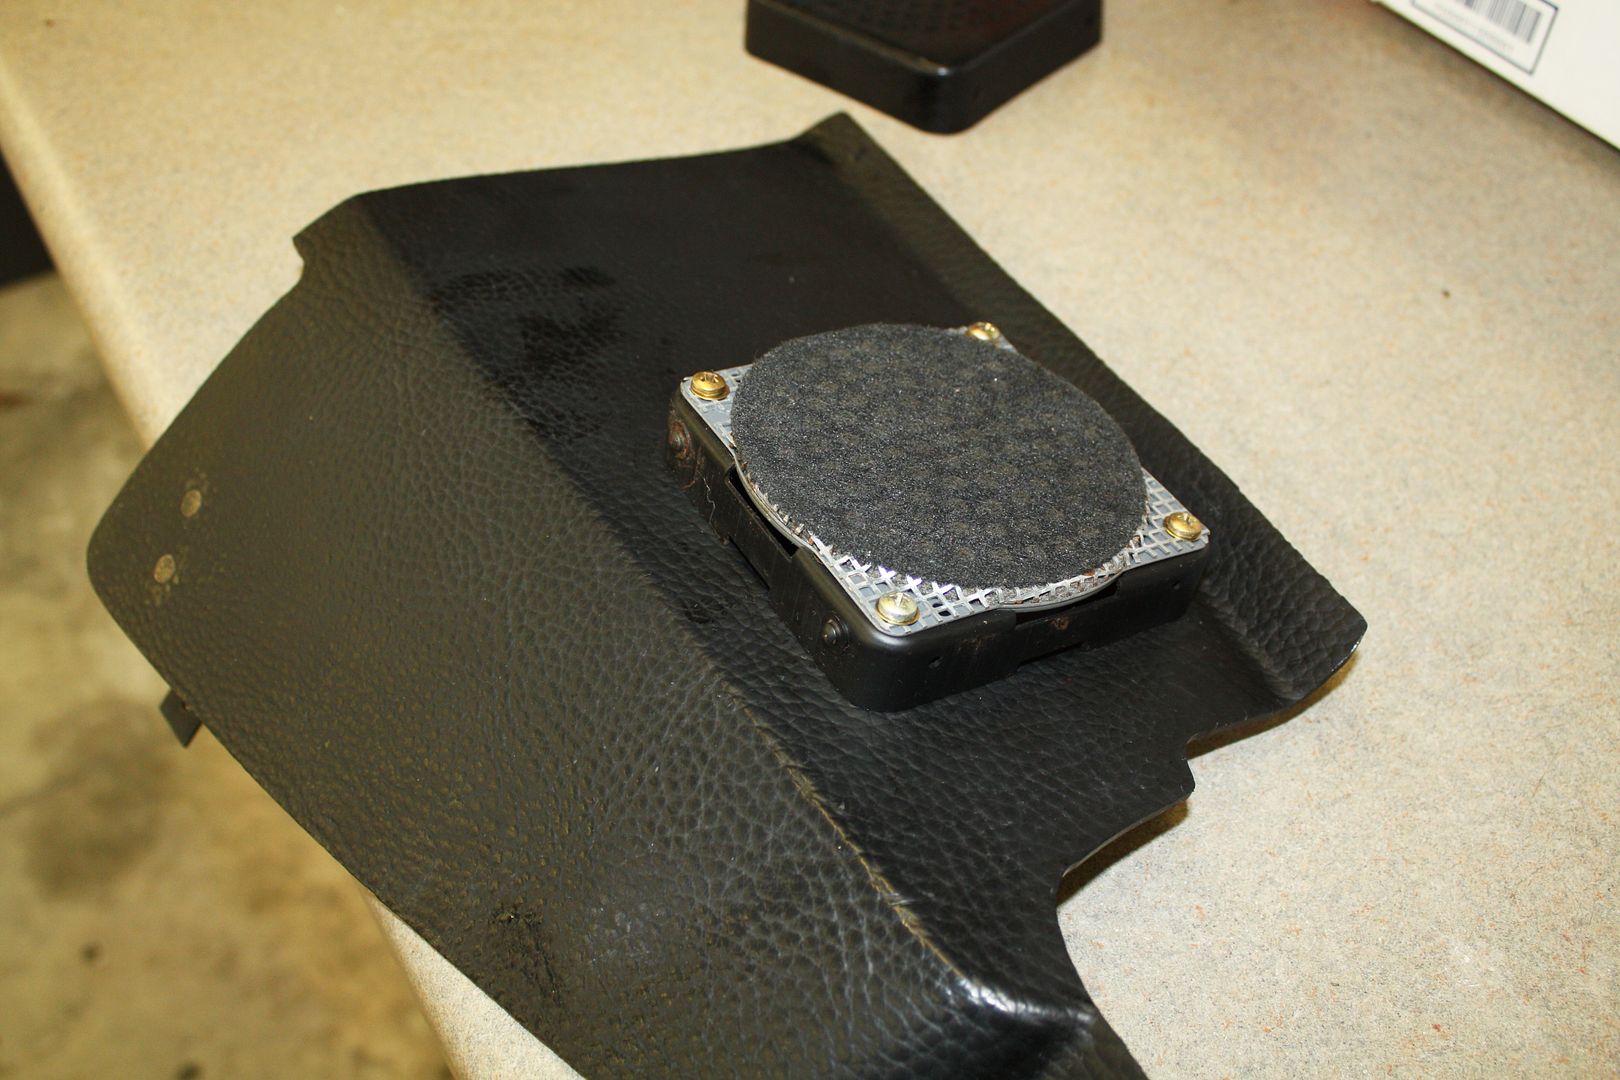 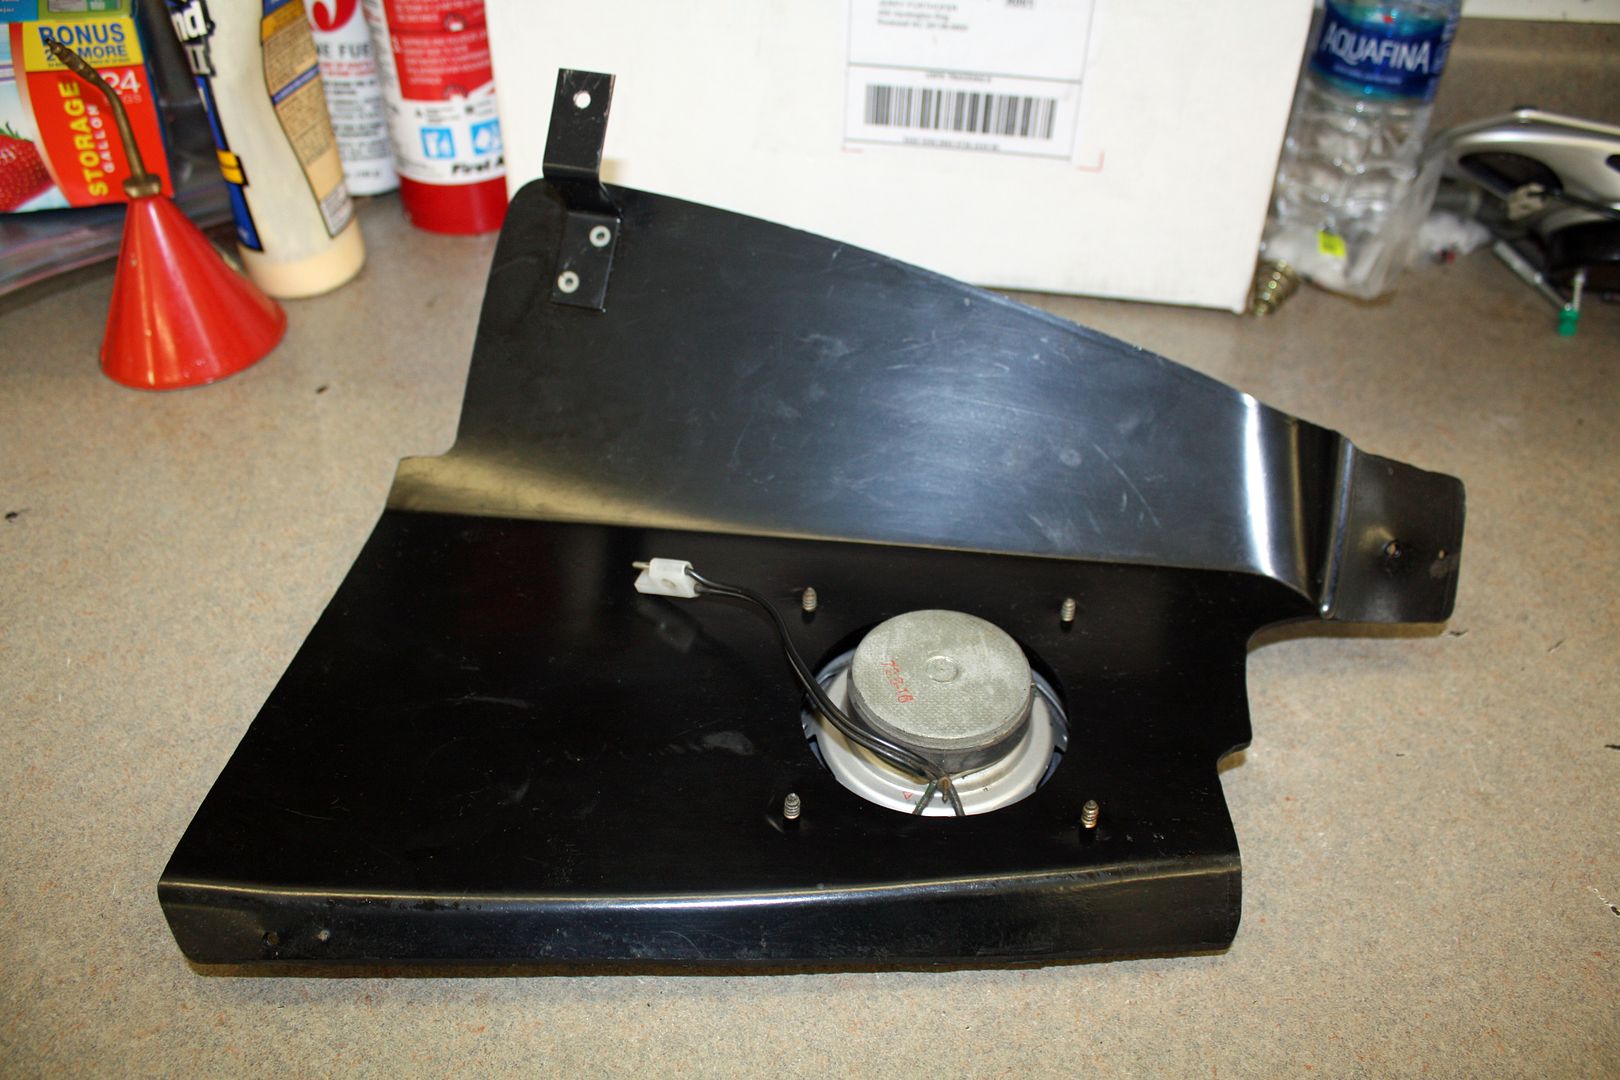 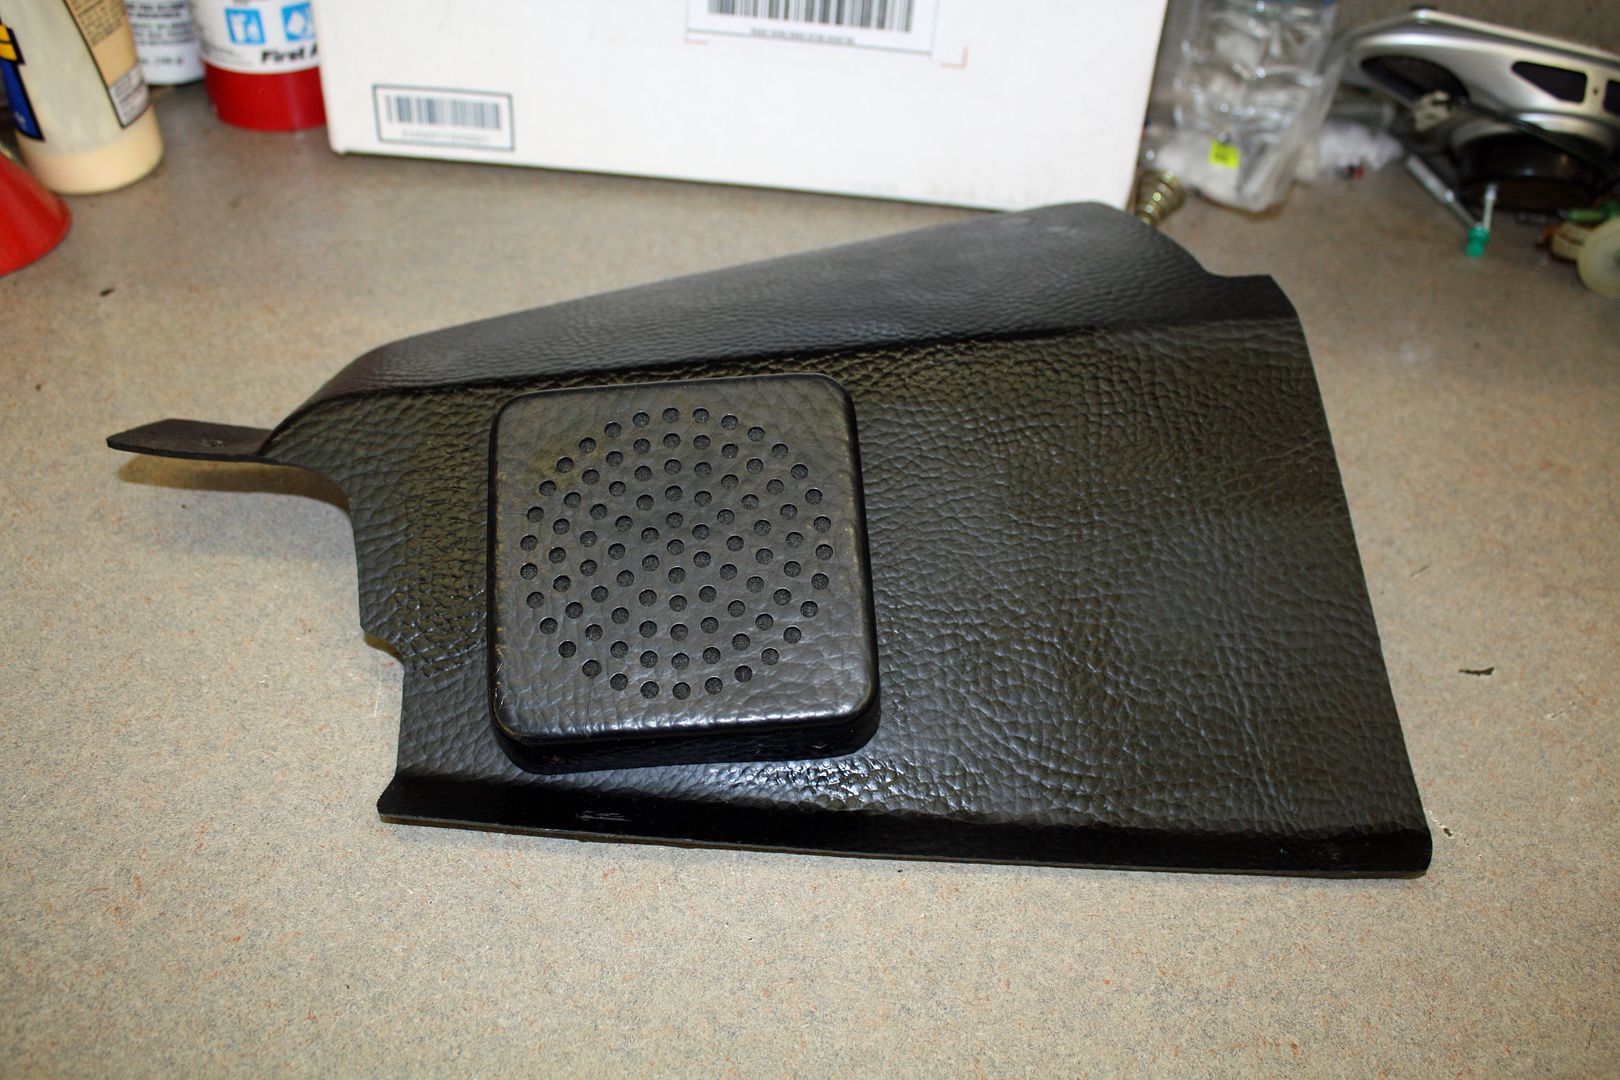 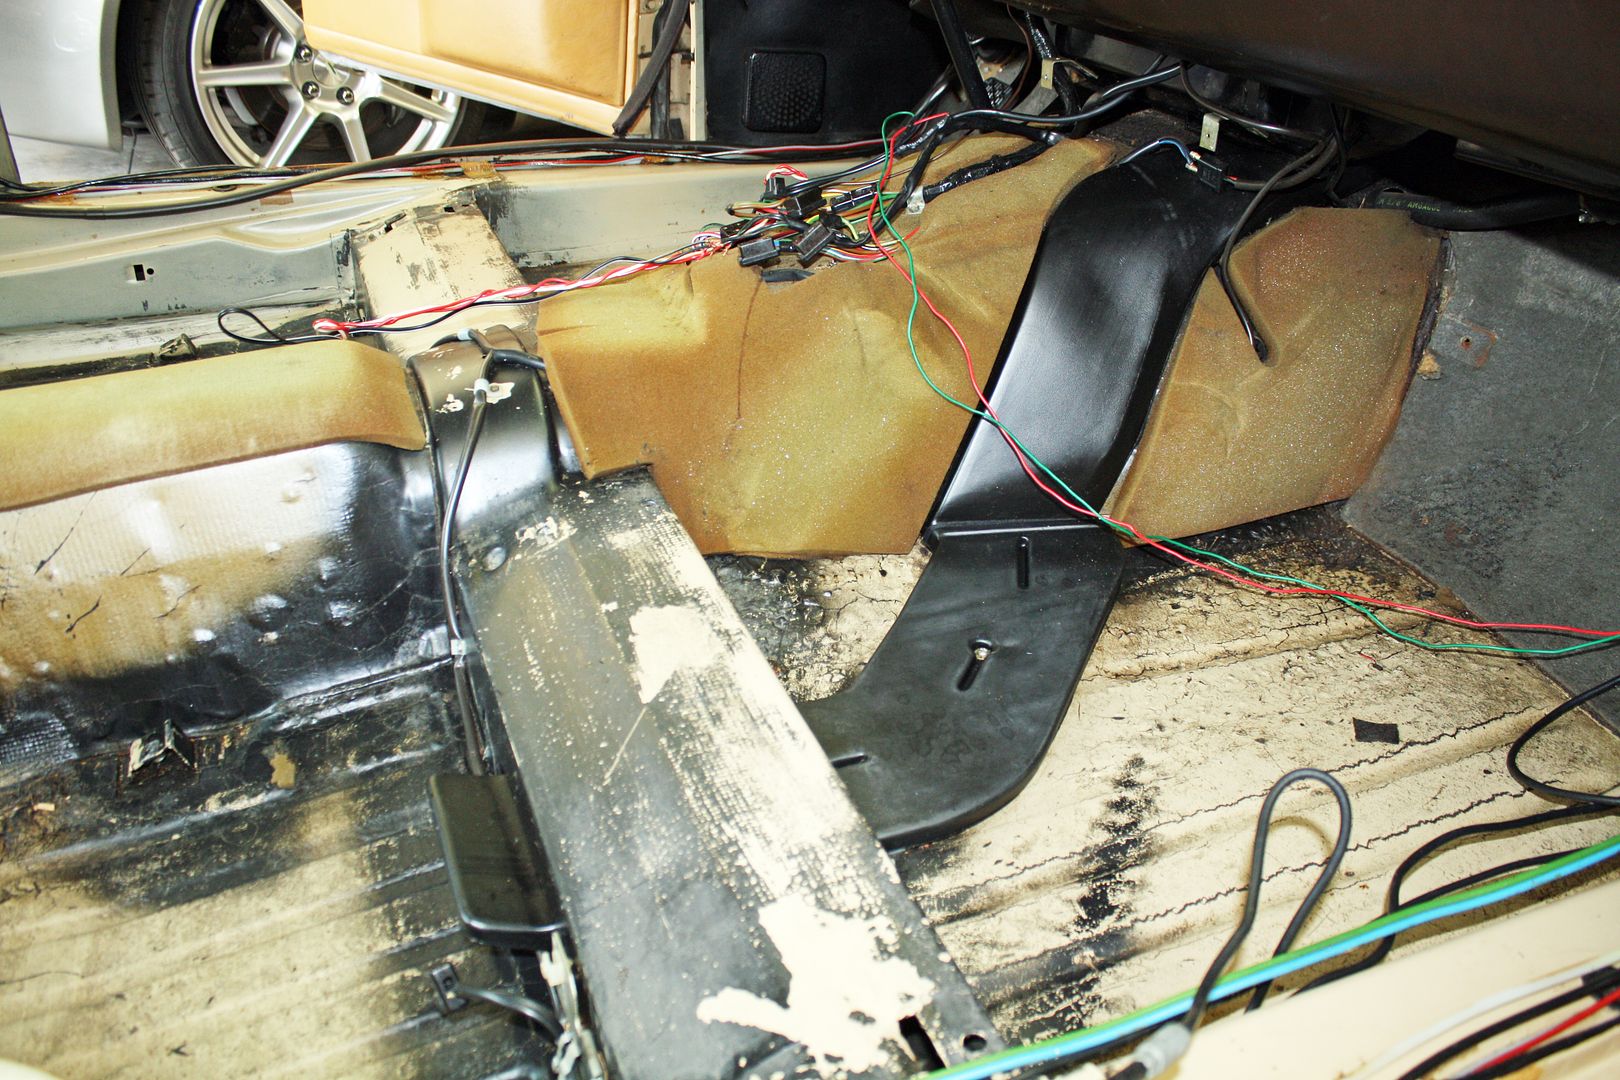
|
|
#177
|
|||
|
|||
|
Duct work is heat only, no a/c.
Great job |
|
#178
|
|||
|
|||
|
Thanks for the compliment and the info.
Yesterday while I was cleaning the floorpan area, I moved the seat belt retractor and the wires broke off. There was very little wire showing. To expose more wire I did two things. First I moved the plastic cover back as far as I could. Next I had to drill out the pop rivet for the plastic harness clamp. 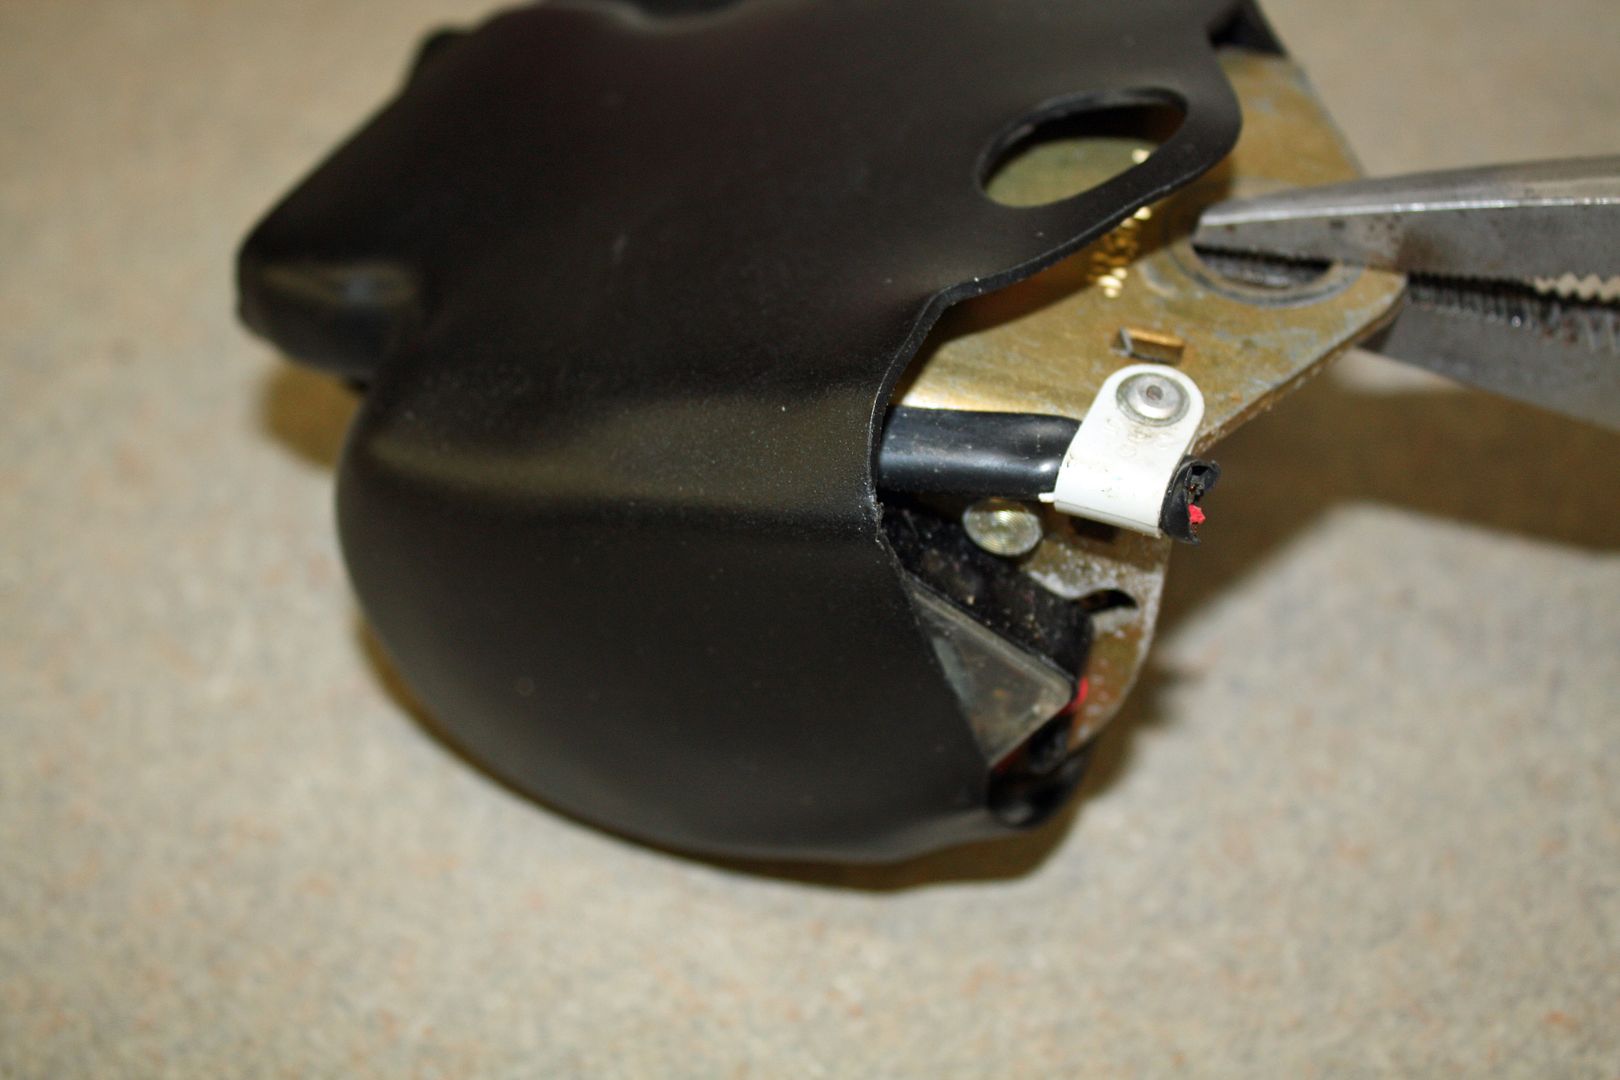 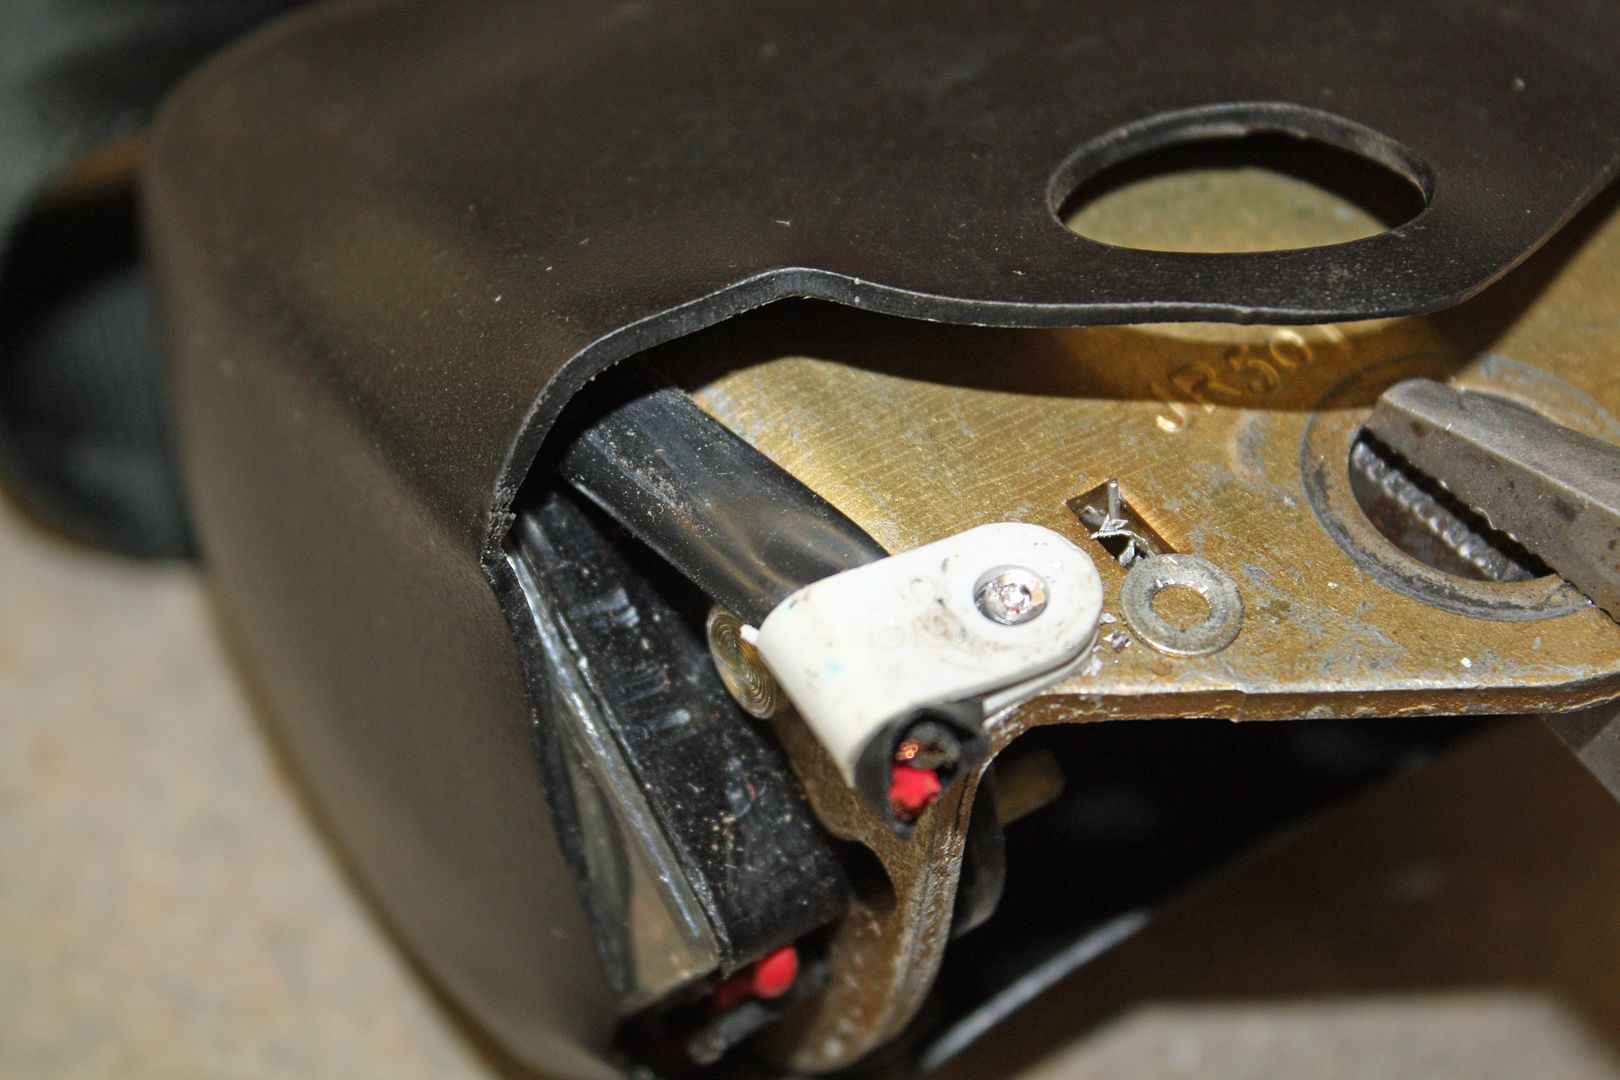 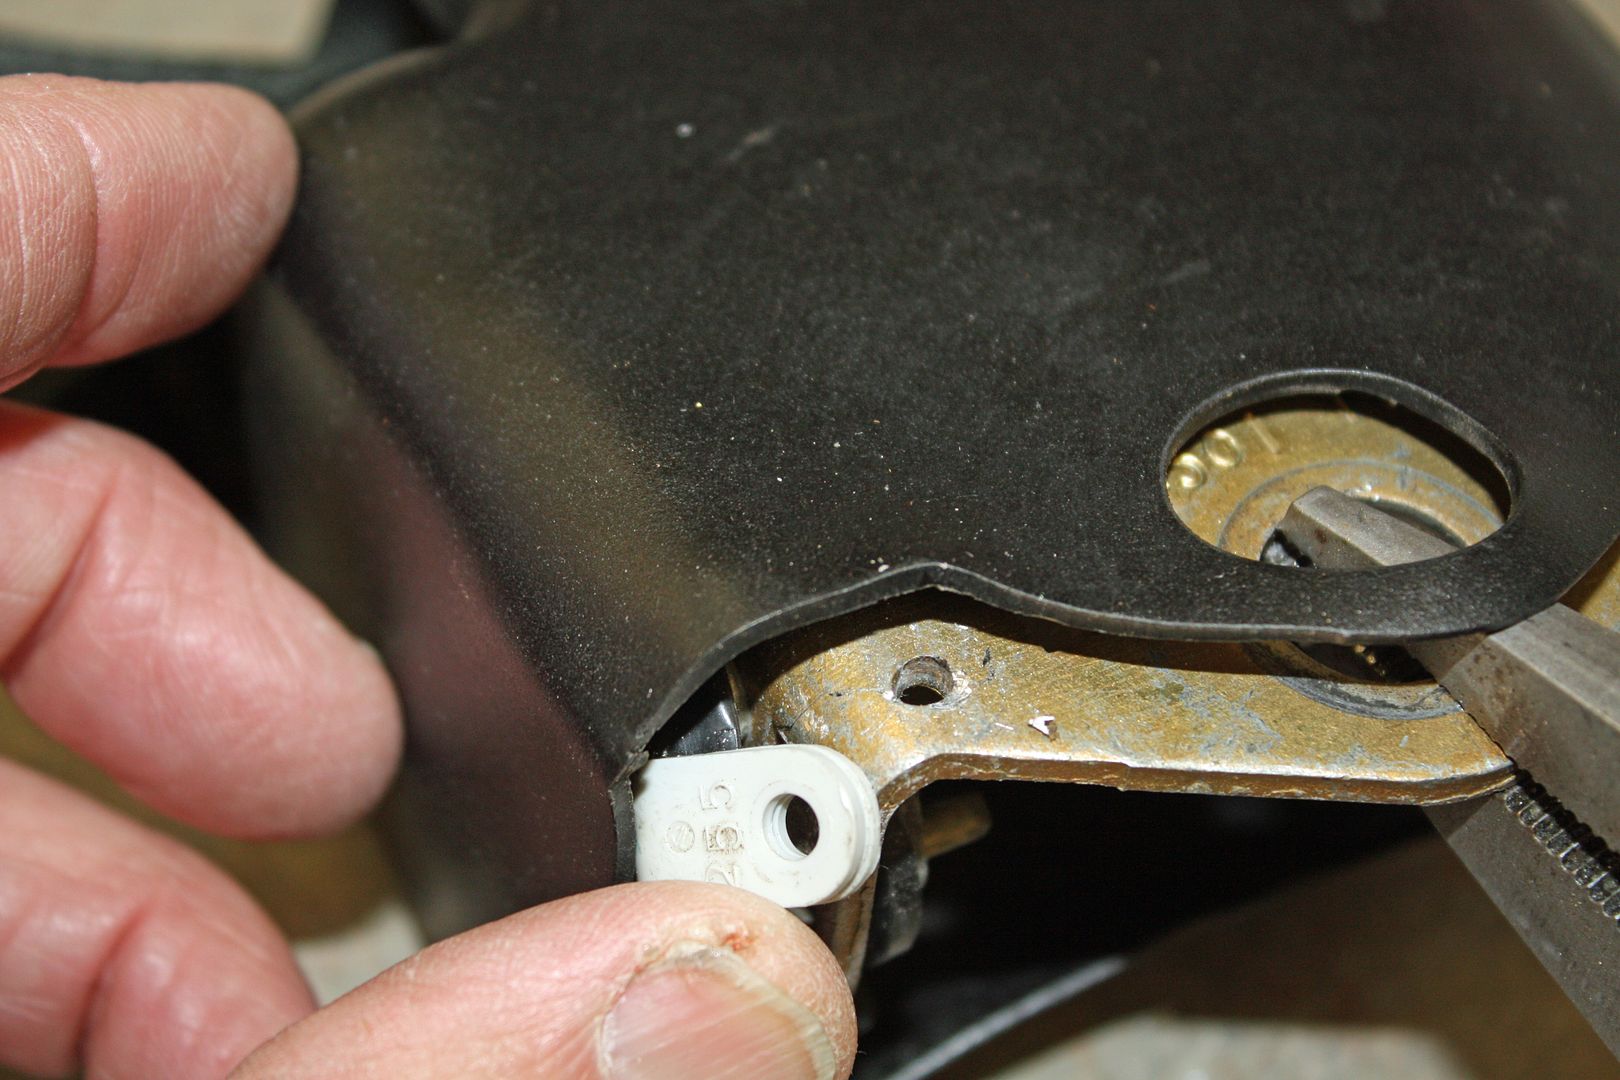 After stripping back the outer harness covering, I soldered on two wires about 6" long. After covering them with shrink wrap, I pop riveted the harness clamp back in place. 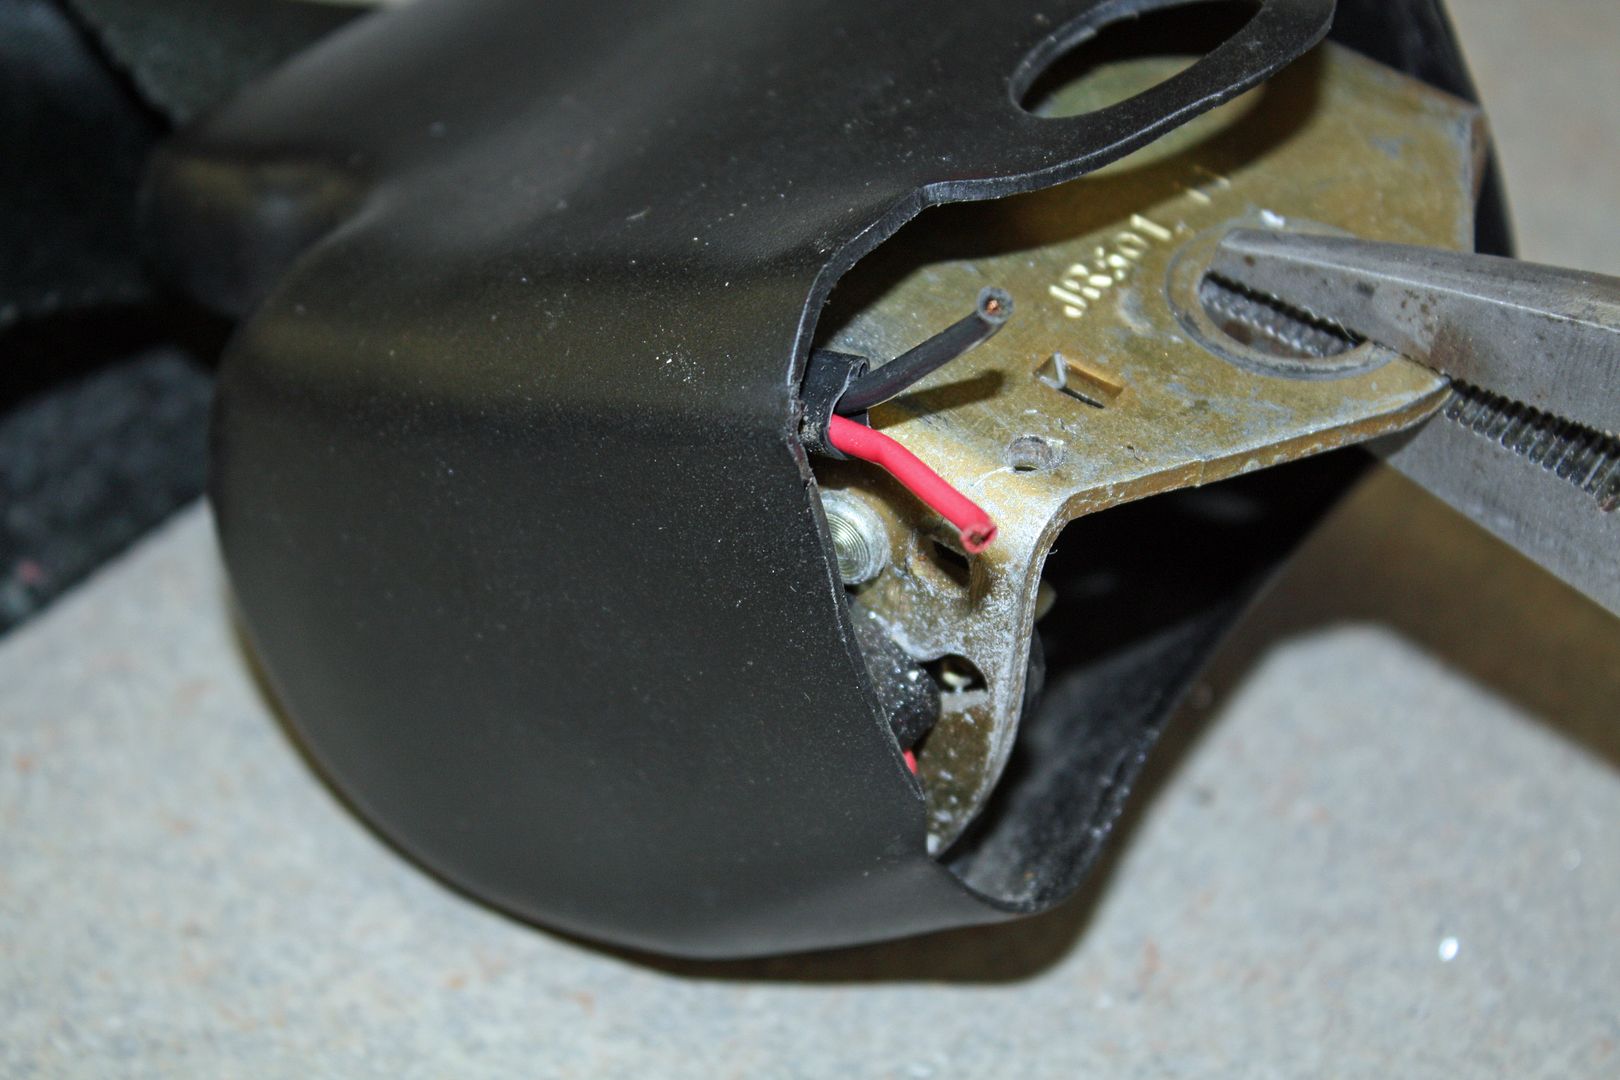 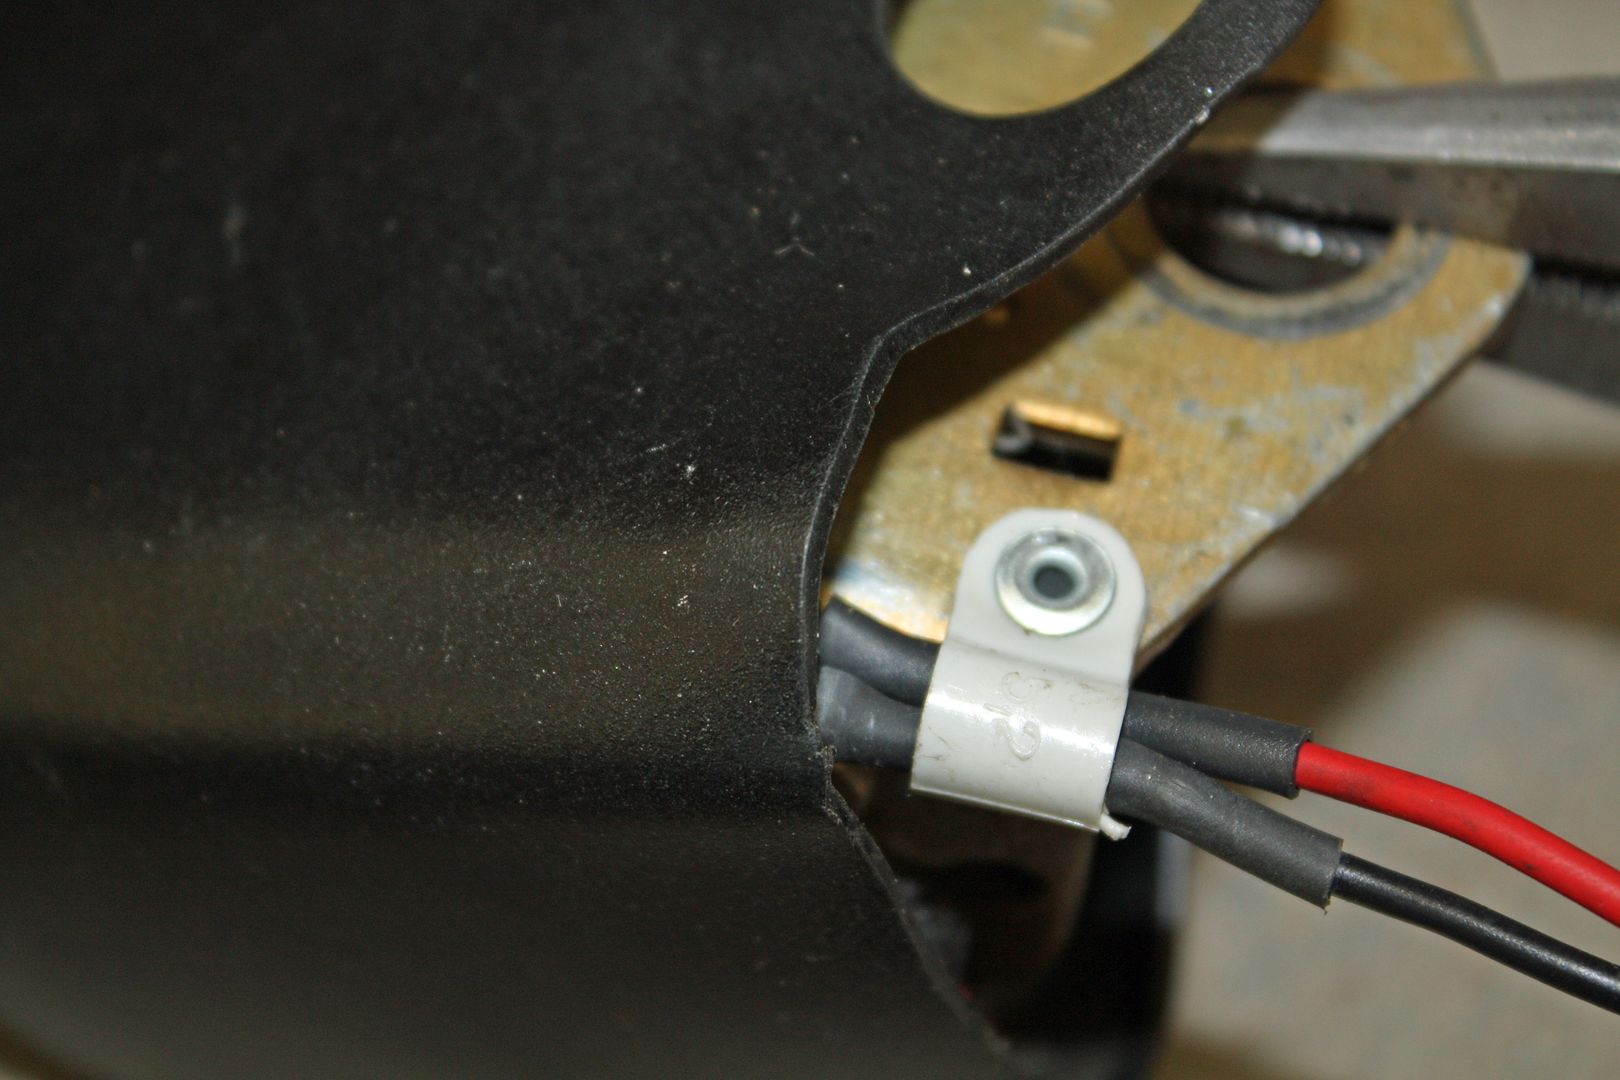 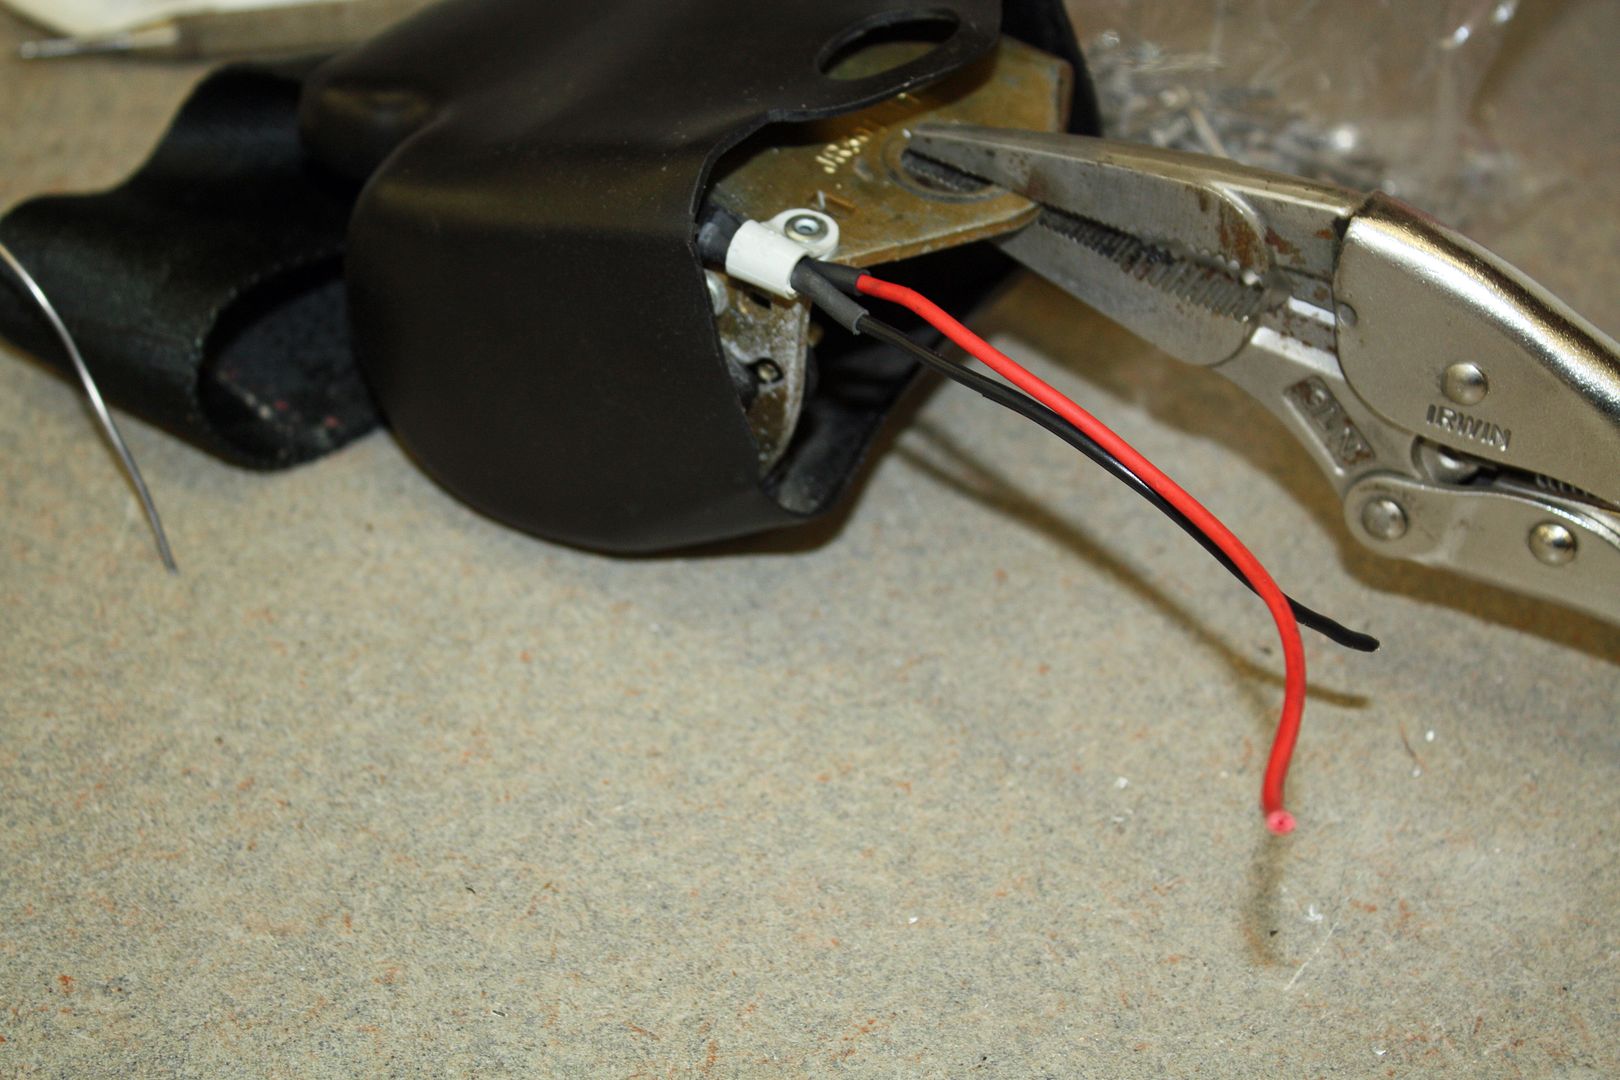 Now I moved to the car to solder the pigtail extensions to the original harness. I shrink wrapped the entire pigtail to the original harness. 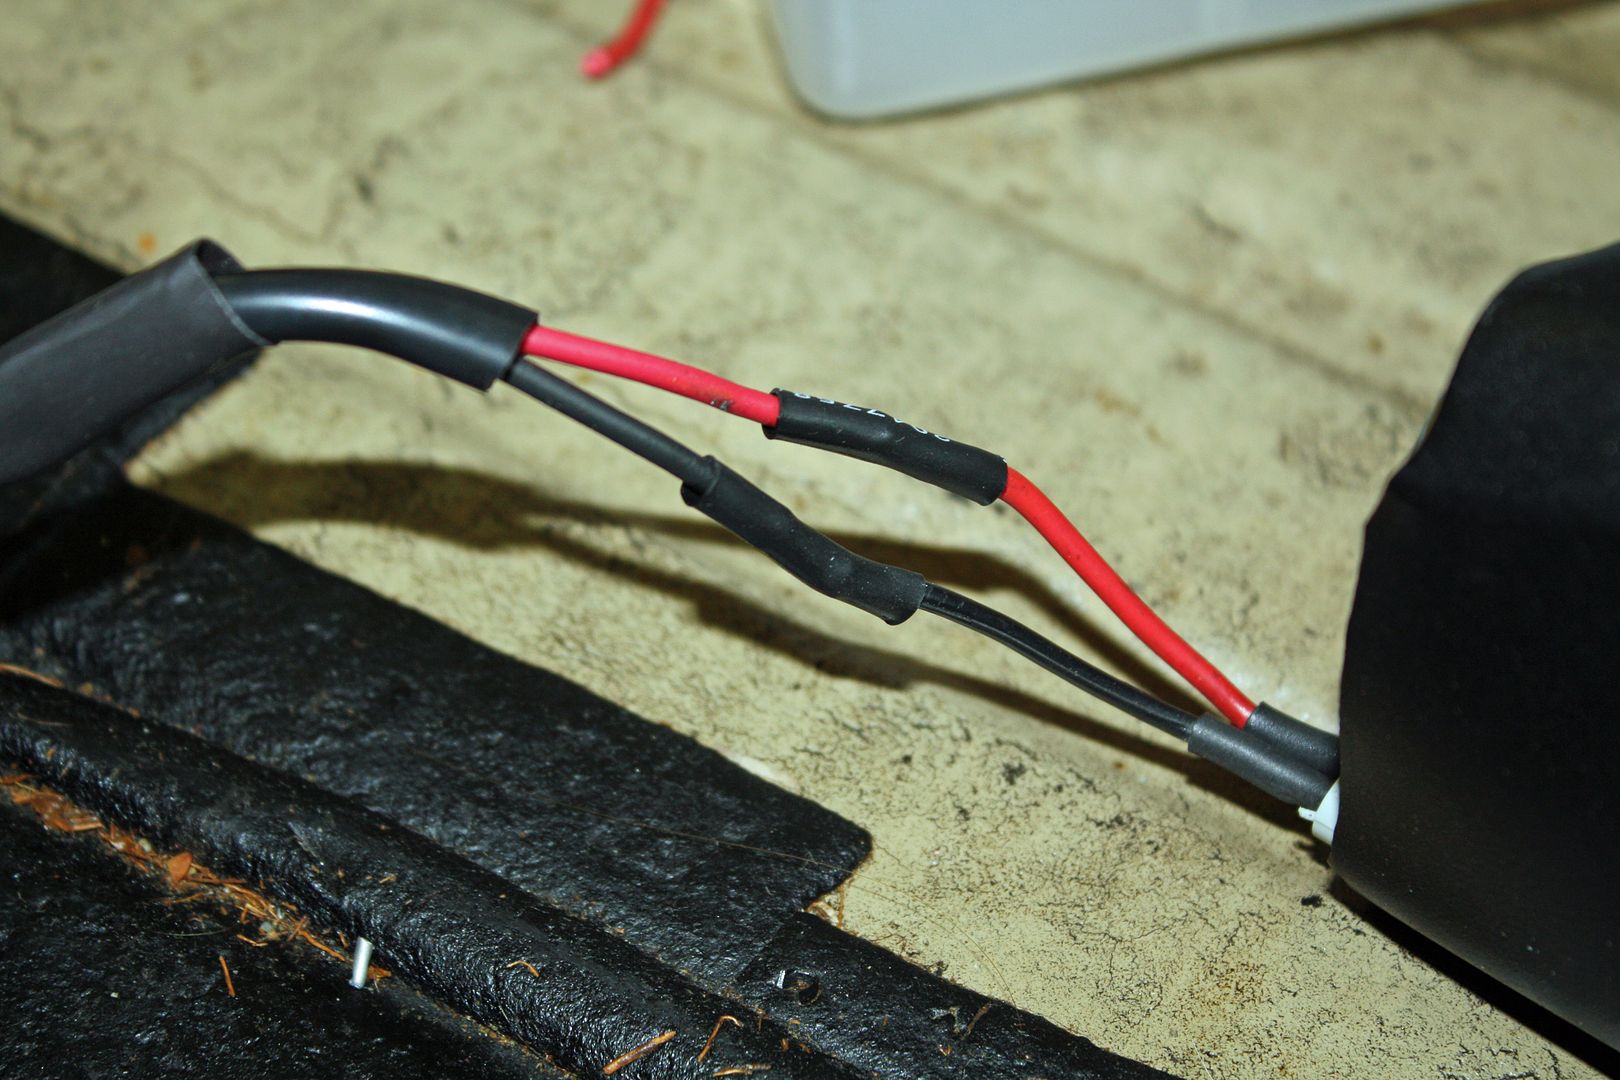 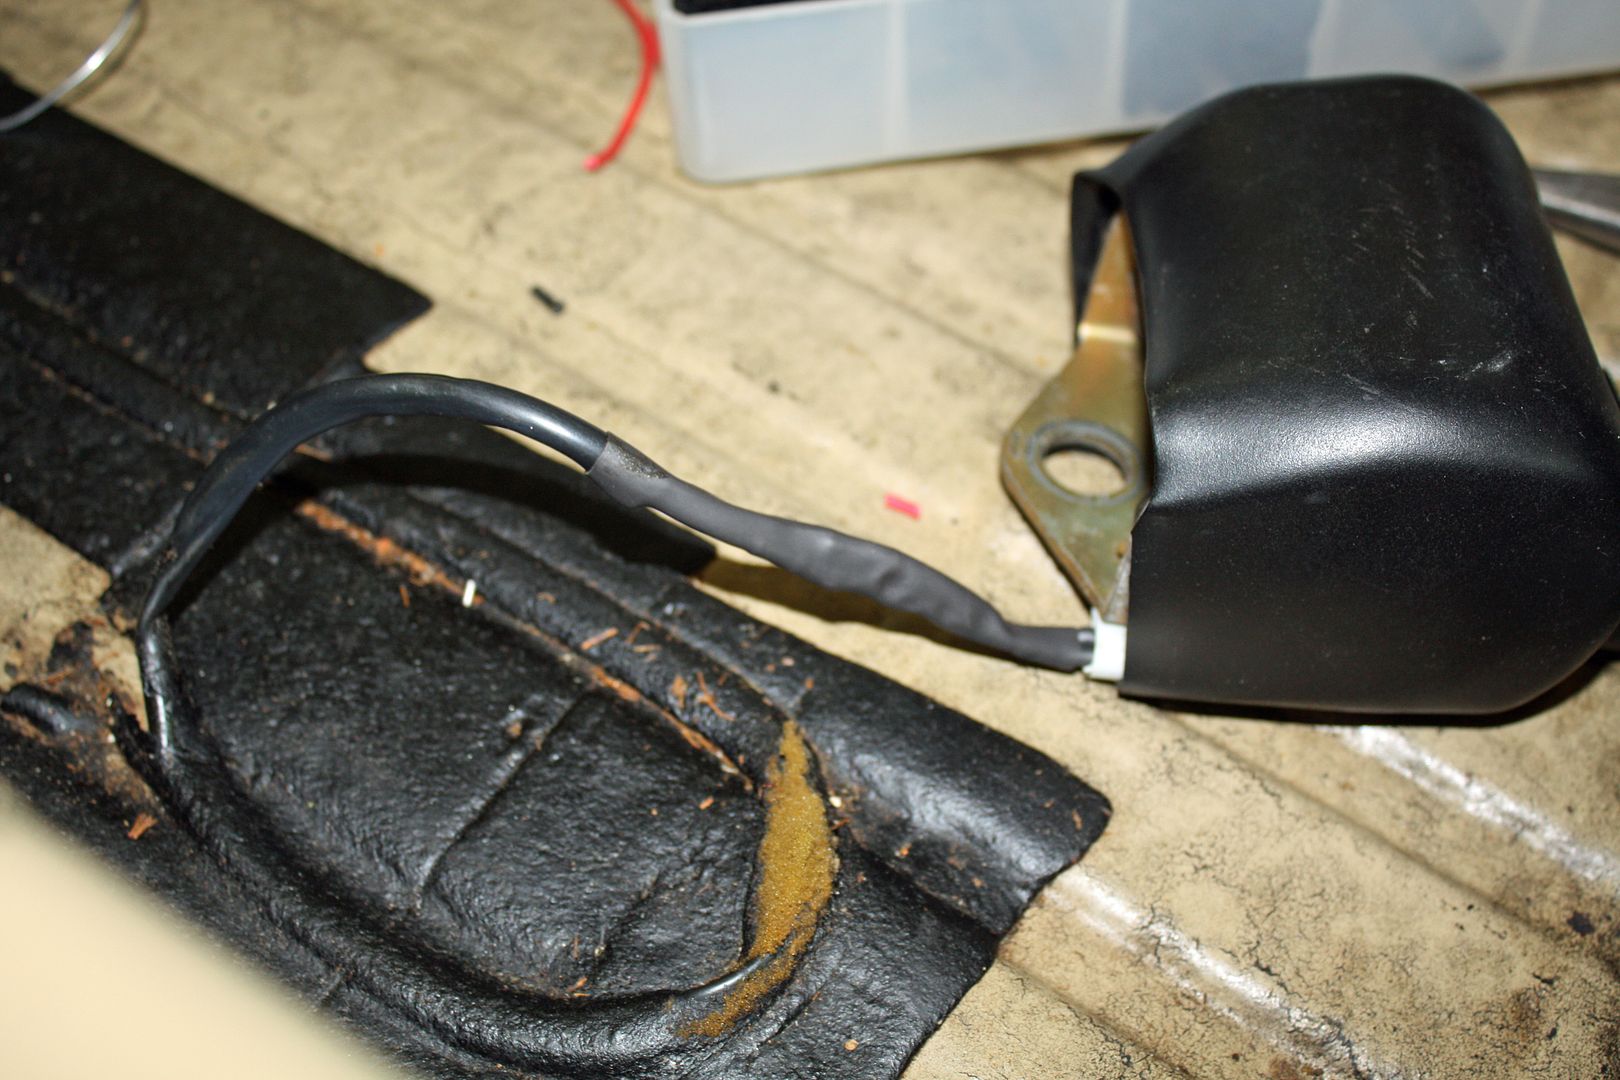 The left front door check strap is broken. New ones are $246 from Mercedes Classic I found a used one on eBay for $30 shipped. To install it, the door card must be removed. Since I had previously removed the wooden interior door trim to have it re-finished, removing the top part of the door card was as easy as unscrewing the door lock knob and lifting it up. There are three screws holding the armrest on. Two are underneath the armrest and the other one is at the top. To access it, one must slip the chrome trim piece back to expose the screw. 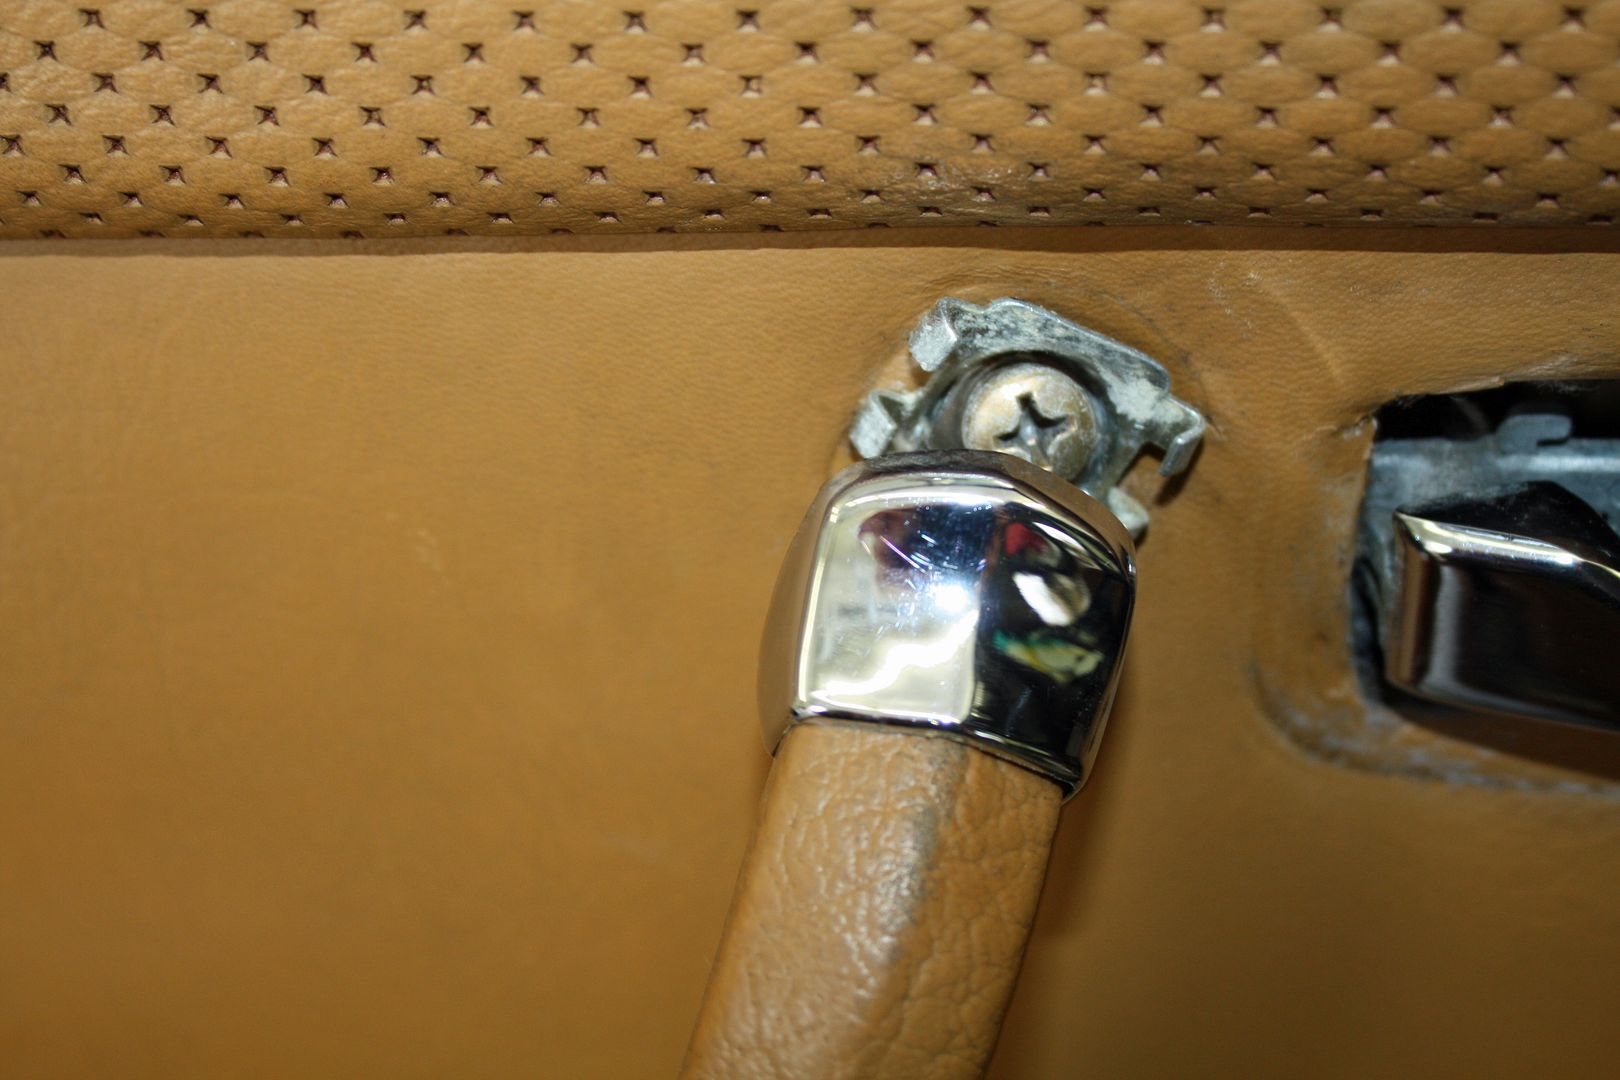 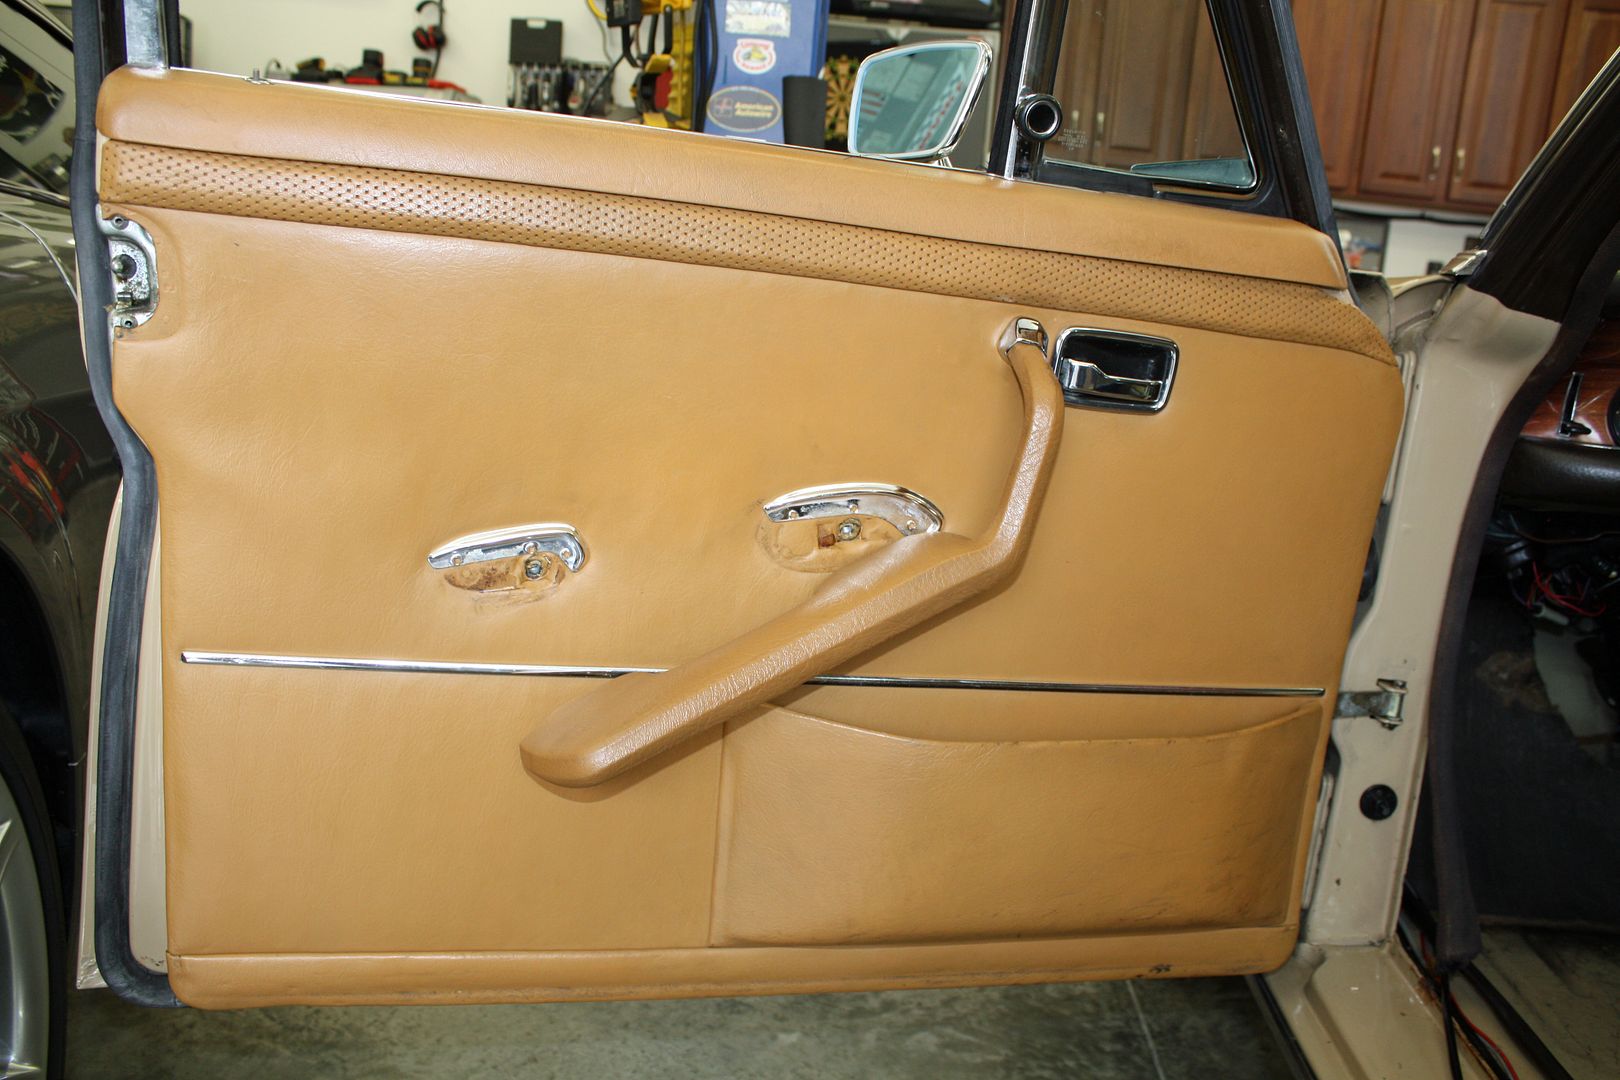 To remove the interior door latch, use a small screwdriver to pry out the black plastic part on the end opposite the door latch hinge. This exposes the screw that attaches the door latch. 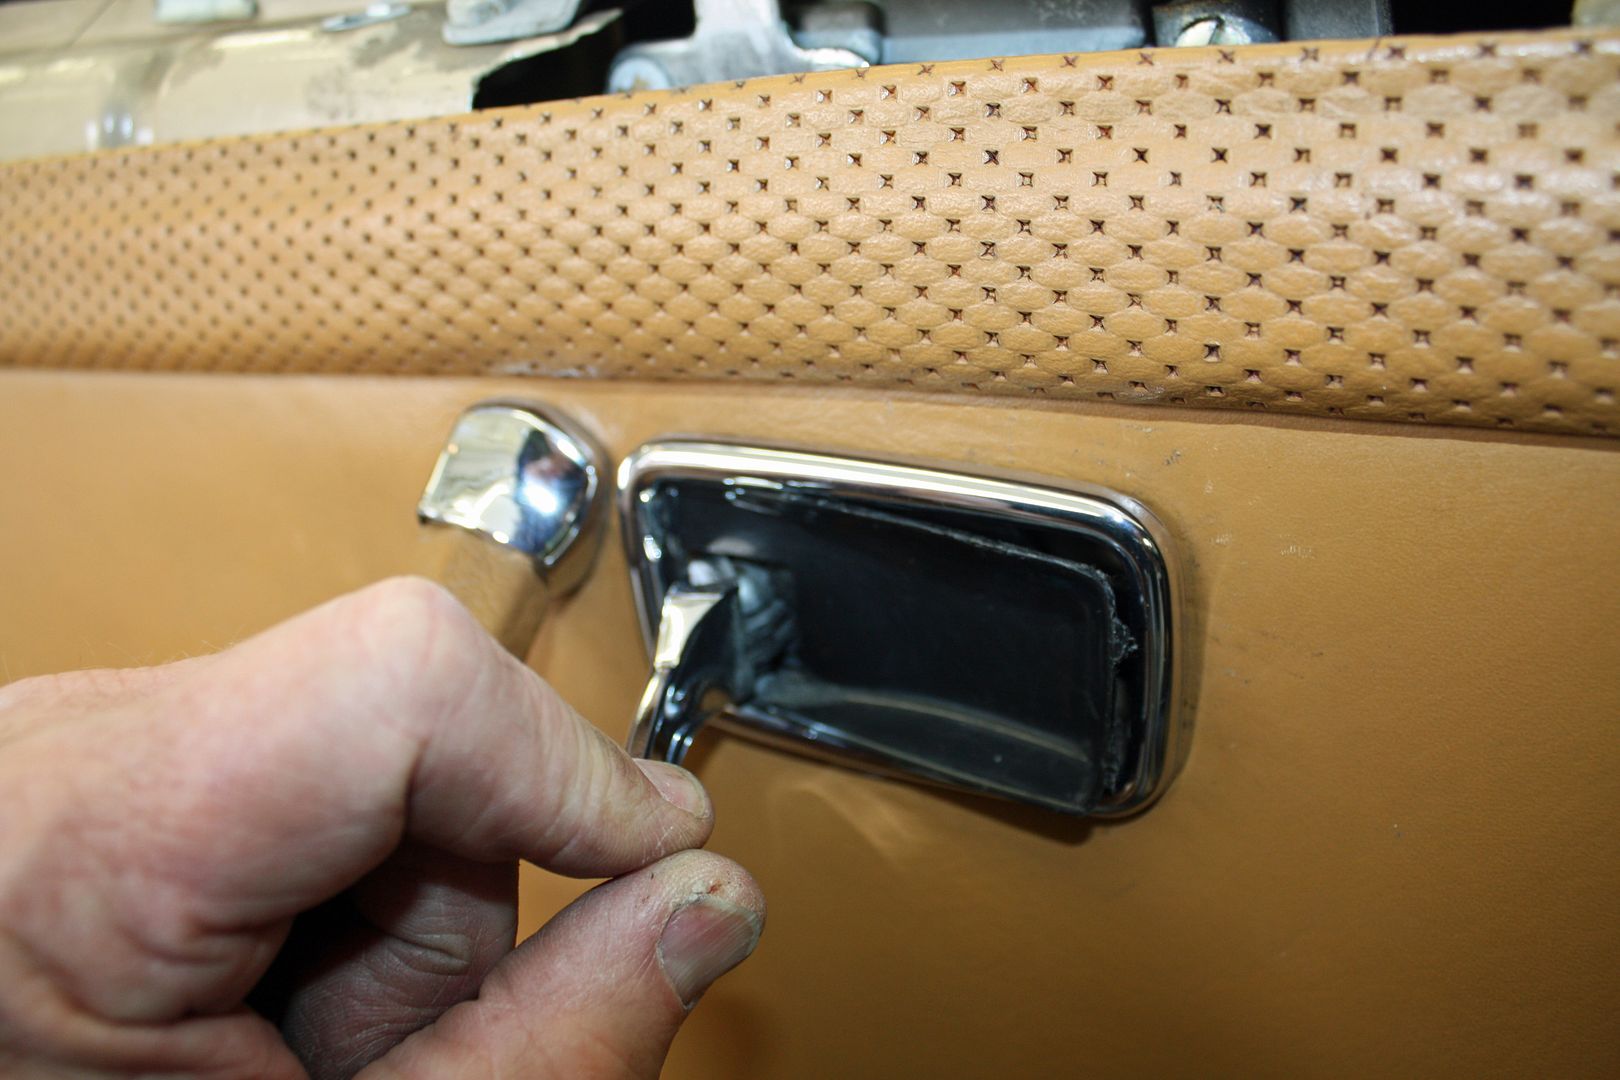 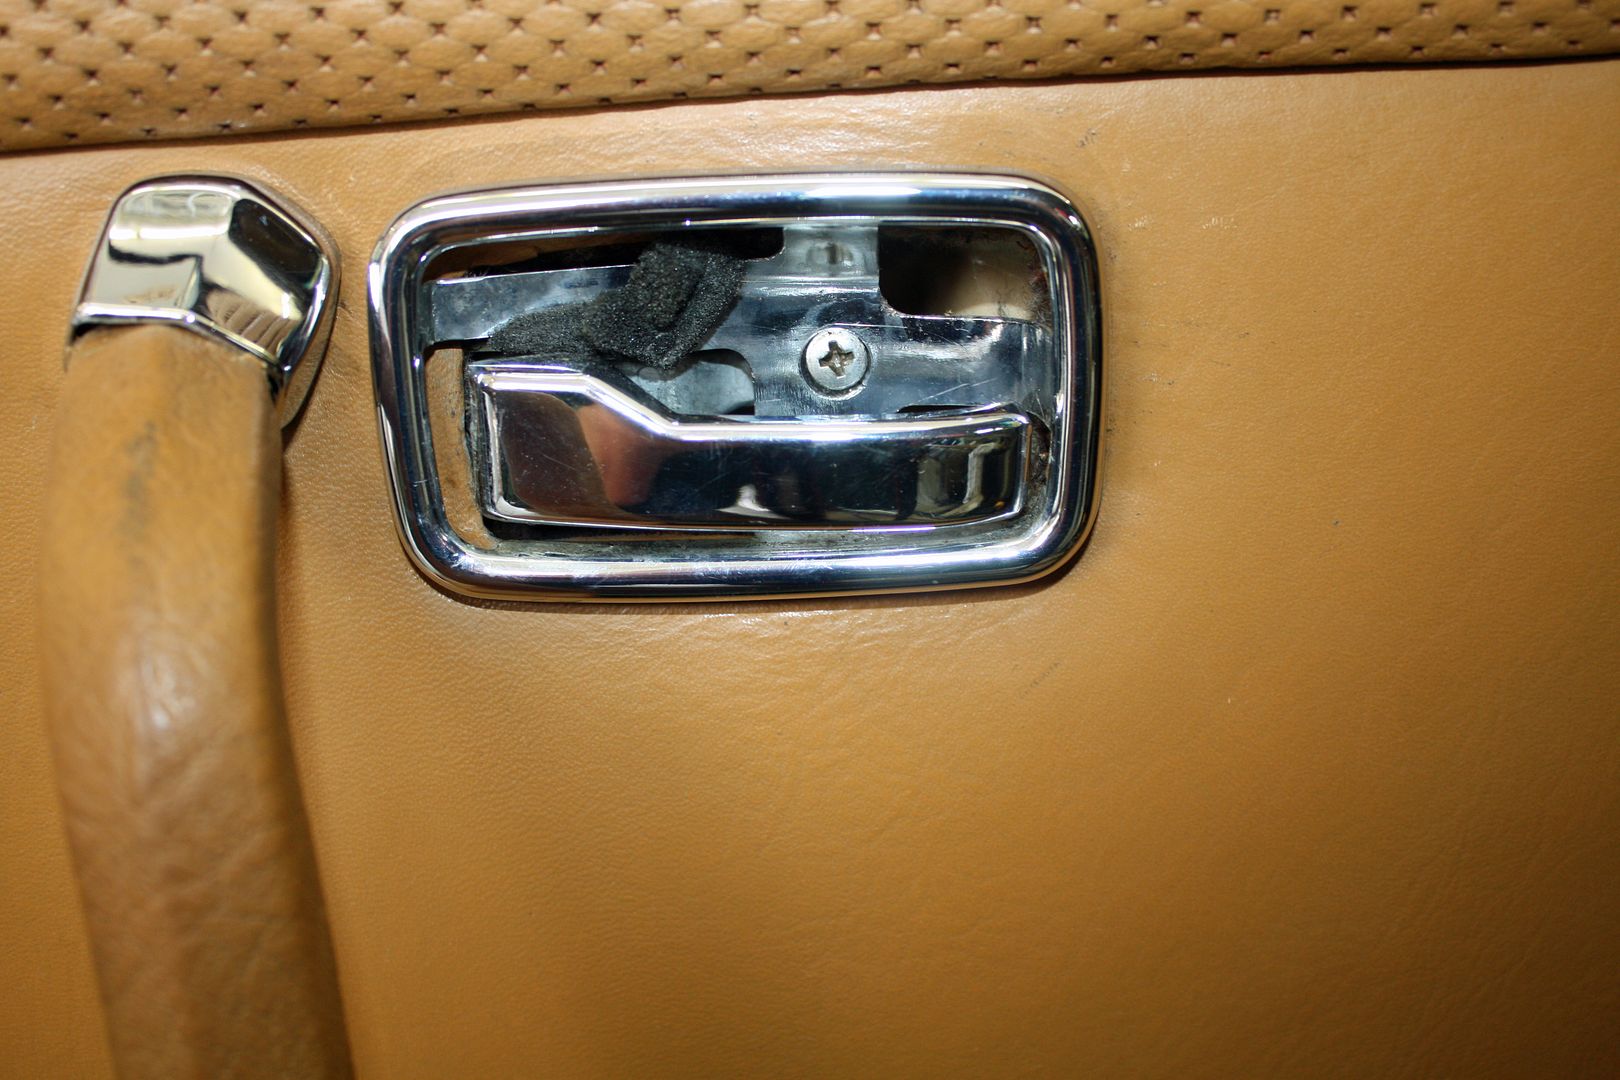 Now you can gently pull around the perimeter of the door card to release it. About halfway up on the right side is a metal retainer that slips into a slot. Once you have all of the fastening tabs released, pull up on the door card and off it comes. The first thing to do to remove the check strap is to remove the pin on the door jamb. The check strap is held on with two bolts on the inner side of the door and one nut on the face of the door. With those bolts removed, I struggled with removing the old one as the power window wiring harness was in the way. Eventually I became smarter than the harness by removing the two screws that attached the harness to the door regulator. Once those screws are removed, one can push the harness out of the way and the check strap is easily removed or installed. 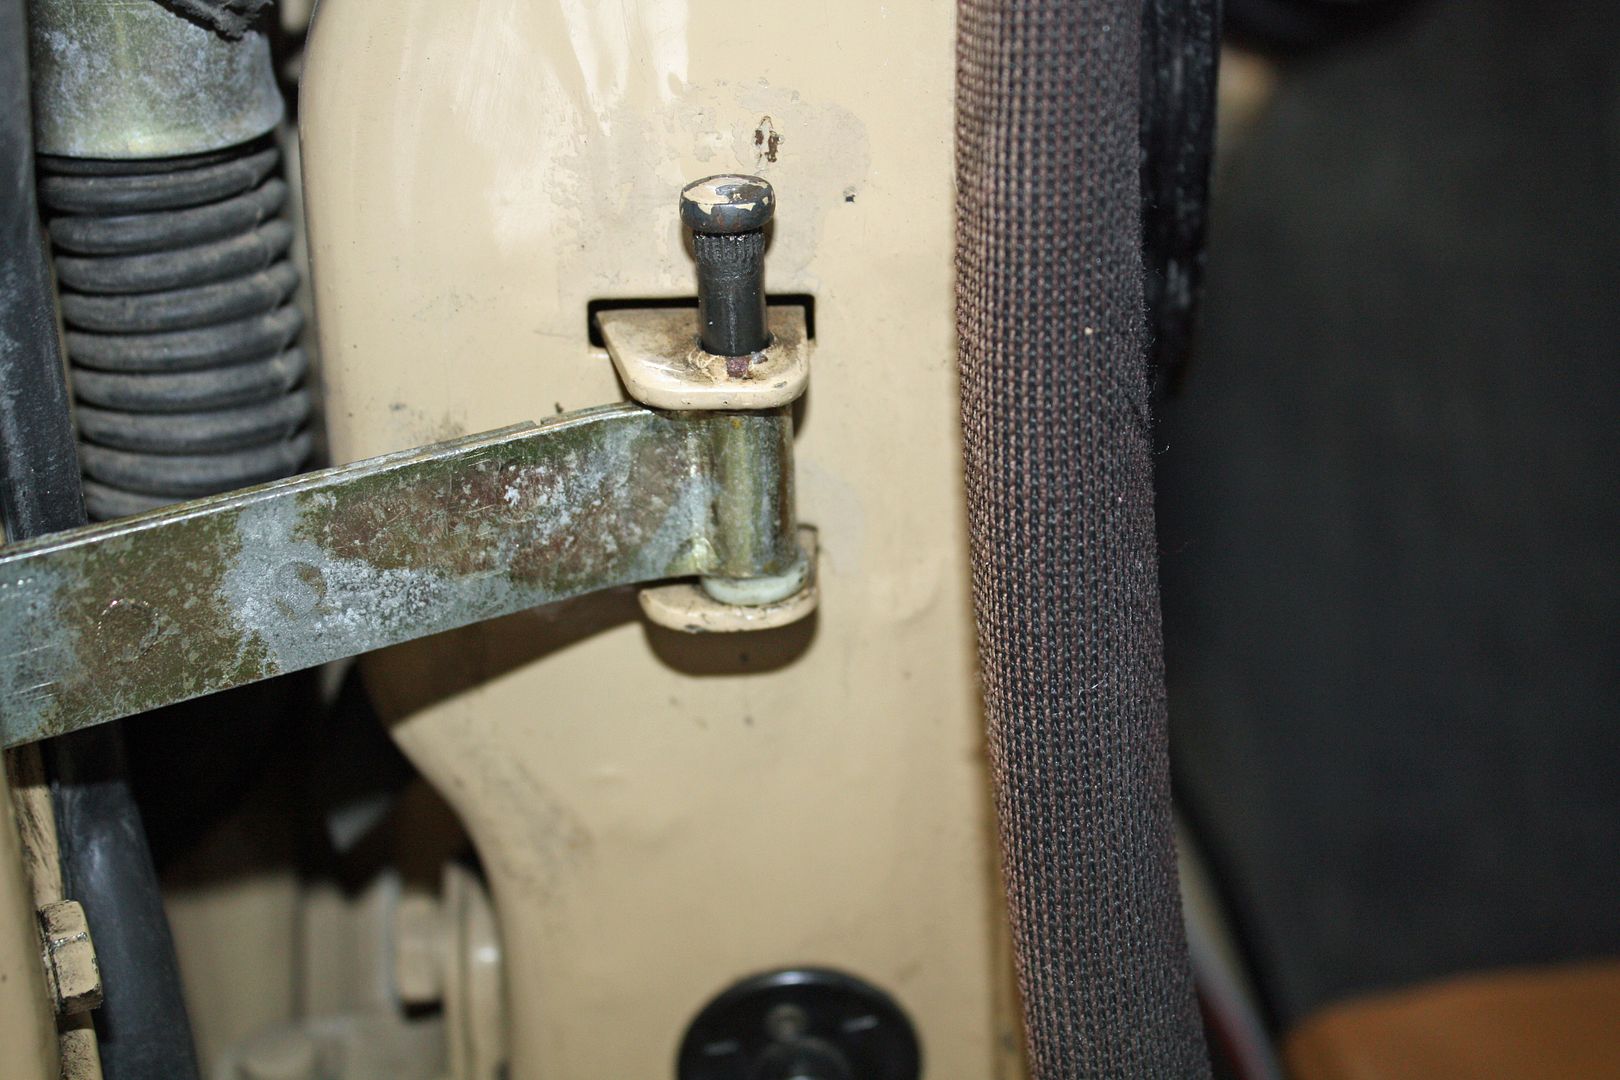 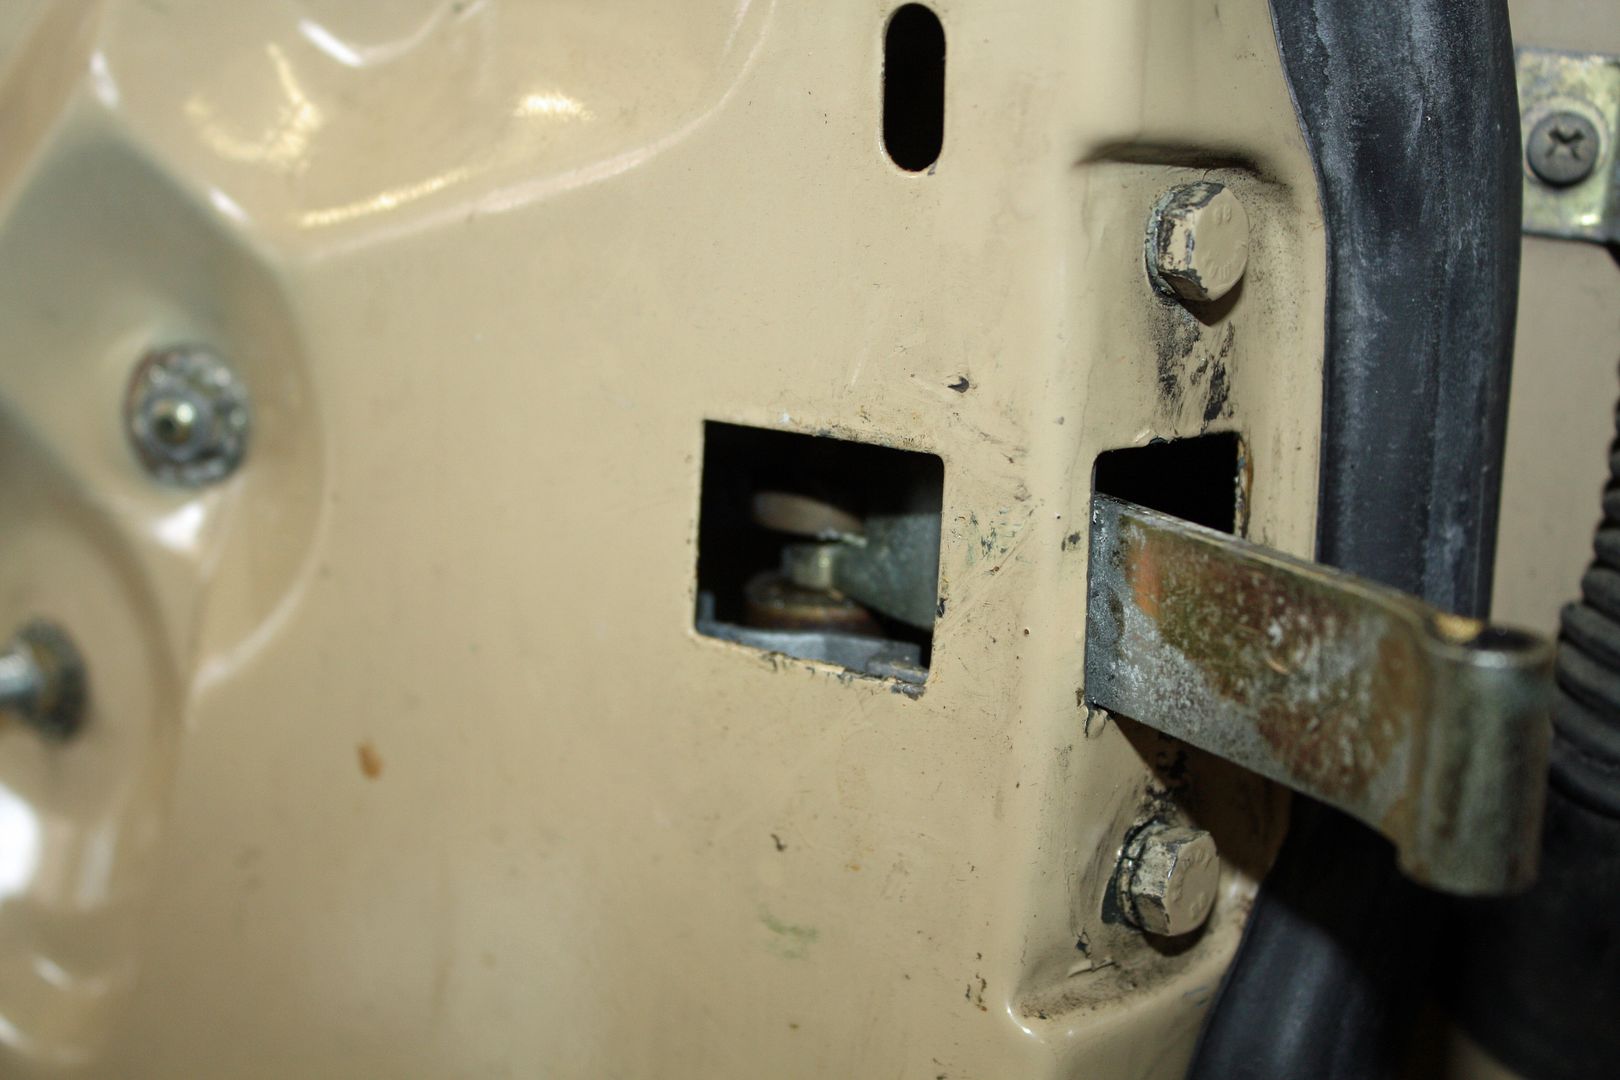 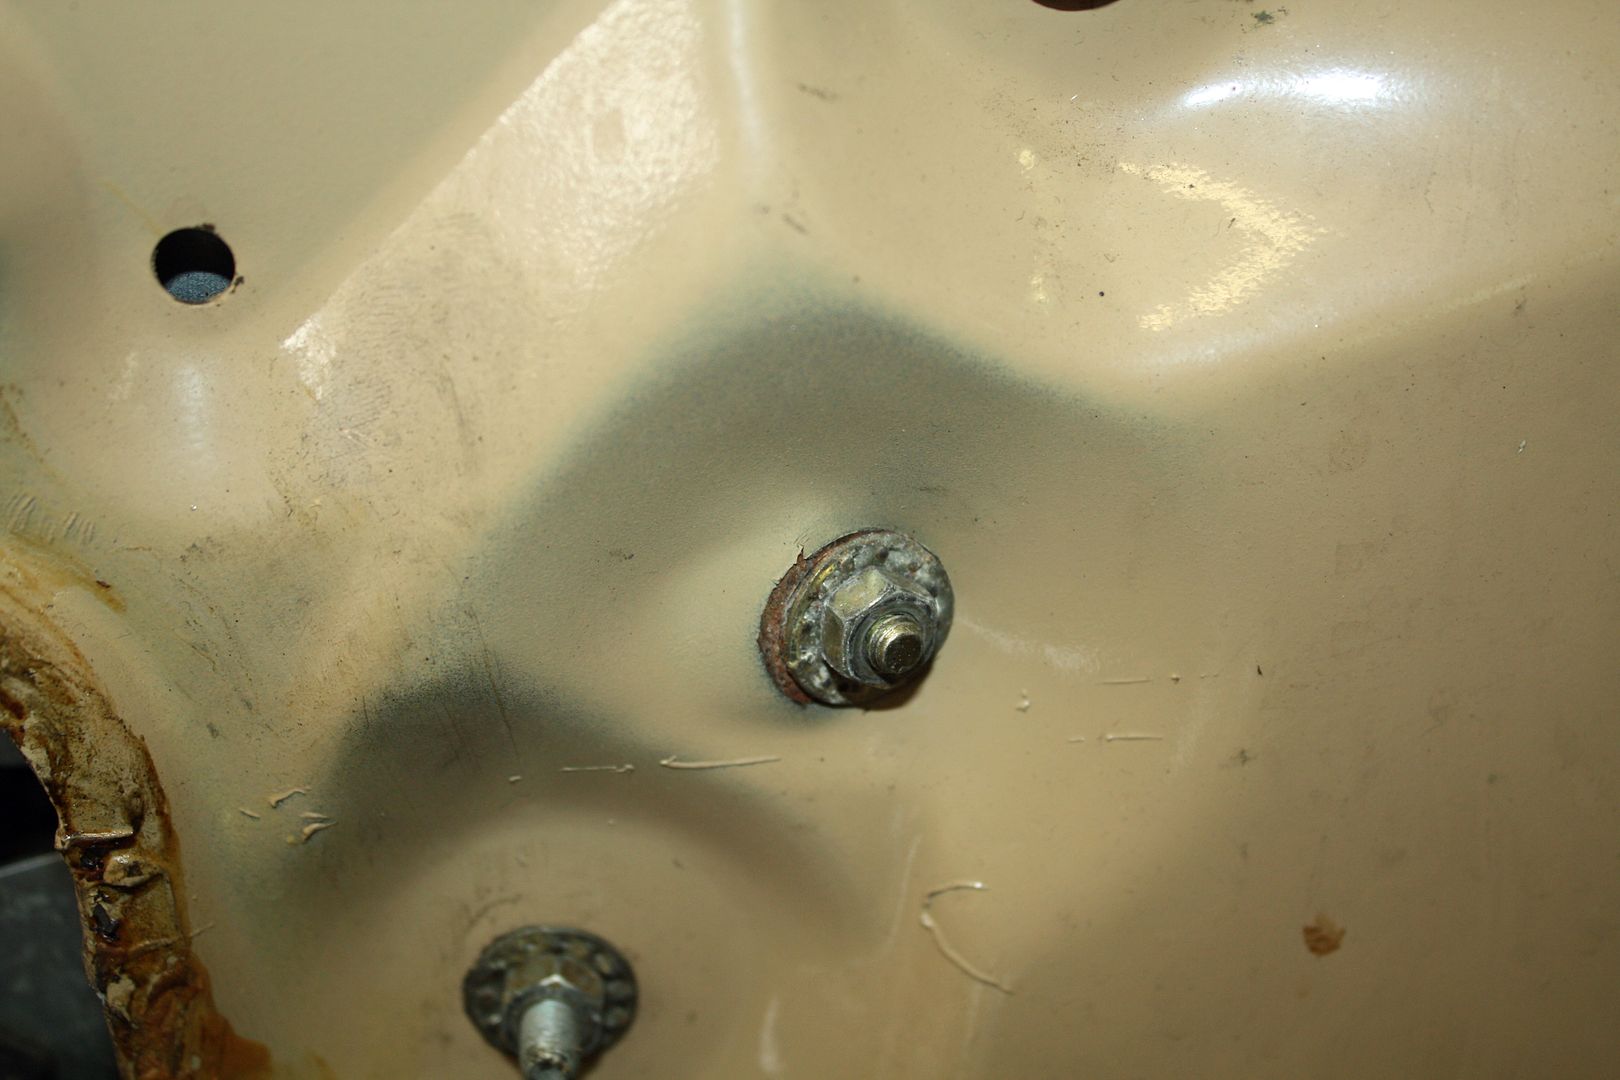 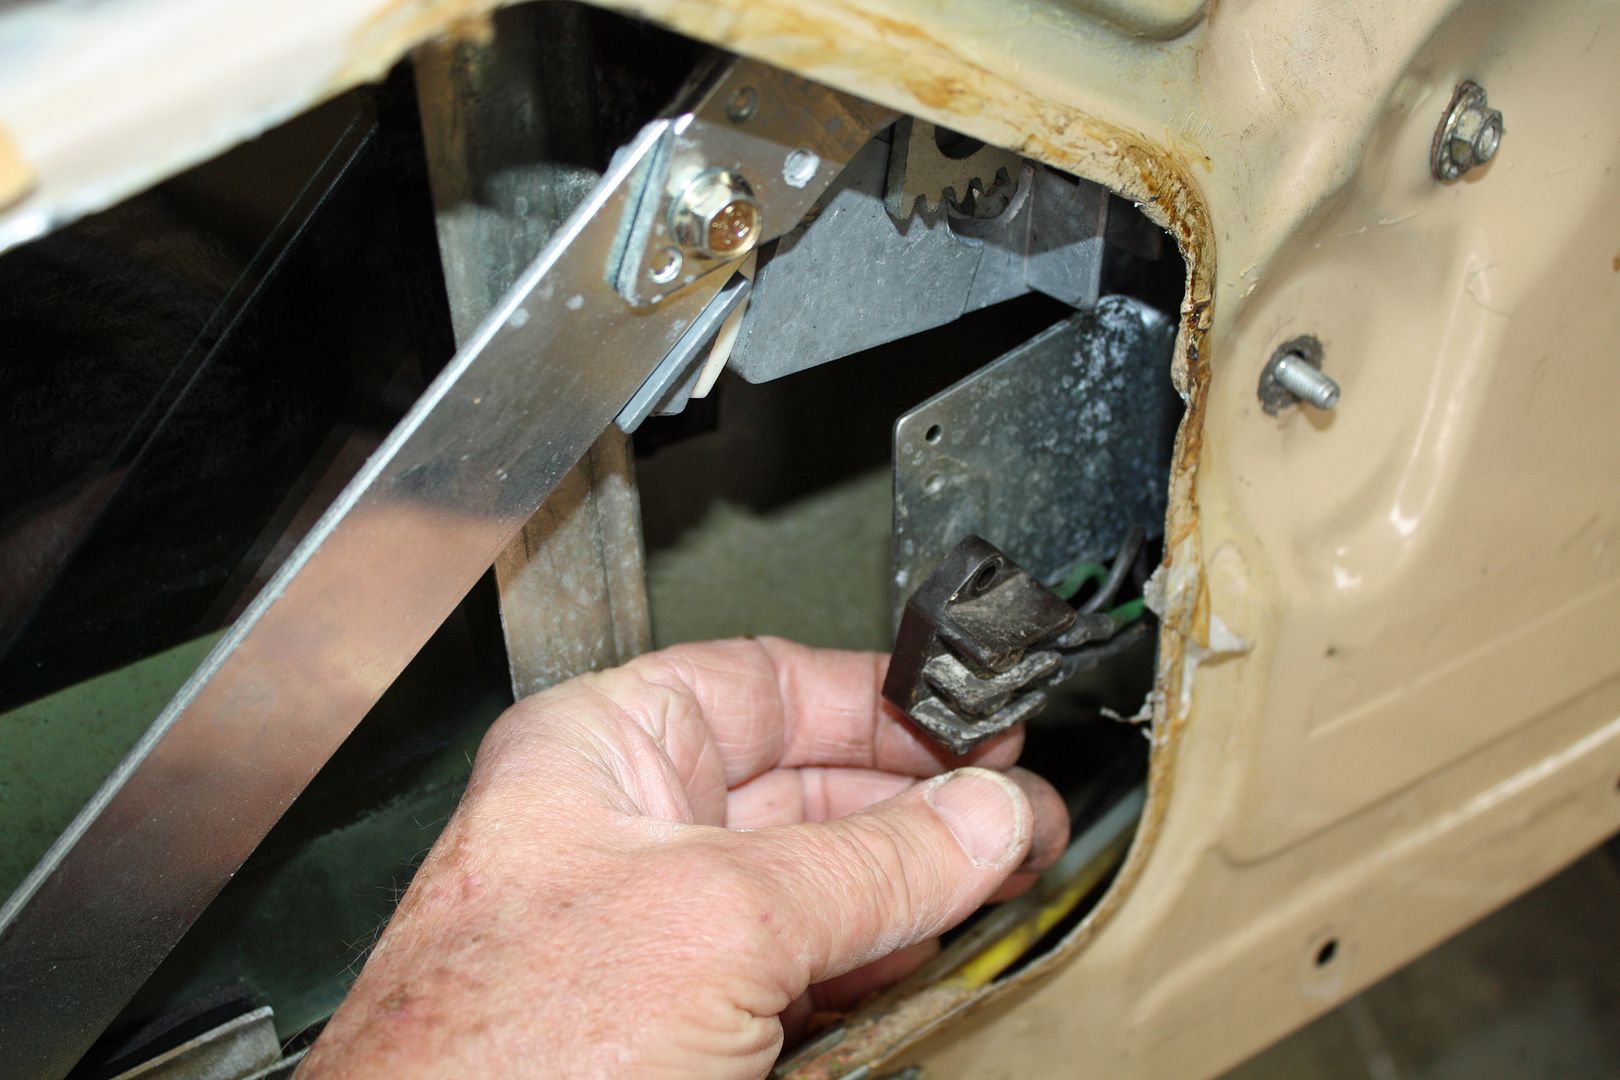 The old check strap broke at the rear. Below is the replacement part. 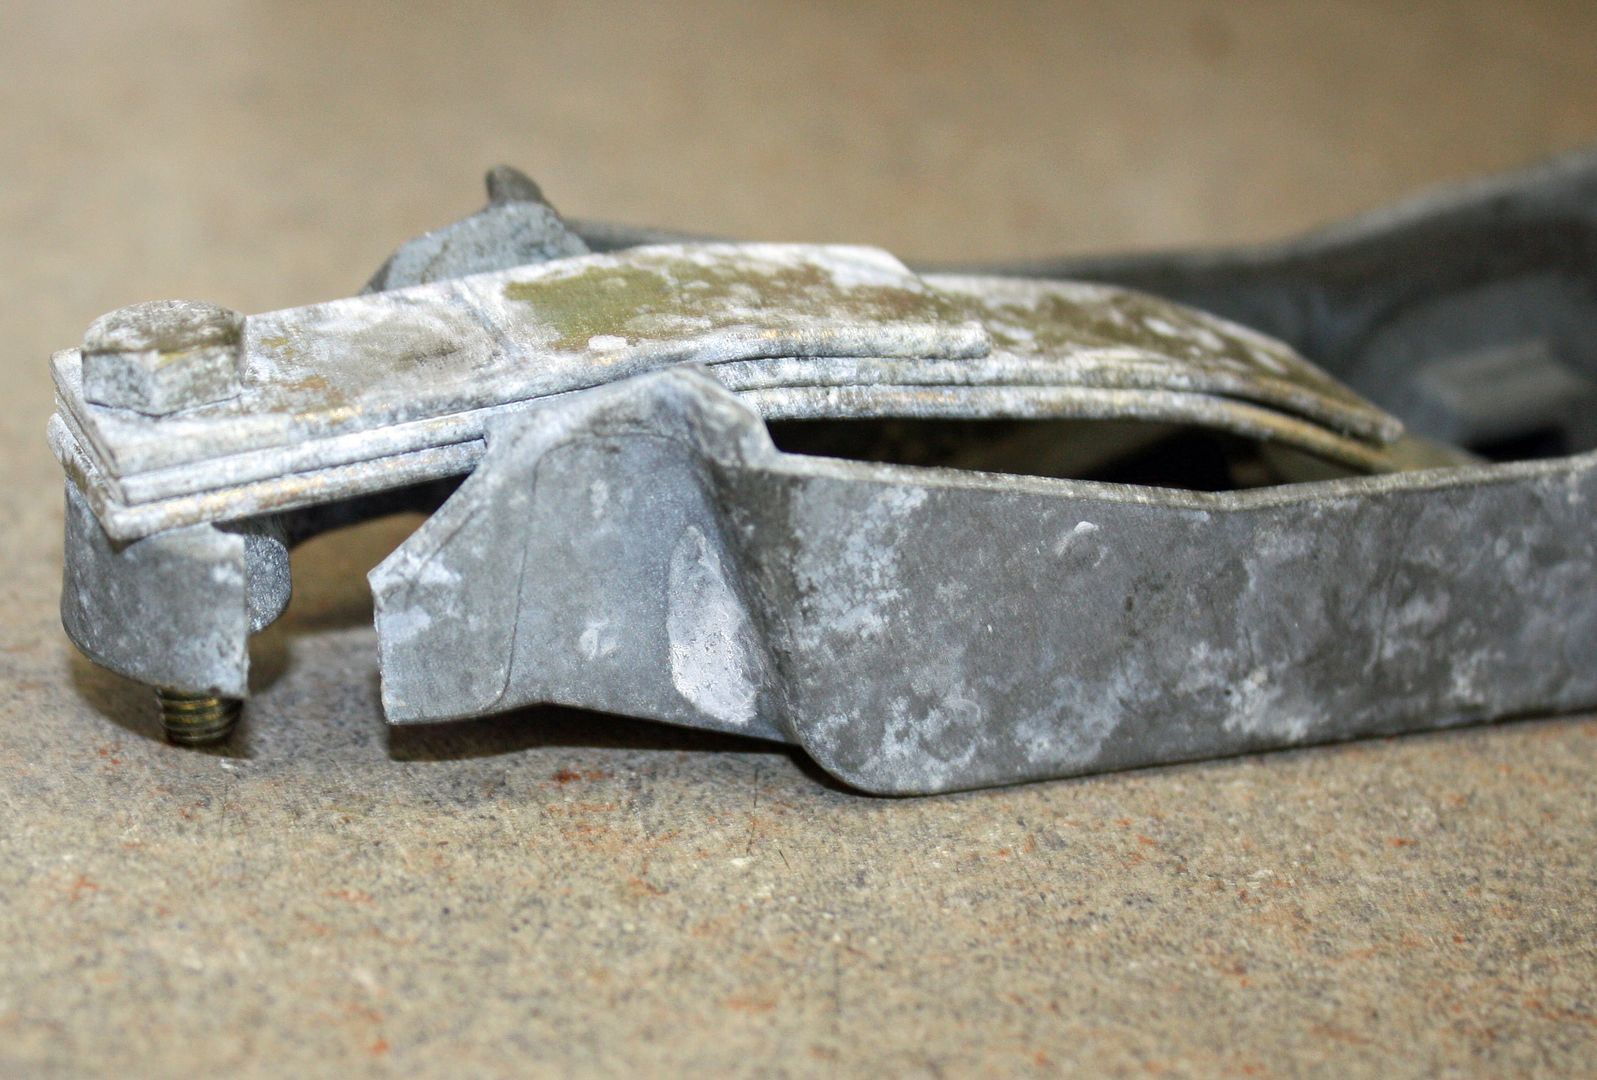 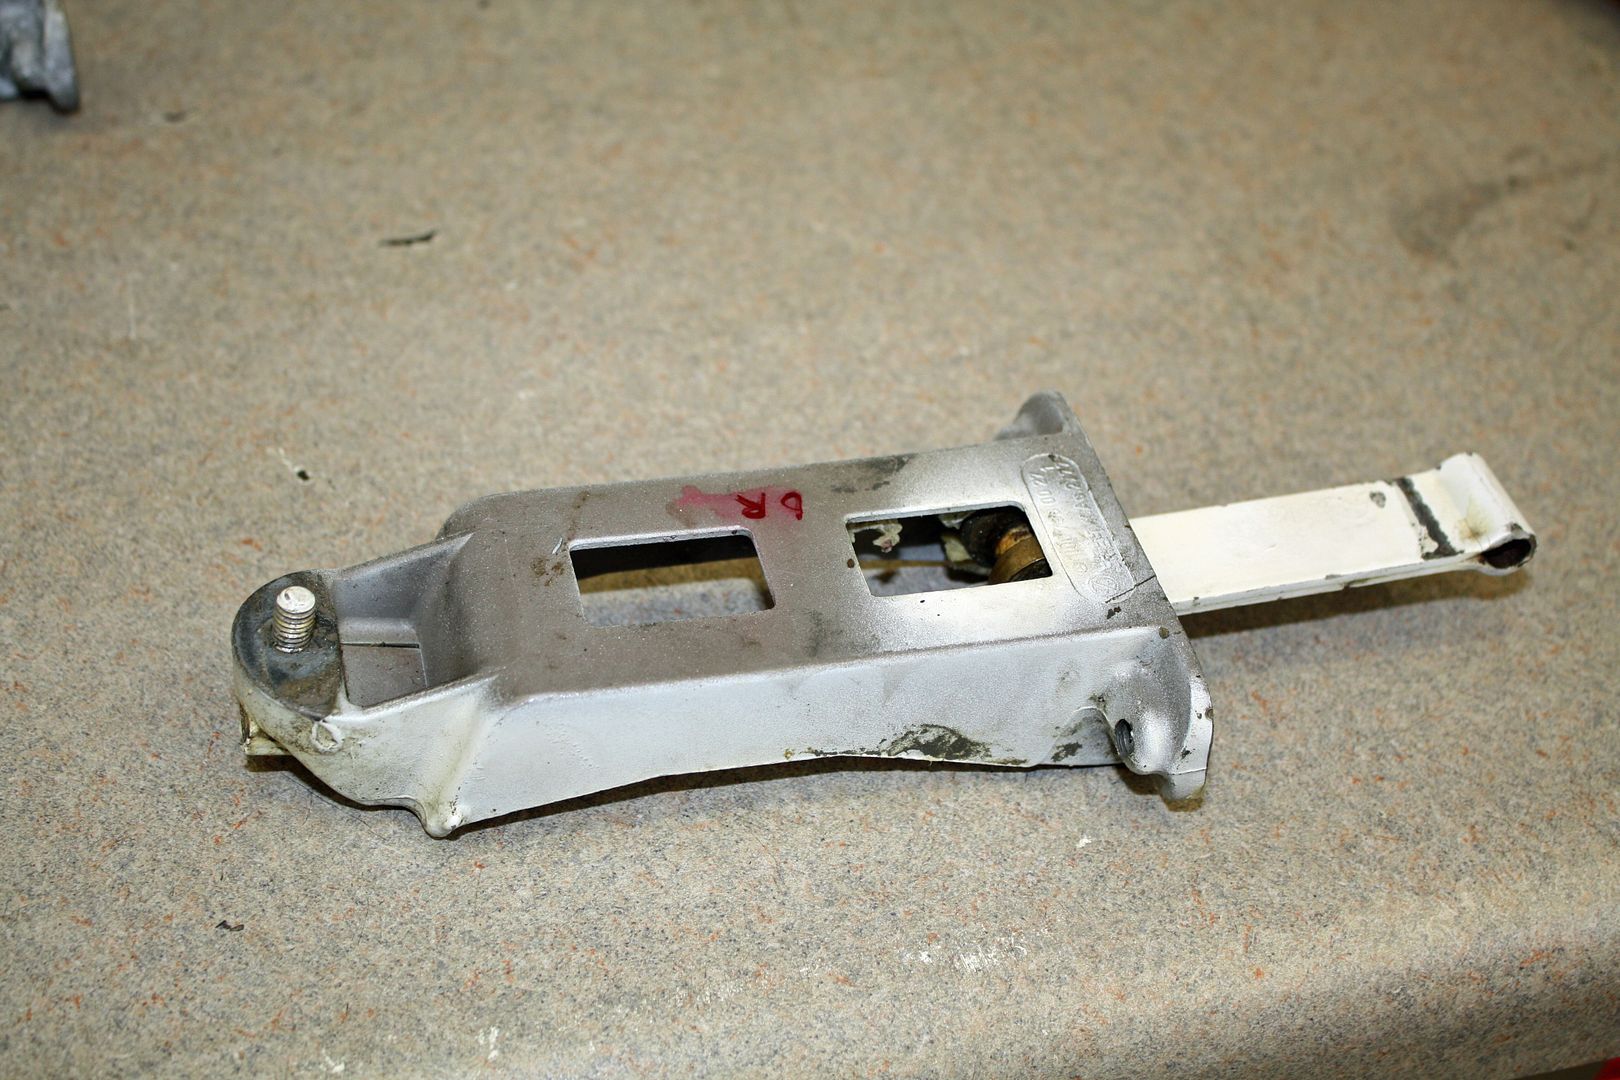 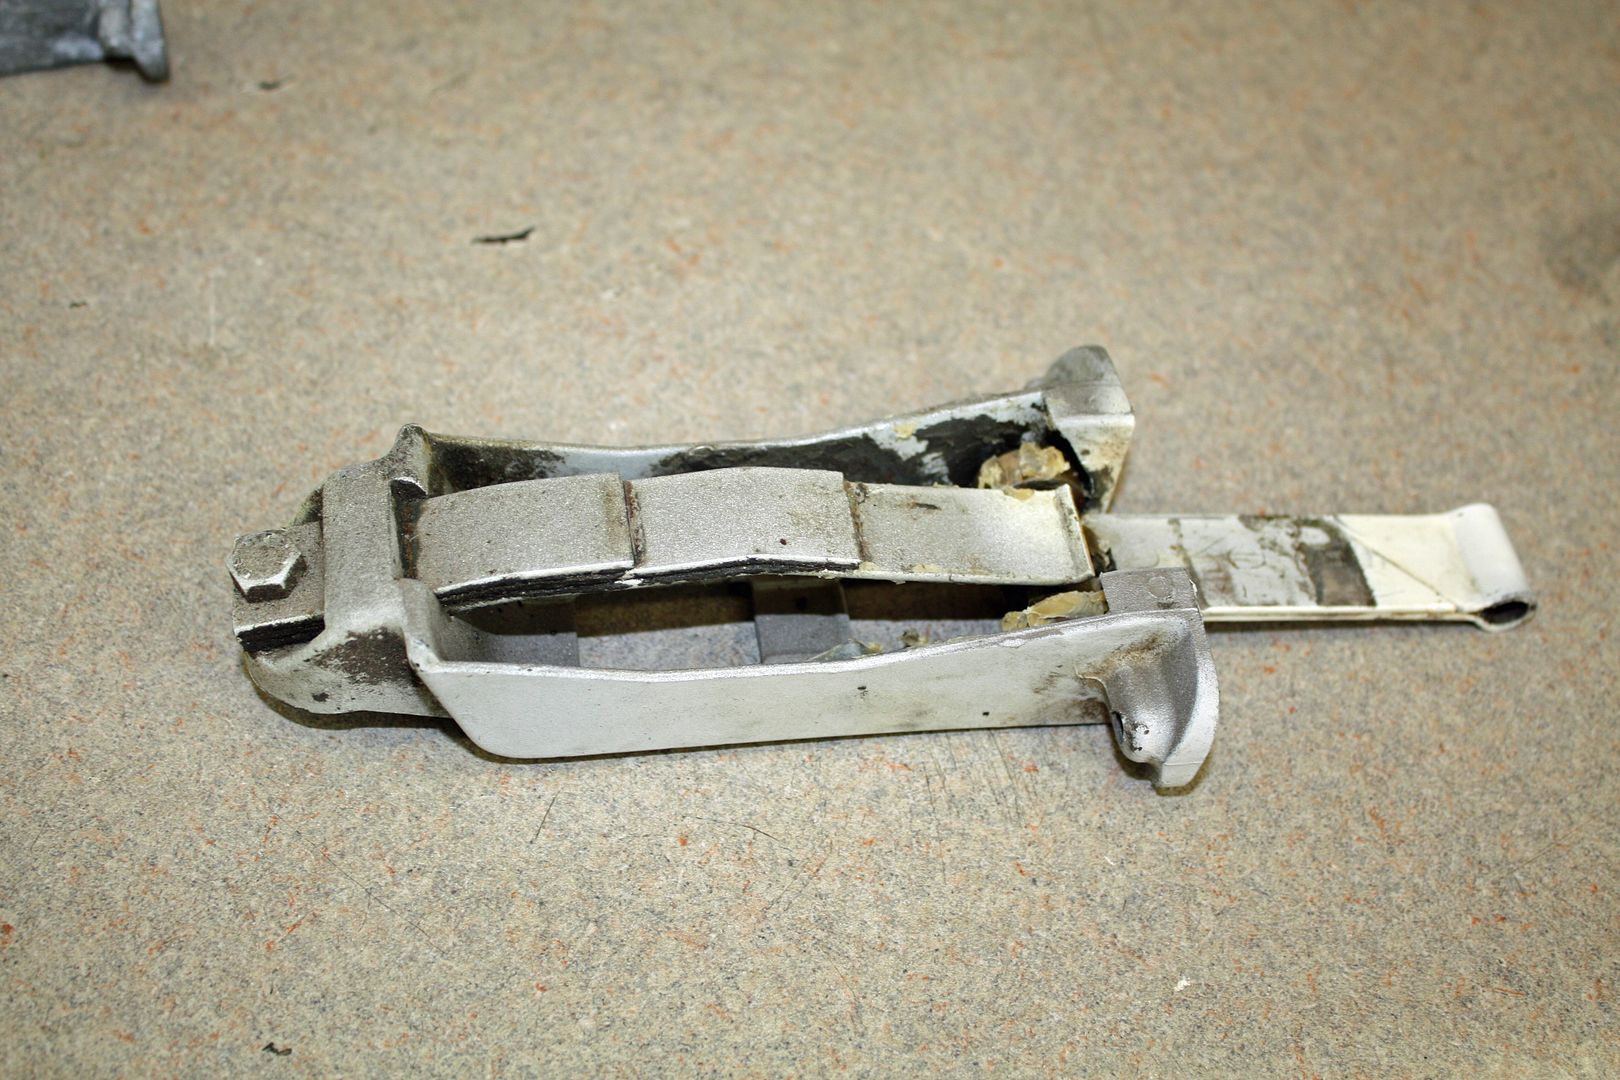 I had an issue after installing the replacement check strap. The part that attaches to the door jamb was 3/4" shorter than on the old one. This does not seem like a lot but it prevents the door from opening as far as it could. I have sent a message to the eBay seller to see if he has any check straps with the longer arms. 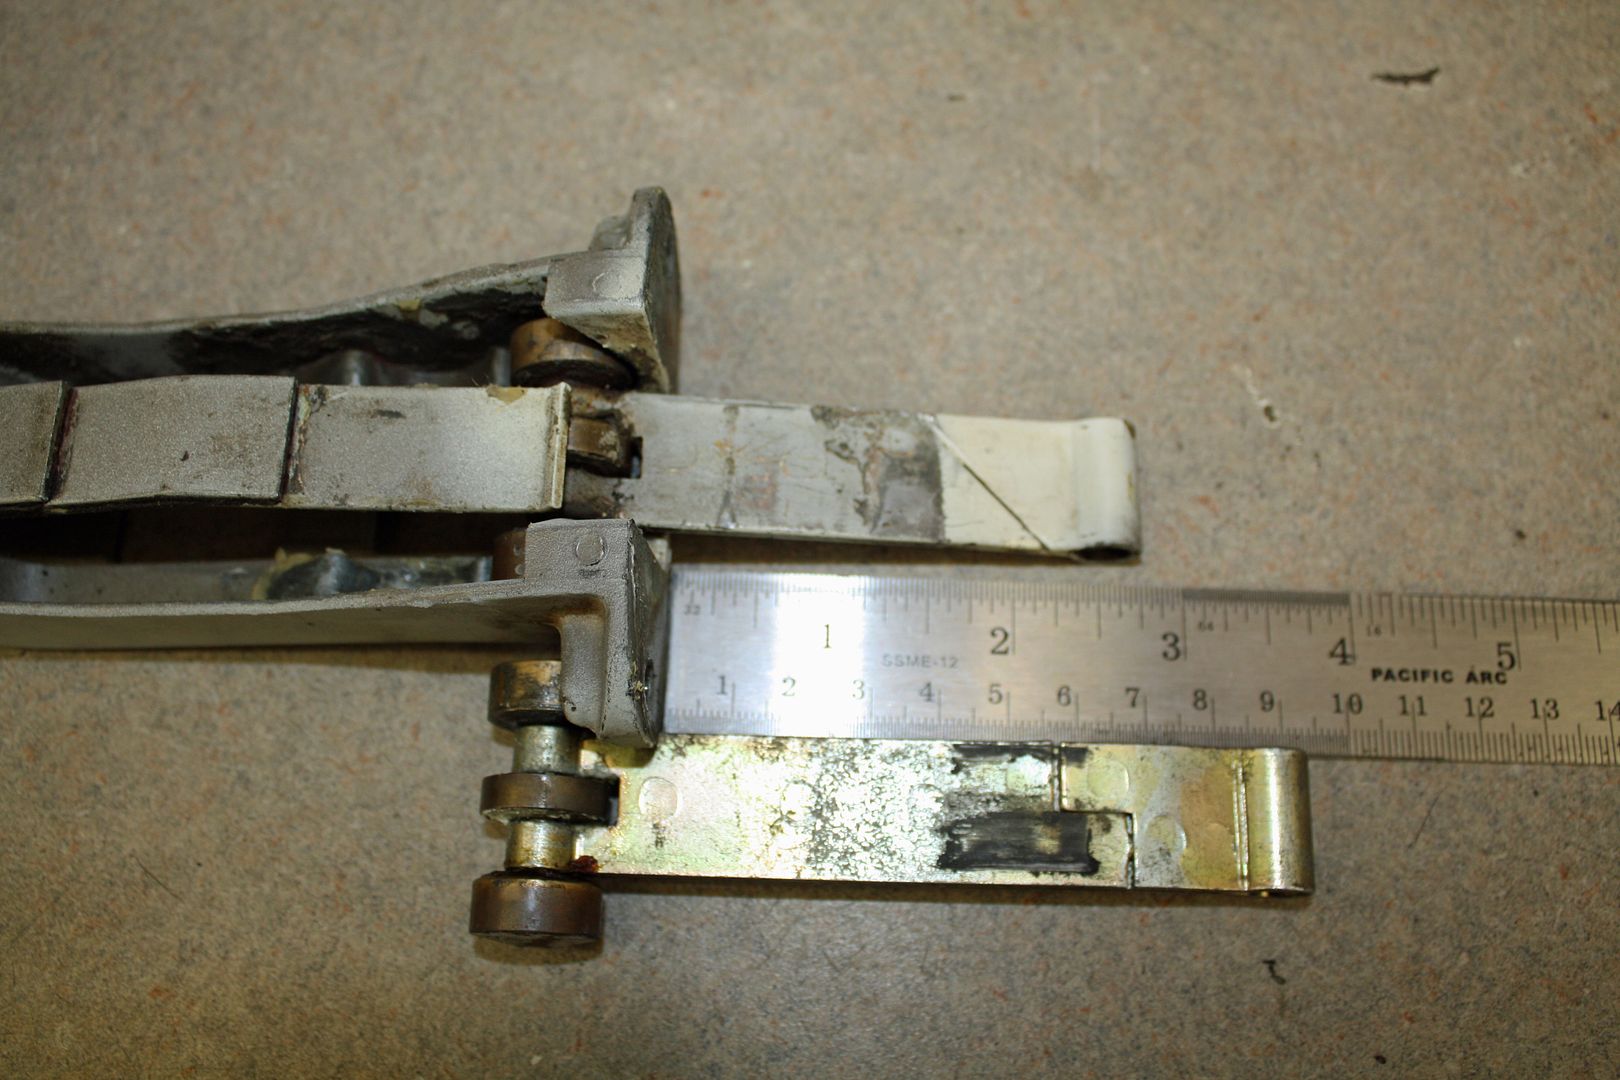 I did some cleaning around the dash area as well as using a leather cleaner and then a leather conditioner on the front and rear seats. The top of the rear seat back is not very pliable so I will hit it a few more times with the leather conditioner. |
|
#179
|
||||
|
||||
|
You can unbolt the springs, and replace the arm with the longer one. It looks like you may have gotten a rear door instead of a front door (I seem to remember the rears being shorter).
Looking great as always! It is going to look pristine when done, for sure.
__________________
Current: 2021 Charger Scat Pack Widebody "Sinabee" 2018 Durango R/T Previous: 1972 280SE 4.5 2014 Jeep Grand Cherokee Limited "Hefe", 1992 Jeep Cherokee Laredo "Jeepy", 2006 Charger R/T "Hemi" 1999 Chrysler 300M - RIP @ 221k |
|
#180
|
|||
|
|||
|
Quote:
The speaker leads arrived from Becker so I decided to finish installing the radio as I already had most of it done. It works well and looks great in the dash. The speaker fader switch on the dash works like it should. 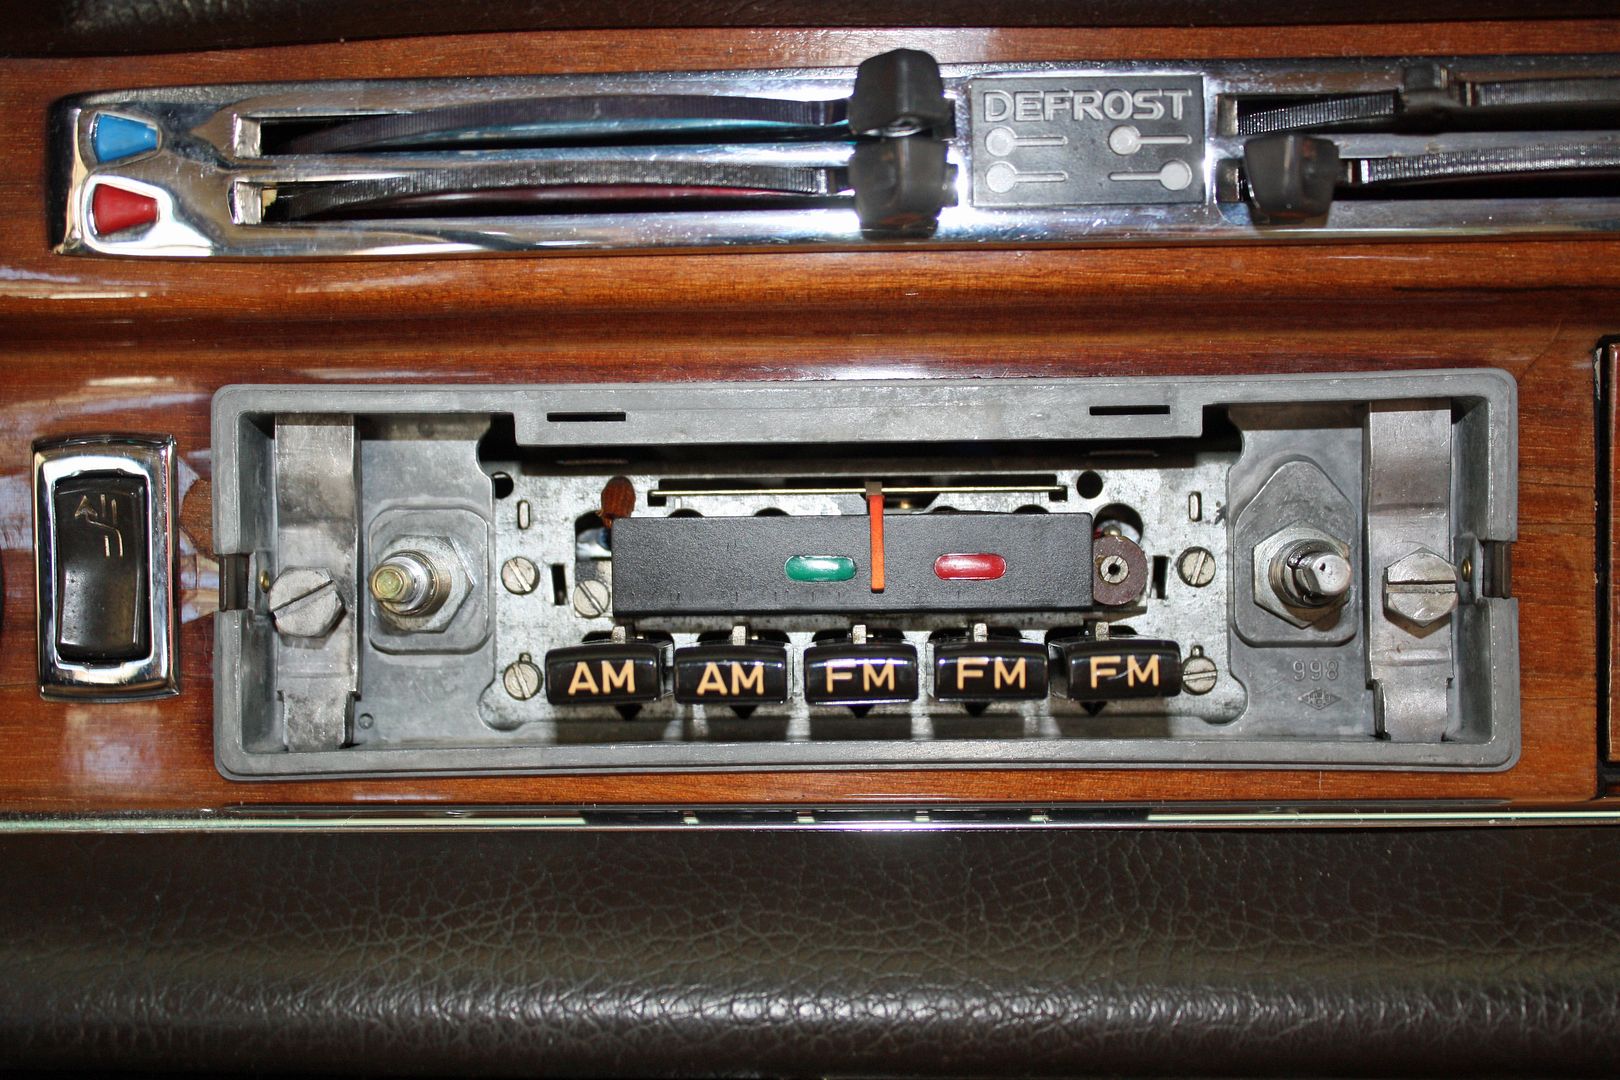 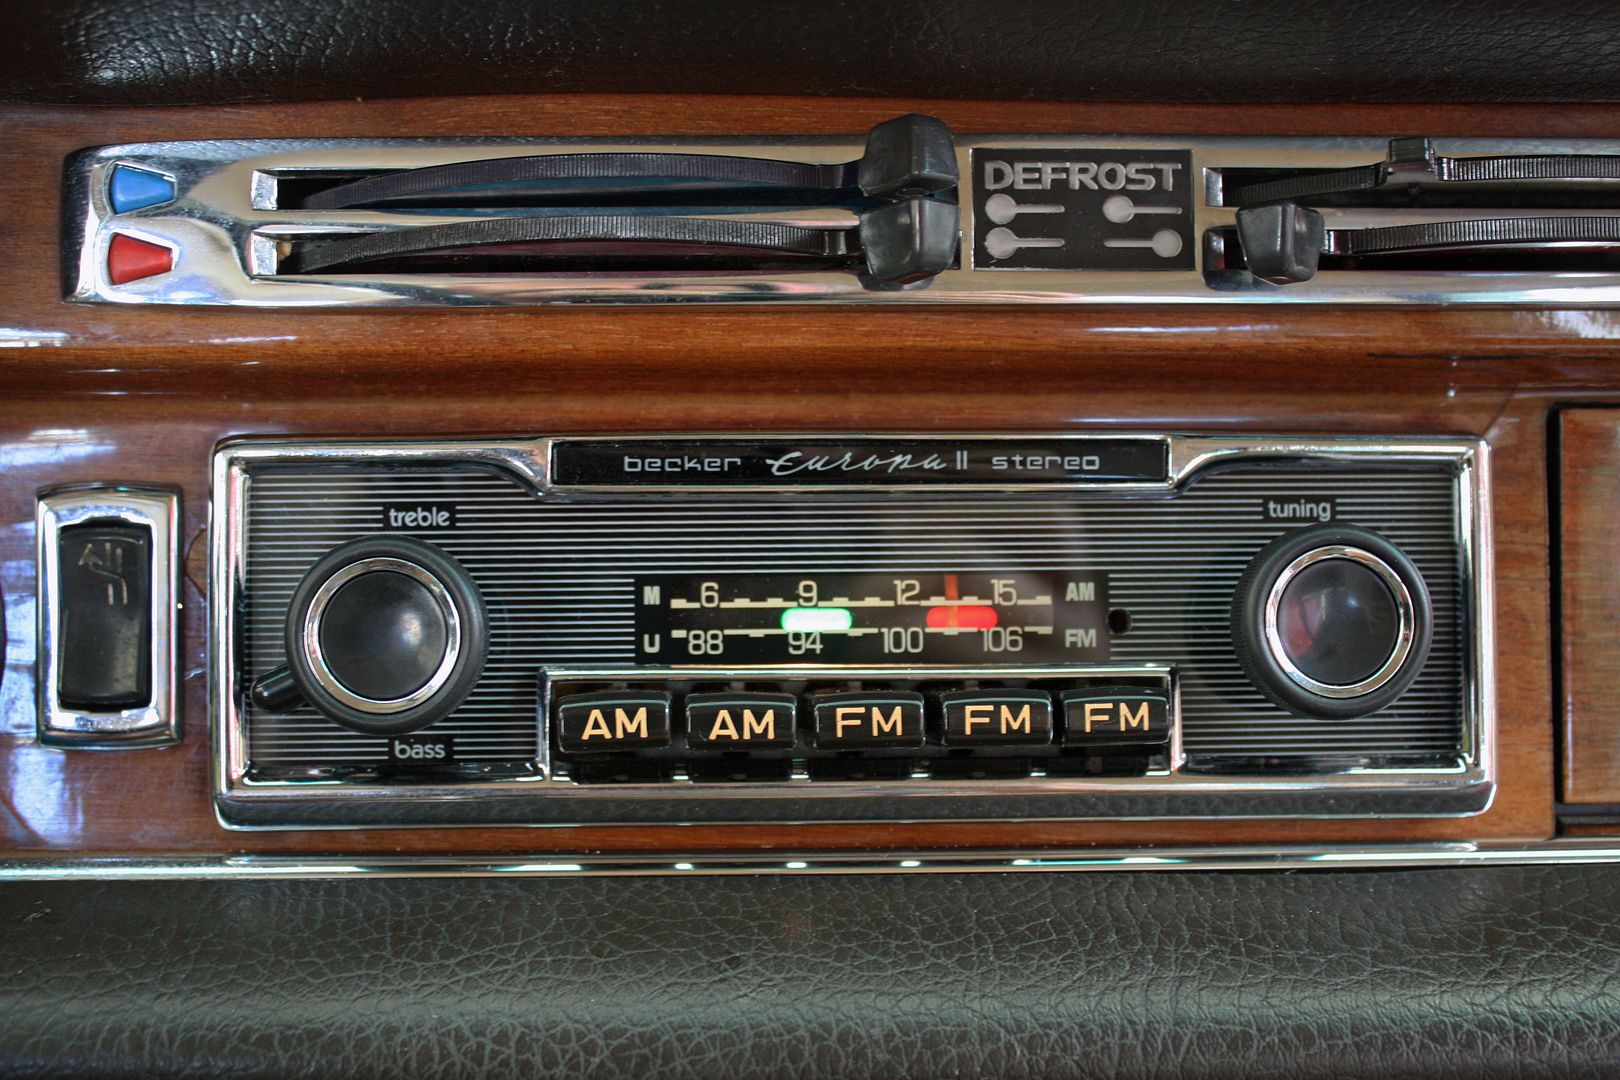 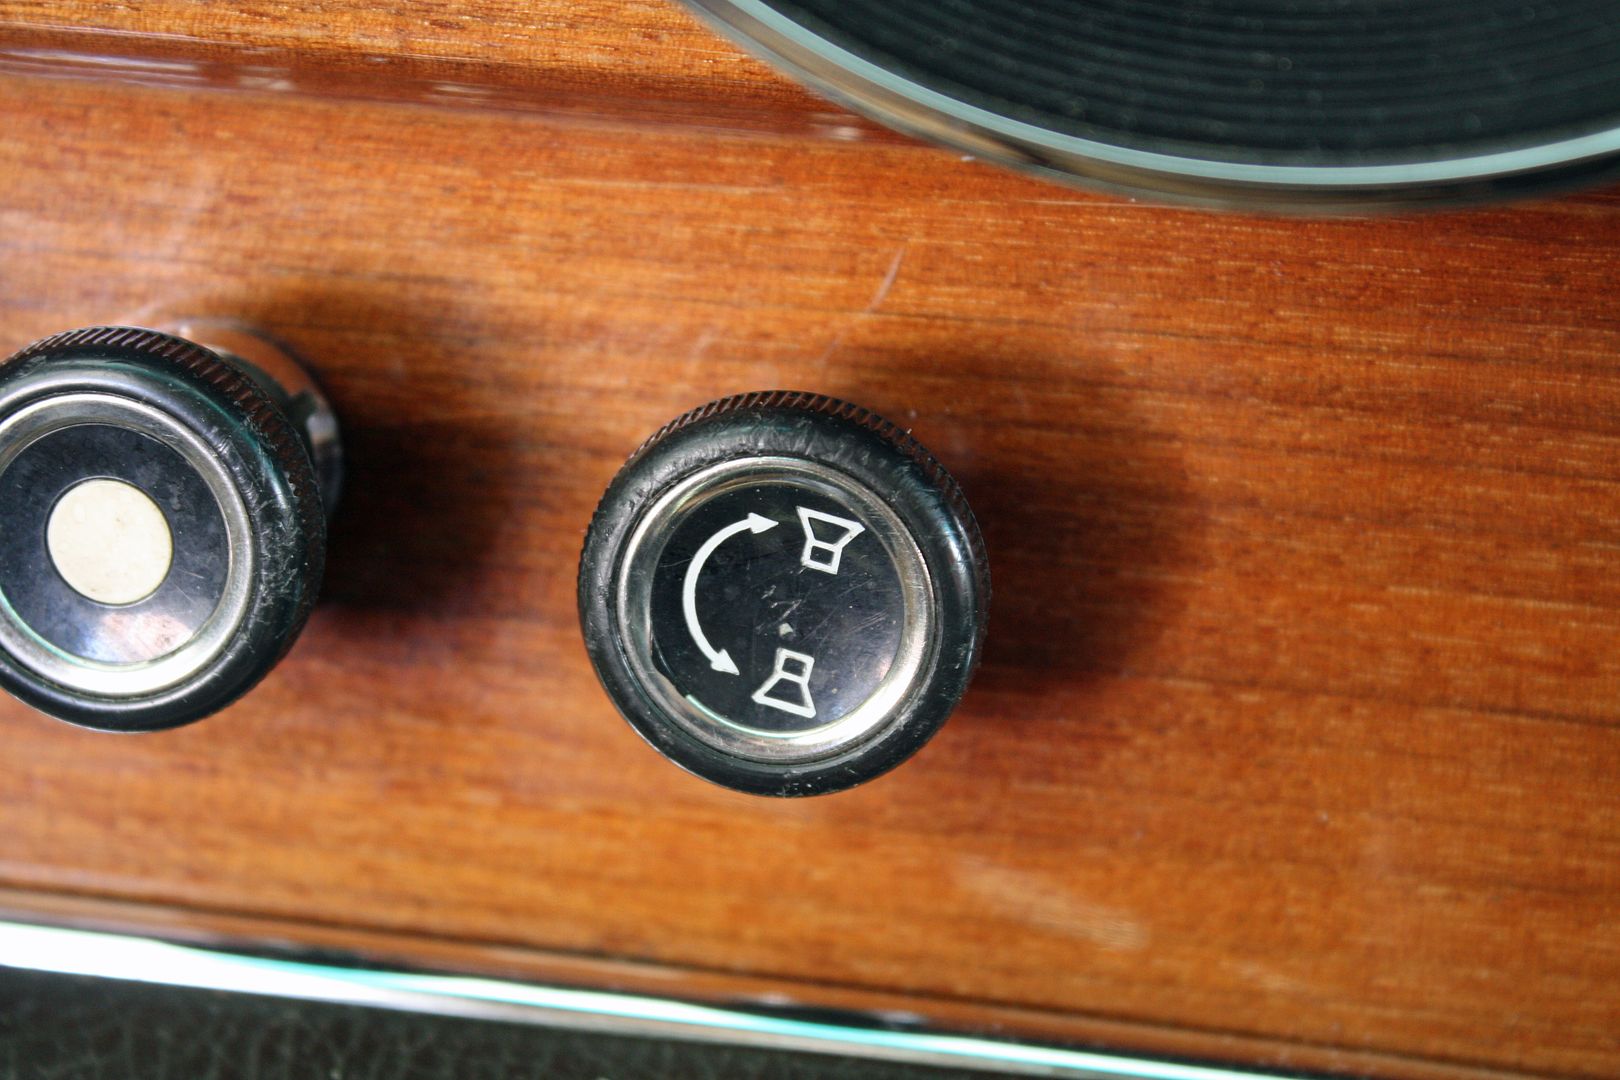
|
 |
| Bookmarks |
|
|