 |
 |
 |
 |

|


|
|
|
|
|
|
#136
|
|||
|
|||
|
Quote:
Should you stay with a clock, originals were electro-mechanical and make a unique sound when they wind. It's a sound from my childhood so while mine runs a bit slow despite being adjusted, the noise makes me smile. Below is a photo of my original. VDO makes an updated quartz replacement with "Quartz-Zeit" on the face.
__________________
1973 280SEL 4.5 2021 E450S4 AT/Wagon |
|
#137
|
|||
|
|||
|
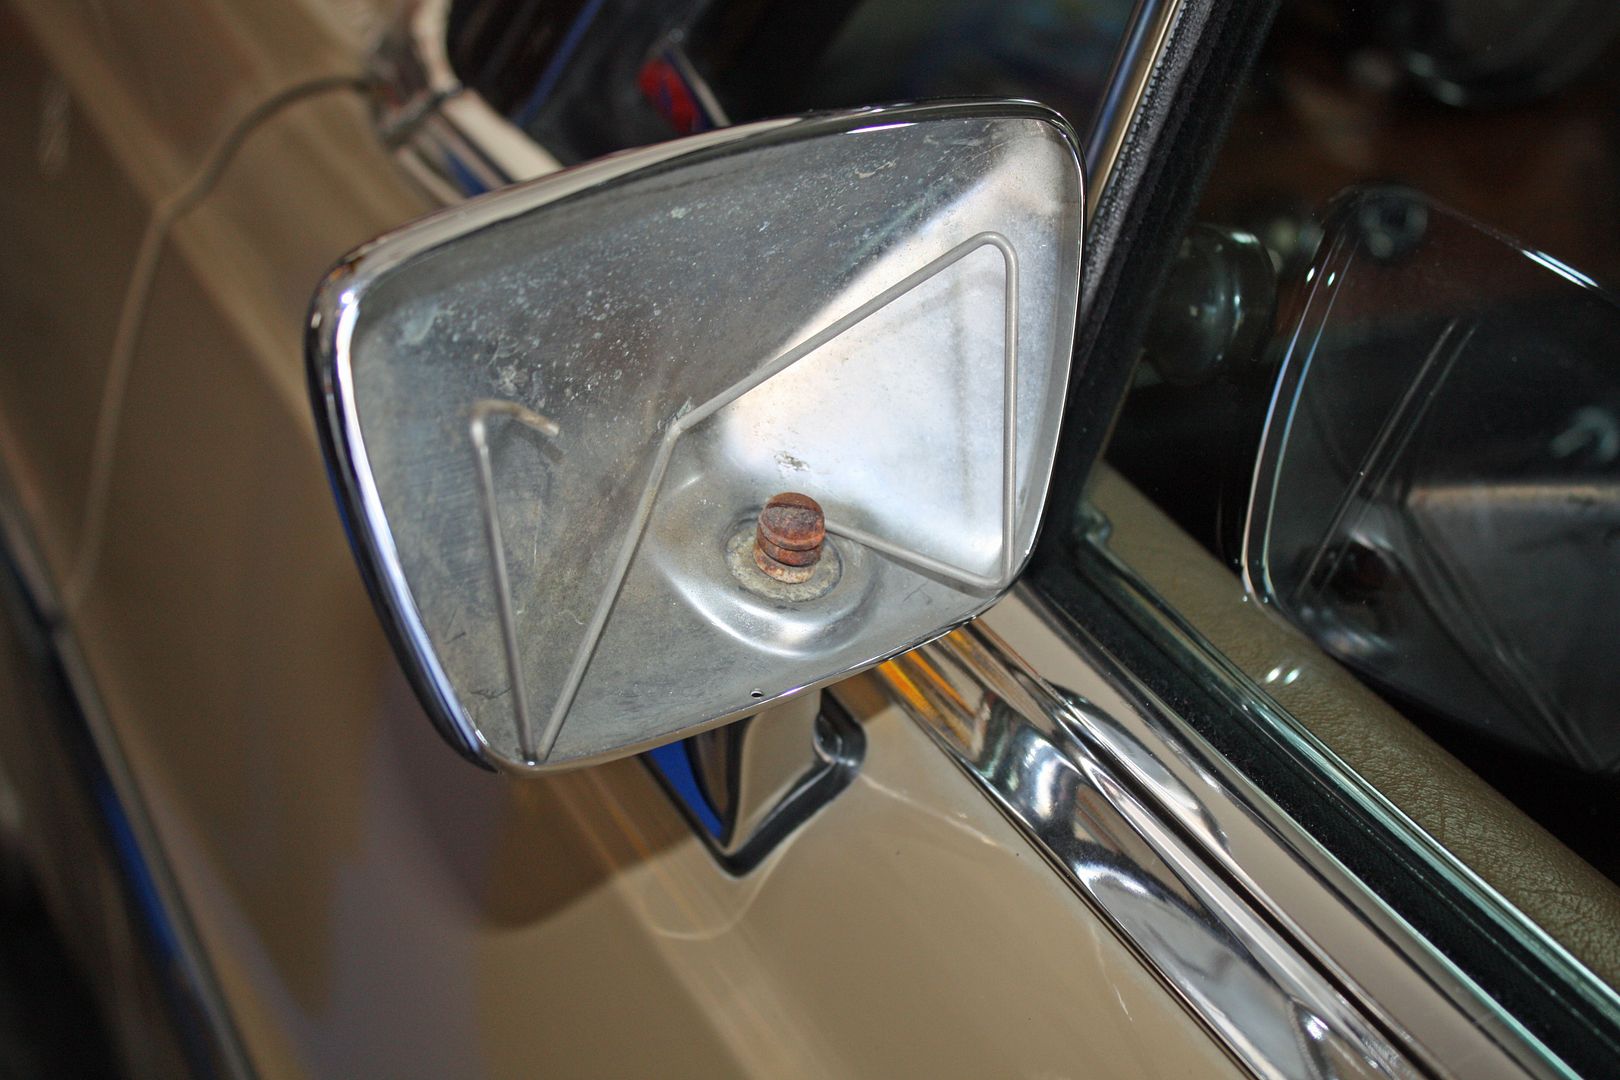
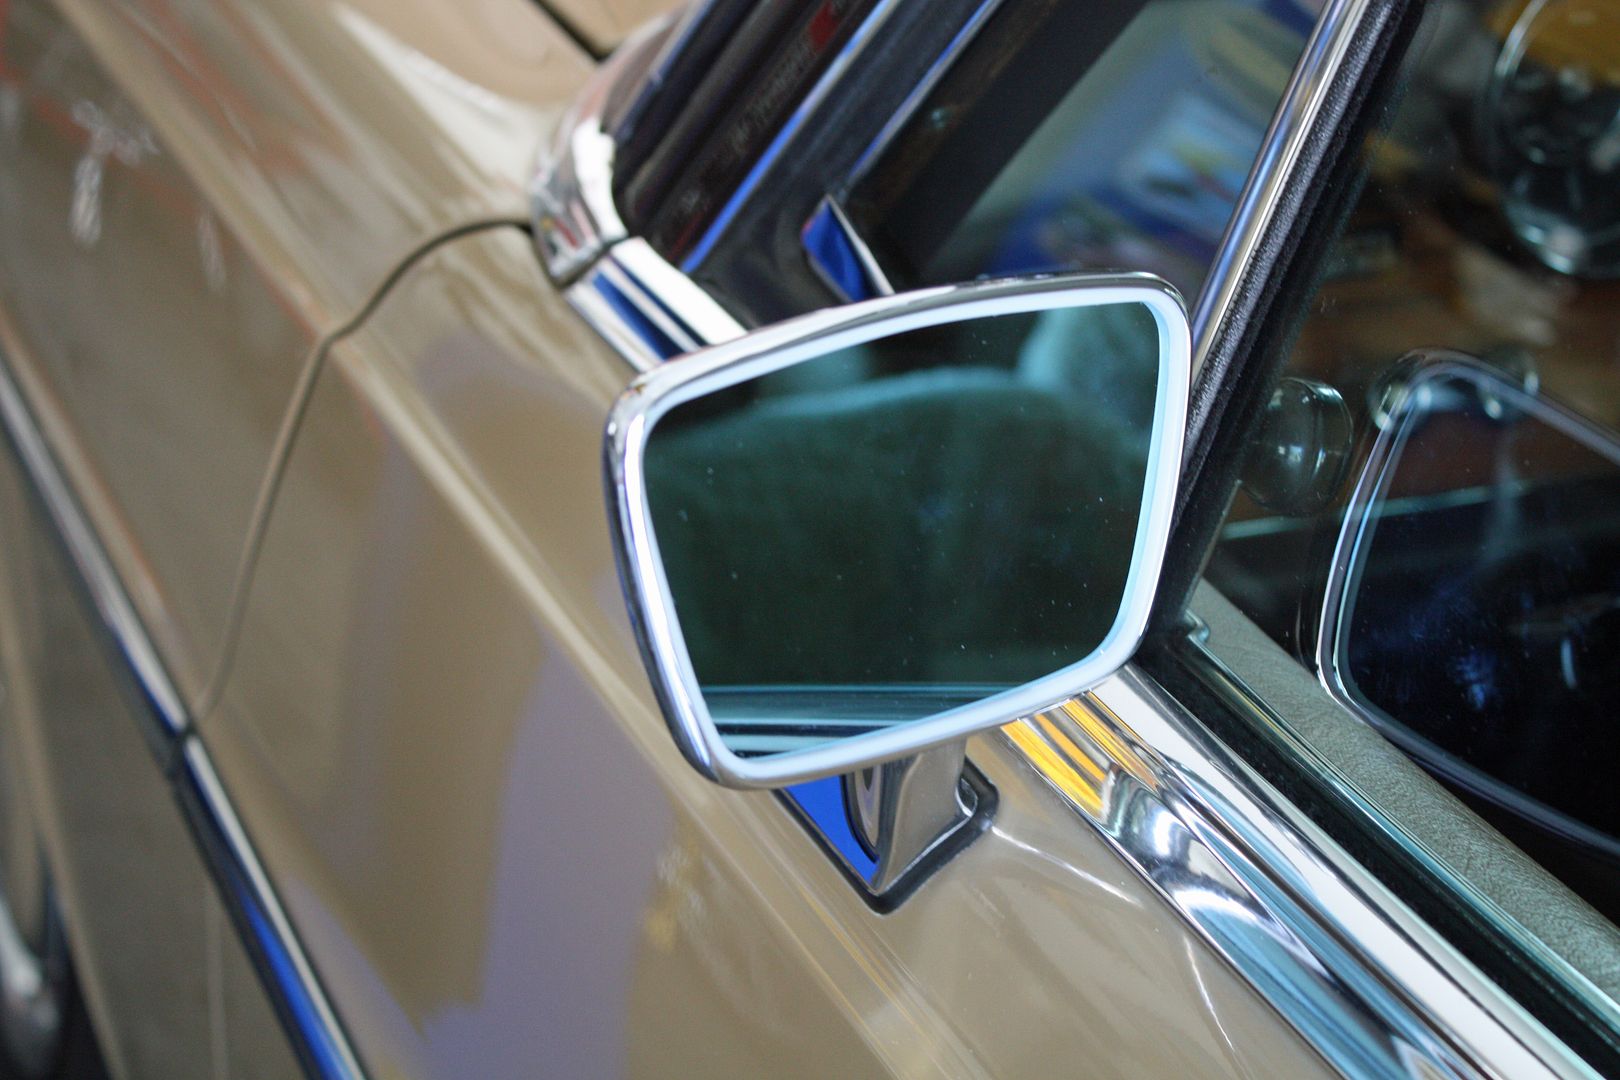
When I was polishing and waxing the car the other day, I discovered the glass in my exterior mirror was about to fall out. The perimeter plastic retainer had failed. Since the mirror was faded, I ordered a new mirror and seal. To install the mirror, the spring is placed in the mirror housing. Then you insert the mirror and push it back against the spring. While it is pushed back, you install the white retainer around the perimeter, which is what holds the mirror in the housing.
  It was a beautiful Charlotte morning so I drove the fifty miles to Cars and Cappuccino. Because of the weather, they had the largest turnout I have ever seen. This gathering is for European cars only although there were a few transgressors. Amazingly, a '72 280SE 4.5 parked next to me. He arrived with his young children and the car is his daily driver. However, he said the water pump just began leaking so he had some work to do. 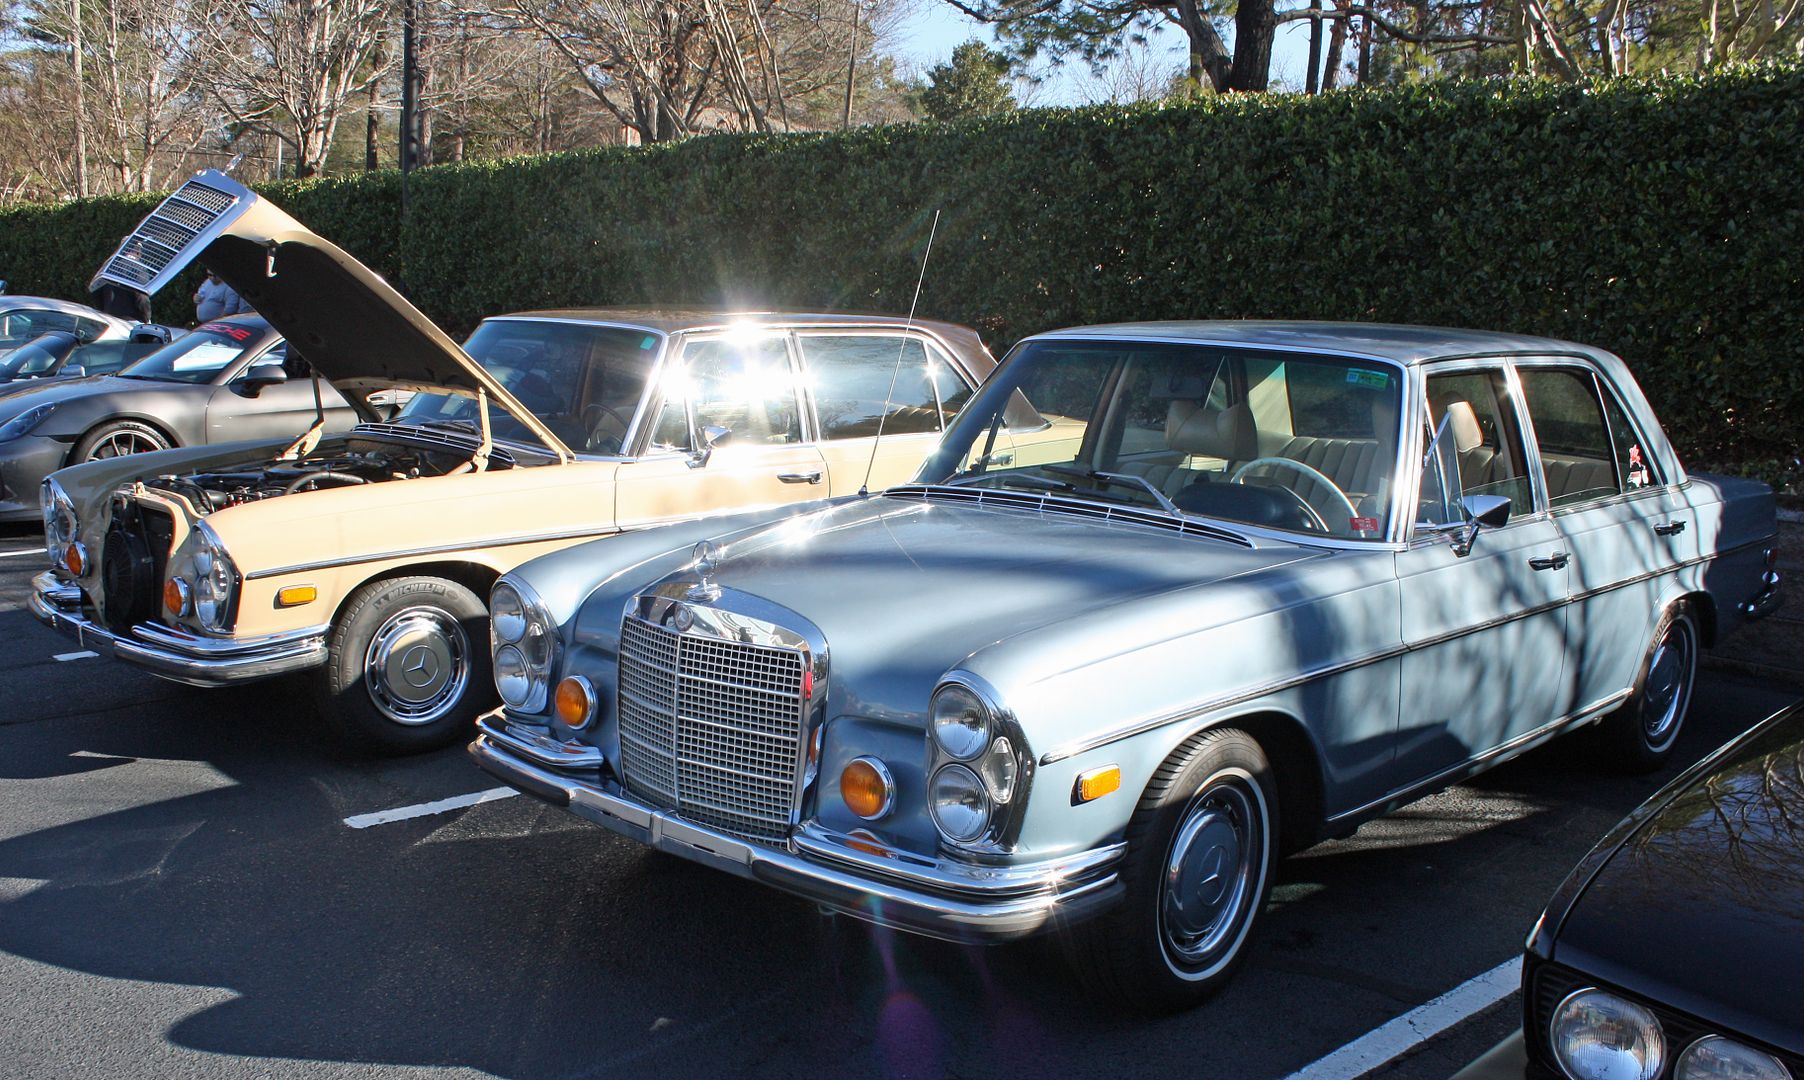 It was a little over 100 miles round trip. The car ran perfectly...for 96 miles. The last four miles it was spitting and sputtering but I made it home. The gas tank will be coming out. Also, where exactly is that filter on the tank? Besides having big numbers, there was quite a variety of cars. A good time was had by all!!!     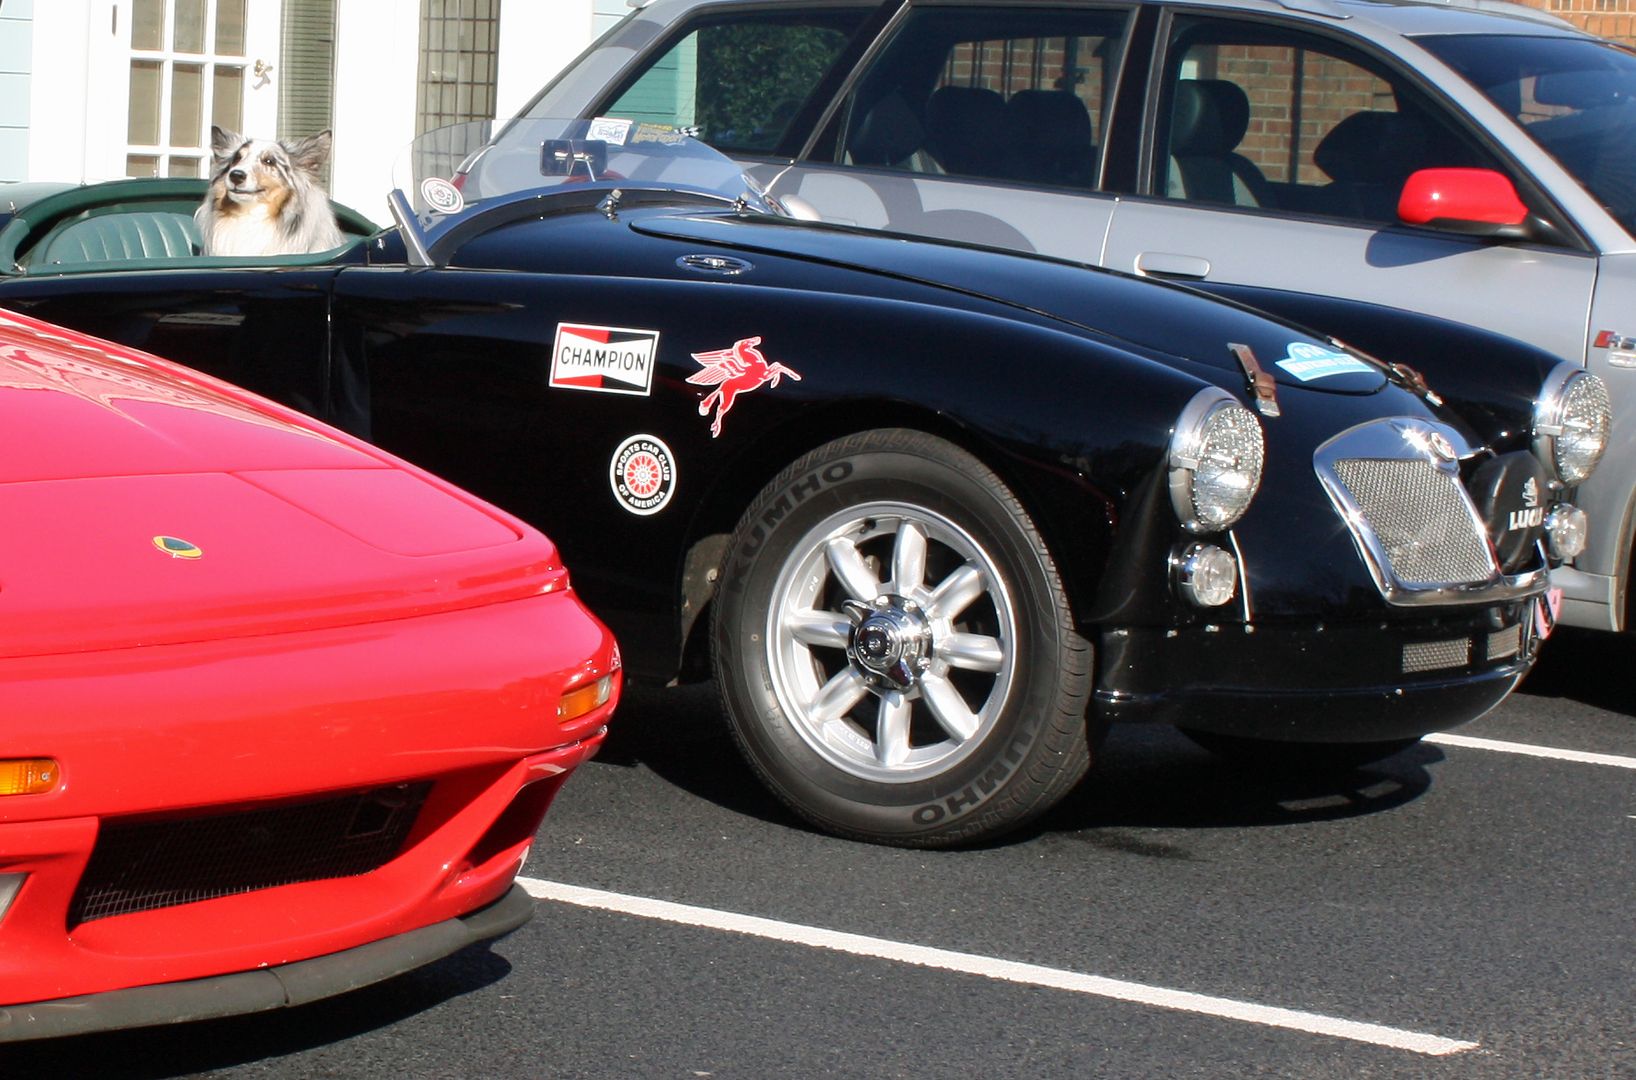 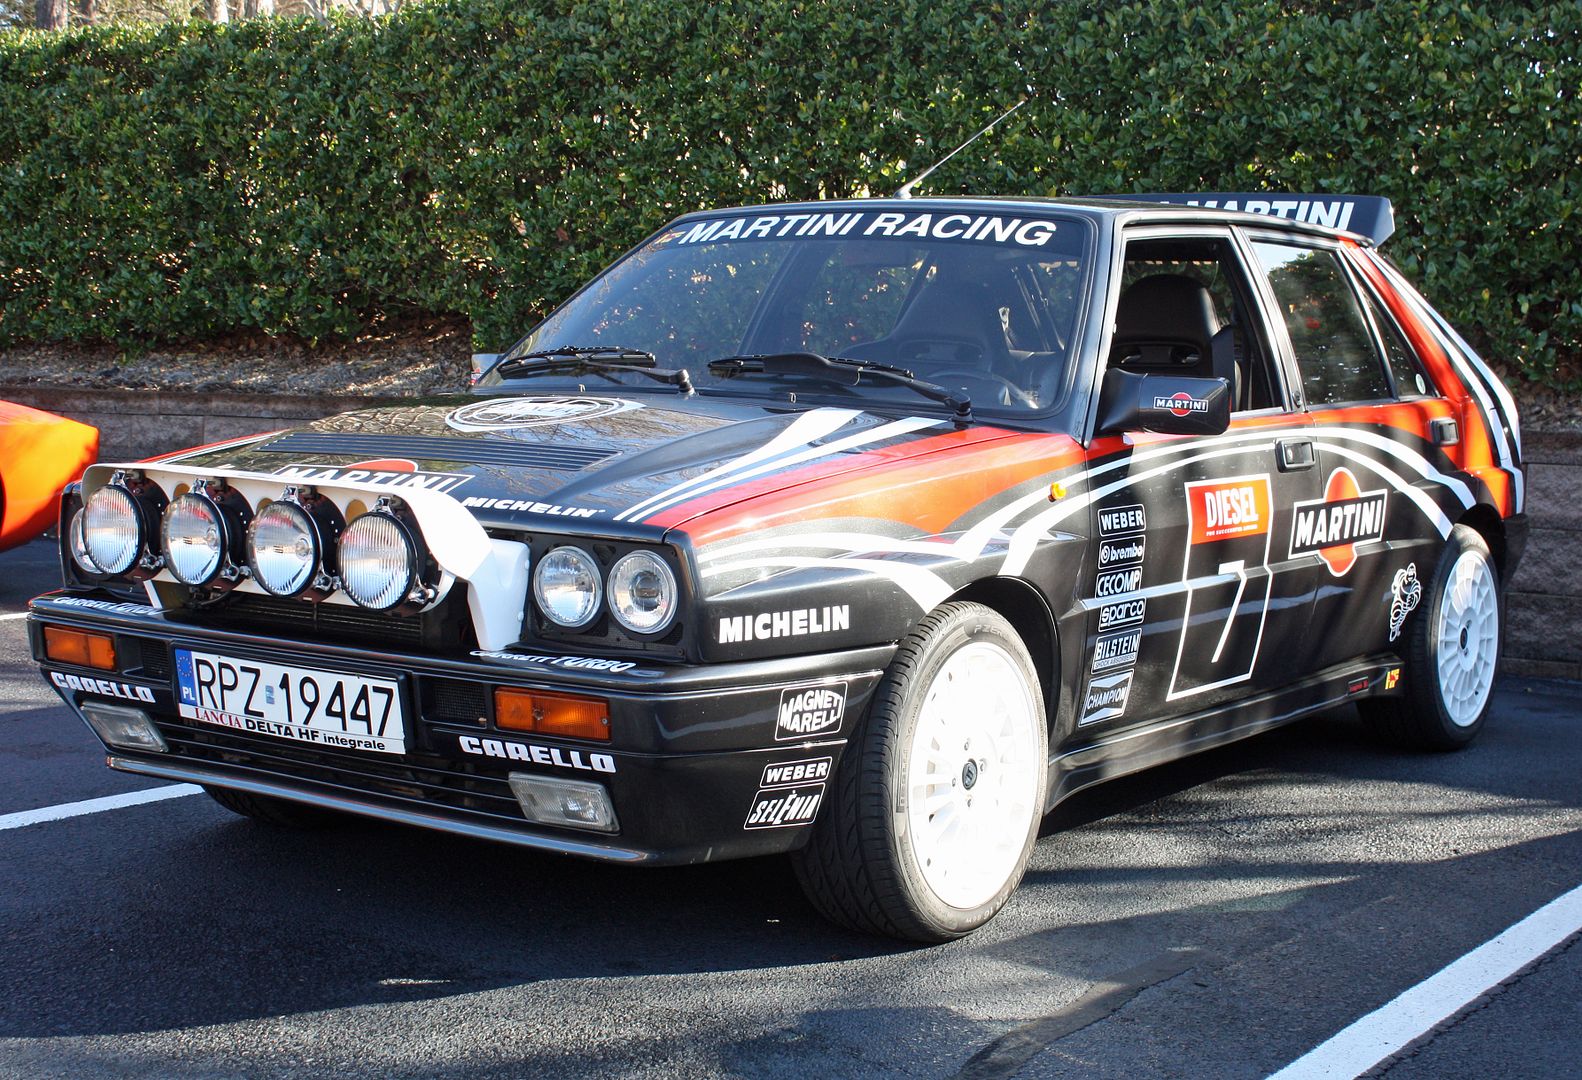 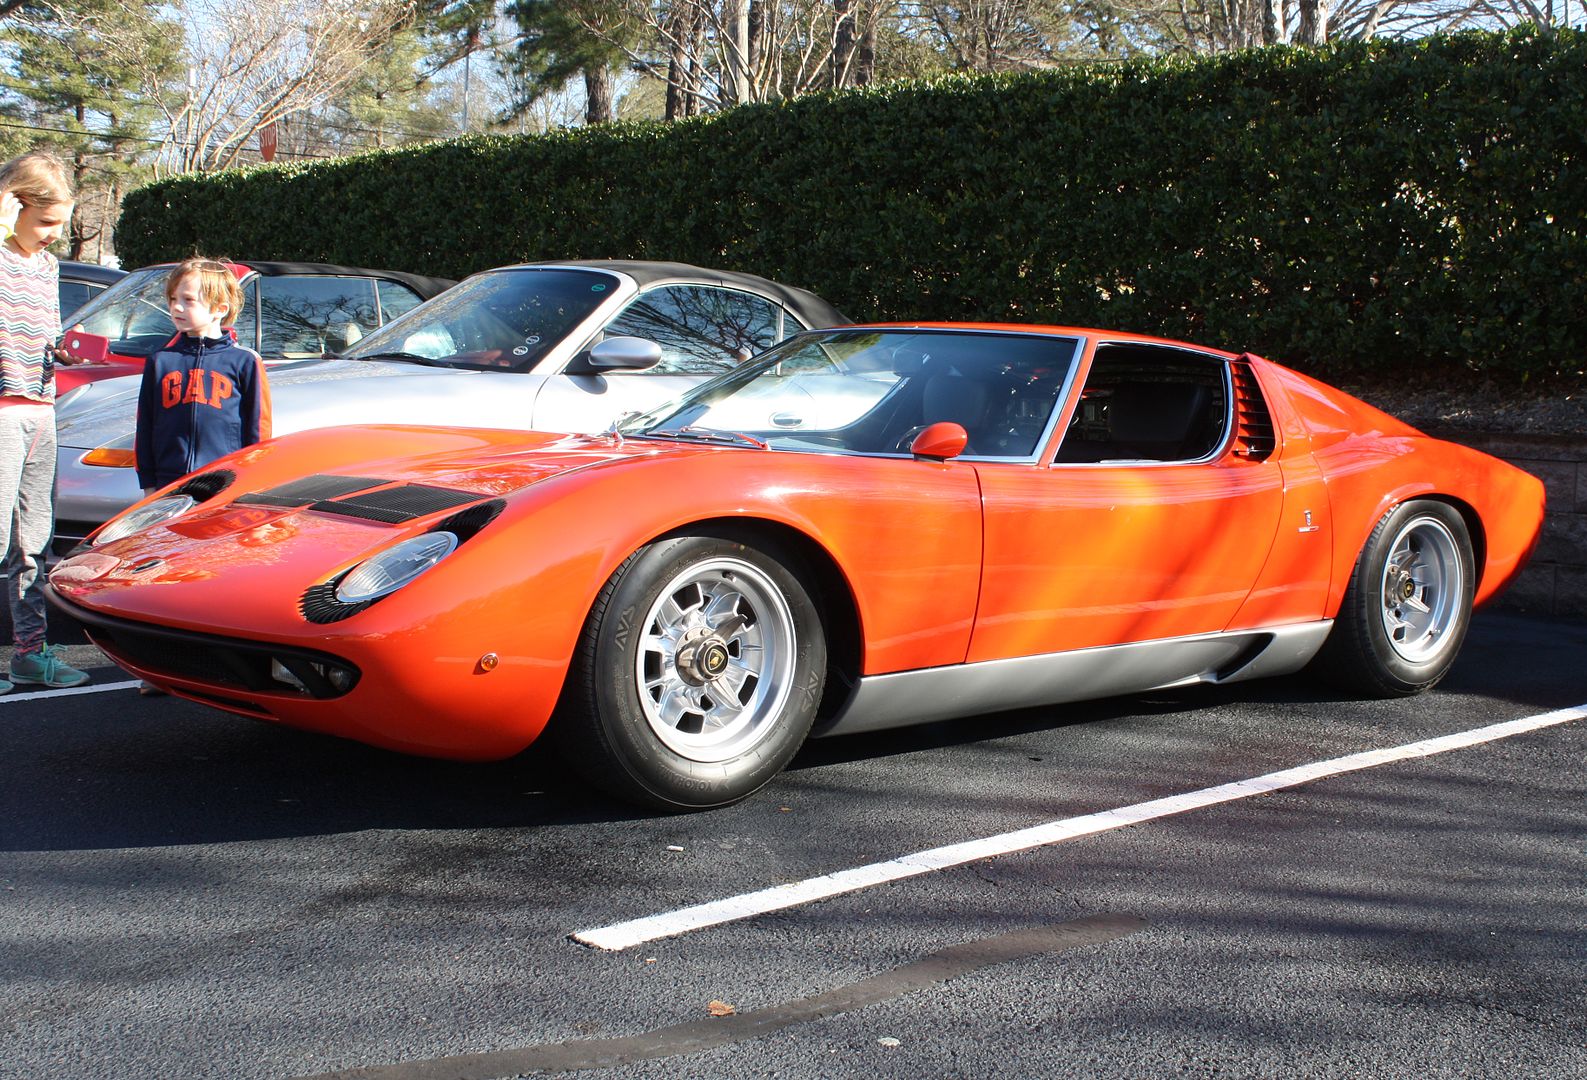  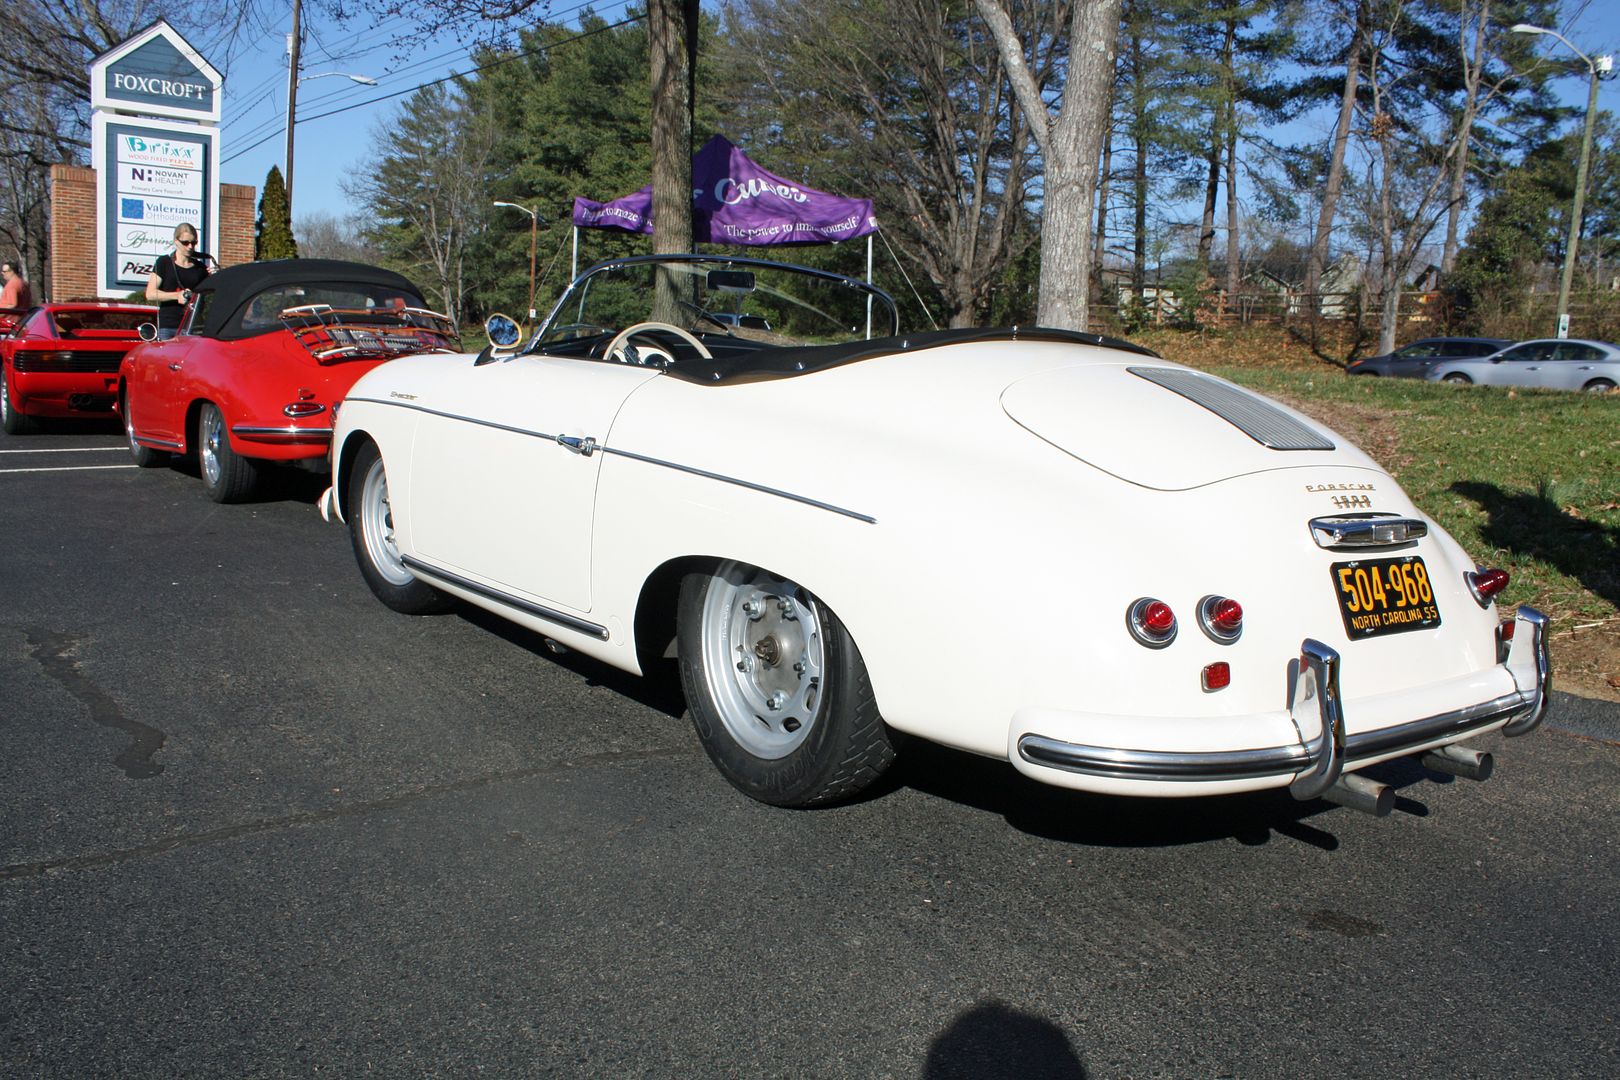 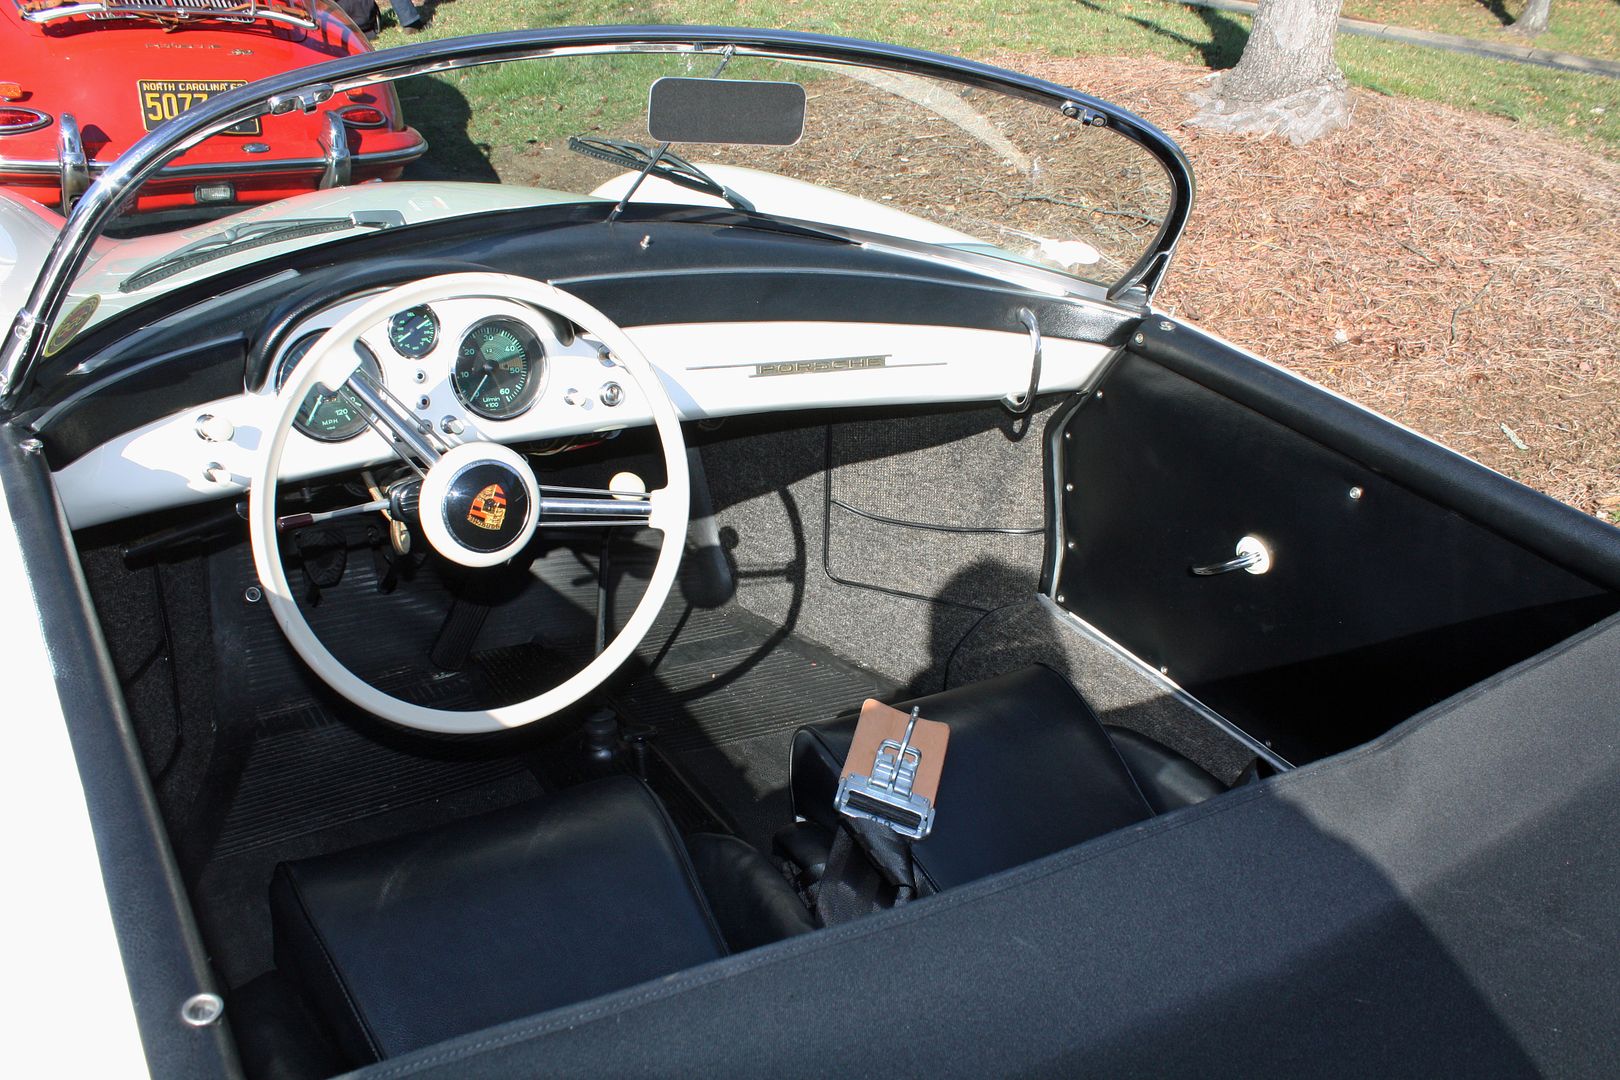 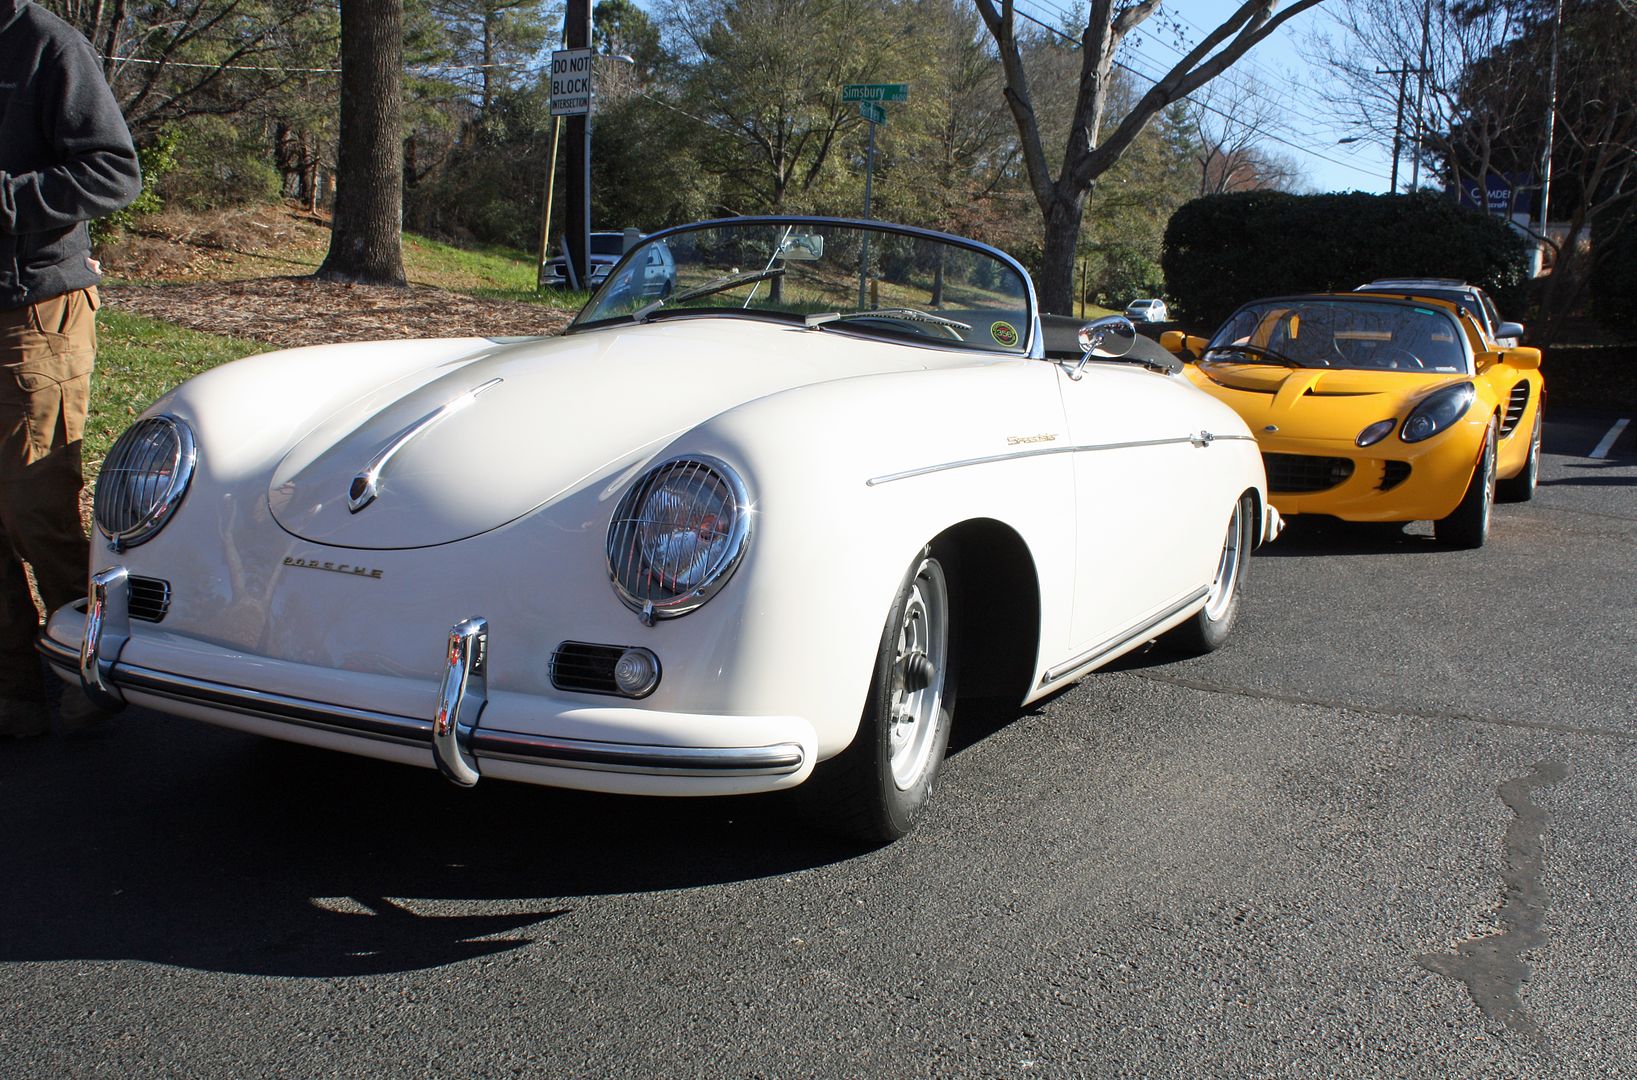 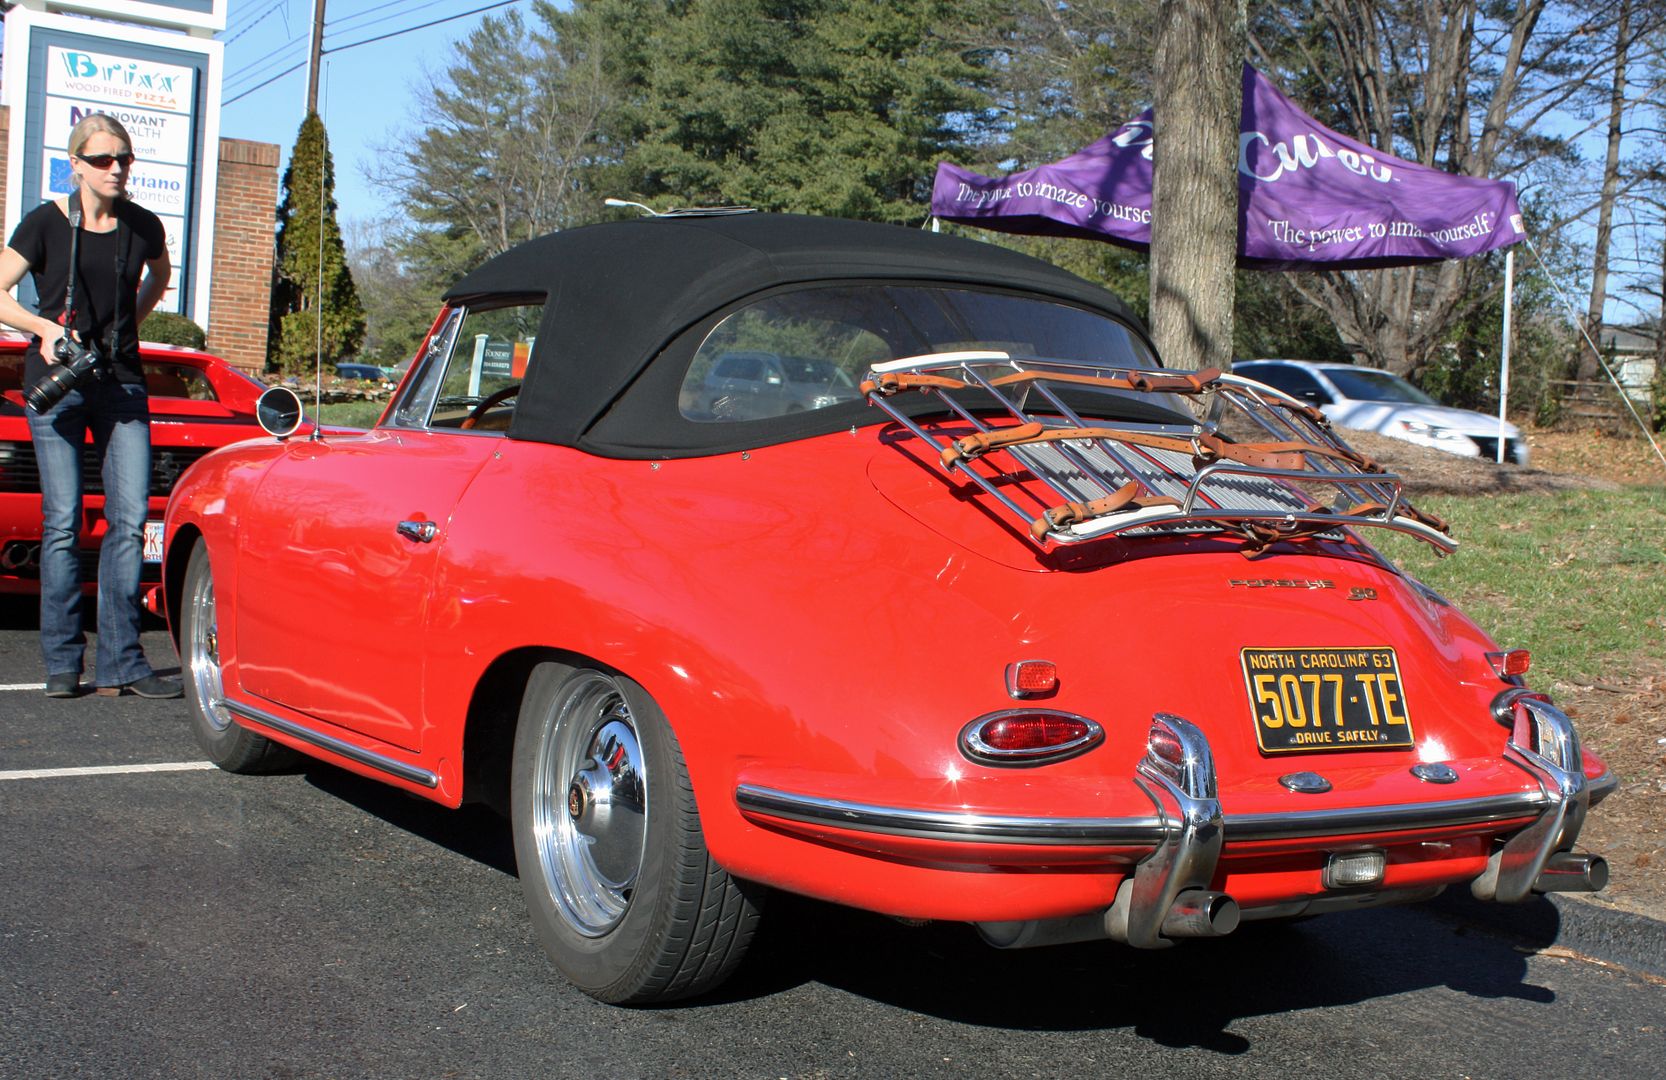 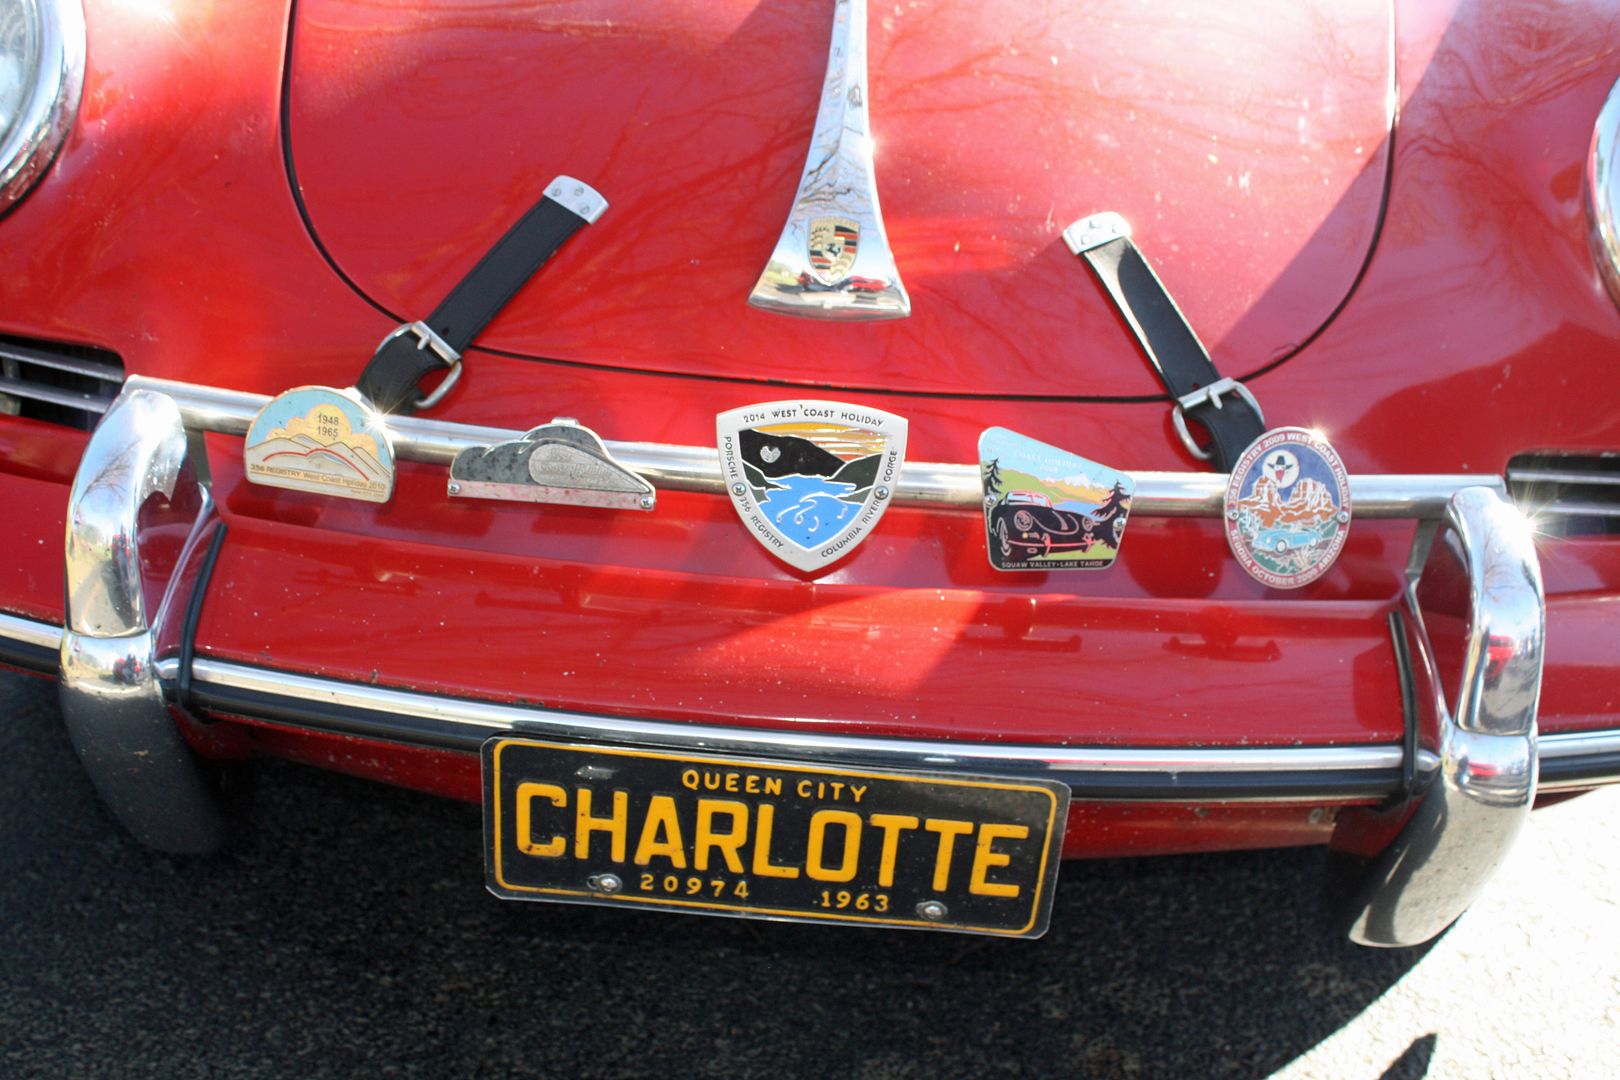 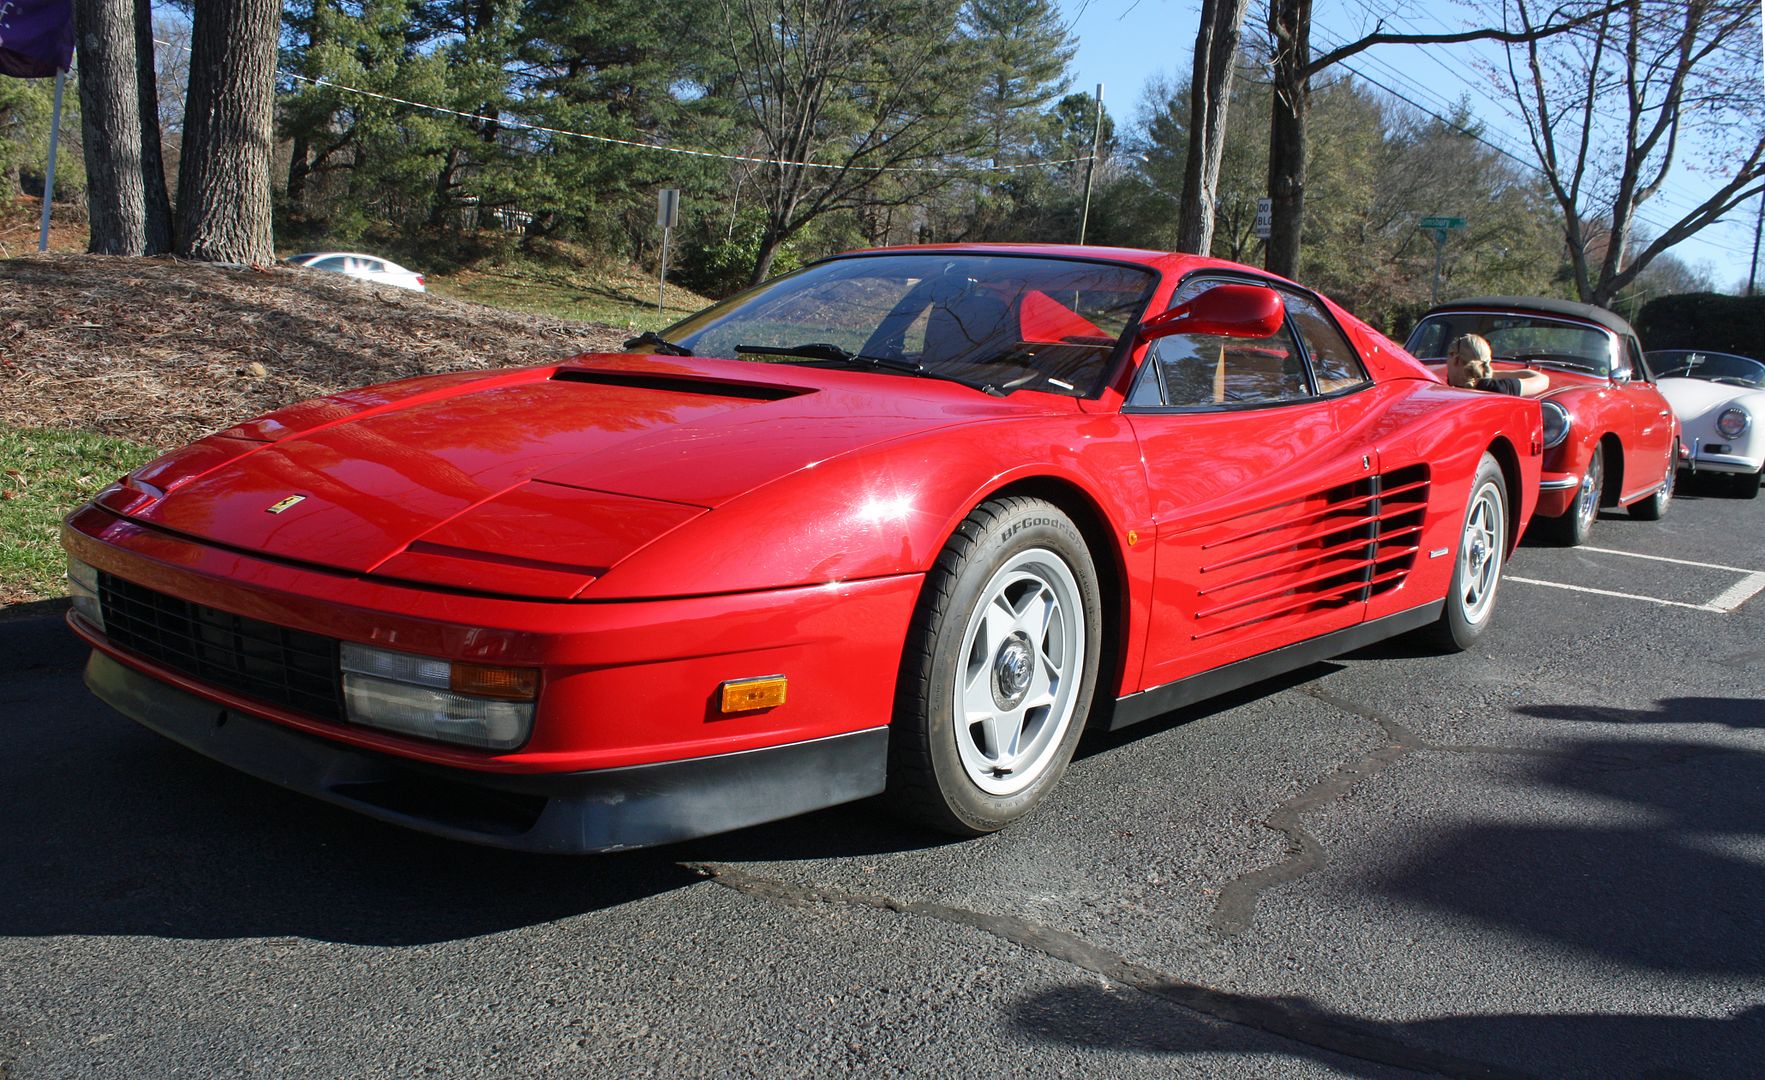 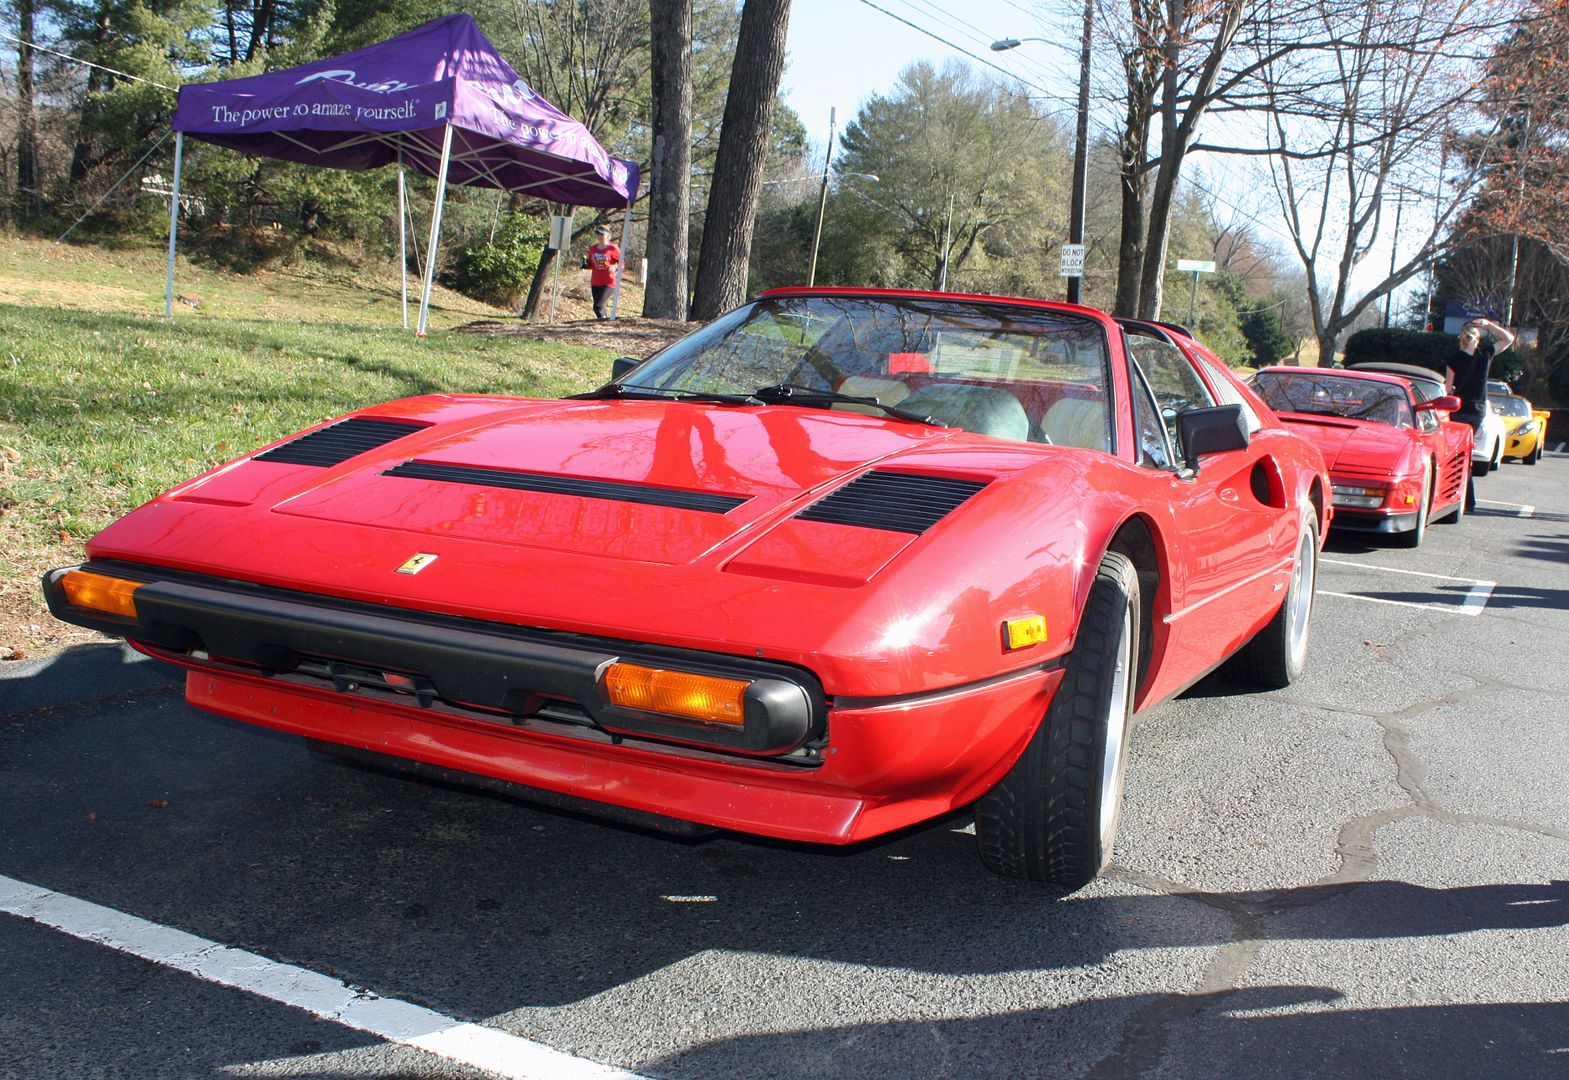 
|
|
#138
|
|||
|
|||
|
Quote:
I checked this out today and it works. When I turned the key to lock the driver's door, all four doors locked as well as the gas door. I didn't check to see how long they will stay locked. |
|
#139
|
|||
|
|||
|
Jerhofer,
The tank filter (it is more of a screen) is on the bottom of the fuel tank near the fuel line connection. I saw it on one of your posted pictures. It will look like this: Fuel Strainer 1114700686 - Genuine Mercedes-Benz - 111-470-06-86 | Pelican Parts You can order a replacement from the sponsors of this forum. Hope this helps. Ron |
|
#140
|
|||
|
|||
|
Quote:
|
|
#141
|
||||
|
||||
|
Inverted spark plug socket on an extension is a perfect fit for removal/ reinstall.
|
|
#142
|
|||
|
|||
|
Quote:
Yesterday my Becker Europe II Stereo radio arrived. I had decided to go back to the stock radio and looked at the eBay offerings. However, I never felt comfortable with those auctions. So I called Becker to see if they offered a remanufactured Europe II. They did. It comes with an auxiliary input and a one year warranty. 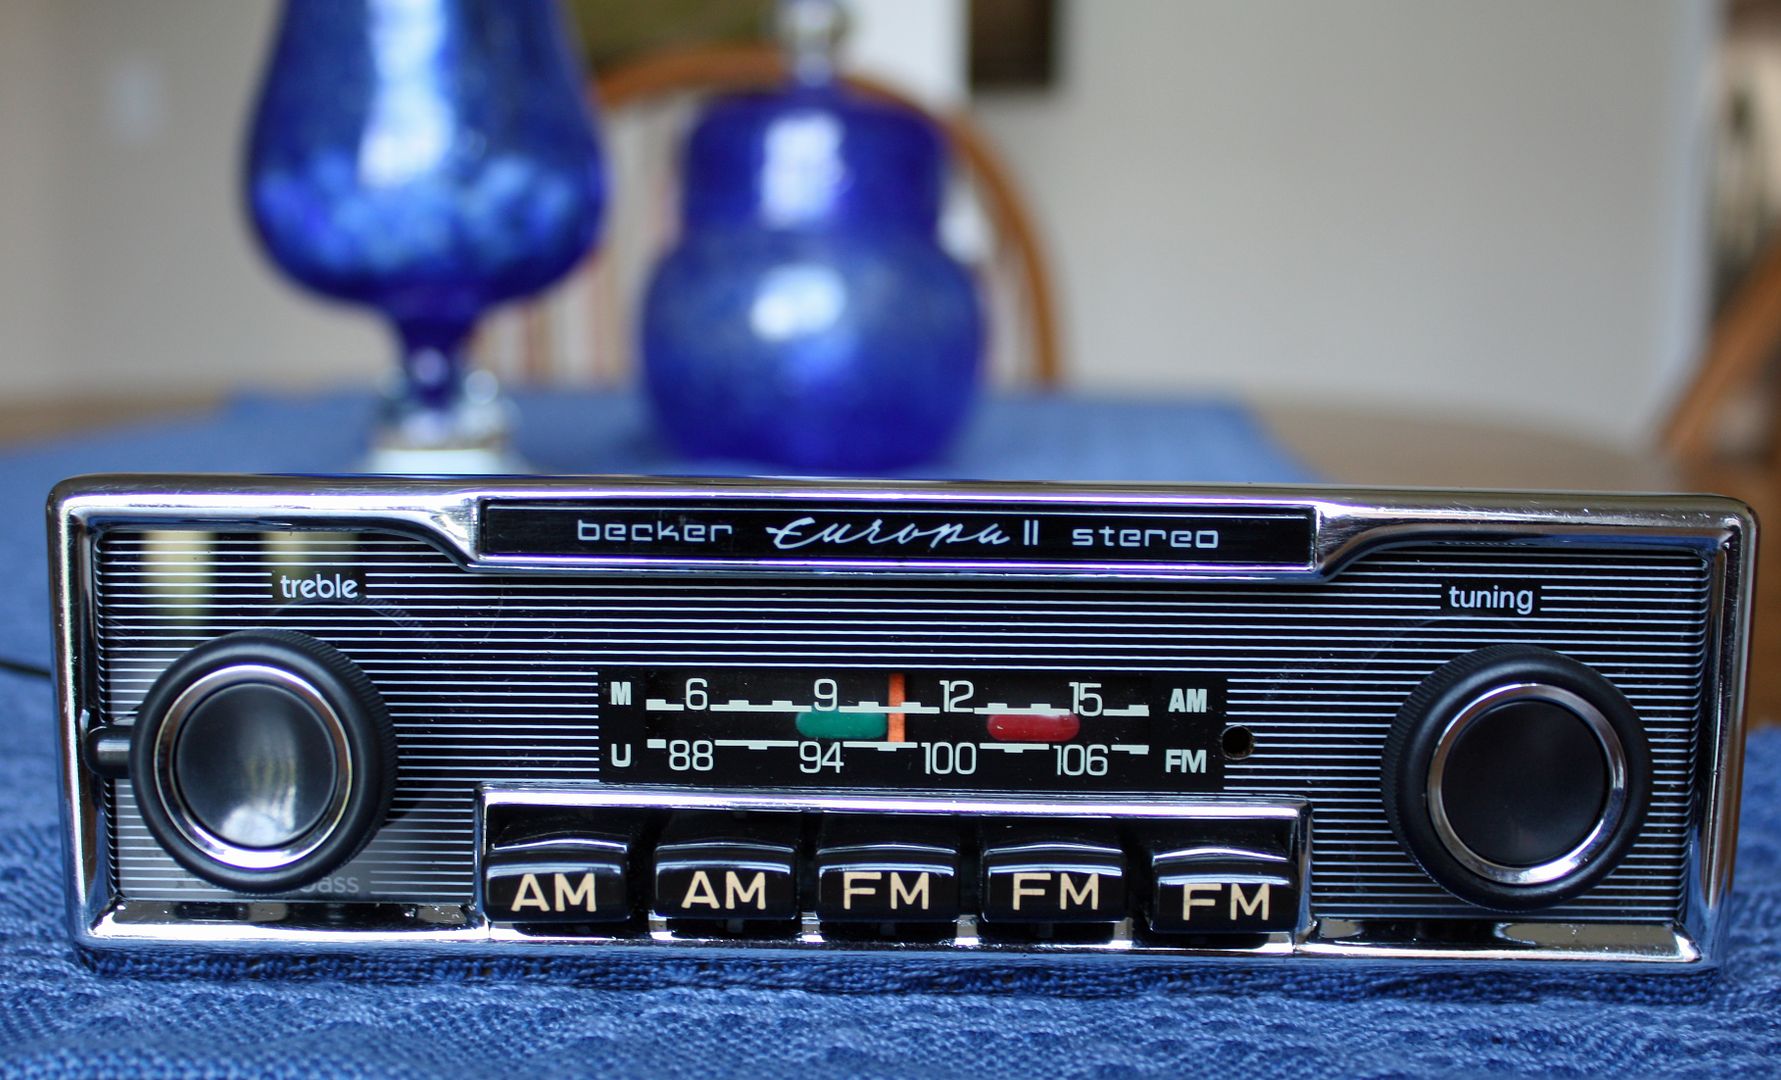  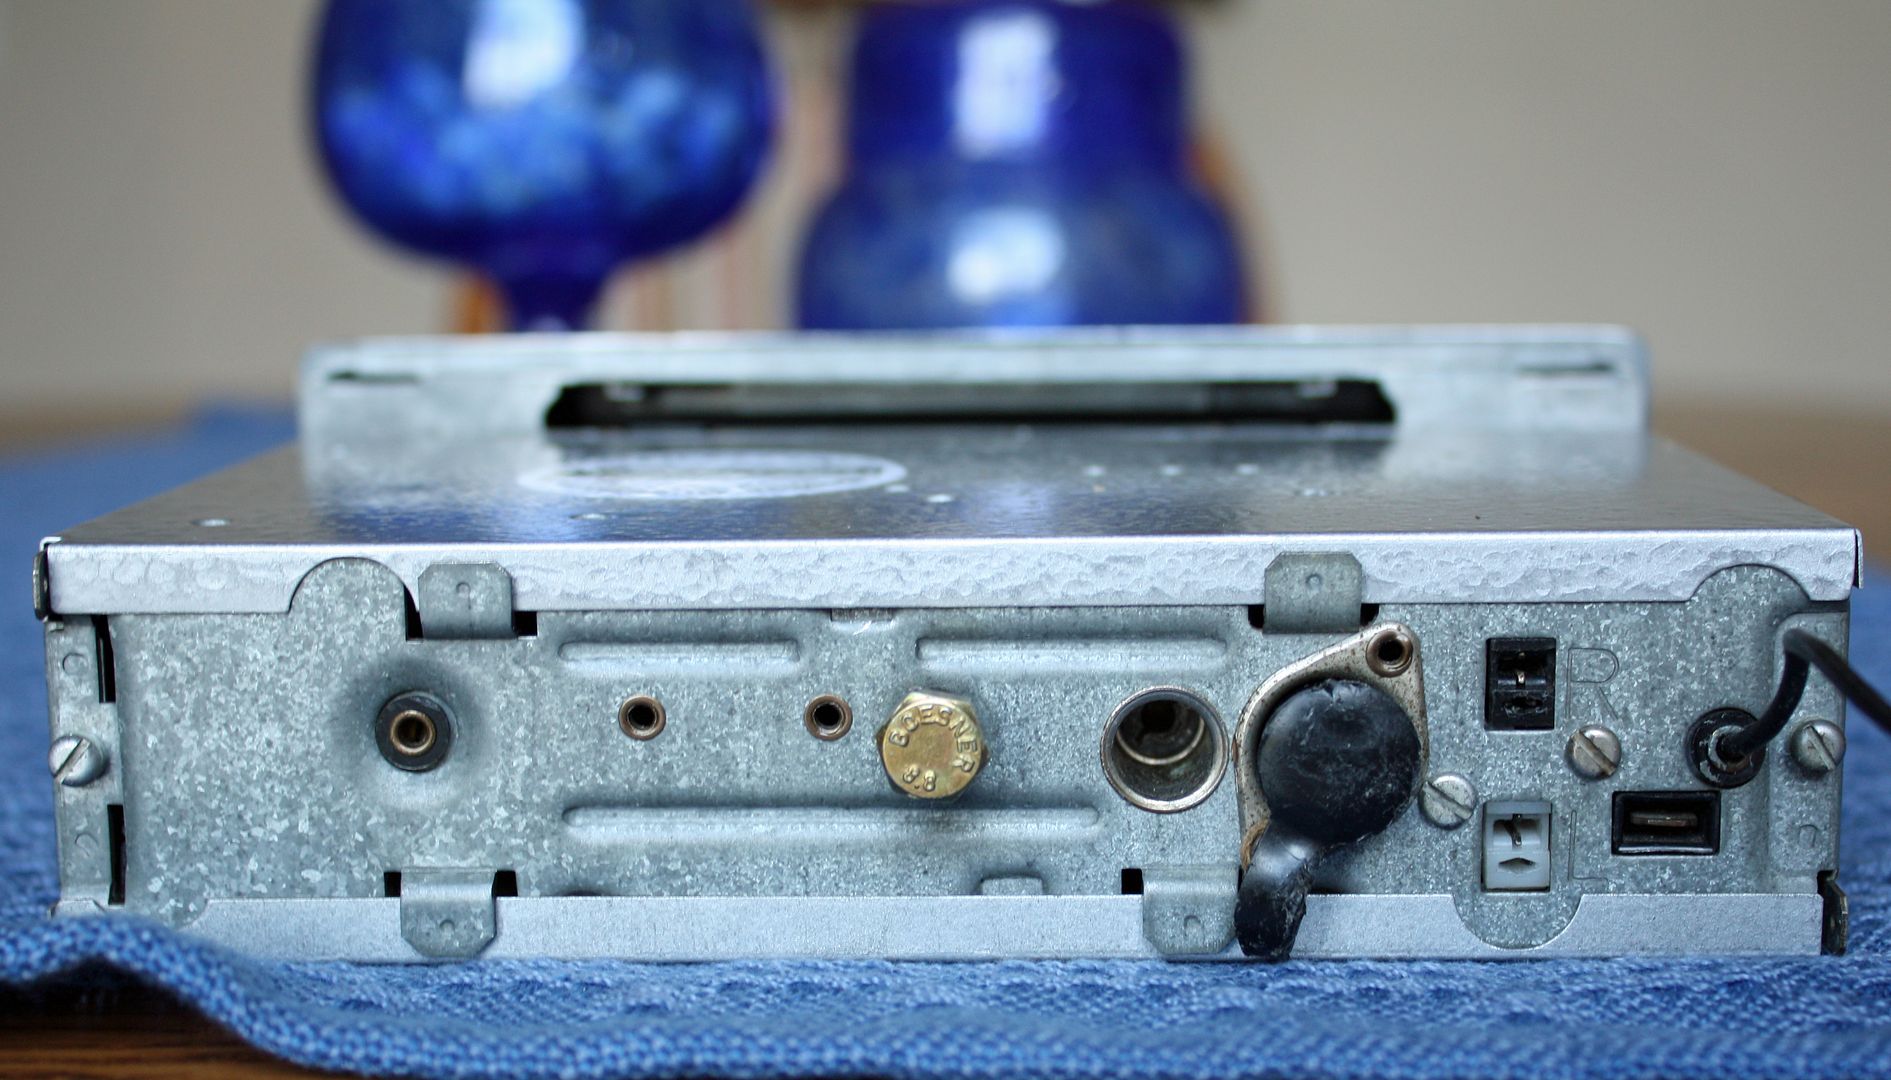 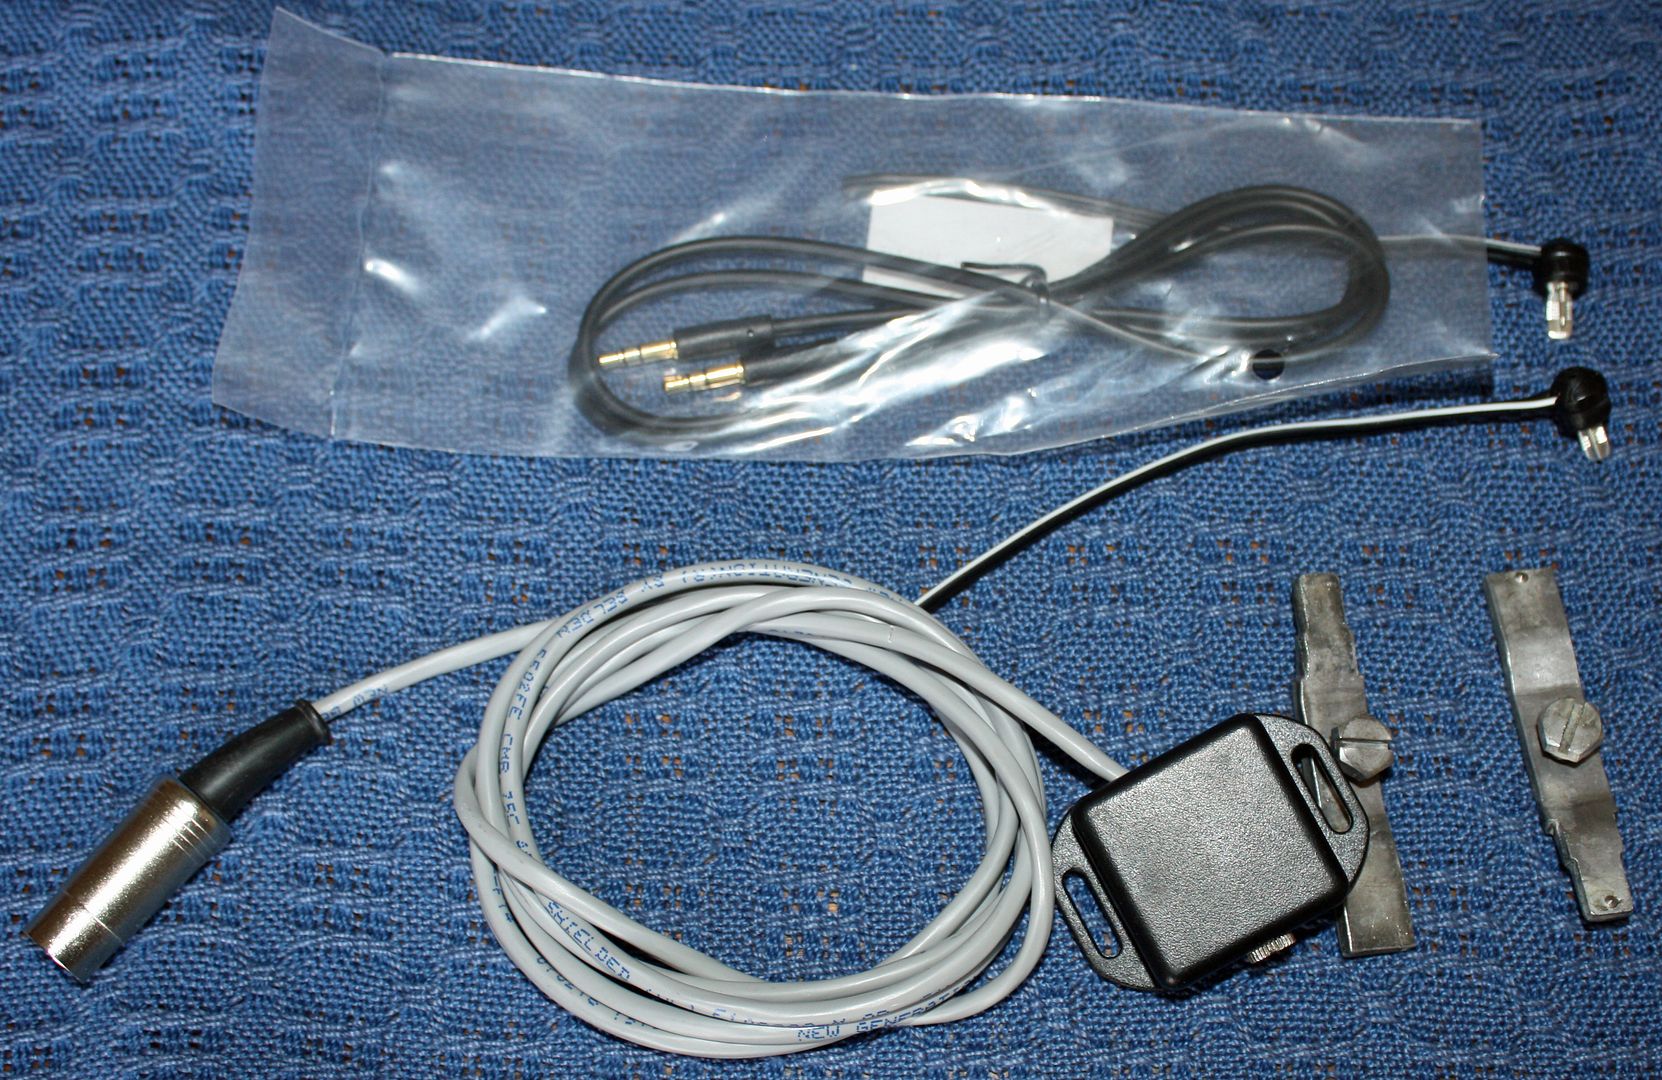 Because of what happened on Sunday, I had made up my mind to remove the gas tank and have it professionally cleaned. To begin that process, I clamped the fuel line to the fuel pump so I could remove it from the pump. Once I had it removed, I drained the fuel into a five gallon paint can that I had cleaned. It filled this container three times. The fuel was pretty clean in the container. I have a funnel with a strainer so I poured the fuel into three five gallon gas cans. 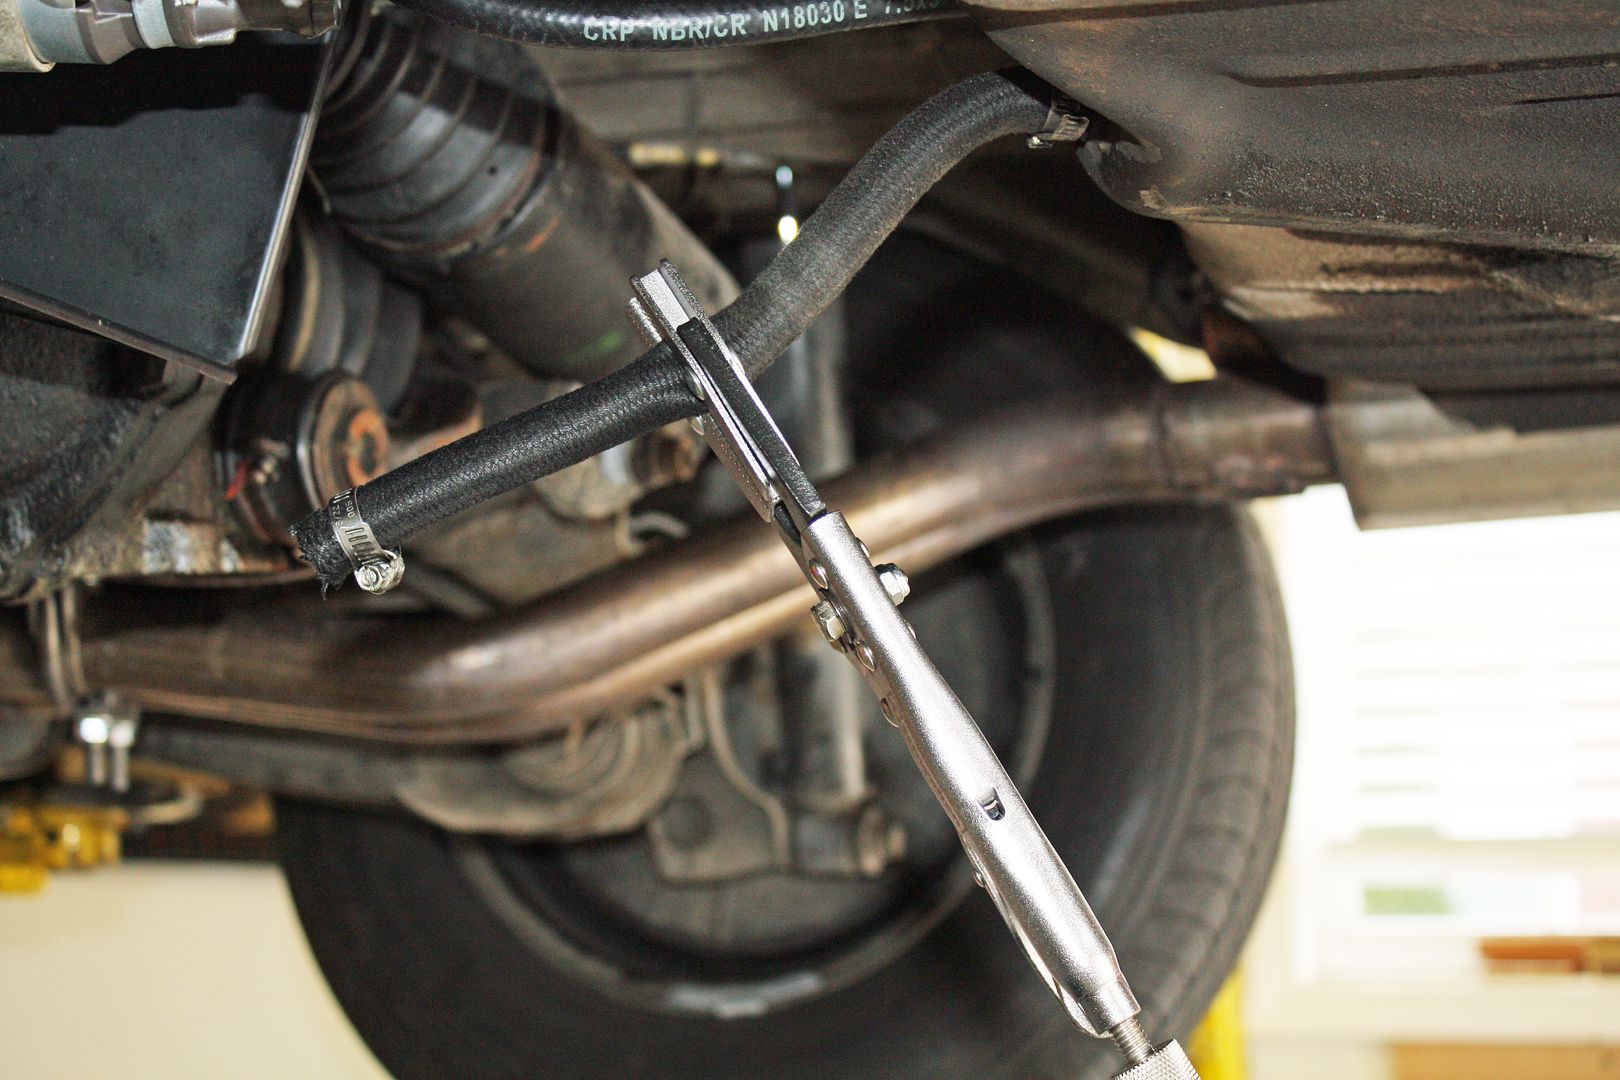 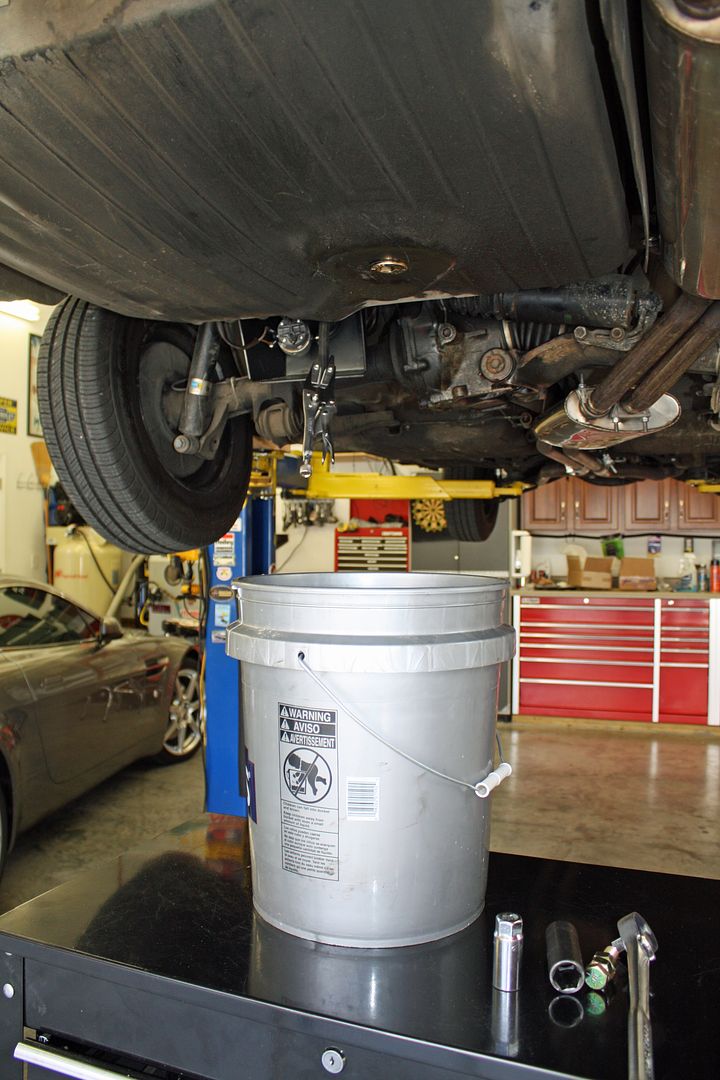 Using the spark plug socket tip from above, I bought a 9/16" bolt that would fit into the other end of he socket. I tightened two nuts against the bolt, inserted the bolt into the strainer opening and removed the old strainer. It did not come out easily. 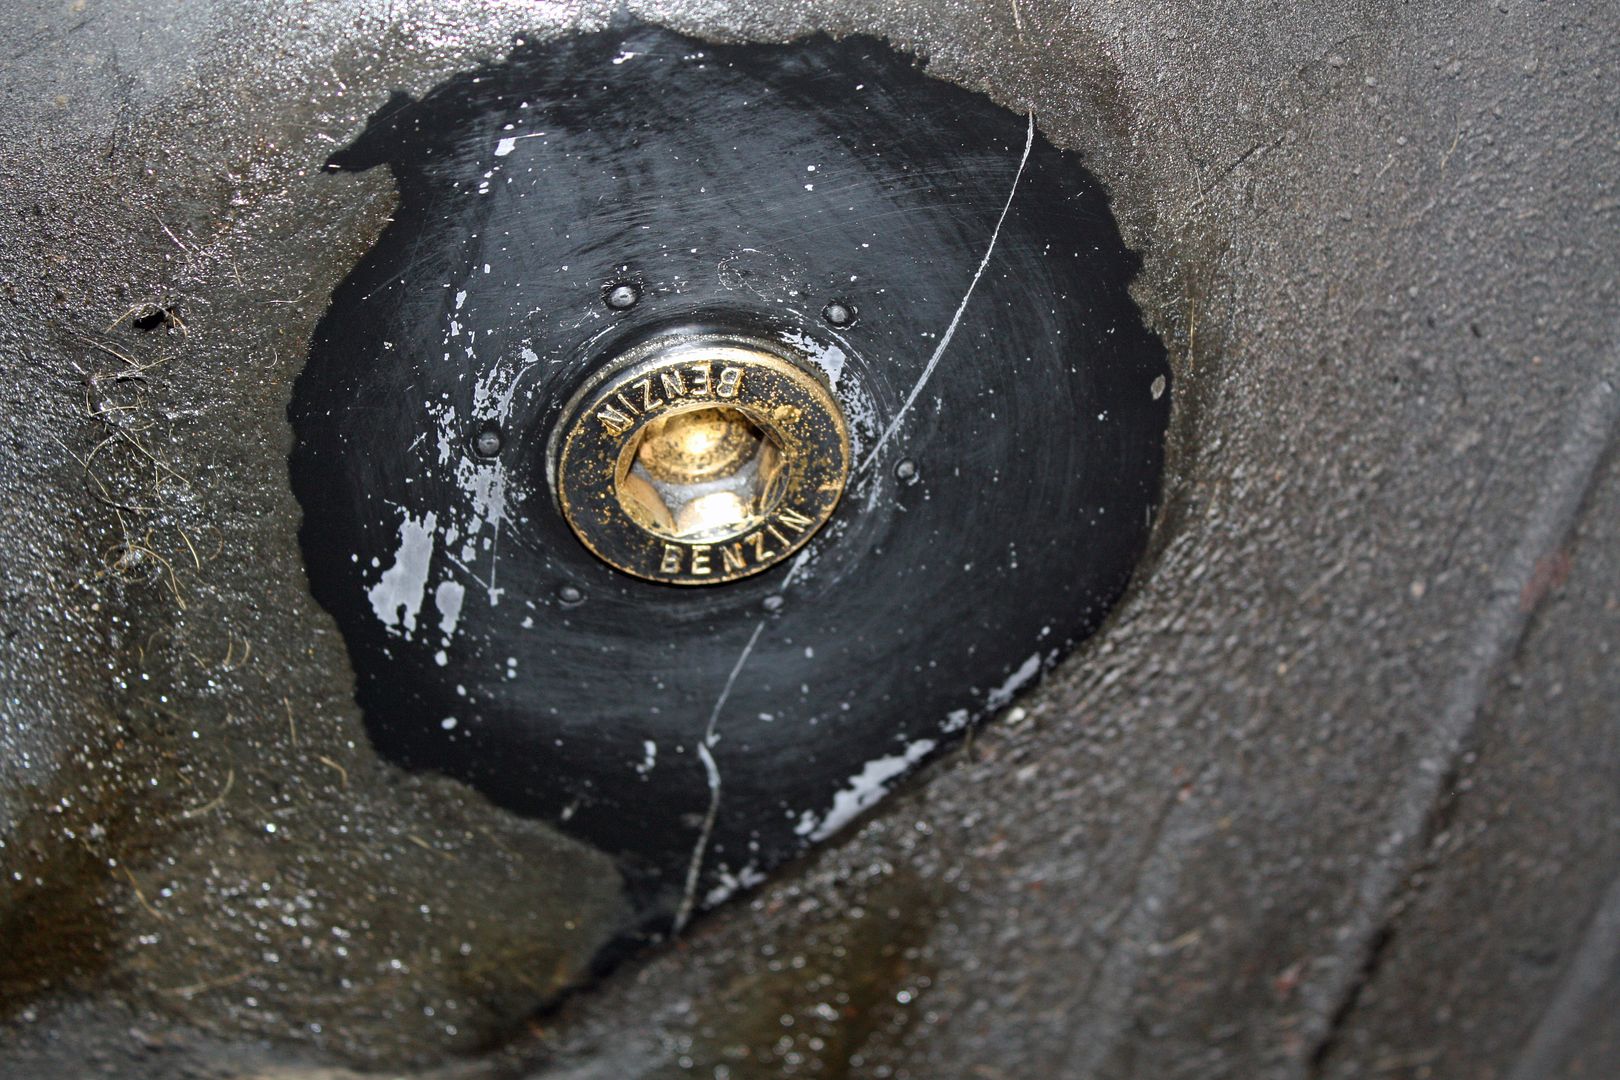 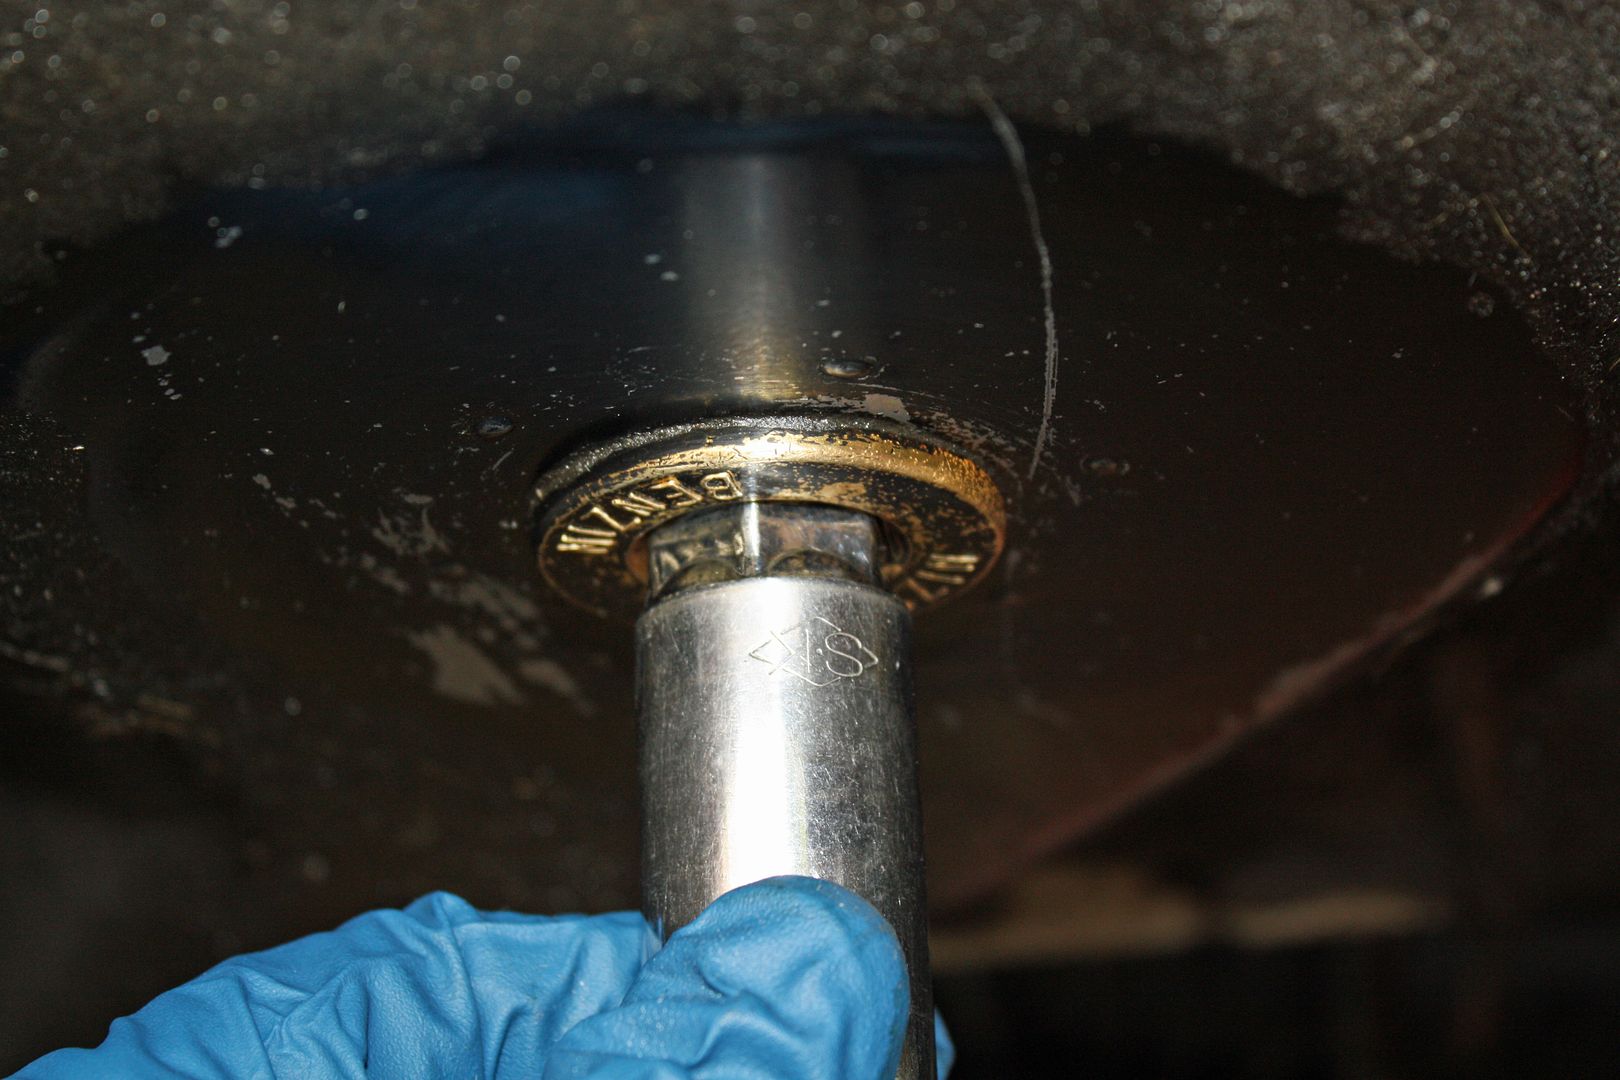 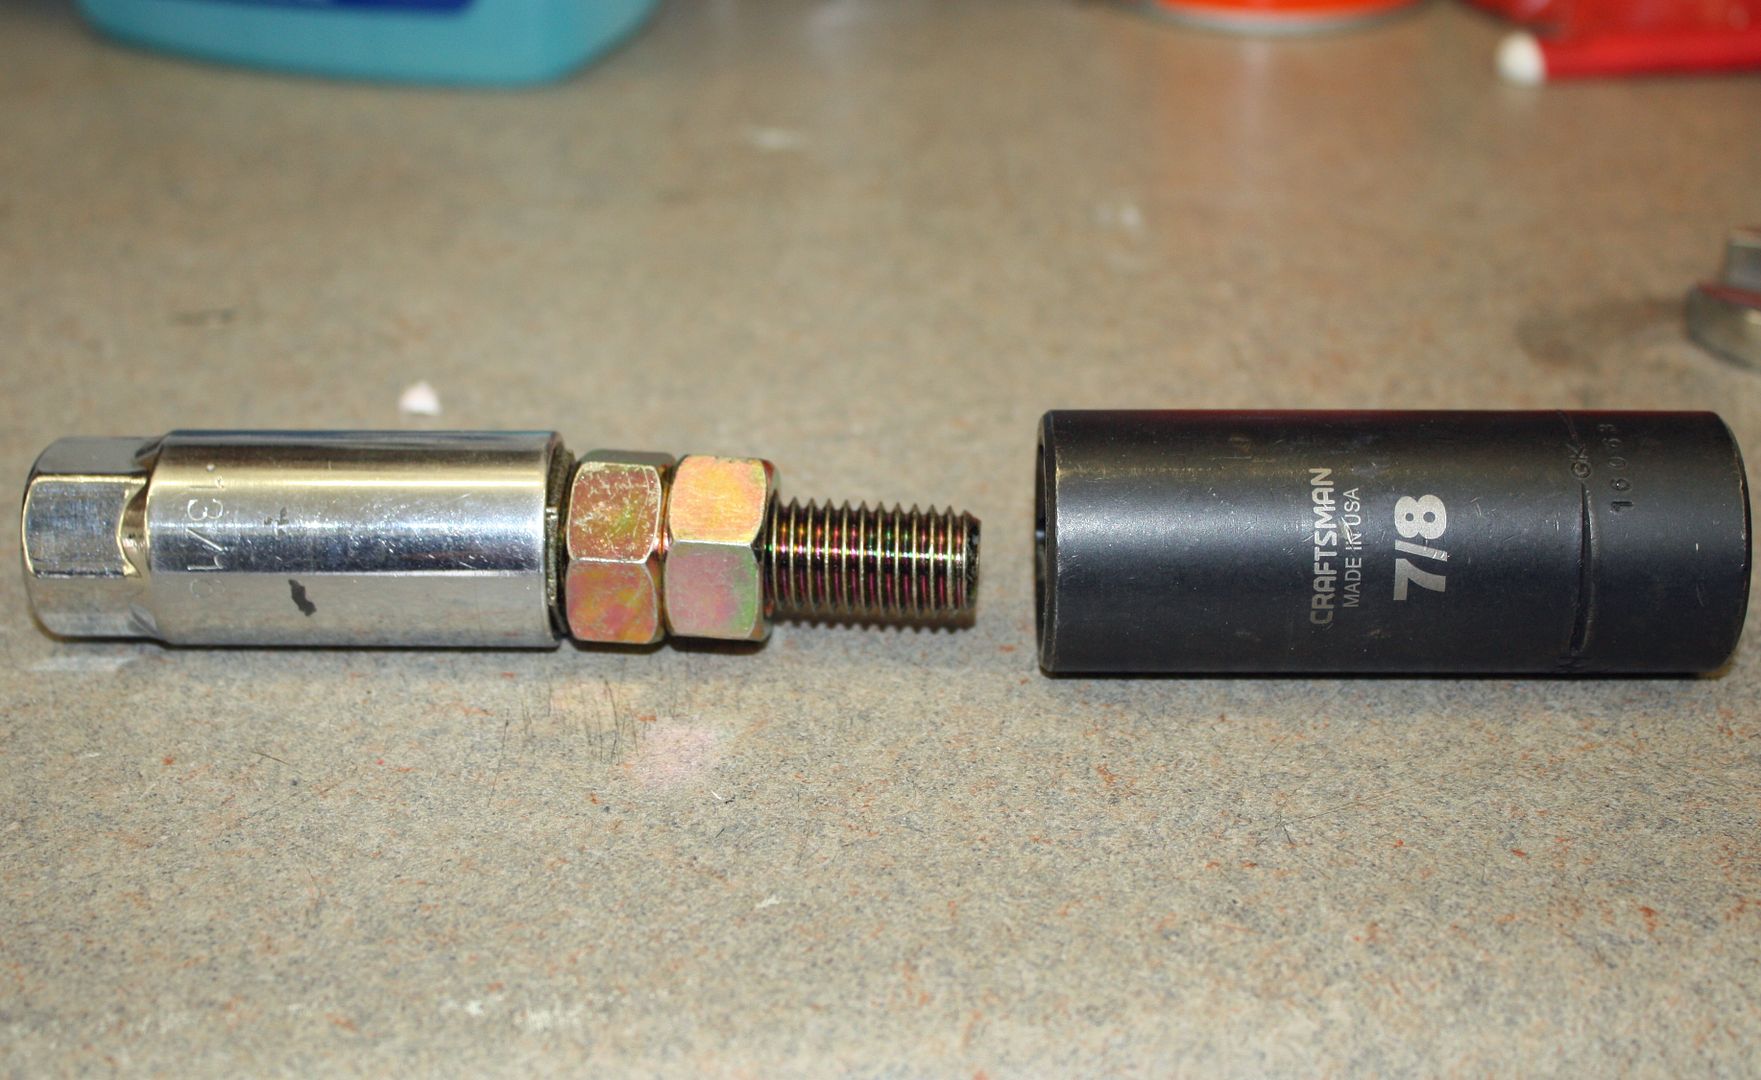 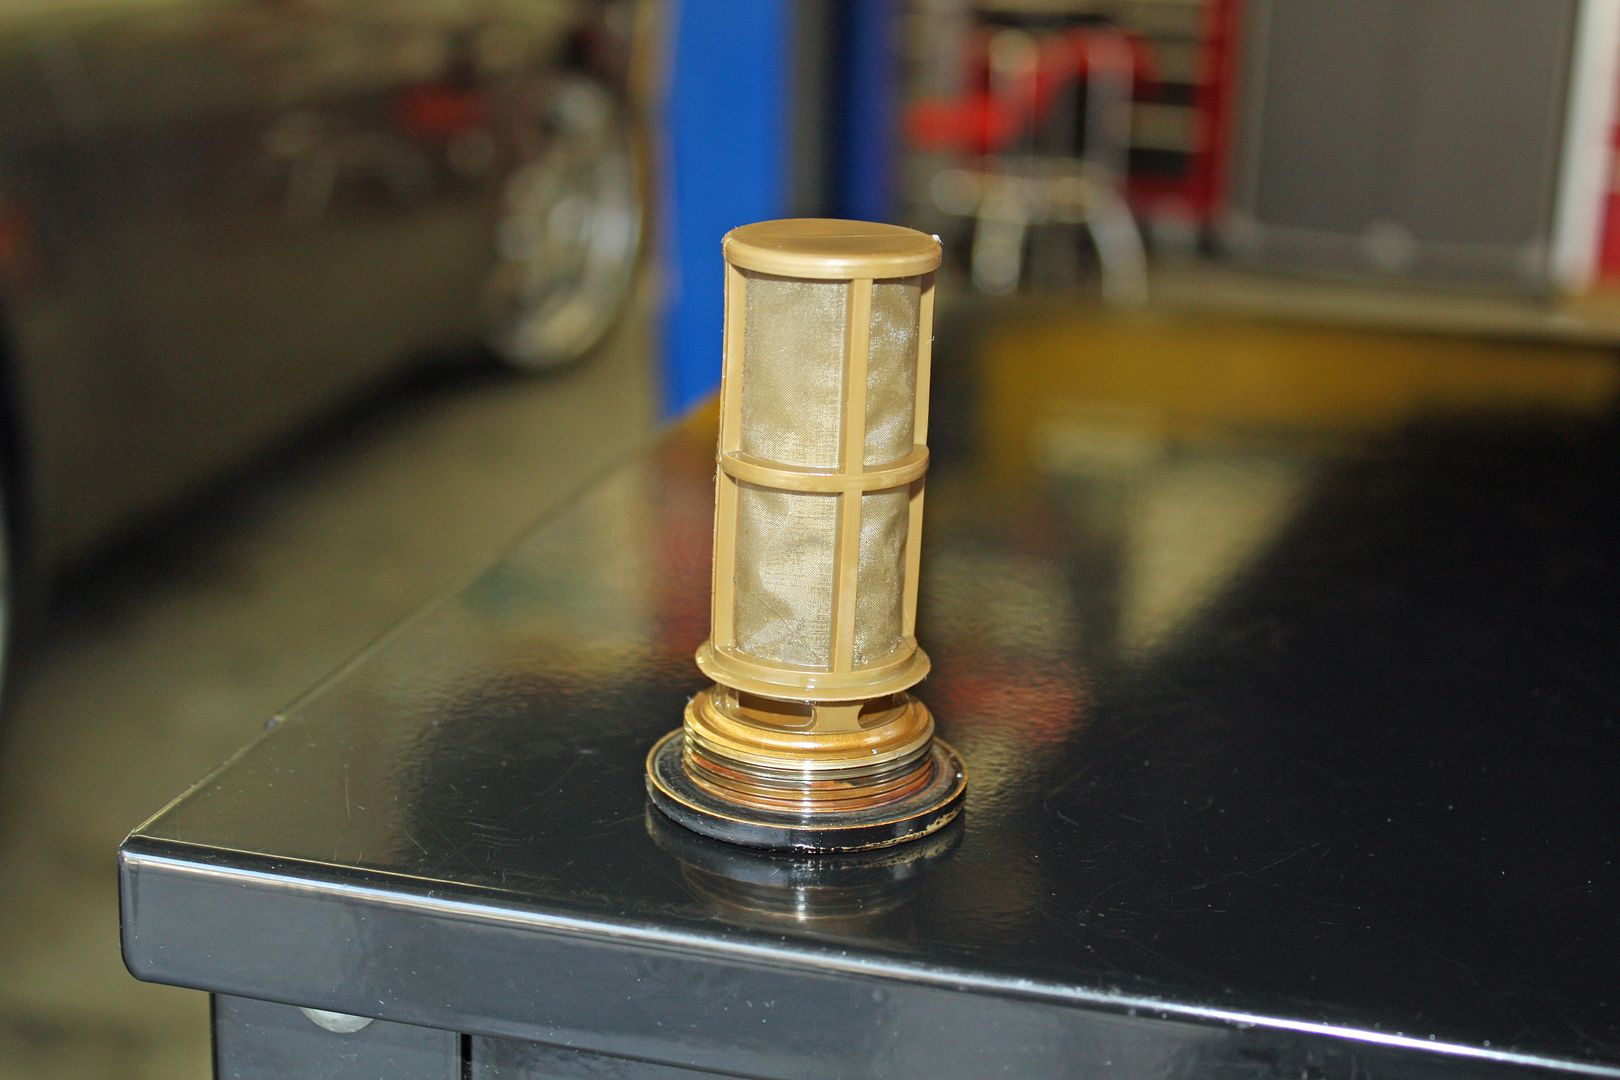 Up to now the draining fuel had been pretty clean. That was not the case with the fuel released by removing the strainer. 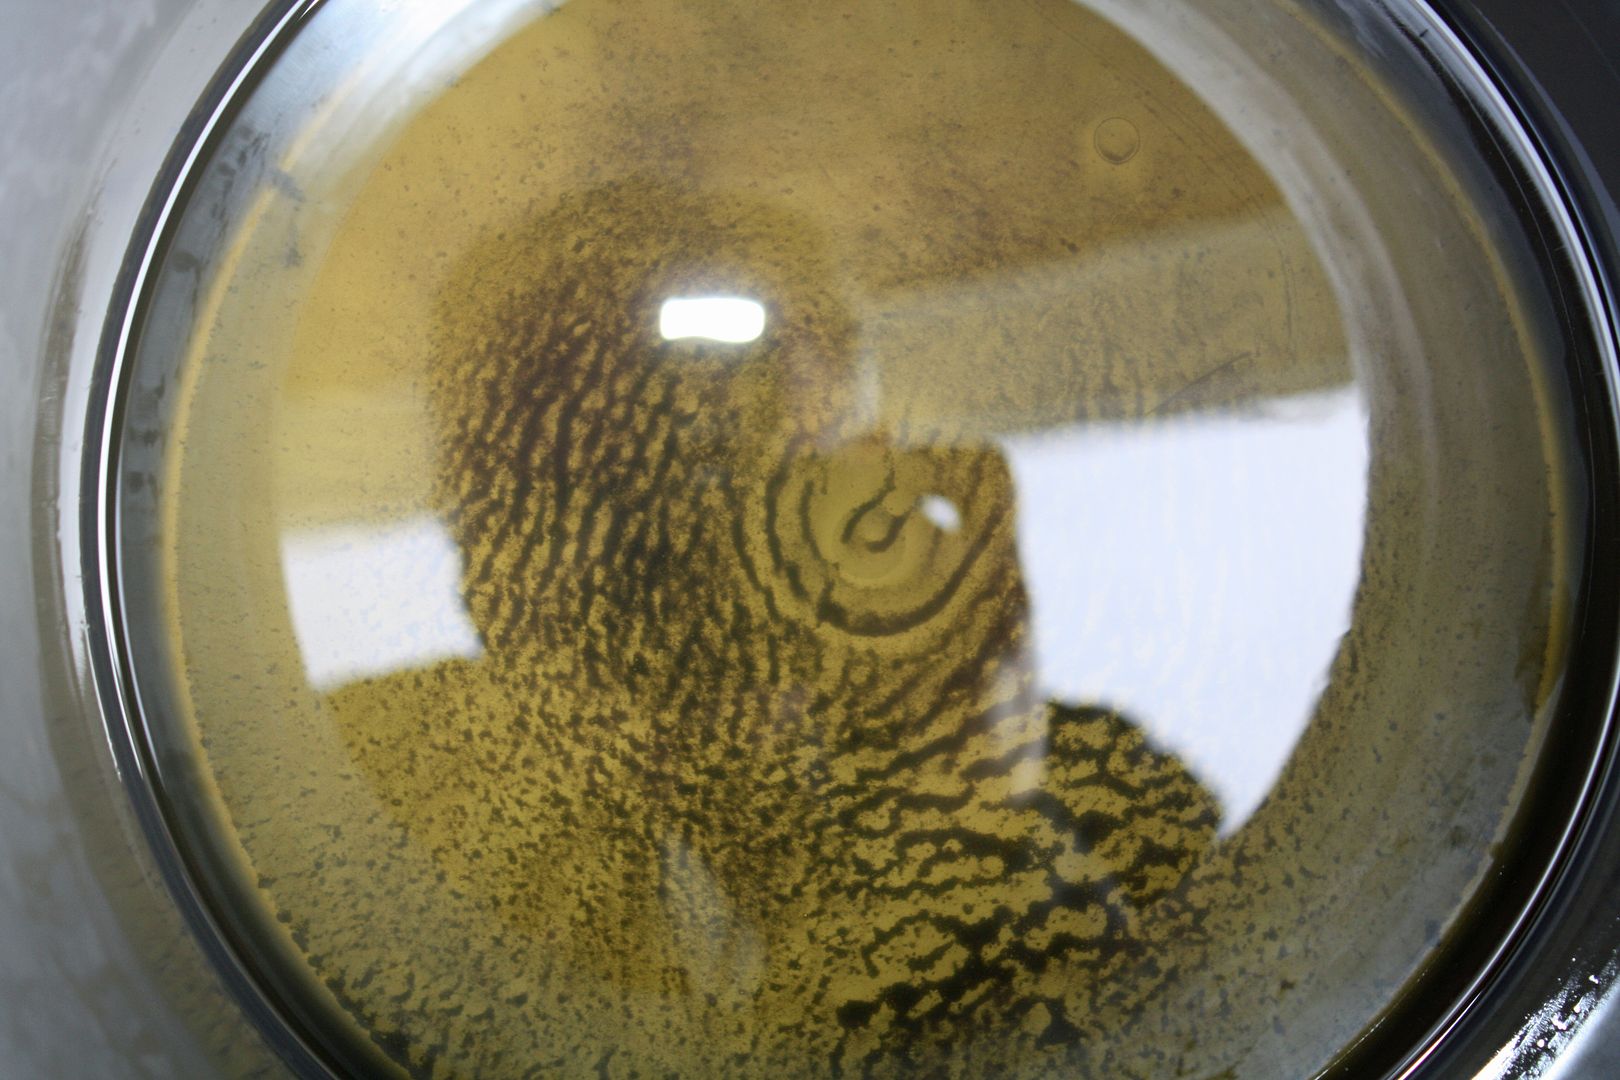 After eating lunch while the remaining fuel drained, I prepared the tank for removal. There are two fuel hose lines attached to the neck that have to be disconnected. In the trunk there is a white plastic cover over the access hole for the fuel sender. The plug to that sender must be disconnected. 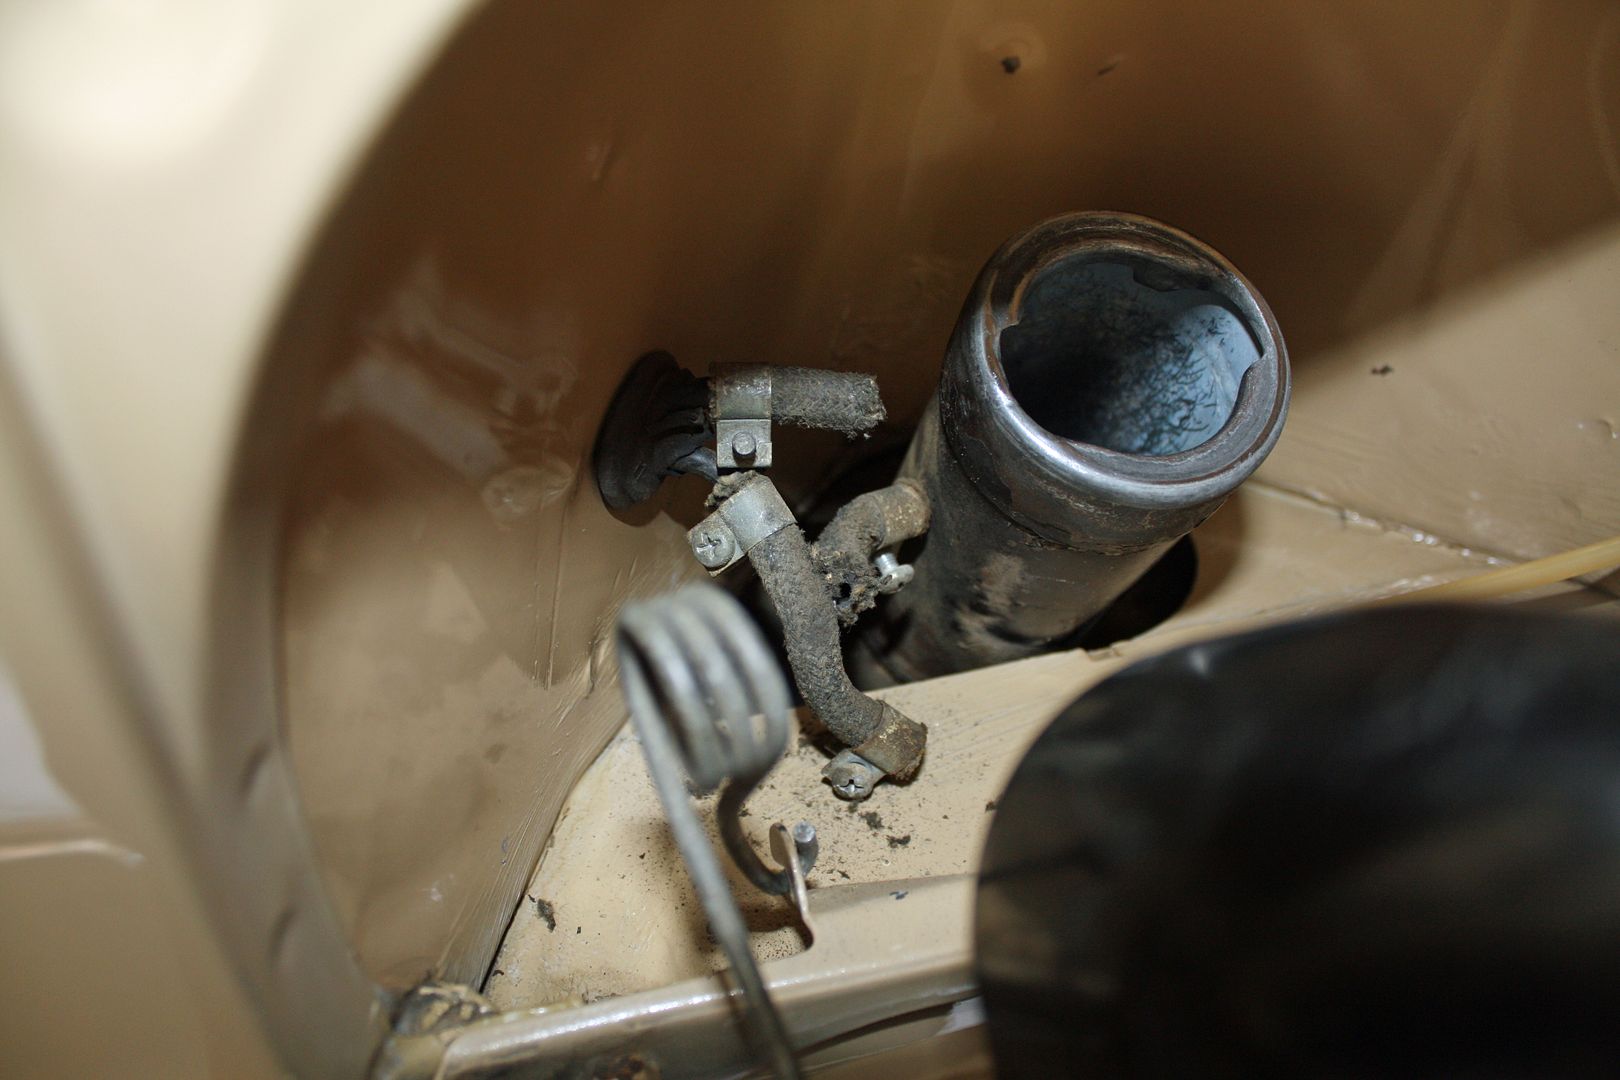 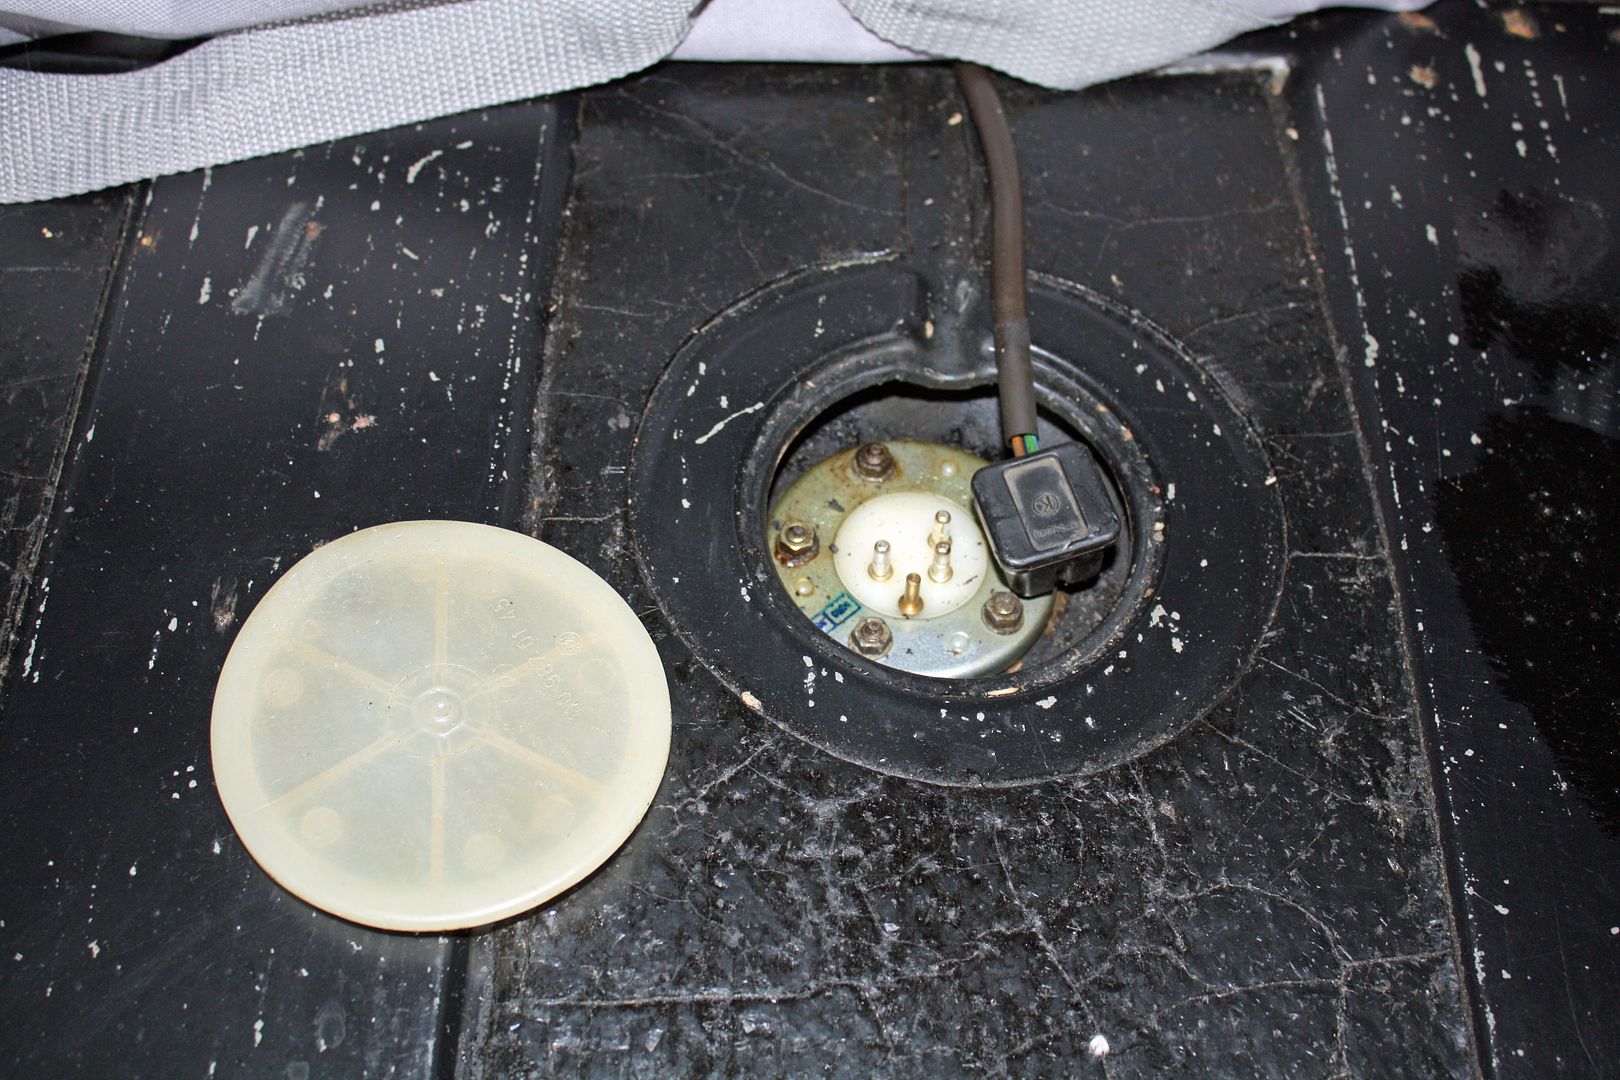 The return line to the tank must also be disconnected. I placed a bolt in the end of each of these lines to keep them from being contaminated. 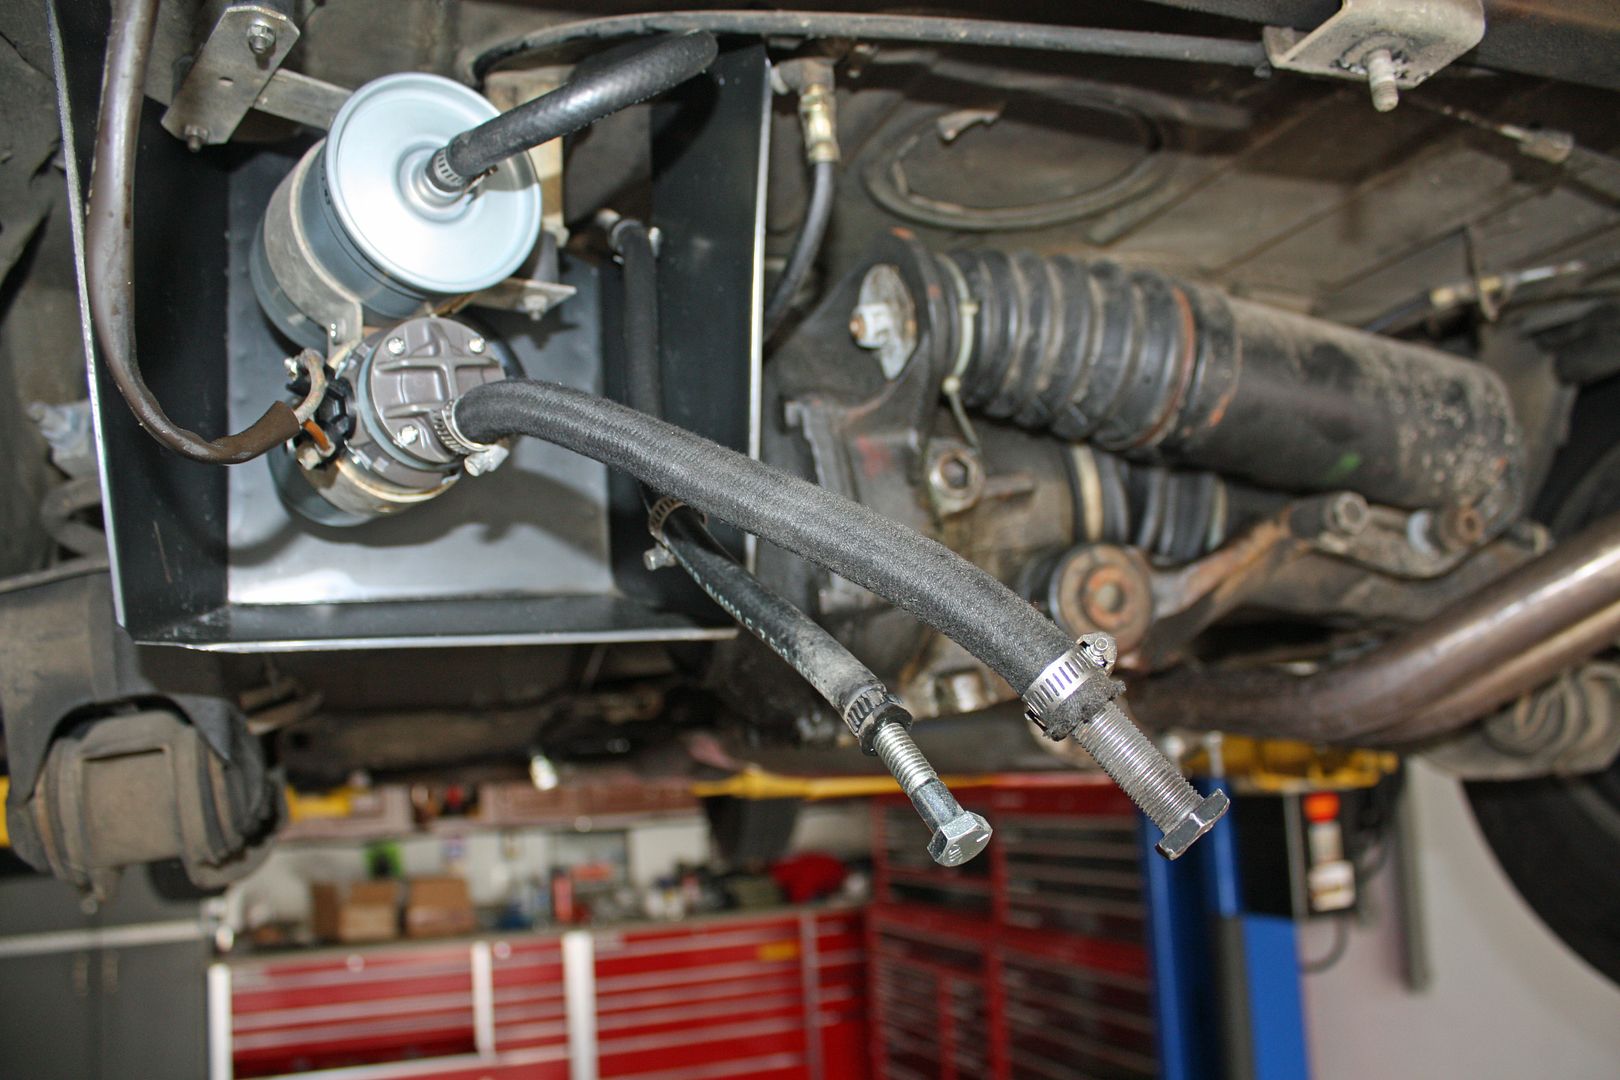 I placed a couple of tall stands under the tank to stabilize it while I removed the fasteners. There are two at the rear, one on the left side and one at the rear. 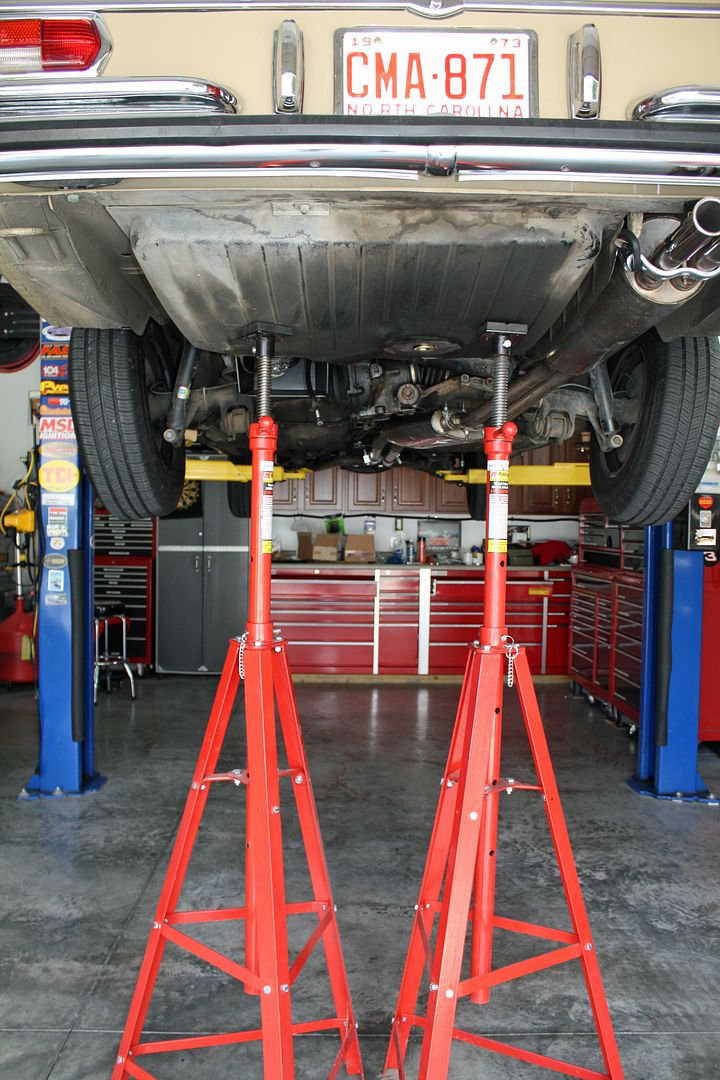 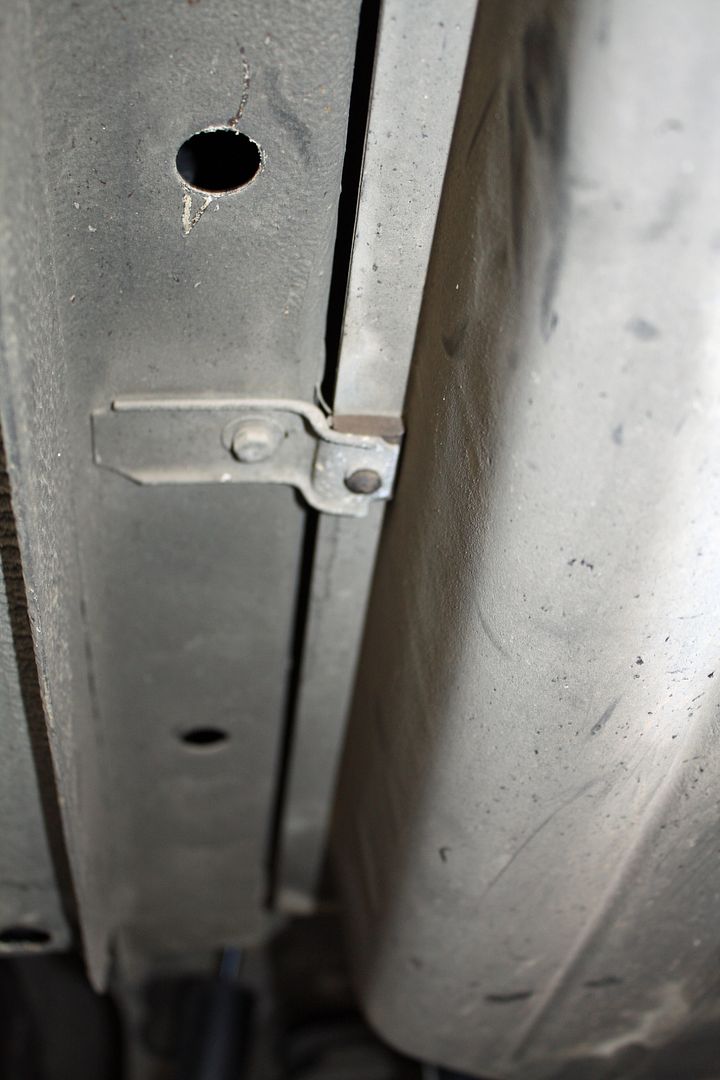 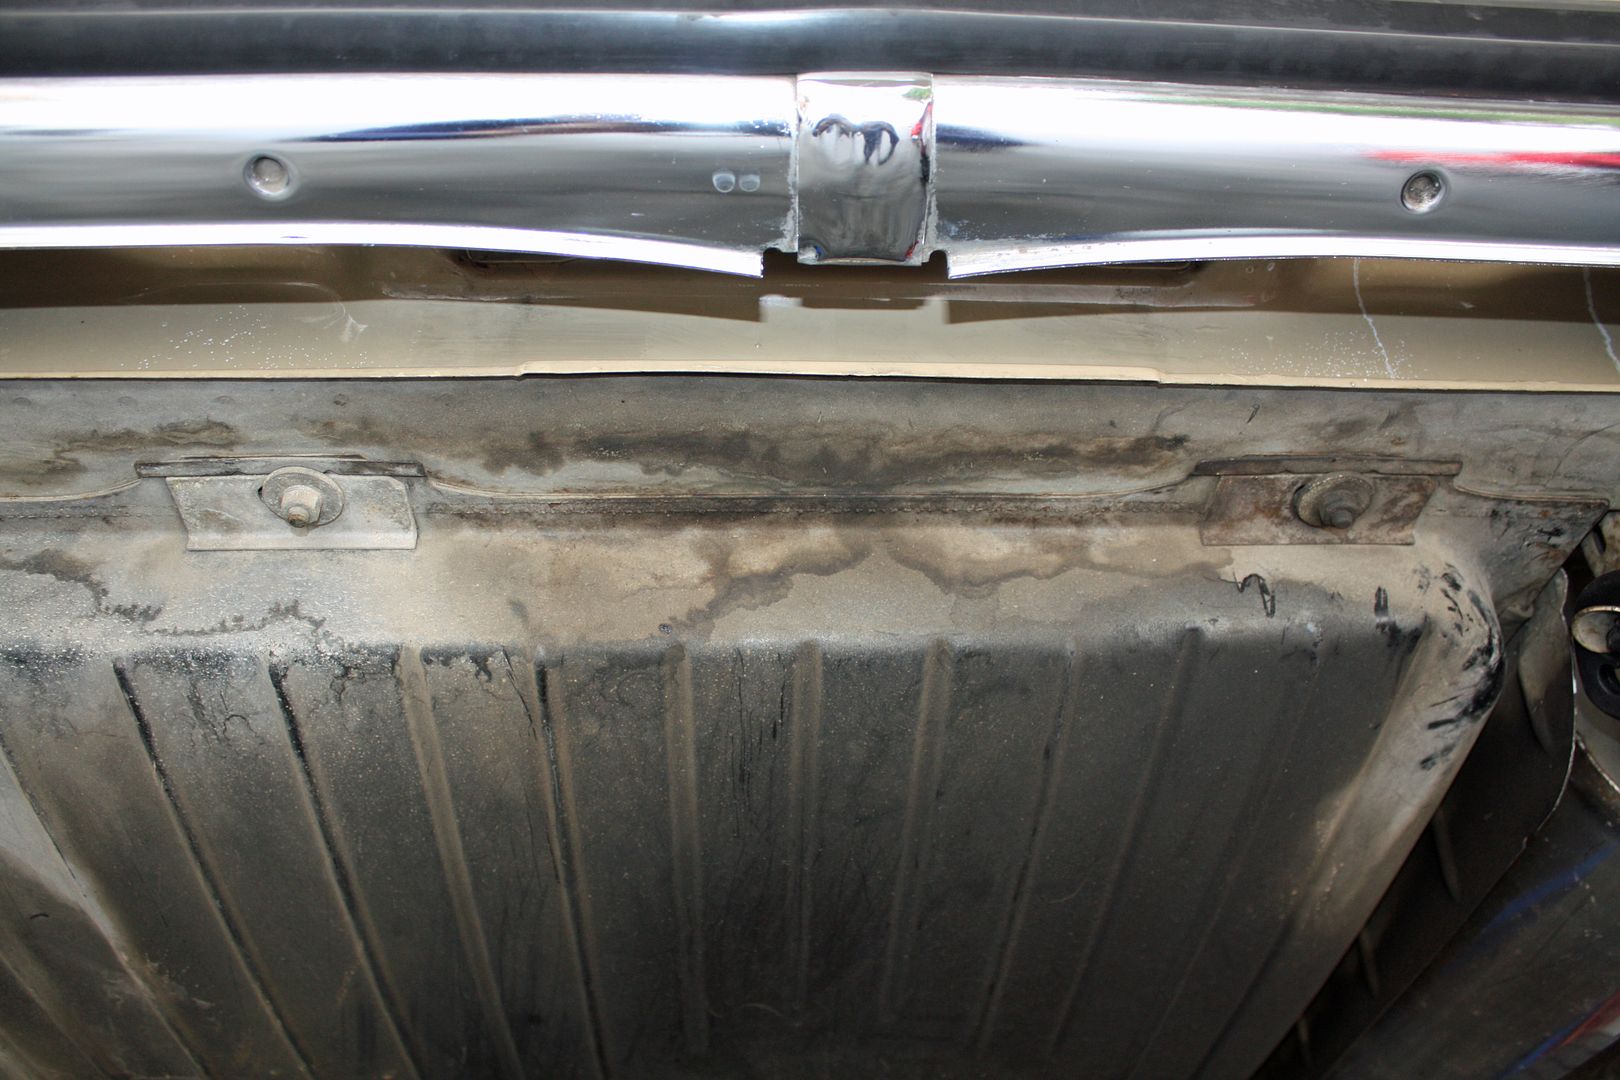  Since I have never taken a gas tank to have it cleaned, I wasn't sure about whether or not the exterior would be cleaned. Since I did not want to clean it after the interior of the tank had been cleaned, I cleaned it before taking it to the repair shop. 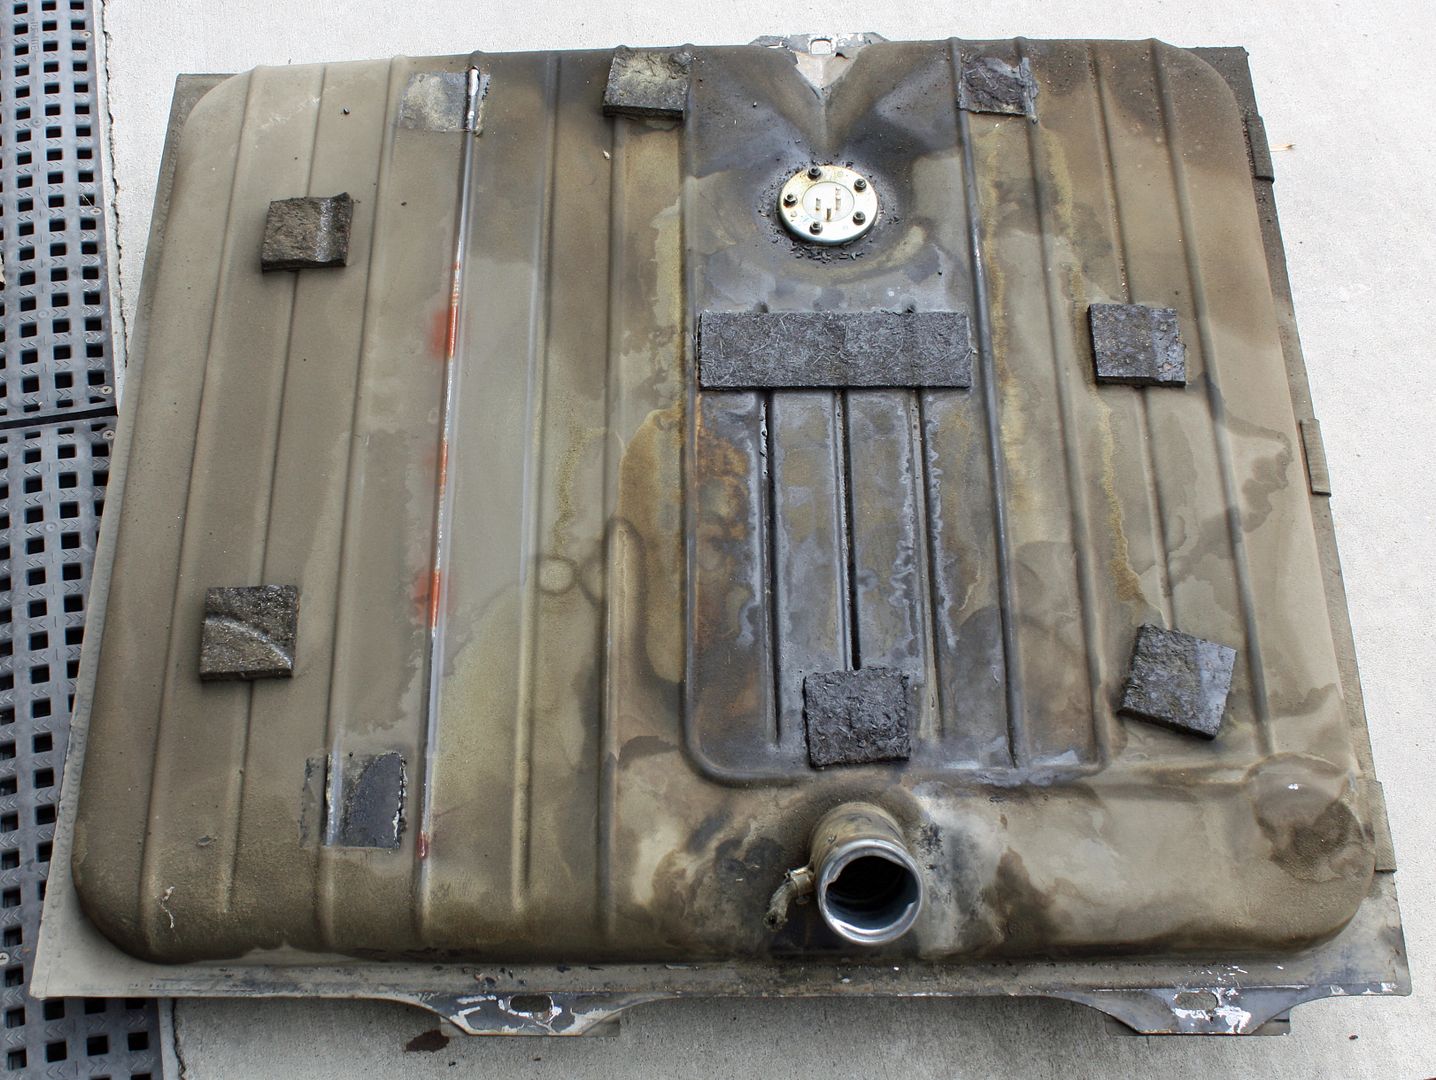 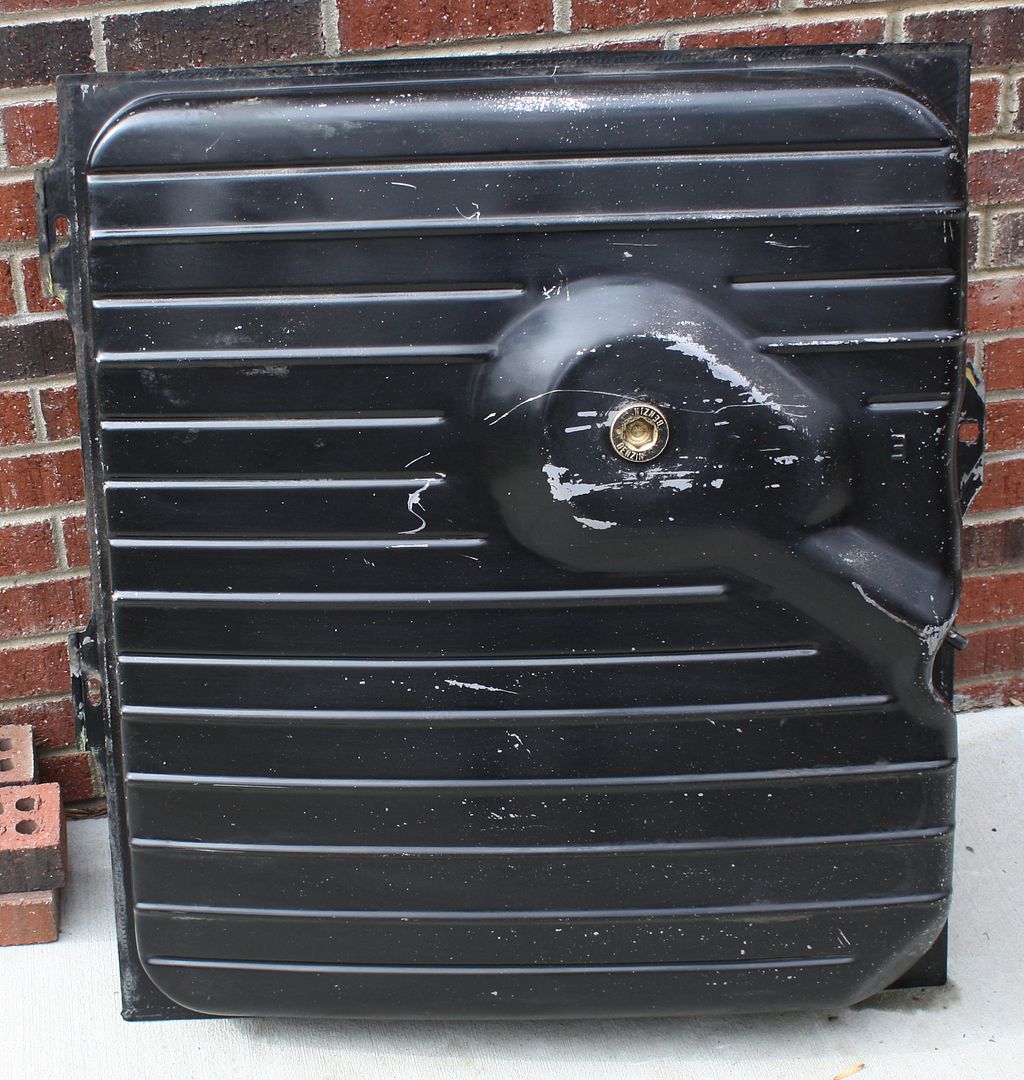 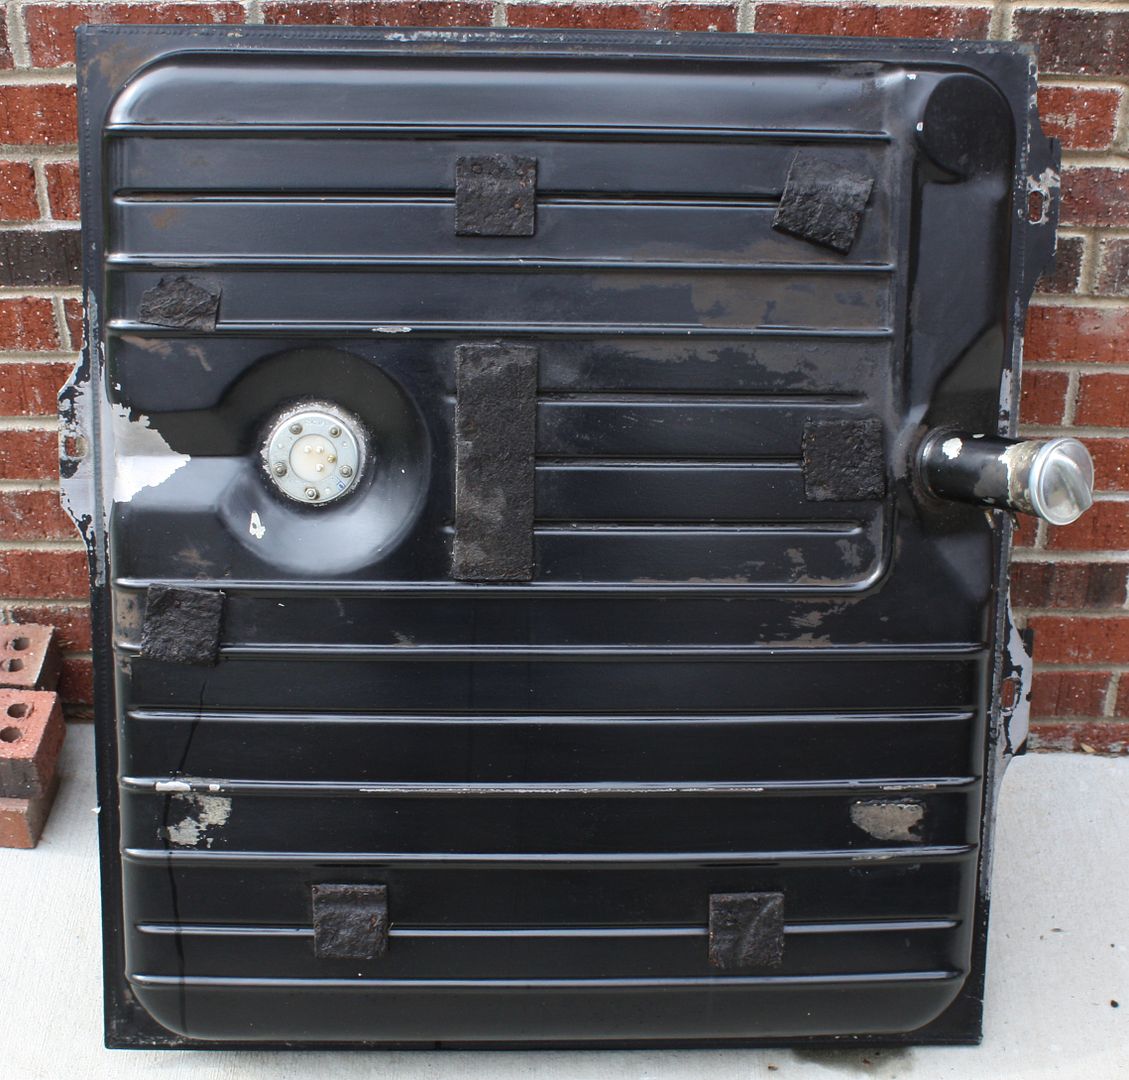
|
|
#143
|
||||
|
||||
|
The gas that came out was dirty, yes, but not likely enough to plug your strainer. Check your D-Jetronic fuel points for fouling, as well as your spark when it begins sputtering - the transistorized ignition boxes on these can fail and the first symptom is rough running when they get hot. Same for the coil.
Note: Since you don't mention issues running when cold, I'd check ignition stuff first. The D-Jet points in the distributor usually lead to you running on 4 to 6 cylinders when cold, and clear up when the engine warms up and the oil contaminating them thins out.
__________________
Current: 2021 Charger Scat Pack Widebody "Sinabee" 2018 Durango R/T Previous: 1972 280SE 4.5 2014 Jeep Grand Cherokee Limited "Hefe", 1992 Jeep Cherokee Laredo "Jeepy", 2006 Charger R/T "Hemi" 1999 Chrysler 300M - RIP @ 221k |
|
#144
|
|||
|
|||
|
Quote:
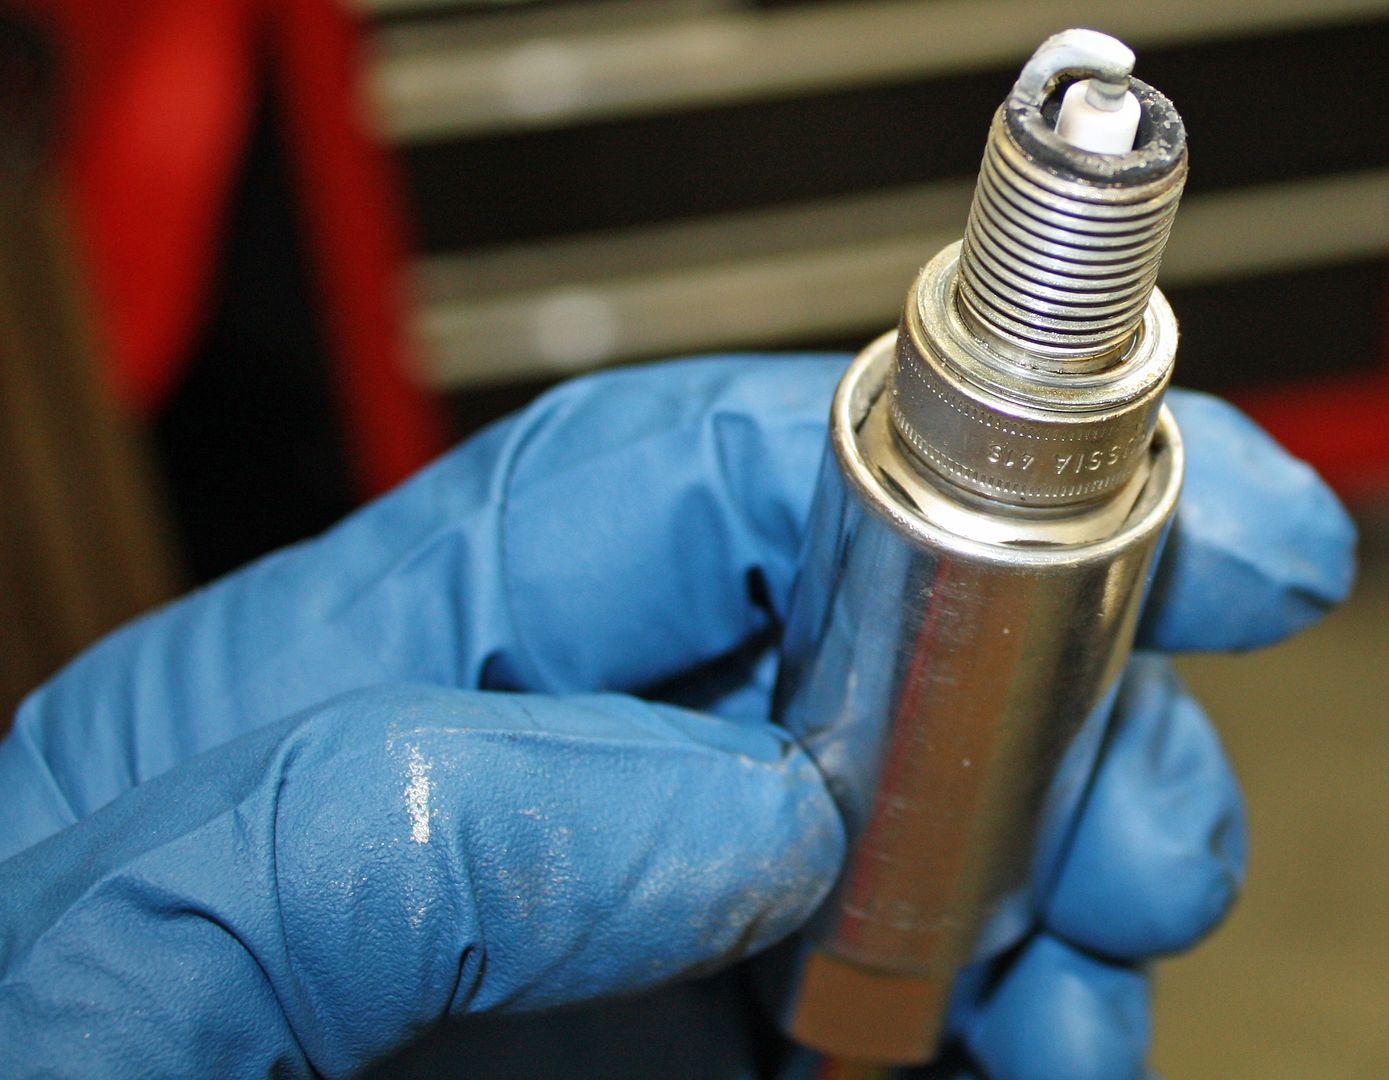 By having the gas tank cleaned and installing a new filter, hopefully I will have eliminated fuel delivery as one potential issue. |
|
#145
|
|||
|
|||
|
Nice write up for the entire car. I wish I were your neighbor. Your shop looks as well equipped as any dealership or independent repair facility I have ever seen. WOW!
|
|
#146
|
||||
|
||||
|
Was just having the same 'neighbor' thought - he's certainly gotten more done (and expertly documented) in a couple months than I've accomplished in years.
|
|
#147
|
|||
|
|||
|
Thanks for the kind comments. Once I start a project, I have a hard time stopping until I am done. One thing leads to another so defining "done" is sometimes difficult.
Which leads me to today's post. There was no way I was going to re-install the gas tank without cleaning the area above it. The more I thought about that, the more I became convinced it was time to pressure wash the bottom of the car. I spent a couple hours yesterday preparing my garage for this very dirty event. I usually buy my visqueen at either Lowe's or the local hardware store with the size being 9'x12'. I happened to be in Wal-Mart the other day and discovered that theirs is 10'x20". This worked out great as I only needed two rolls to do the walls. I used three more rolls to cover the floor. 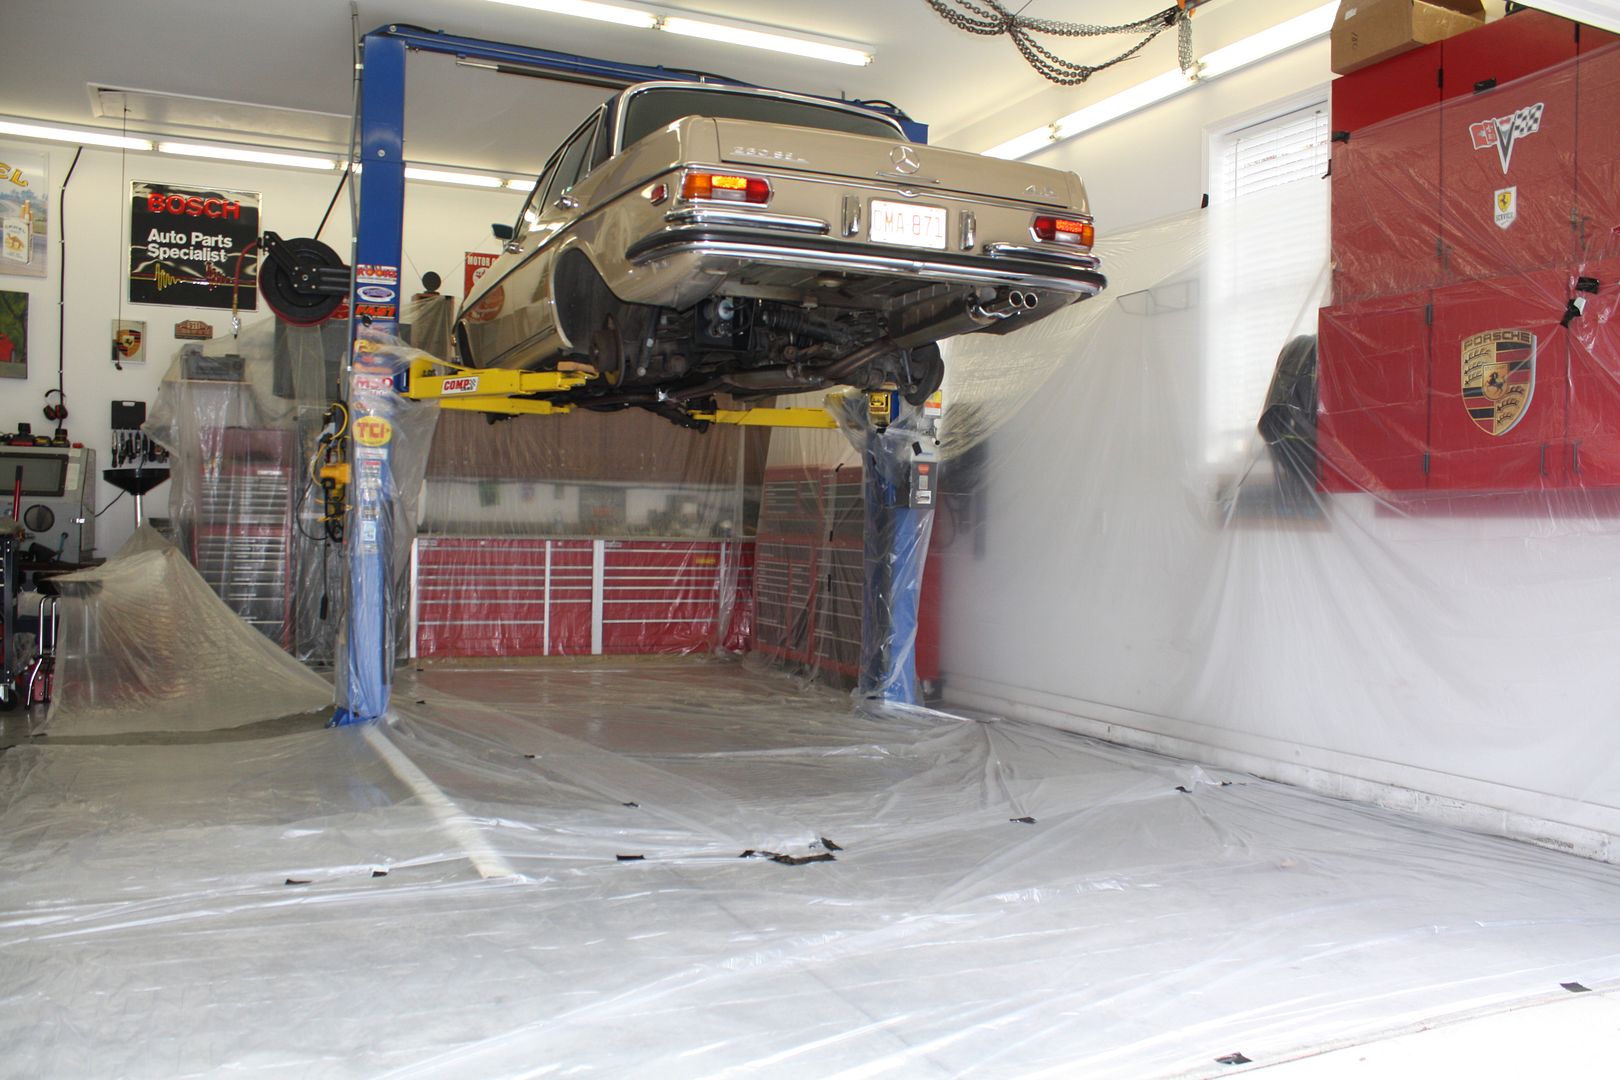 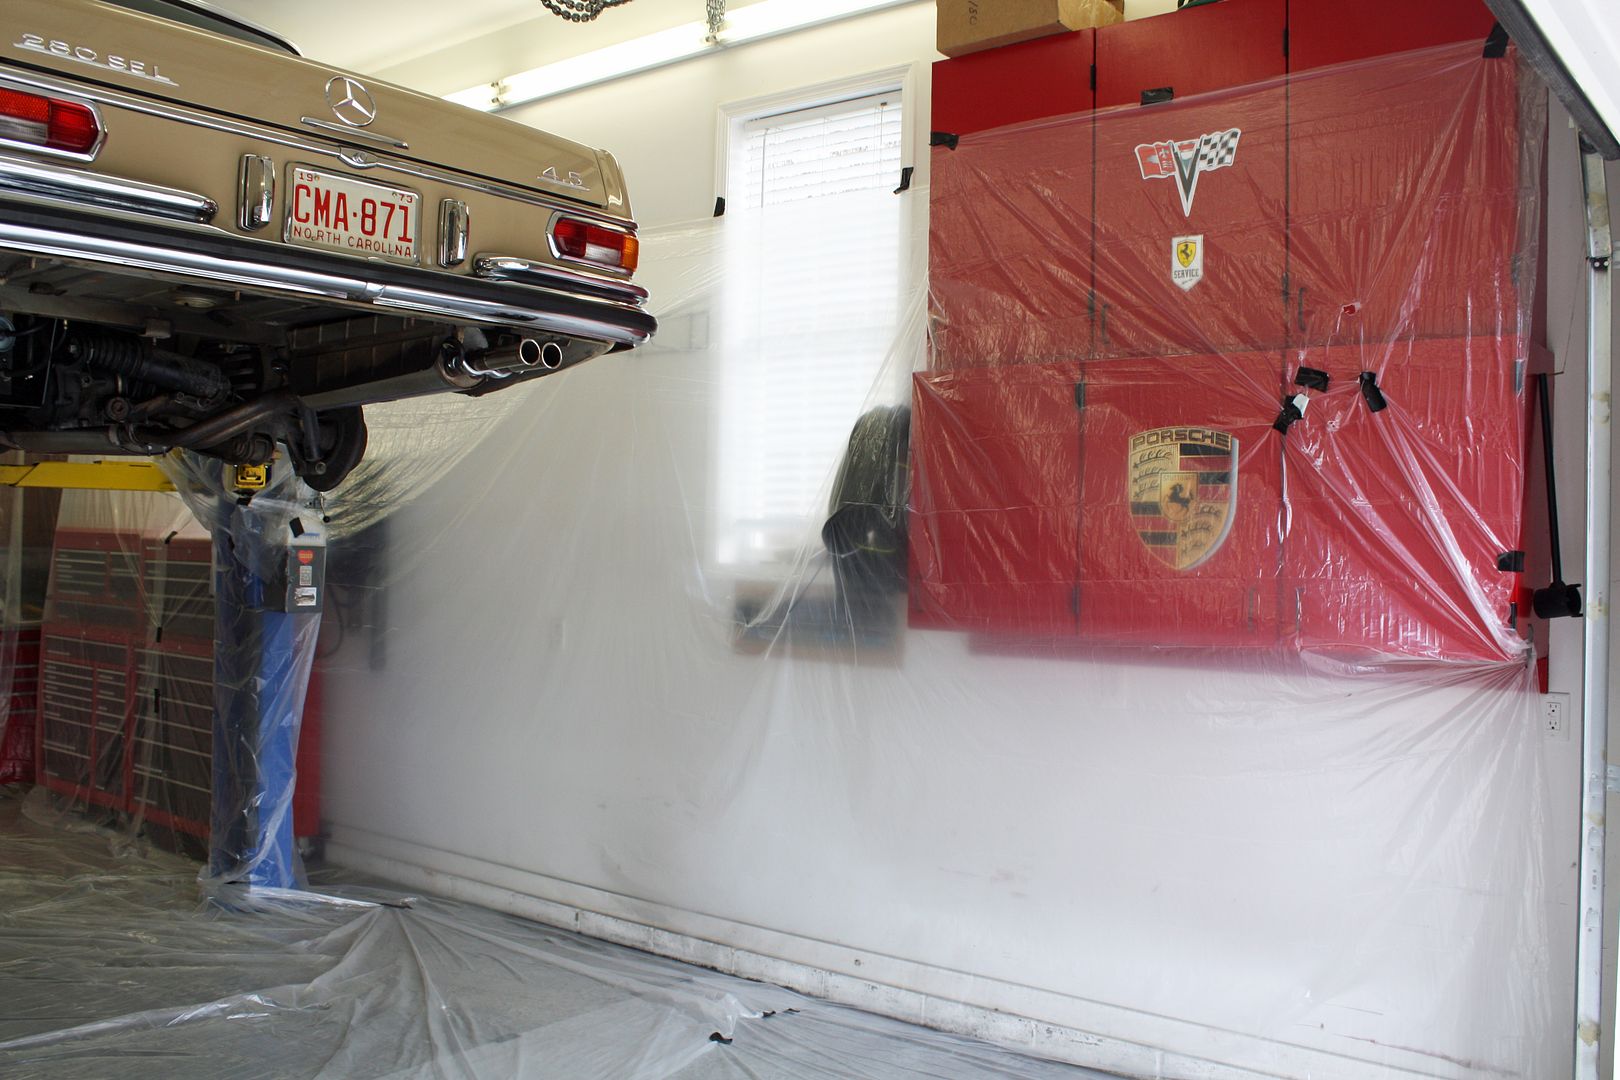 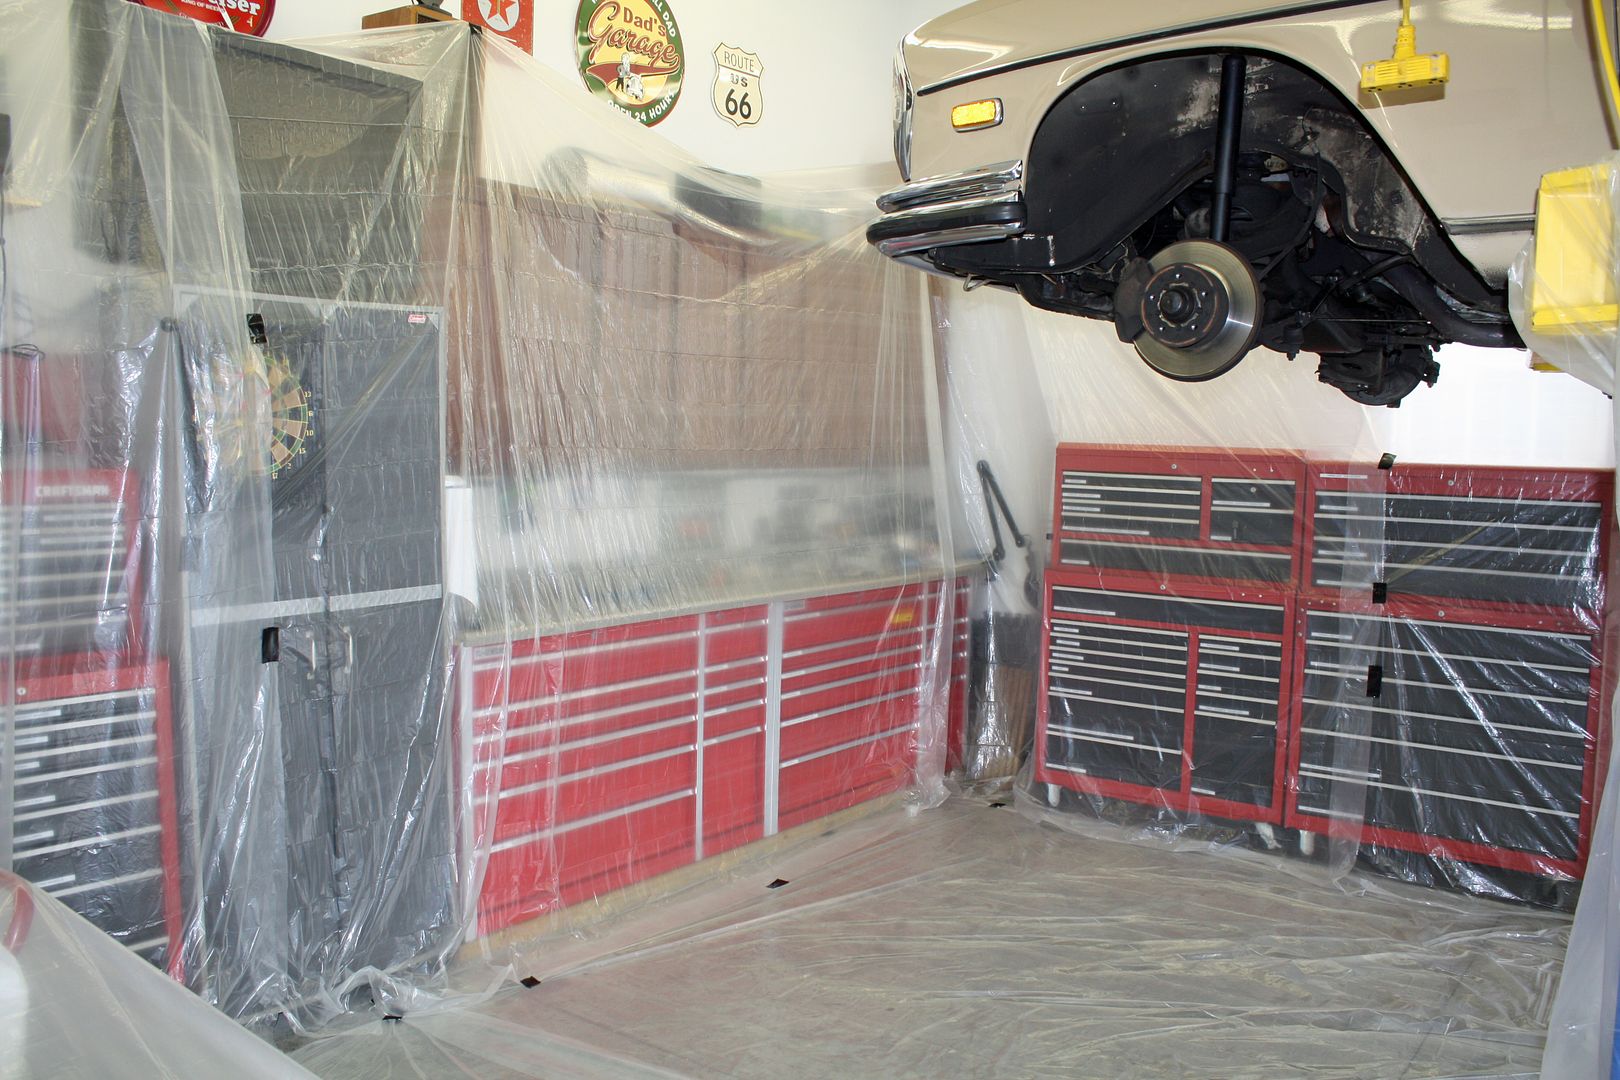 In the engine bay I used tape to cover any holes and stuffed some plastic down alongside the motor. I still had some residue enter this area but it will only require some light cleaning. I also taped holes in the trunk. 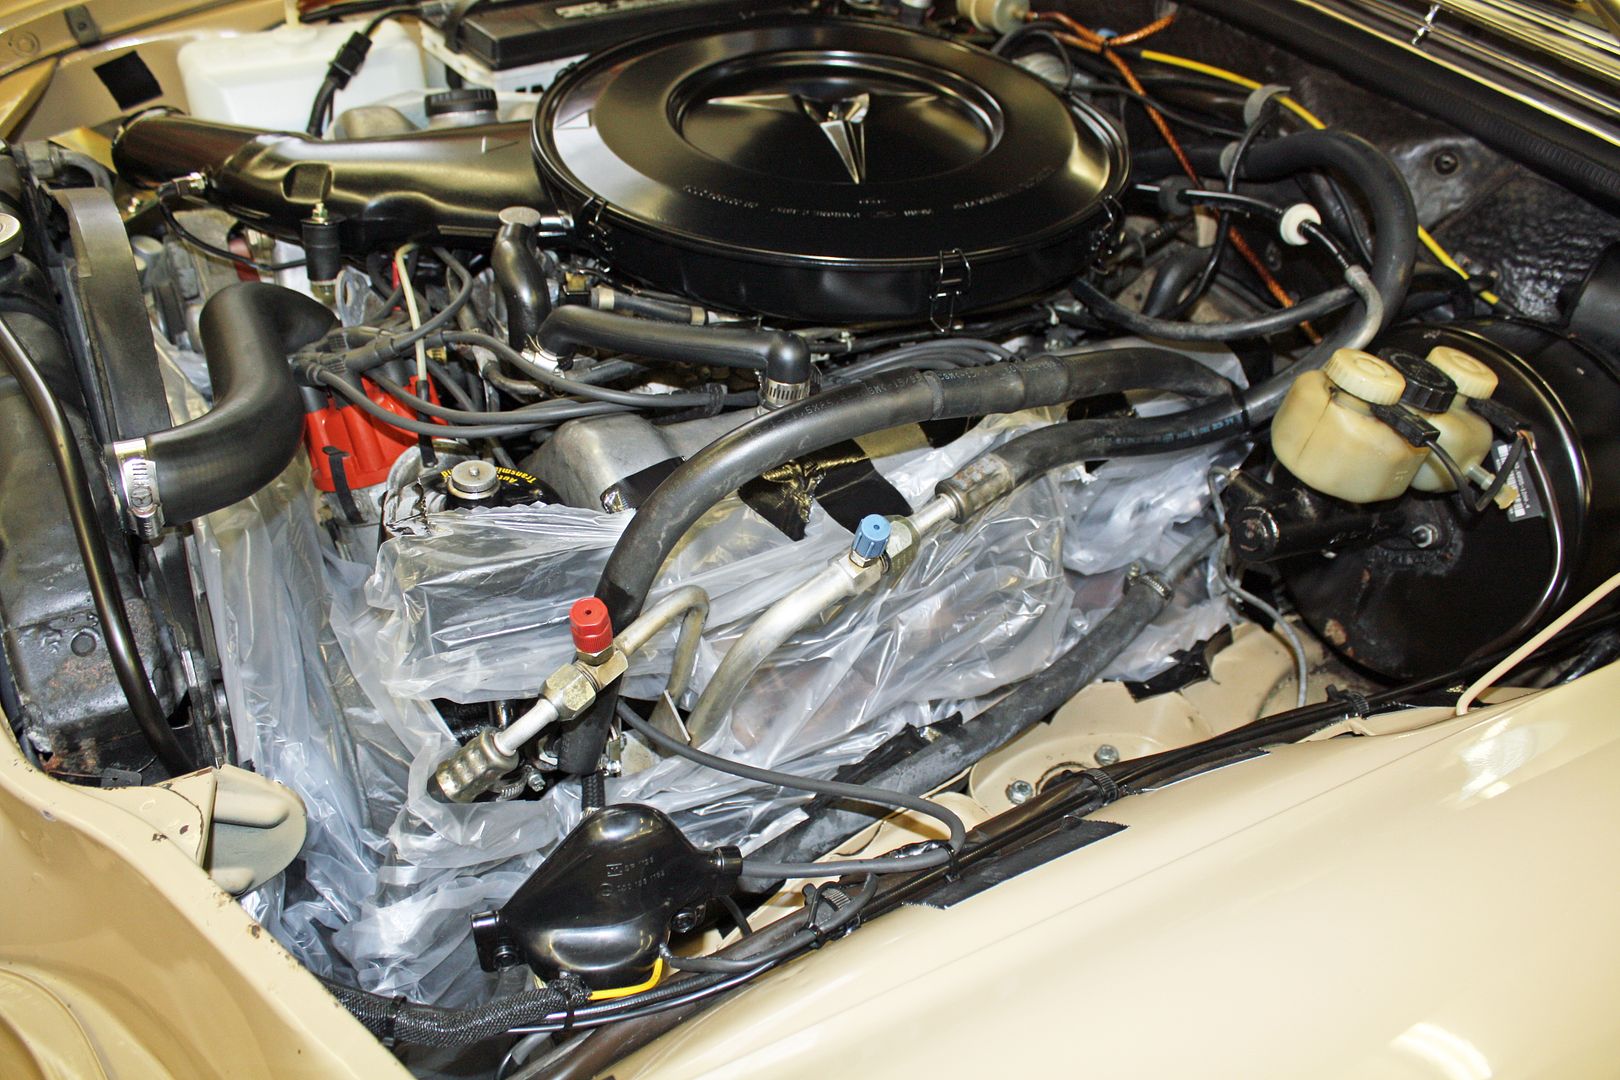 The next step was spraying the entire bottom of the car with nine cans of engine degreaser. 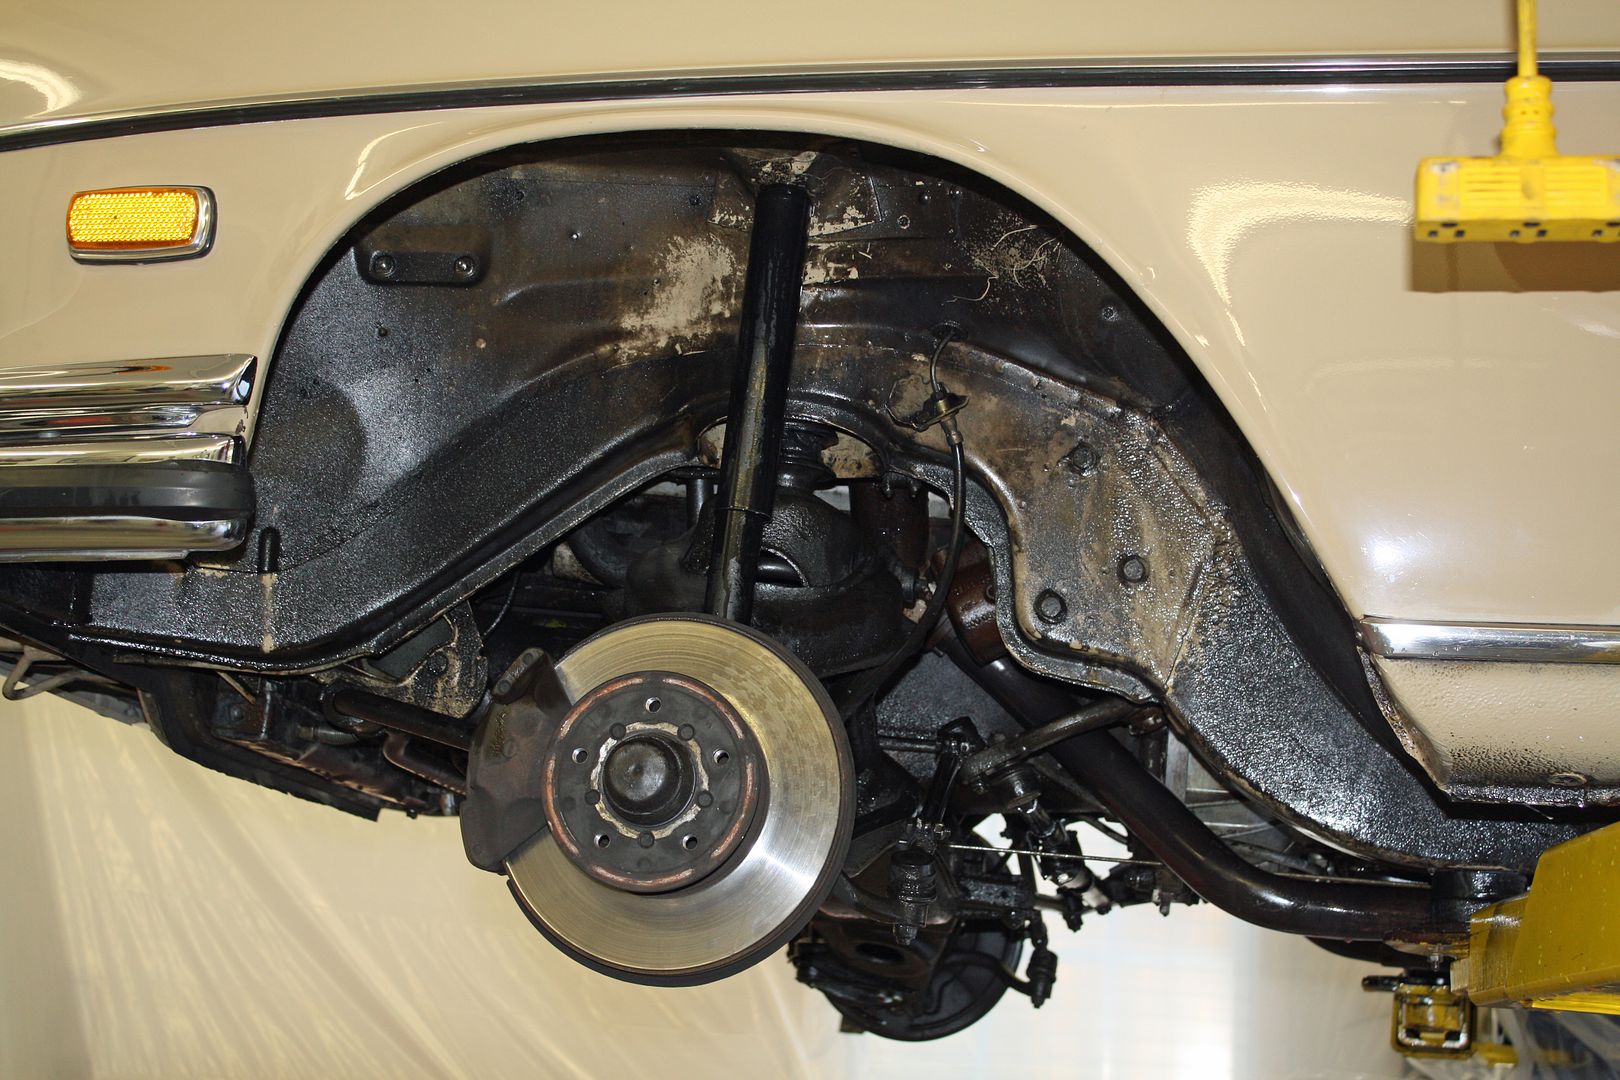 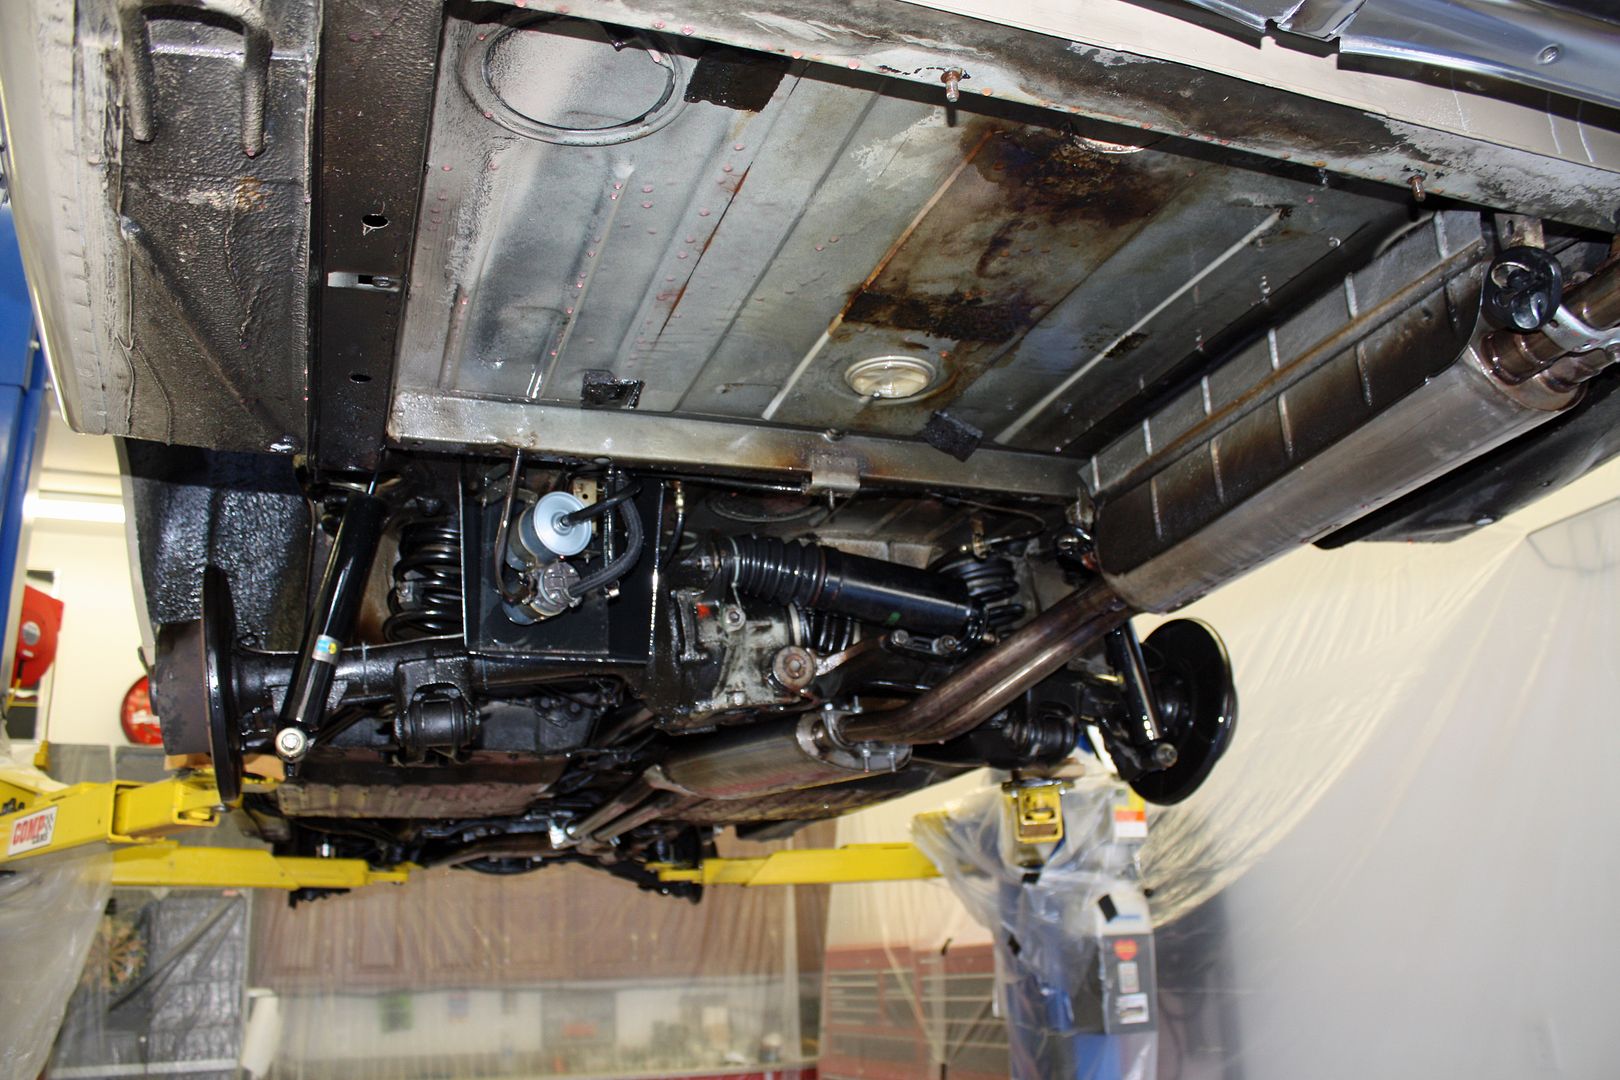 I donned a Tyvek painter's suit and cut a hole in the bottom of a garbage bag and draped it over my head. And I still was entirely soaked by the end of the cleaning. It took me about two hours to pressure wash the bottom and another two hours to clean up my garage!!! In the middle of this the mail lady needed a signature for a package. She was somewhat hesitant to approach me and commented that I was really dirty. I then commented that a cleaning project like this is actually just transferring the dirt from the car to me and the garage. However, it does look much better and it will be easier to work on the bottom now. Most of the darker areas in the photos below is the cosmoline that was applied prior to shipping the car. For some reason there is more on the right side of the car than on the left side. 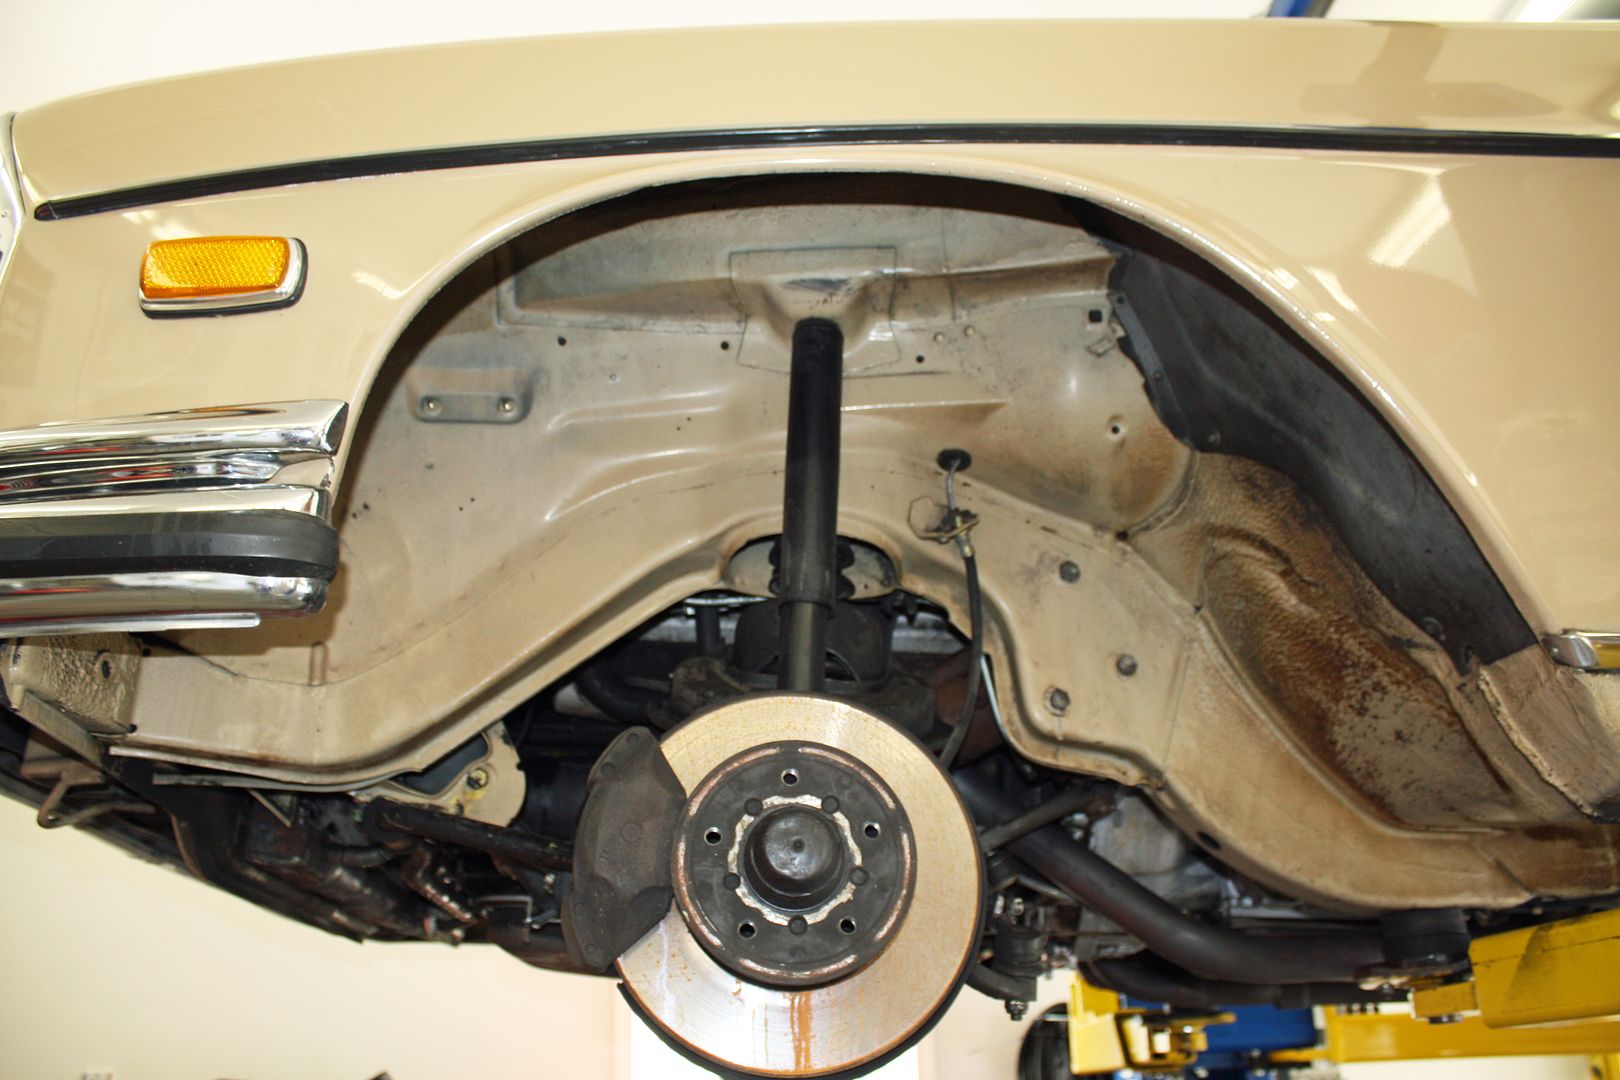 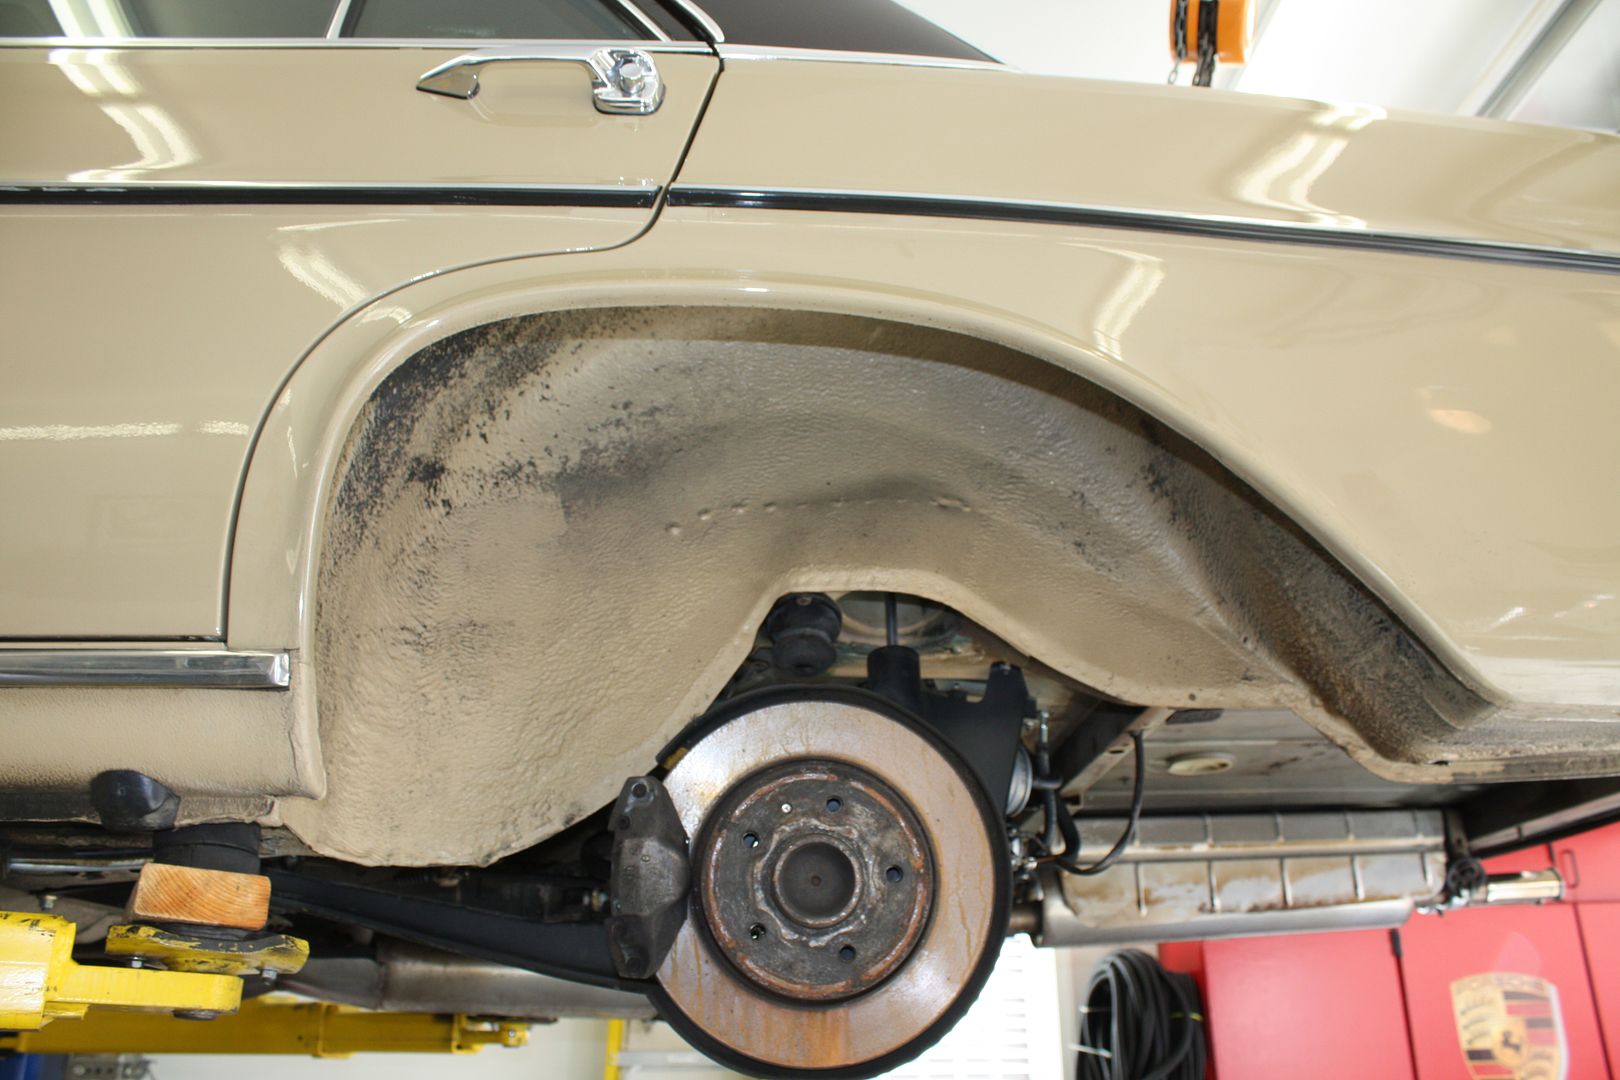 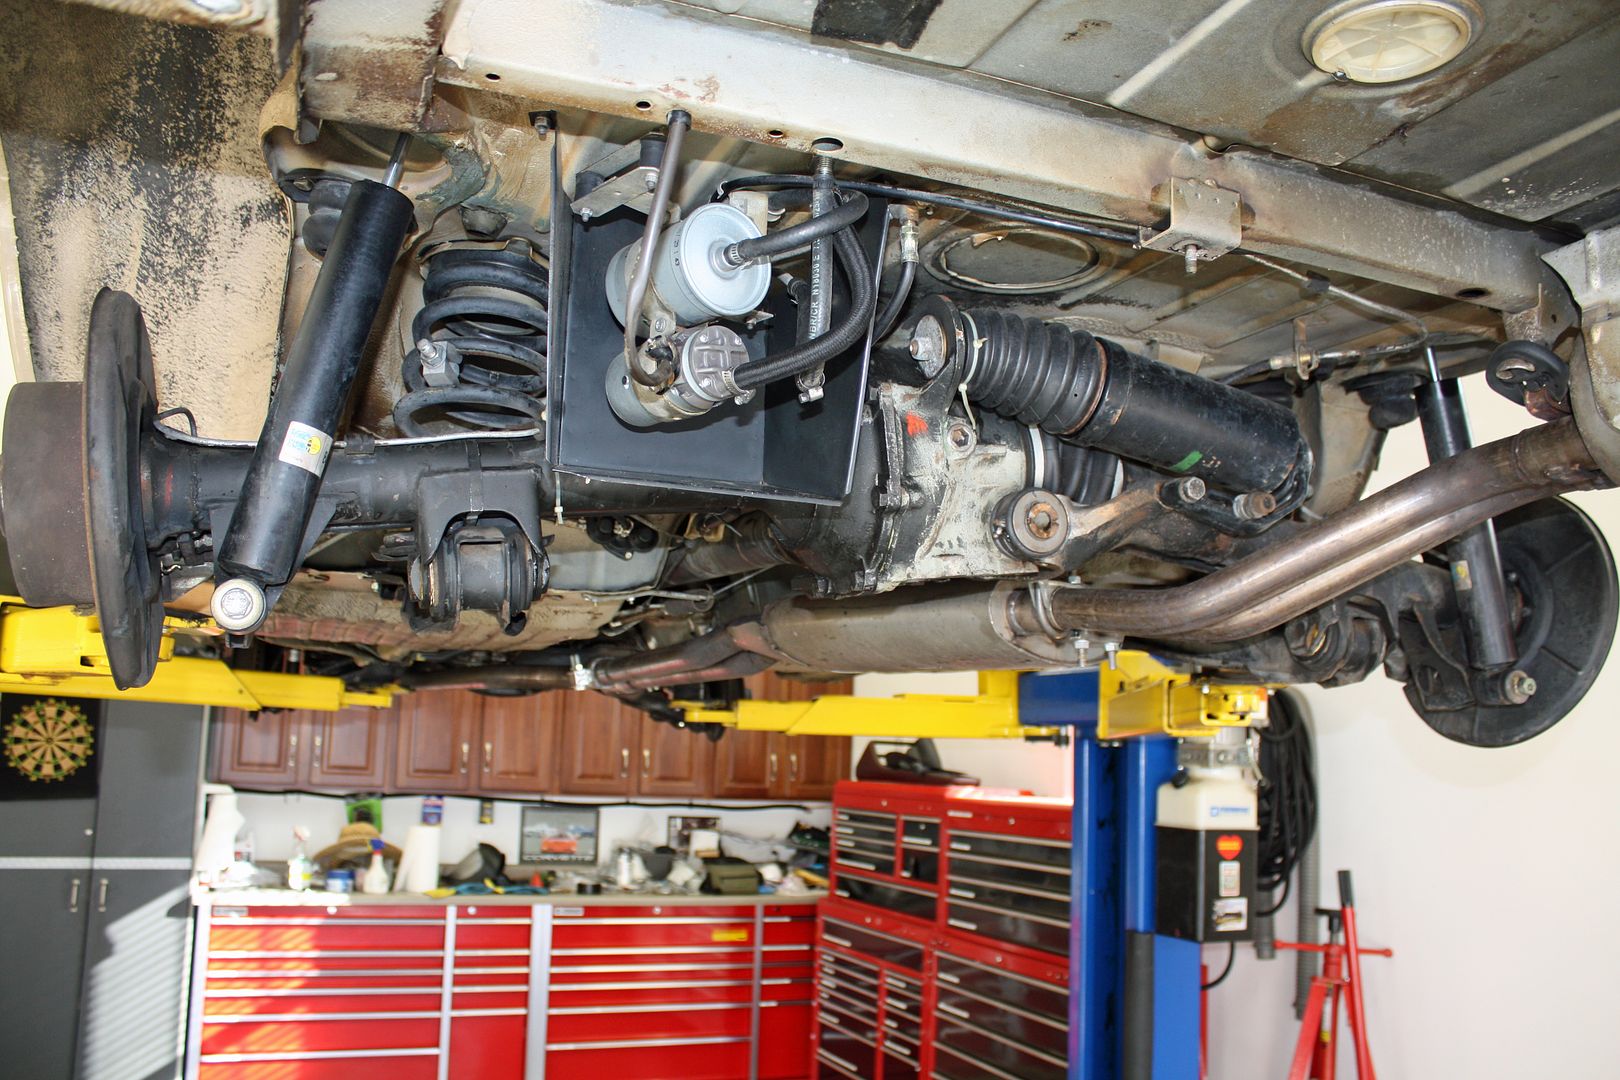 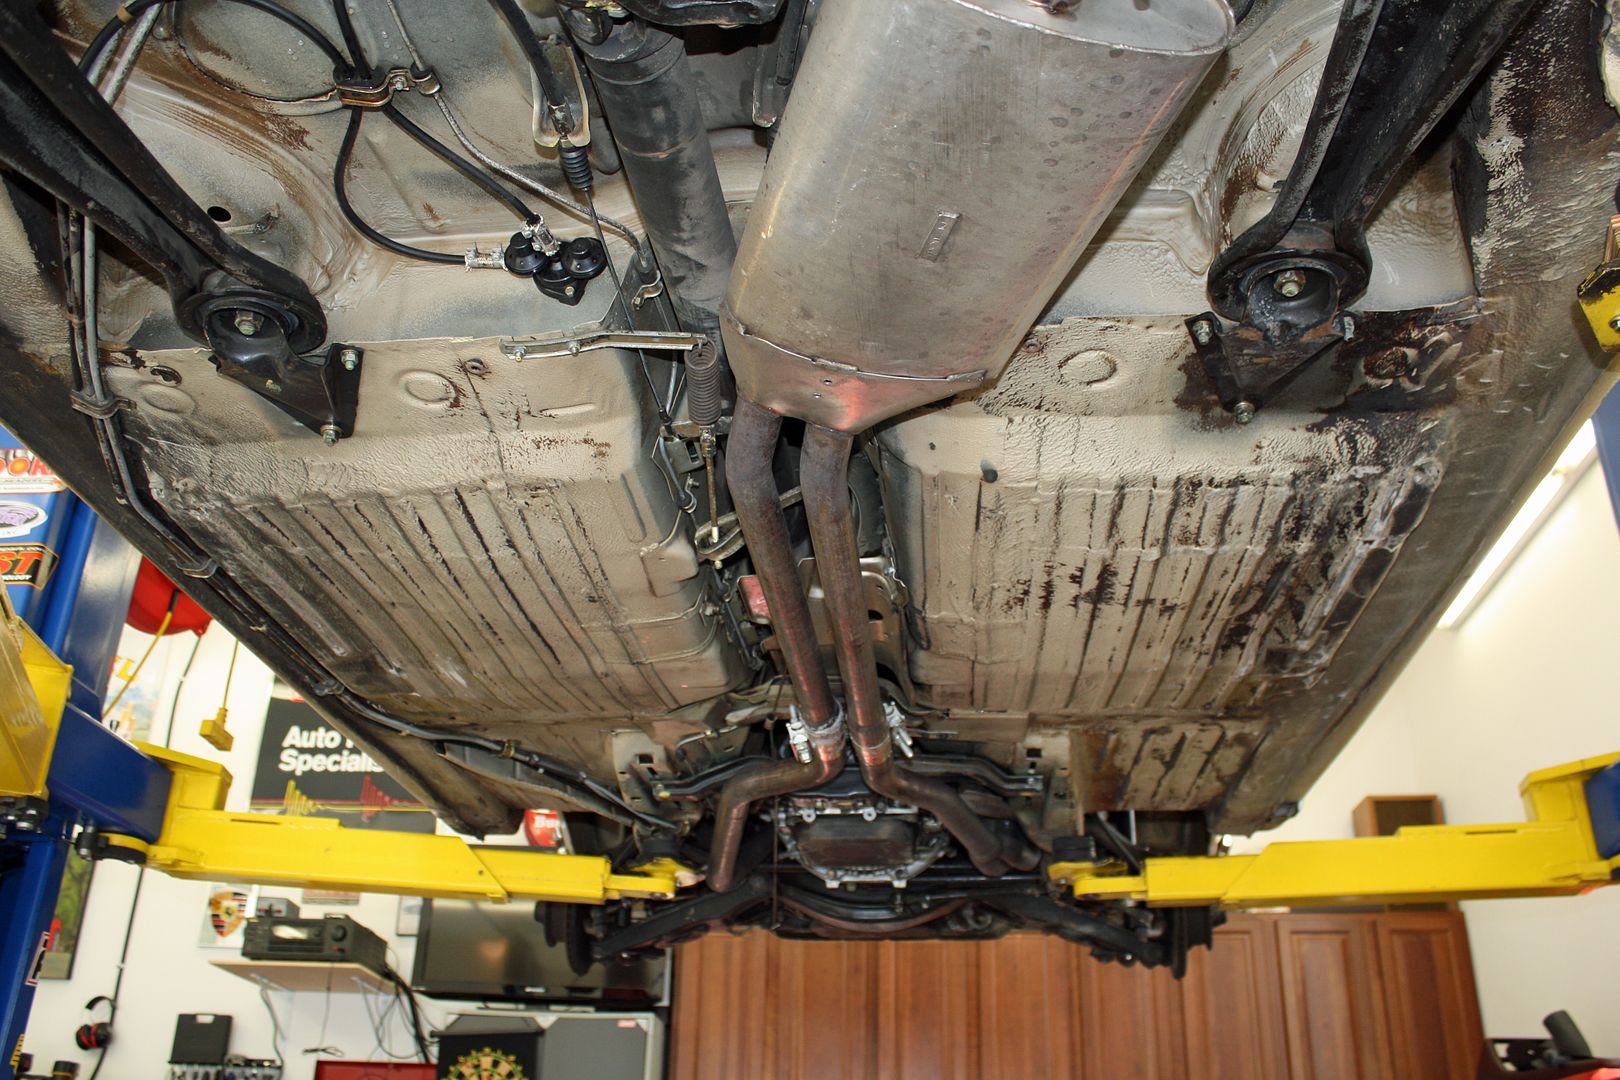 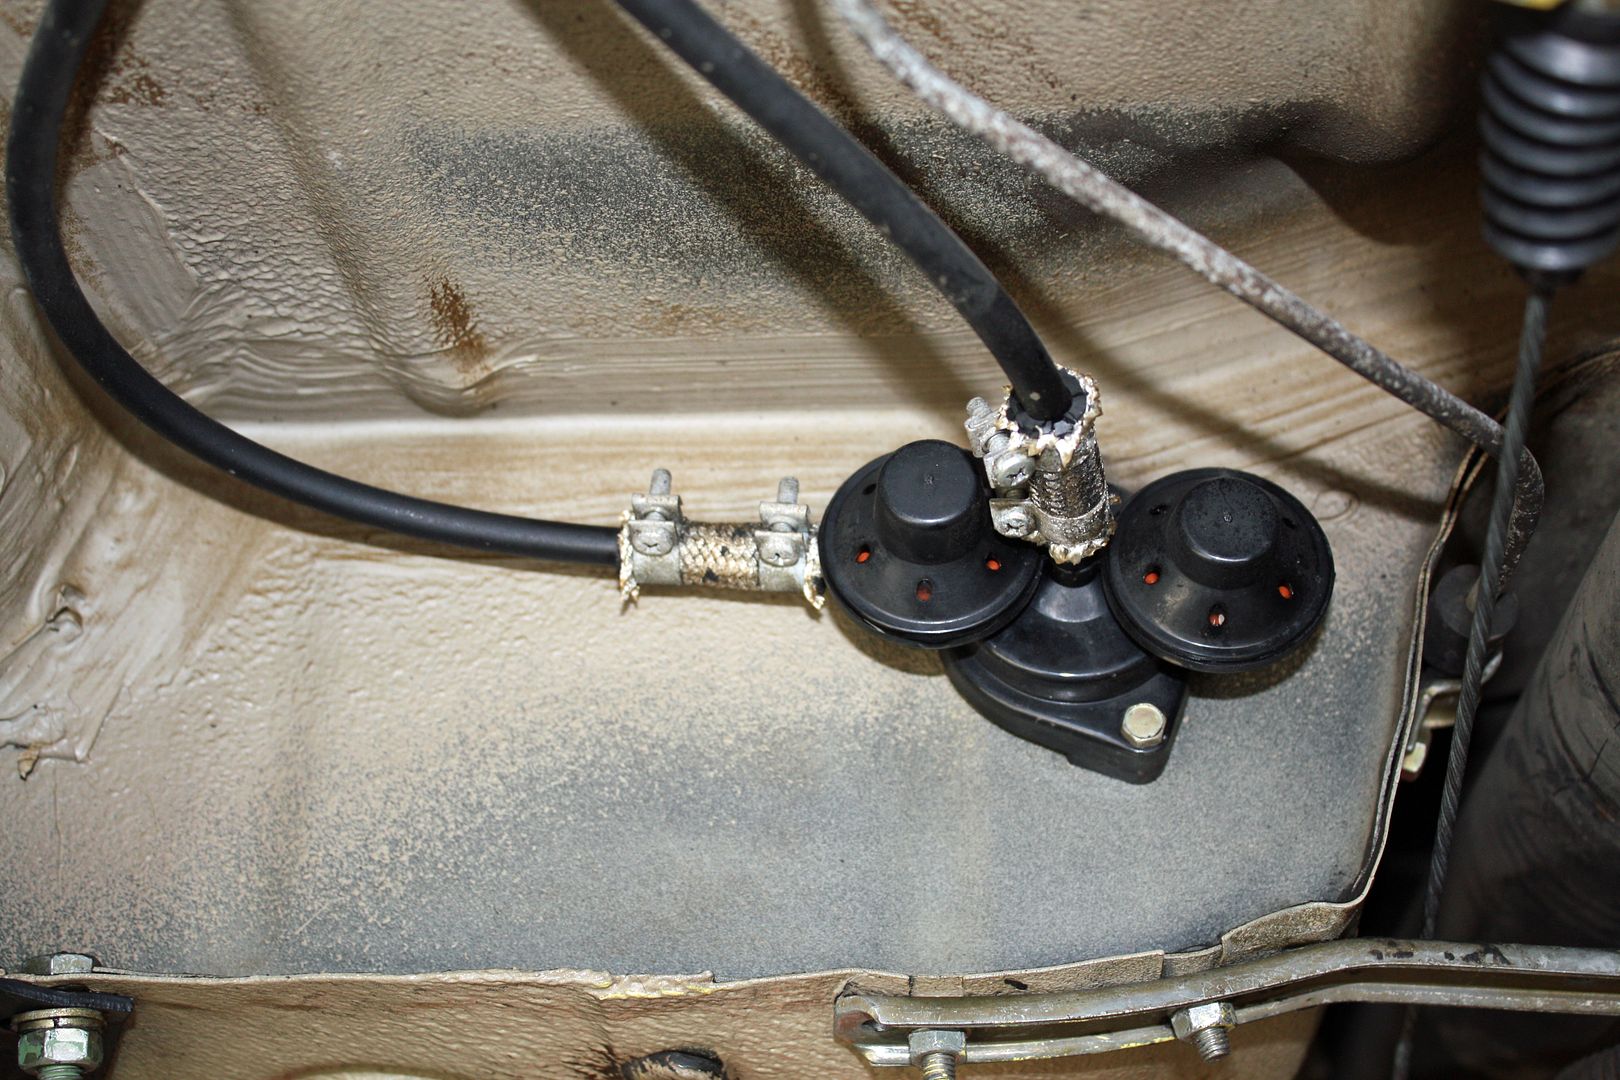 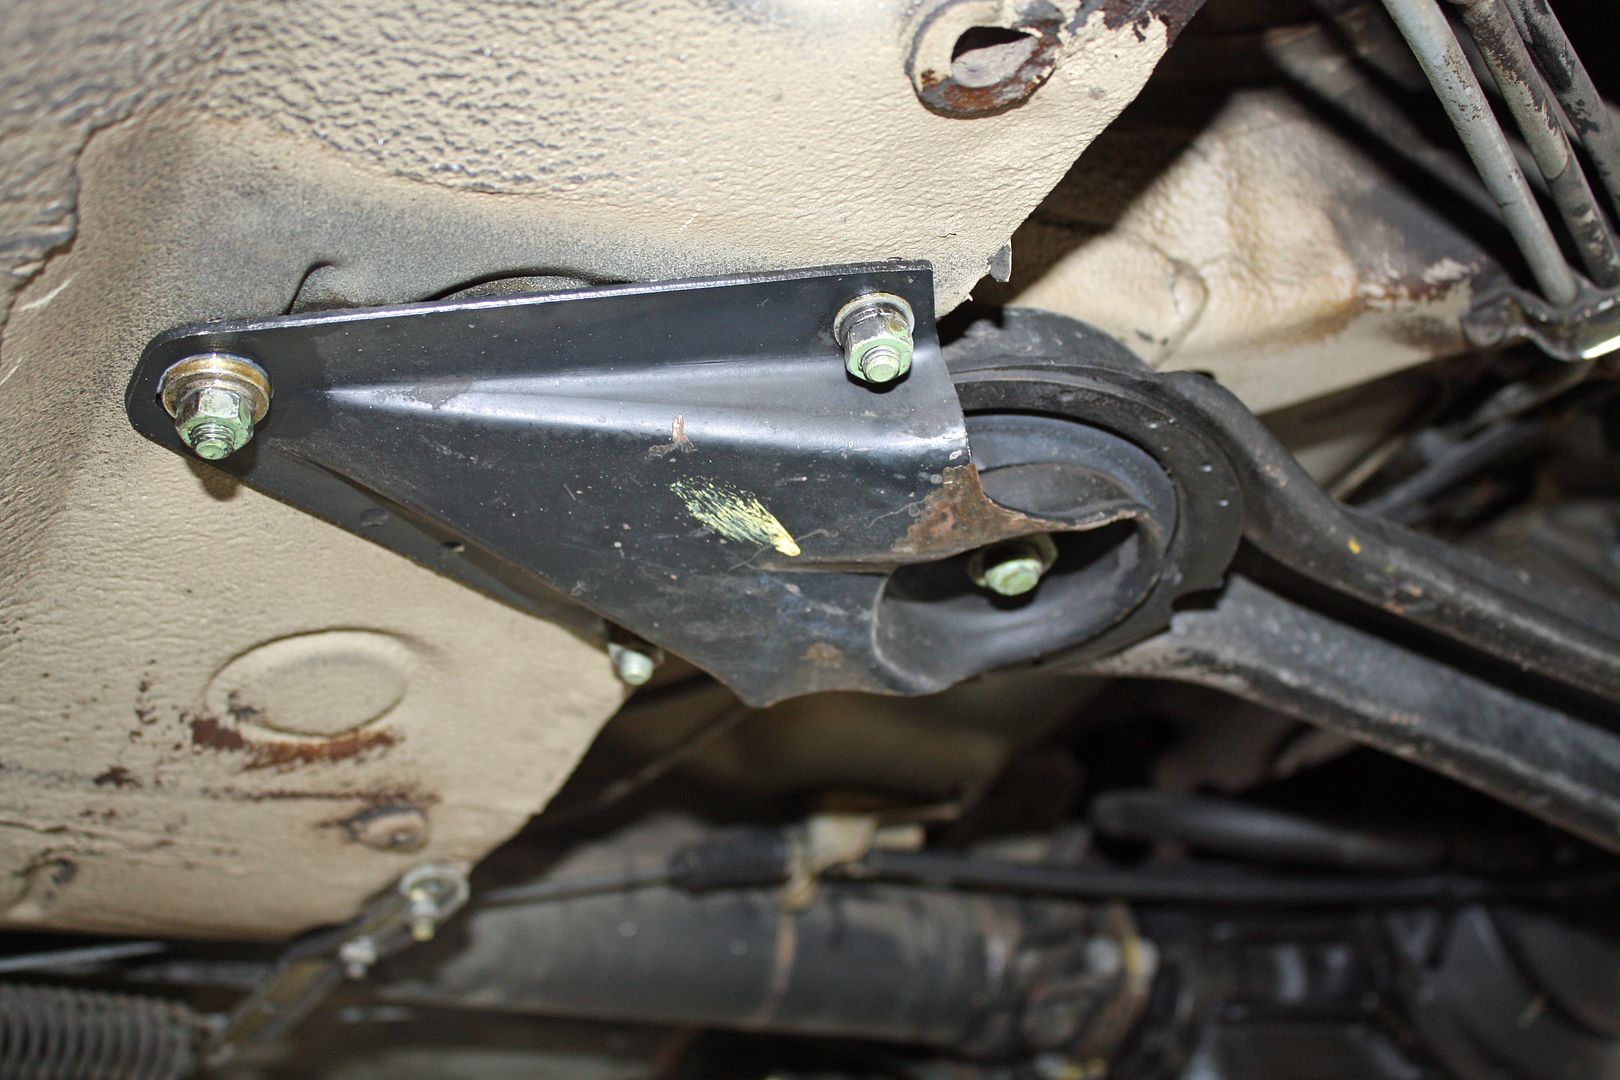 I picked up the gas tank this afternoon. There was no rust in the tank so there was no need to coat it. Due to the chemical process to clean the tank, most of the paint is gone. I cleaned off the remainder of the paint on the bottom of the tank. Tomorrow I will do the top and then paint the tank a satin black color. 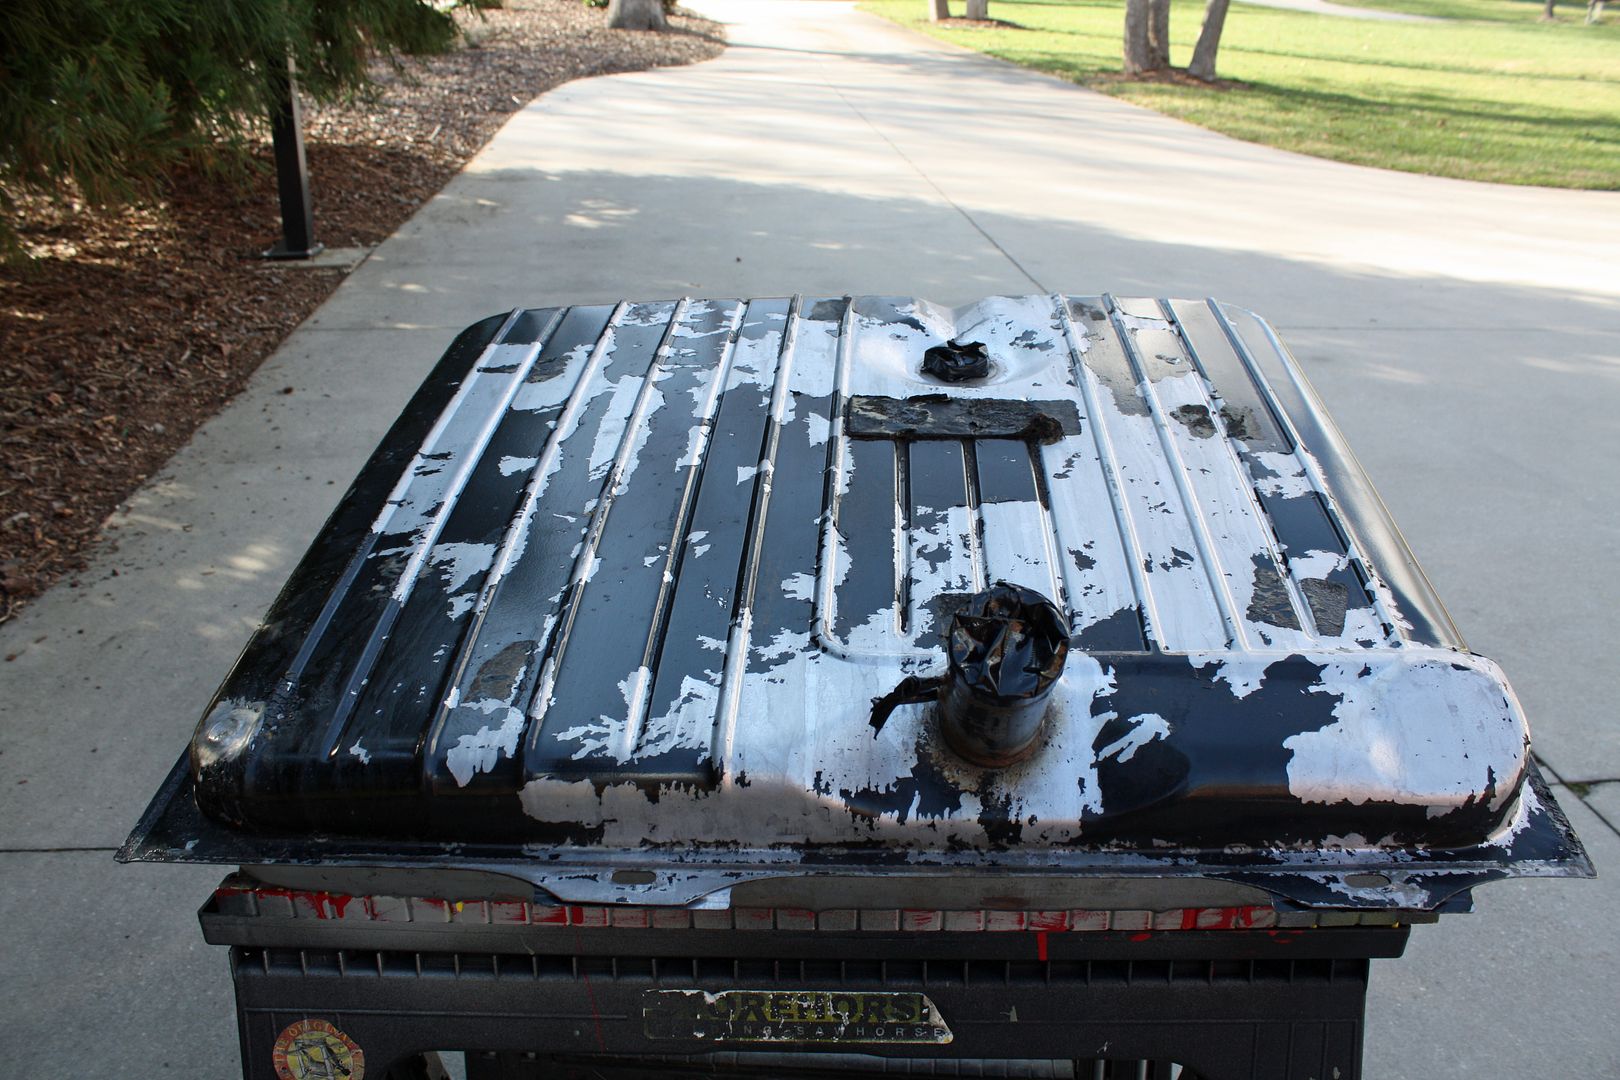 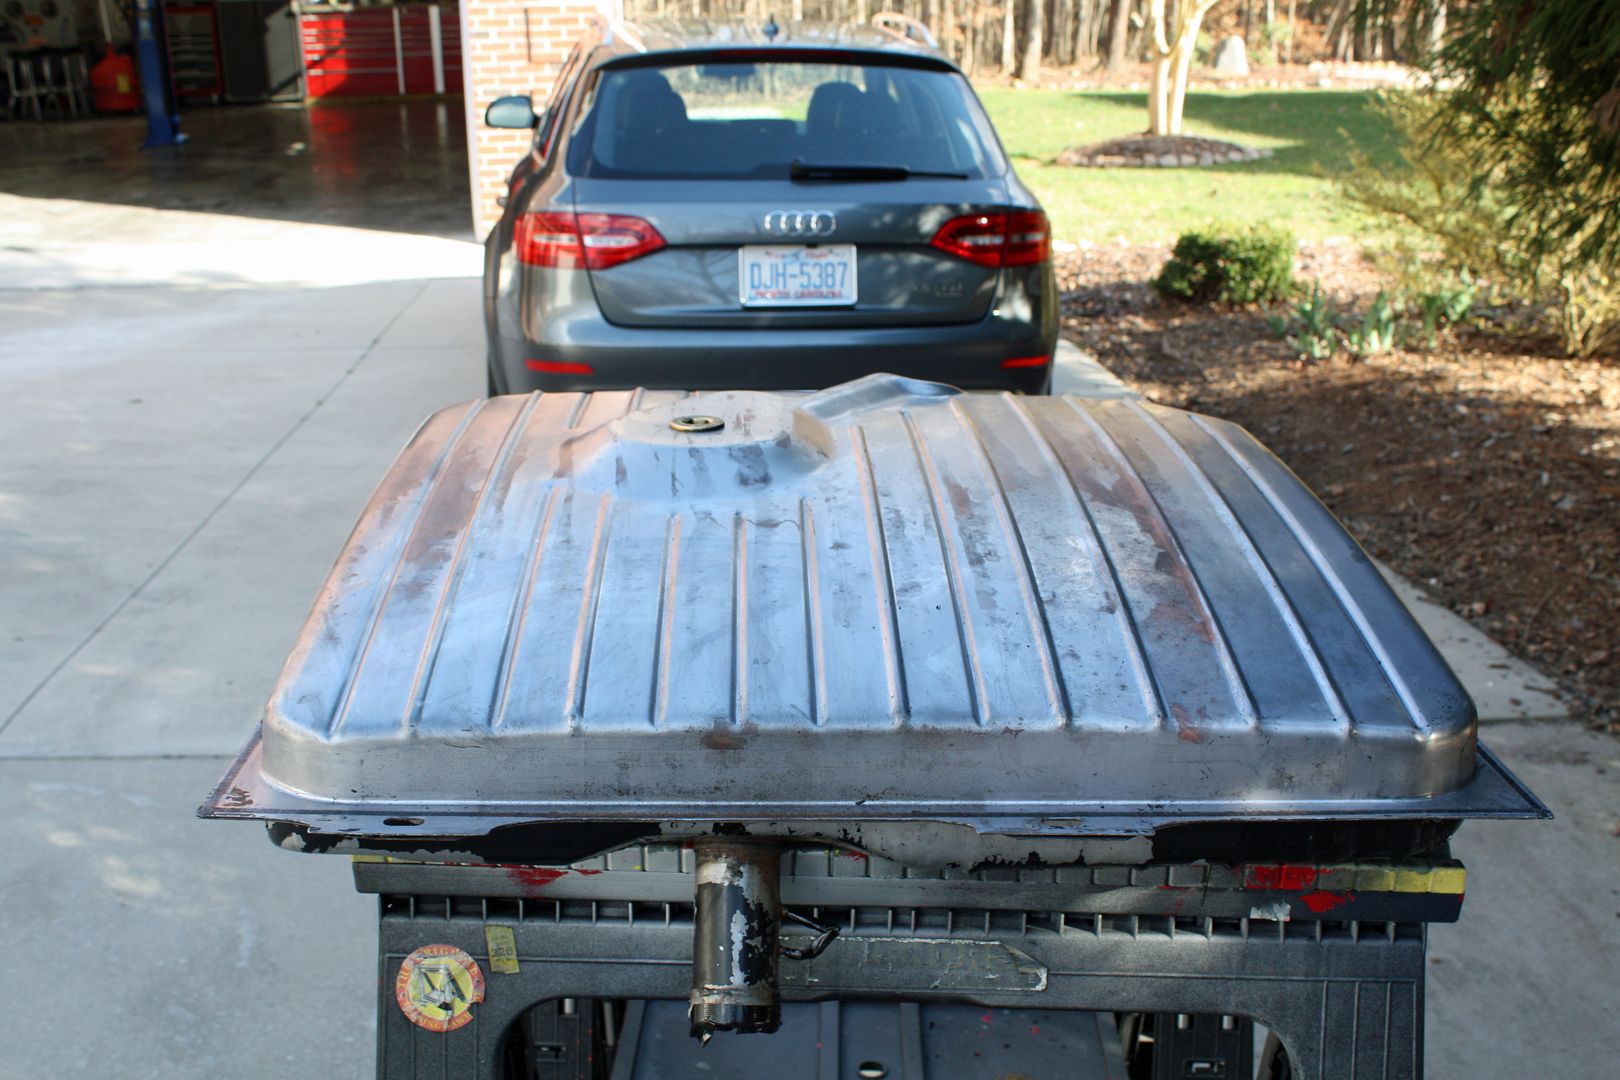
|
|
#148
|
|||
|
|||
|
#149
|
||||
|
||||
|
Looking great! Now is the perfect time to POR15 the rust spots on the undercarriage, and then paint over them.
__________________
Current: 2021 Charger Scat Pack Widebody "Sinabee" 2018 Durango R/T Previous: 1972 280SE 4.5 2014 Jeep Grand Cherokee Limited "Hefe", 1992 Jeep Cherokee Laredo "Jeepy", 2006 Charger R/T "Hemi" 1999 Chrysler 300M - RIP @ 221k |
|
#150
|
|||
|
|||
|
I have a question about the rear springs. Both of my rear springs have wedges to adjust the height.
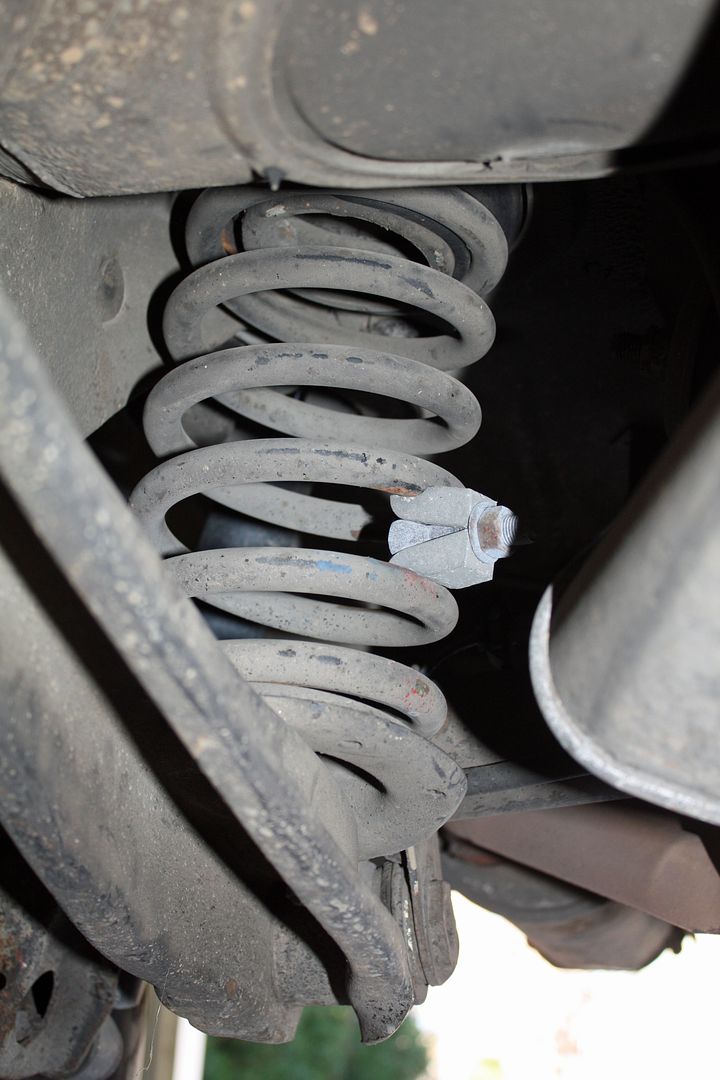 Would you suspect the spring has sagged or would you be looking at the compensator? I have been doing a bit of reading about the compensator and rear springs but I still am not sure how I check to see if my compensator is working. For troubleshooting purposes, here is a photo of it prior to my cleaning it. 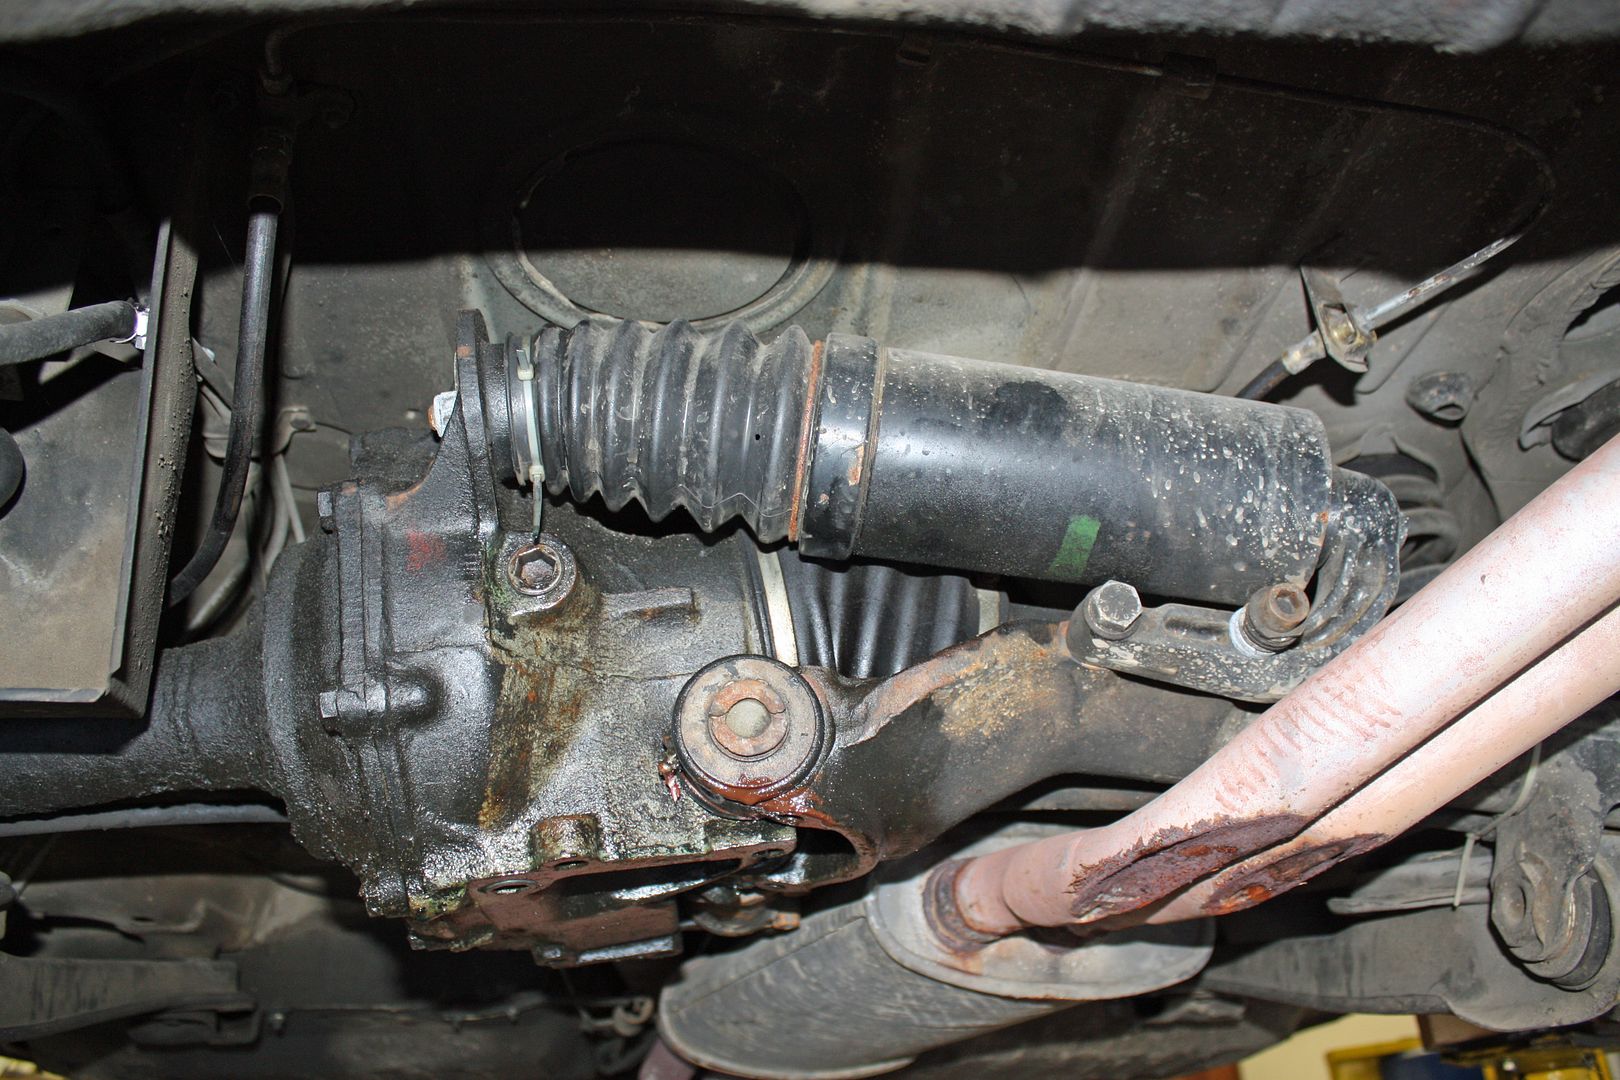 I don't have a shot directly from the rear to show camber but this photo will give you some idea of the camber. I haven't noticed anything unusual about the rear camber as I have walked up to the car. The second photo shows the current ride height. Keep in mind my driveway is slanted. 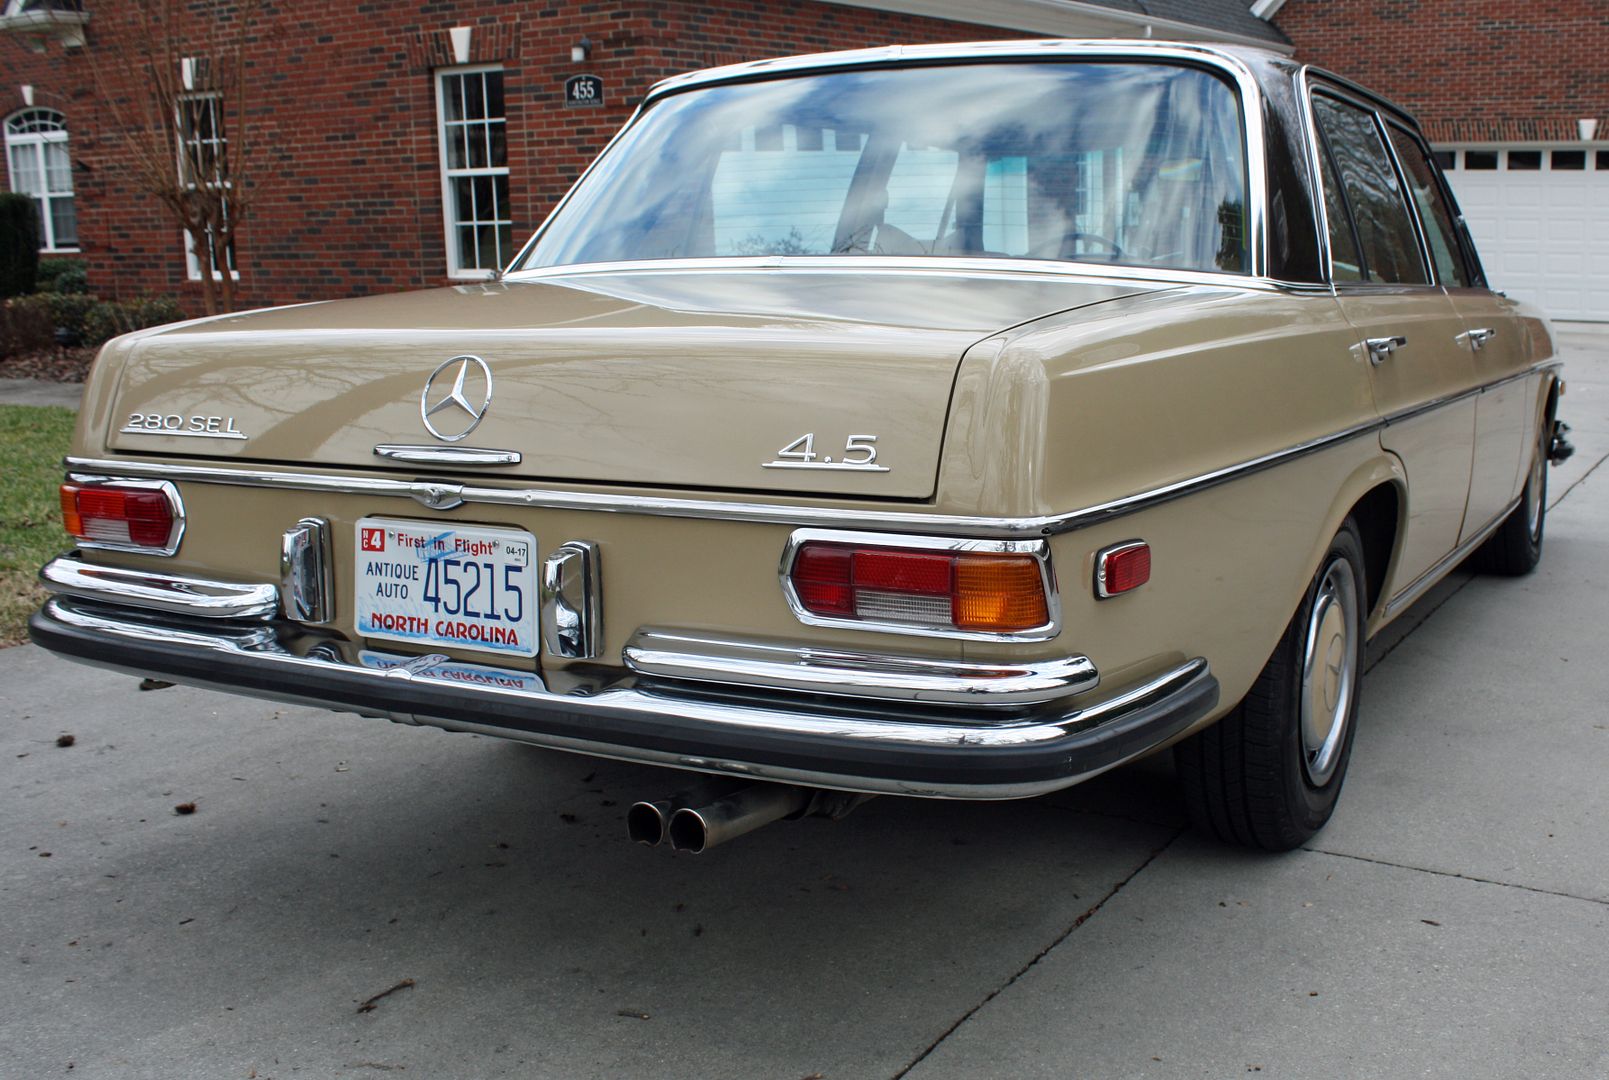 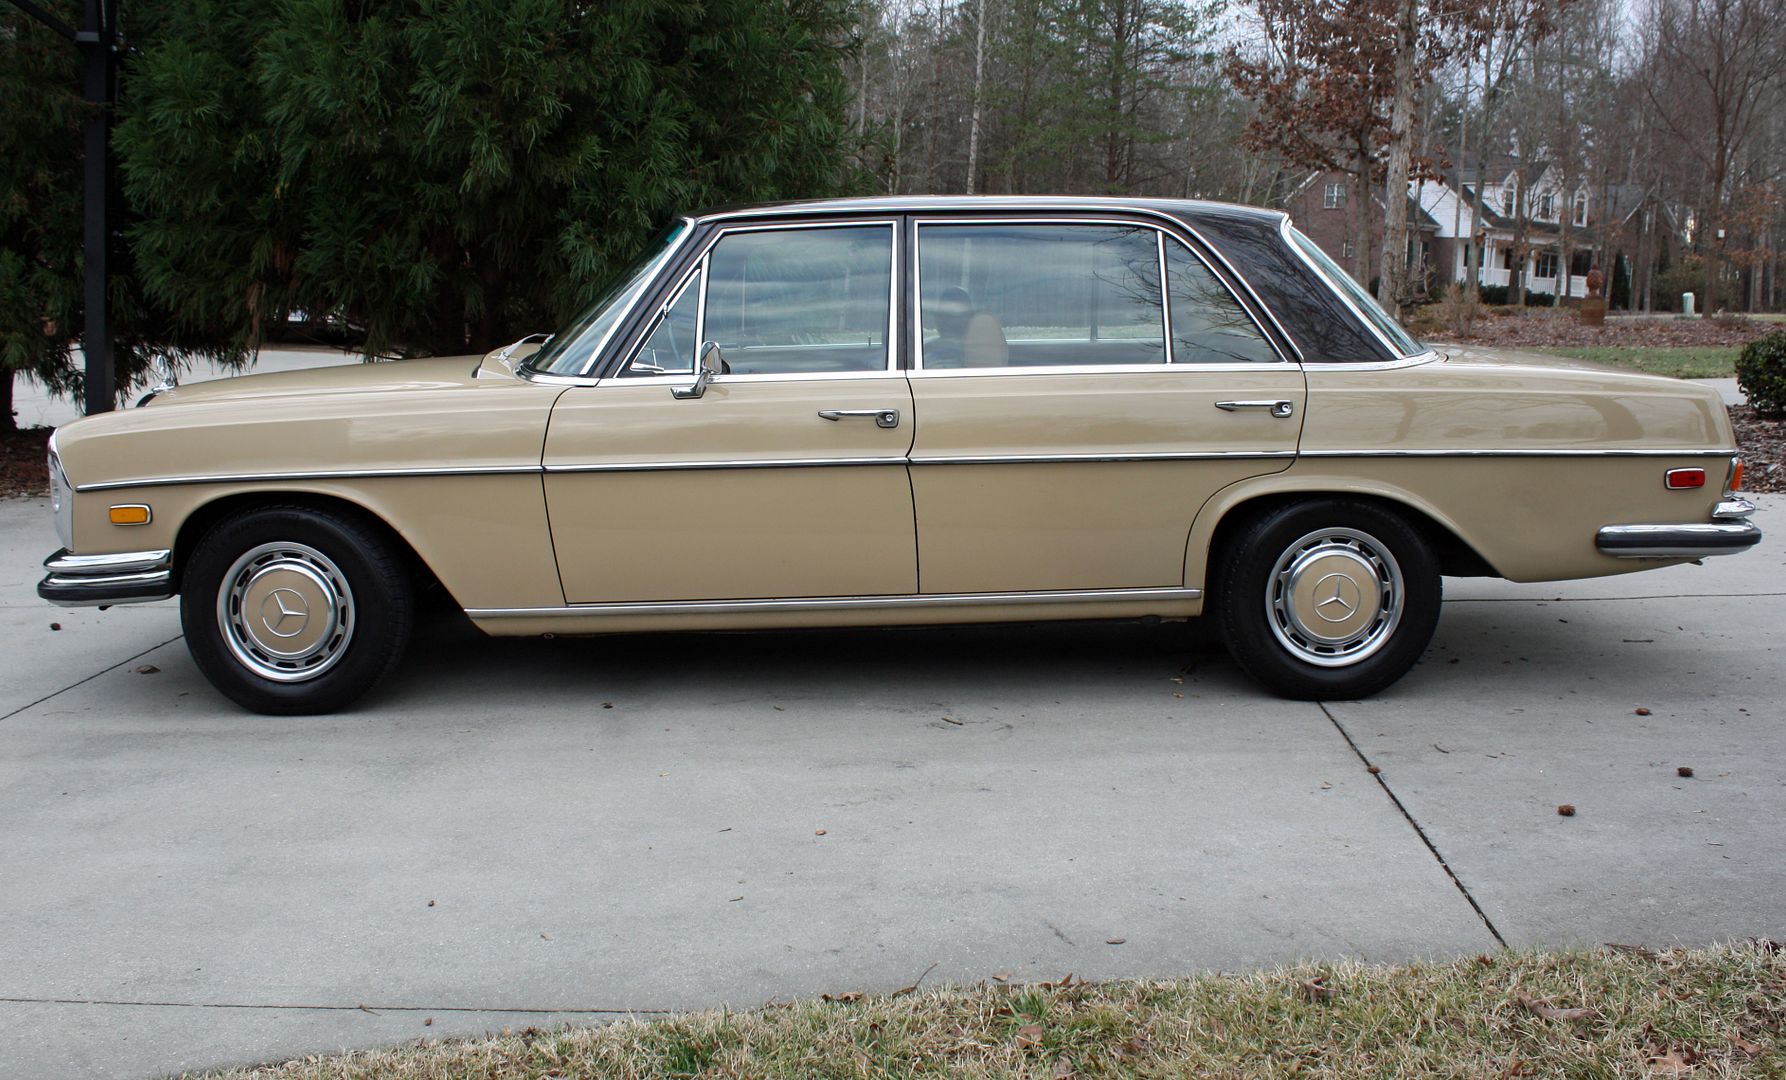
|
 |
| Bookmarks |
|
|