 |
 |
 |
 |

|


|
|
|
|
|
|
#121
|
||||
|
||||
|
I have hella h4 lenses on my w108, and both protrude slightly as your RS lens. No idea why yours aren't symetrical.
Nice work on the trunk seal. Last edited by JMela; 02-07-2017 at 08:45 AM. |
|
#122
|
|||
|
|||
|
Quote:
Maybe I have been looking at the wrong side for the solution. As I mentioned, the left side seems to be bent in more in the center. Maybe I need to pull it out to match the right side. I'll have to check that out. |
|
#123
|
|||
|
|||
|
The front shocks went on today. The rear shocks haven't been on the car for very long but the front ones have and I noticed that the front end could use some help.
The right side required removing the battery to access the top nut. Installing the first shock was somewhat challenging as, once I was able to compress the shock and remove it from the top hole, I then to had to figure out the best way to extract it from the control arm and to re-insert the new one. 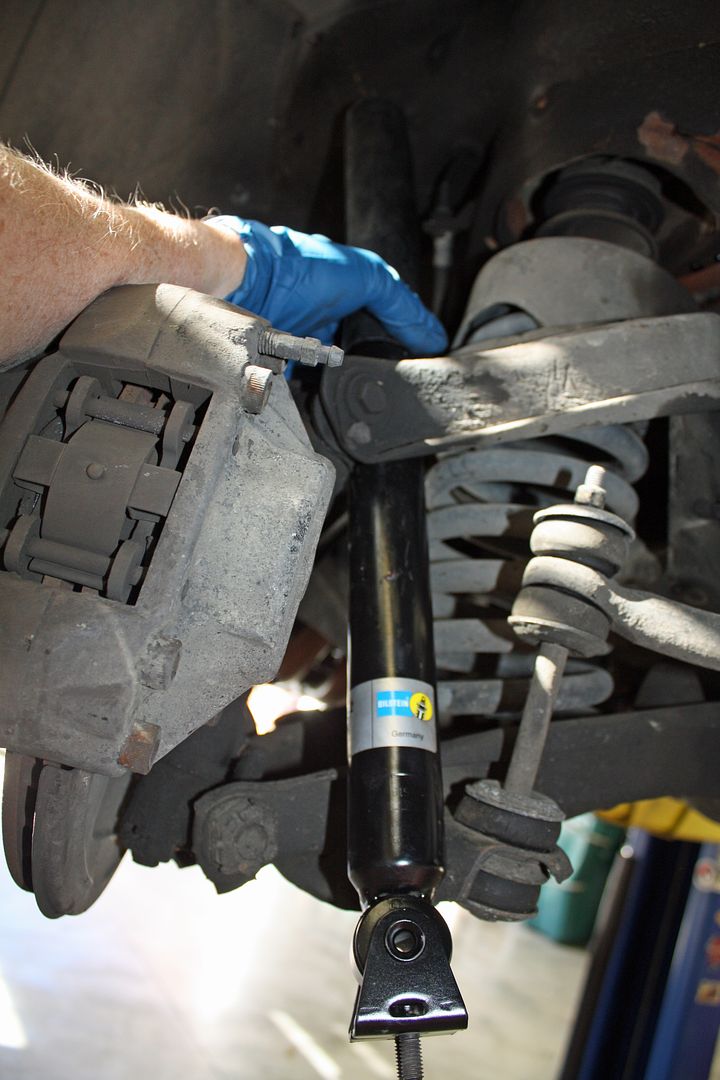 Installing the new shock was a bit tricky as well as the lower two studs on the shock have to be at just the right angle to go through the holes on the lower A arm. Took a few tries on that first shock but, as is usually the case on a job like this, the second shock went on in about a fourth of the time. 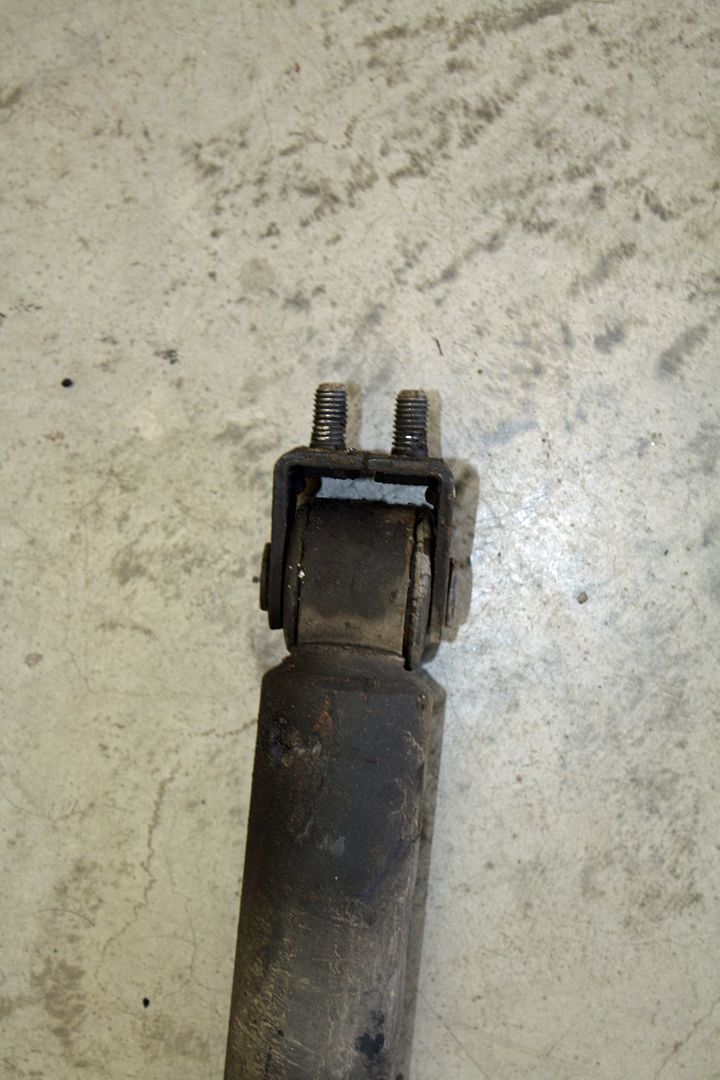 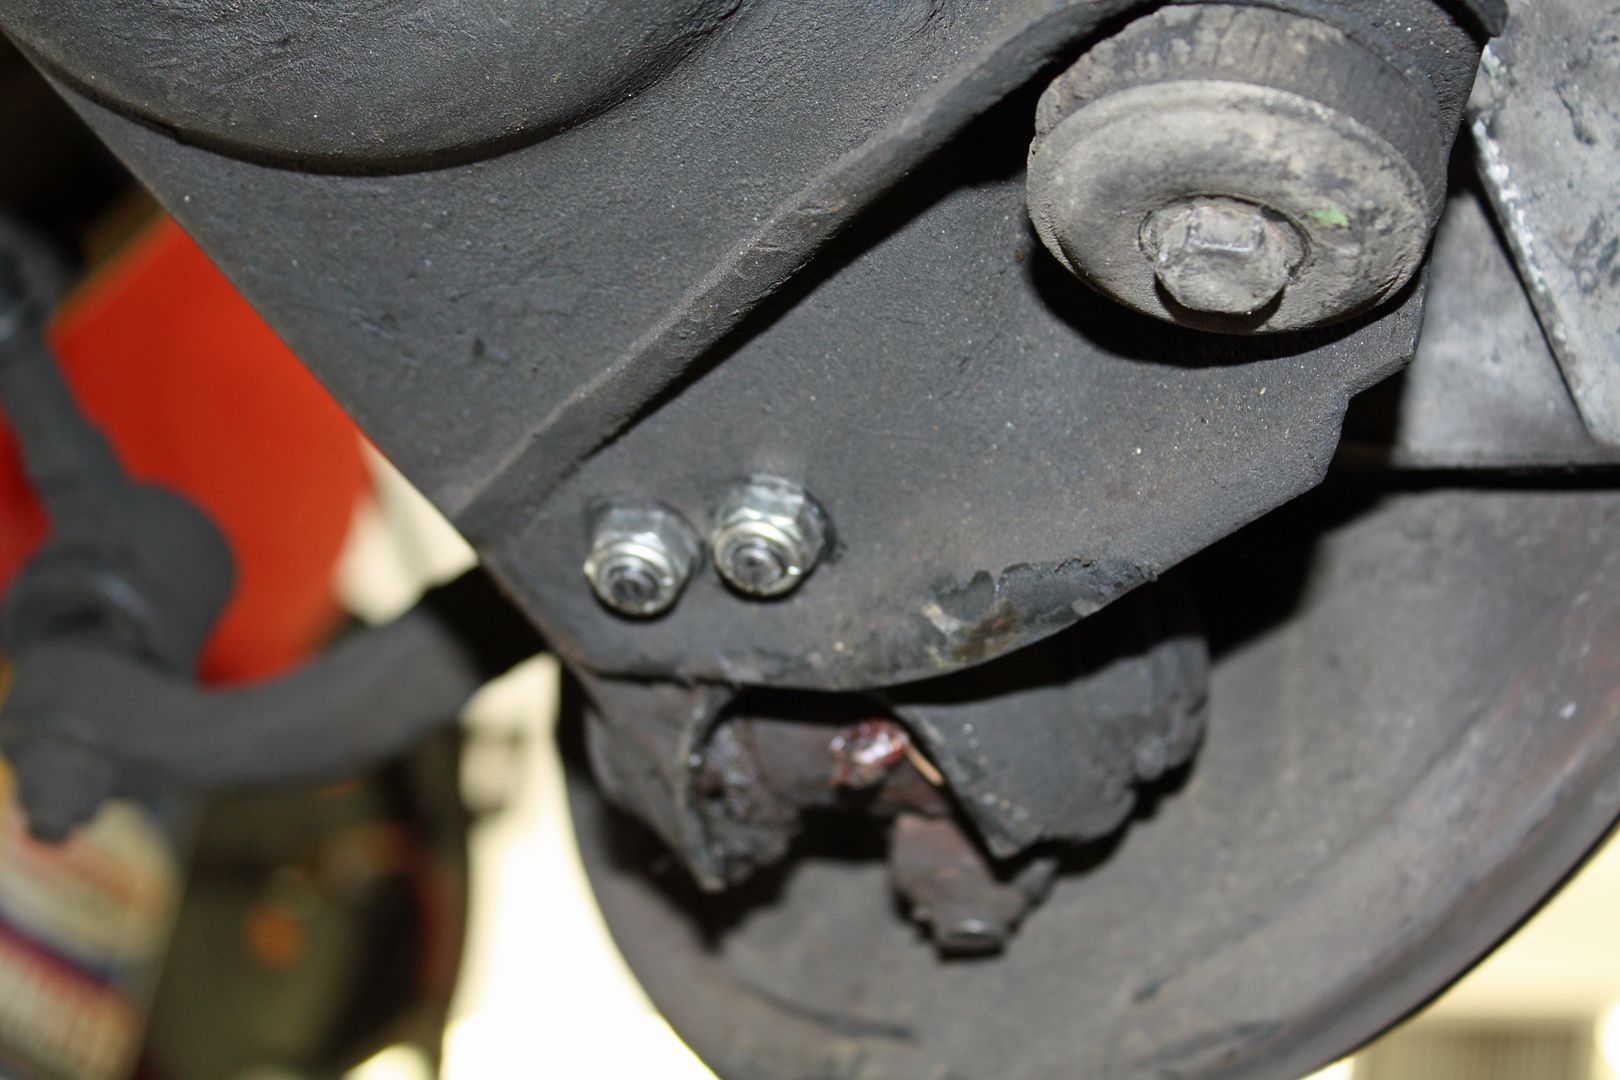 Tightening the top nut was made easier by the special tool I bought. There is a notch in a 17mm wrench with an angled head to hold the shaft while tightening the nut. It worked very well. 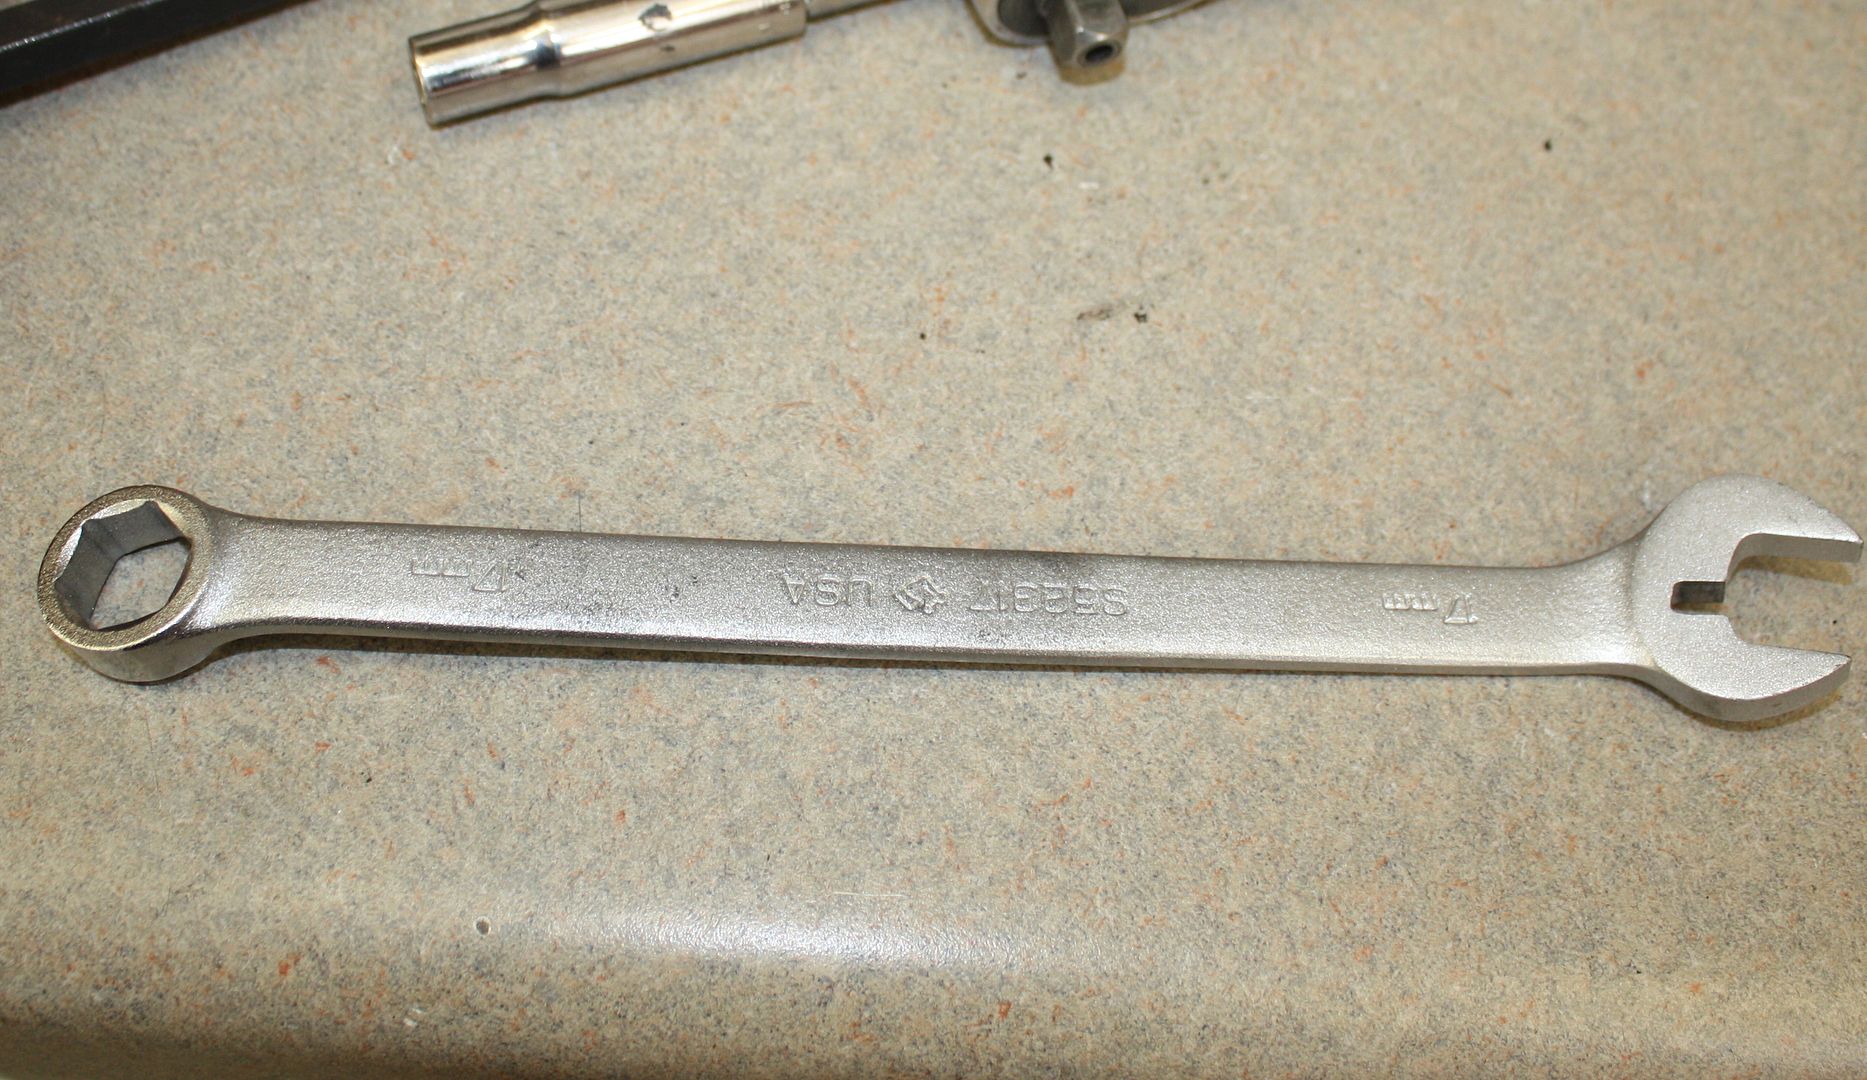 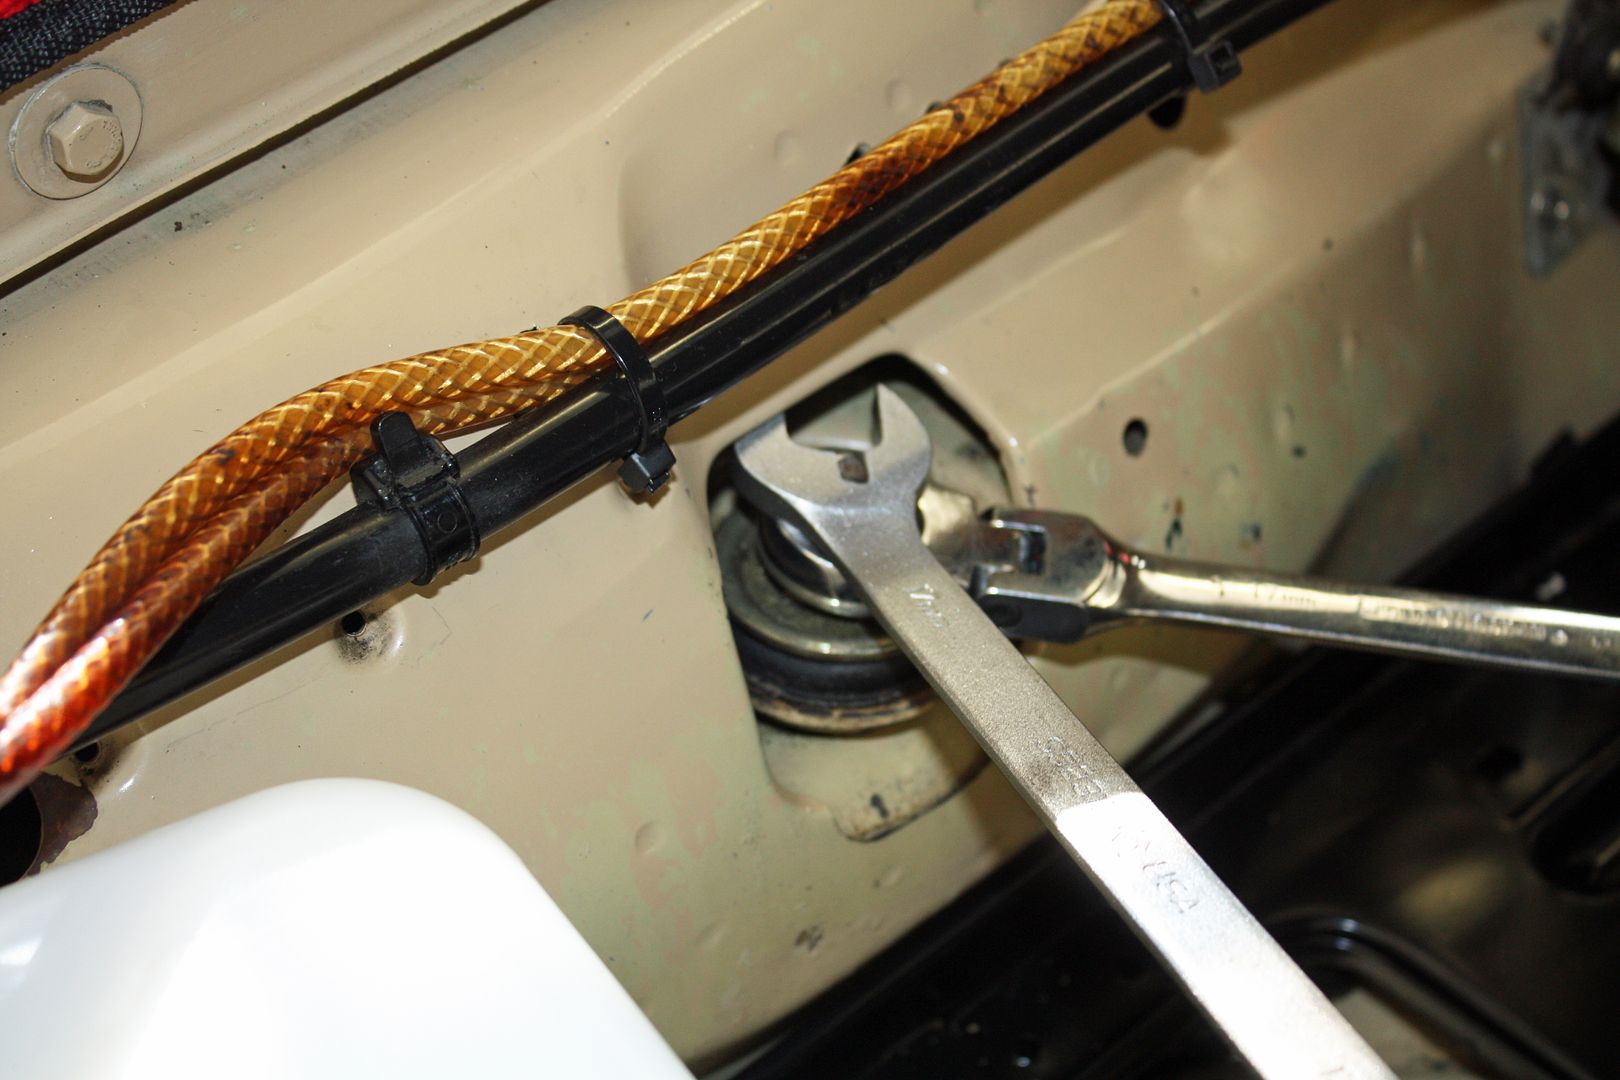 BTW, these shocks are the only two clean things on the bottom of this car!! 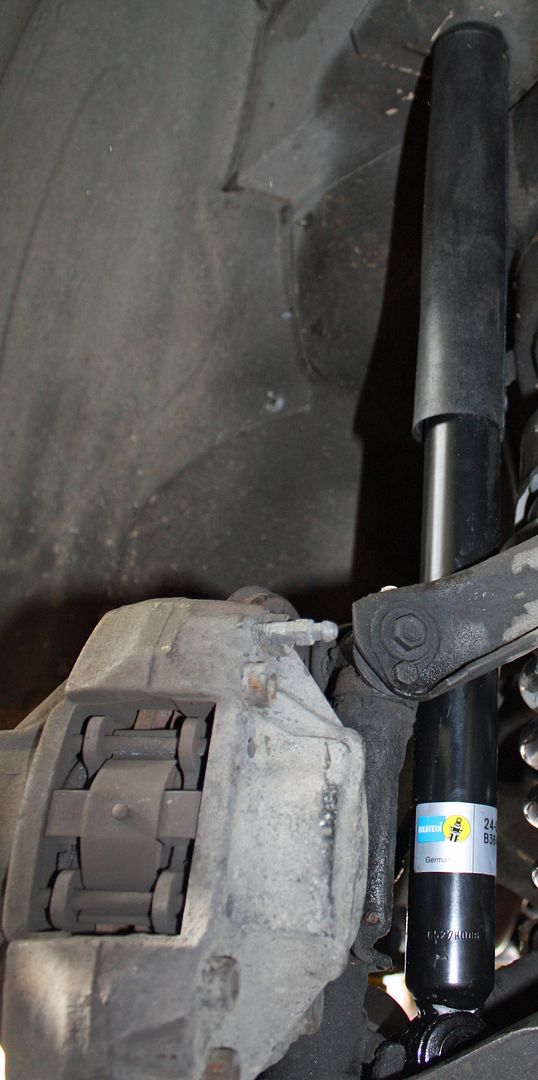 My buddy Reese came over this afternoon to help me install the hood pad. He is a car guy as well and lives a few houses down from me. We help each other out on projects whenever an extra set of hands is needed. I watched a video on how to install a hood pad. The guy recommends putting a light coat on the pad, then a heavy coat on the hood followed by another light coat on the pad as it will soak up some of the glue. He then recommends laying a piece of visqueen on the glue side of the pad starting about 8" from the top. Once the glue is tacky, he says to start at the top, get it lined up stick the pad on the hood. Once you have that part sticking to the hood, then pull off another foot or so of the visqueen and stick that part to the hood. Do this again until you have the pad in place. The visqueen keeps the pad from accidentally touching the hood causing it stick somewhere where you don't want it to stick. I had the plastic cut to size and was ready to go but we decided on an alternate plan. To make sure the new pad fit and to make sure we knew how it went on, we stuck the pad in place without any glue. Once we did that, we realized that by tucking the pad in at the top and sides, the pad would stay in place. After discussing it a bit, Reese said he thought we could pick up the bottom half, apply the glue and then stick that part to the hood. Once we had the lower half attached, we peeled back the top, applied the glue and fastened it to the hood while tucking the pad into place. That plan worked like a charm. It always helps to have another set of eyes look at a project. 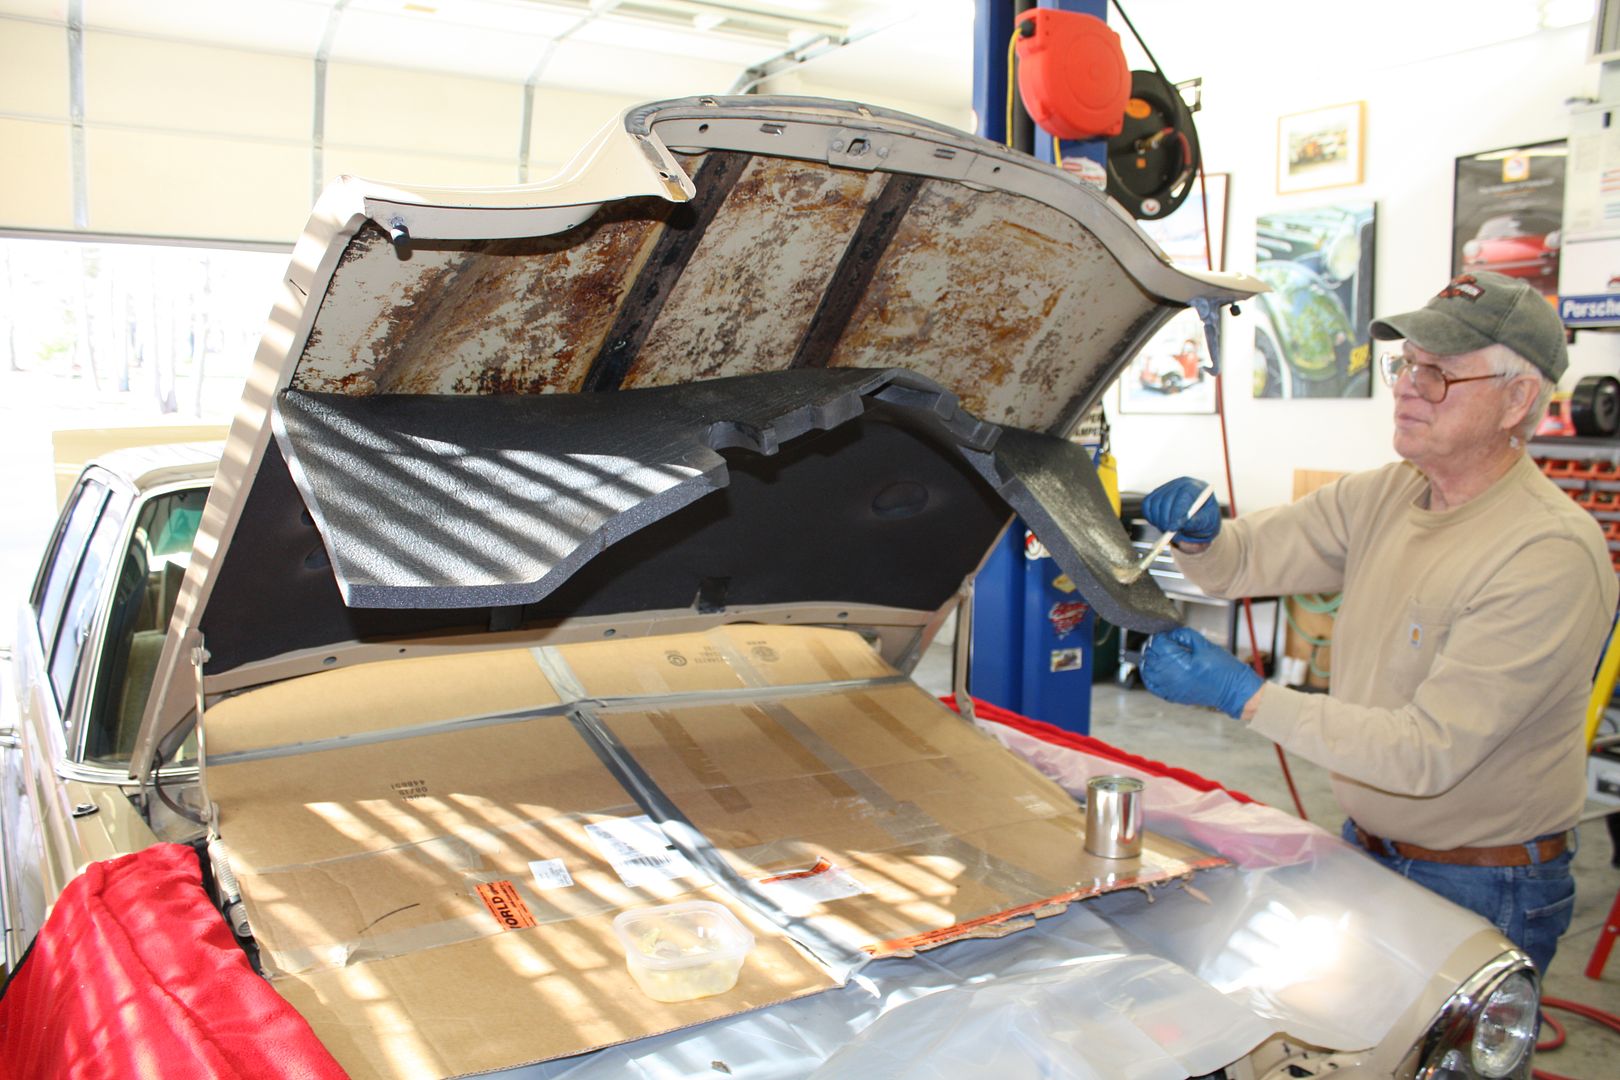 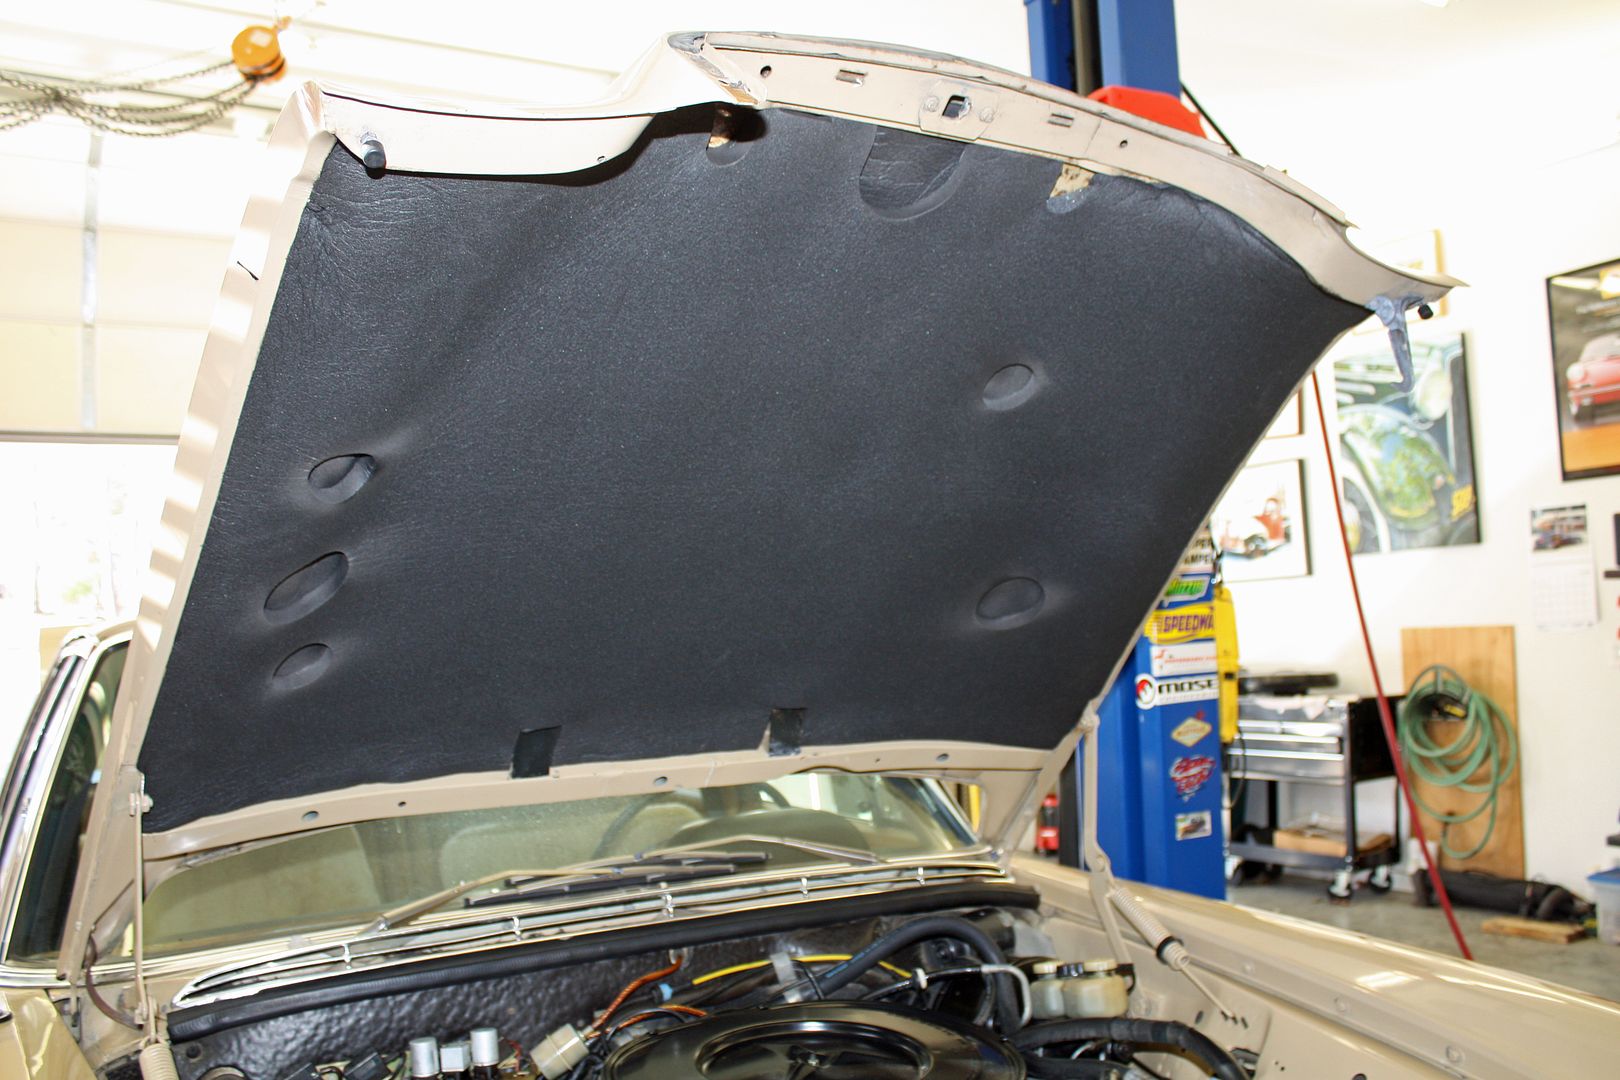 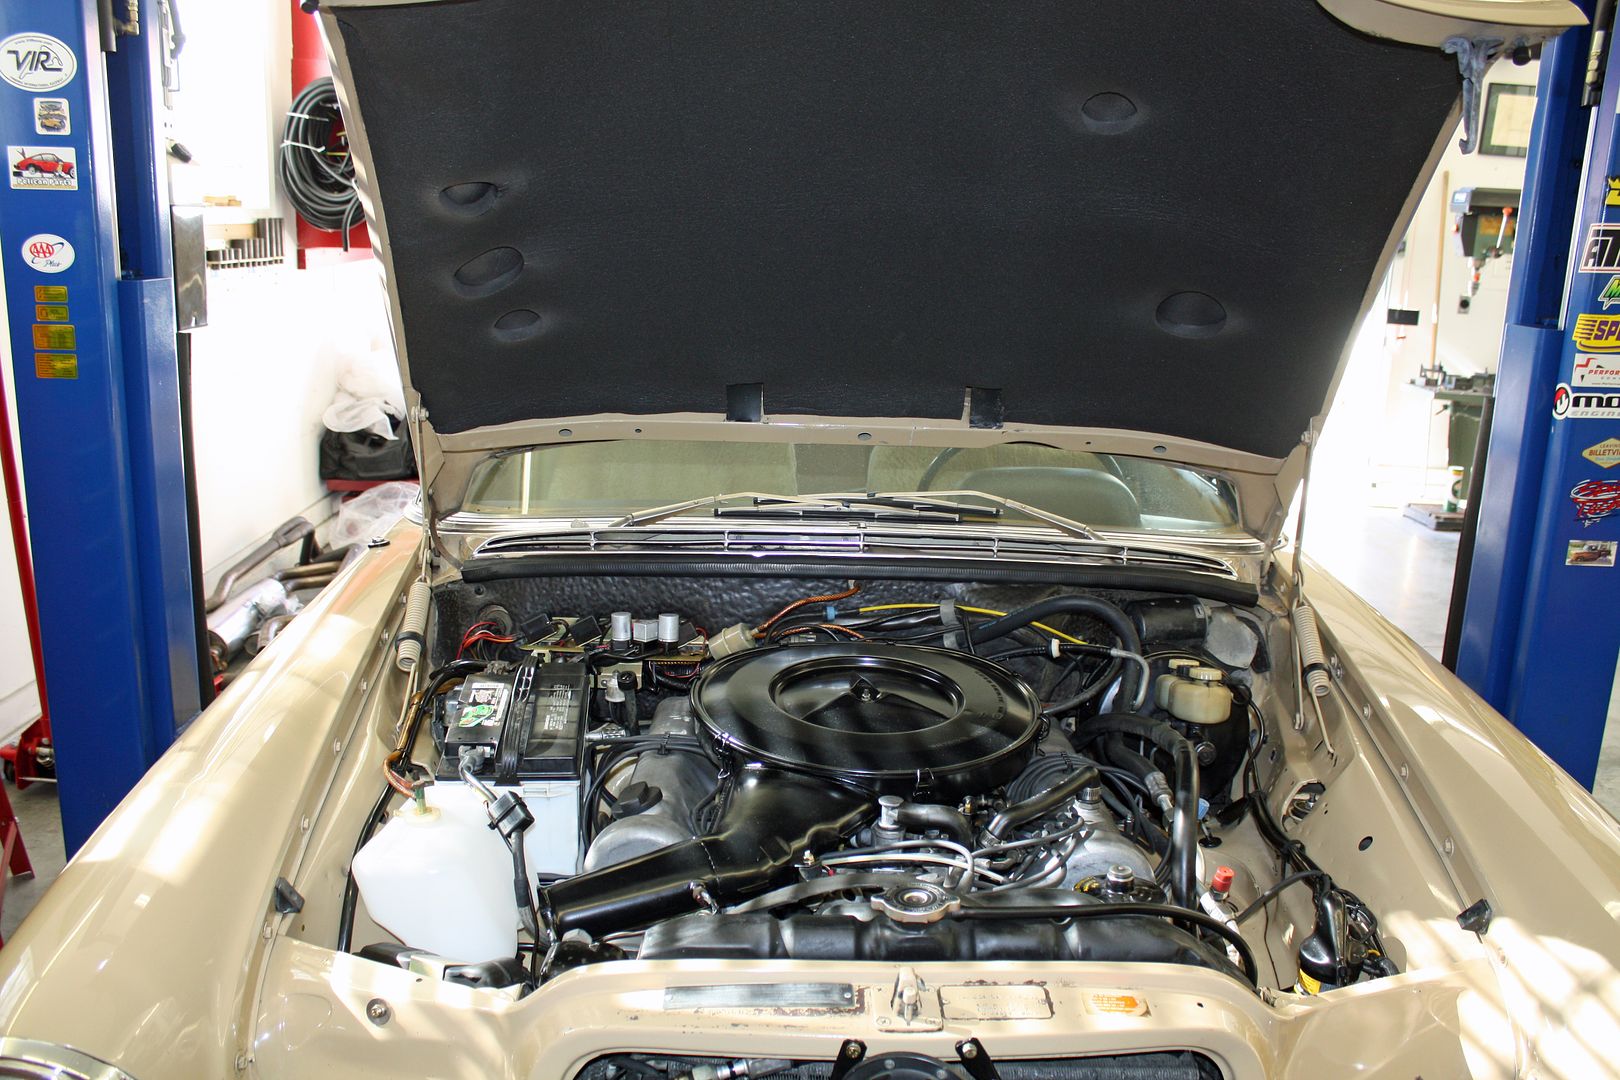
|
|
#124
|
|||
|
|||
|
My Hella H4s portrude as well, the left a little more than the right.
__________________
Csaba 1972 280SEL 4.5, silver |
|
#125
|
|||
|
|||
|
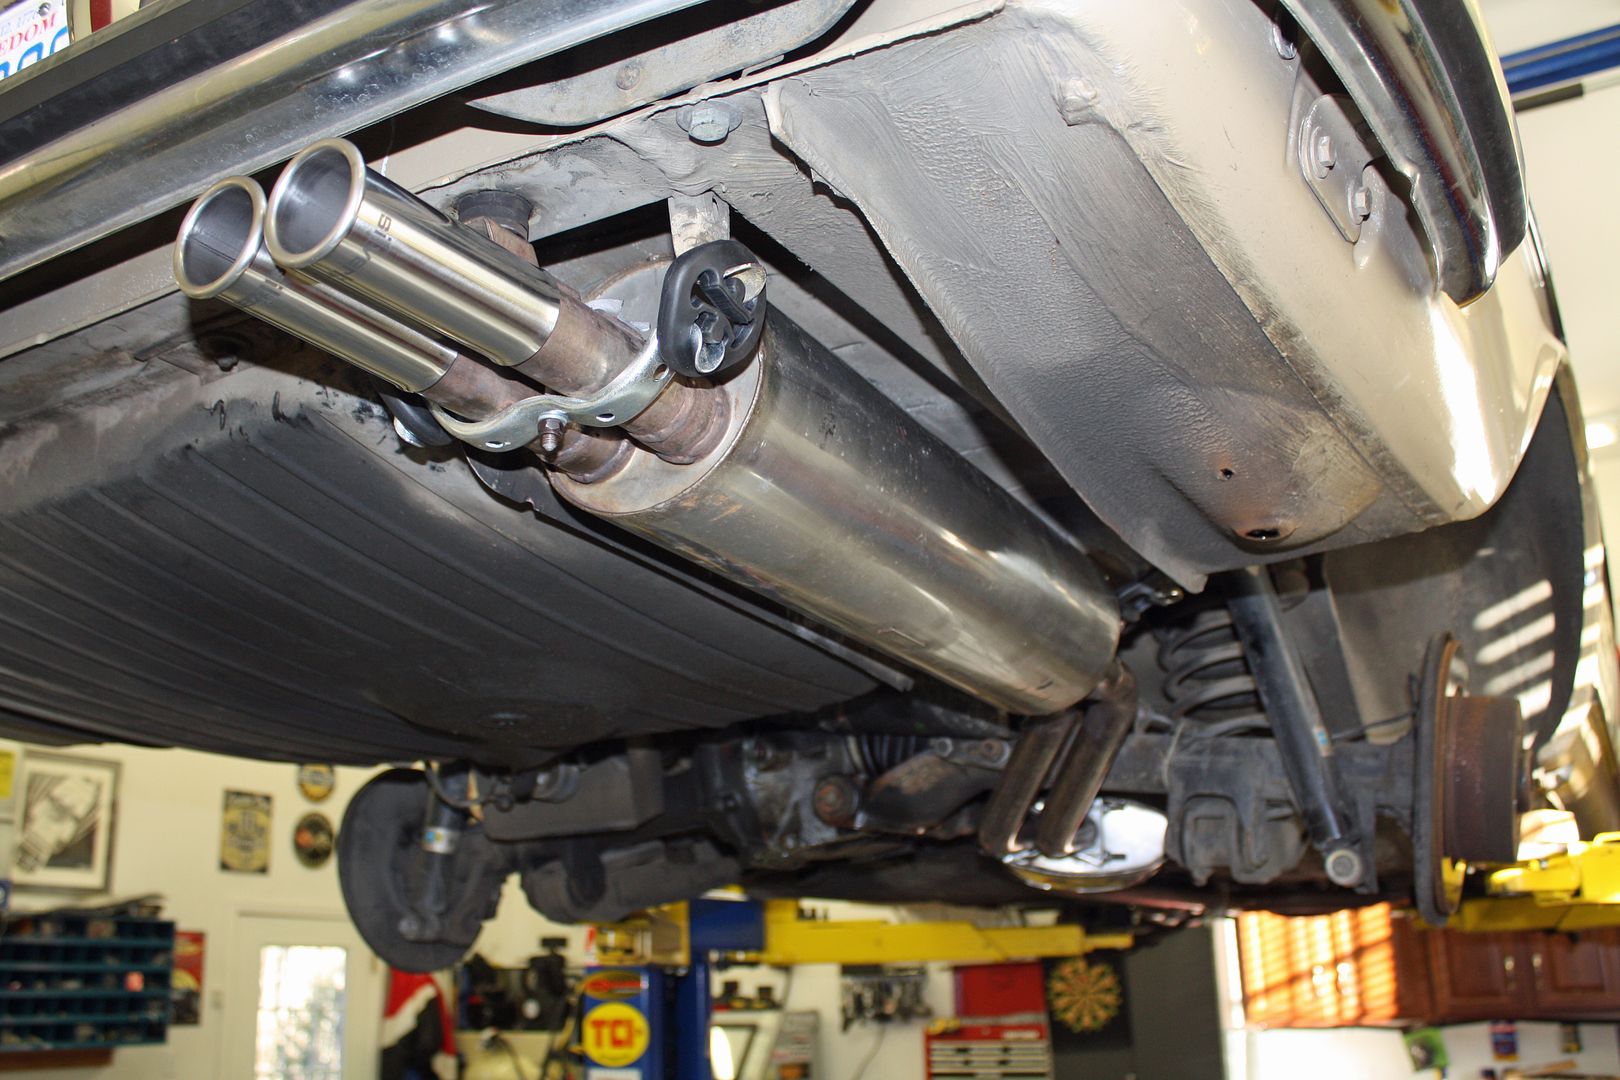
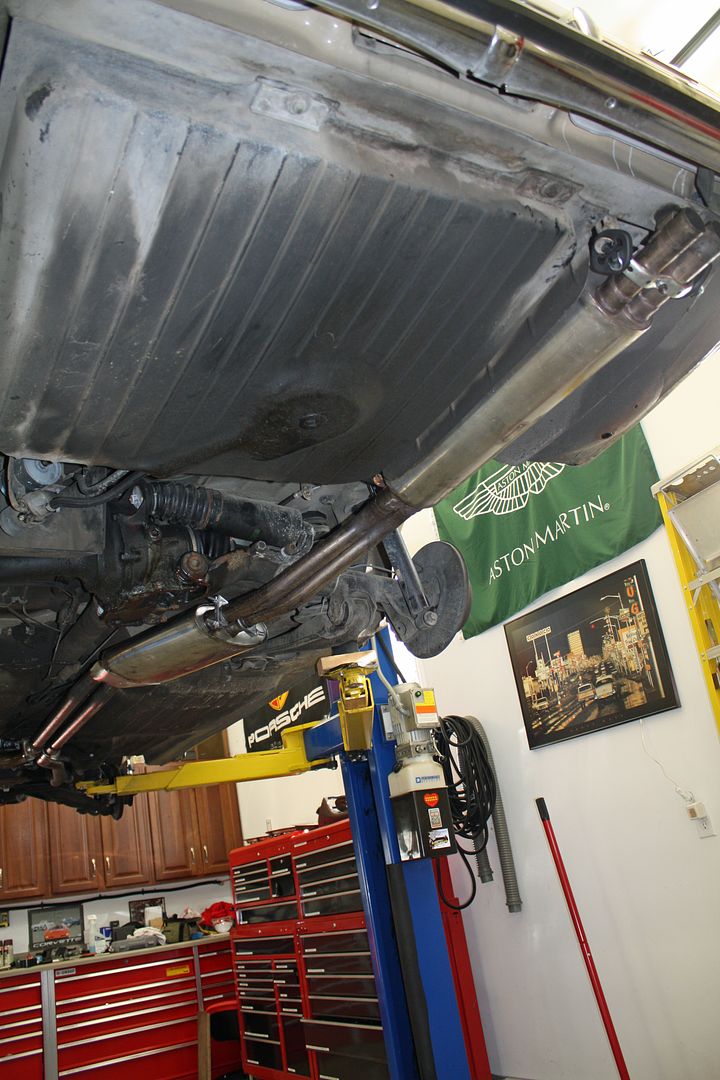
The existing exhaust is in pretty poor shape, especially at the rear. It appears to have been scraped on the bottom of the pipes between the two mufflers and on the bottom of the rear muffler. Judging by the rust on the scraped area, it happened some time ago as there was a hole in the crushed area. I am sure the exhaust was restricted through those pipes that had been partially crushed.
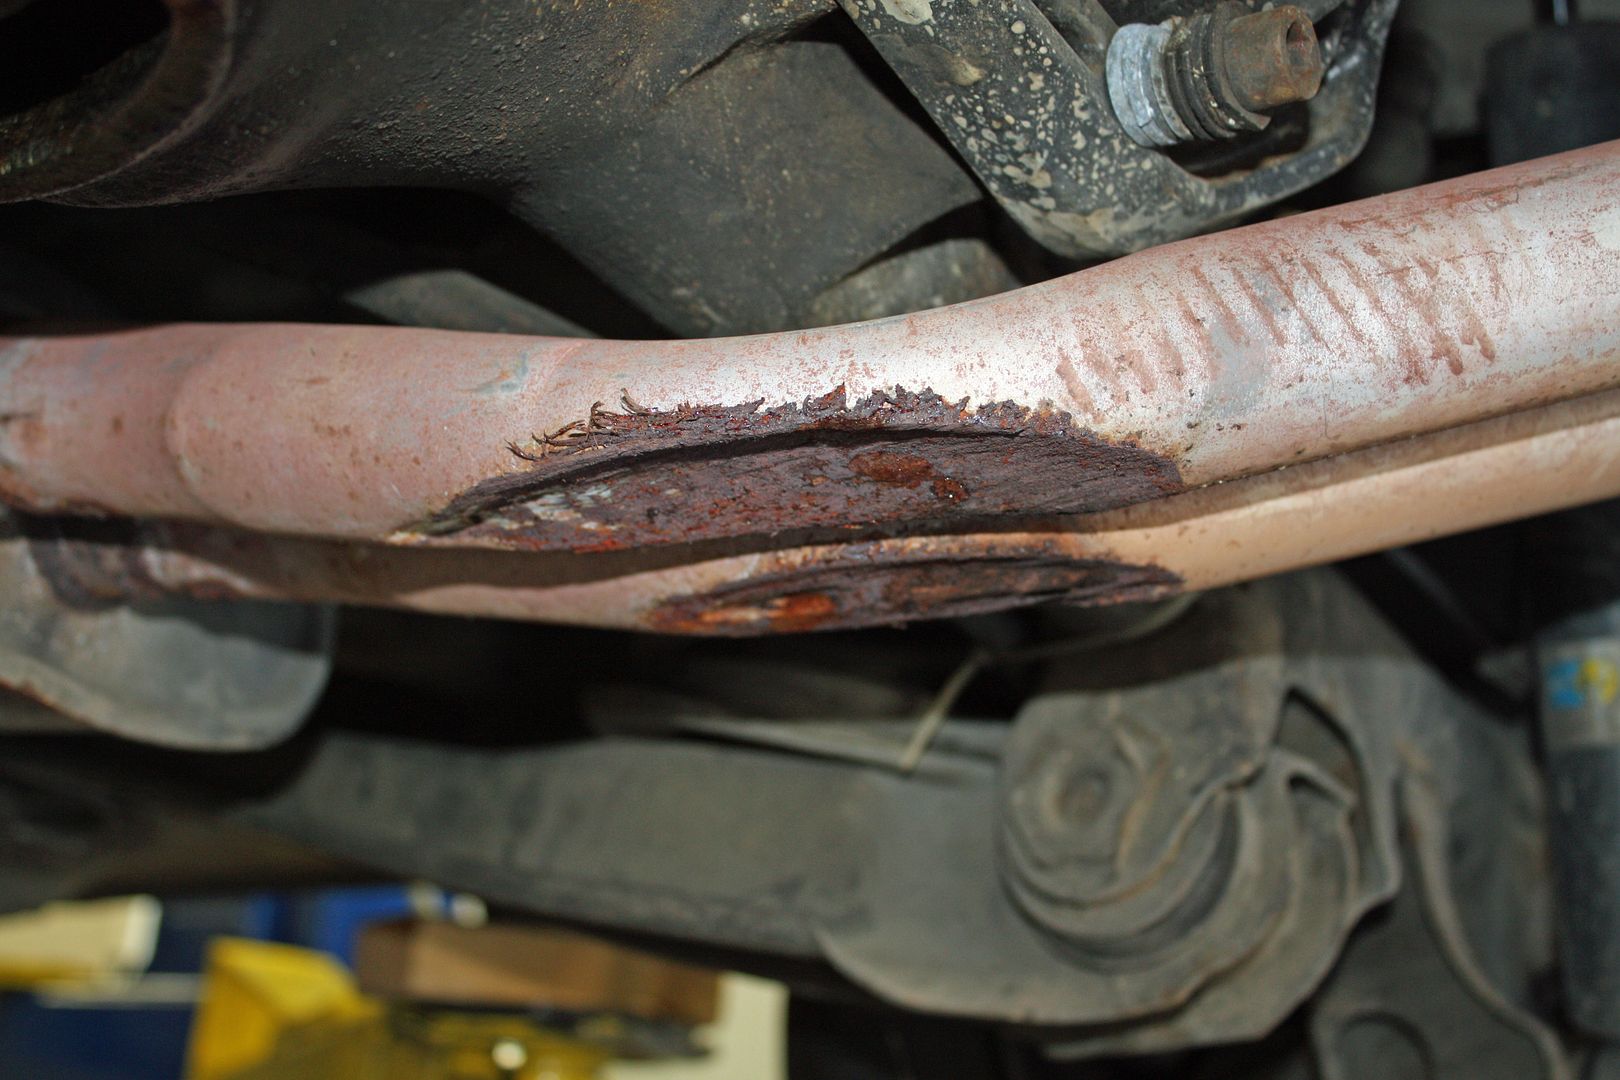 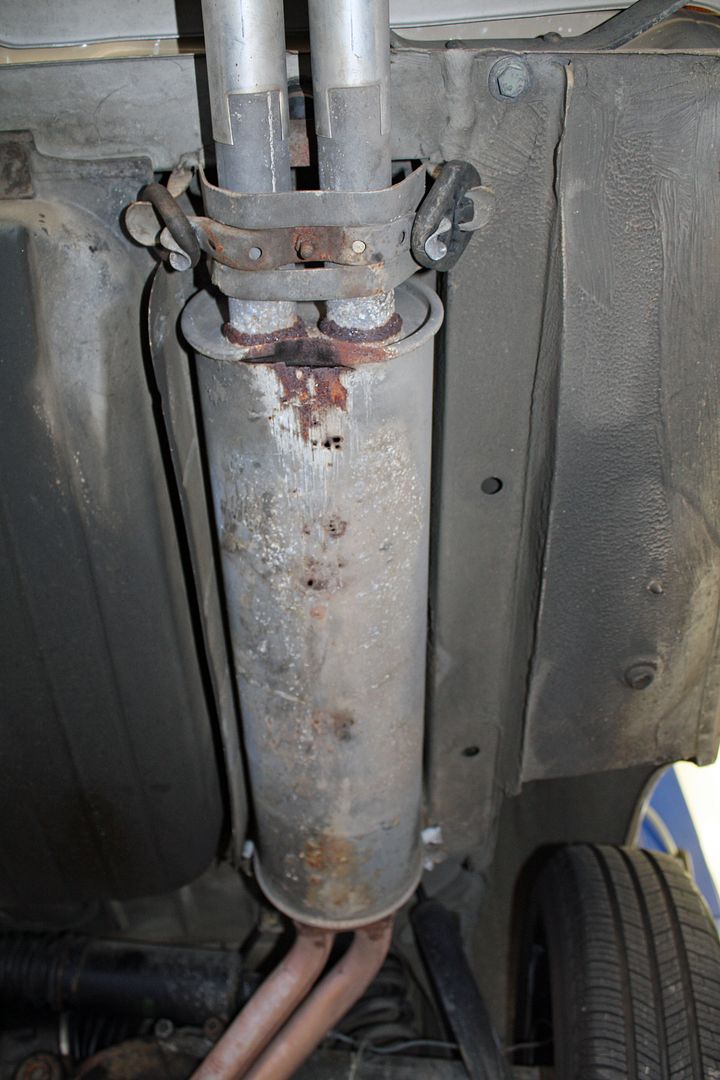 I was fortunate to find a used Borla stainless steel exhaust on eBay. It is in very good shape and, being stainless, may well be the last exhaust system installed on this car. 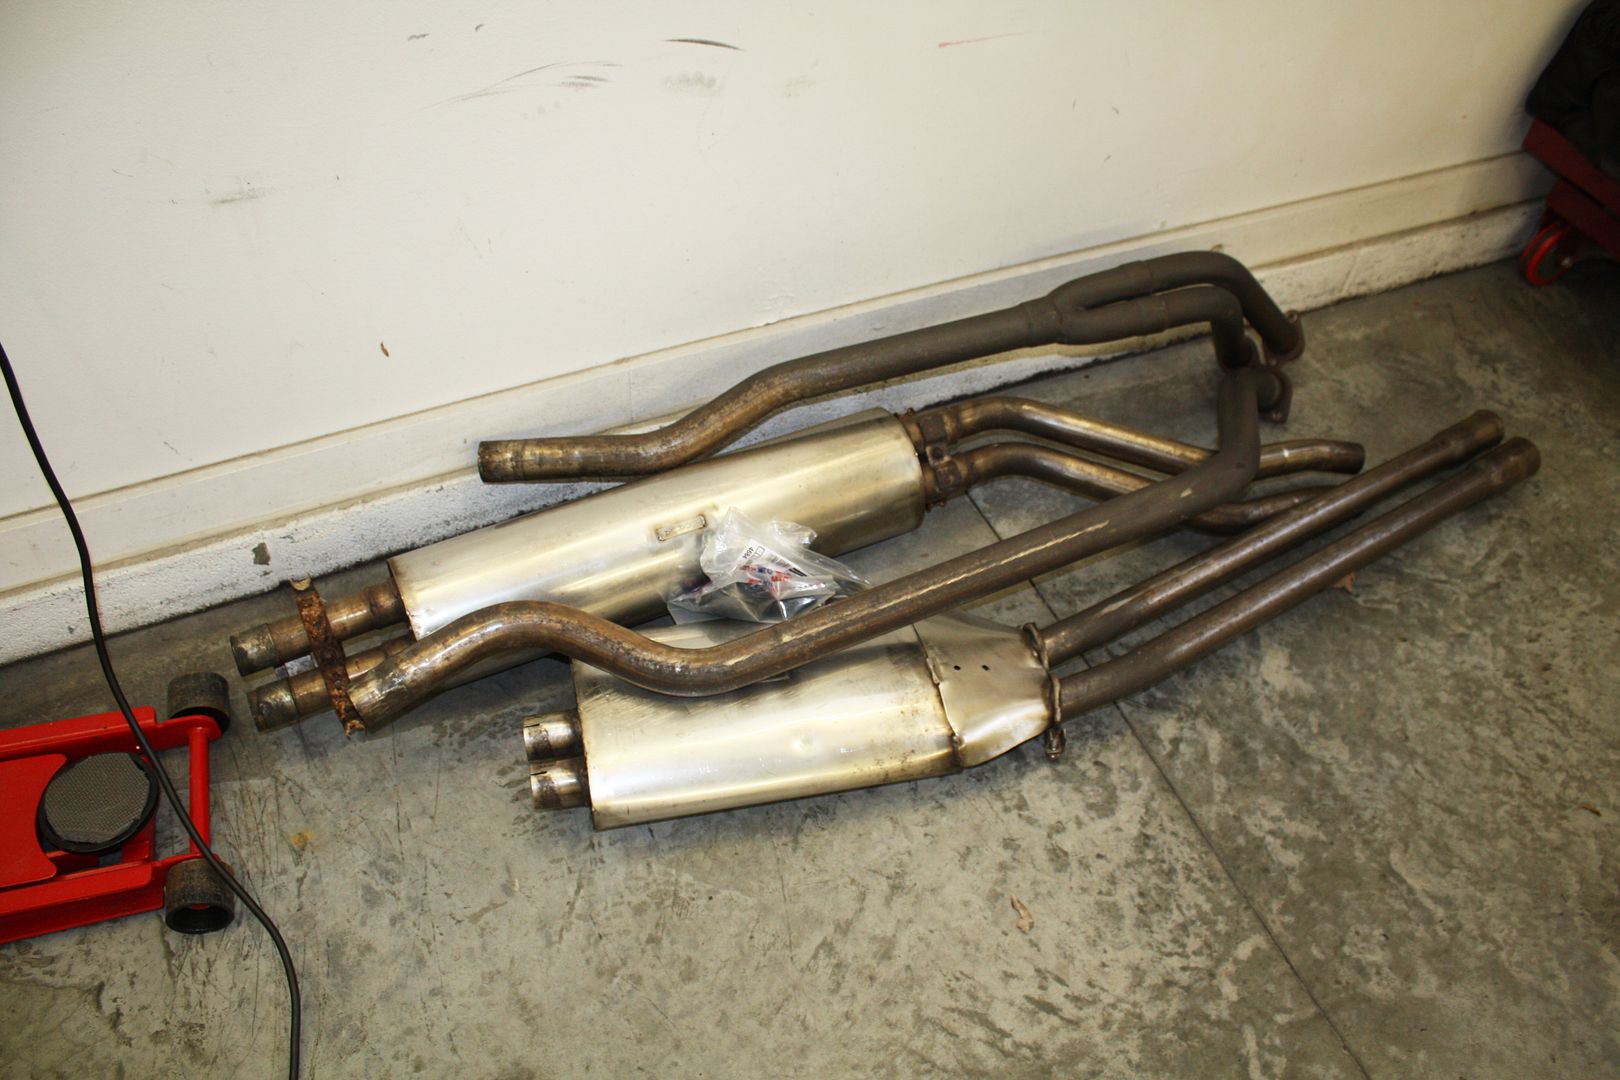 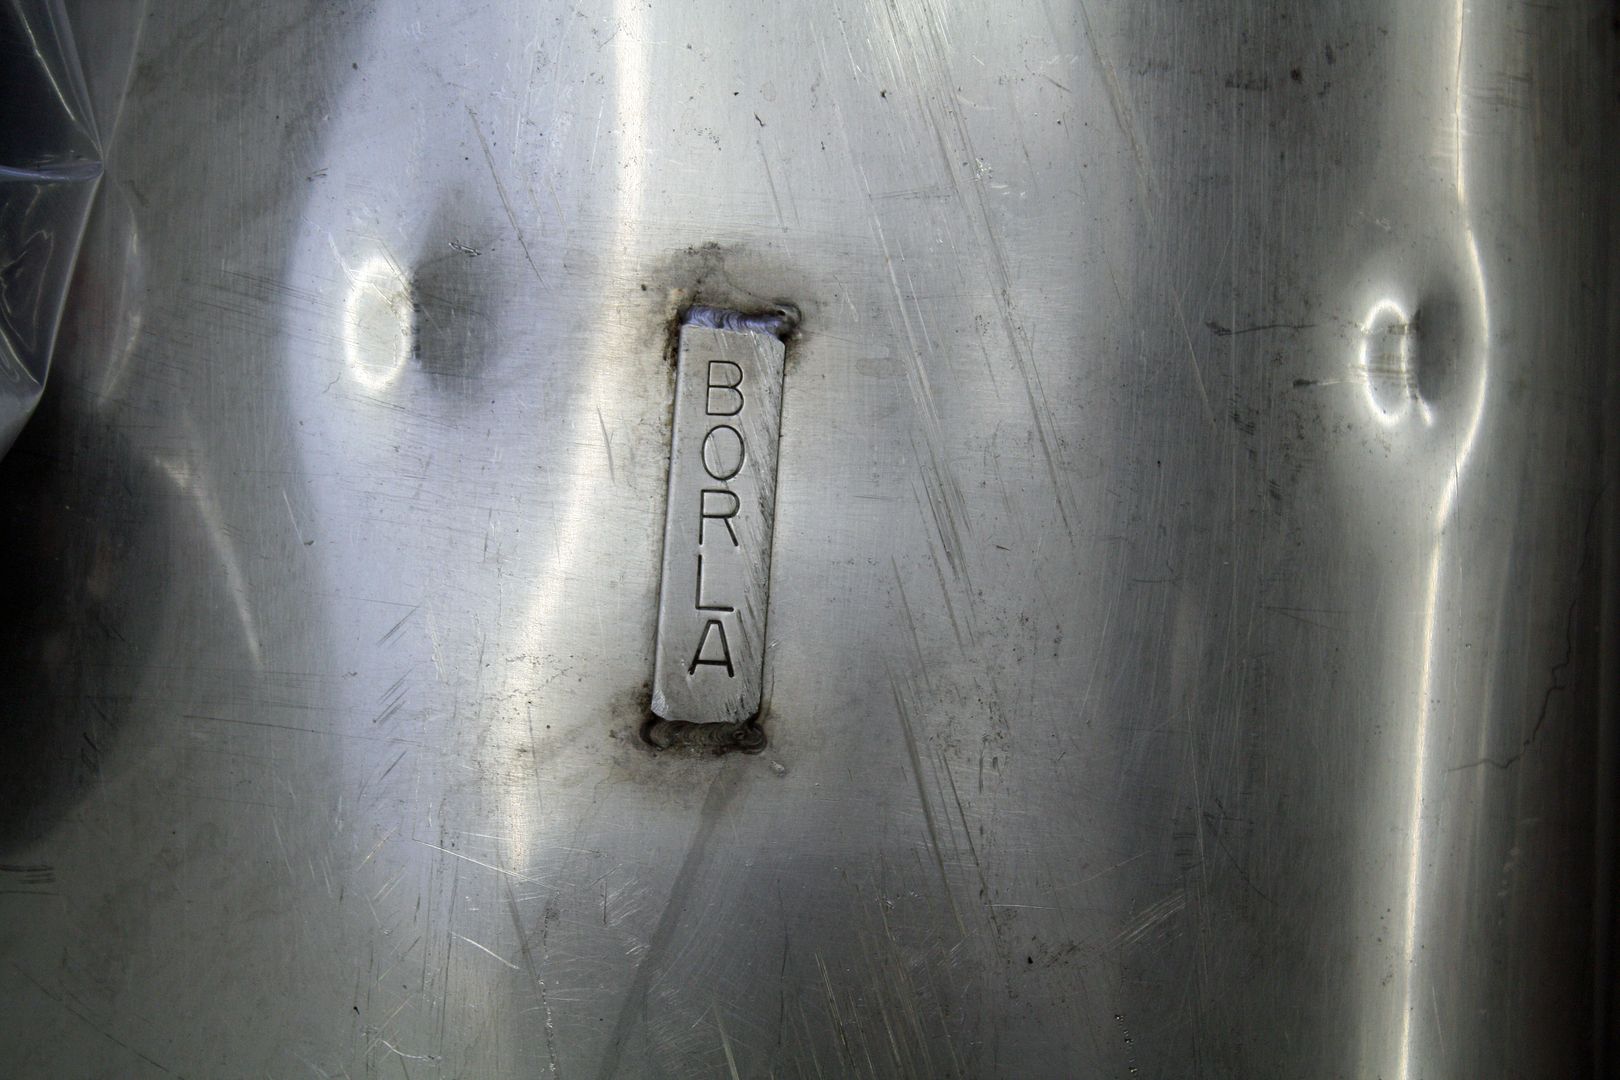 Since the exhaust was in poor shape and to make taking it off easier, I cut the system into four parts. 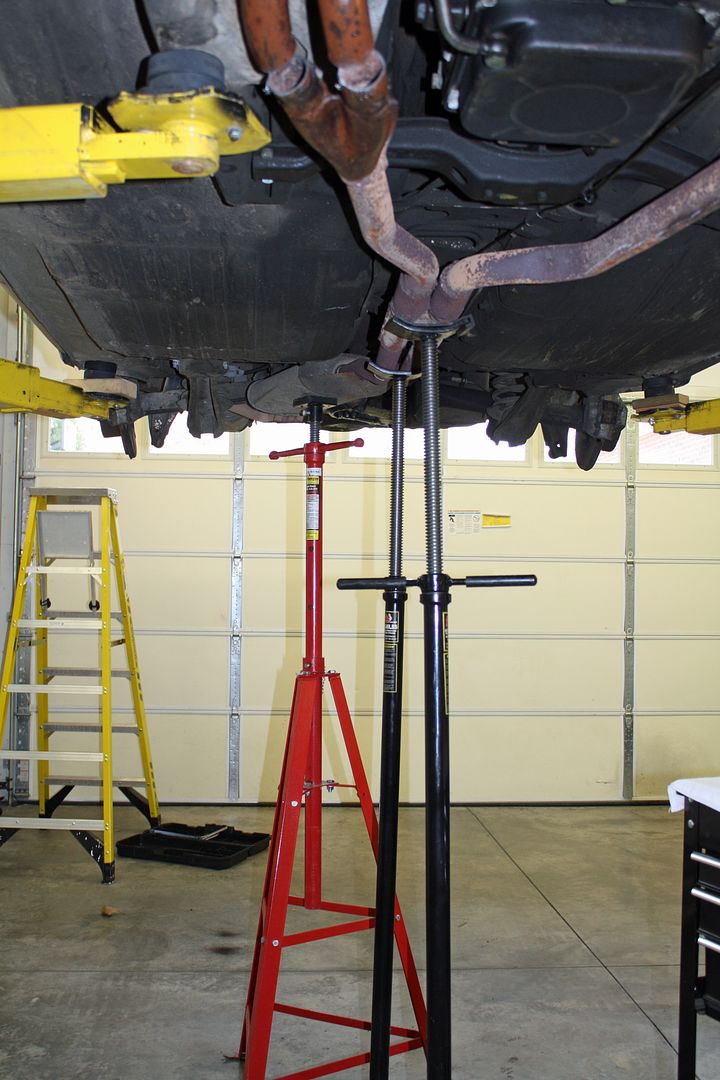 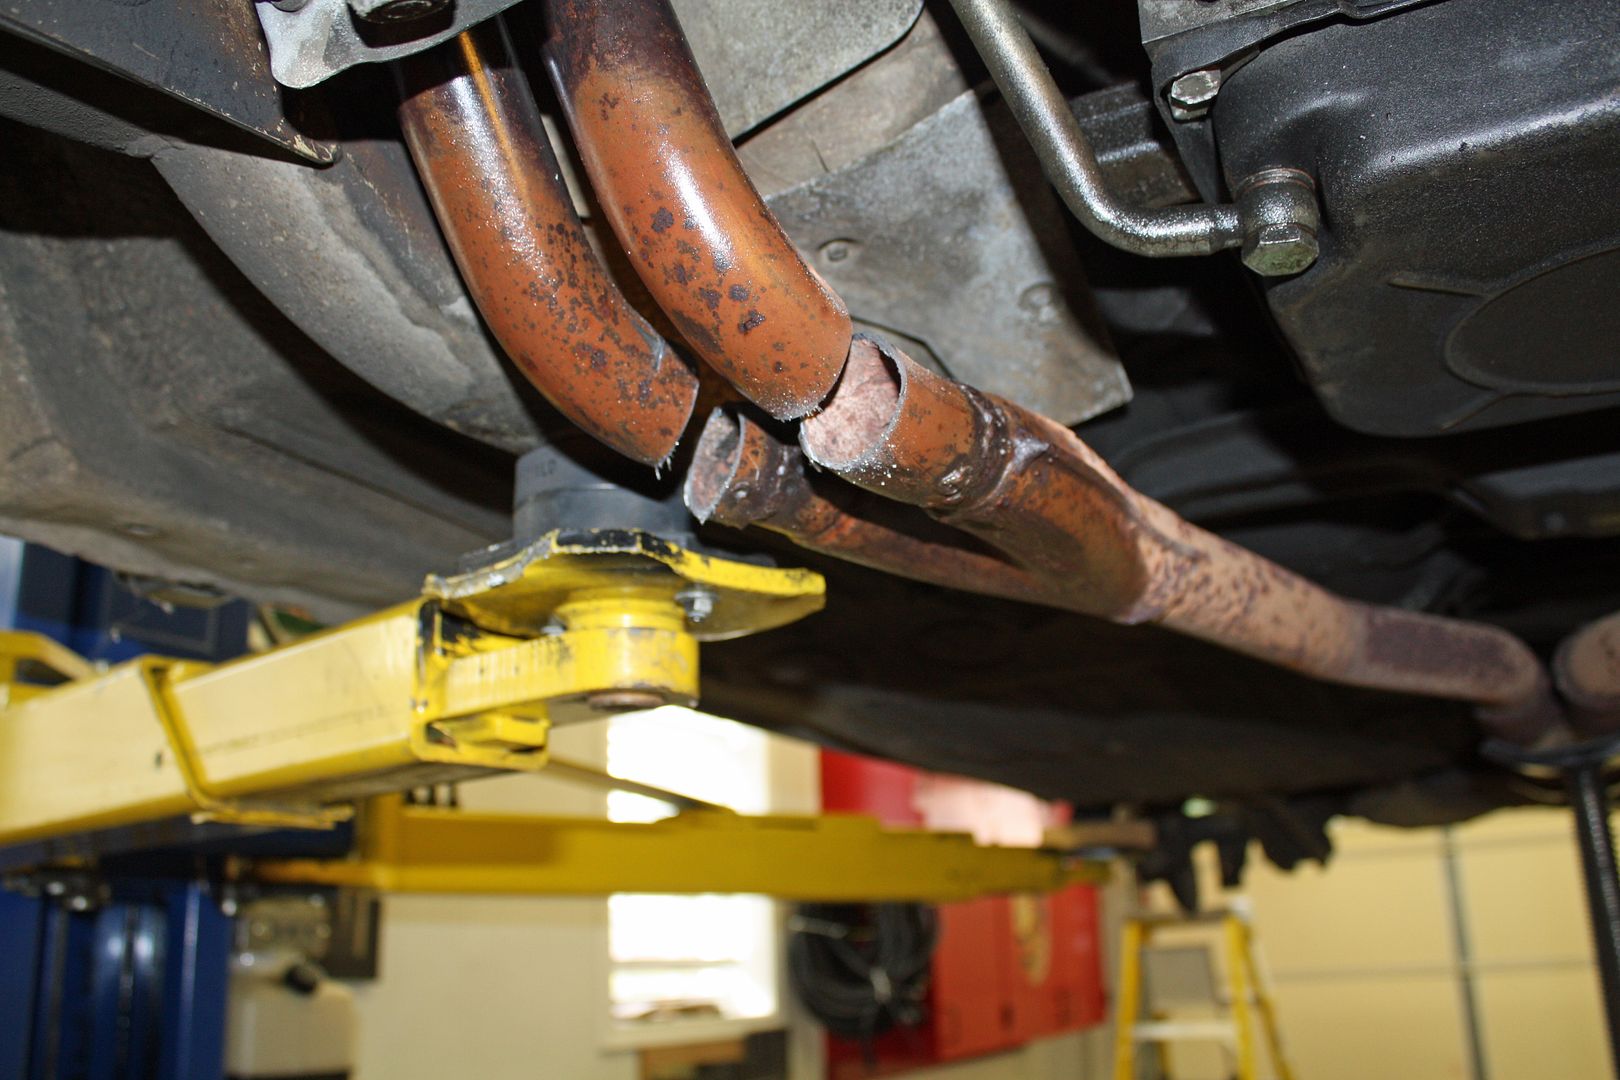 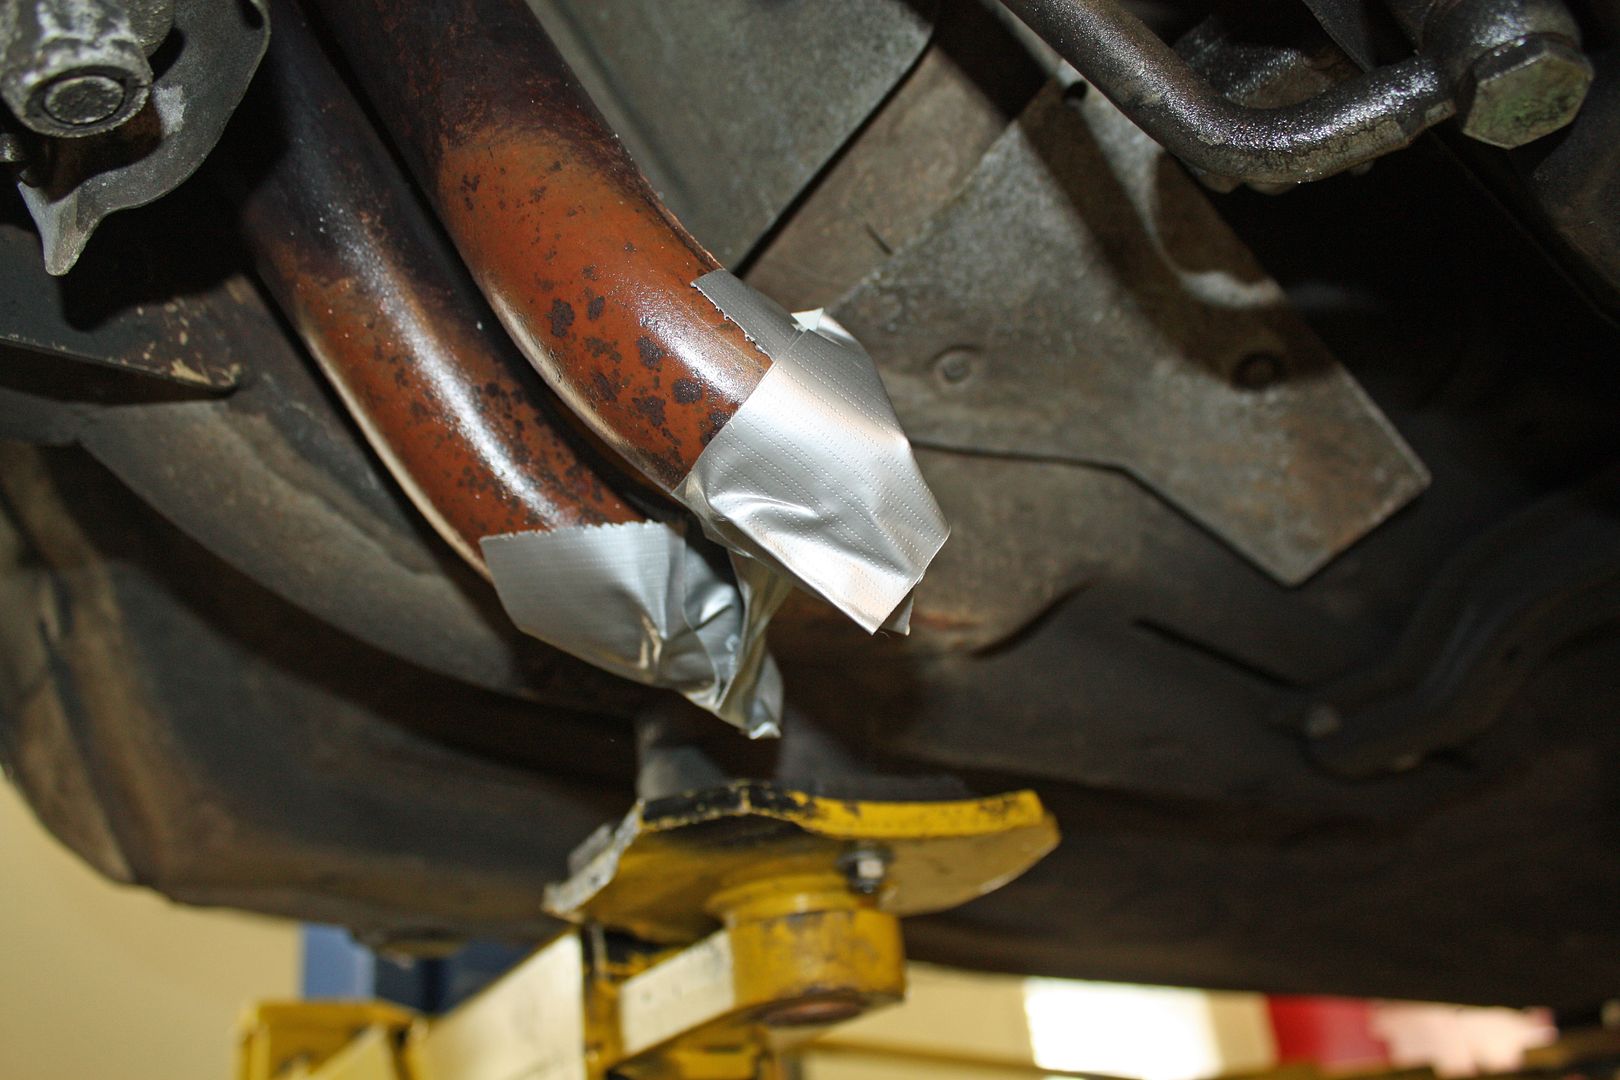 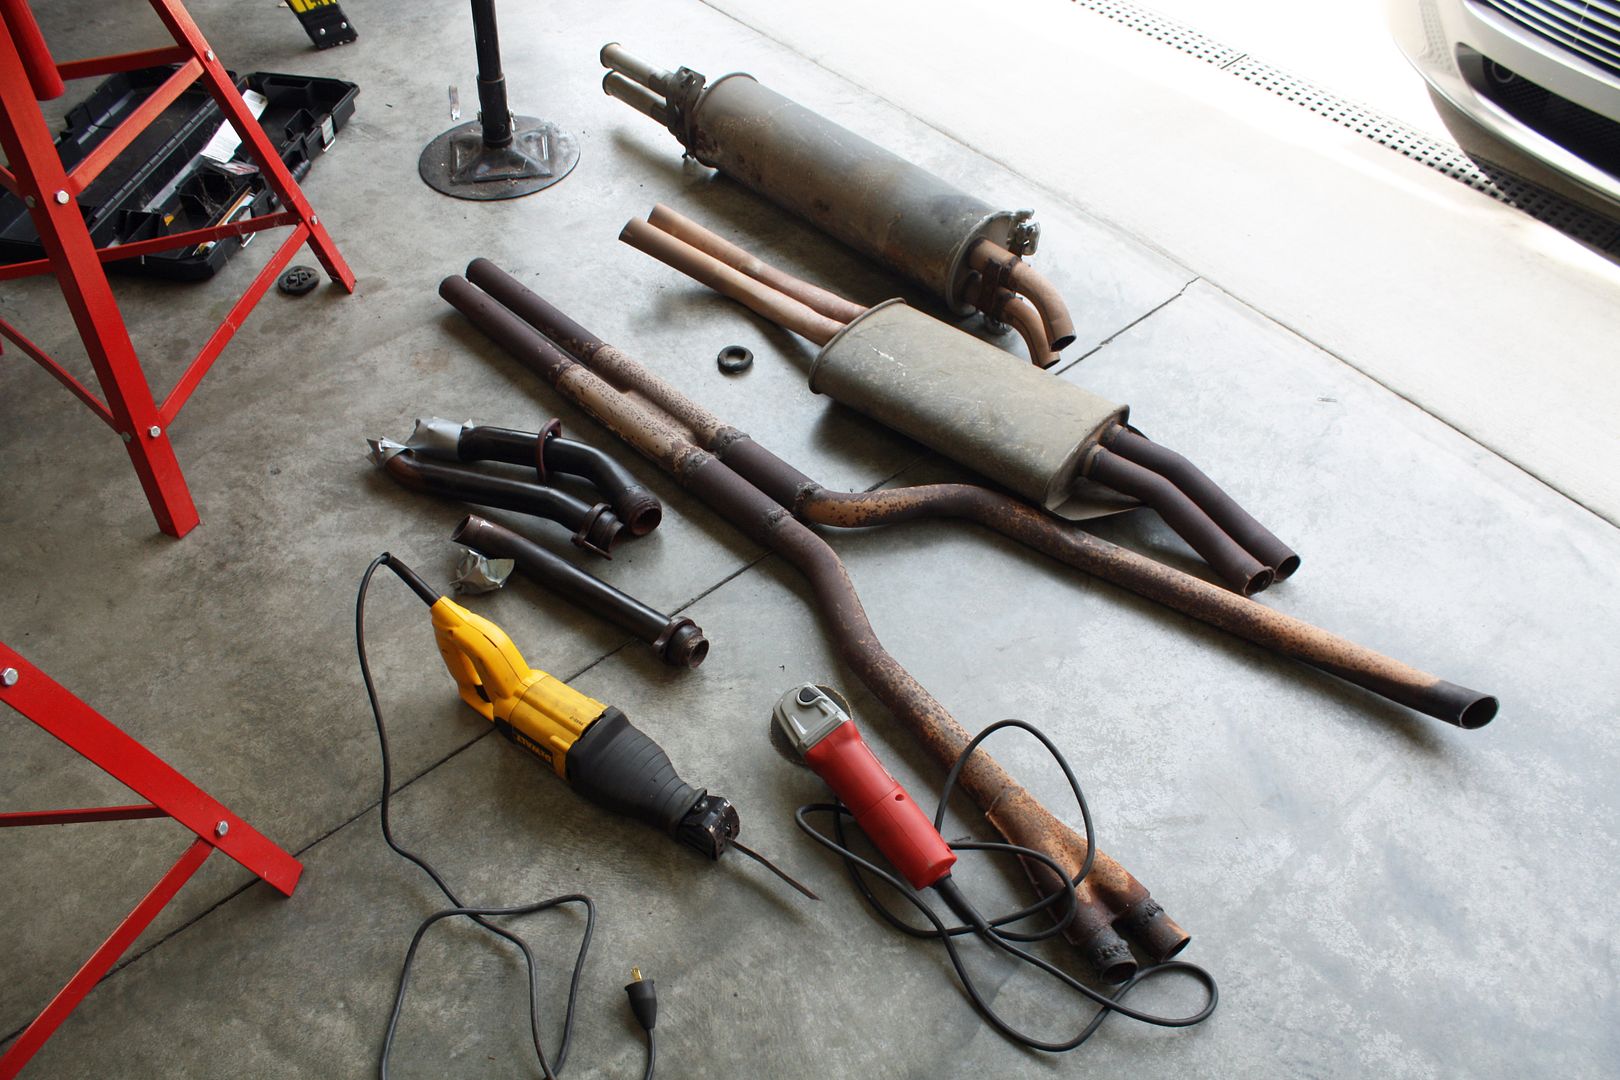 I had soaked the exhaust bolts at the manifold with a penetrant for a number of days. Removing the left side exhaust pipe at the manifold was fairly easy as I could get a wrench on the top side. The right side, with its two outlets, was much more difficult. I was able to get one of the four bolts out from the bottom, but I could not get a wrench on the top side of the other three bolts. So I lowered the car, removed the battery, and was able to get a 1/8" ratchet on the other three bolts from the top. I had to remove one spark plug wire. At this point I considered calling my buddy Reese to have him hold the socket on from the top while I went underneath to loosen the other end. However, I hate to call him unless there is no other option. Kind of a pride thing here. Once I had the socket on the upper bolt, I used black duct tape to tape the ratchet wrench to either the valve cover or the battery tray. This kept the socket in place while I was engaging the other end. Worked like a charm. 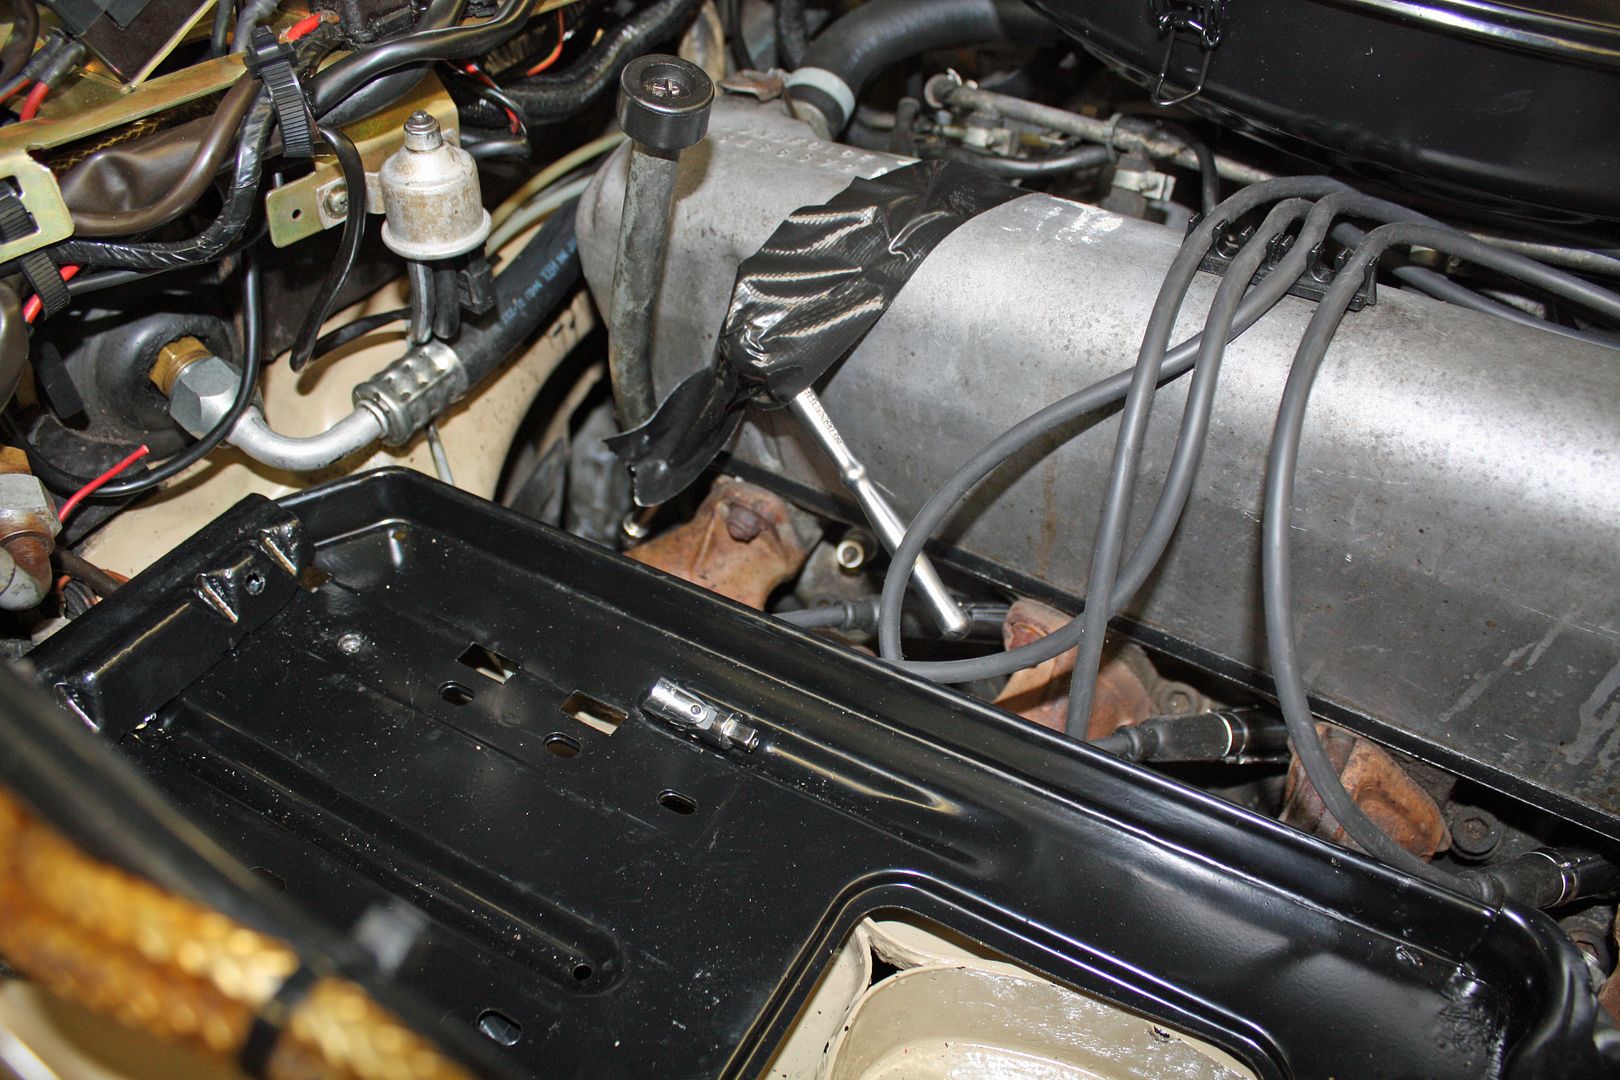  When I tried to remove the rusted hanger from the Borla exhaust, the bolt broke. This same piece on the original exhaust was in good shape but was welded to the exhaust. I cut it off with my angle grinder. After bead blasting it, I used a thread chaser to clean up the threads. 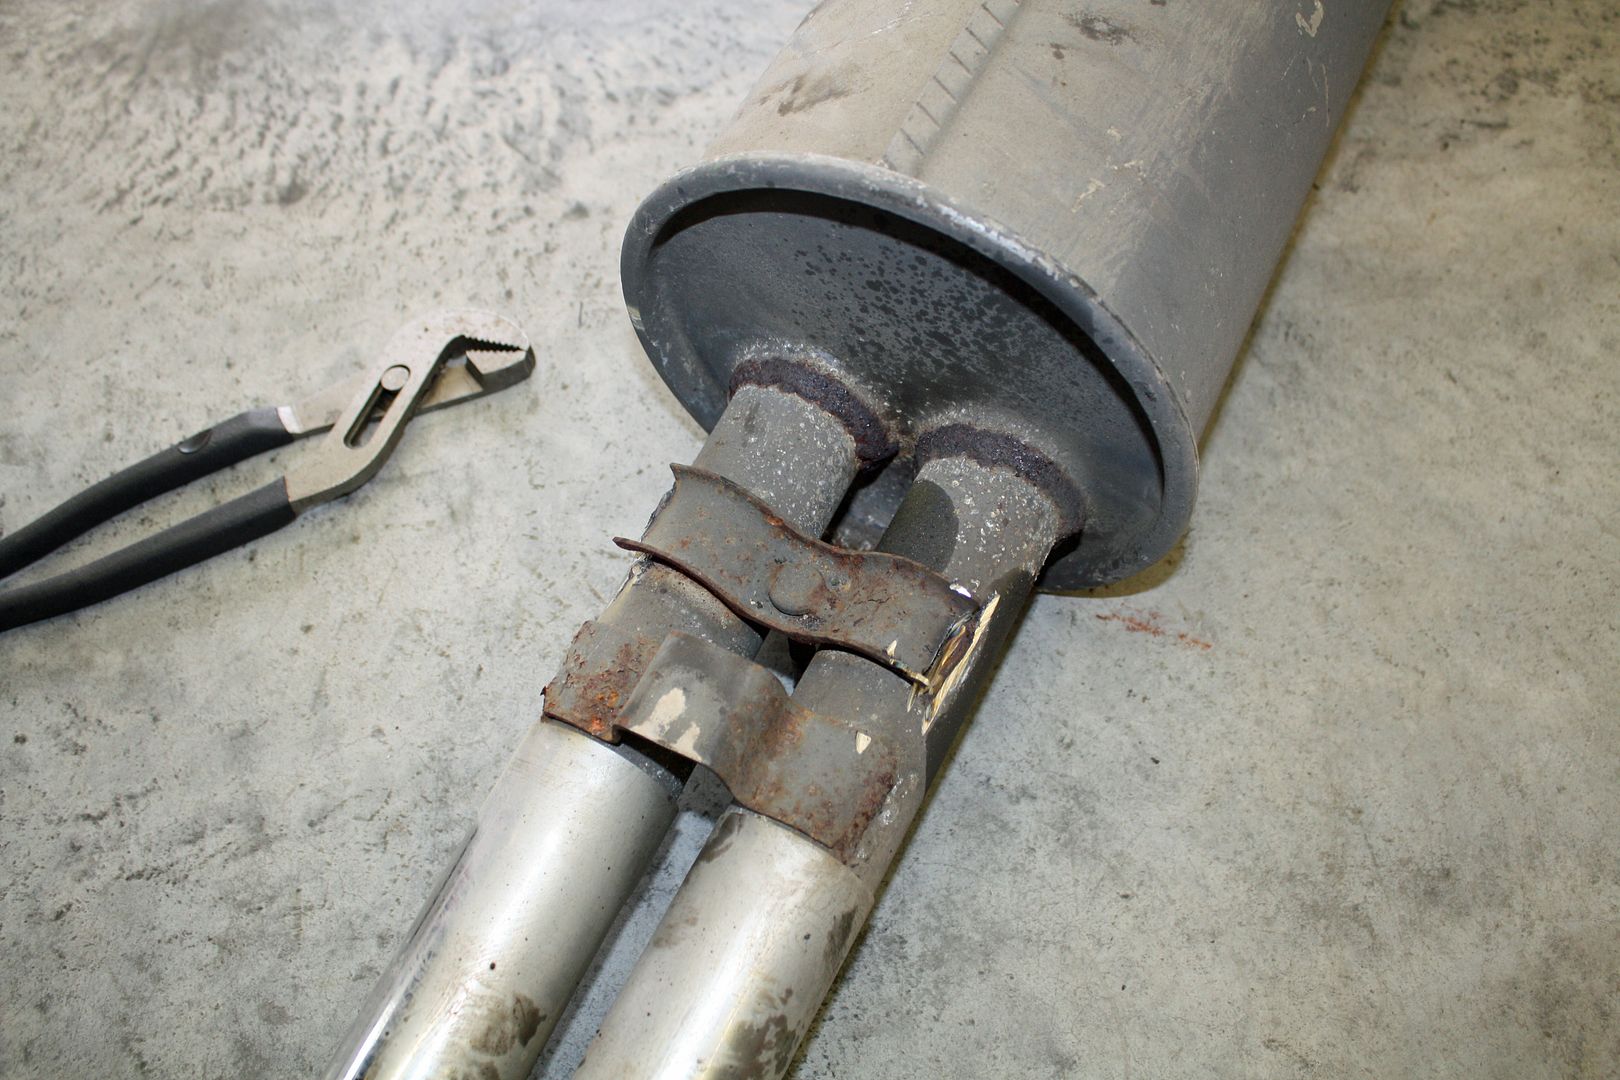 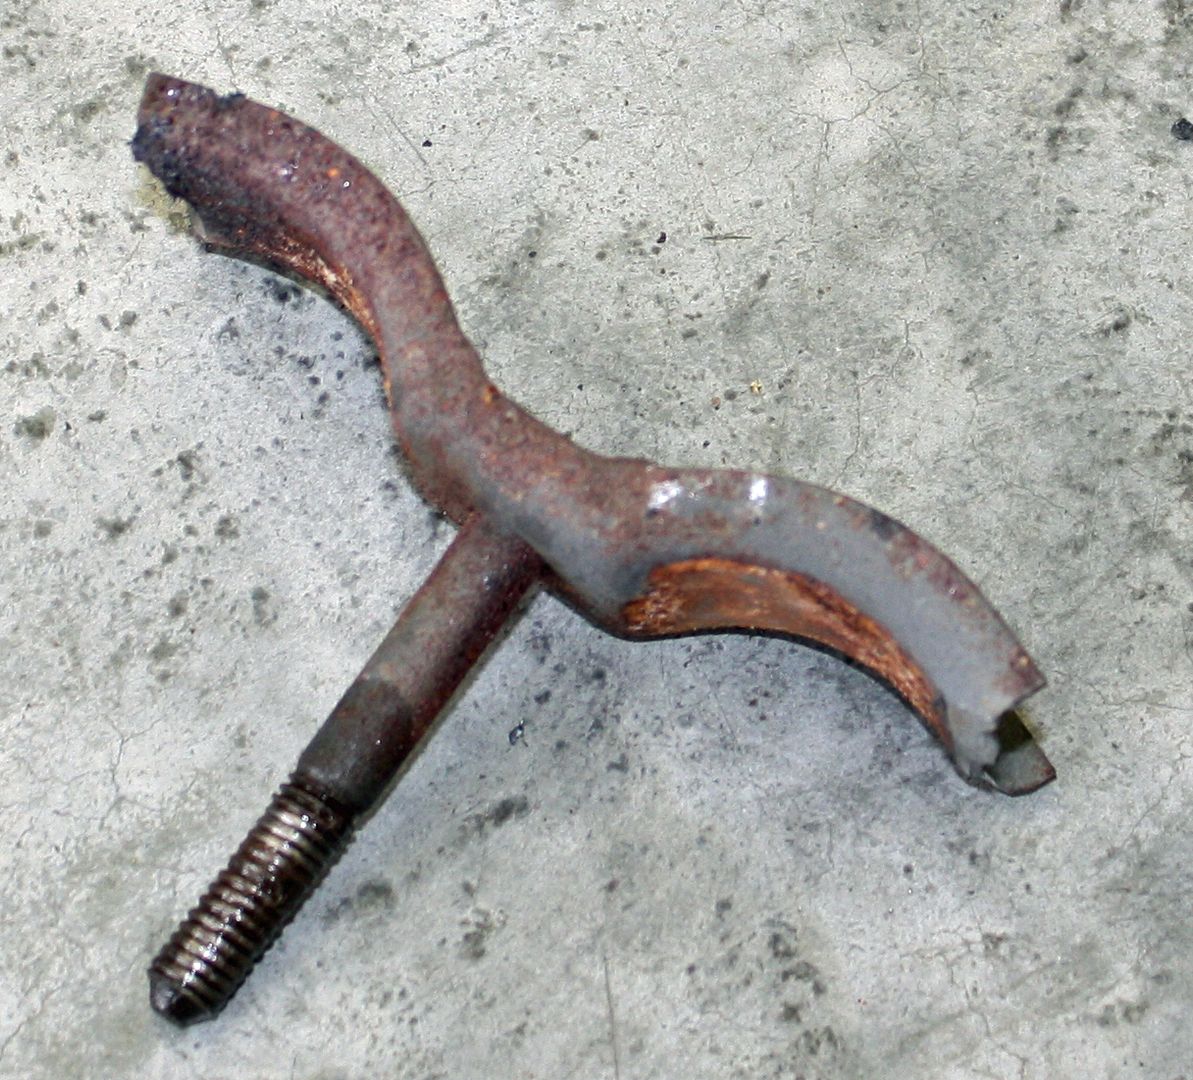 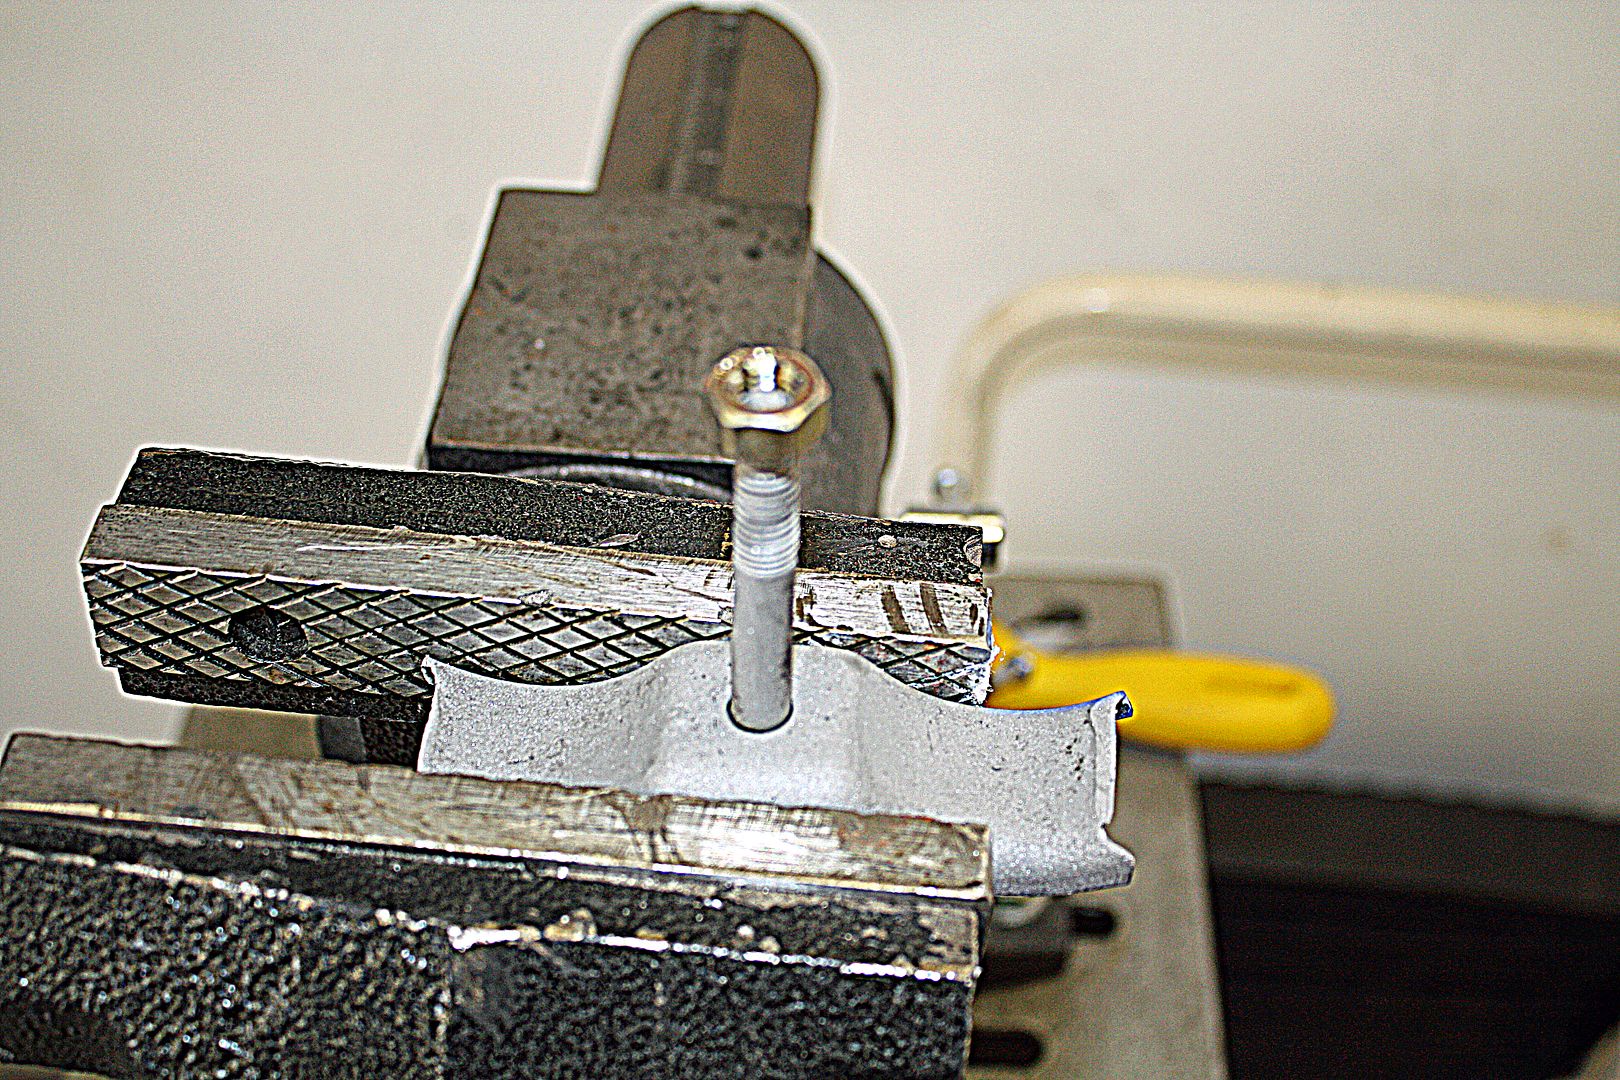 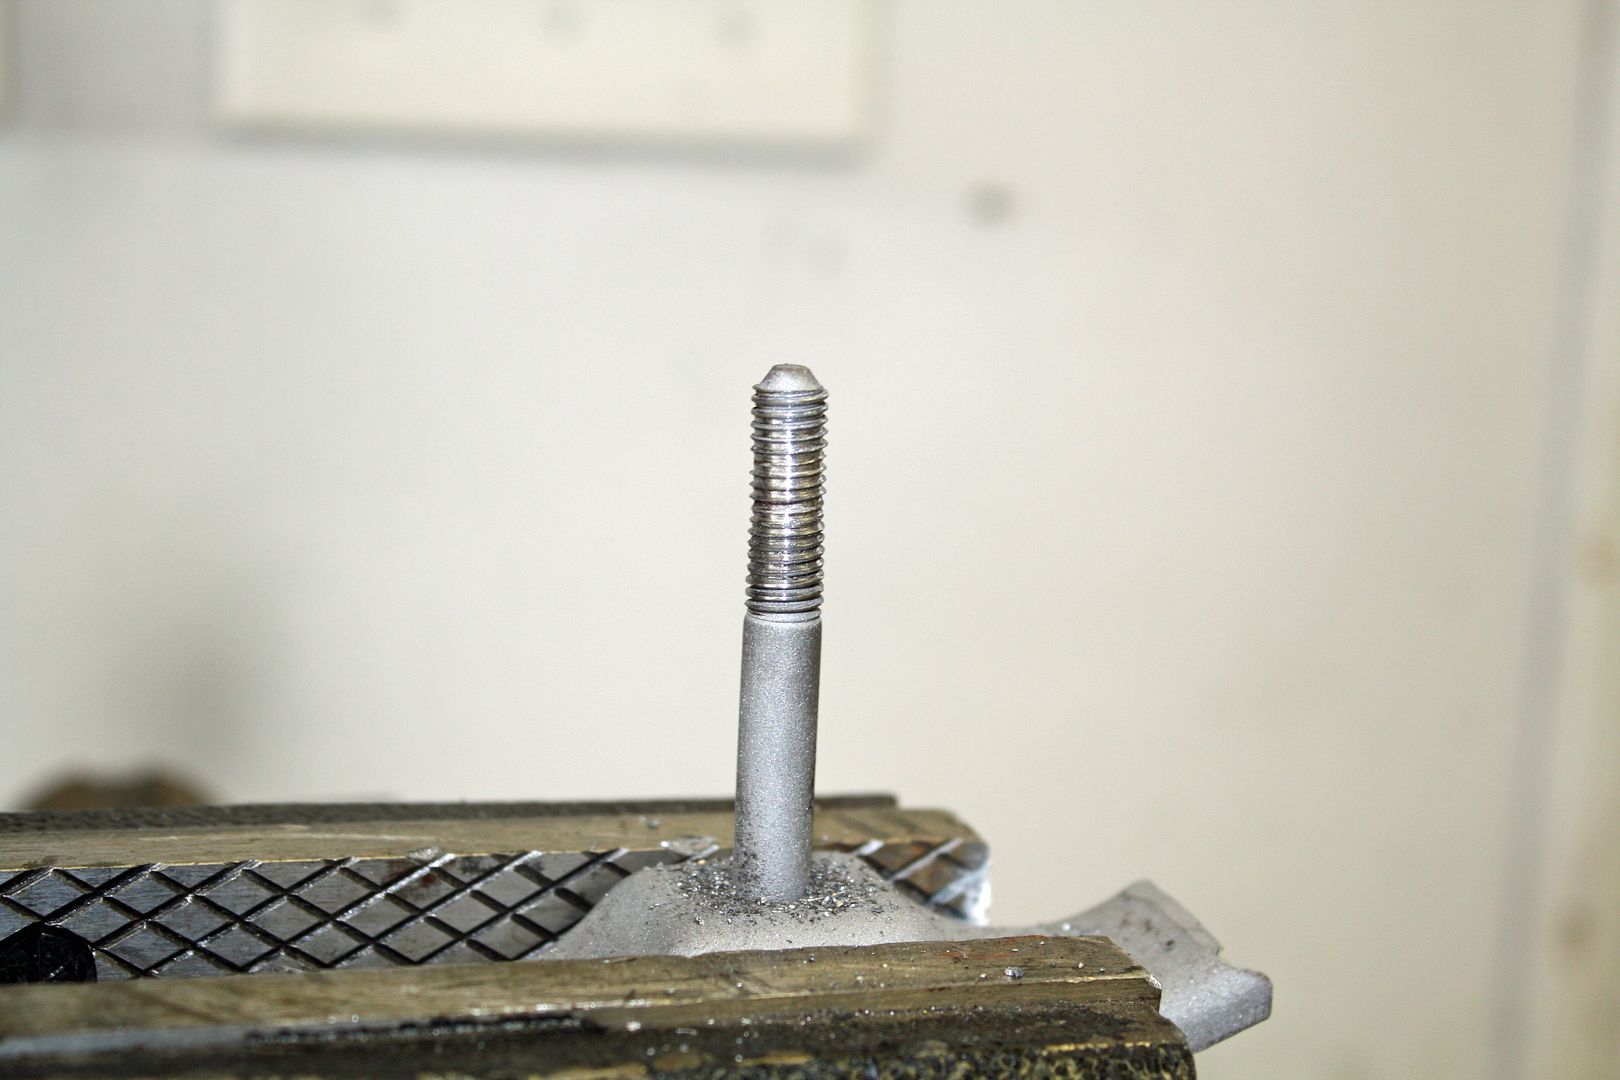 Now I was able to mount the rear muffler. To engage the rubber hangers, I used a tool designed for that job. It was a big help but getting those rubber hangers on was a challenge. 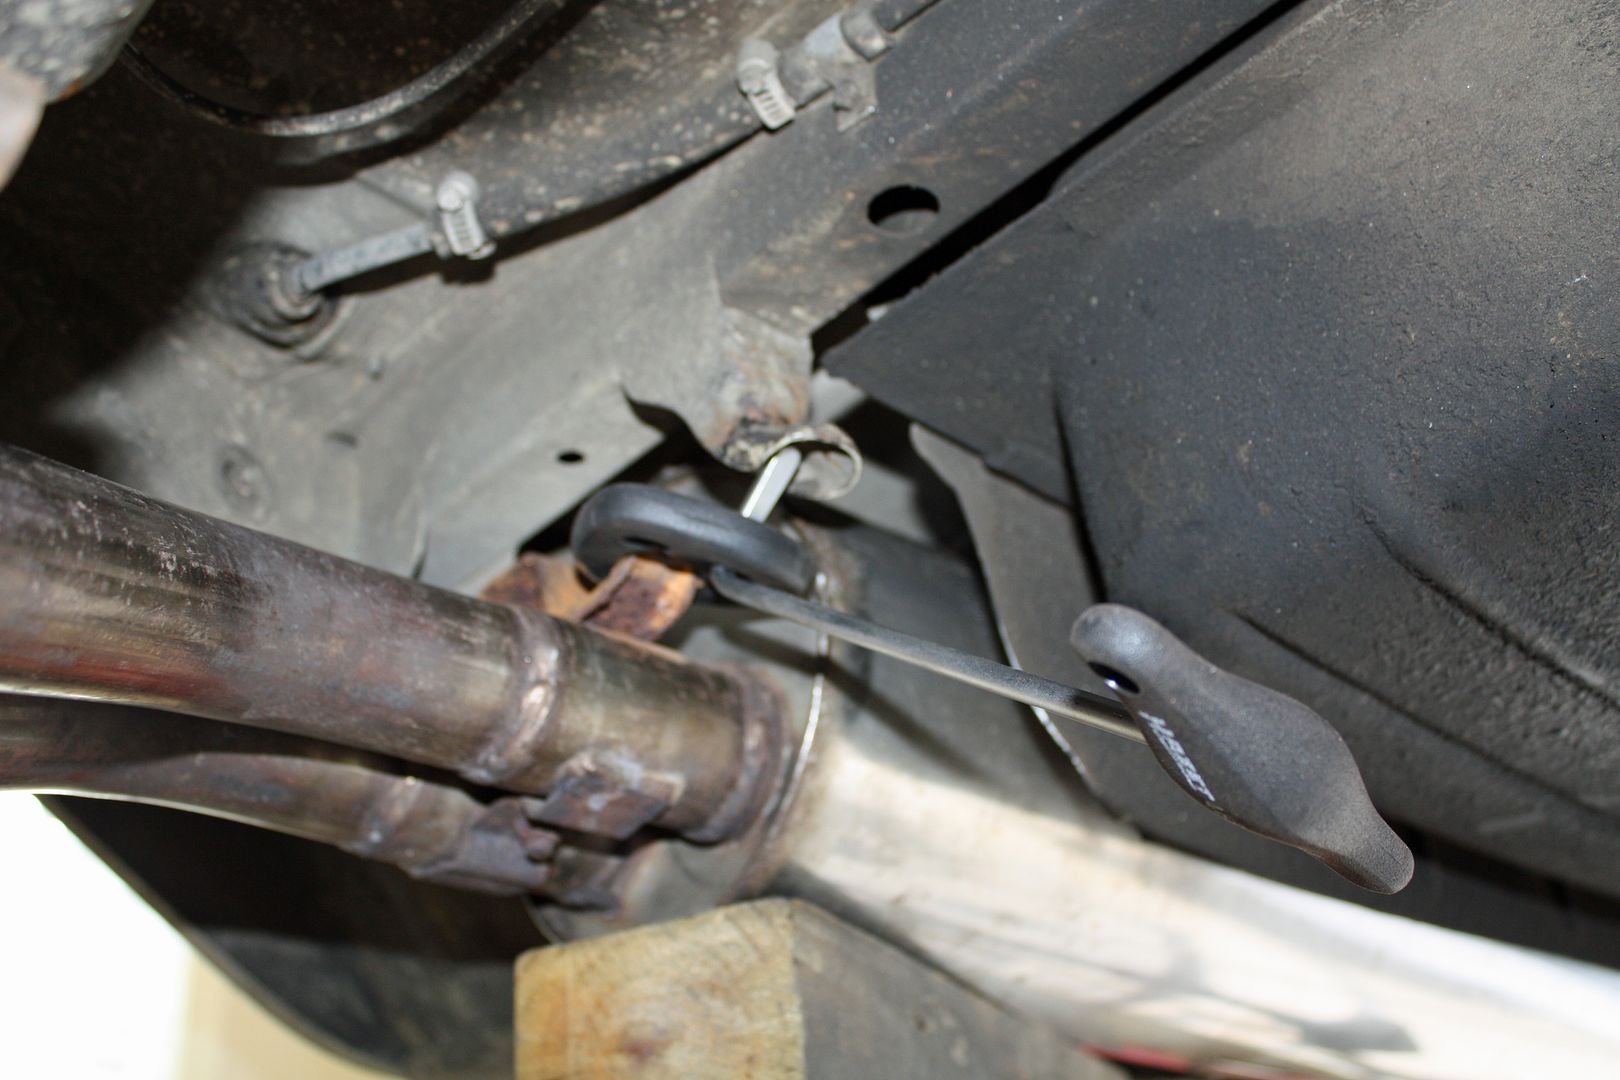 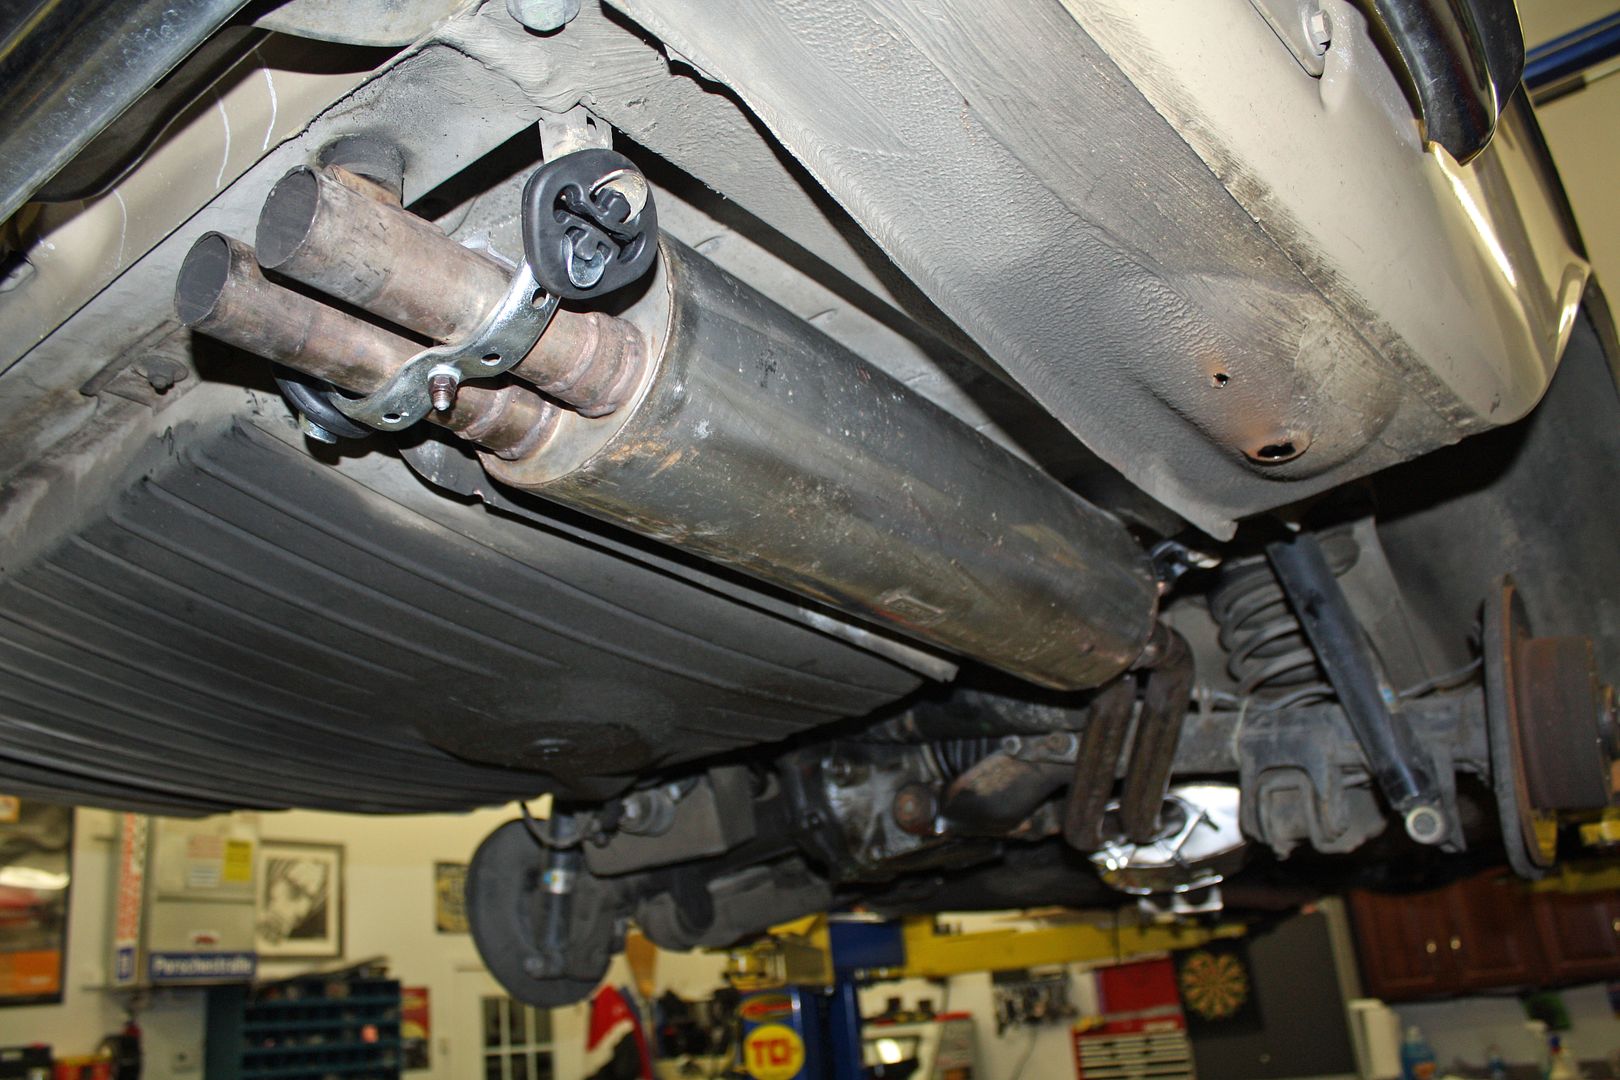 With a little shaping of the exhaust pipe openings, I was able to mount the forward muffler. 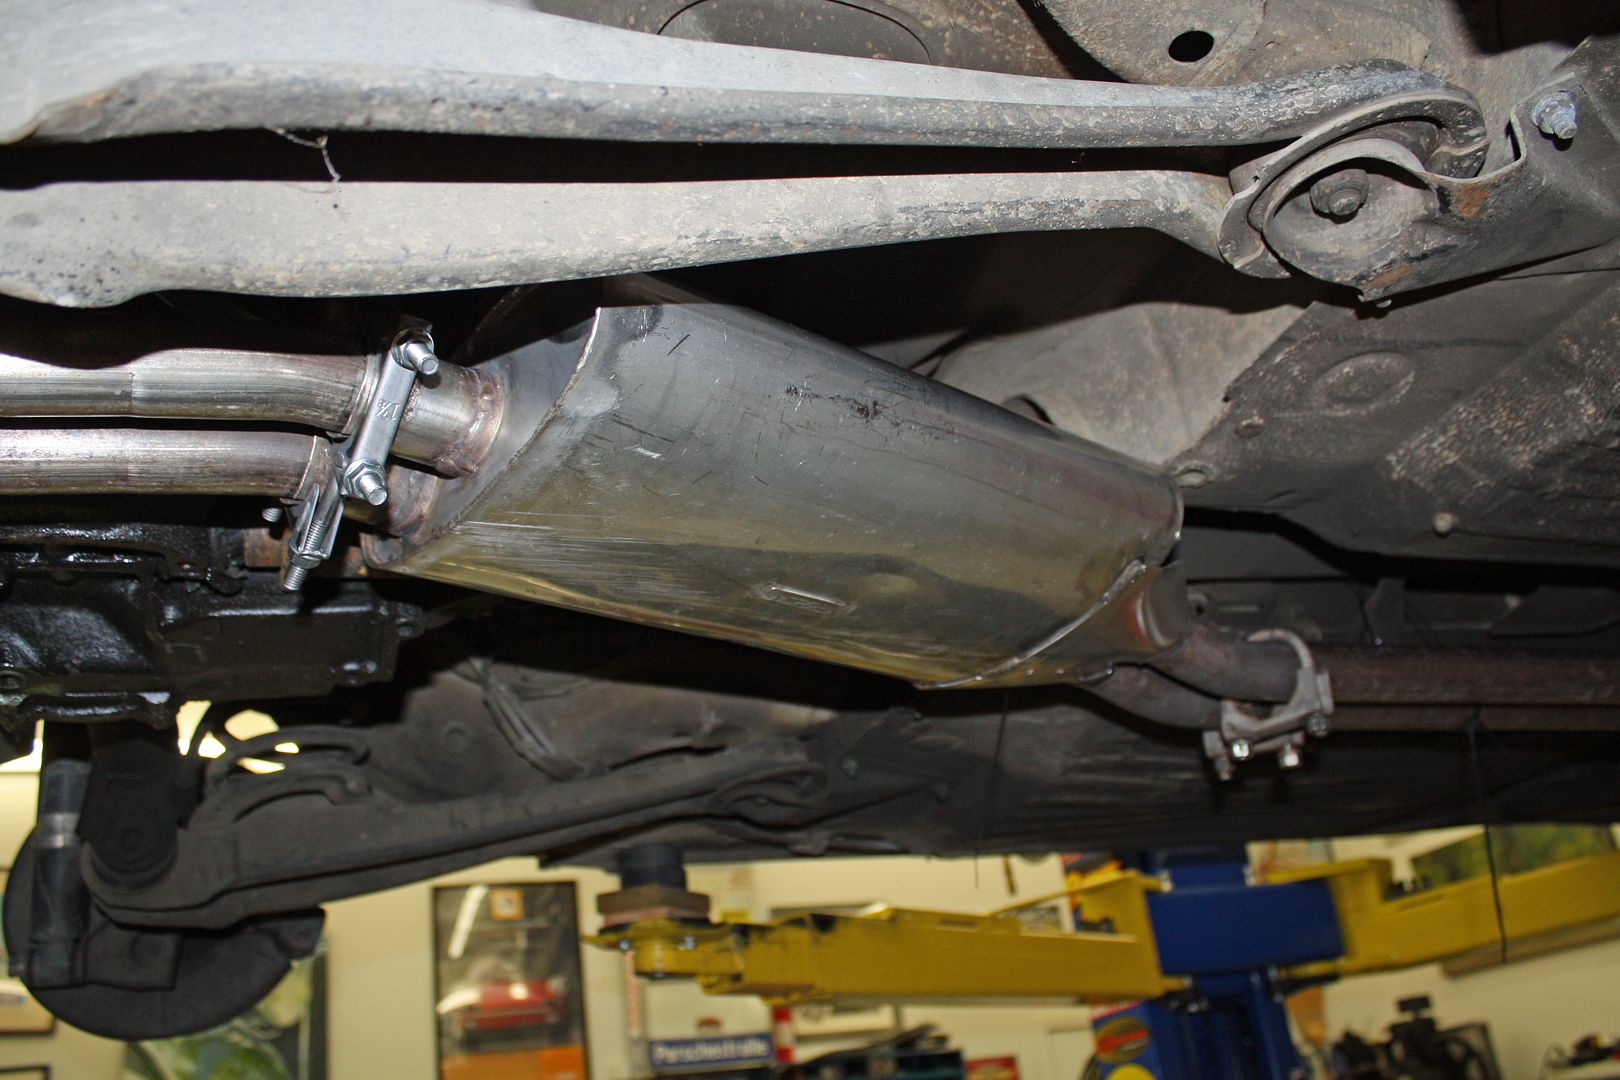 At this point I ran into a problem that stopped the work for the day. I had purchased three exhaust rings that slip over the end of the exhaust where it meets the exhaust manifold. Unbeknownst to me, there are two sizes of rings and I only had the one larger one used on the left side. I have the smaller rings on order. 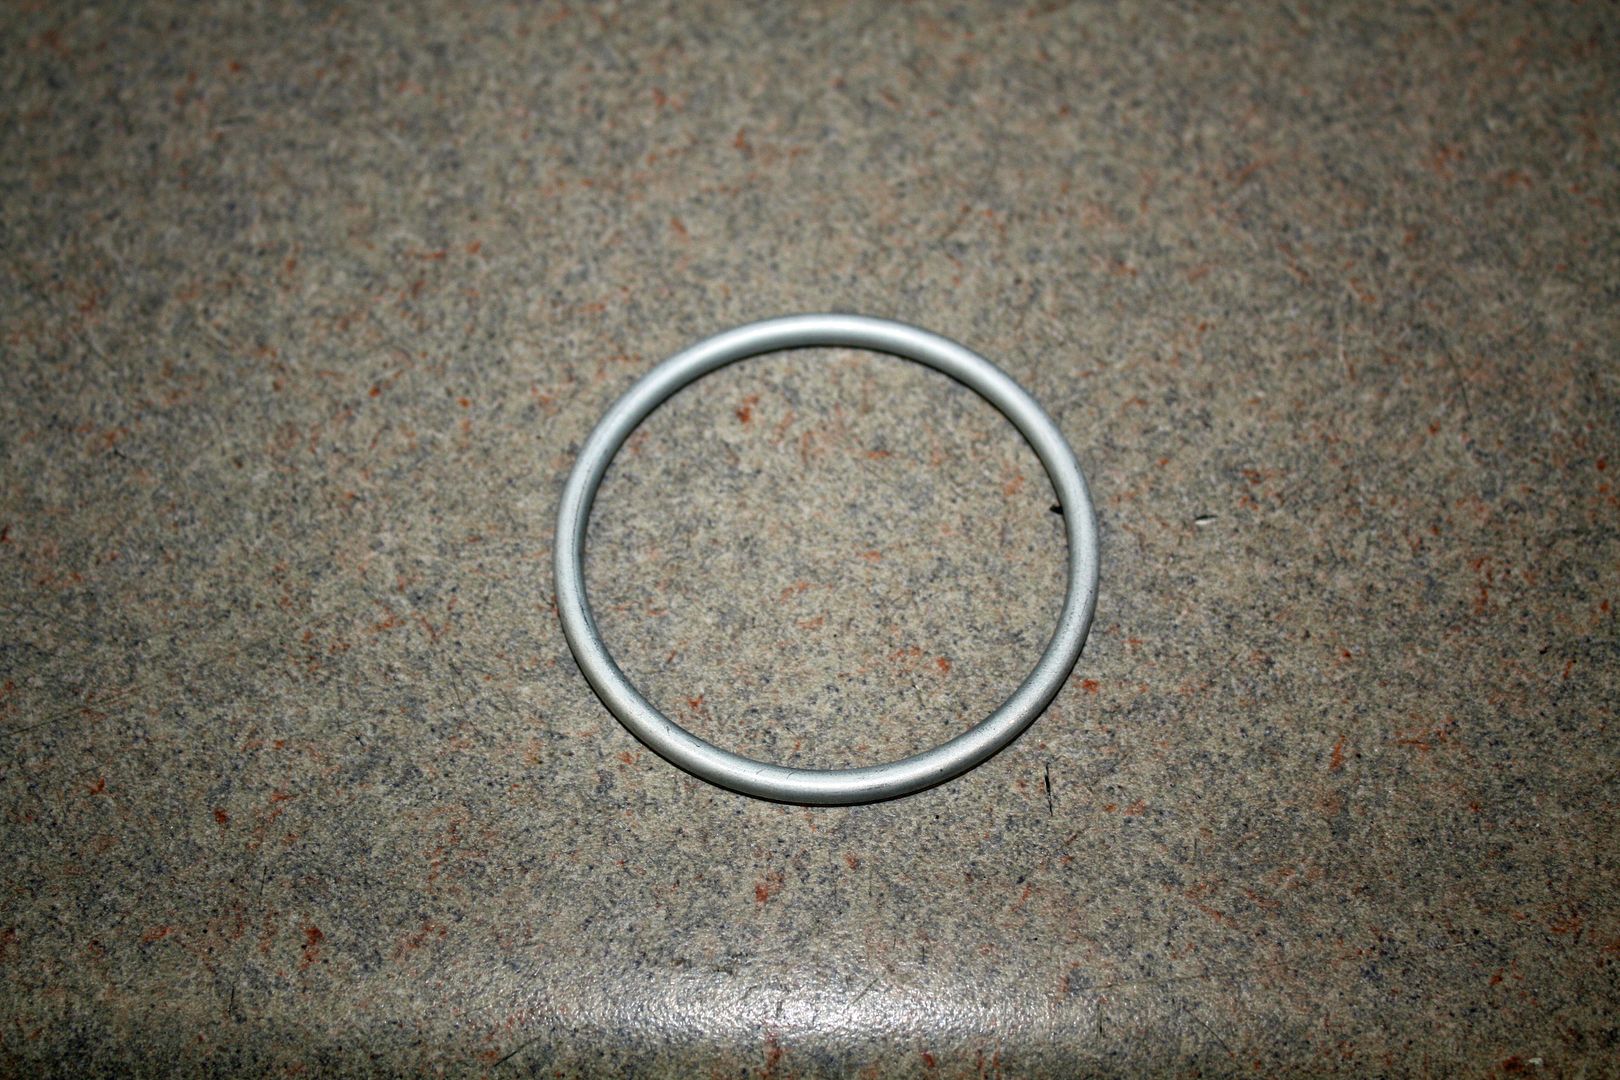
|
|
#126
|
|||
|
|||
|
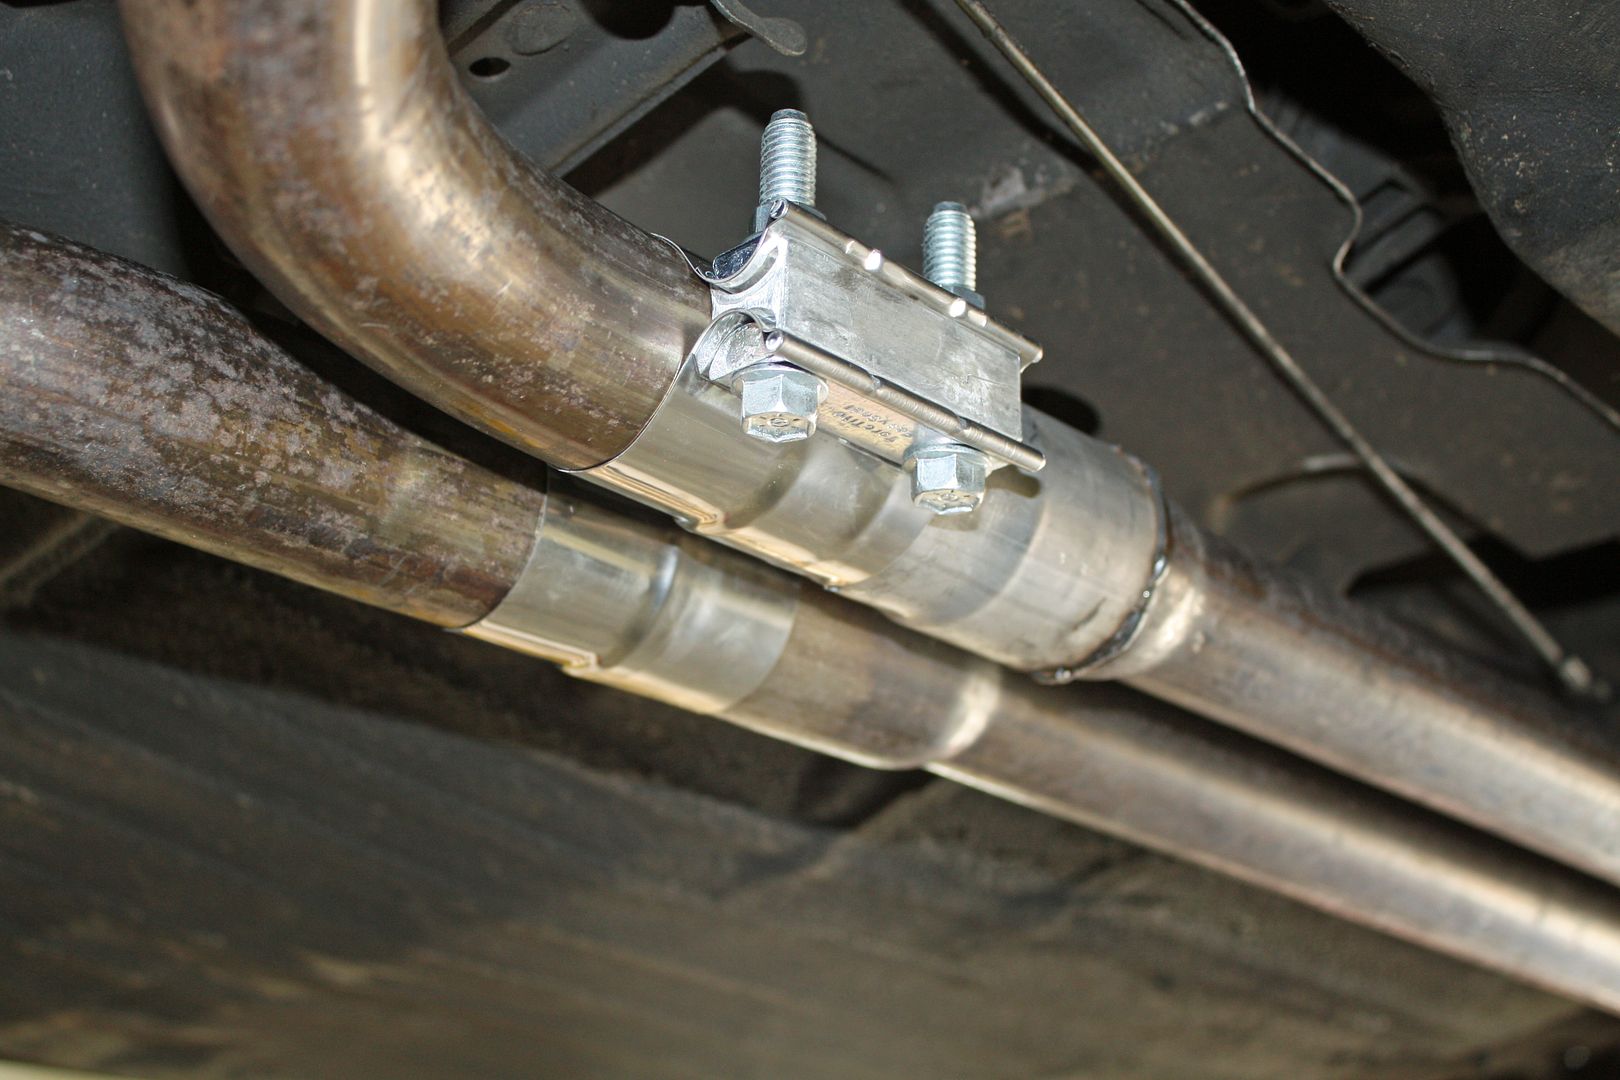
The exhaust sealing ring arrived and I was able to complete the exhaust installation. I had an exhaust leak at the connection of the front pipes to the forward muffler. To solve that issue I ordered a a pair of band clamps from Summit.
   When I bought the car the left rear door would not open. After doing some searches, I discovered the cause is that the either the pin, its receptacle or both are corroded. I was fortunate in that by putting my shoulder against the interior of the door while holding the door handle open, I was able to pop open the door. I soaked some steel wool in penetrant and used that to clean up the receptacle and the pin. I also sprayed penetrant into the latch. I then lubricated the latch and the hinges. I performed the same procedure on the other three doors. 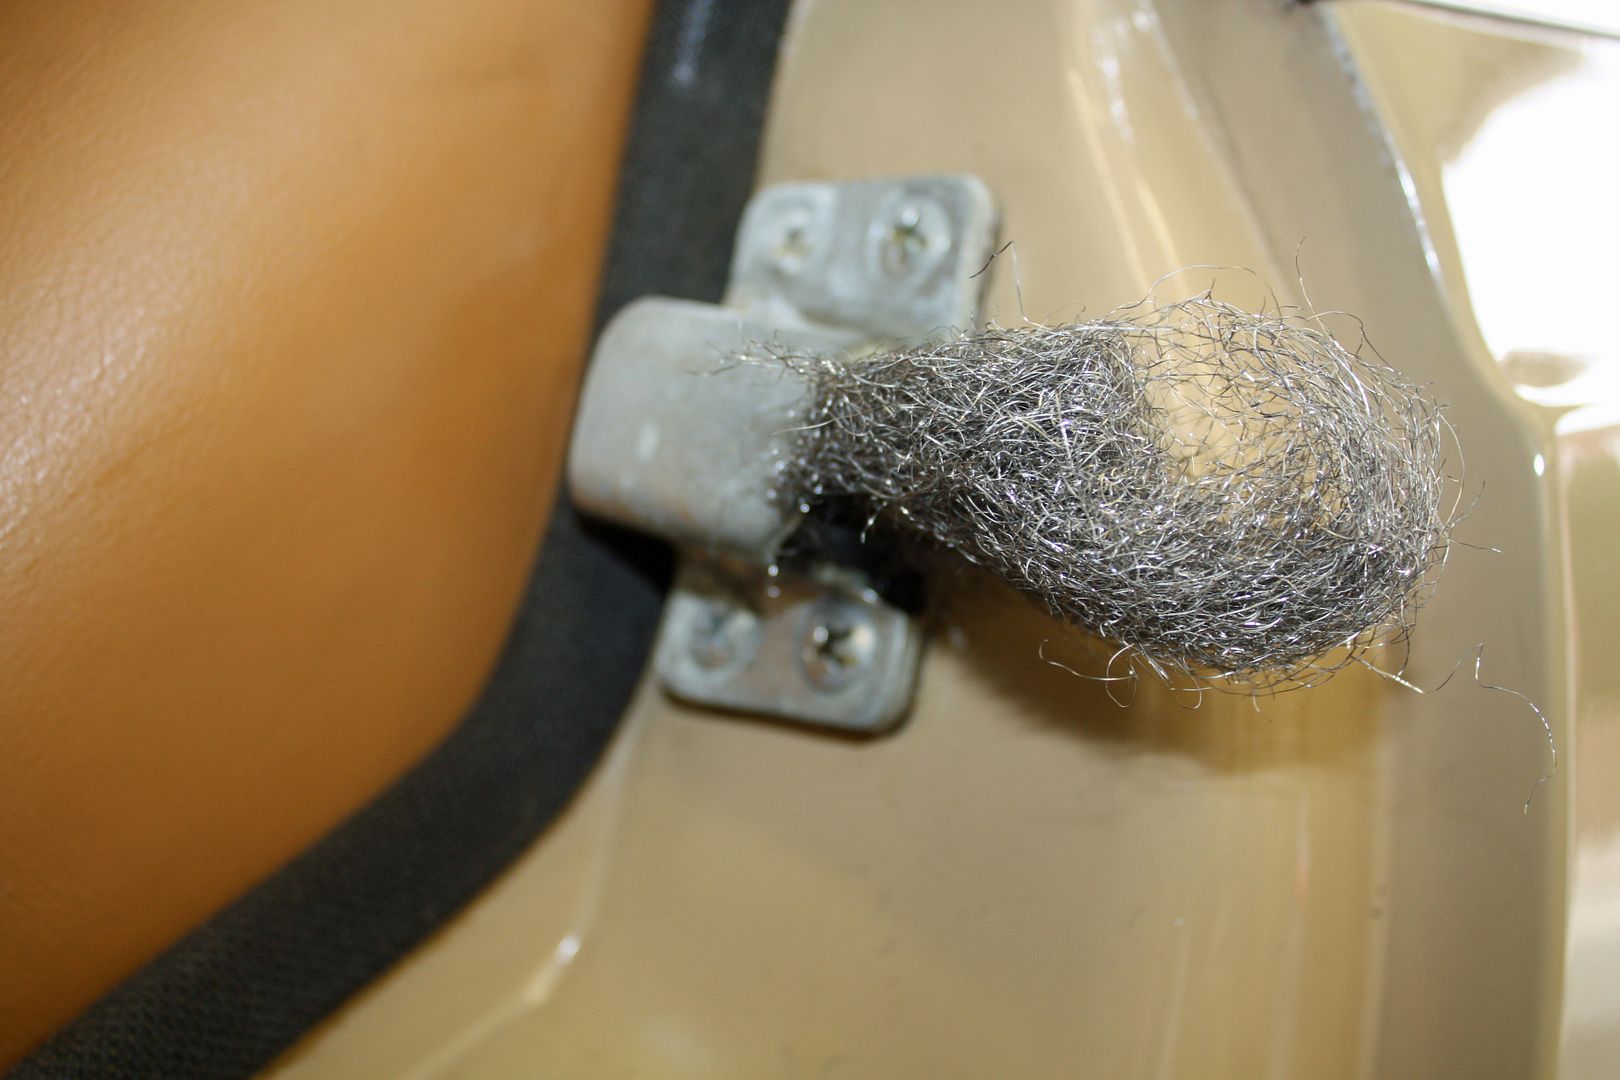 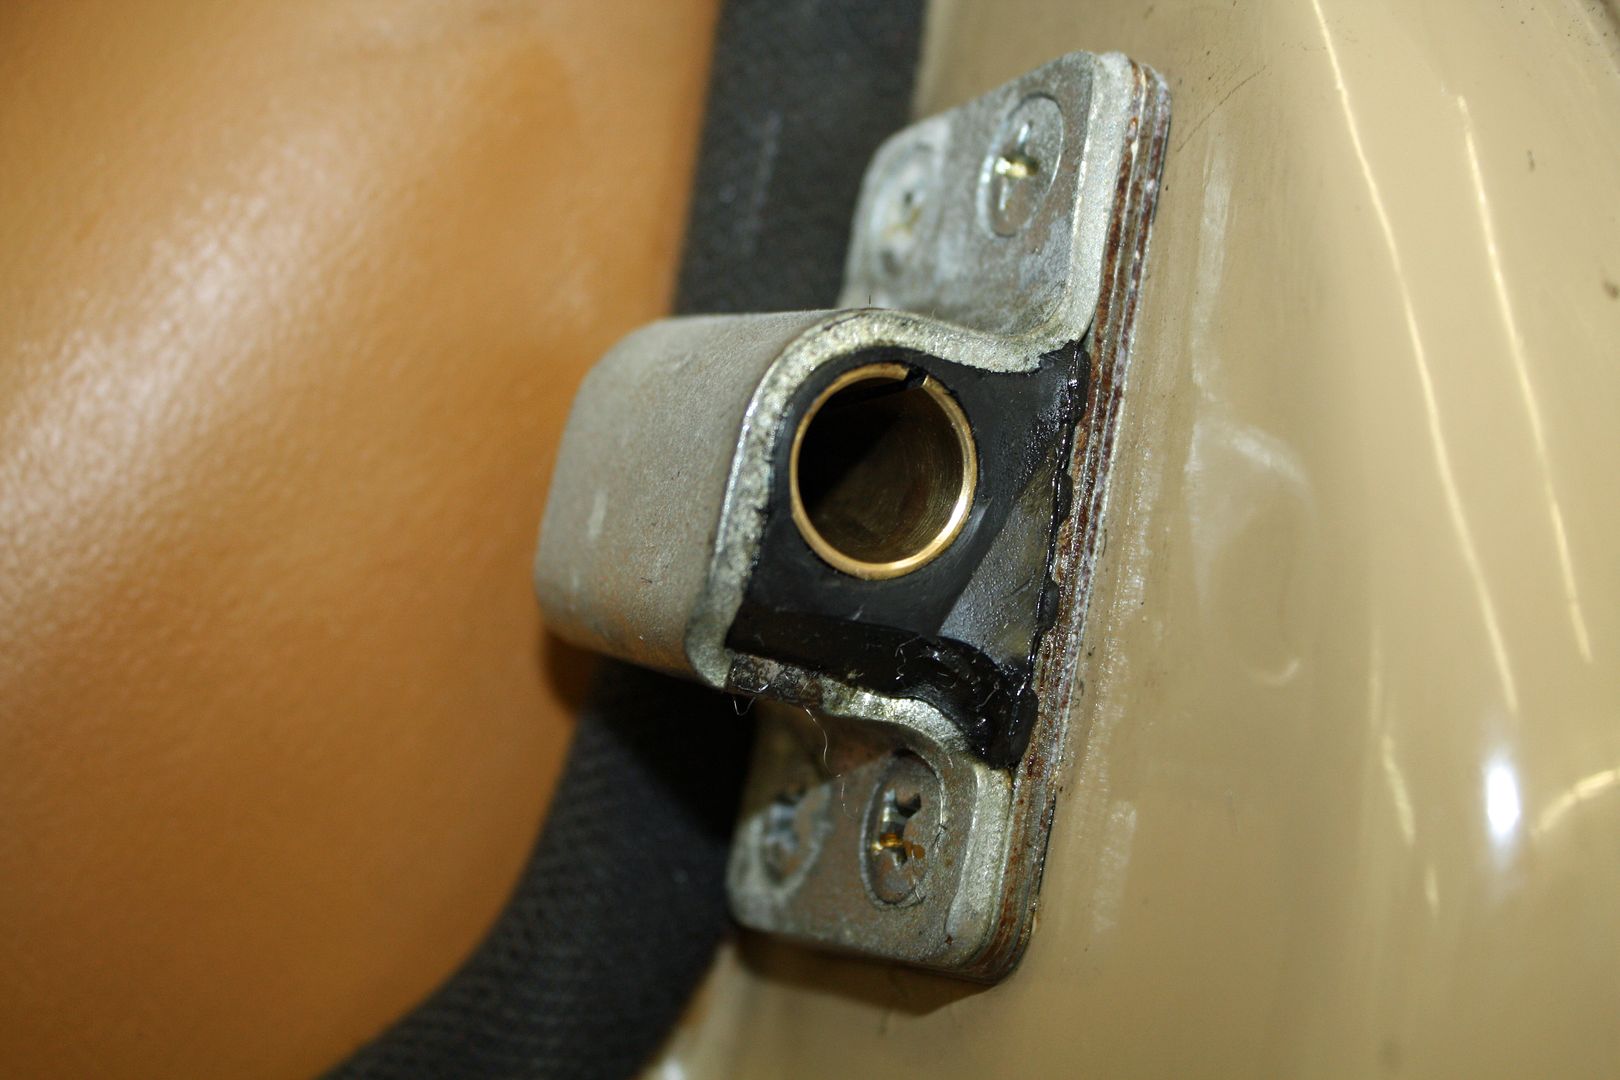 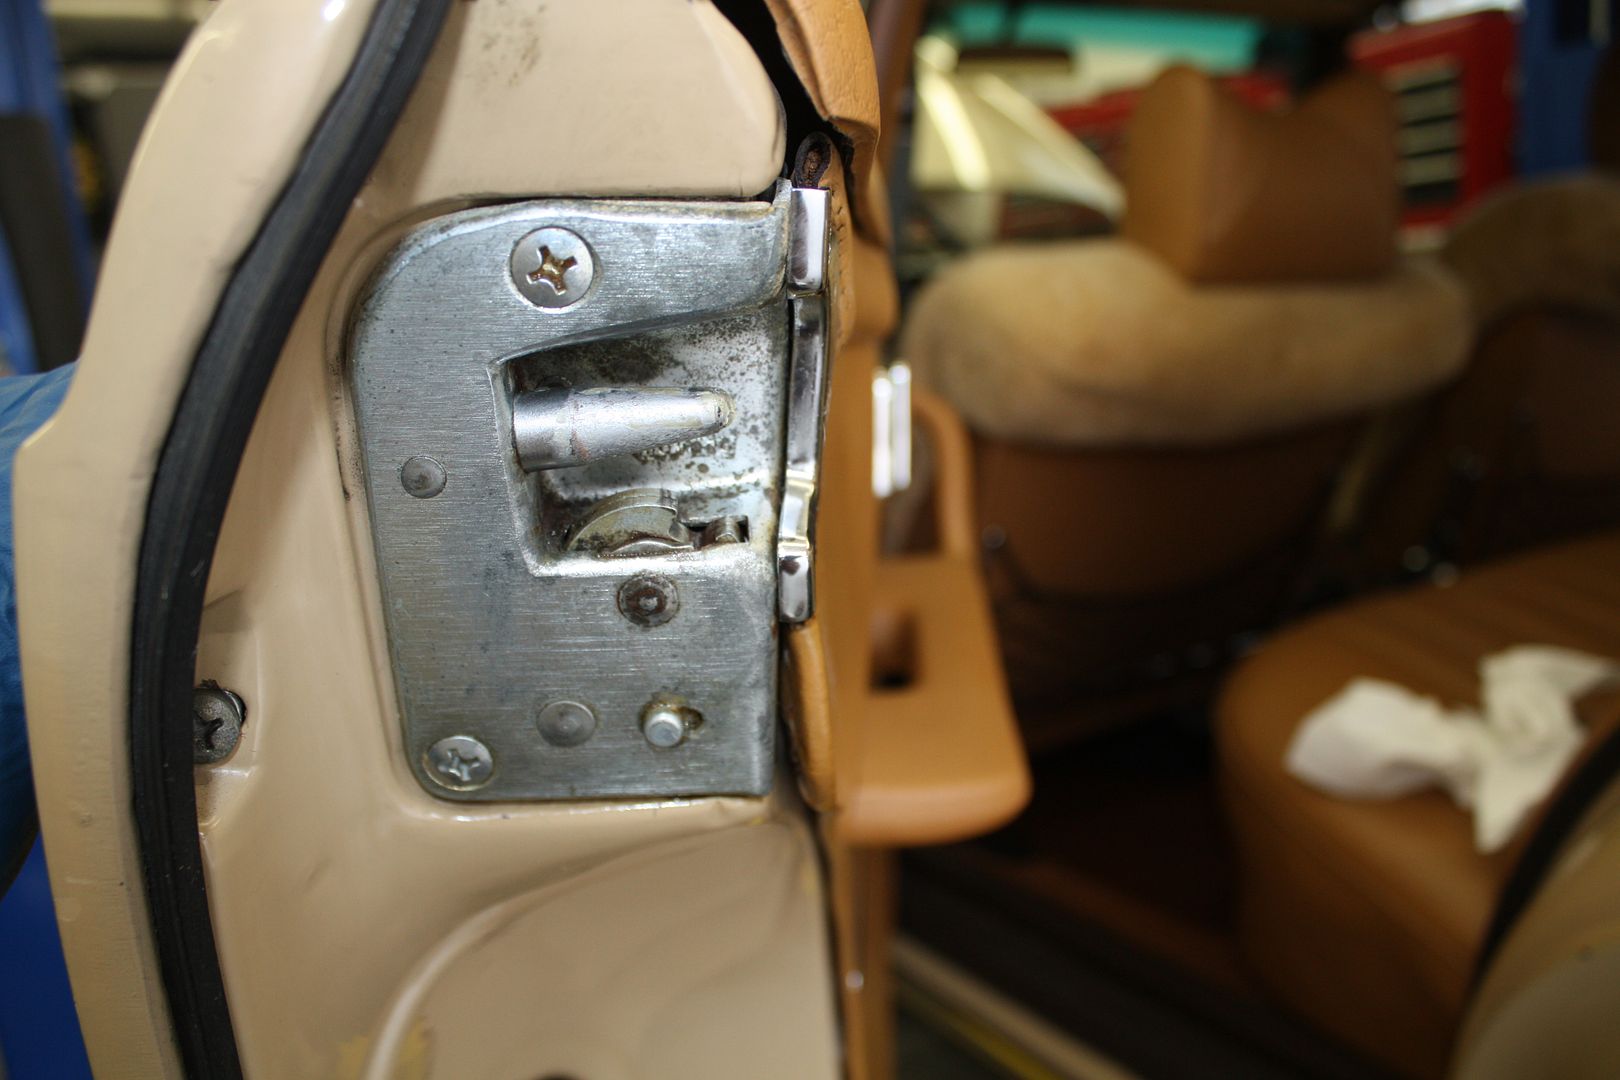  Now that I had the hood pad installed, I could re-attach the grill. I removed the old seal and glue. The new seal had an adhesive back so it was simple to install. 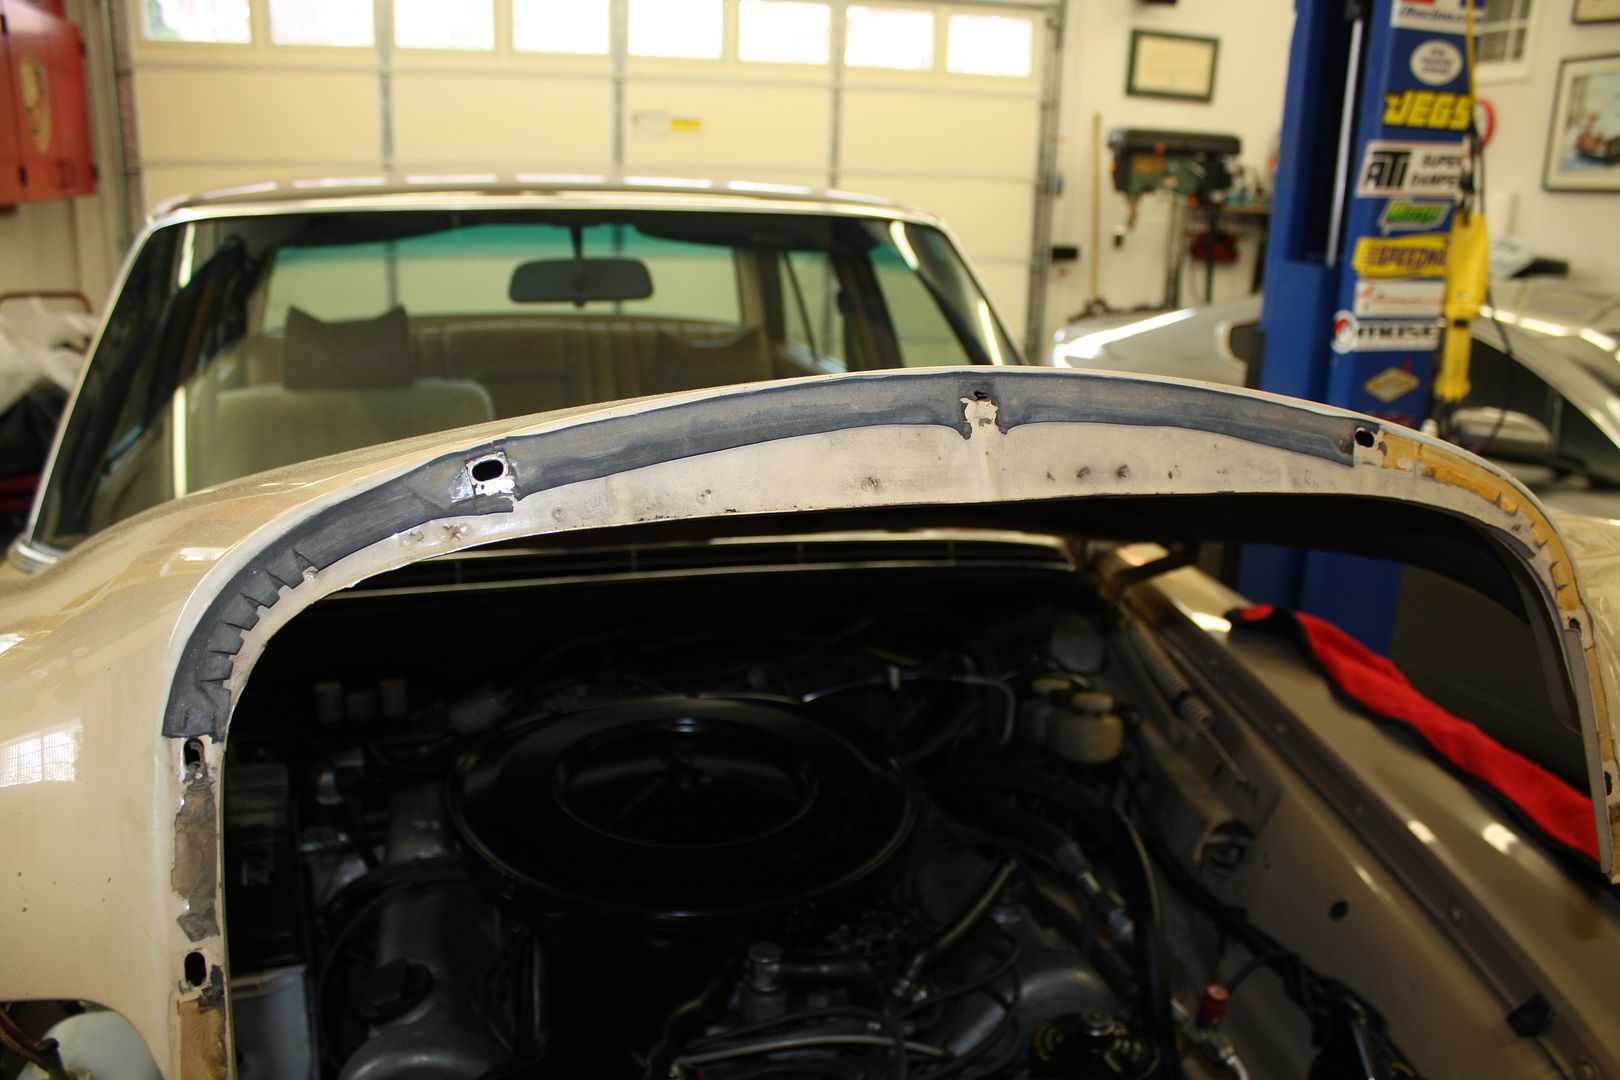 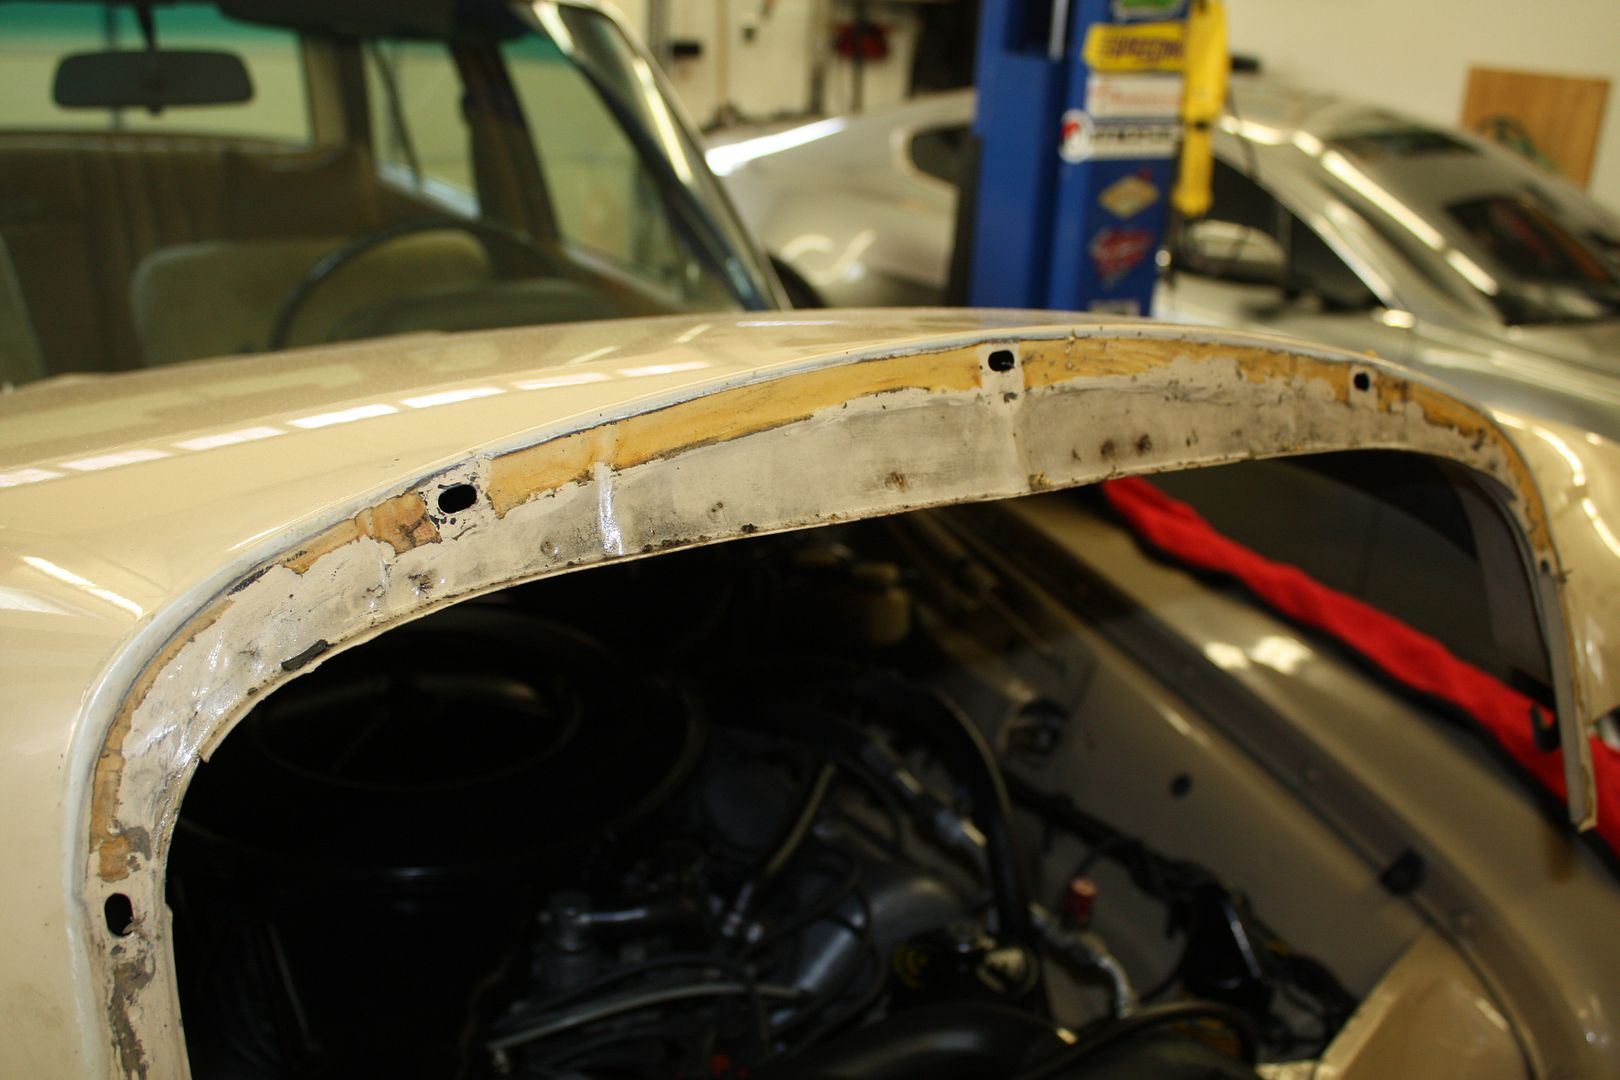 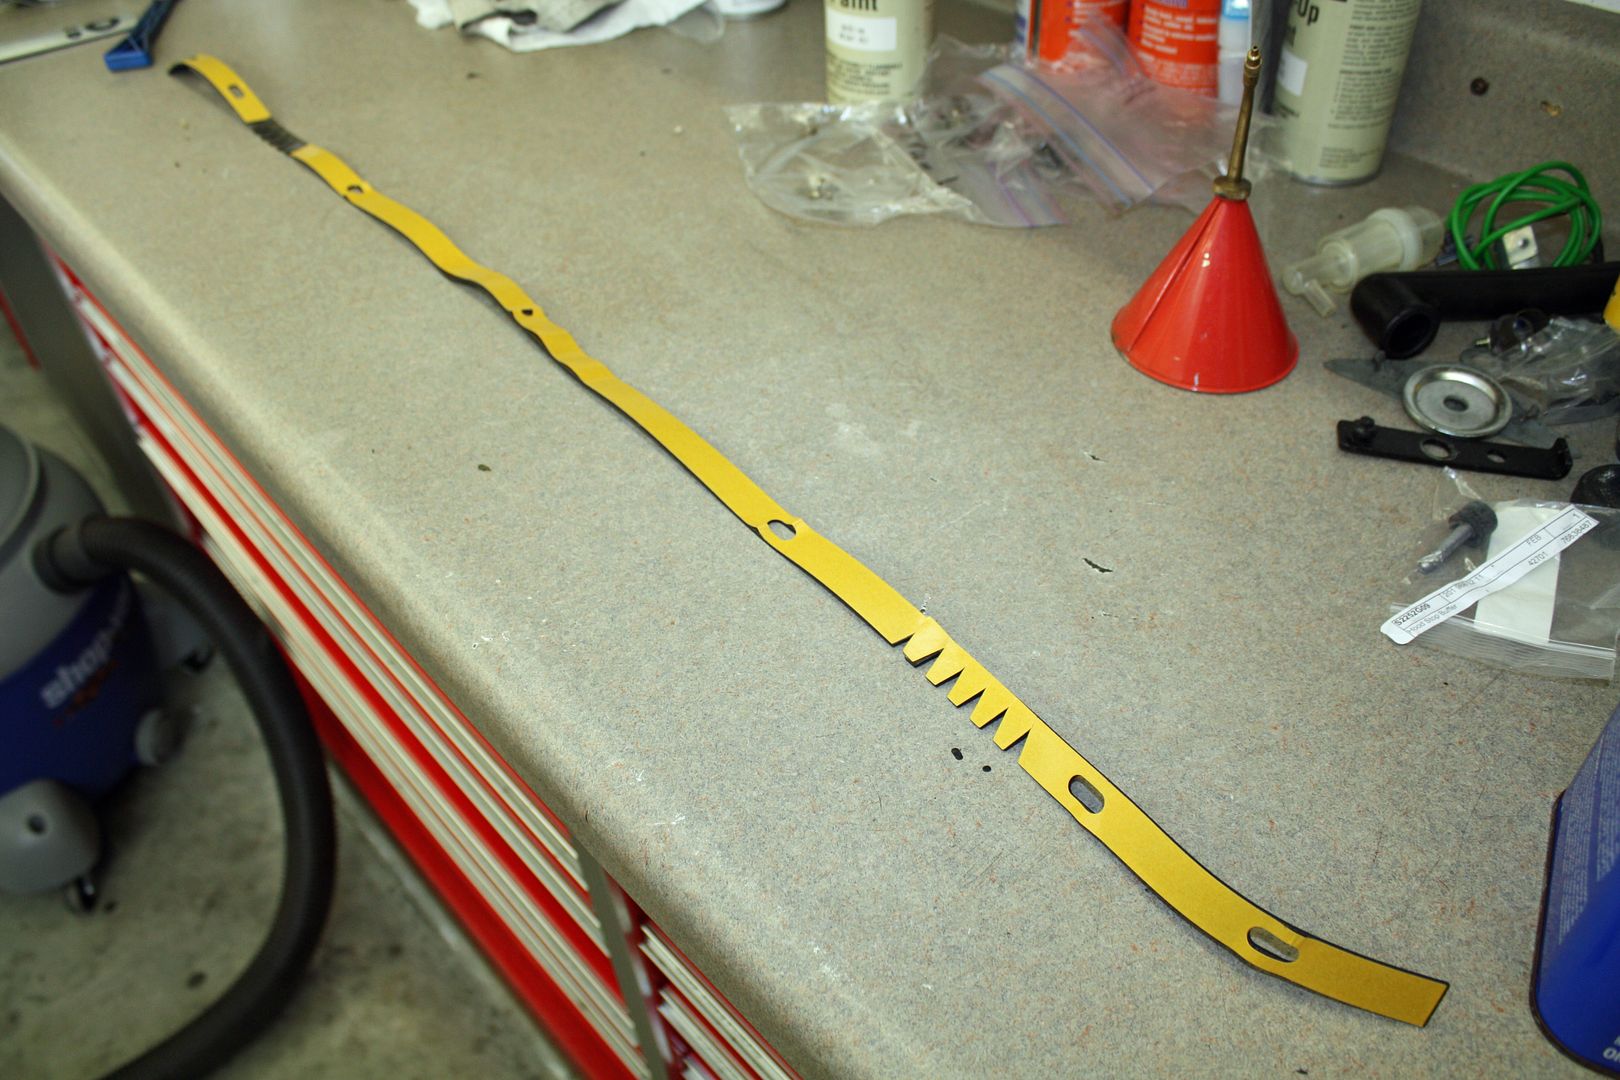 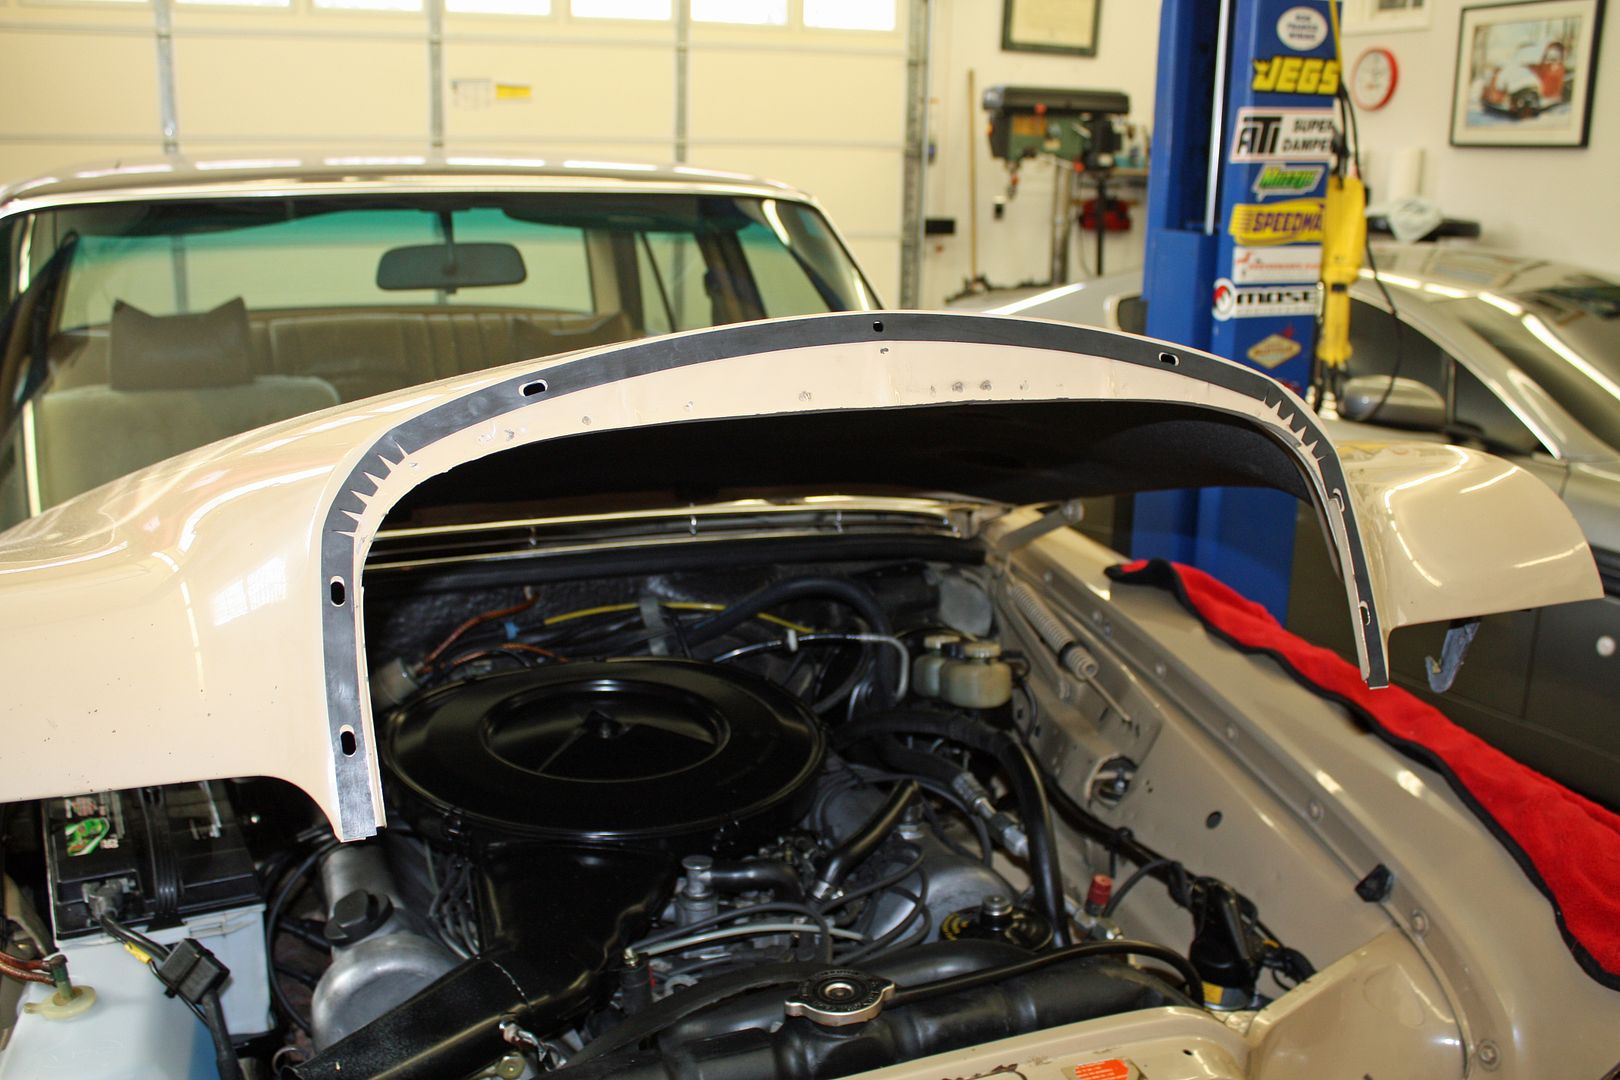 The horizontal slats on the grill had a sandblasted look so I replaced them. There are retaining pins accessible from the back. I used a punch on the pins to remove the old slats. The new ones were generic and not cut to length. Since they were thin aluminum, I could easily cut them with a nipper. I then used a pliers to compress the outer edge so it would slip under the grill. After inserting the new retainers, pushing down on the outer edge of the grill provided enough room to insert the flattened end of the slat. 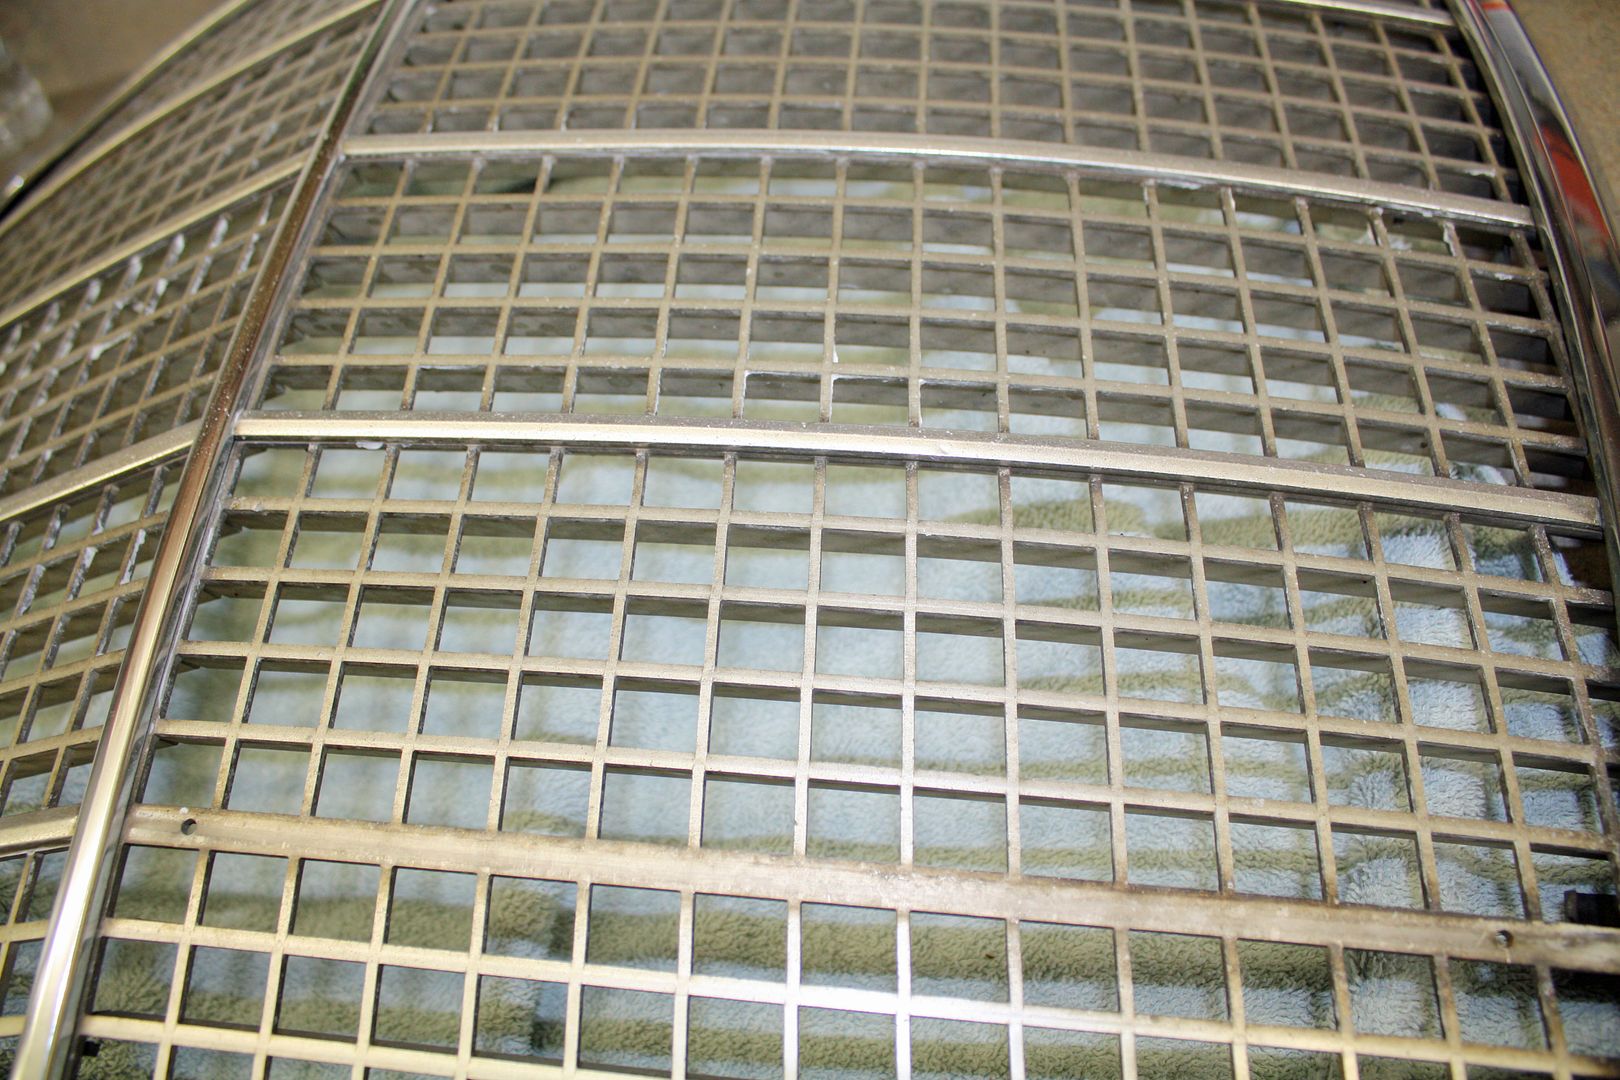 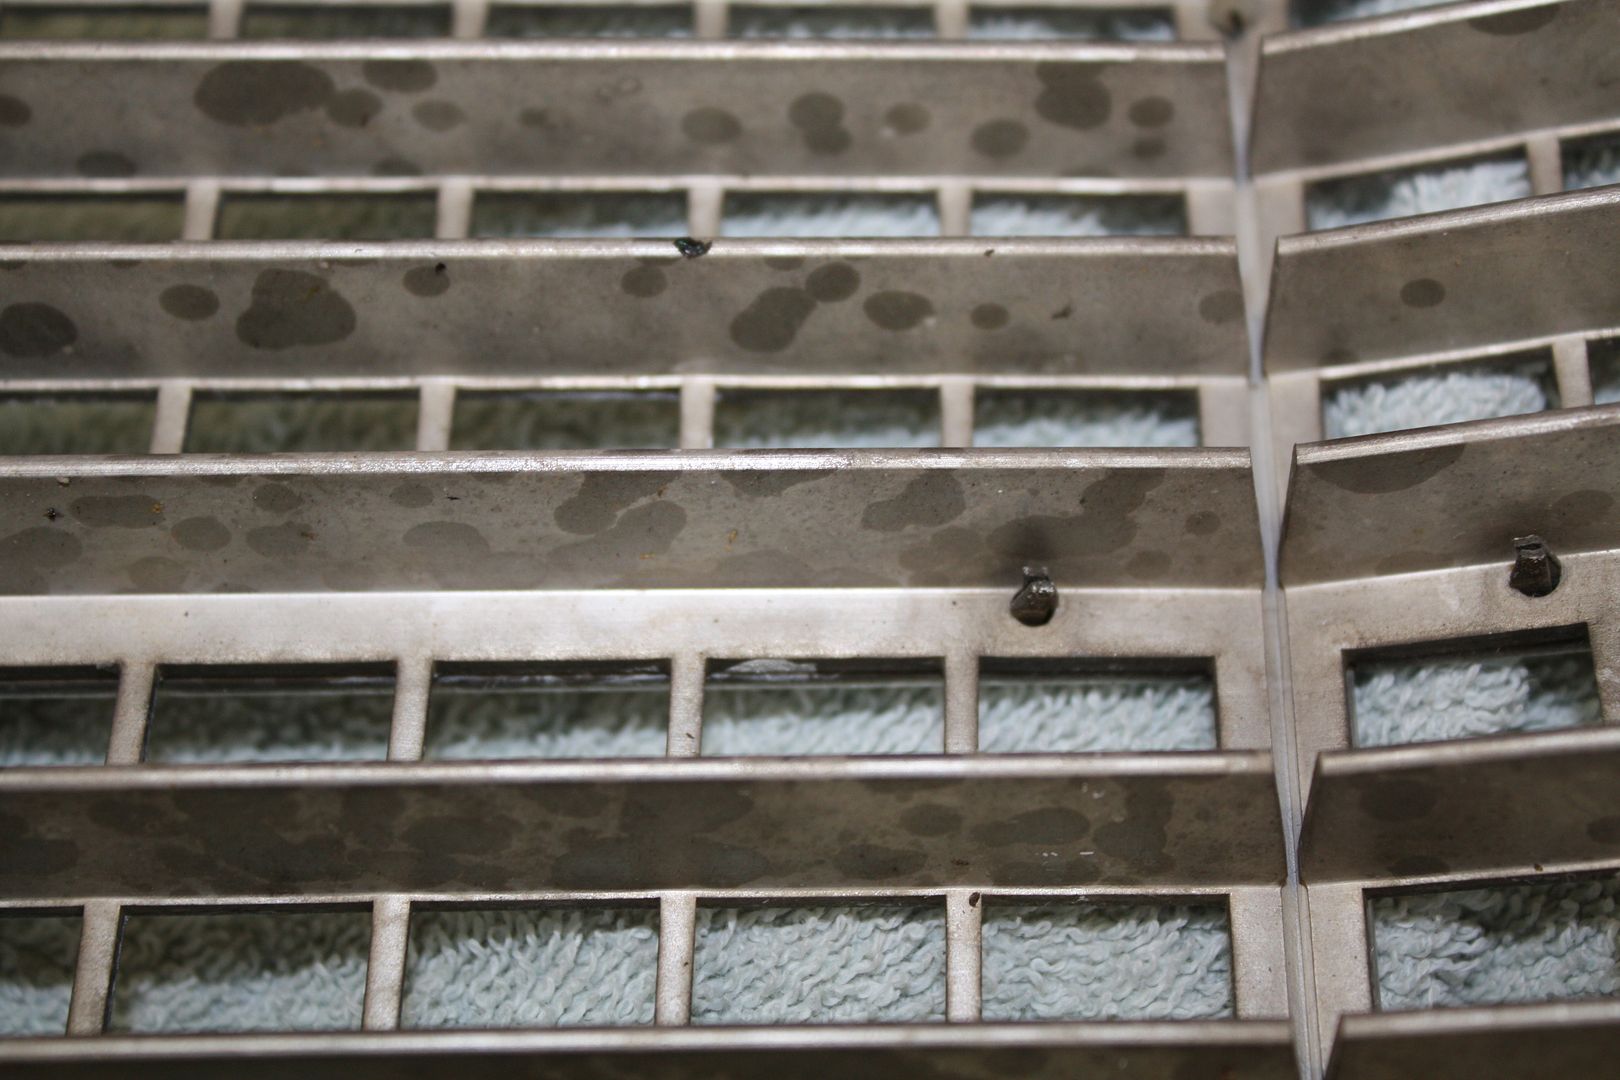 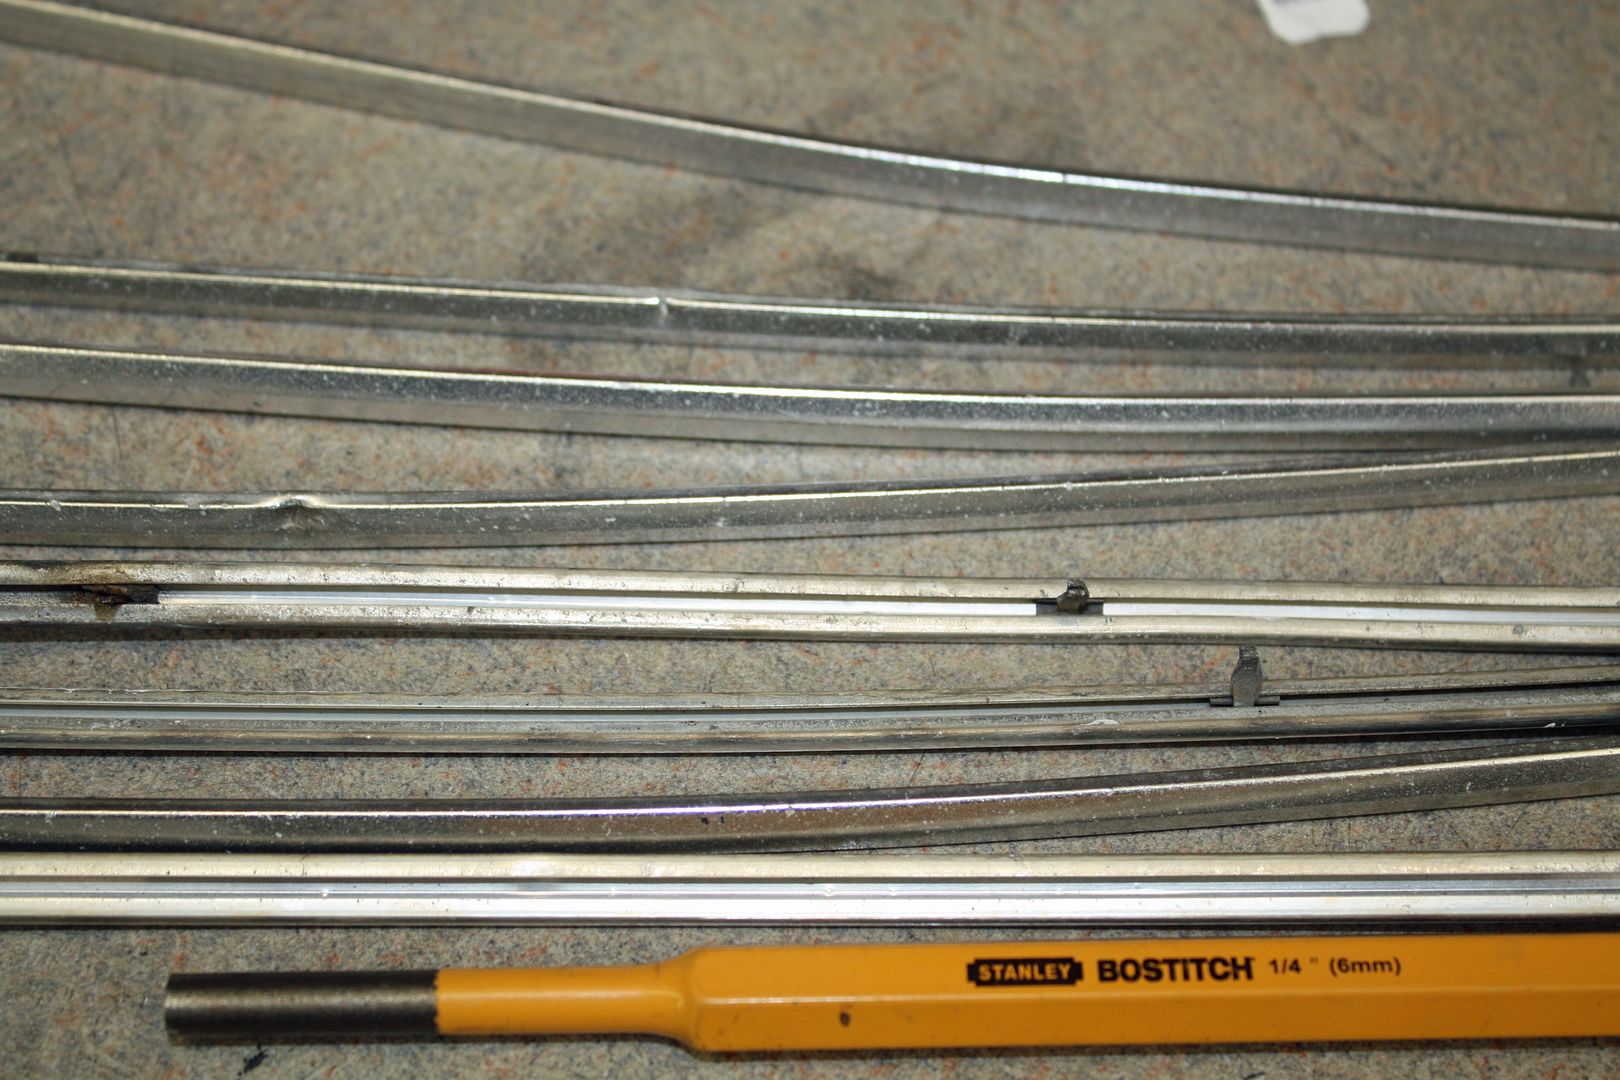 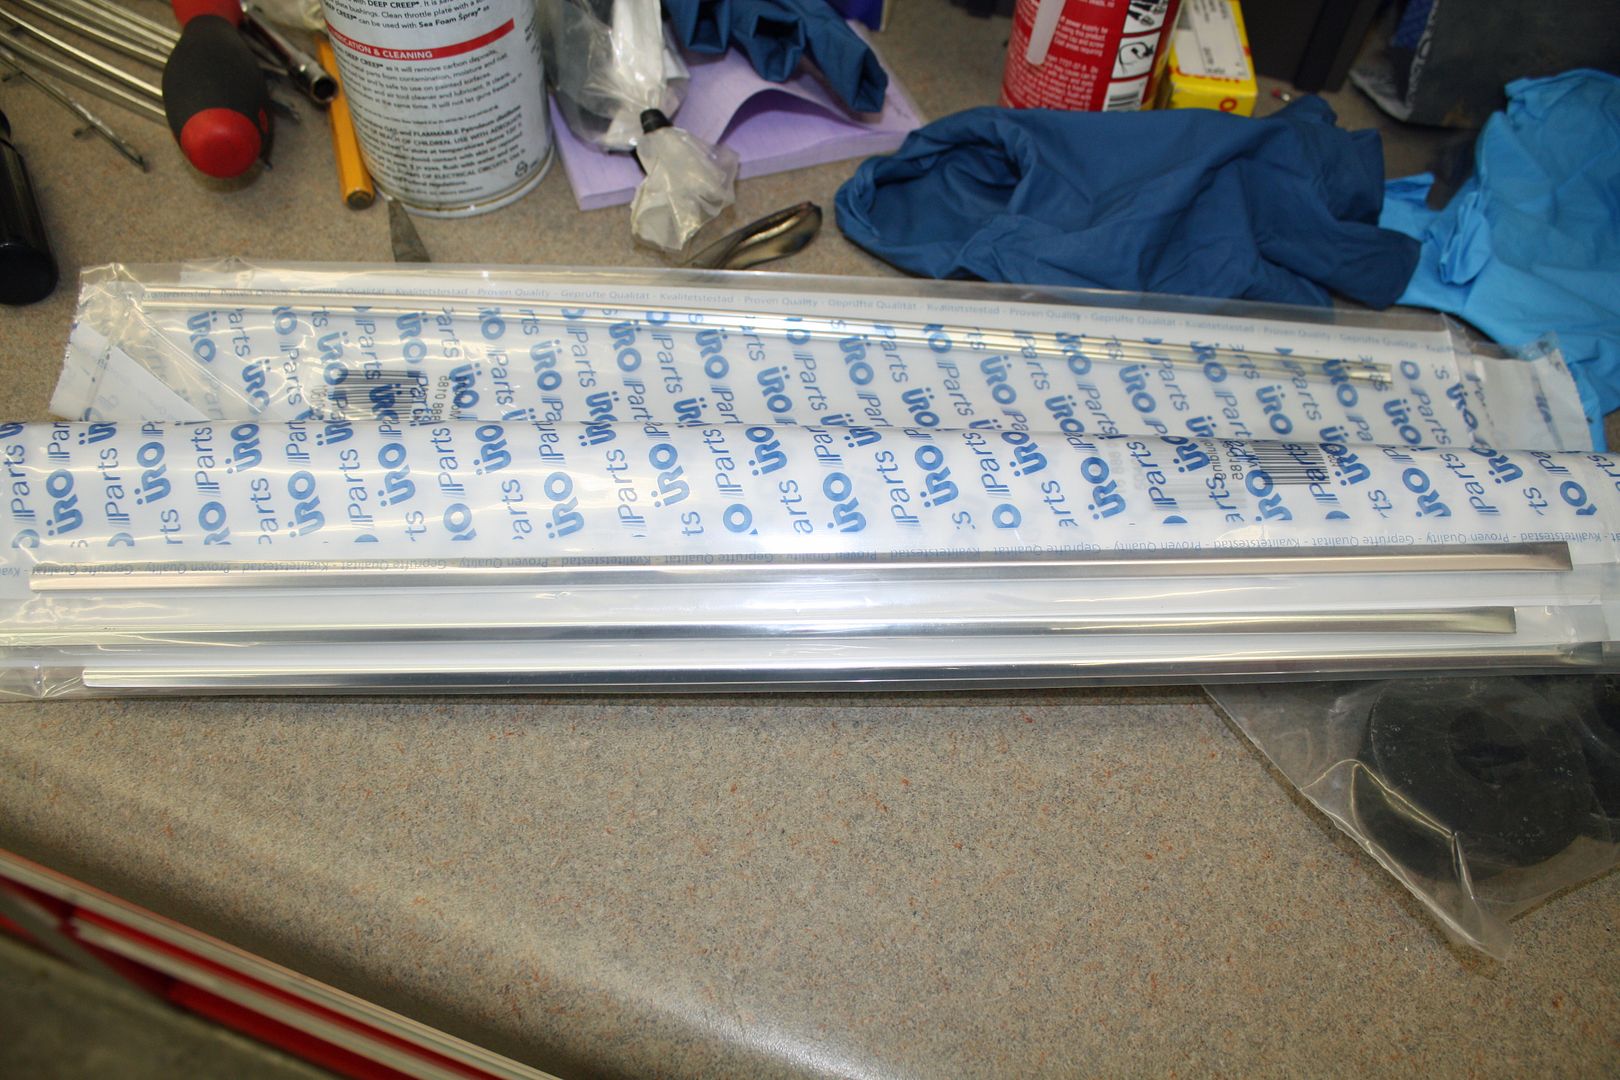 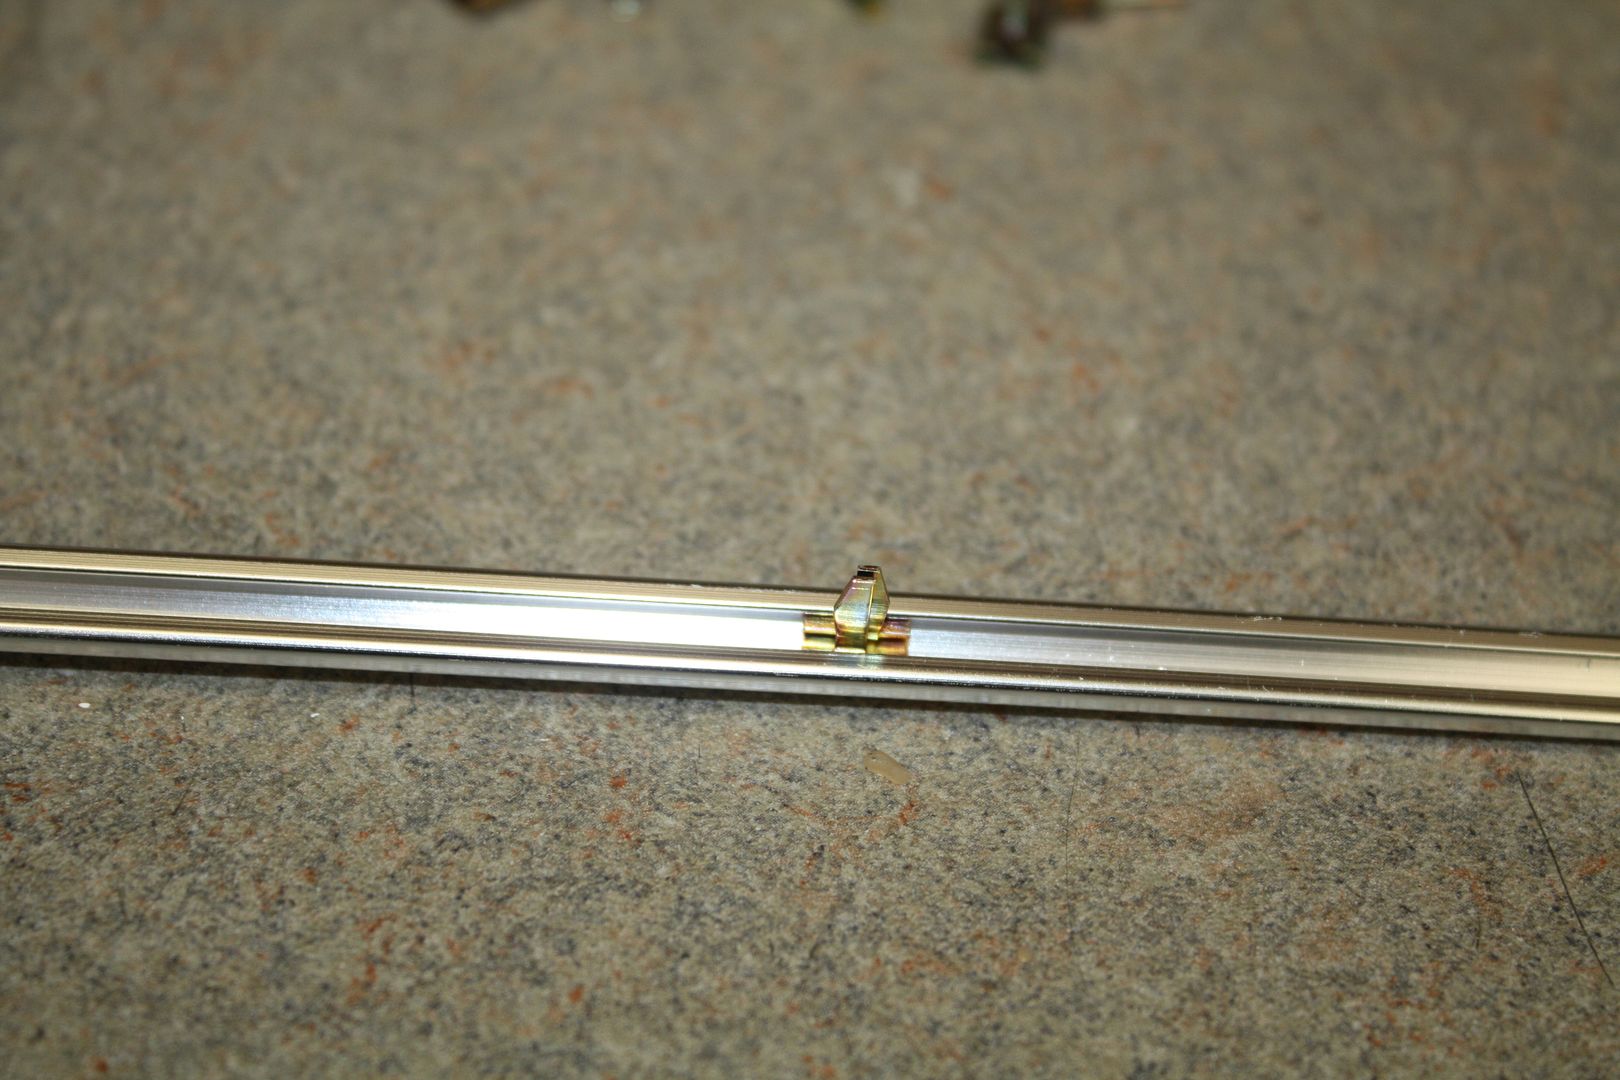 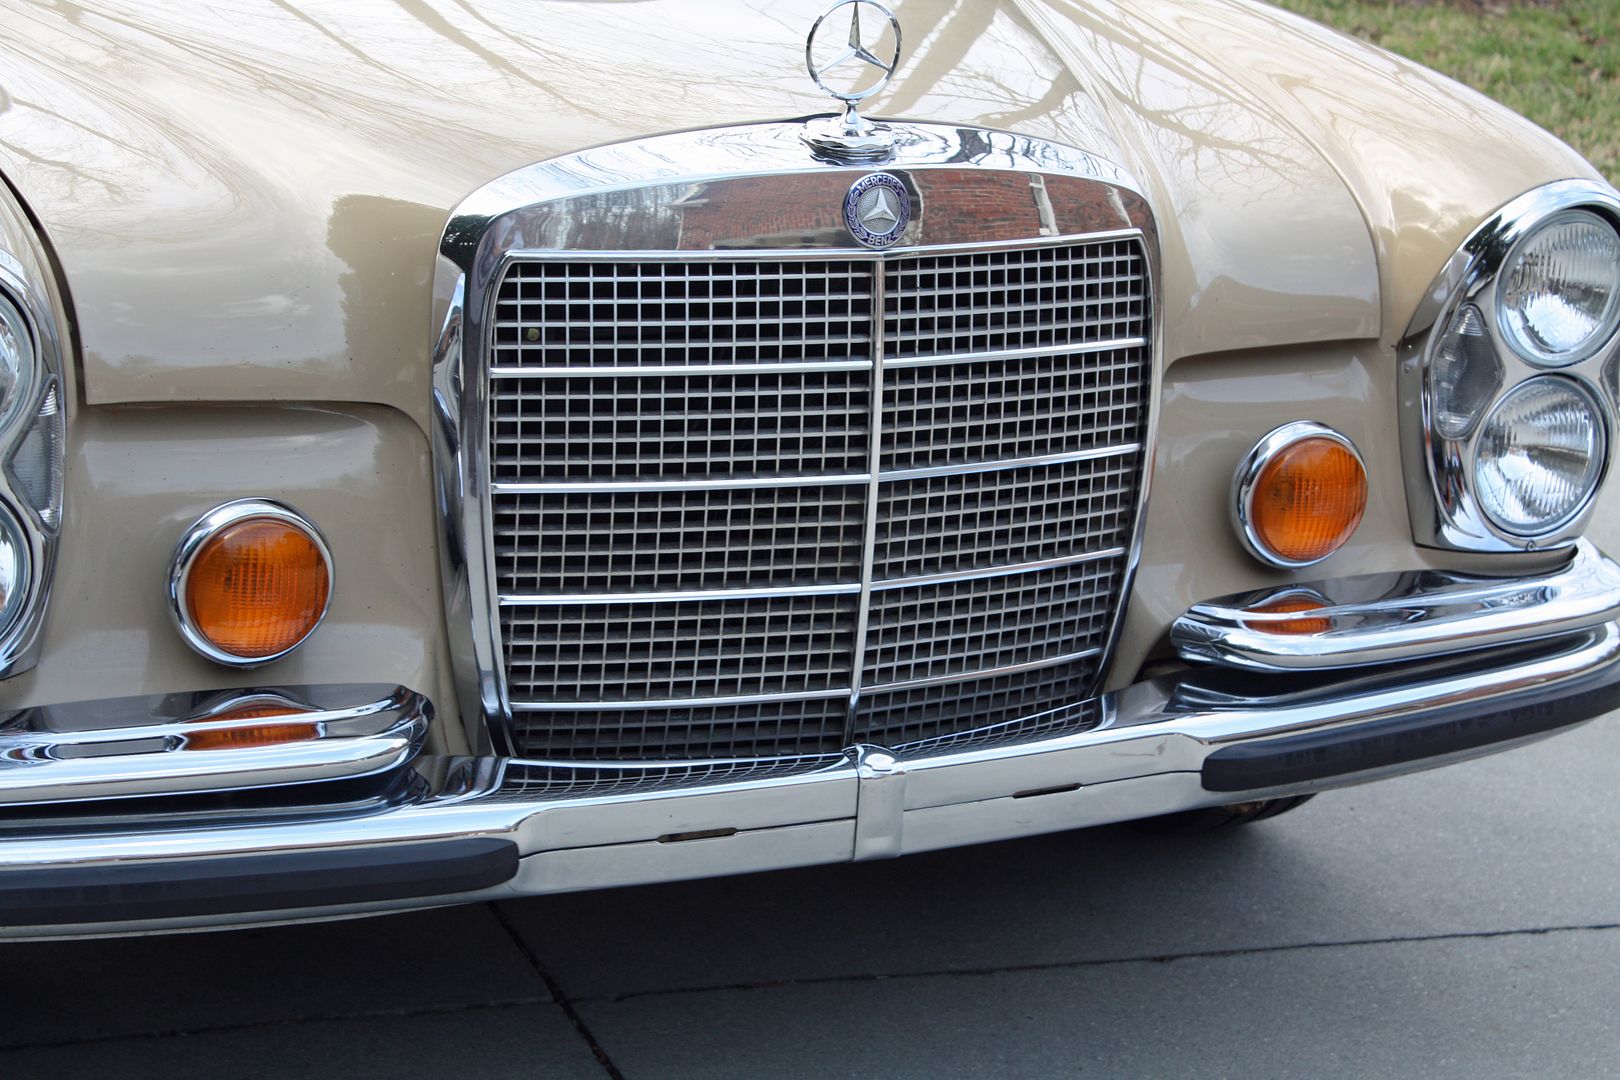 While cleaning up the trunk I had removed the wire and hose covers on each side. The one of the left was plastic while the right one was metal. It has some slight surface rust so I bead blasted and painted it. Under the left side was a common ground location. I removed the fastener, sanded down the metal and the wire ends and then re-installed everything. 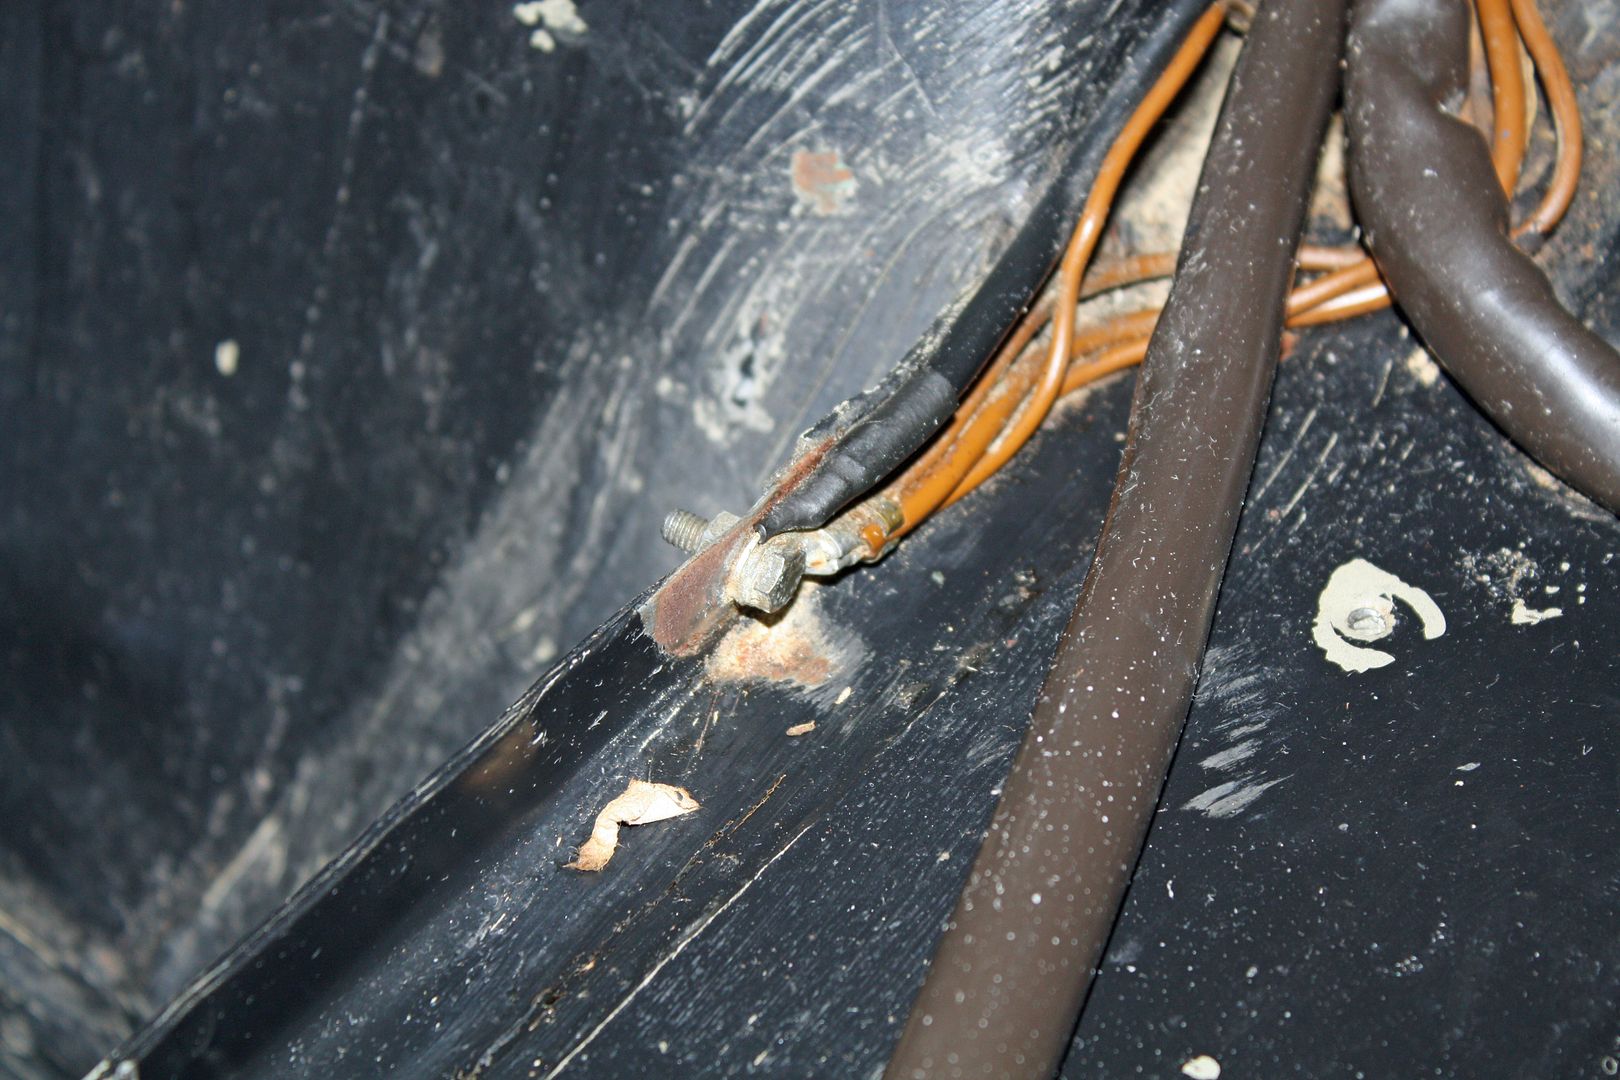 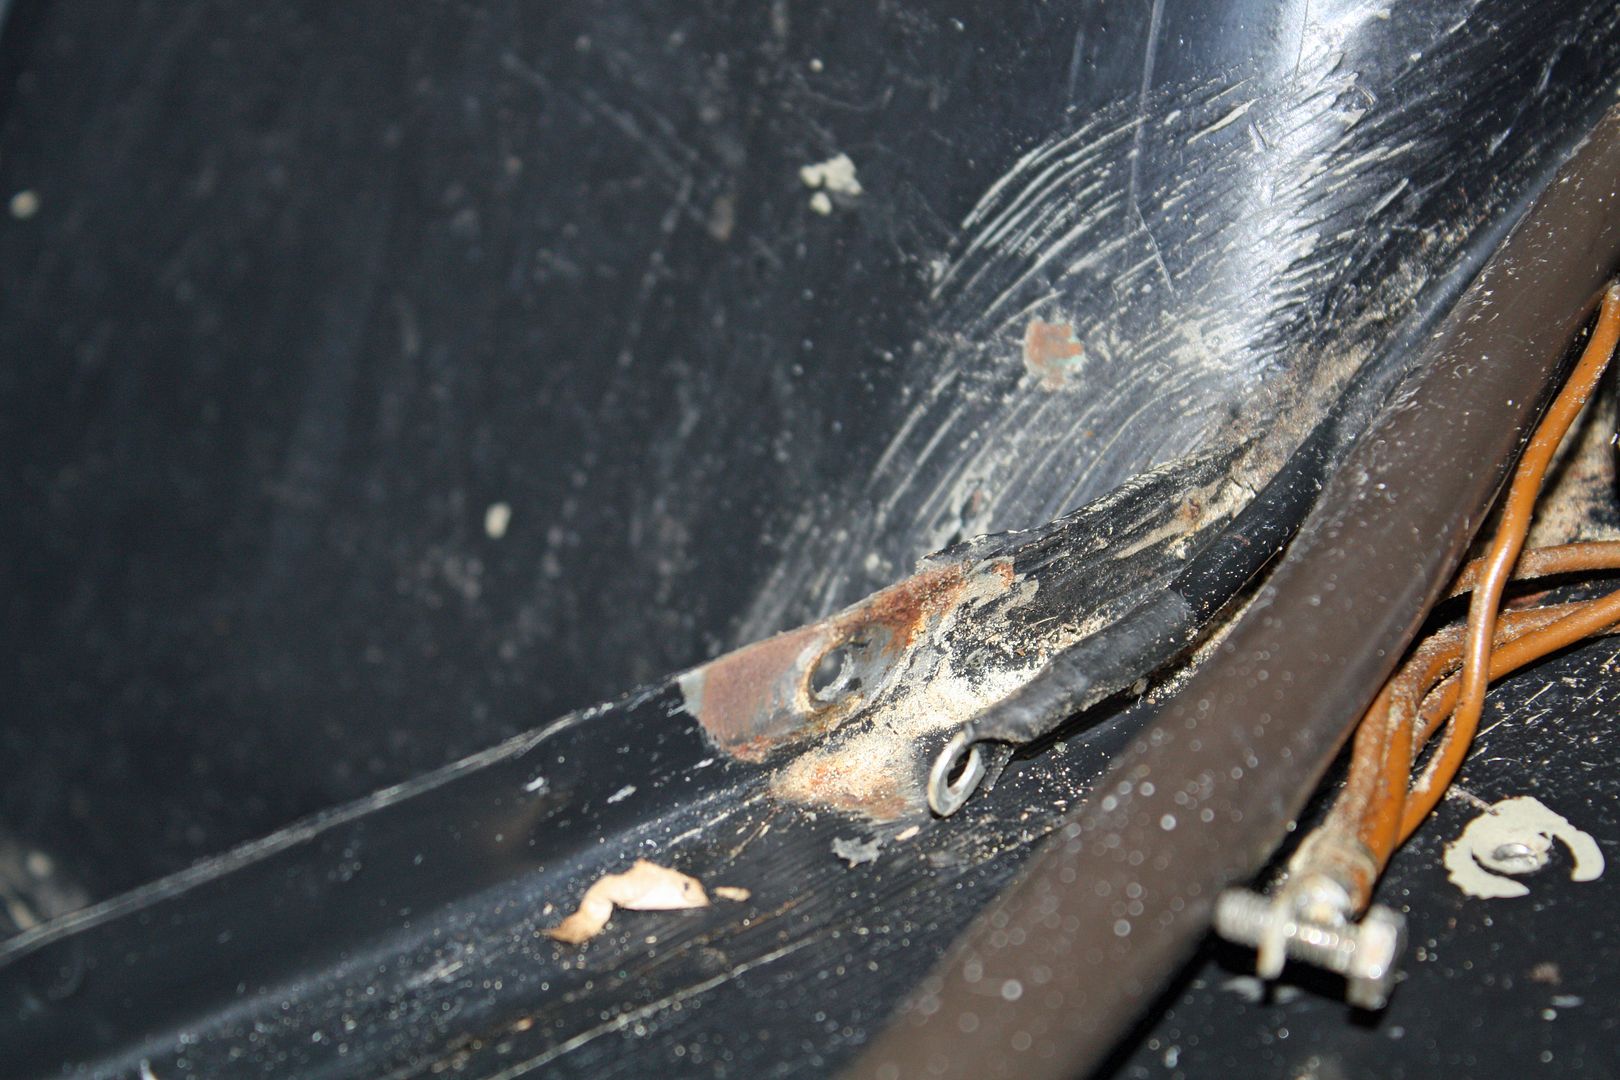 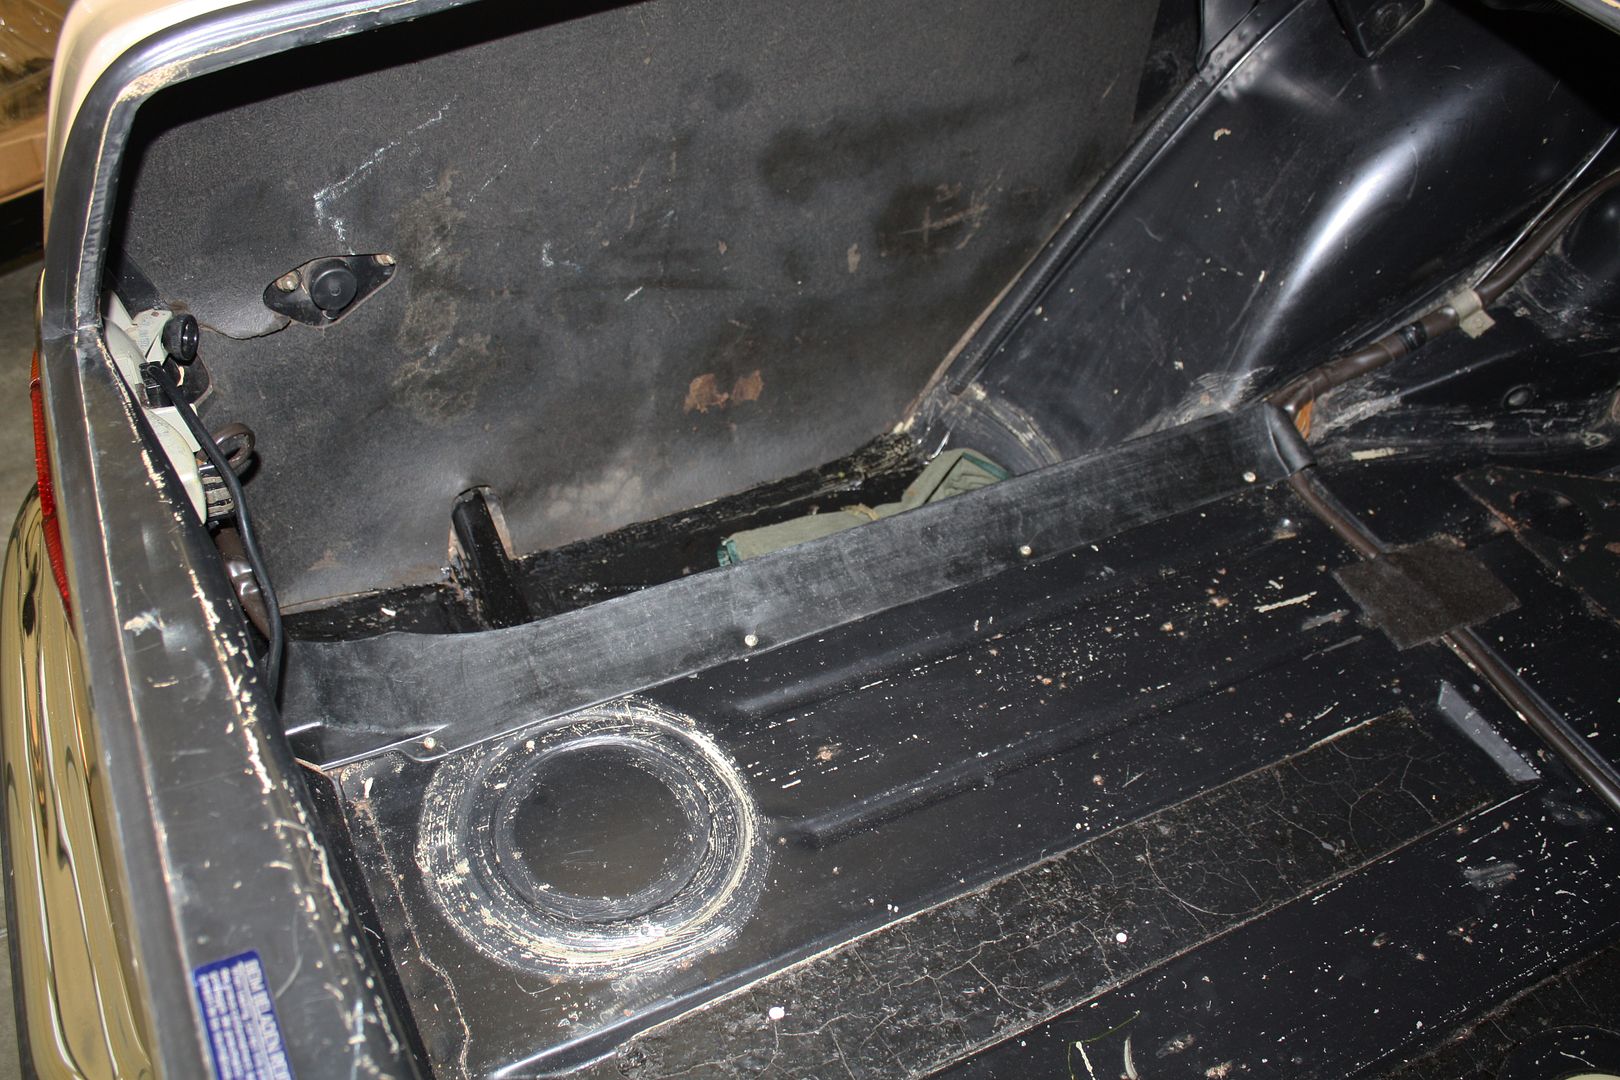 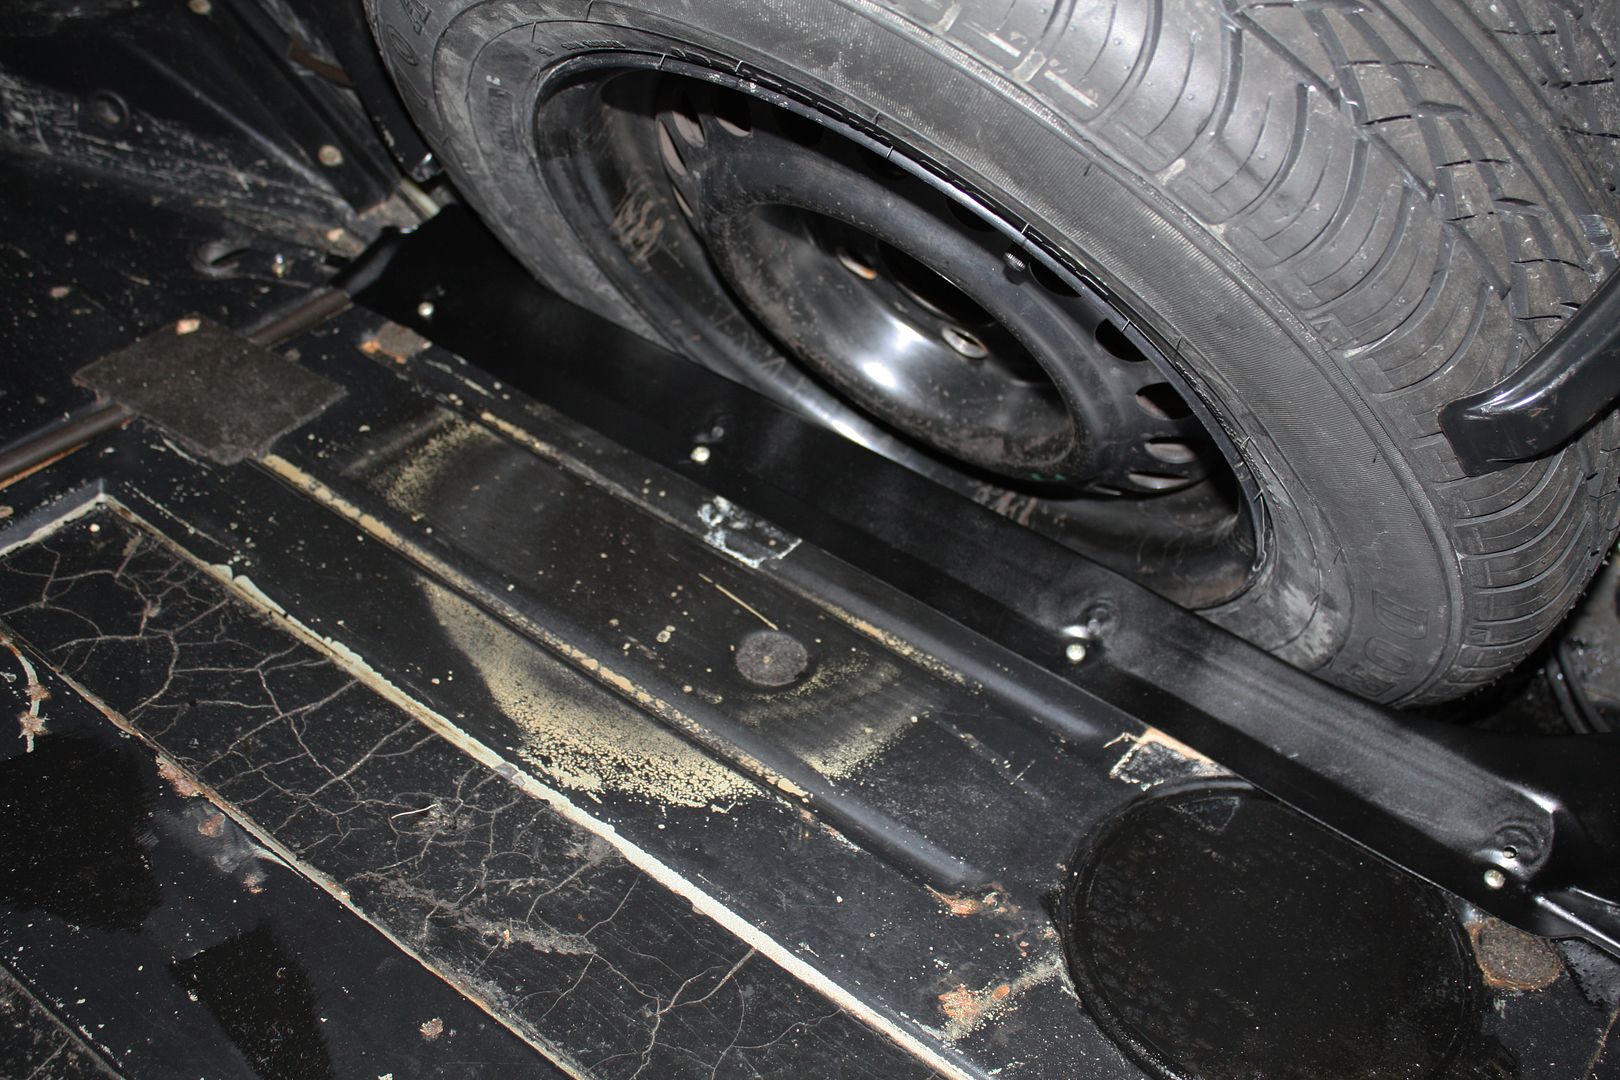 I would like to know what these two items are and their function. The first one is at the rear of the car and has fuel lines connected. The second photo is of a part mounted on the right front of the motor. There is a line that connects these two parts. 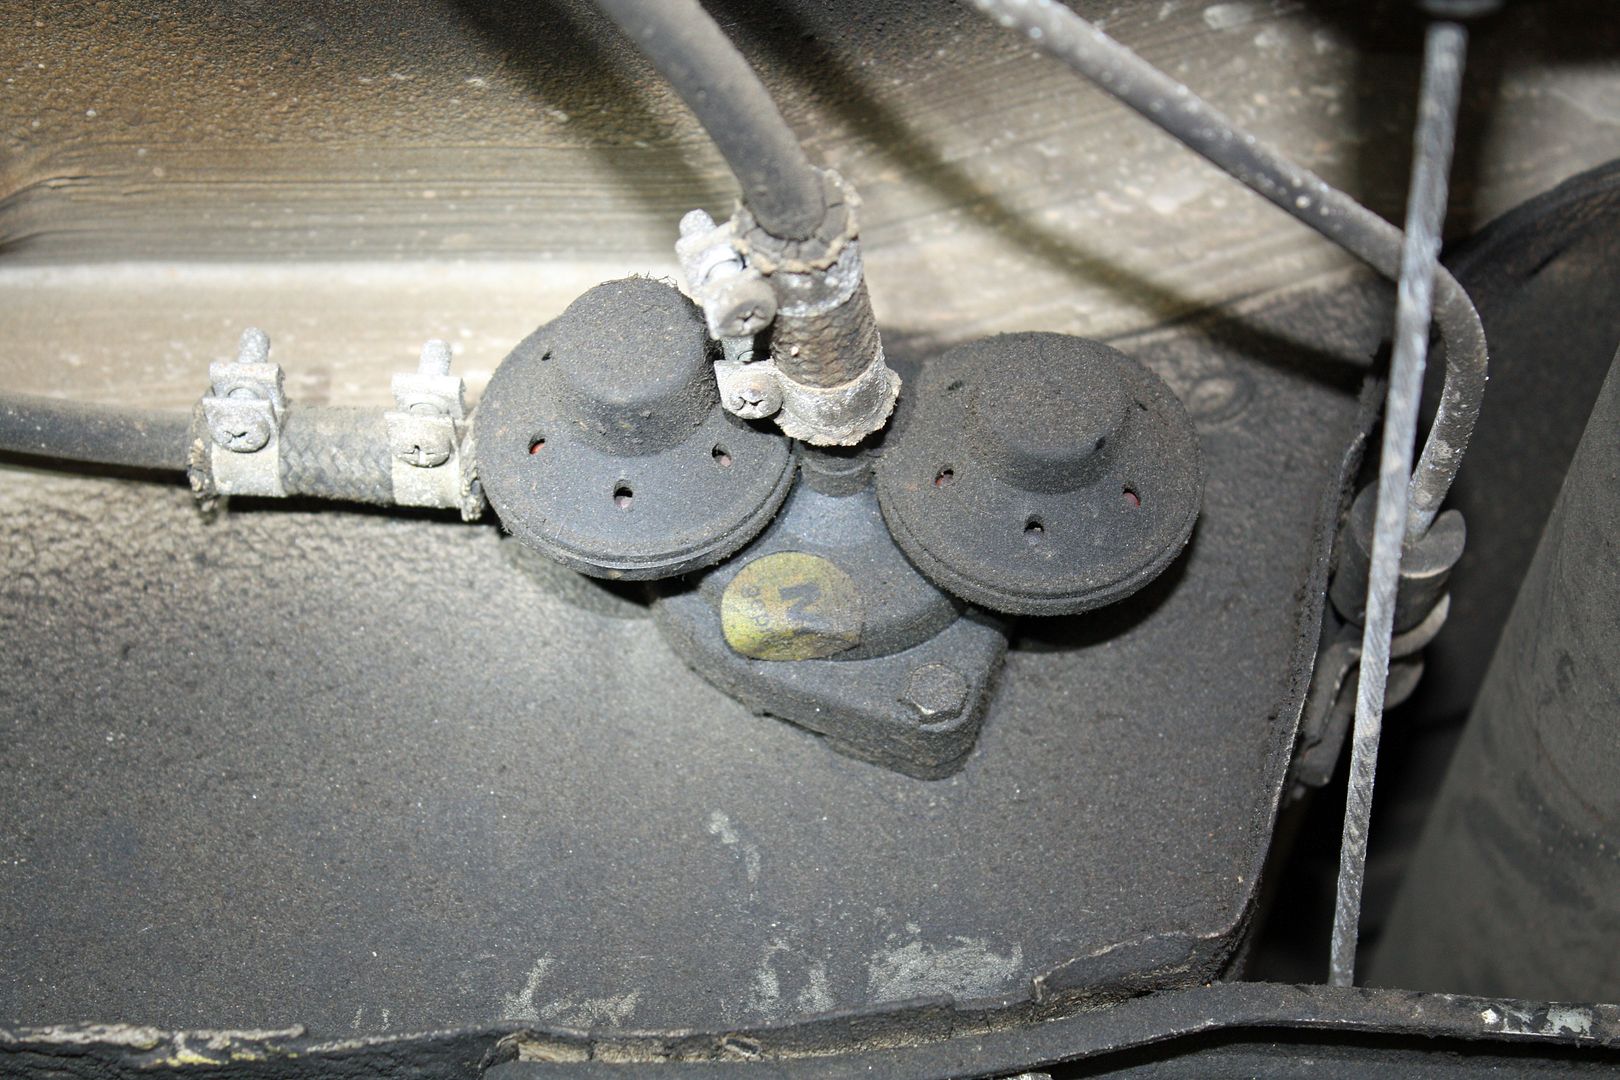 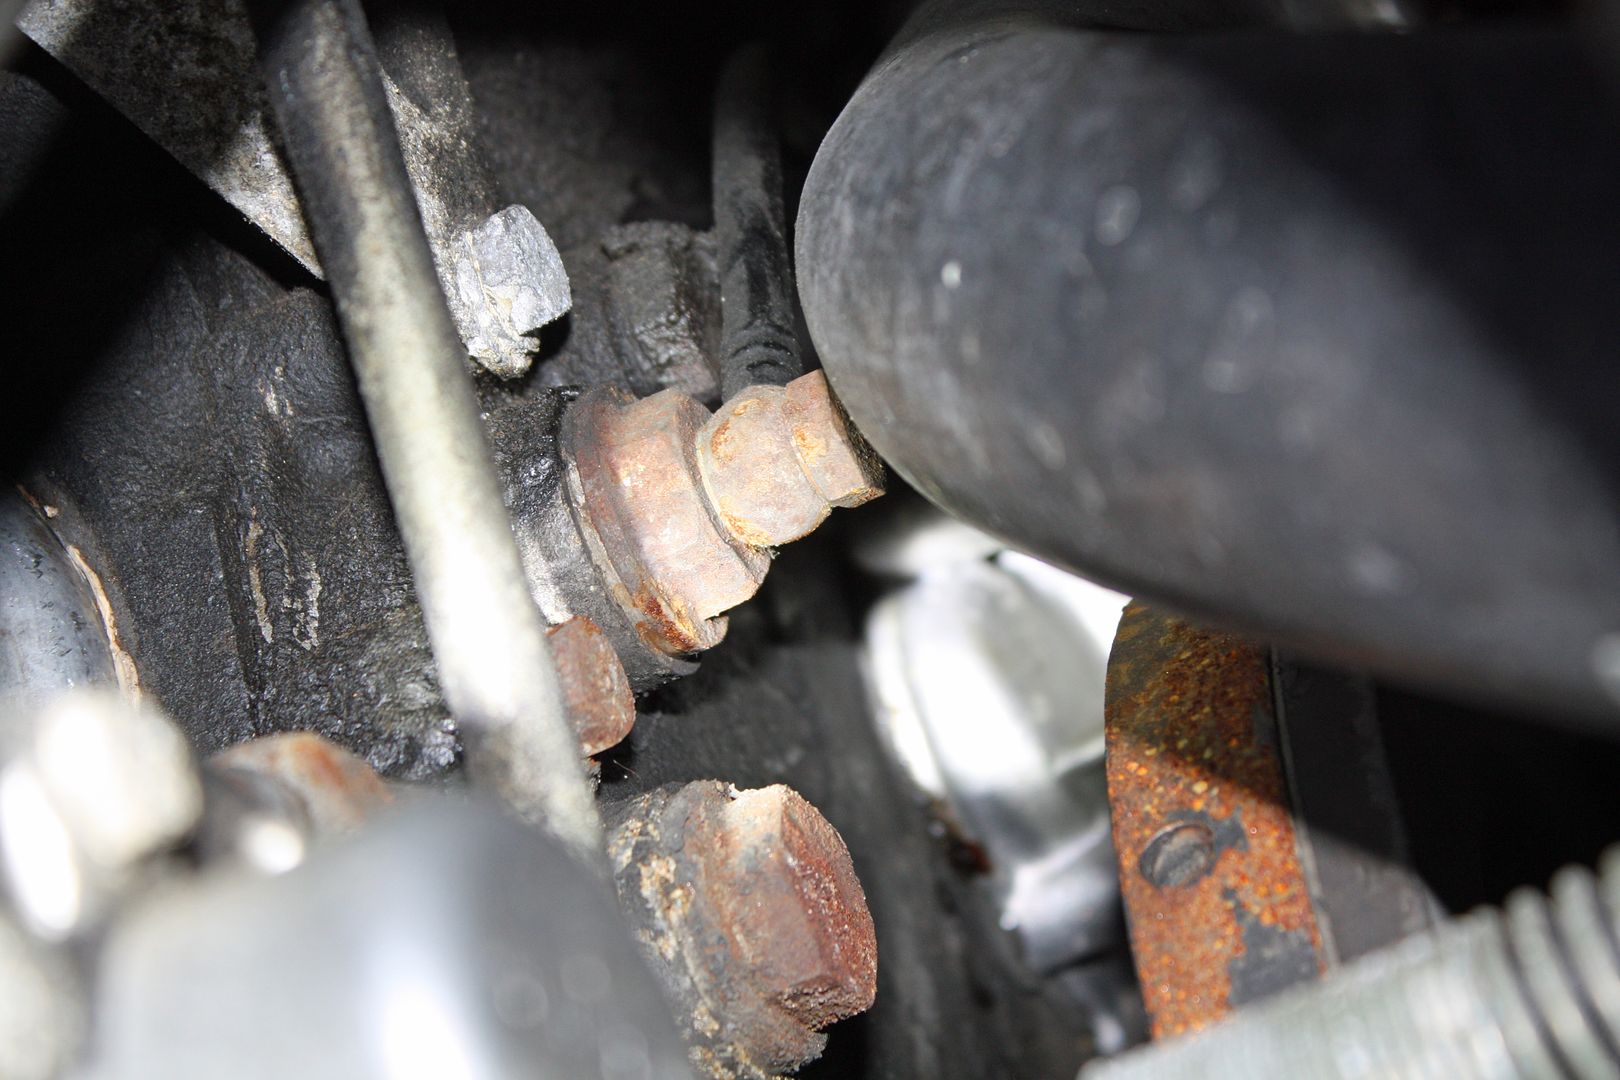 Yesterday I polished the car with my orbital buffer and 3M Ultra Fine Polish. Some paint residue came off on my buffing pad. I discovered that the hood and front fenders still have single stage paint while the rest of the car has a base/clear finish. After polishing, I waxed the car. 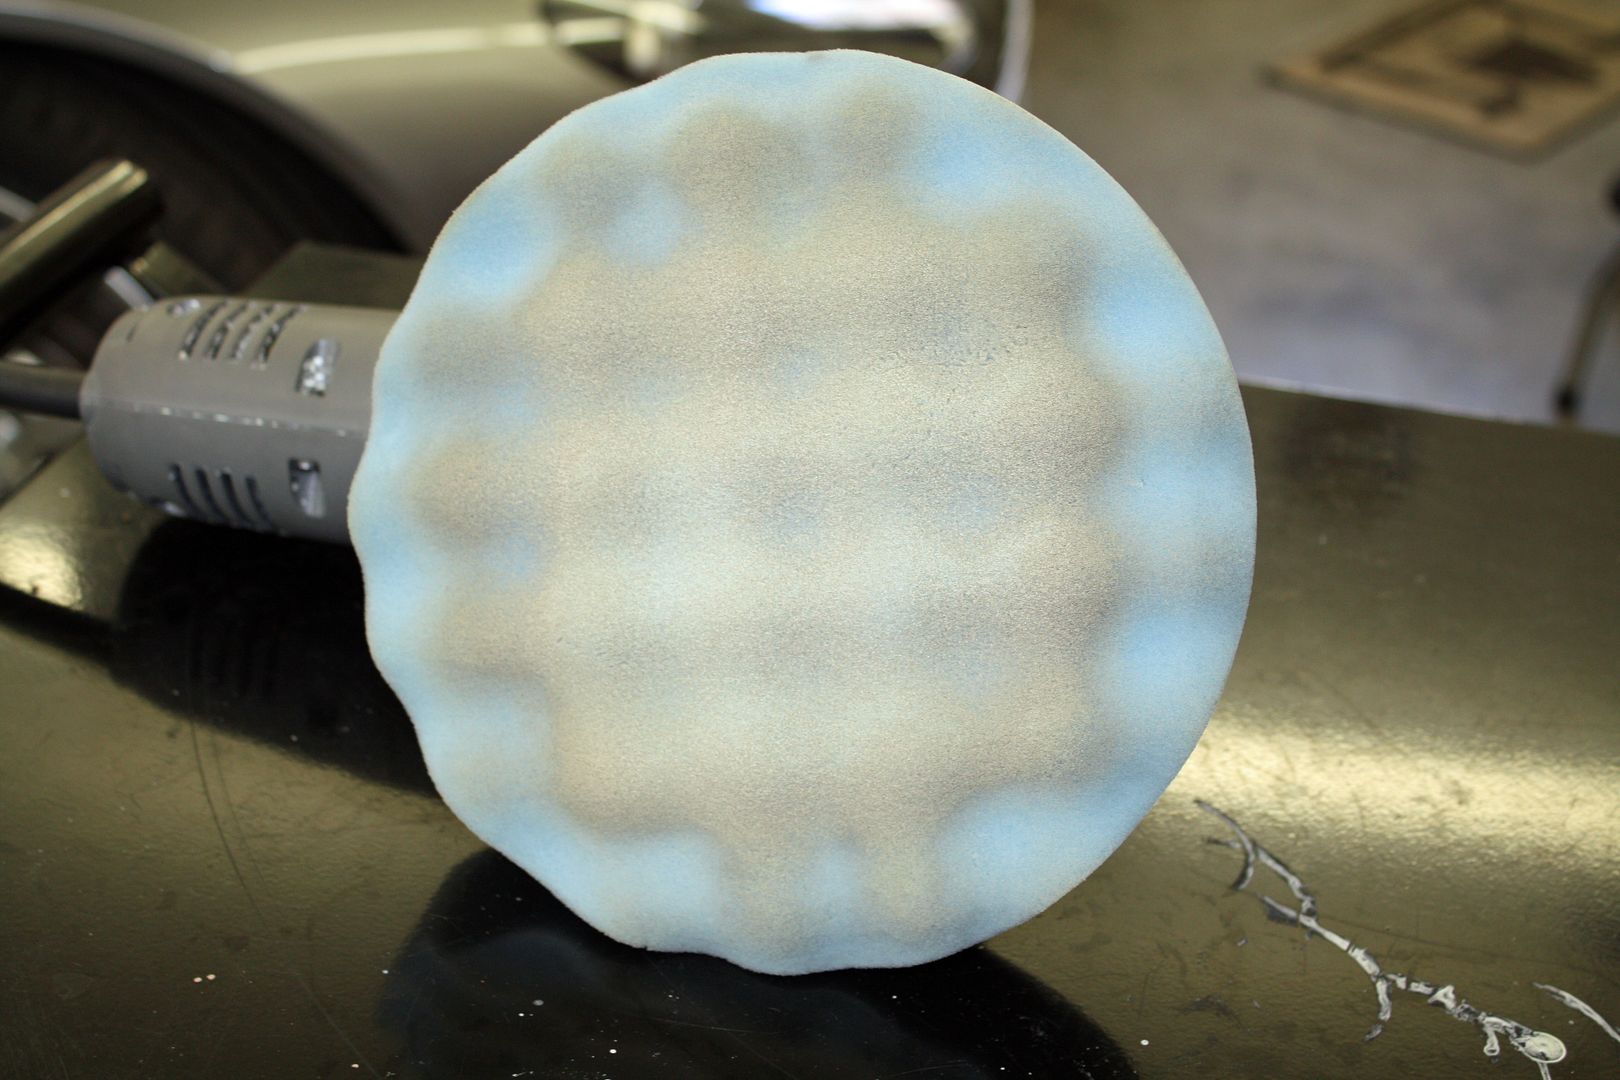
|
|
#127
|
|||
|
|||
|
This past Sunday my wife and I drove about 35 miles to visit our son's family in the Mercedes. The car was very low on fuel when we left so we filled up prior to leaving town. The car ran like a top on the way over. After showing off the car and visiting for about a half hour, we all piled into the 4.5 to go to lunch. This is only the second time I have tried to start it when it was warm and both times it was a hard start. I had read in the manual that it should not be given gas on a cold start but could be given gas on a warm start. We finally got it started but, with my son driving, the engine was not running like it should on the way to lunch.
After lunch, we again had a hard time starting it but it eventually caught. This time it ran more like normal on the way back to my son's house. Because of the difficulty starting it, I did not shut it off while we said our goodbye's. As we pulled out of the driveway, it was sputtering and not running on all cylinders. It progressively got worse until, about two miles away from our son's house, it would start but then die as soon as you gave it gas. With help from a local homeowner, we managed to push it into a driveway. My son came over to see if we could get it going but to no avail. We both conjectured that it was a clogged fuel filter. Having run the tank very low may have contributed to that issue. We called Triple A who arrived about an hour and a half later. Upon his arrival, the car started easily and I was able to line it up for the transporter. The hauler unloaded the car in my driveway going the wrong direction. Again the car started easily and I was able to drive it onto the road, turn it around and drive it into the garage. I went online to order a new fuel filter. When my son looked at the issue, he commented that he would also replace the fuel pump as it appeared to have been on the car for a long time. In the records I could not find that it had been replaced. During my search for a fuel pump, I came across a thread that gave a part number of a Nissan fuel pump for a 280Z that was exactly like the factory pump. I entered that part number on eBay and, sure enough, it looked exactly like the pump on my car...but at a much cheaper price. I also noticed that there were three rubber bumpers used on the fuel pump/filter mount so I ordered new ones. All of those parts came today in the mail. I spent this afternoon disassembling everything, cleaning the parts and then re-assembling everything. After cleaning, the box around the fuel pump/filter looked like new with not one spec of rust. All of the hoses looked good except for the one from the fuel pump to the filter. 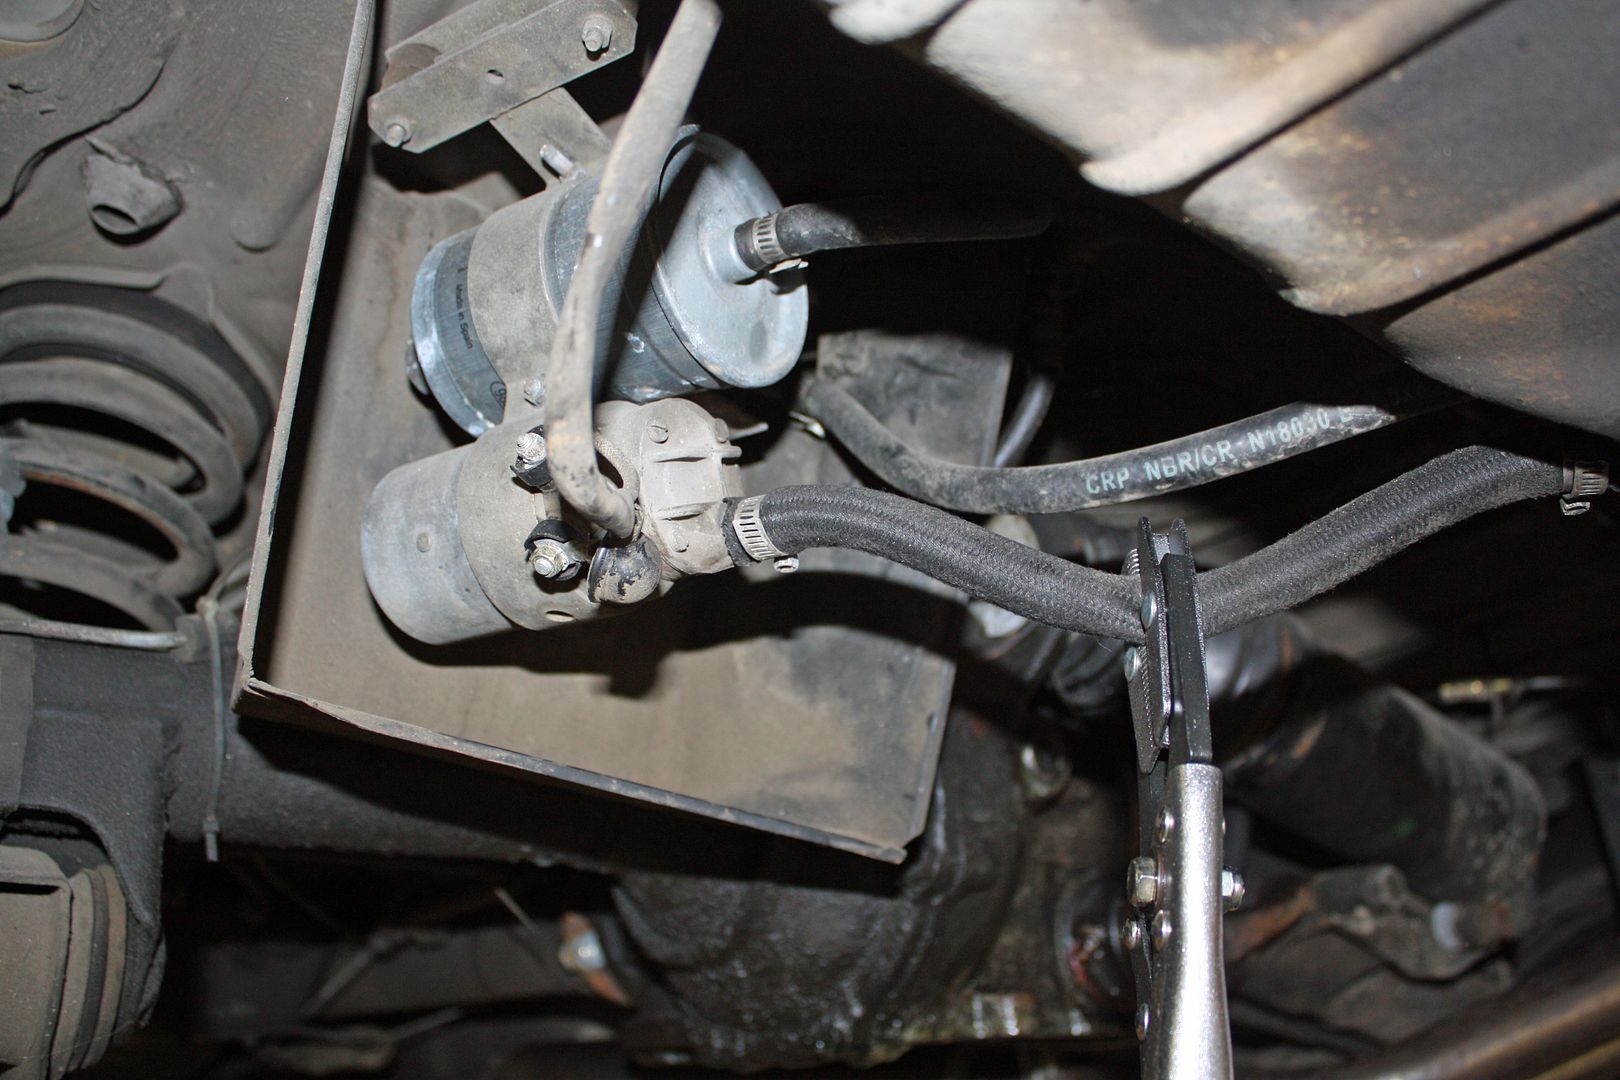 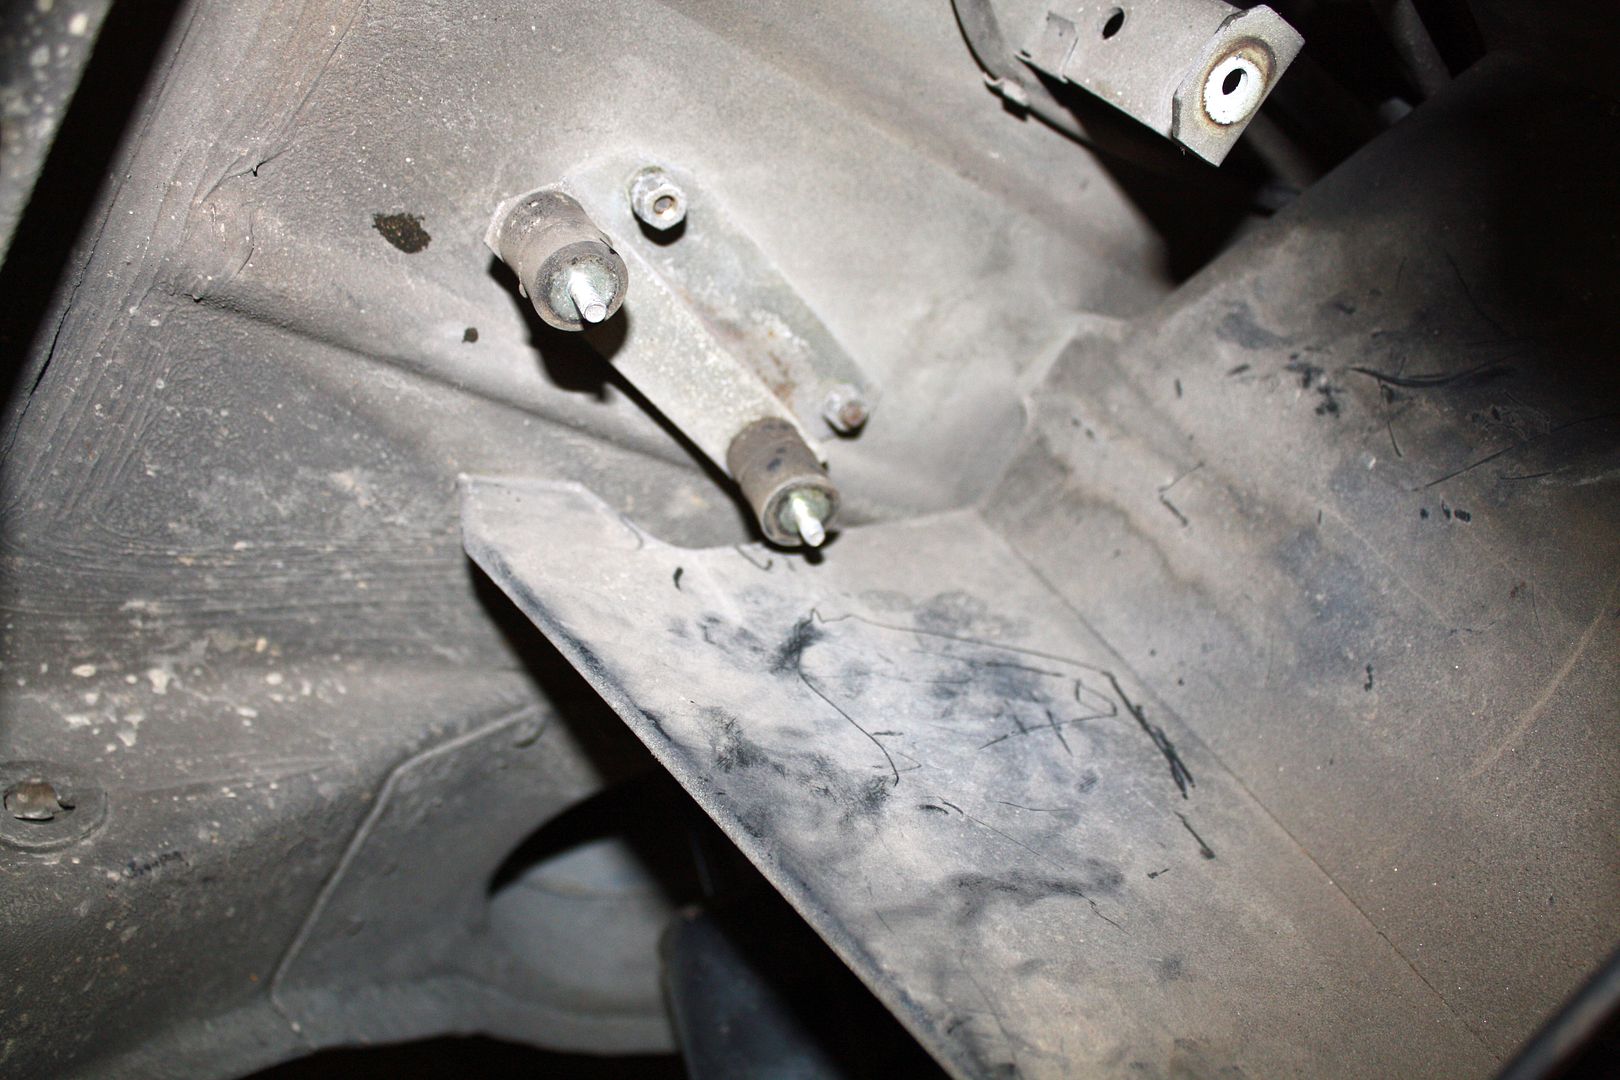 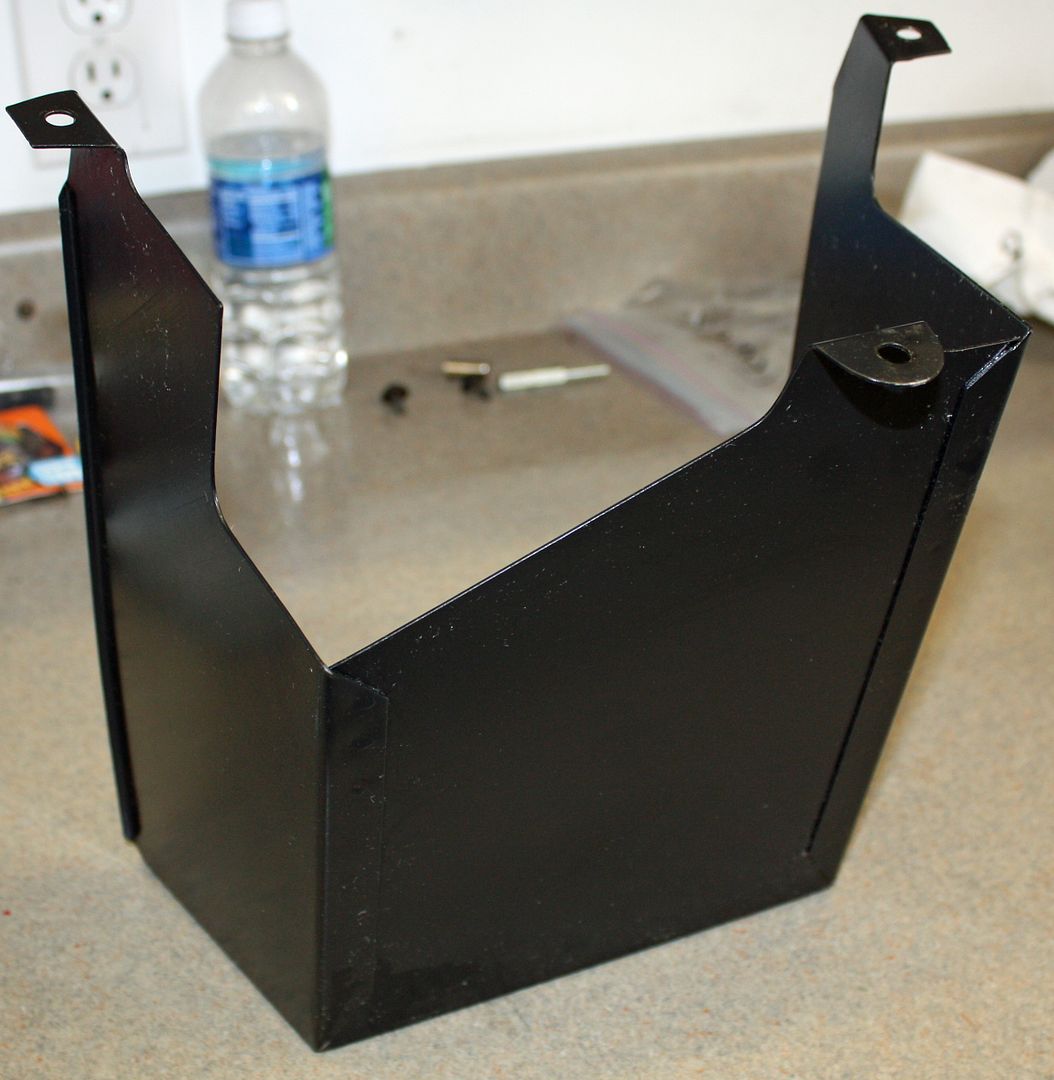 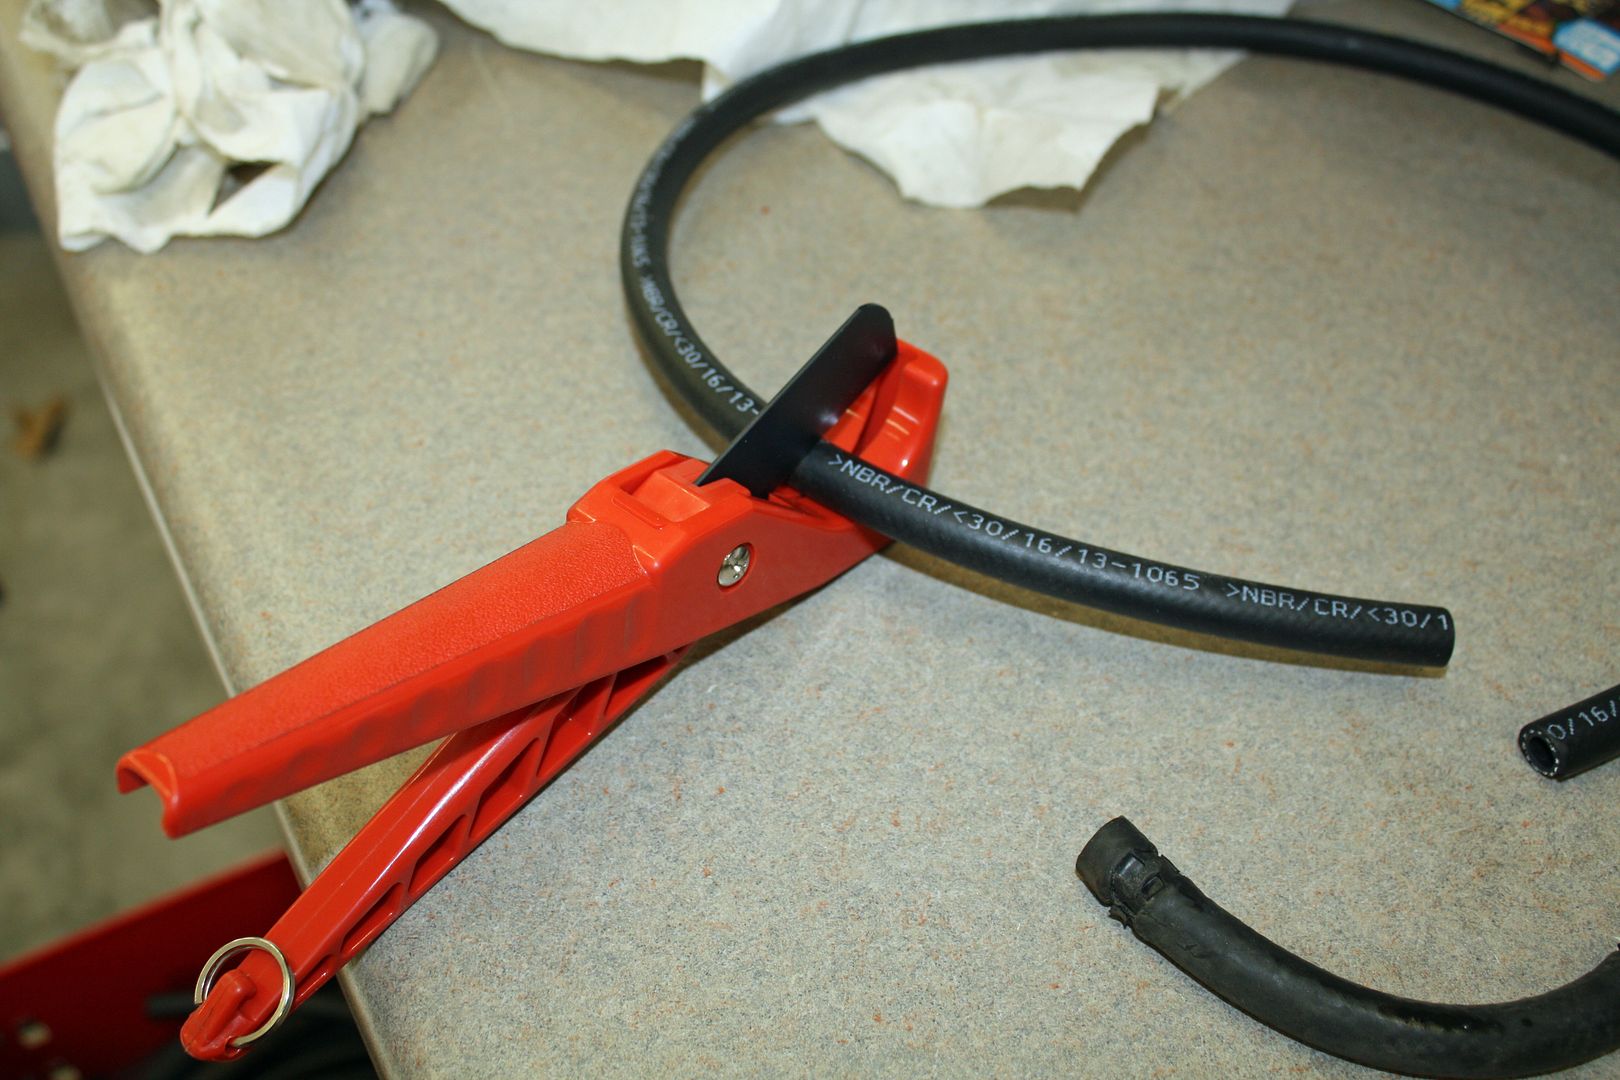 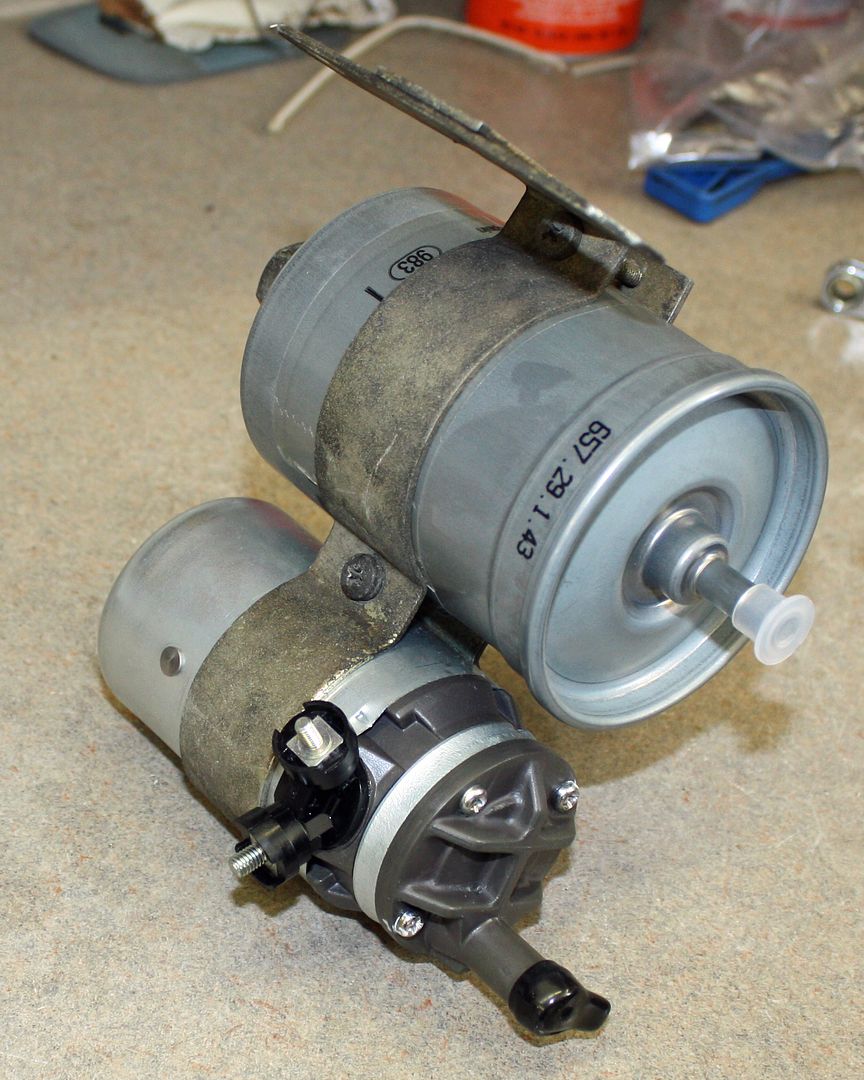 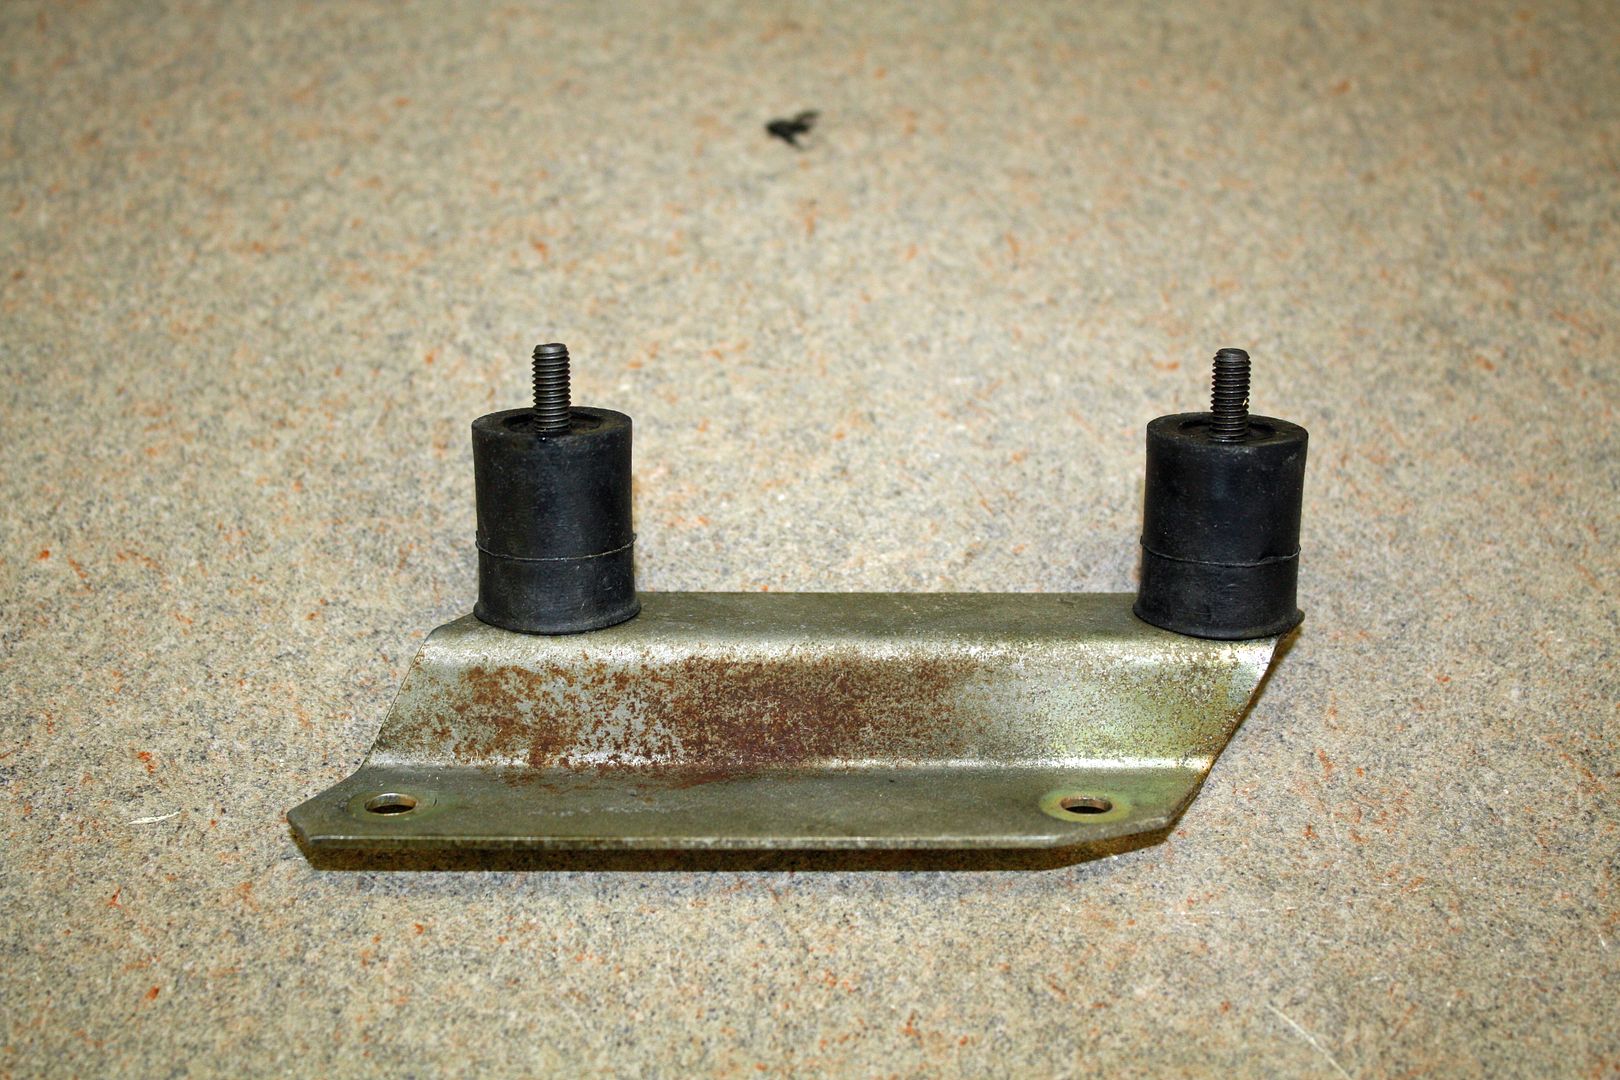 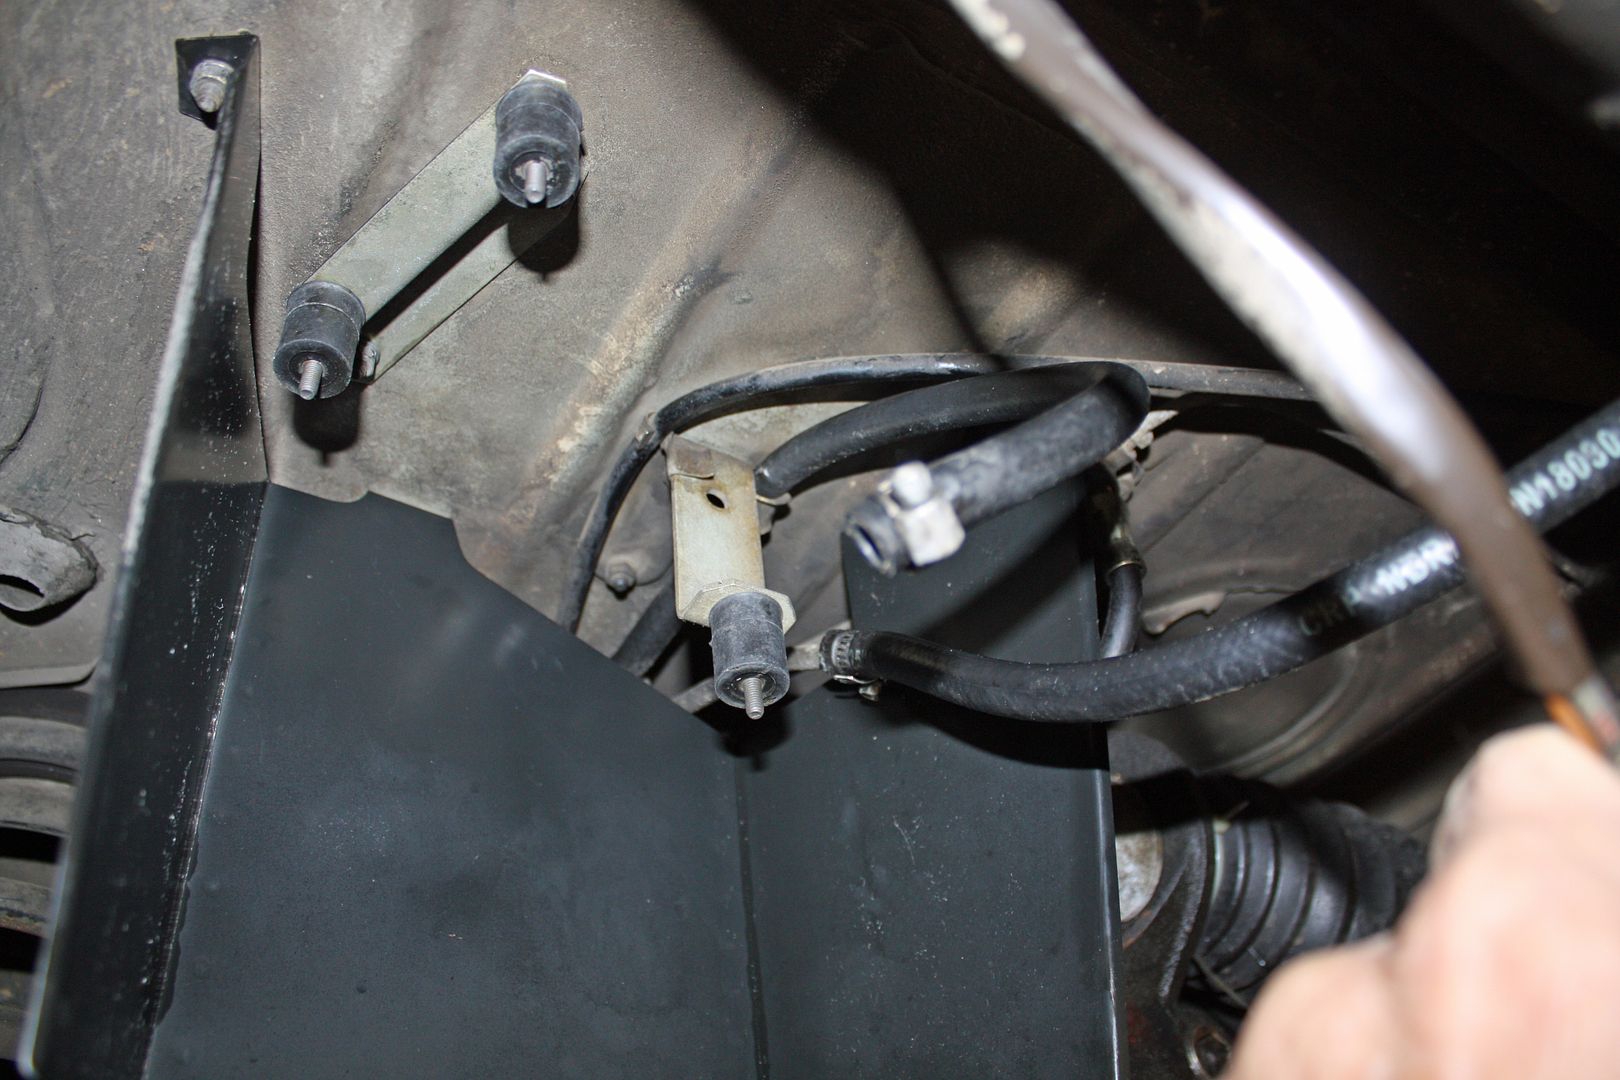 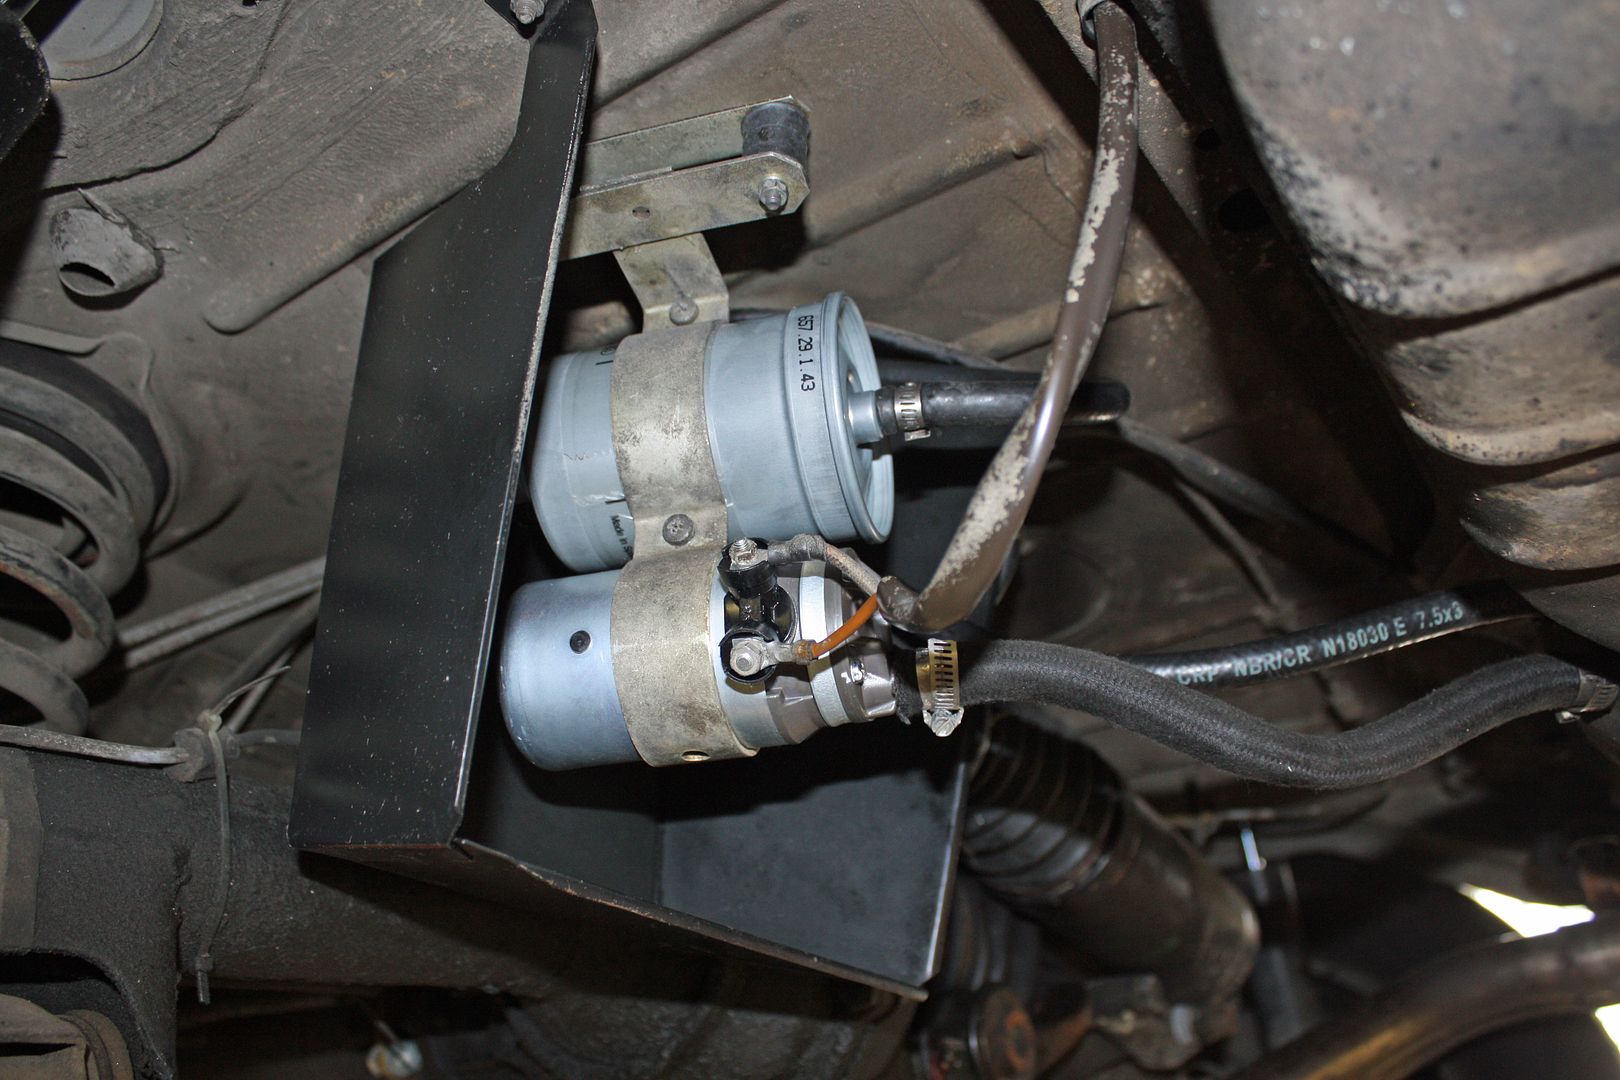 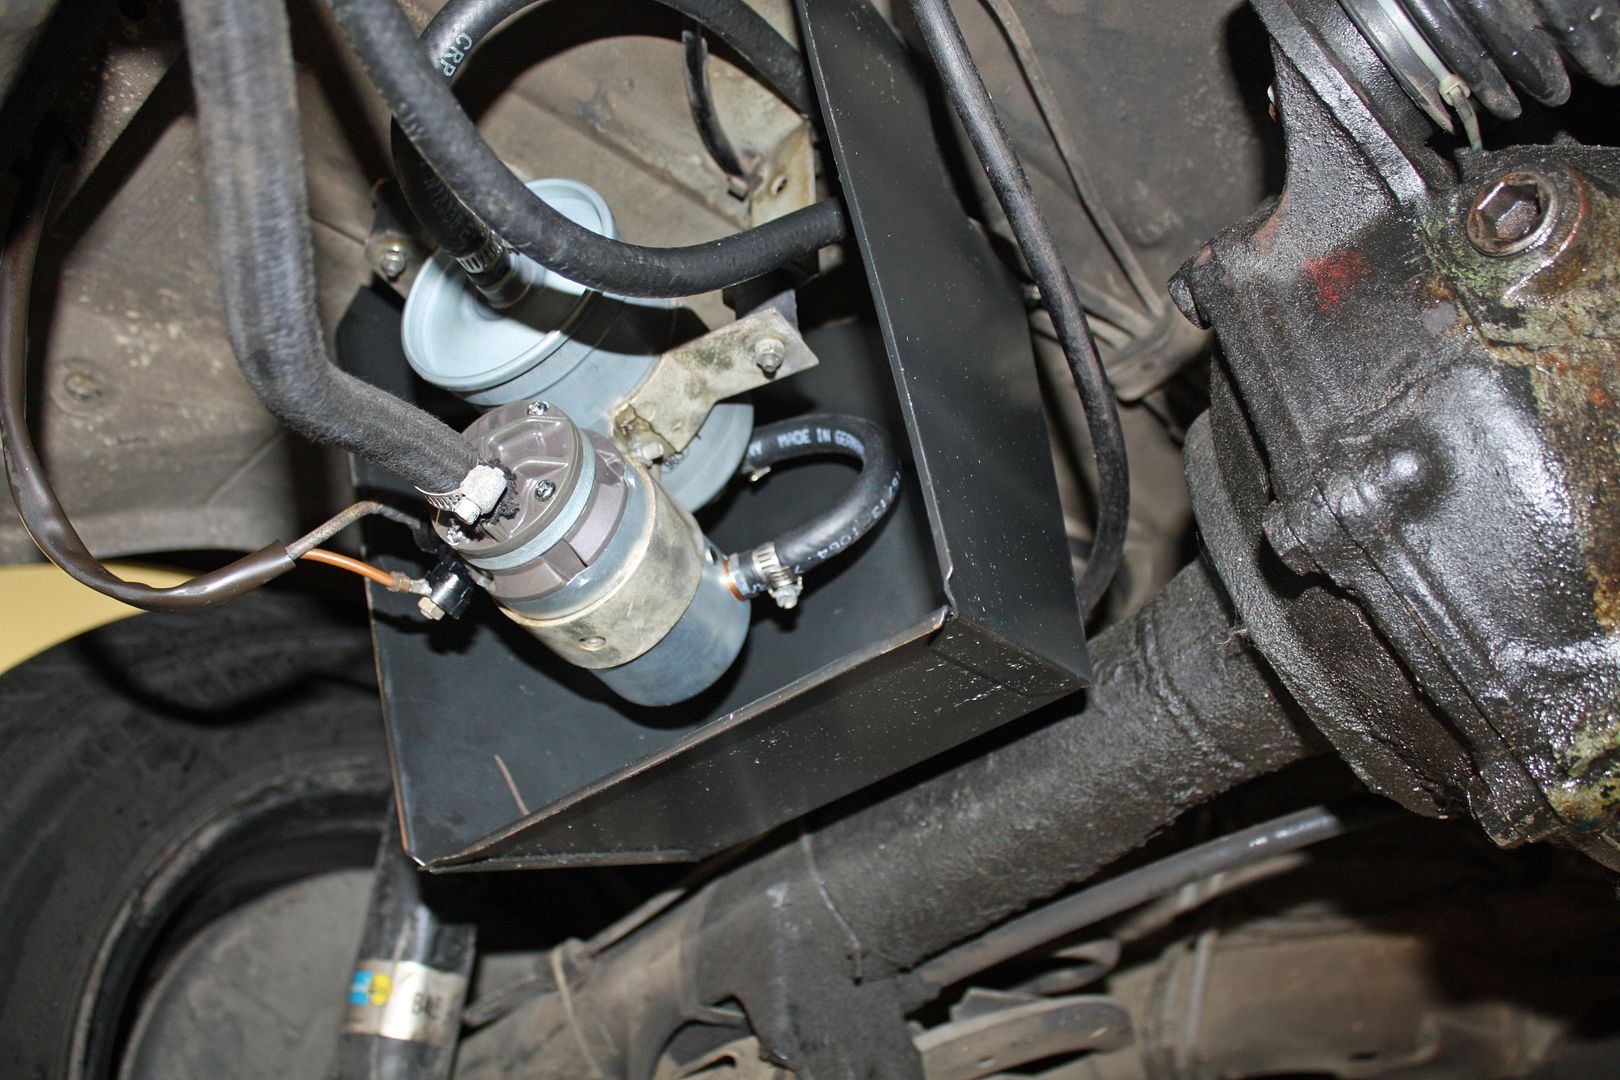 After allowing a little time for the fuel to make it to the engine, the car started easily and ran fine. I took a fifteen minute drive and it ran great. I parked the car in my driveway and my wife and I and the dog went for our daily two mile walk. When we returned, the car started easily. I did some research on warm hard starting and one of the many culprits was a weak fuel pump. I won't know for sure if I have solved the problem until I get a few more miles on it. Hopefully it is now good to go. |
|
#128
|
||||
|
||||
|
Beautiful progress and work!
__________________
Current: 2021 Charger Scat Pack Widebody "Sinabee" 2018 Durango R/T Previous: 1972 280SE 4.5 2014 Jeep Grand Cherokee Limited "Hefe", 1992 Jeep Cherokee Laredo "Jeepy", 2006 Charger R/T "Hemi" 1999 Chrysler 300M - RIP @ 221k |
|
#129
|
|||
|
|||
|
Awesome work jerhofer. I showed my wife your before and after pics of the engine. She asked if I thought you were ADHD. I said no, just a cool car guy.
I was wondering if you also checked your fuel tank filter. I did change mine after running the tank low (ok completely empty). Mine was not bad, but many on this forum have found them completely plugged. Please keep posting pictures, it is inspiring. Ron |
|
#130
|
|||
|
|||
|
Quote:
As for my being ADHD, my wife just thinks I am weird!! But she does appreciate being able to drive a clean car. BTW, my buddy Reese, the guy pictured above helping me install the hood pad, thinks I a have a messy garage and can't hold a candle to his cleanliness. And he is absolutely right!! Everything, and I mean everything, he owns is immaculate. Not only his cars but his lawn mower, his leaf blower, all of his tools, his garbage can, his dog, etc. That being said, the following may reinforce your wife's opinion. North Carolina allows one to use a vintage license plate of the year of your car as long as you have the current plate in the car. I found a '73 plate on eBay. I have a frame I wanted to use around the plate but when I tried to use it earlier, I found that I could not open the fuel access cover to put gas in the car. The reason that it did not work was that there were only holes for the top screws on the plate which allowed the bottom to bow out when opening up for putting in fuel. So I removed the license plate holder, drilled a couple of extra holes, used some 1/4" stainless steel nuts as spacers to give clearance for the frame, and remounted everything. But....not without cleaning everything, including polishing the gas cap. Your wife's opinion is now officially vindicated. Again, my wife has gotten used to having a clean gas cap when she puts gas in her car. So I regularly wipe down the gas cap area after every wash job on all of the cars. 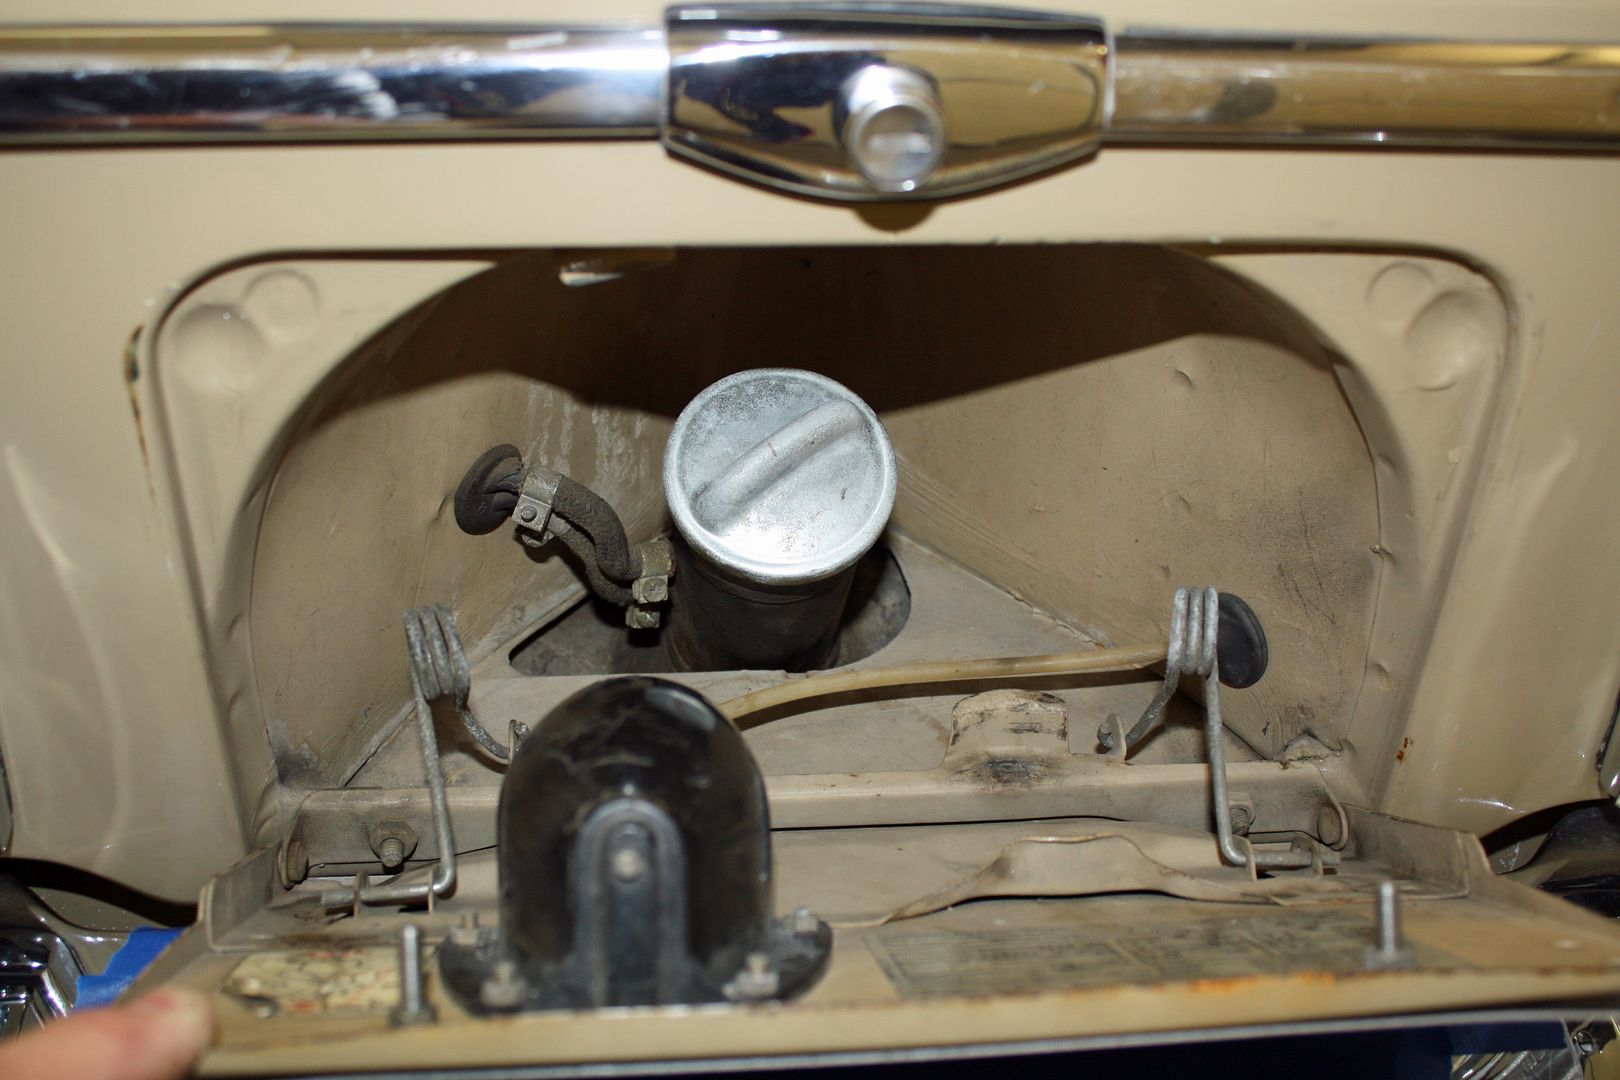 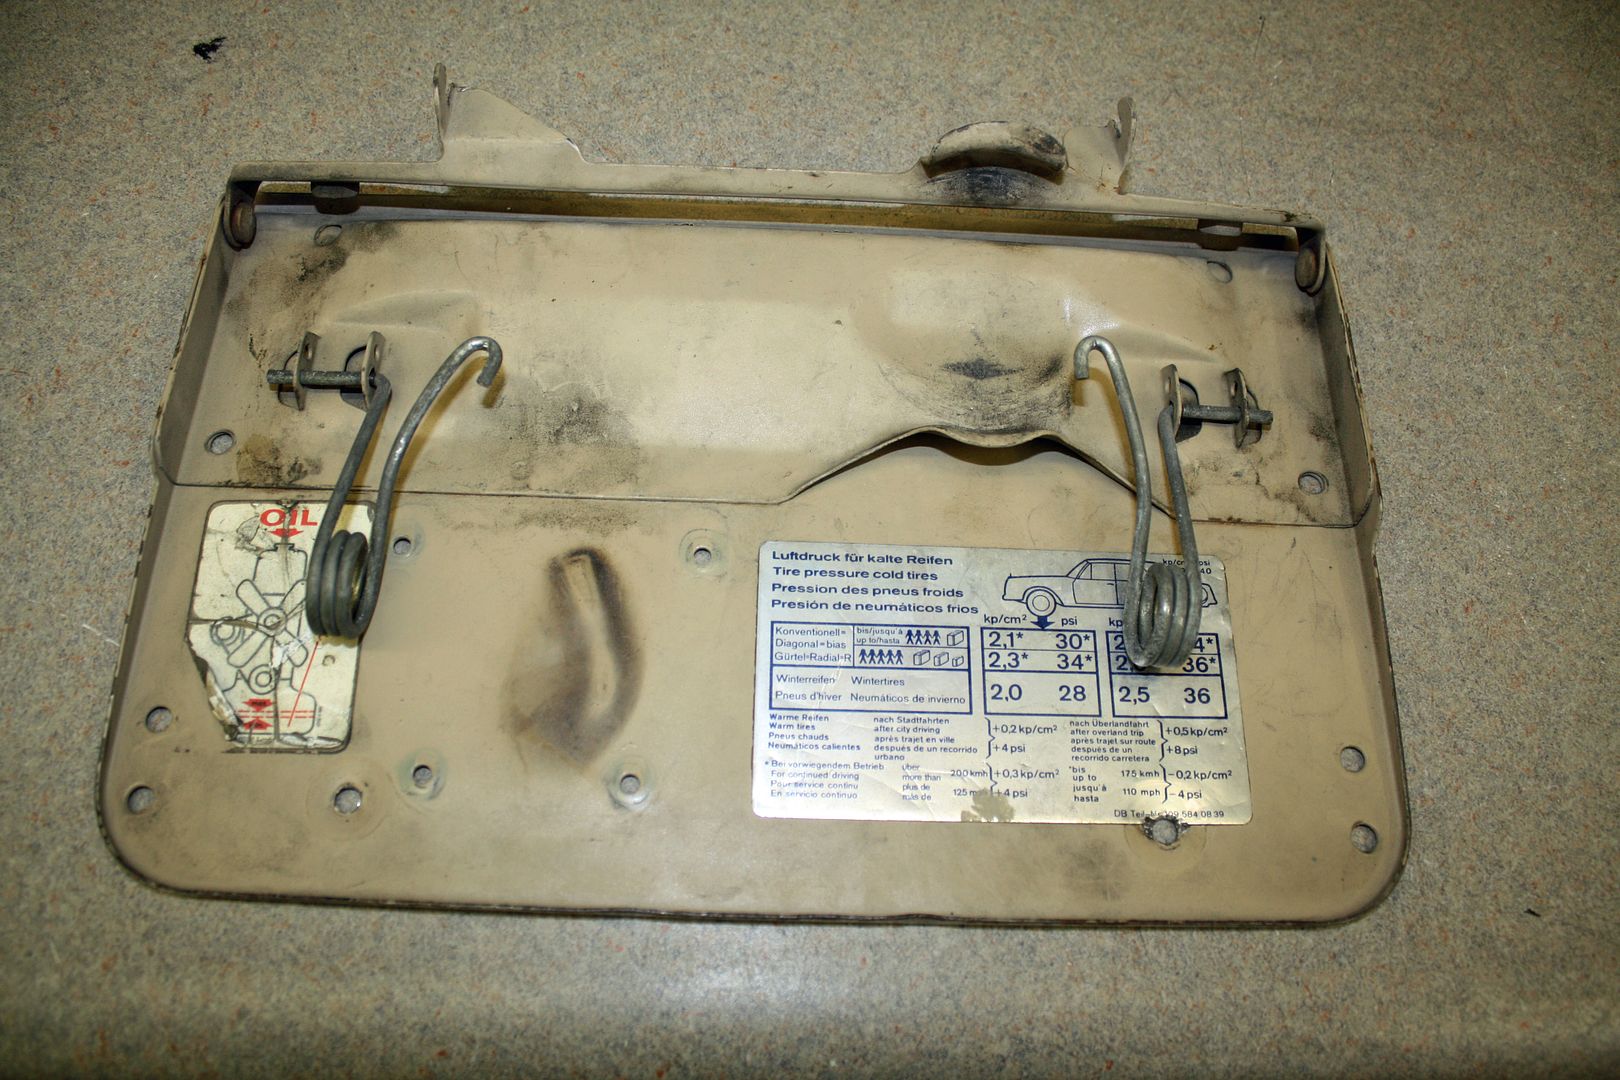 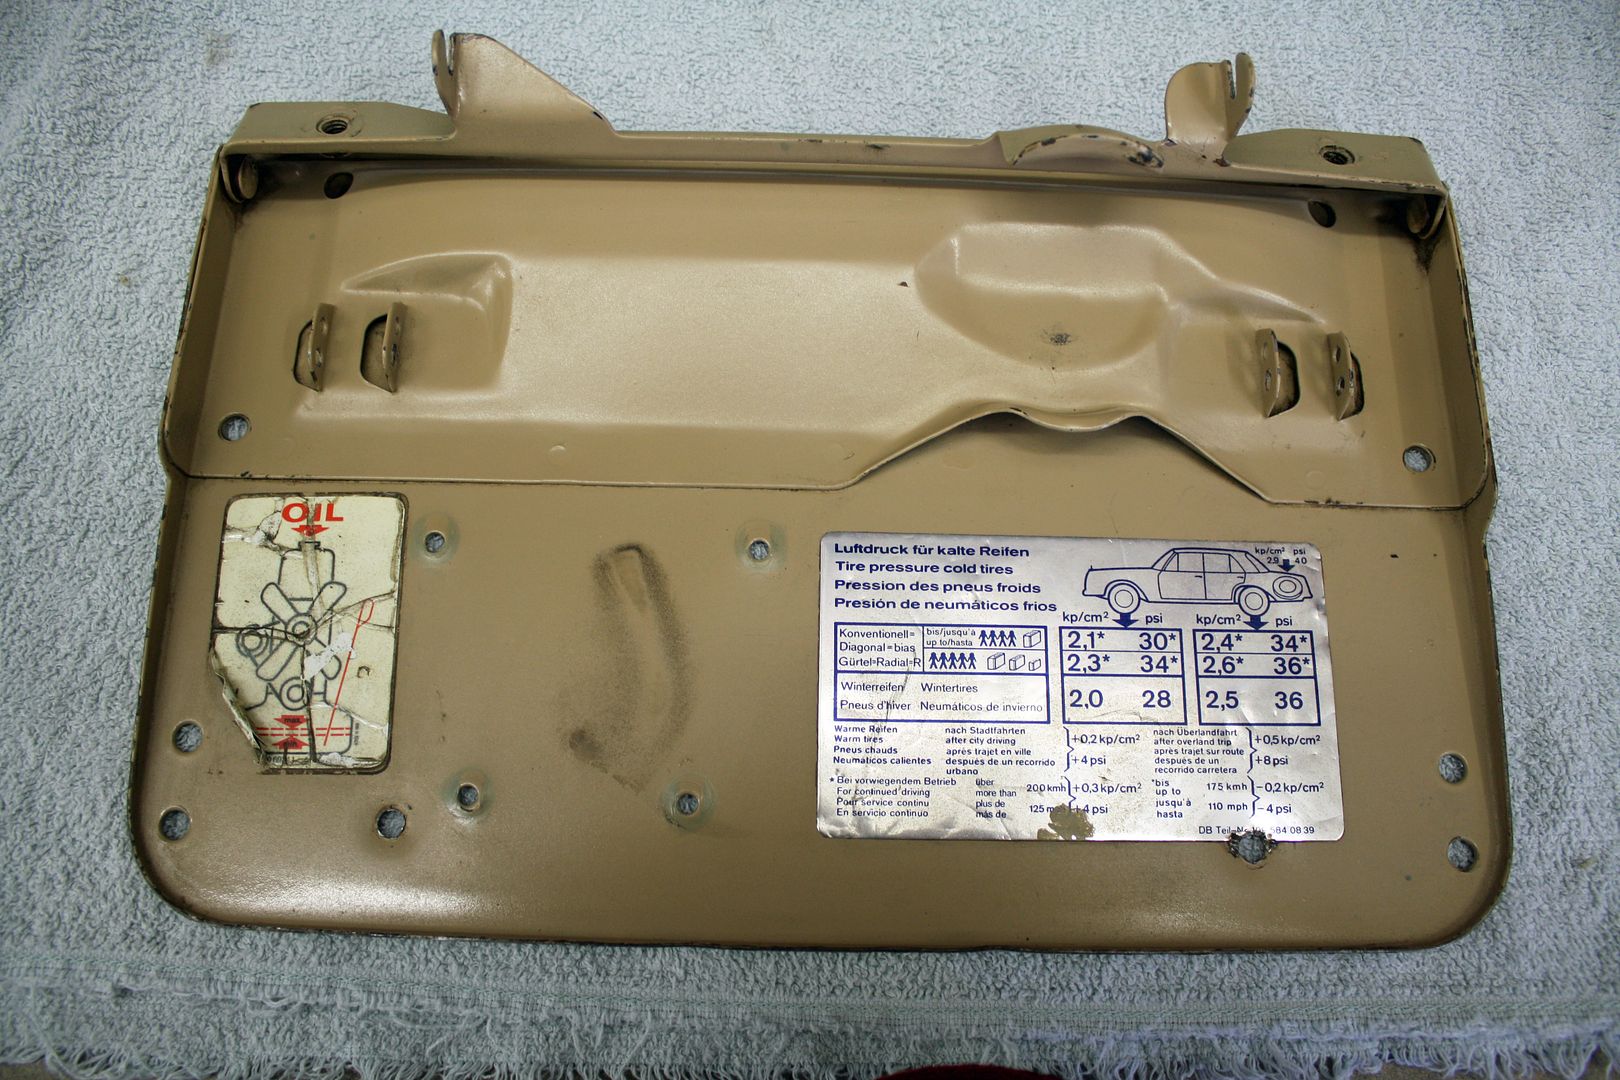 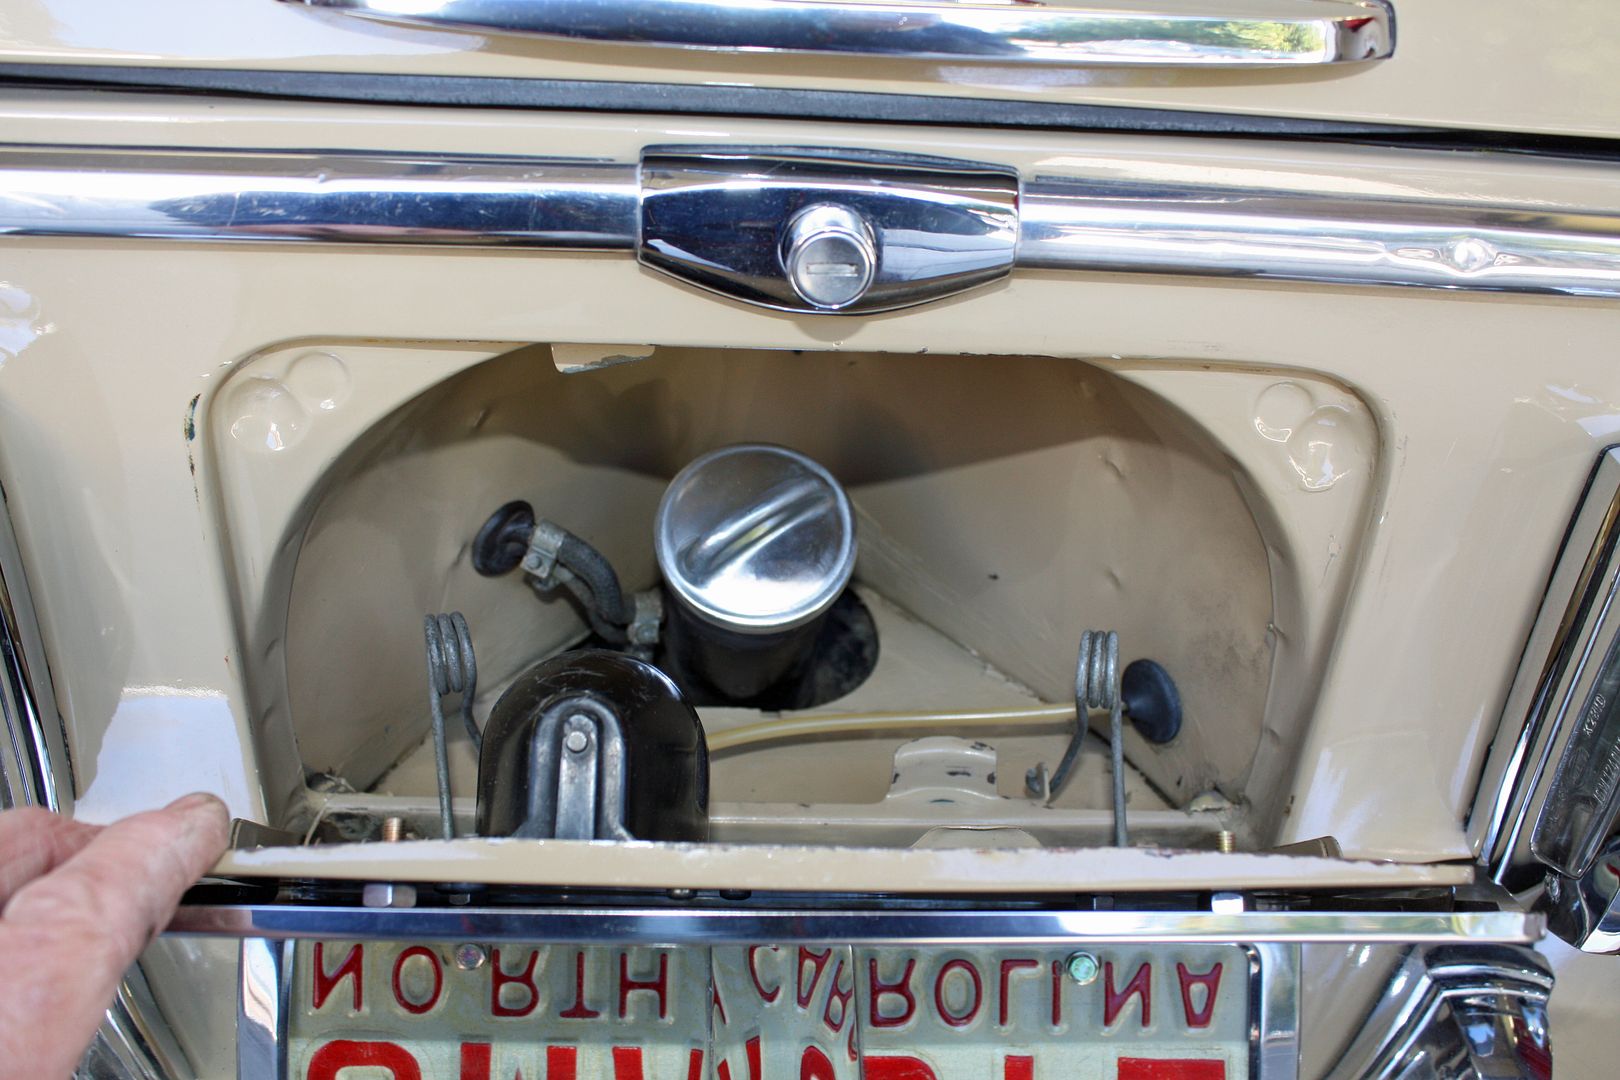 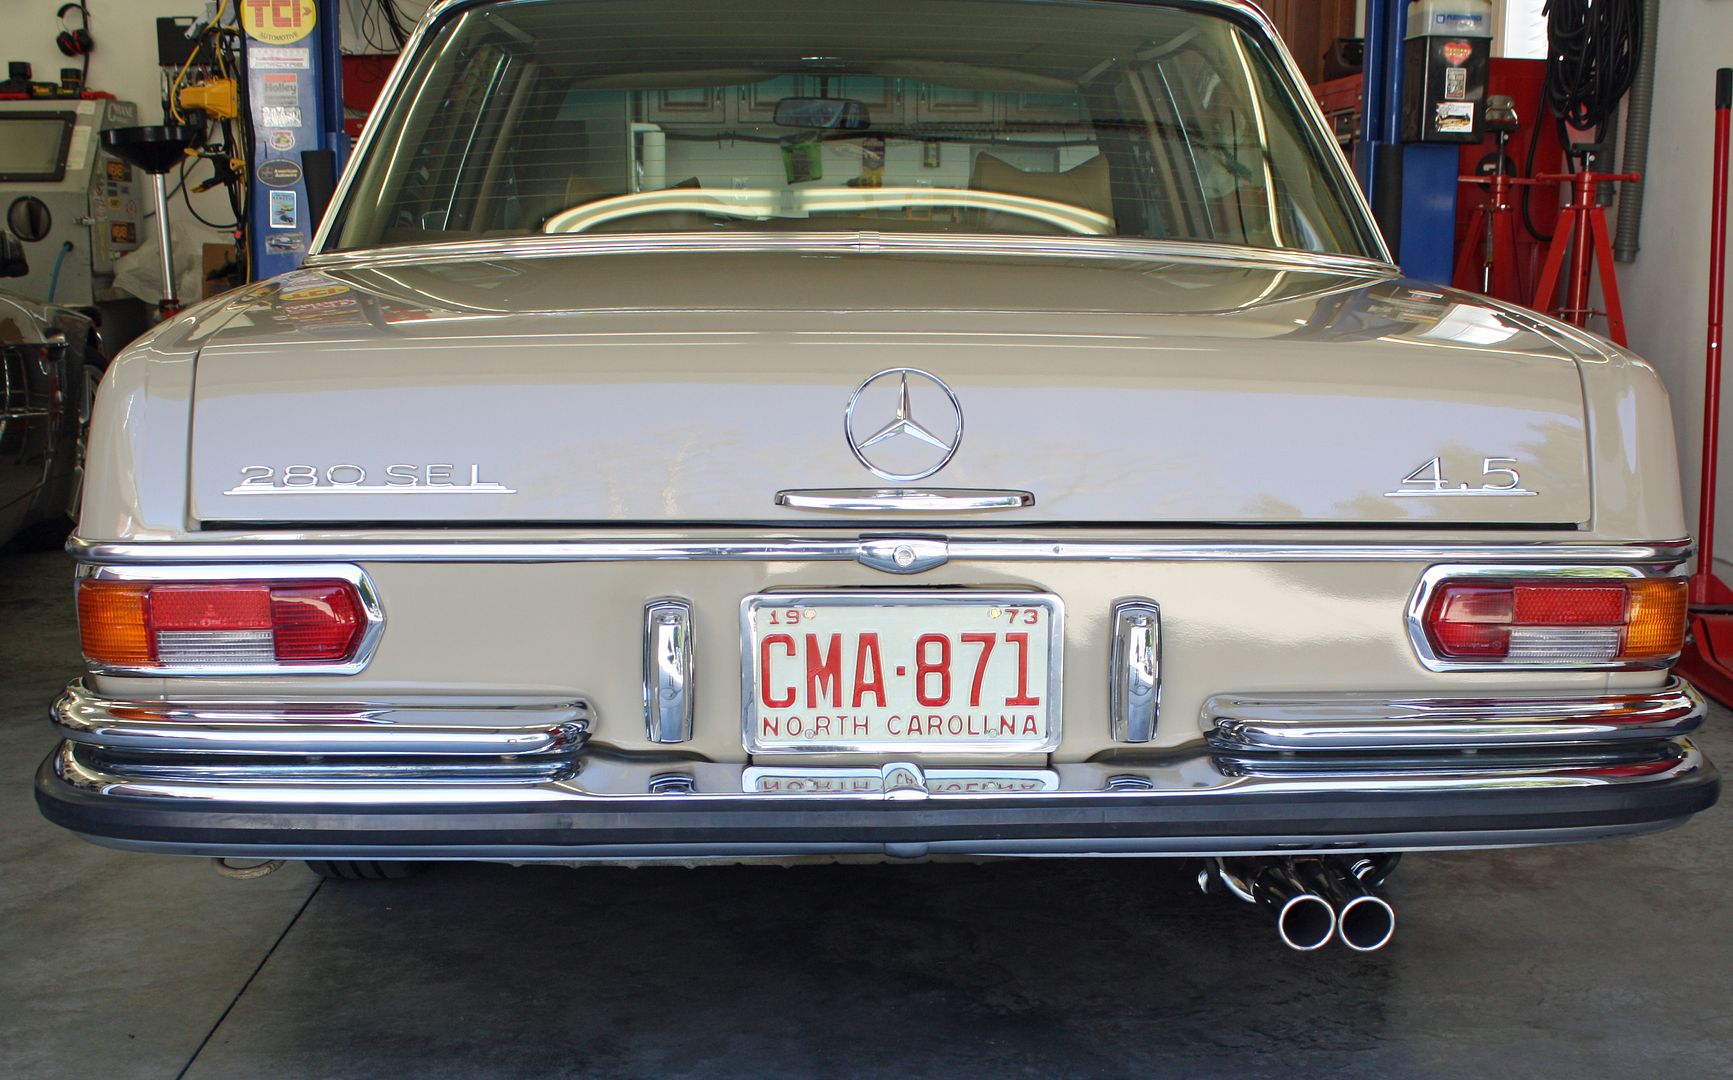 I have another question about the device mounted on the inside of the license plate holder. What does it do? 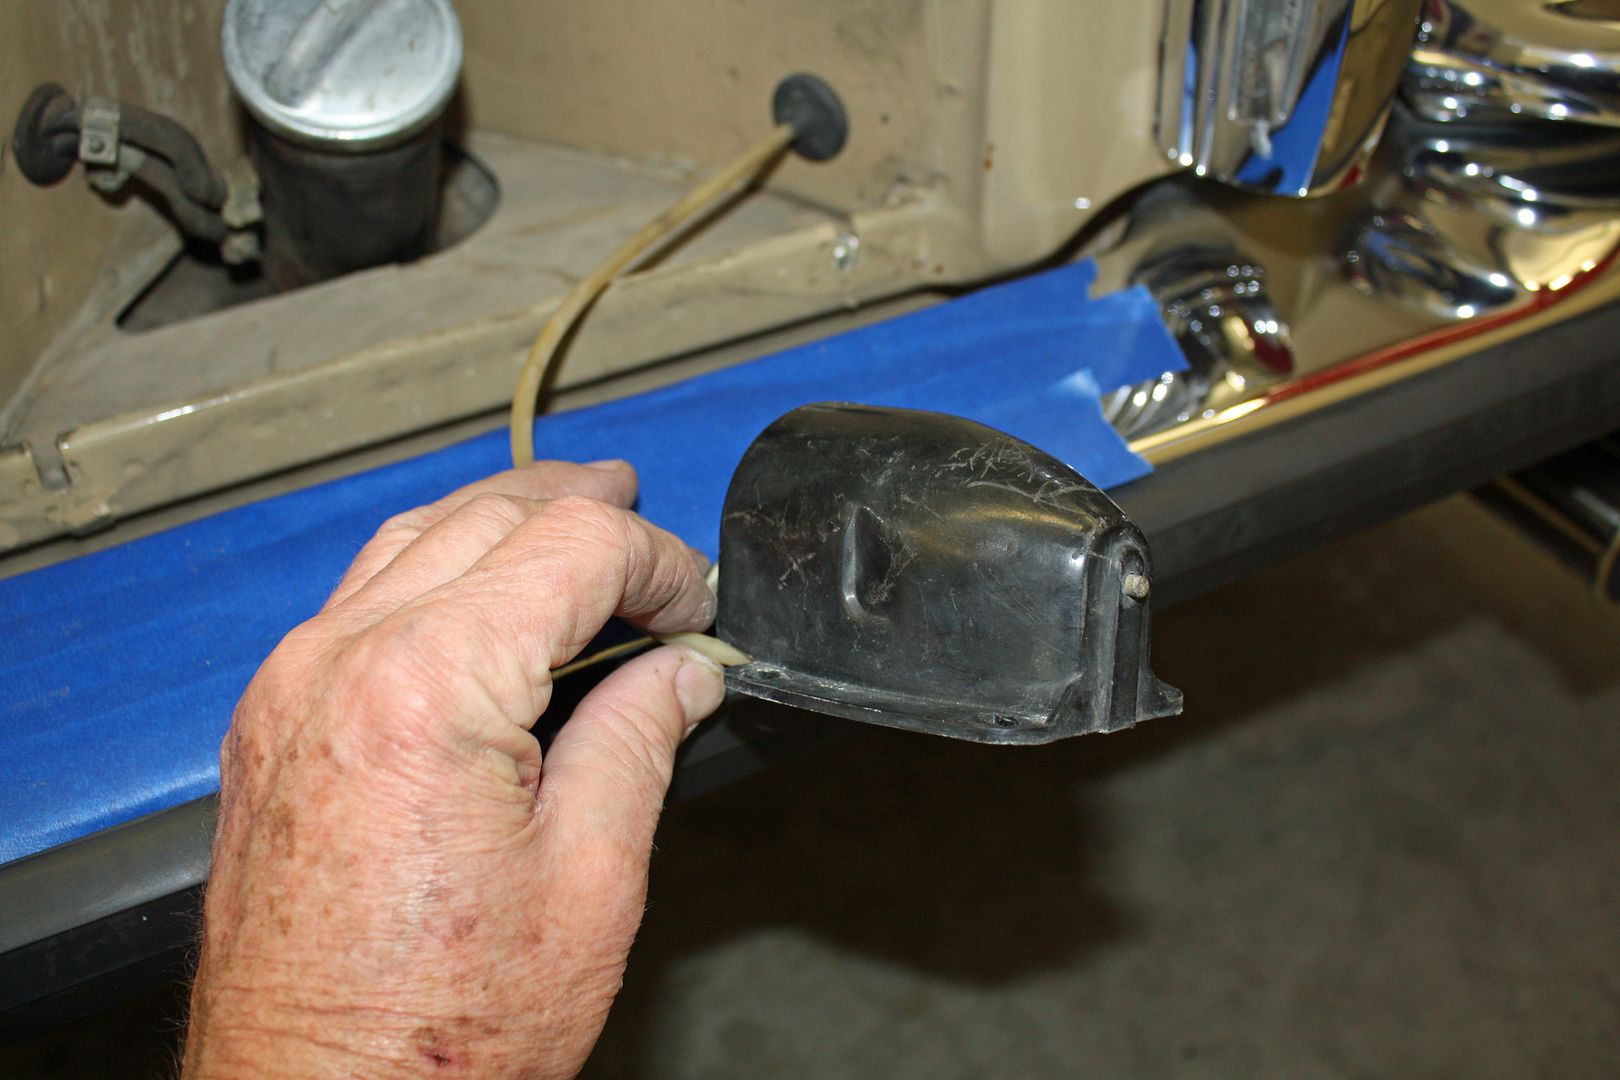 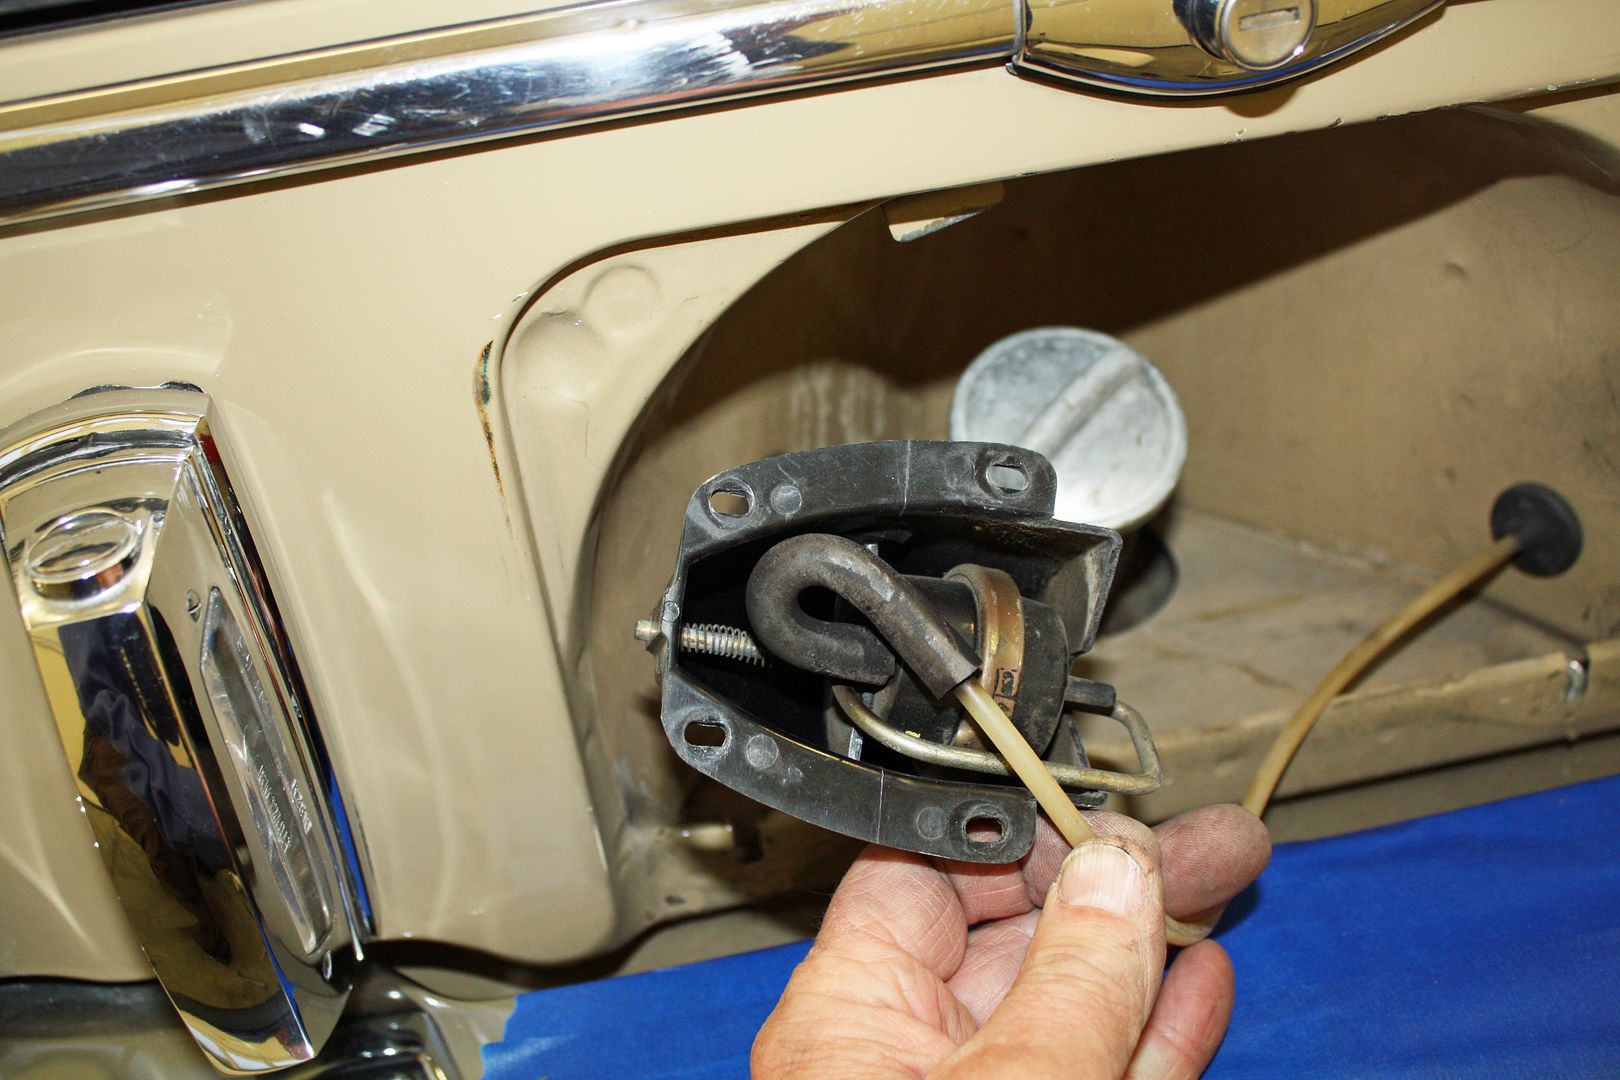
|
|
#131
|
||||
|
||||
|
Vac lock for the gas tank?
|
|
#132
|
||||
|
||||
|
It is indeed the lock. When the driver's door button is pushed down, all the doors lock - including the fuel door. Ideally, the system can hold that locked for a week or two before it bleeds down. If all your doors don't lock when you push the driver's lock down, the system has leaks. If it doesn't even do it when the engine is running, either you have major leaks, or the actuator in the driver's door may be bad.
__________________
Current: 2021 Charger Scat Pack Widebody "Sinabee" 2018 Durango R/T Previous: 1972 280SE 4.5 2014 Jeep Grand Cherokee Limited "Hefe", 1992 Jeep Cherokee Laredo "Jeepy", 2006 Charger R/T "Hemi" 1999 Chrysler 300M - RIP @ 221k |
|
#133
|
|||
|
|||
|
Beautiful work--tach not working
I must compliment you on your patience and attention to detail. I only wish I could do as well.
You've mentioned that your tach is not working. You may want to check if it is hooked up. From the looks of your aftermarket ignition, I'd guess that it has been dropped out of the circuit. Since you no longer have points, there is nothing to signal the tach. I have a '71 Volvo 1800 with a similar setup. Putting the tach into the circuit is pretty simple. Instructions are on the Crane website. Basically, it is taking the negative wire on the coil to the tach (original wiring) and attaching the wire from the tach that went to the points and connecting it to the wire from your crane unit that had been attached to the negative post on your tach. Hope this helps. |
|
#134
|
|||
|
|||
|
Quote:
I polished all of the chrome and trim today. I also drove it another 25 miles and all is well. It is supposed to be in the 70's here on Sunday so I plan on taking it to the Cars and Cappuccino in Charlotte. The location is about 50 miles from here so that will be a good test. My wife is an artist and this evening they had an open house for their latest exhibition. Turns out the husband of one of my wife's artist friends bought a new 1971 220D back in the day. He was totally smitten with my car as it brought back pleasant memories. He put 240K miles on his diesel before he sold it. His '71 was beige so he also liked the colors on my car. He was in sales back then and the 220D was his road car. He paid $5200 for it and sold it ten years later for the same money. |
|
#135
|
|||
|
|||
|
Quote:
|
 |
| Bookmarks |
|
|